The Fab Academy
Kuwait 2017
Final Project
Inspiration of my Project:
The idea of my final project came is inspired from last trip to my honey moon where I had to travel through many different airlines and deal with many luggage policies . As you have noticed in the market, the luggage scales can be tiresome and can cause stress to your back especially when you are trying to weight more than a luggage to avoid the airline additional weight fee which can be so costly.
I called it “BAGO” as a bag to go and ready made for traveling and also to ease your packing and carrying without the stress of exceeding the weight limit imposed by the airlines.
Project Concept:
I want to create a prototype for my final project and see it works. As such I decided to build a weight scale with a digital monitor (LCD) that can show the weight of bag when the items. I am building my scale in a carry on luggage and make a prototype scale to see if my idea can work and it not costly for any future commercial application.
Goal of the Weight Scale:
1- portable weight scale
2- you can take it everywhere
3- avoid additional fee from exceeding the weight as per airline policy
4- Cost effective
Sketch: 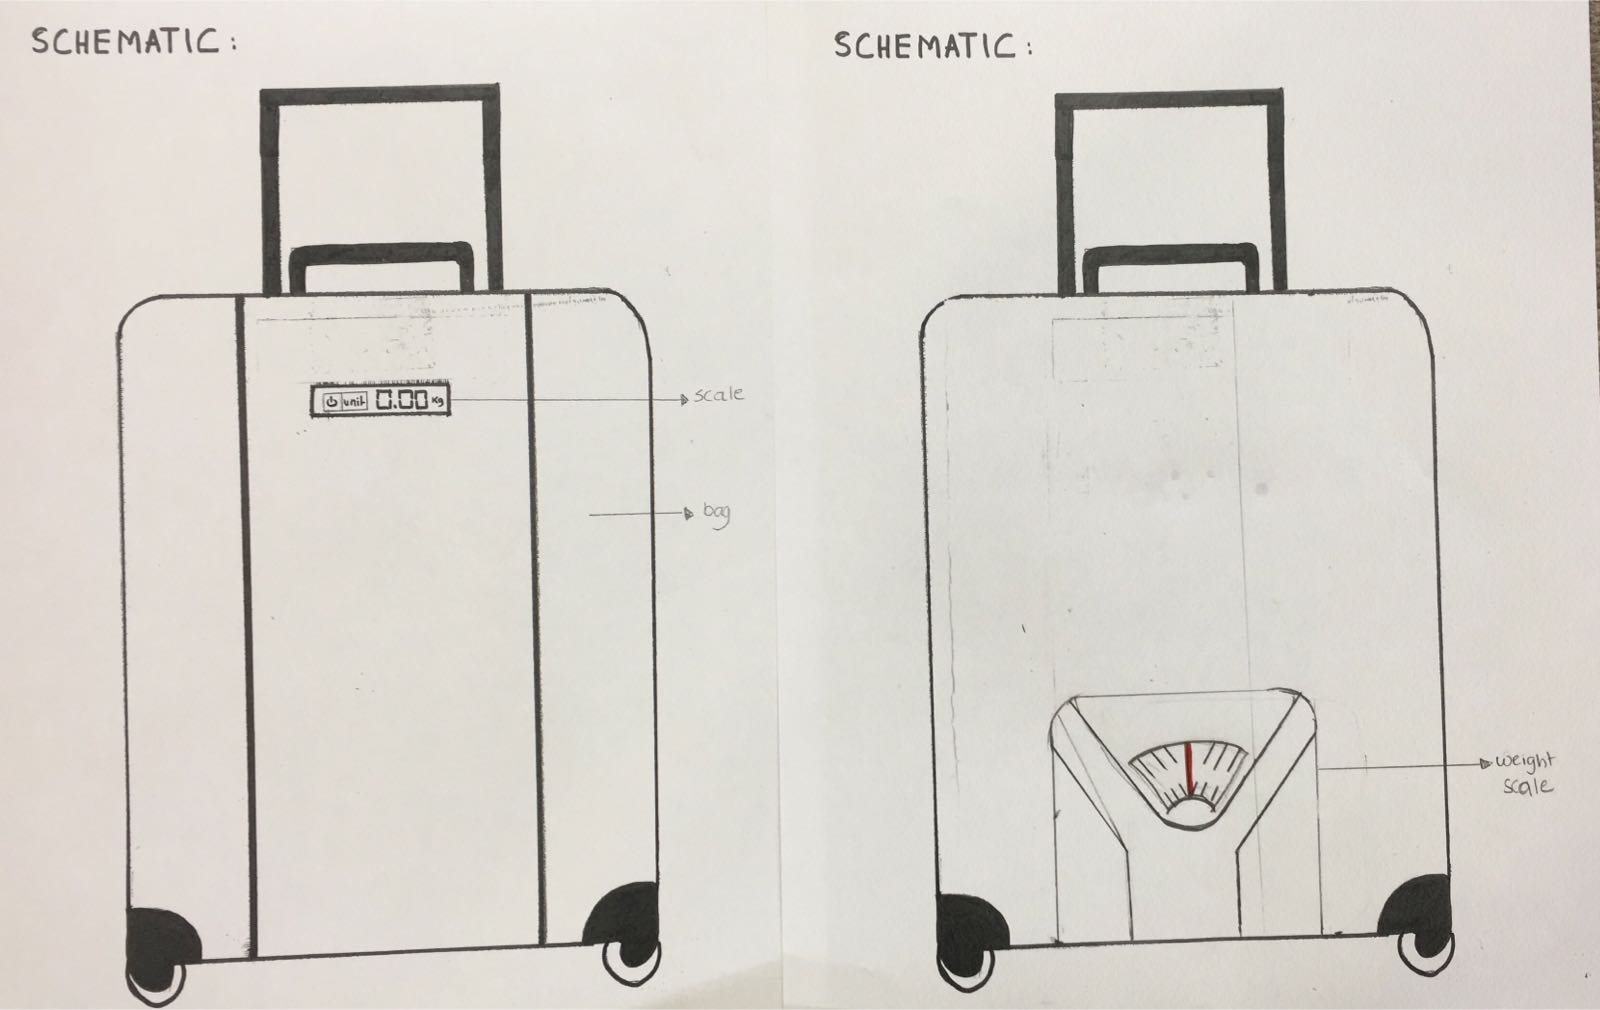
Cameo:
As per the previous week, I decided to make sticker on my company logo. I pulled my the company logo from my website and edited using inkscape for my “BAGO”.
The Logo
Development Weight Scale:
To develop the weight I have to utilize all my learning and what I did in past weeks to create my final project.
I going to use the weight sensor I bought which can not exceed 5 kg (the only sensor available in the market) and LCD digital monitor to show you the weight inside the bad and if it exceeded the weight allowed in the scale.
Task Required:
1- Eagle software
2- PCB Cirquoid
3- Soldering
4- Programming
5- CNC
Components Needed:
1- Attitiny 44
2- 3 resistors
3 16 pinhead (for LCD)
4-LCD
5- Switch and two pin head
6- Two pin head for battery
7- Battery 9V
8- regulator for battery (5V)
9- 4 pin head for weight Scale Sensor
10- Weight Scale Sensor
Computer Controlled Cutting (CNC) and 3D Design:
As we did in the previous weeks, I need two create two wooden 3D design layer in which the weight scale sensor can measure the item. The idea is taken from sparkfun.com in which it shows how the weight sensor works.
The site shows how the weight sensor work
The weight sensor
My design for CNC as I did previously is that I used Onshape.com. The wooden layers are needed to create a scale to apply pressure on the weight sensor and there two screw holes in each layer to ensure the weight scale is fixed.
The top layer is shorter than the base and it where we will put any item and apply pressure on the weight scales the size of it 158mm height and 250 width. The base layer is made to support the whole scale and also the base layer dimension is made as the base of my carry on luggage.
My wood design
Then I exported the file in DXF and convert it through artcam to PLT file so that the CNC machine can read the file.
After that I just needed to connect the two wooden layers with my weight sensor.
Eagle:
For programming my weight scale sensor and my LCD, I needed to insert and connect all the components together using the the eagle we will create a schematic for my electronic board and connect all my components to be made on a copper board.
Connecting my Components together
After connecting then I must insure the connection are optimal and there are no shirts between the circuits using the auto router and some minor manual configuration.
Then I need to convert the file to CMP so that the Cirqioud can read the file and then solider all the components together.
Final project Schematic
and
The Board.
Then we Solder the components all together.
Finishing the electronic for my final board
Then I connected all the wires with the battery, LCD and the weight sensor
connecting the wires
Connecting the regulator to my electronic
Programming:
void setup() {
scale.set_scale();
scale.tare(); //Reset the scale to 0
long zero_factor = scale.read_average(); //Get a baseline reading
lcd.begin(16, 2);
lcd.setCursor(0, 0);
lcd.print(" SMART BAG ");
}
void loop() {
scale.set_scale(calibration_factor); //Adjust to this calibration factor weight = scale.get_units(), 3;
if (weight <= 4) {
lcd.setCursor(0, 1);
lcd.print("WEIGHT ");
lcd.print(weight);
lcd.print("KG ");
}
else {
cd.setCursor(0, 1);
lcd.print("weight exceeded !");
}
}
Final Result: