
-Week 5-
When I read the contents of the FABLAB, 3D scanning and printing was the subject that attracted me the most. I’ve always wanted to learn how it works, from design to the final product.
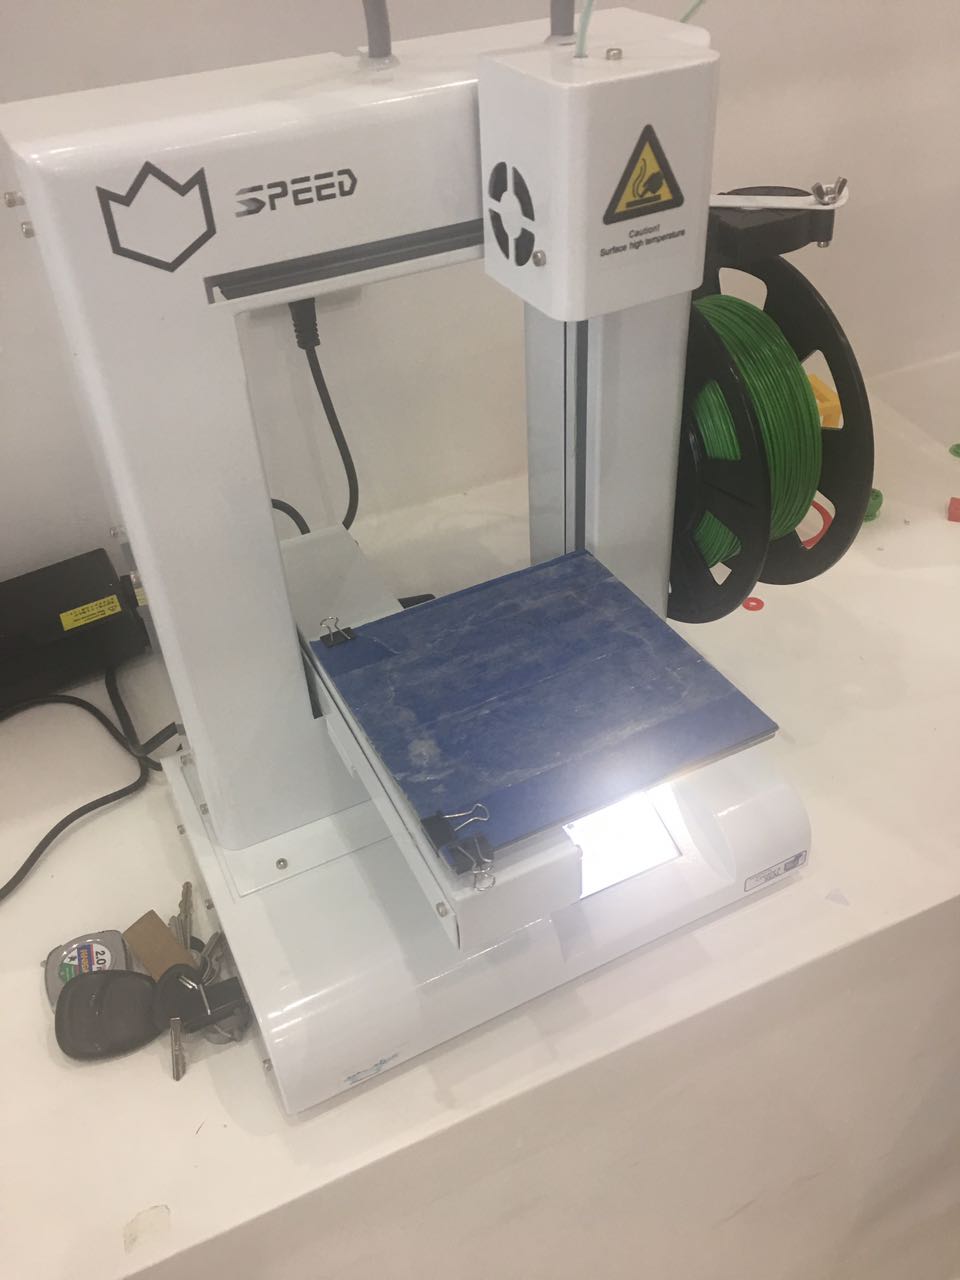
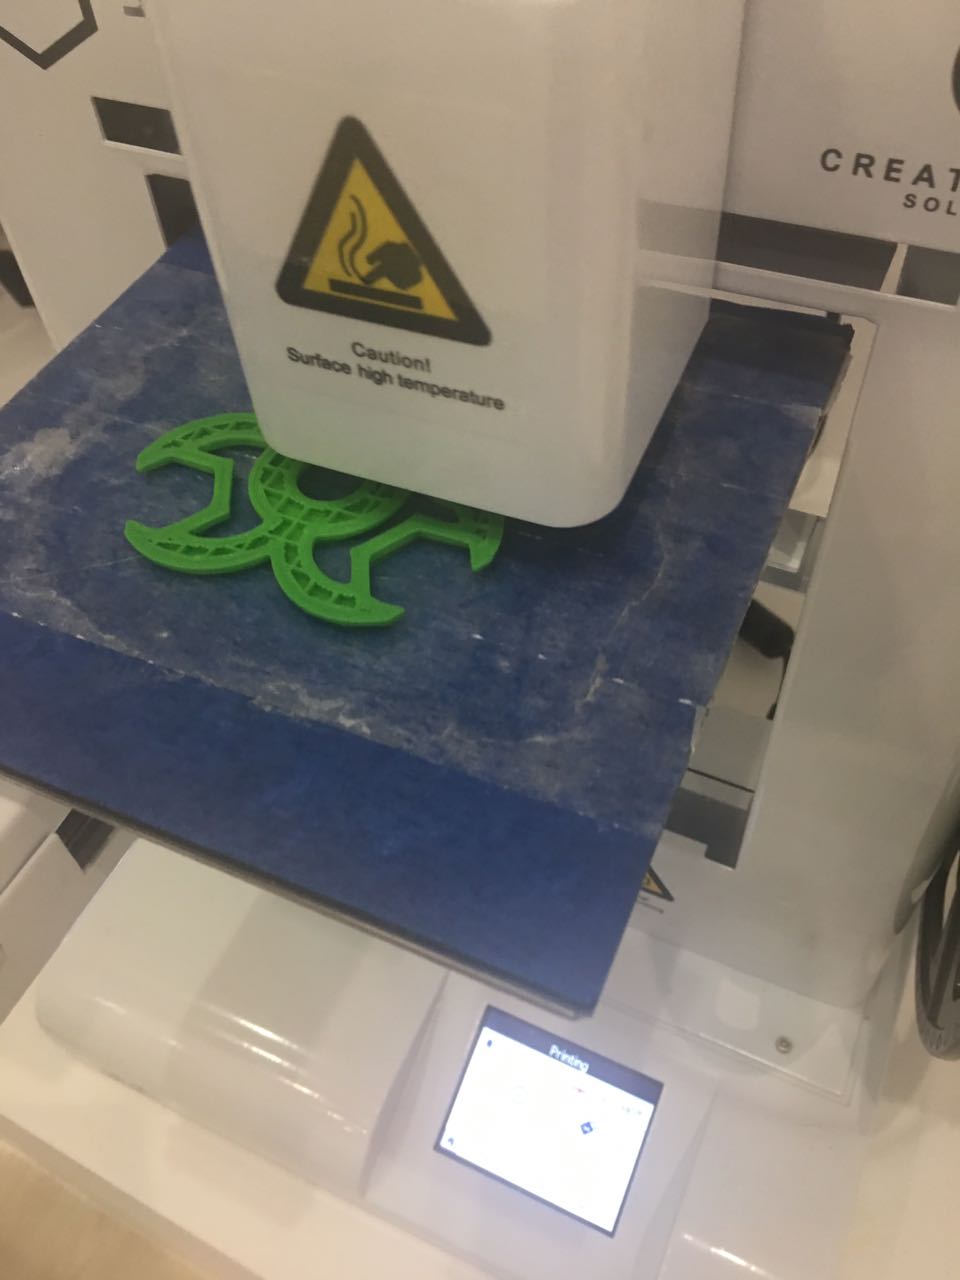
The printer in FABLAB Kuwait is Wistek 2805 Printer.
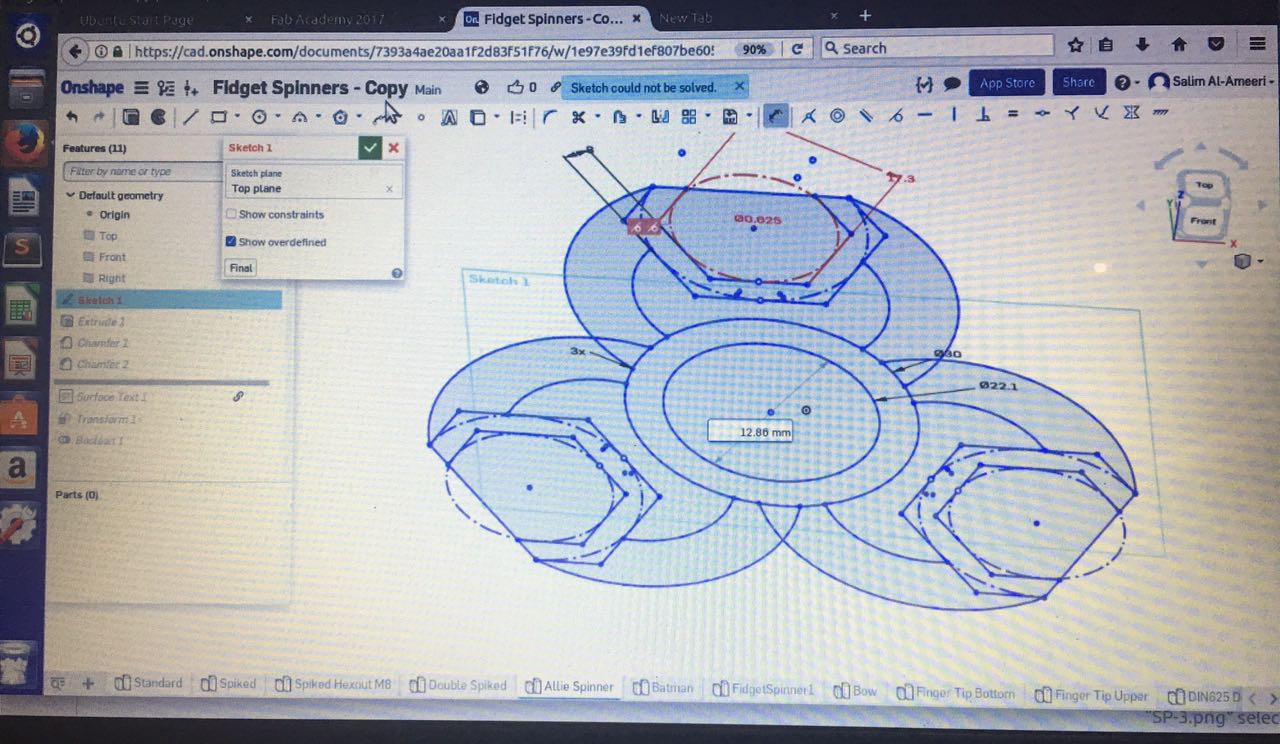
For the design I used the Onshape software. I decided to draw a spinner like the famous toy among young people nowadays. By this week I’m quite familiar with drawing in Onshape, so designing the fidget spinner didn’t take a long time (knock on wood)

In order to print, I needed to convert the file STL using RealVision software. In RealVision, I needed to adjust the dimensions and depth of the object. After a couple practice runs, I finally printed the design correctly. After that, I pealed off the extra thin lines and parts from the Object.
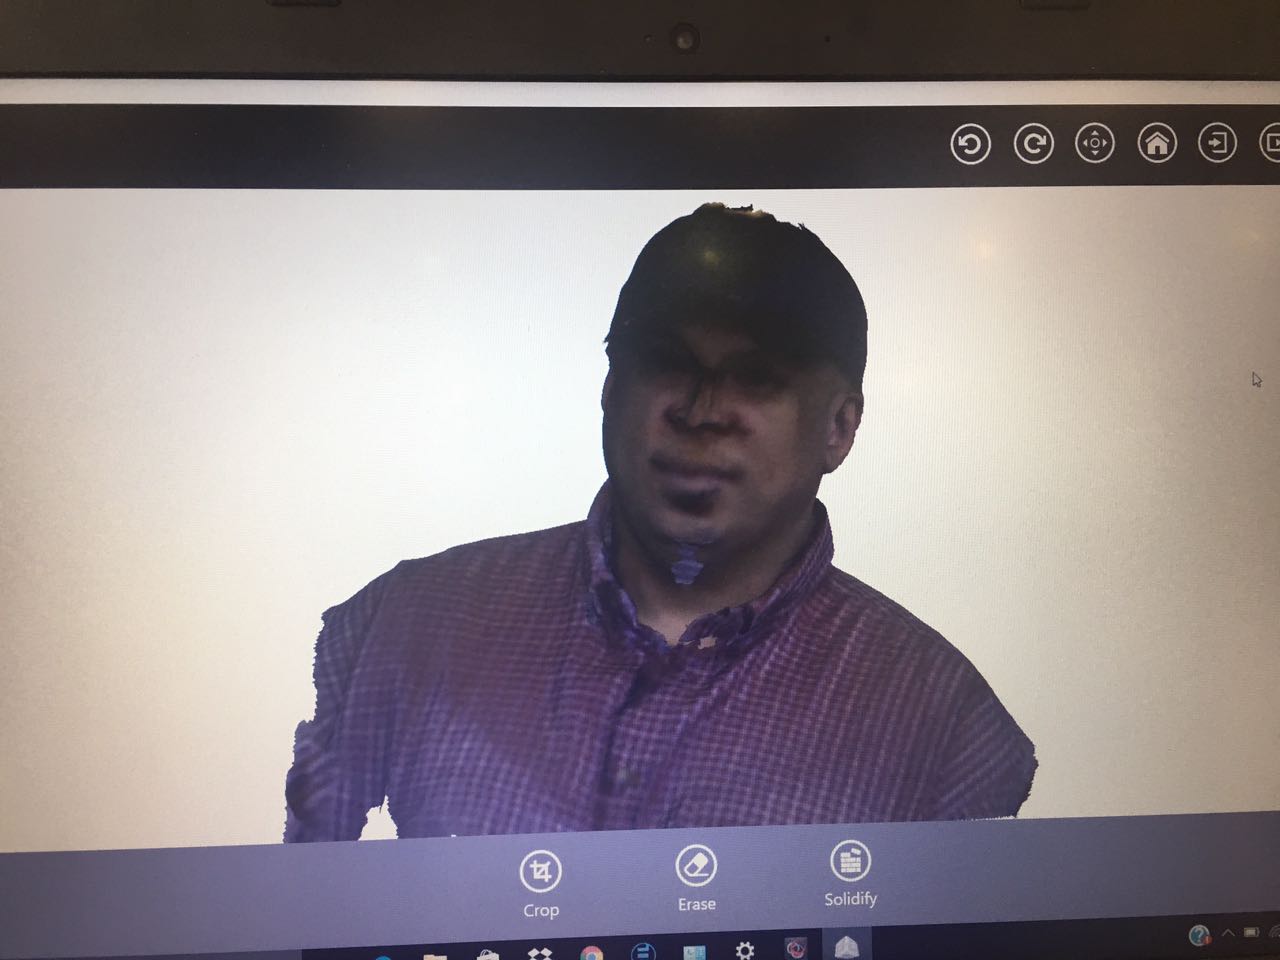
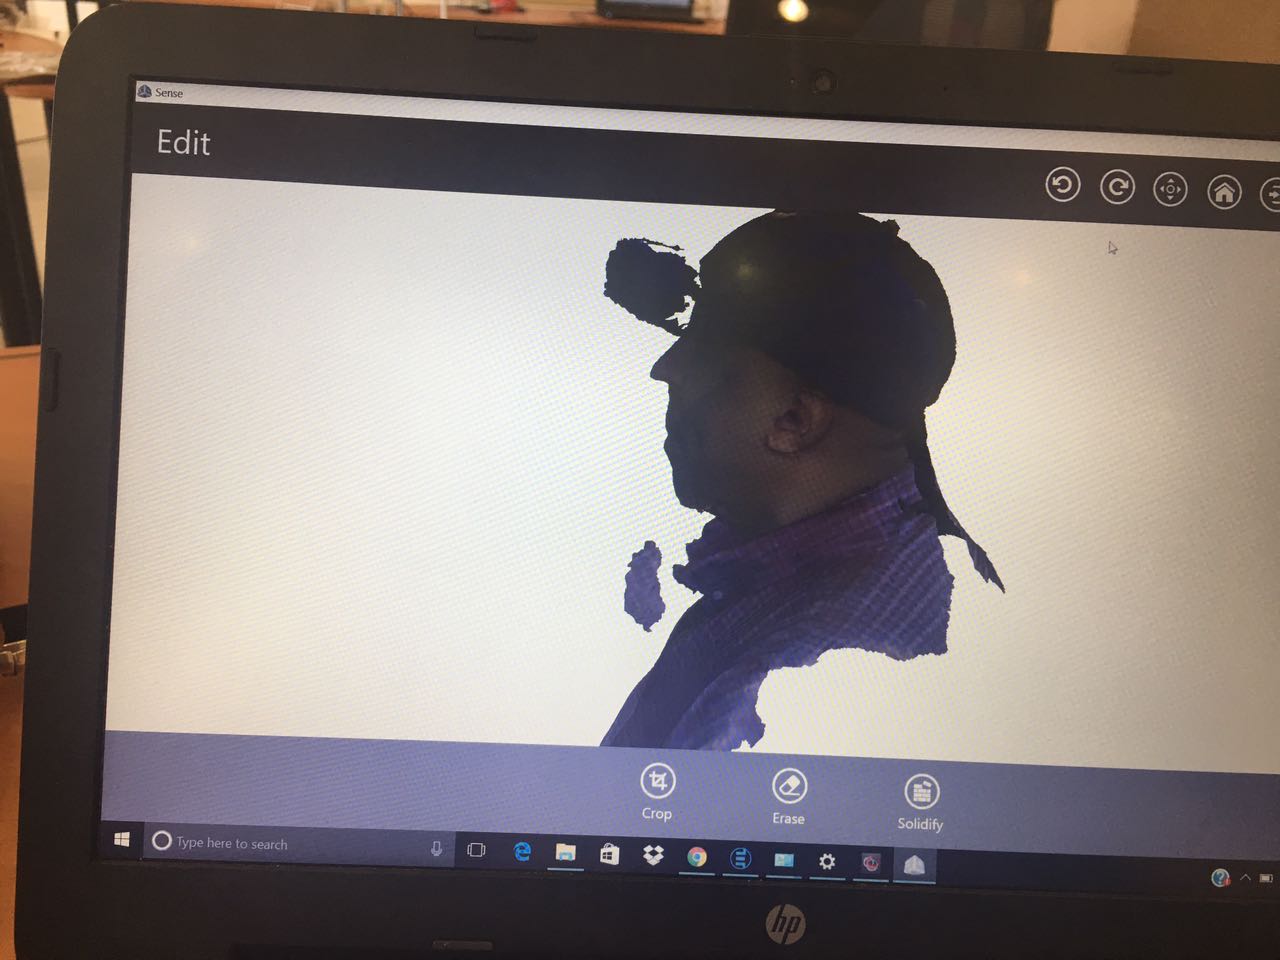
For this task I used Real Vision software and scanning machine to scan my upper body and head. Getting the correct scanning angle was difficult, so it required a couple of trys.

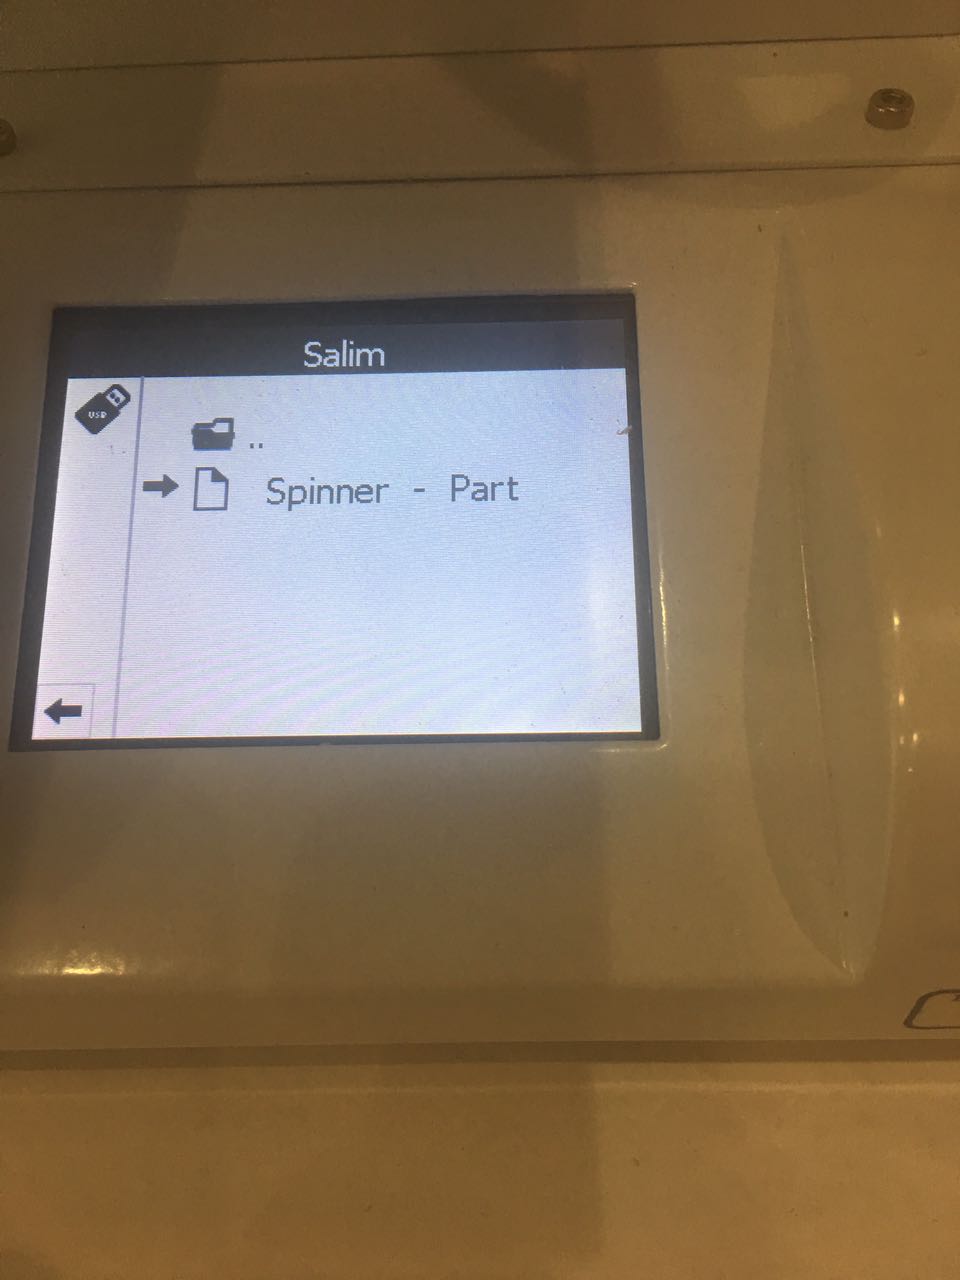
-After the design was completed, I converted the .Stl file to Fcode and put the file in a flash and took it to a laptop to scan the design.

3D Scanner
-The software used for 3D scanner is Lasercut 5.3.
OnShape Design
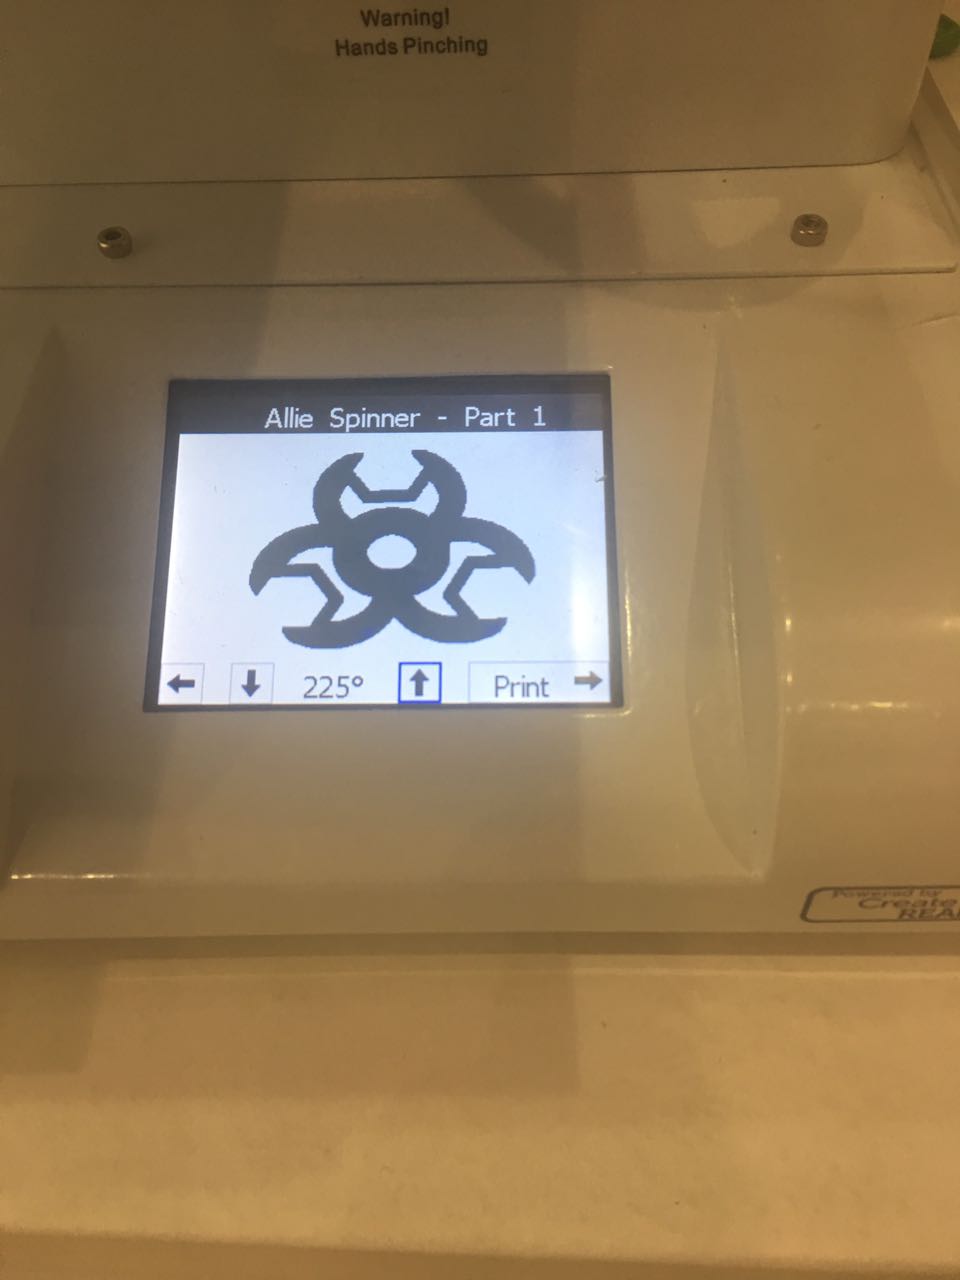
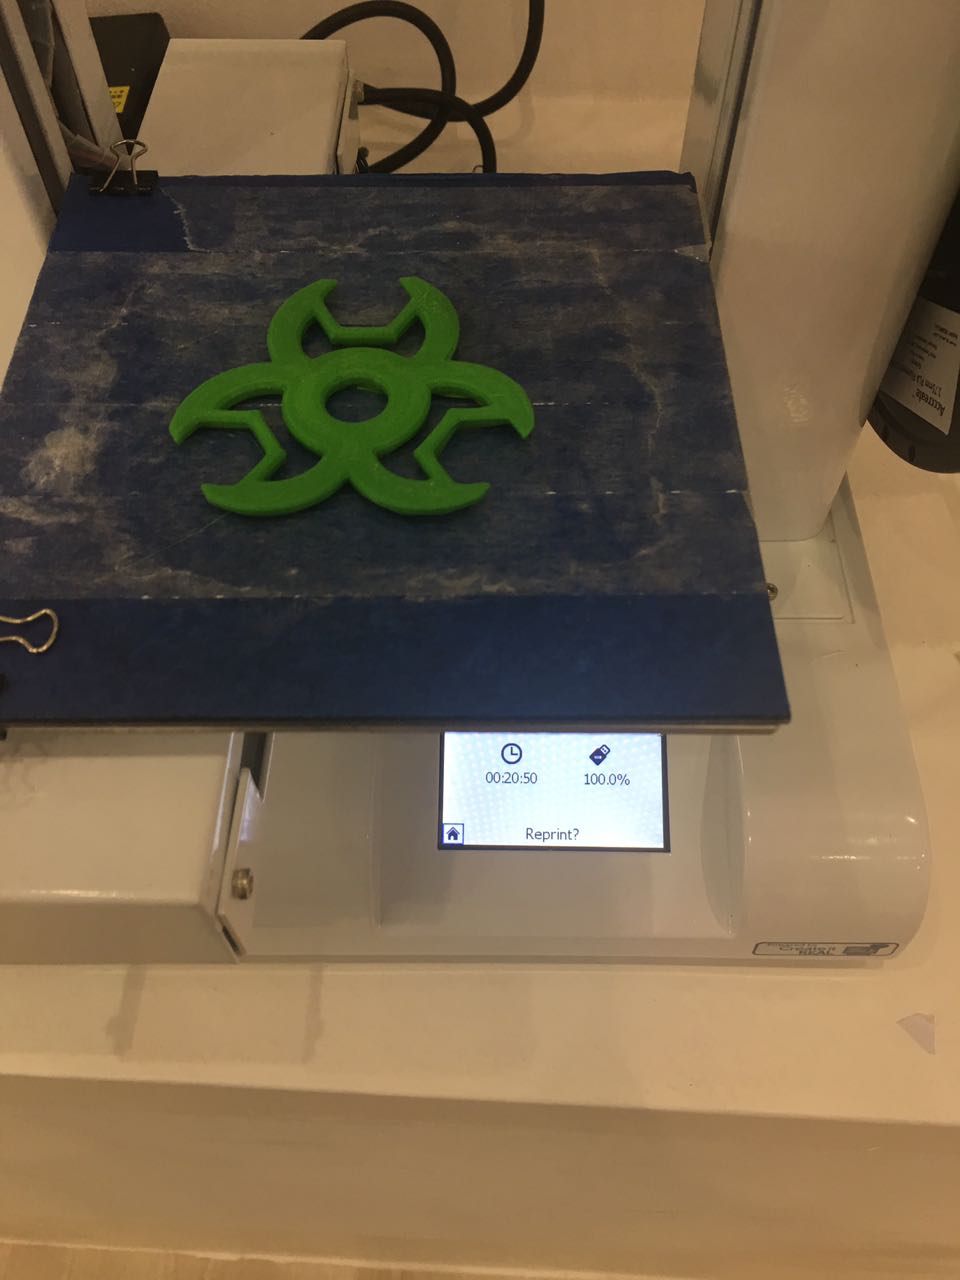
After a couple trials to find the home point and changing the size of the design, I was able to print my design.
Final Product:

Difficulties:
The main problem I faced with this task was that the printing machine kept malfunctioning due to heavy use. The second issue was that, because there are 14 students in the lab the printing material kept finishing so I had to wait for days until it was available.