WEEK 7: Computer-Controlled Machining
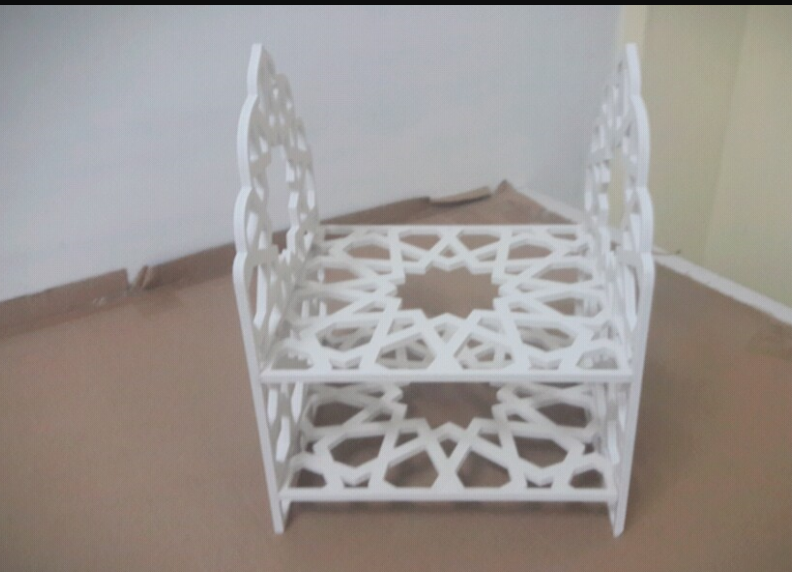
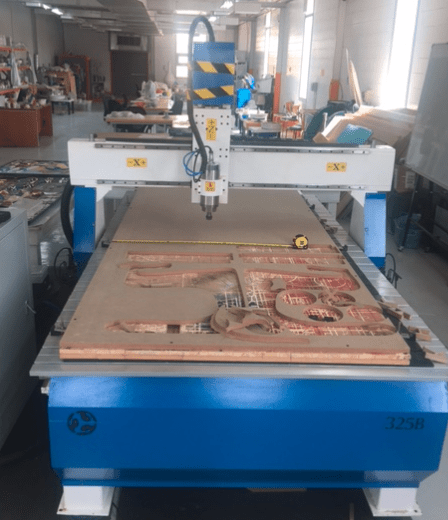
I want to make something big in this week , so i decided to make a shelf using Multiwood Material in our CNC Machine . We are using J-Cut CNC Machine , it is a 4X8 feet size CNC machine
Steps :-
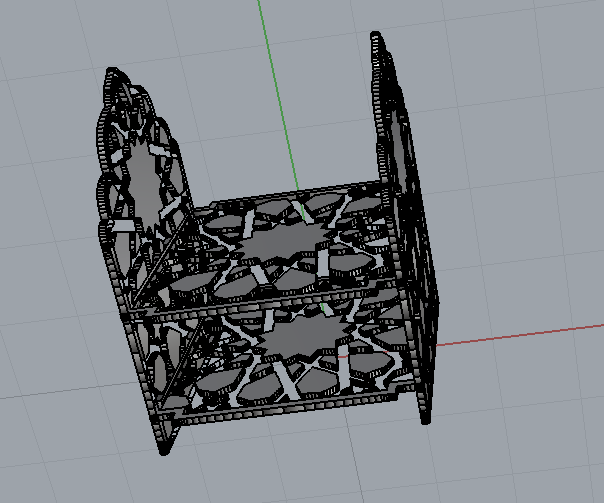
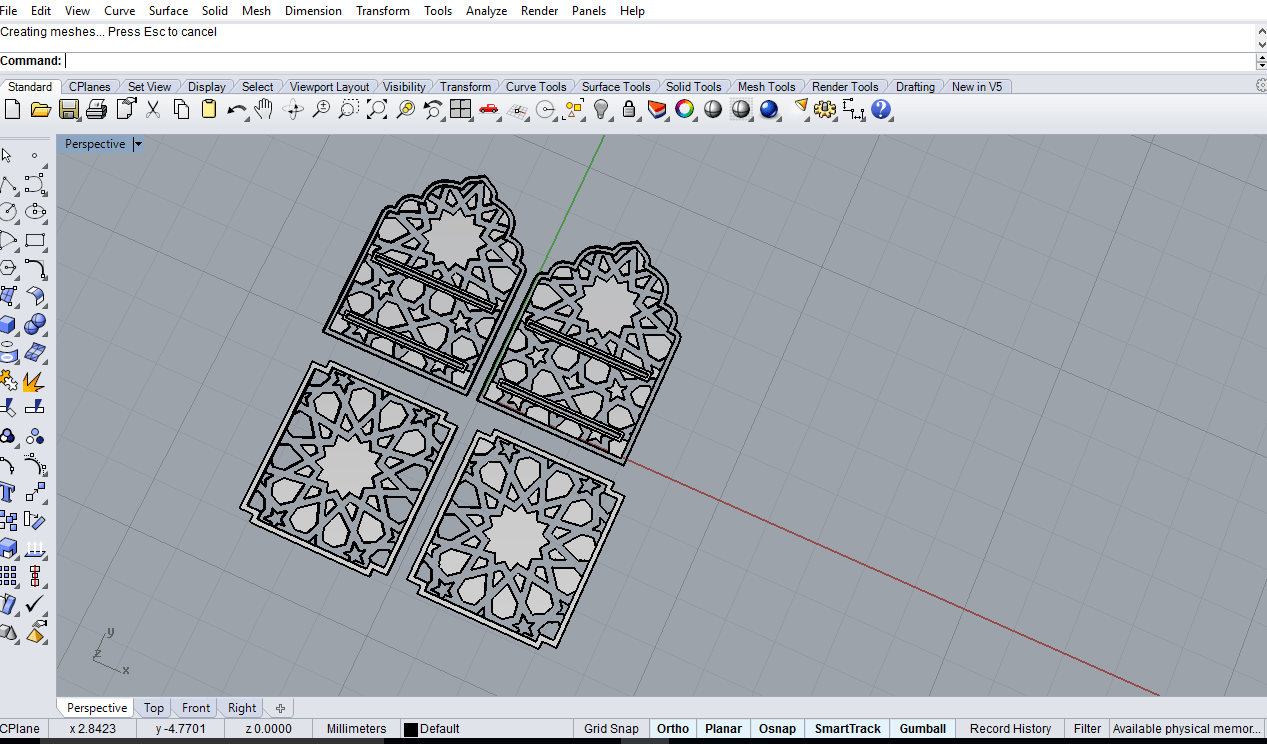
1)Designing using RhinoFirst i need to design in Rhino Software , designed 2D first then i created a 3D model using these 2D profiles .
I am planning to use 8mm Sheet for making this shelf ,i need DXF of these model for cutting in CNC Machine .before that i check the press fit same as i did laser cutting week.for the designing
I plan to use the rhino.the last time i use onshape in this week i plan to use rhino software it is the first time for me and i surfe some youtube videos about rhino .i think it is not easier like as onshape. Any way i am plan to conntinue with the rhino.
How to make tool path in artcam
FOR the maching i am using 8 mm MUltiwood sheet. Why Multiwood
step 1
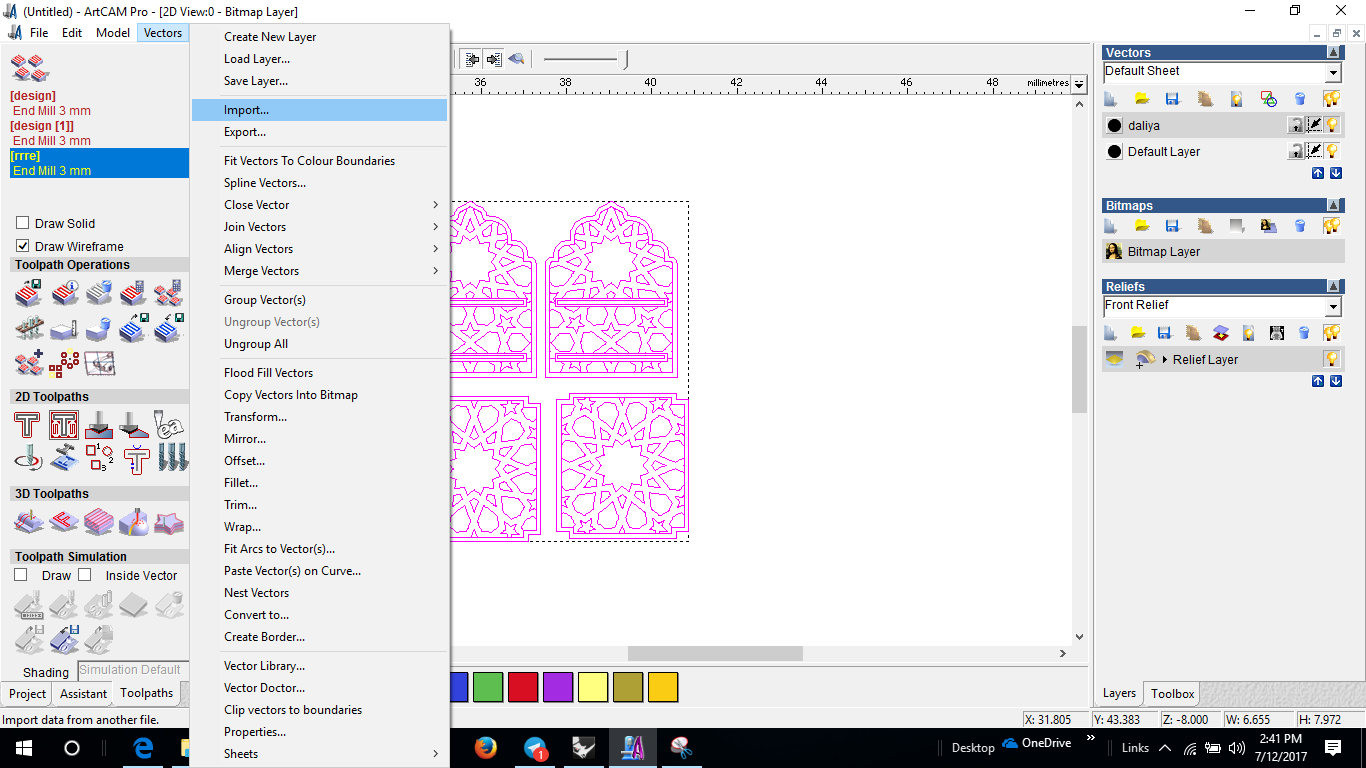
I exported DXF file of this design from Rhino.then i open the DXf file in artcam .for opening 2d Vectors--> import(select the design file)
step 2
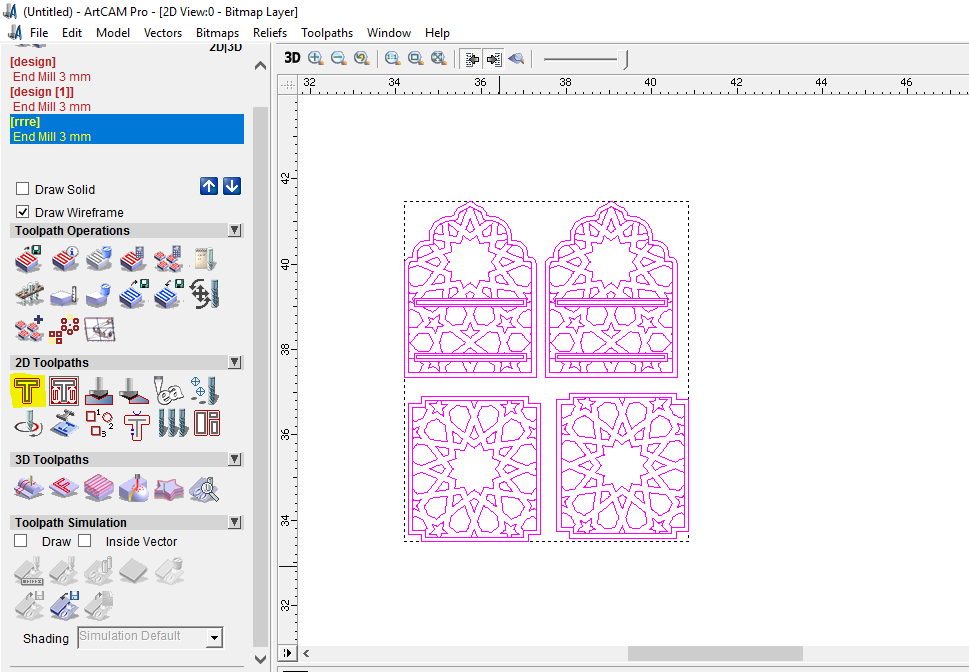
For making 2Dtool path you can see the below diagram go to 2D Toolpath -->select 2D profile
step3
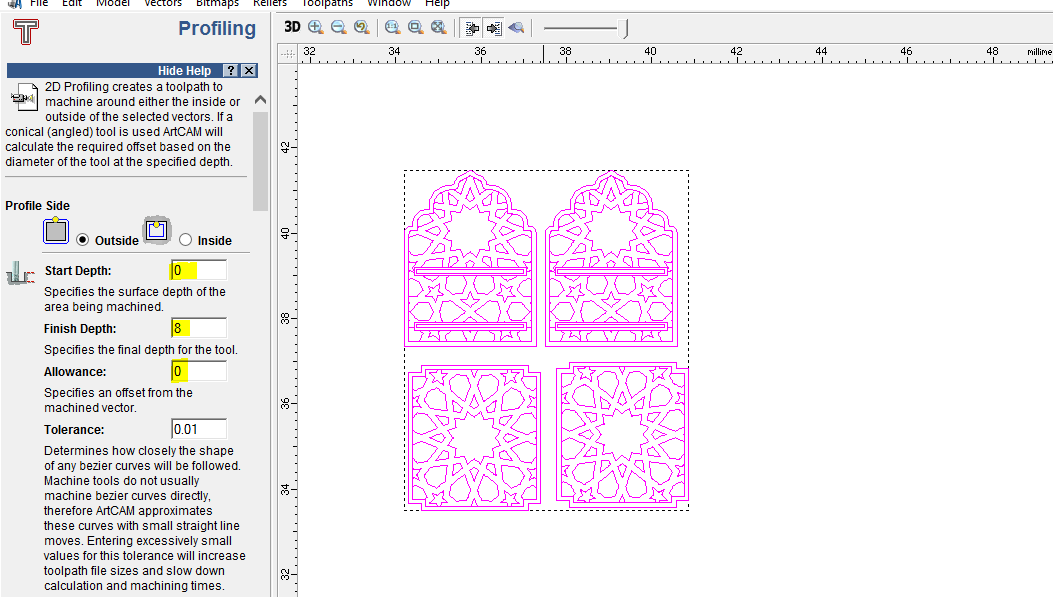
that time we can see the new window of PROFILING There first i gave start depth =0 ,Finishing depth =8
step3.1
While creating tool path here we have to keep in mind about few things like type of cutting you can make that can be :
- Inside
- Along
- Outside
Type of cut depeneds on the position and purpose of the design particularly,Inside means the bit will pass through the inside of the tool path if we are concerned about the edges or precise outer dimention then inside cut is what we use.Then Along will cut exactly through the tool path and based on the diameter of the bit it will be equally distributed.Outside as name depicts it will cut through otherside of the toolpath.
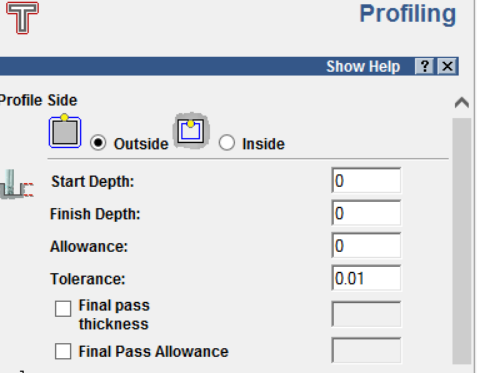
So here the outile of the design will be in outside cut and and all the cuts within are "inside cut"
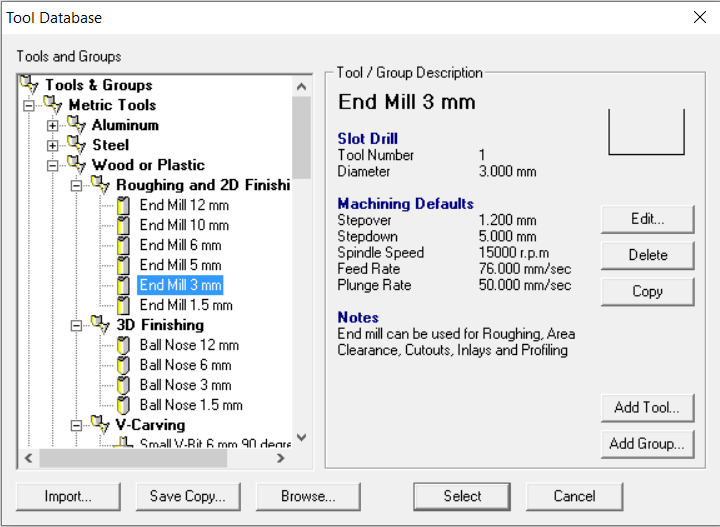
step4
Then i choose the Machine safe,profiling tool (In here we are using 3mm tool)
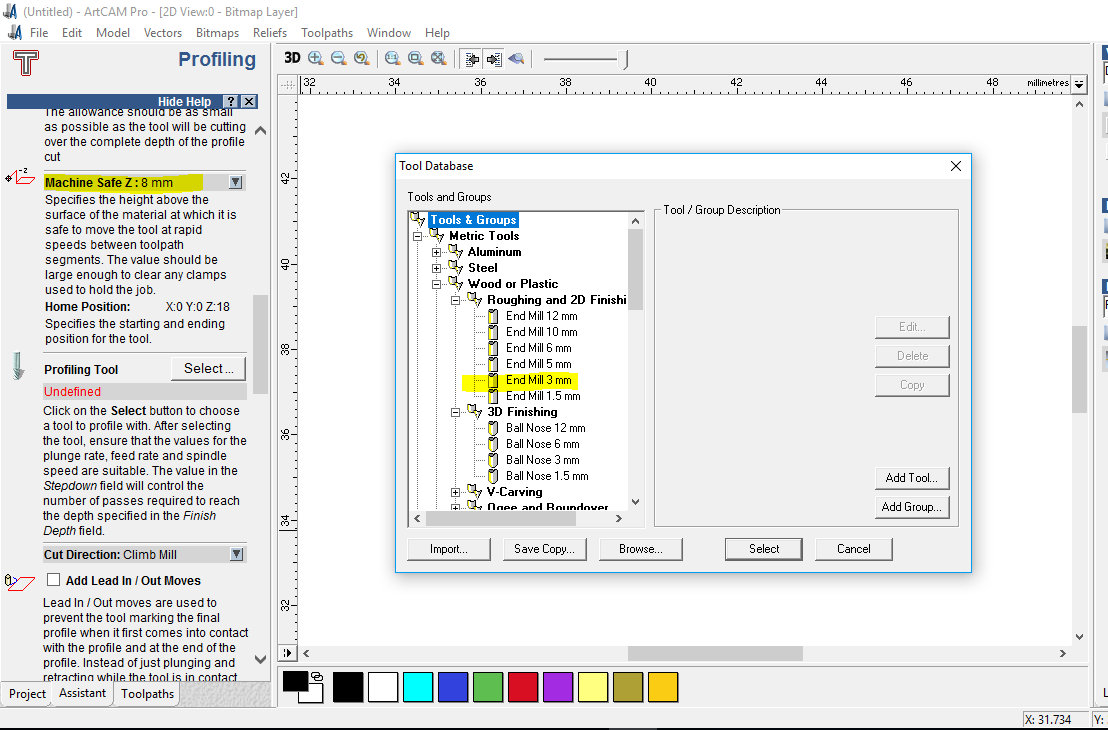
step4.1
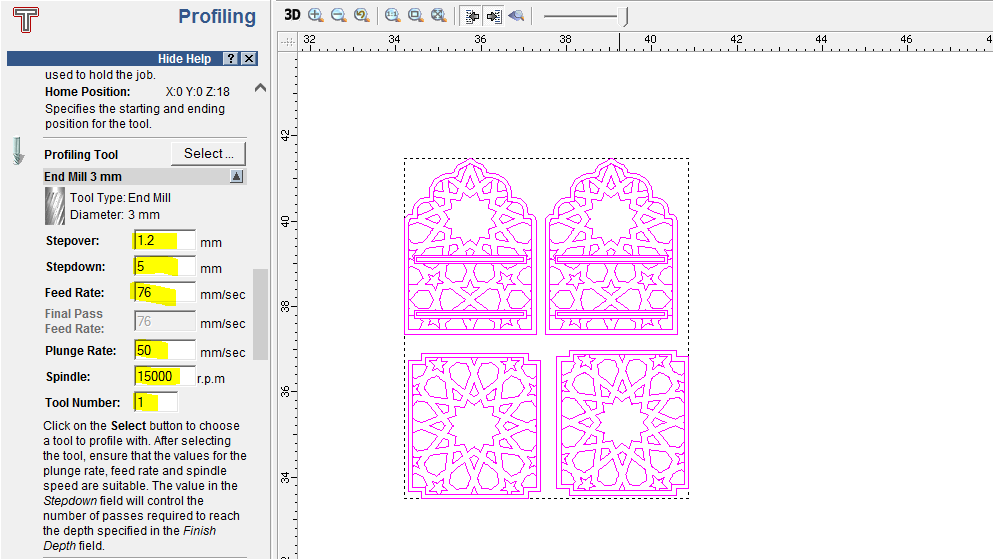
Then i made the the settings ready
Step5
Then i Set the machine speed, I have set set step donw, spindle speed ...
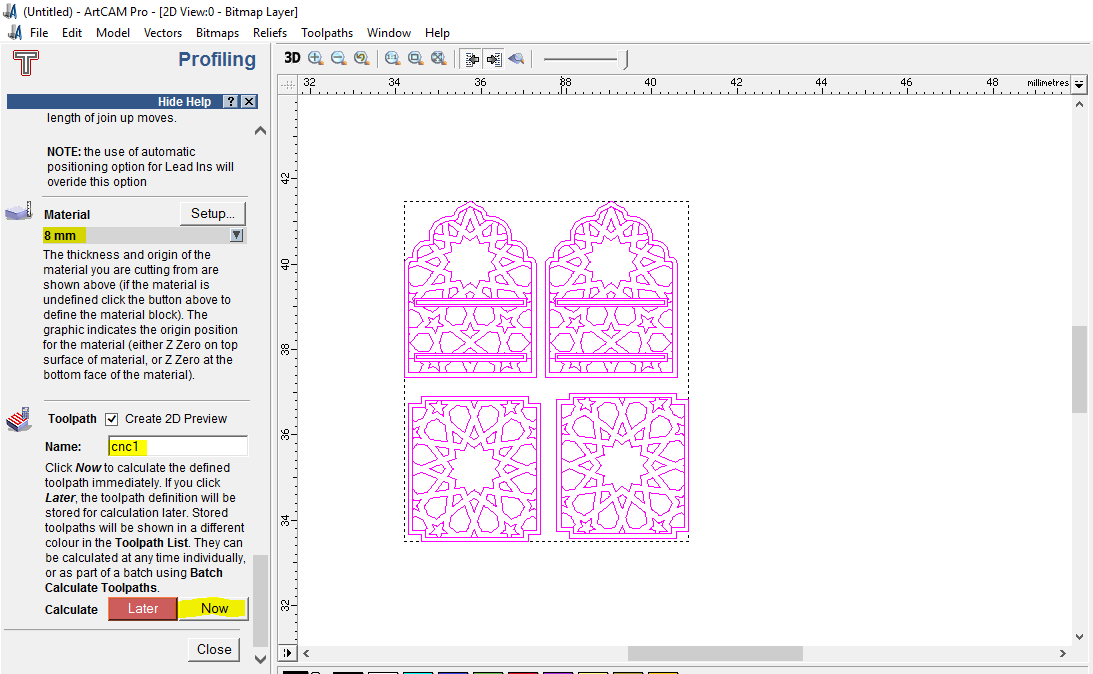
STEP 6
We are using 8mm Material that is why i choose 8mm material thickness size.moreover,i gave toolpath name and i saved the file as .plt for the machining
Problems Faced
The main problem i felt in the design was the curves and corners i didnt considered the corners ,since the bit we use is cylindrical in shape eventhough i am aware of this fact i forget to make particular changes which can be a singlle drill hole that over lapswith the hollow area but extents to the corner so that while fitting there will be less filing or dremelling, So the solution is as explained if i am making a design next time i will keep this in mind for sure so that i can reduce the time for post-cutting processes
Result
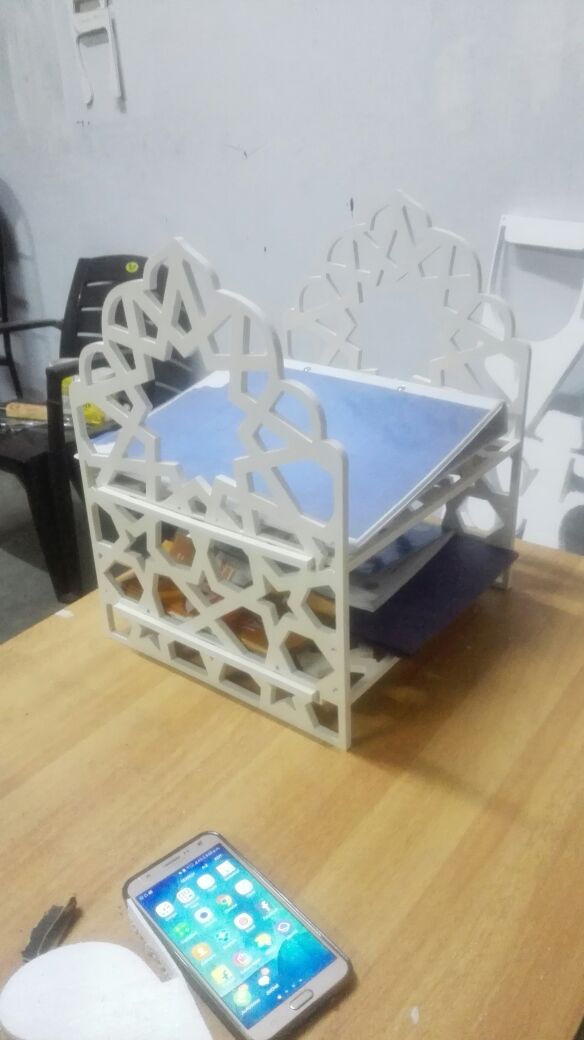
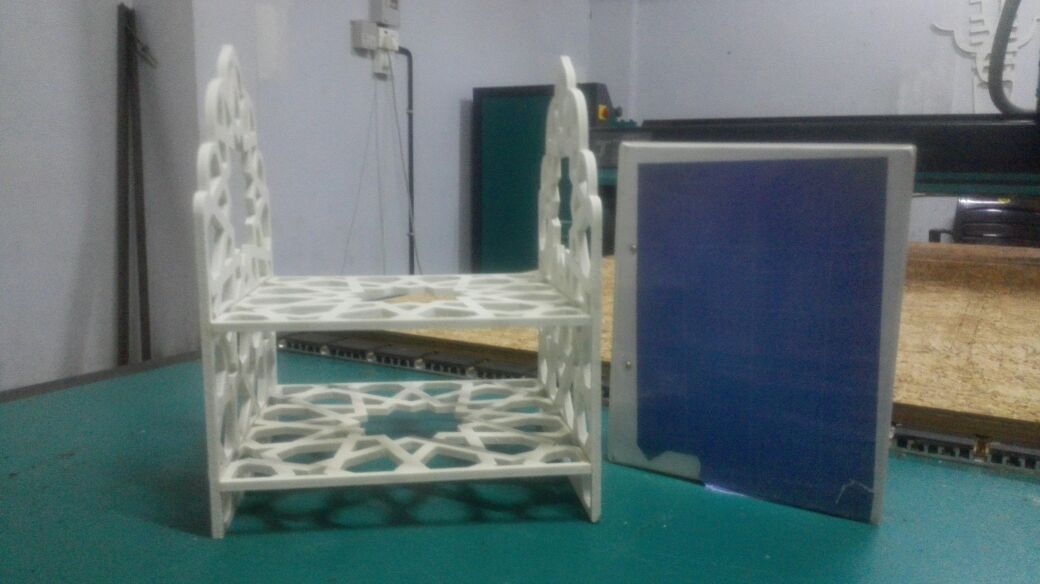
HERO SHOT goes here..!