
Computer-Aided Design (WEEK TWO: FEB 2)
TIn this week, I will create 2D and 3D designs and the steps of reaching the final sample. I will use Tinker-cad for 3D designing and Photo-shop for 2D designing. And I will explain the difference between RASTER and VECTOR image graphics.
Difference between RASTER and VECTOR
The designer has a purpose for everything he creates. Shapes and images are drawn by variety of tools. Not all of them are the same. The objects are sometimes clear and simple in a normal distance, however when zooming in it will not be clear. And some objects are clear even though when trying to zoom in. The indicator that makes these differences is the engine. There are two types of programs, Raster and Vector. Both of them creates shapes and images. However, the quality and the method of presenting the objects is not the same. The picture below shows the differences between VECTOR and RASTER.
VECTOR and RASTER
FRaster is about dots and pixels. They are gathered into a meaningful image and displayed normally with printed papers and any monitor. However, these pixels have constant size and they don't change. Ones zooming in into a Raster image, the pixels will be clear like rectangles and not good for the image itself. Vector is about mathematical digits. Ones an image is created by Vector programs, the image itself has statements that supports its structure. Instead of the pixels appearance, it will be very precise and clear.
2D and 3D design
2D
Photoshop
I chose Photo-shop to design my project logo. I have an experience with Photo-shop so there weren’t any issues while designing my logo.
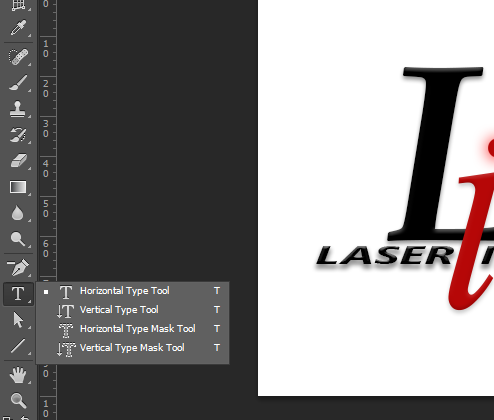
First of all, my logo contains two components, text and effects. The text can be found on the tools bar on the left. Right click on the T and choose Horizontal Type Tool. And then start text.
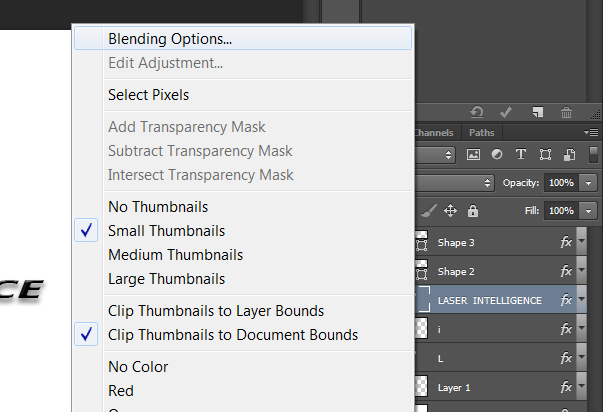
Afterwards, the effects can be adjusted by Right clicking on the layer that wanted to be adjusted. Then choosing the first option on the menu Blending Options.
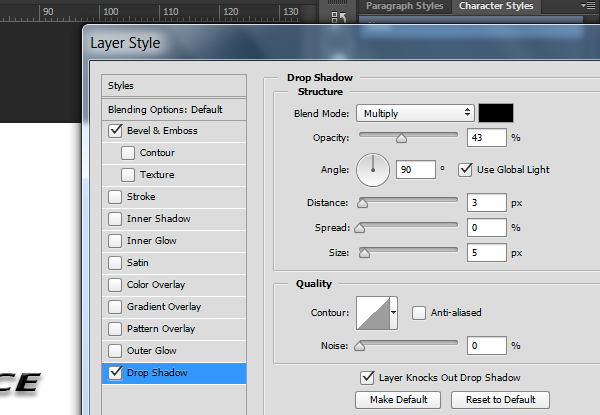
A window will appear. I added some drop shadows as we can see above. By clicking on the Drop Shadow option and adjusting the shadow according to my preference on the right.
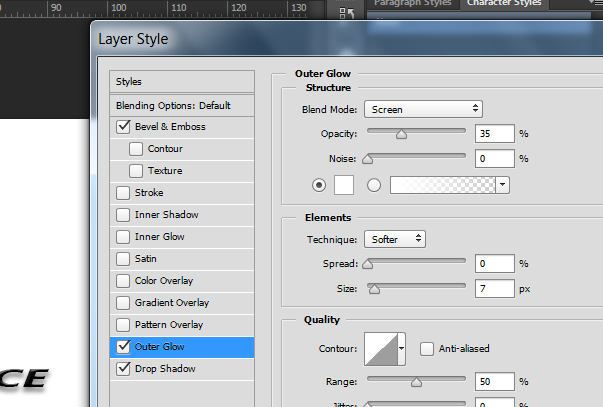
Same thing for any other options. I have added Outer Glow for the “i” letter to appear like it is glowing with a red color. Also it can be adjusted as any preference.

Finally, there are some small styling moves that I did. The “i” letter is little bit lean. This can be done by clicking on the layer to select it, and then Ctrl+T. This can create a dimension adjustment for the object. By using the mouse, we can drag the object and make it lean.
Inkscape
Another 2D program i used is Inkscape. This program is very simple and has many features to add into my designs.
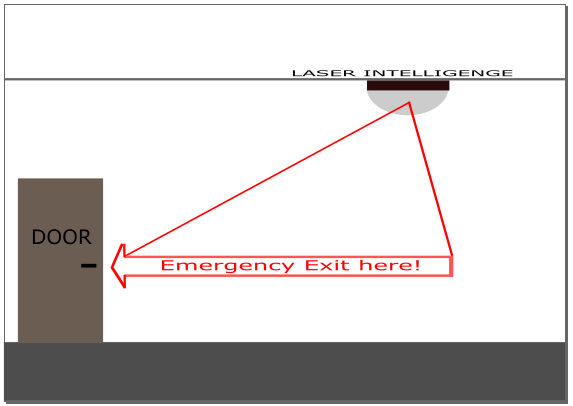
The program helped me draw my final project simple objective. The tools i used are only two to draw this picture.
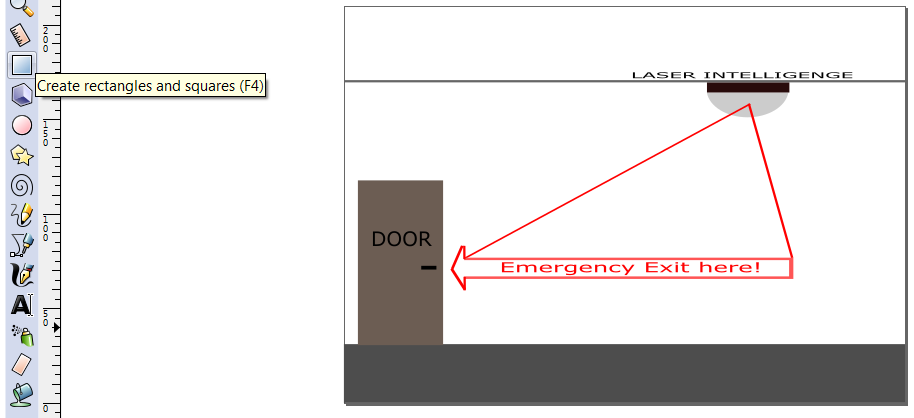
The first tool that i used is the rectangle shape. I used it to draw the door, roof and the ground. Also this tool can be used to cut shapes like the glass cover of the laser. And also, it can be adjusted to be any shape you want such as arrows, lines or other shapes.
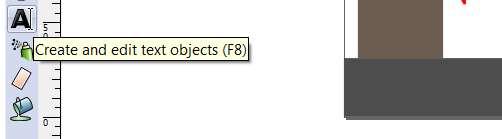
The second tool is the text tool. I have used it to create the object names in order to understand the idea ad give it more meanings.
3D
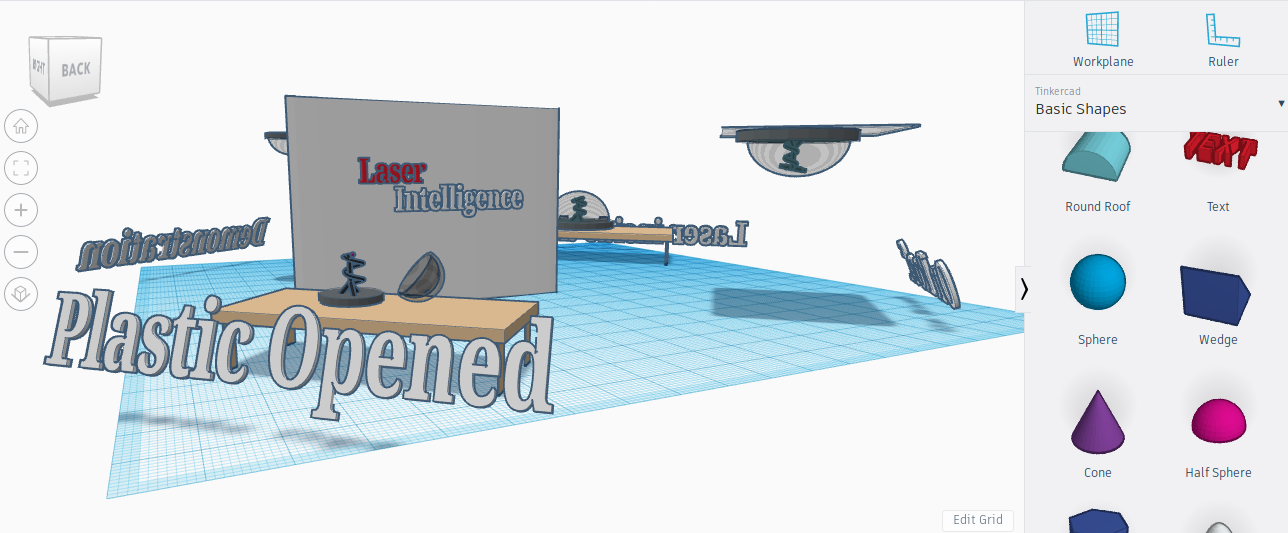
Tinker-cad
For the 3D design, i used Tinker-cad to design a sample of my final project. i registered for free and started to create my designs. The program is very simple and straightforward. I can choose any objects I want by dragging it into the 3D space, using my mouse to resize, position, changing of angles and colors.

Onshape
For more professional 3D designs, Oshape is the best and accurate in terms of object angles and sizes.
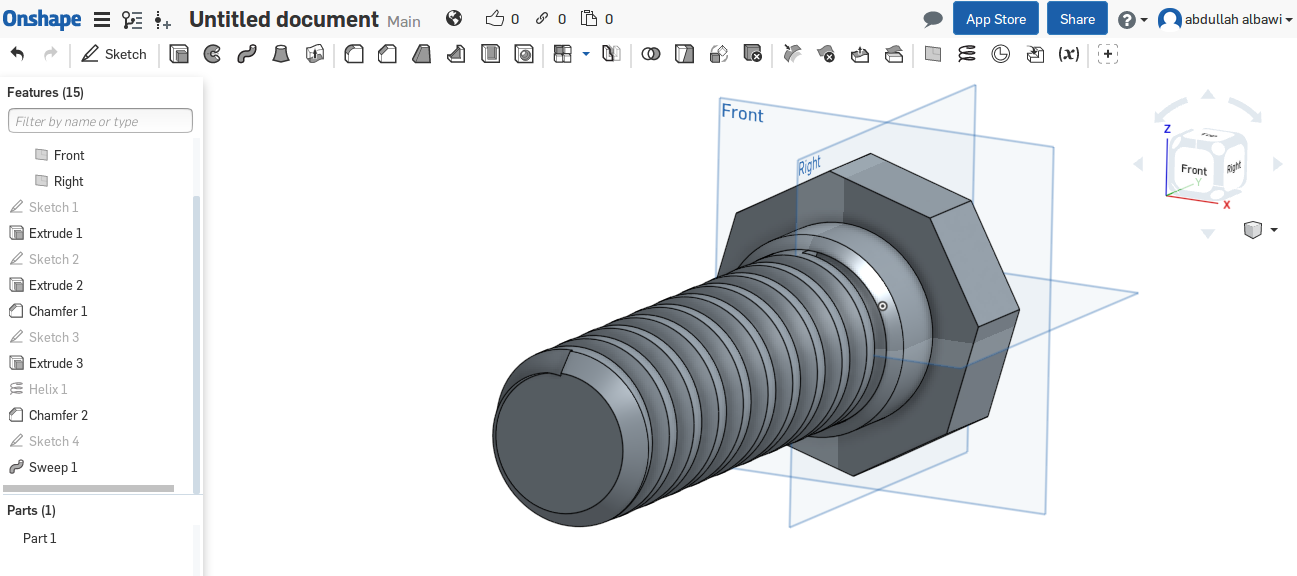
The steps on setting an object is simple. First, press on Sketch and then press on the angle that you want your object to be set. Afterwards, choose the shape you want to use. By using the mouse, click and start draging untill you find the best size. Then by pressing on Extrude, you can extrude the object as long as prefered.
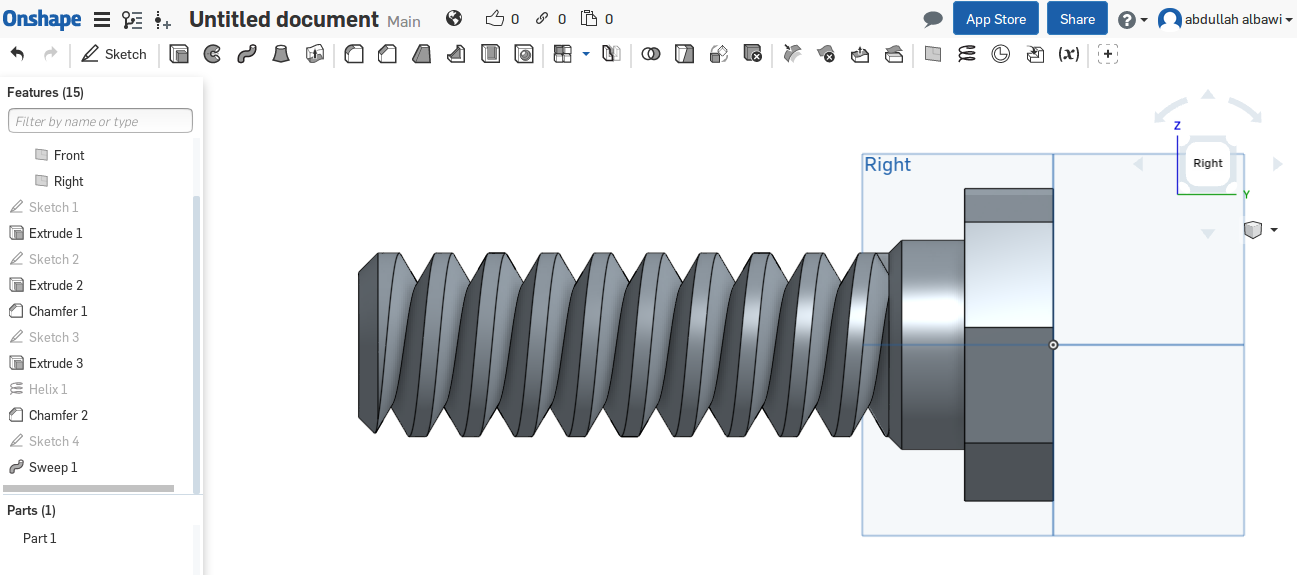
As long as you add objects on another, you can create beautiful shapes such as this one. I used the sweep item to make the object more realistic and fun to see.
Download Files