This week we will create designs and use the laser cutting device make a sticker. We should use a VECTOR graphic image to make it applicable for the laser cutting device to understand it. The program used to create VECTOR images is Inkscape.
Vinyl Designing

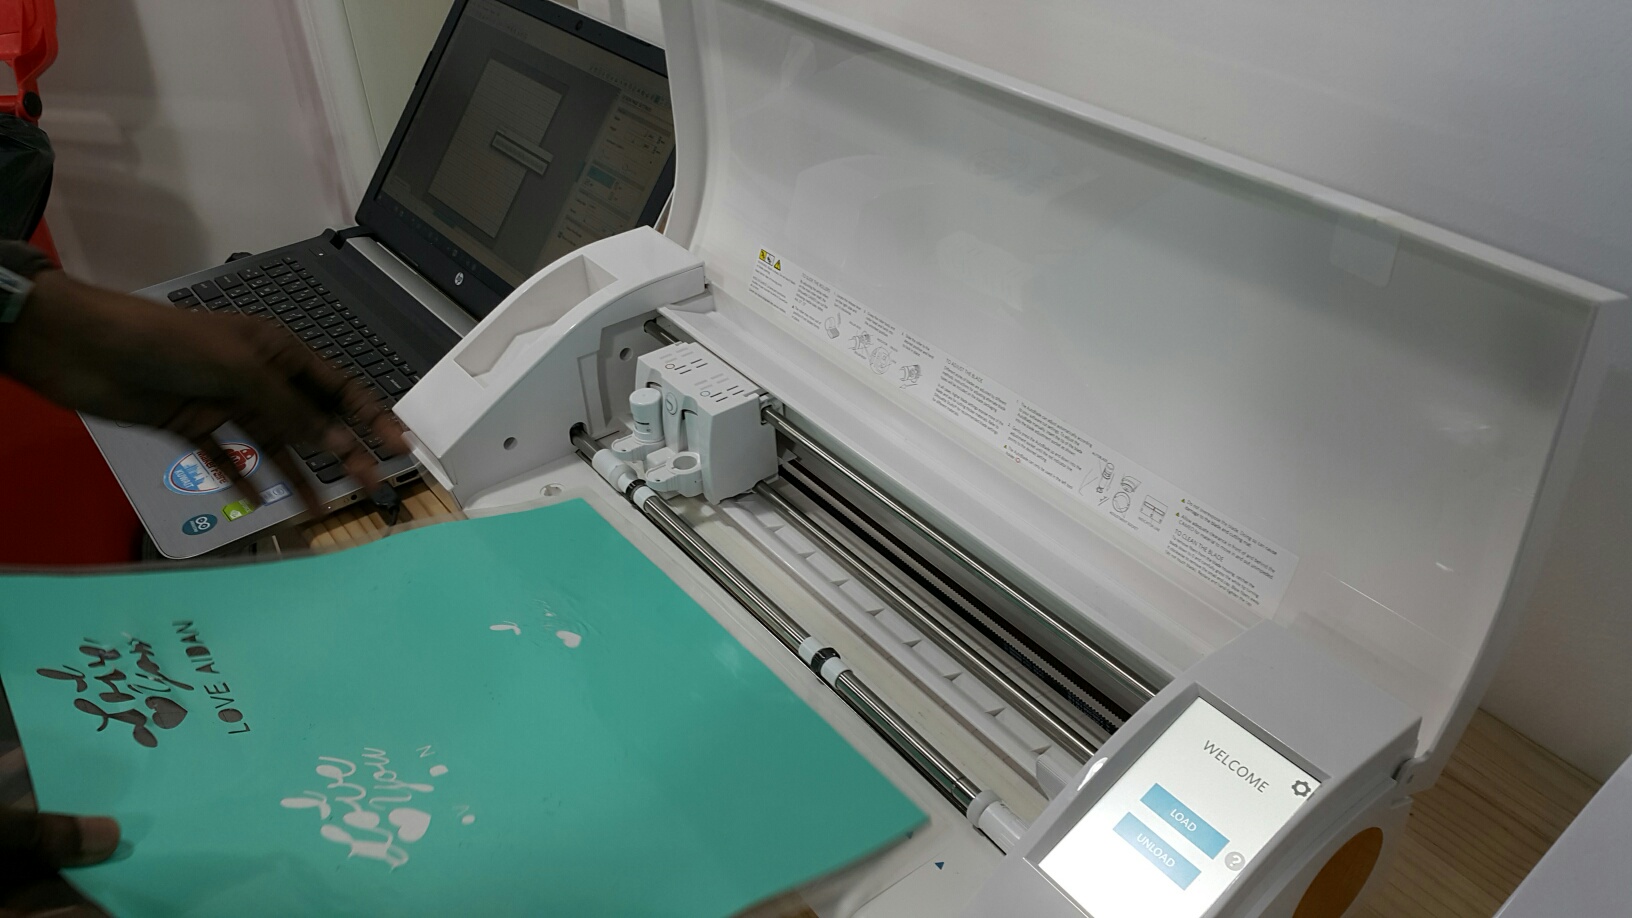
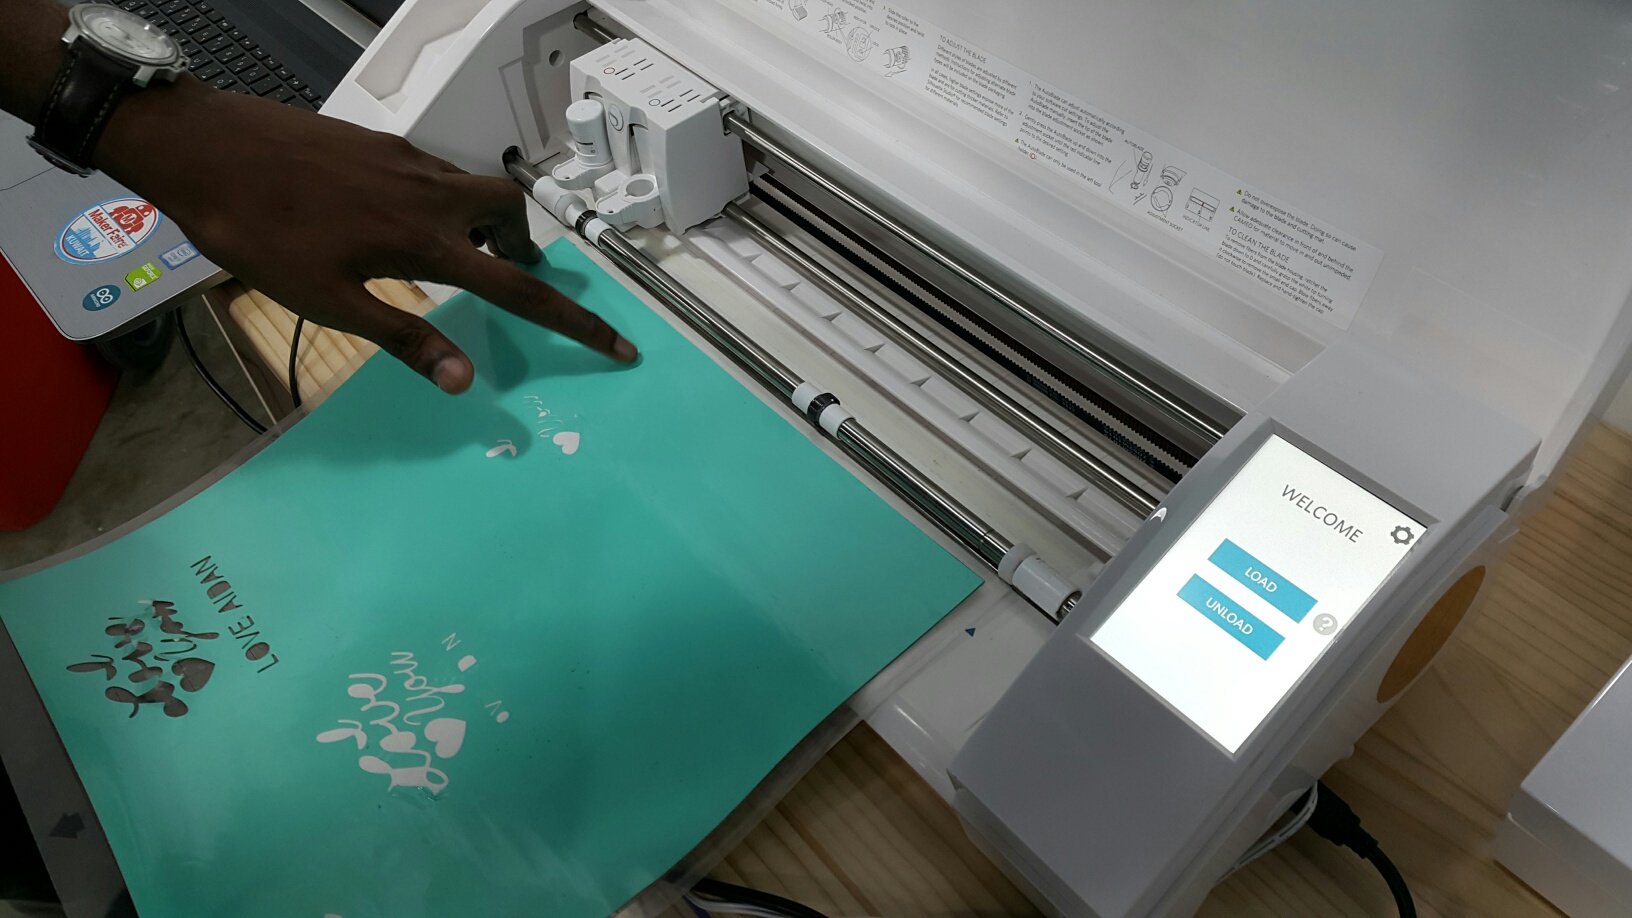
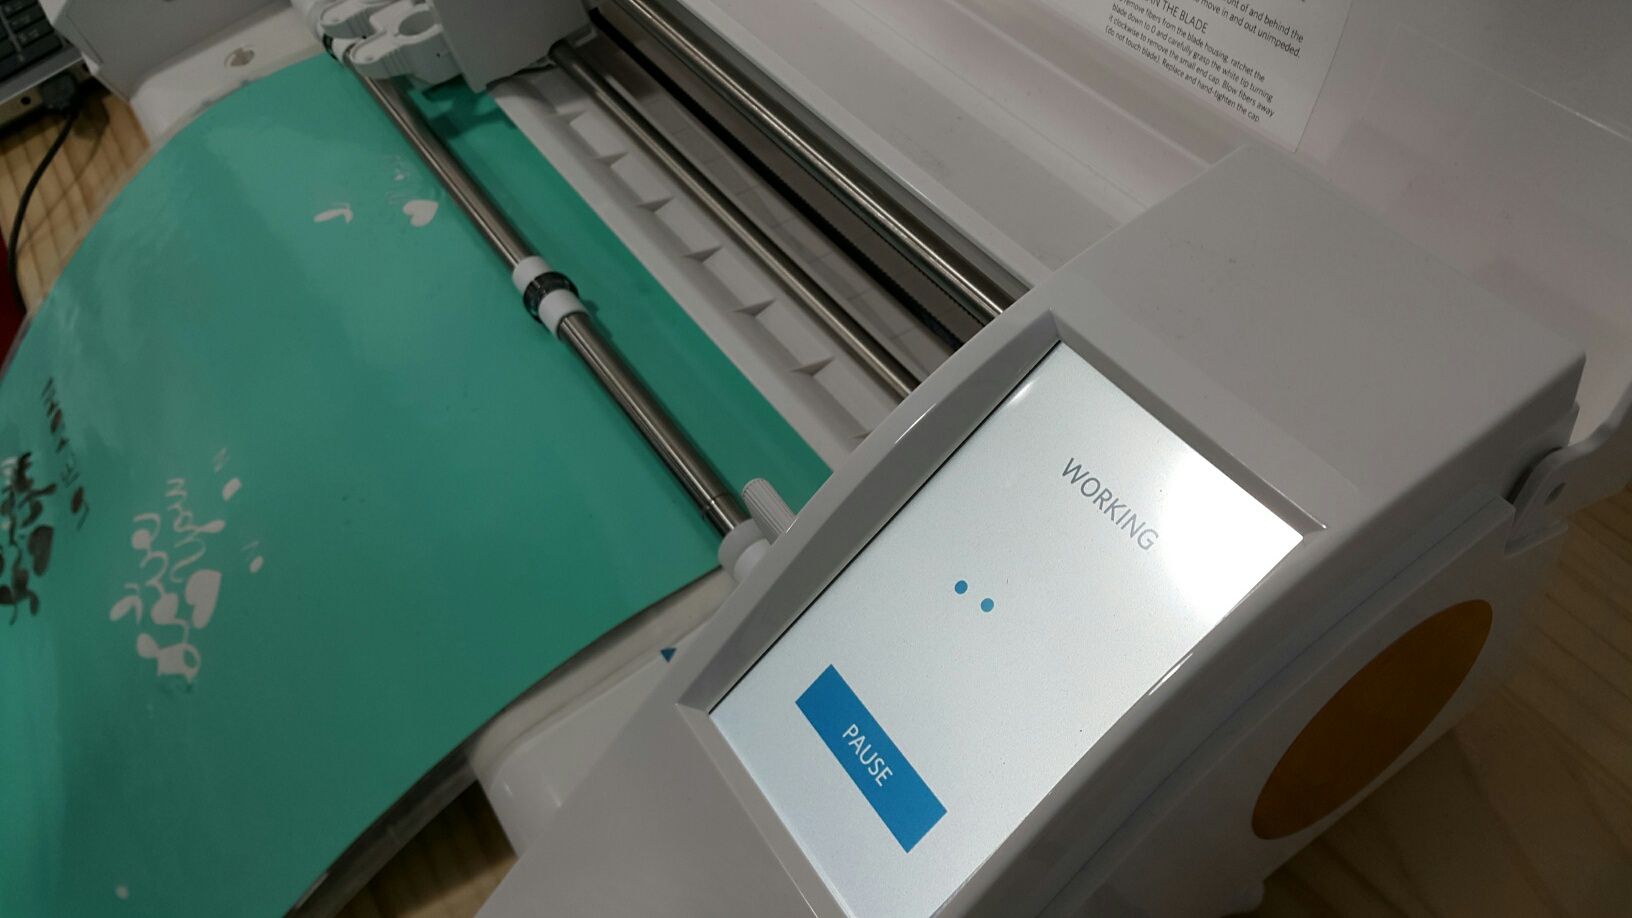
This is the sticker cutting machine. You just put the sticker paper under the roll paper grabber and make sure it does not move or lose. Try to make it steady and then start the print cut.
Step (1)
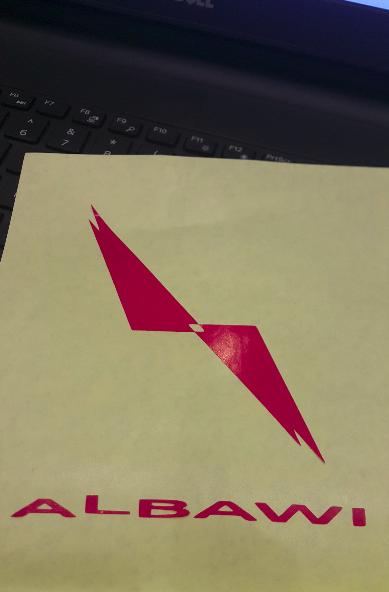
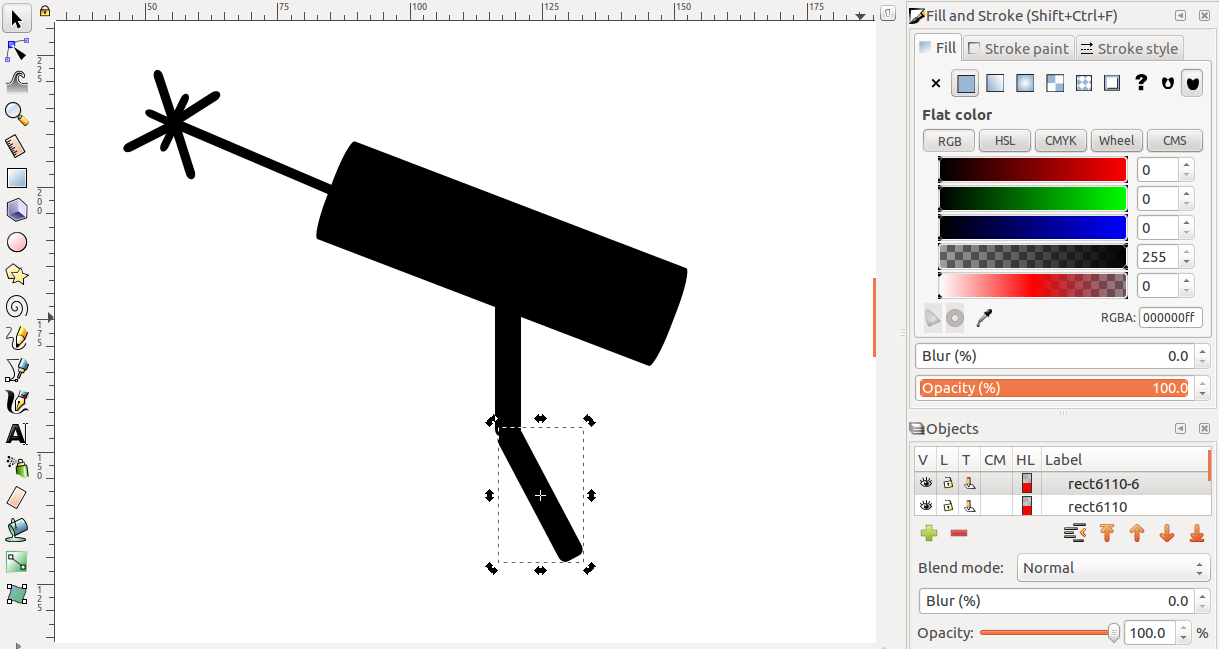
Inkscape is a very easy program to design a logo. I have created a logo that is useful for my final roject. This design is selected to create the sticker to put it on the project soon.

Step (2)
I have used grid feature to know the exact size of the logo to make it fit to the object that i will create. It can be adjusted by pressing (Ctrl + Shift + D) and press on Grid tab and adjust it to cm to make it easier to measure

Step (3)
The is the Grid feature activation. I used MM size to make it detailed more and accurate for printing on the sticker paper.
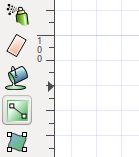
This is the gradient tool which is not useful for the sticker cutting but just for fun.
Step (4)
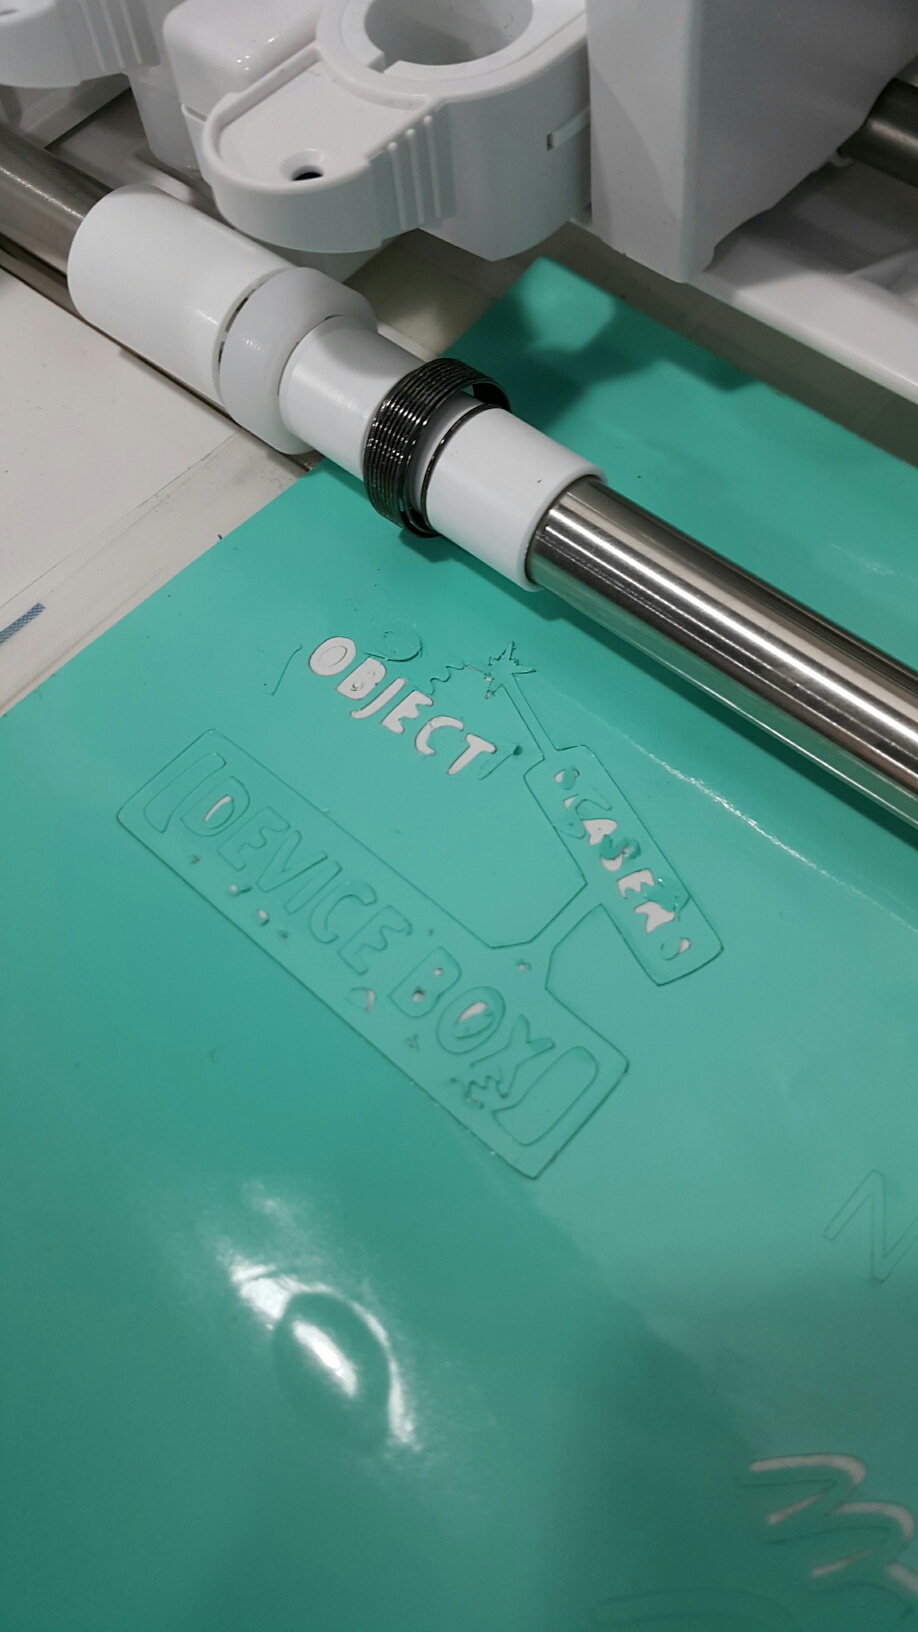
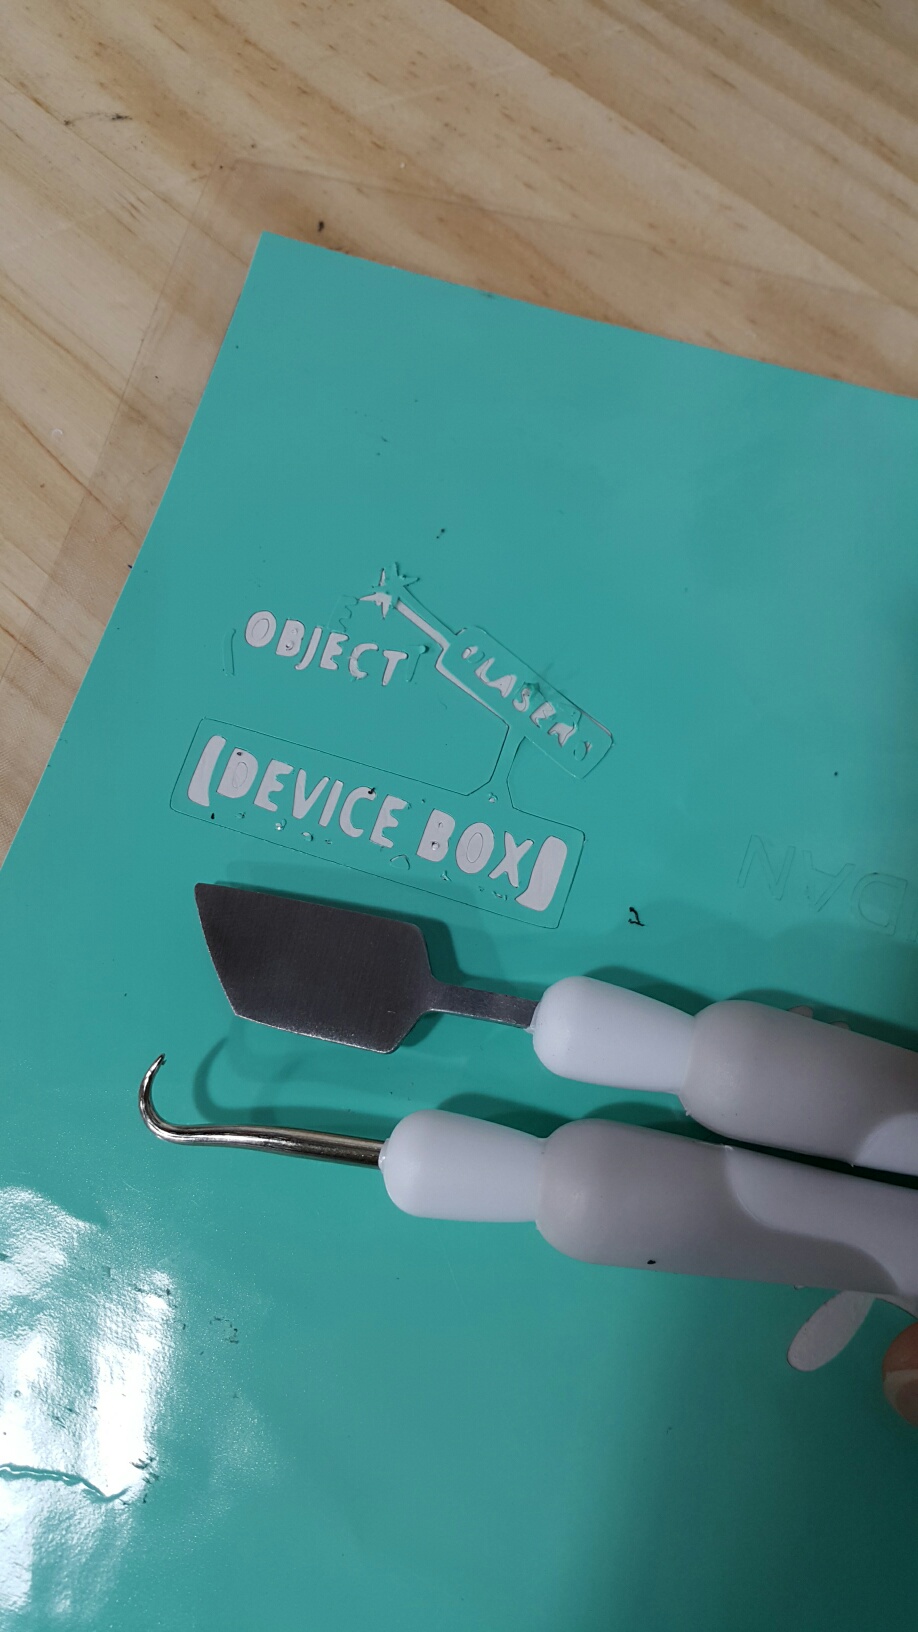
This is the final result of the design.I used the gradient tool to make the object fade at the edges. By pressing and draging at the prefered direction to create this fade effect. It is good to put objects on other objects and create a beautiful design. But i thought it would work here and it did not due t the constant color choice of paper.
Project Vinyl


Onshape
This is in my opinion the best program for providing the shapes for laser cutting. I used the Fillet item (Shift + F) to smoothen the edges of the shape. Also to make the spaces on the edges of the shape on equal distances, i used the Circular Pattern item to make five spaces. And below, the demonstration and final shape of the object.
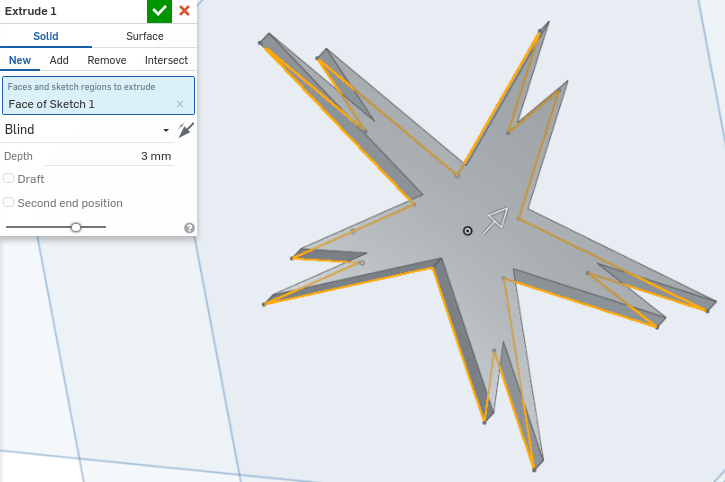
I made the Base of the object. The thikness of the acrylic is 3mm. I put 3 spaces for the legs to fit in later on. By puttng these places equally with the size and position, i use a tool called Circular Patter which you will see it shortly.
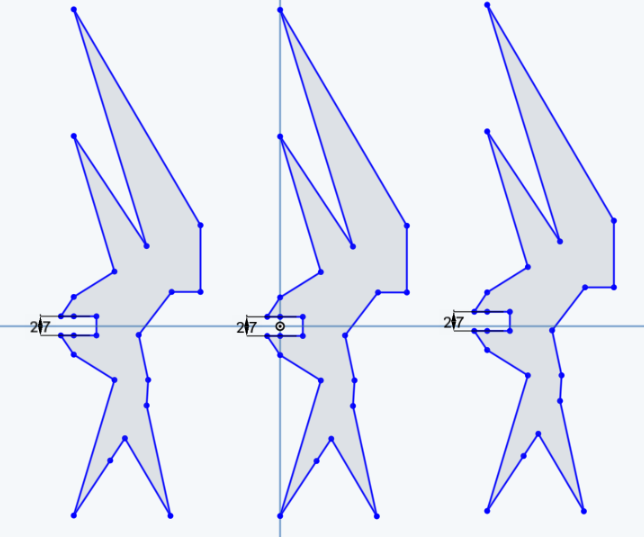
I made the legs to be attached with the base star. It looks like a half tower that does not have any meaning, but when you try to make more copies of these and attach them into the base, you will see something nice later on.
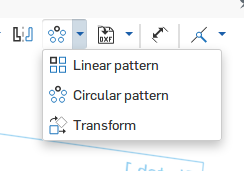
This is the Circular Pattern tool which i have told you about. It is easy to use just by pressing on it and pressing of the space you want to copy 3 times, it will automatically demostrate the way you like it to be.
Laser Cutting
The photos below are the devices to create the shapes of the object and the sticker for the logo.
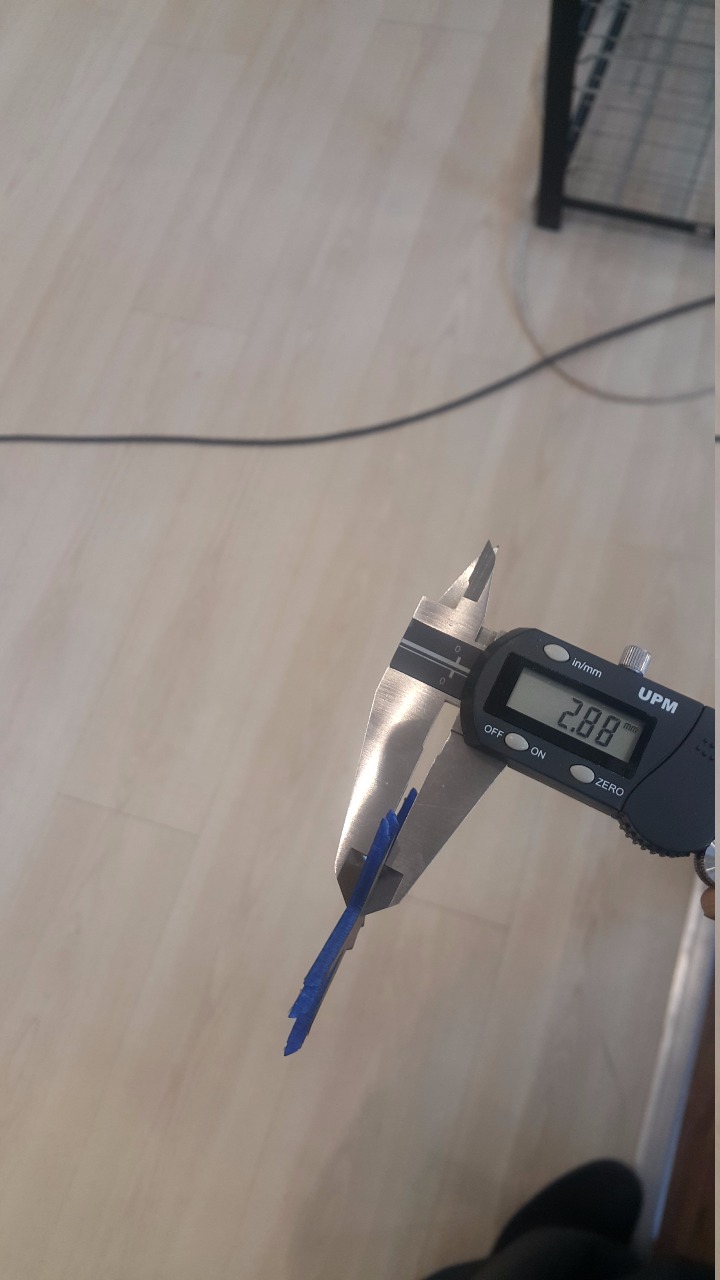
Before cutting anything, we need to check the thinkness of the plate we want to cut by using this measurement tool to check exactly how much thick it is. This is usually done to make the other parts fit into it when creating the attach space for the two parts to fit it.
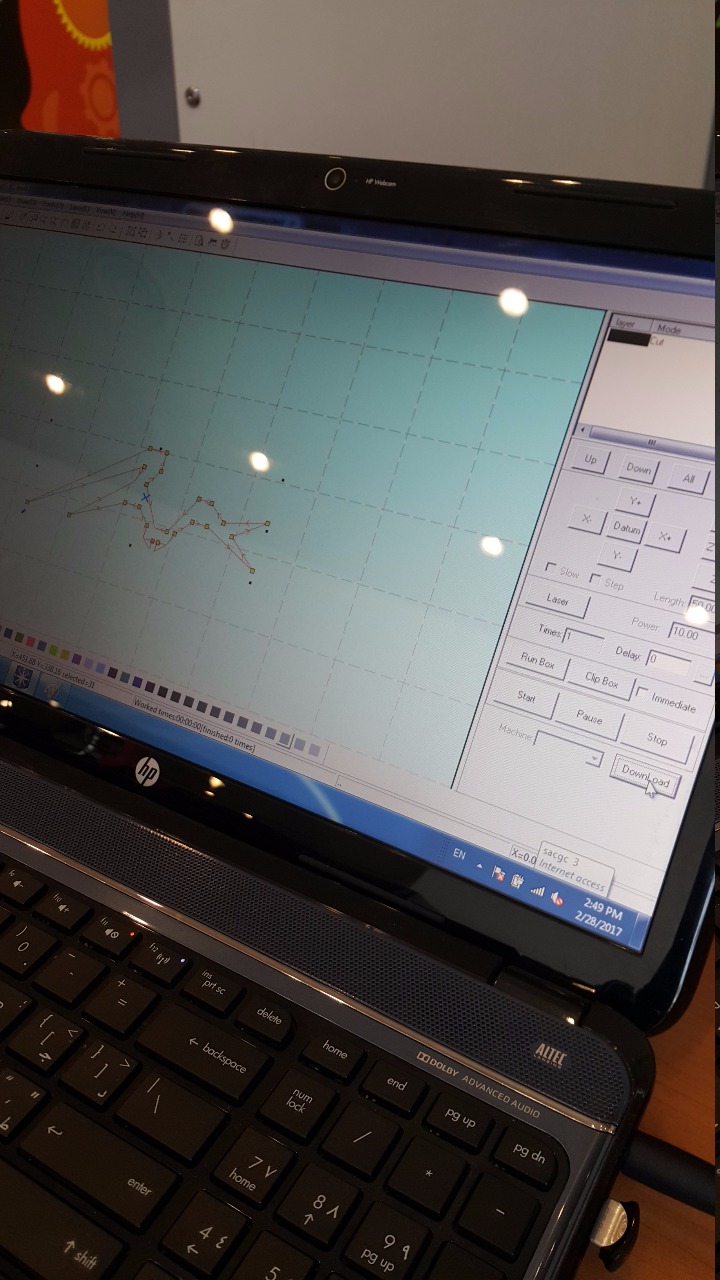
After finishing the design, we will open the file inside Lasercut 5.3 which is the software for laser cutting. And the laser cutter machine will be connected to the laptop to give it the commands.
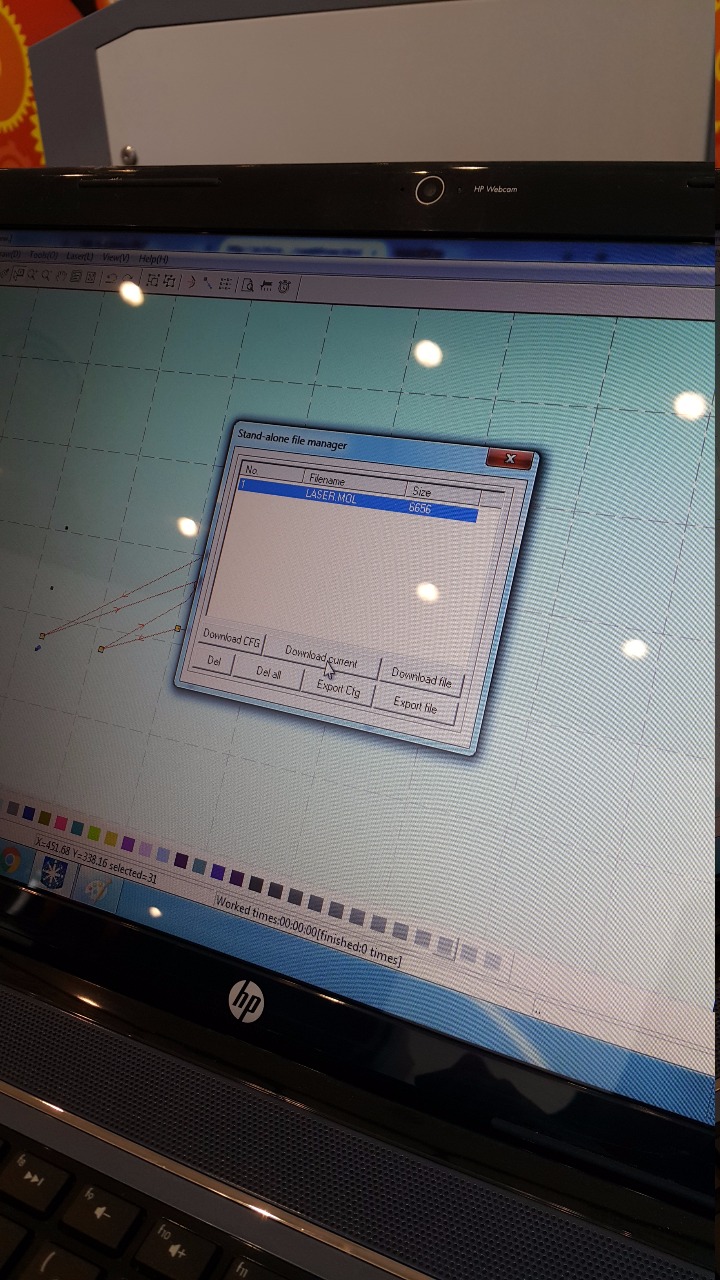
After we are ready for the design to be produced, we press on download. We will see this window with the file inside it. We will press download current.

We need to test the location of the design to be cut by pressing the Test button. If the location is OK, we will press Start to operate!
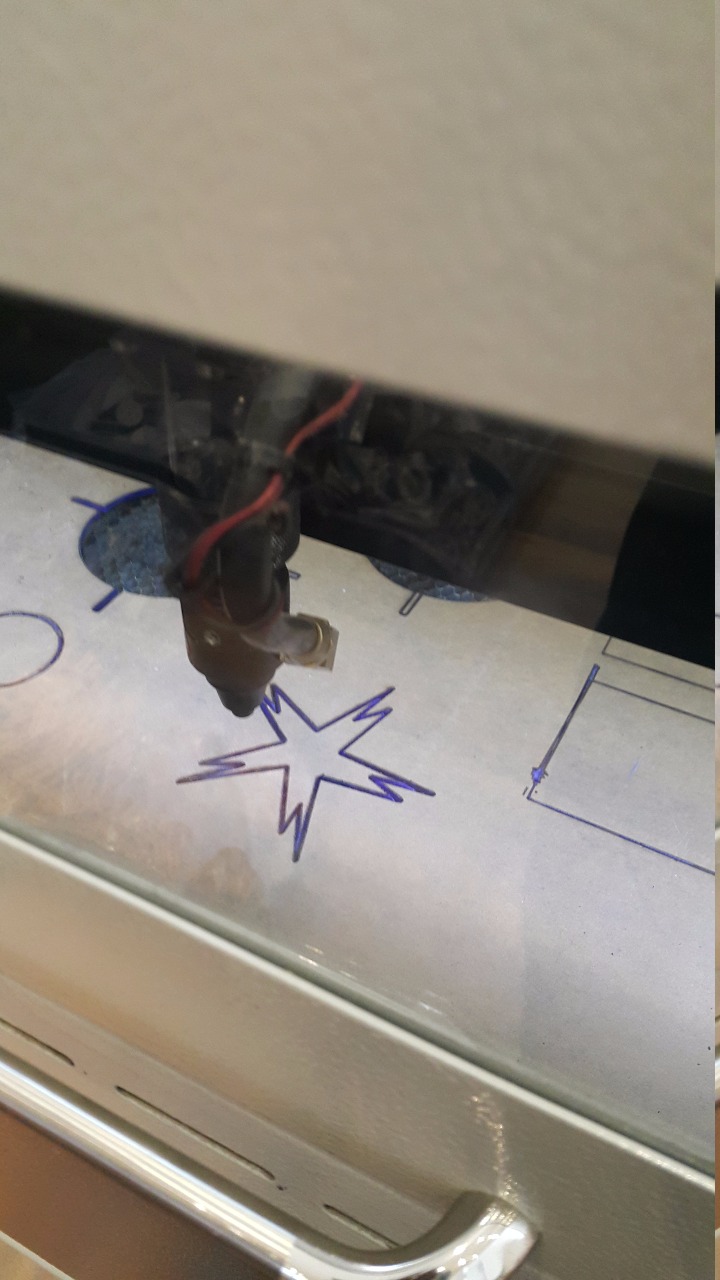
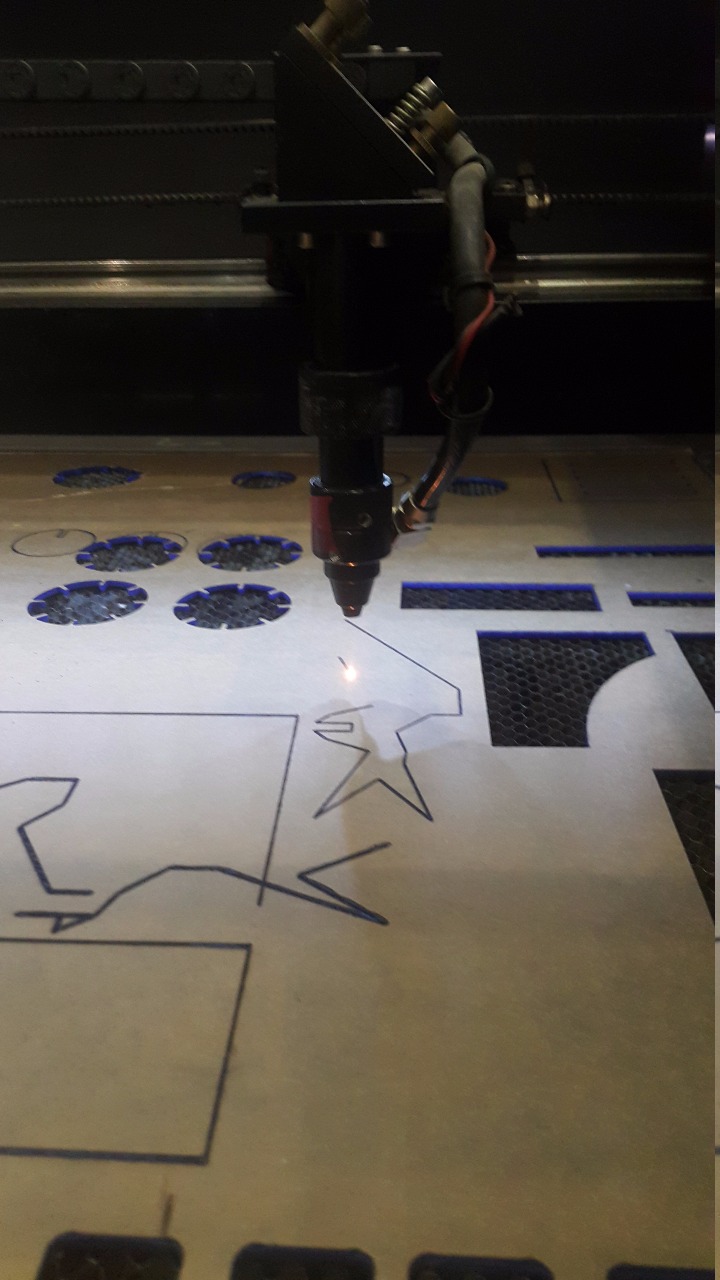
As we can see, the laser is starting to cut the plate creating my base design. The process takes 5 to 10 minutes.
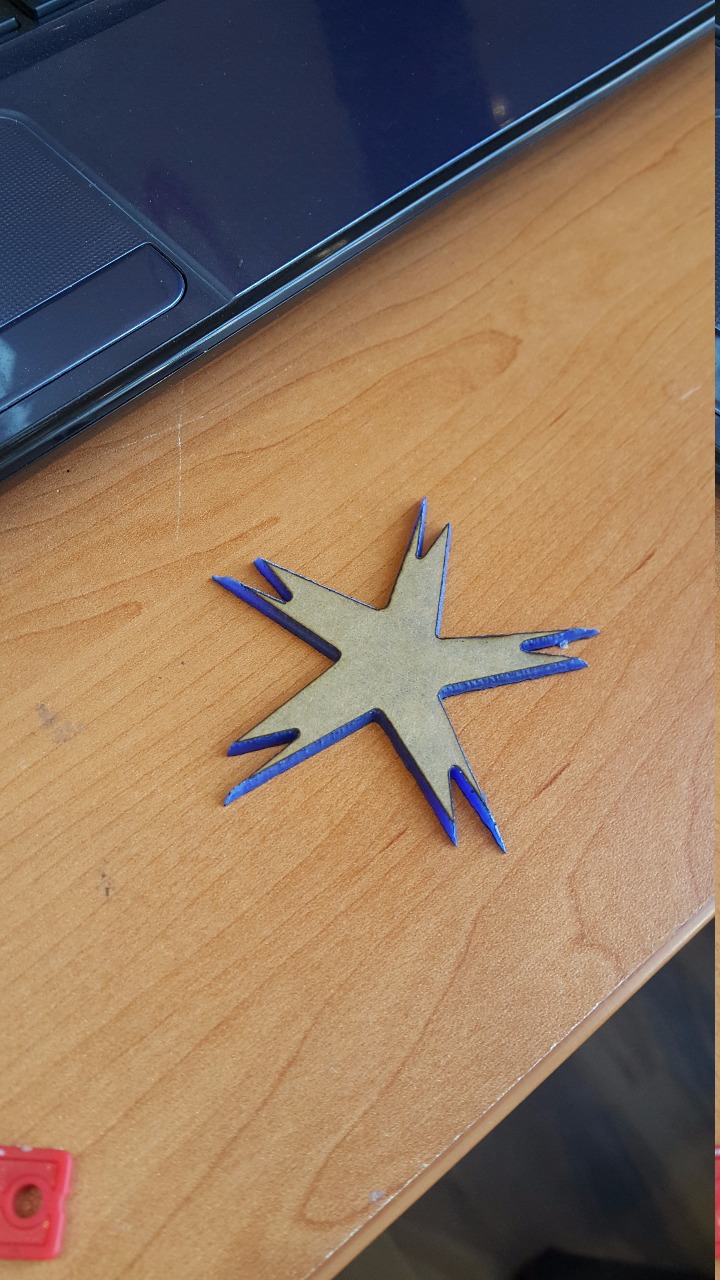
It has been but nicely and smooth. As it is shown, the edges are perfectly cut and very sharp. This will be my base for the legs to be attached to it and create something nice later on.
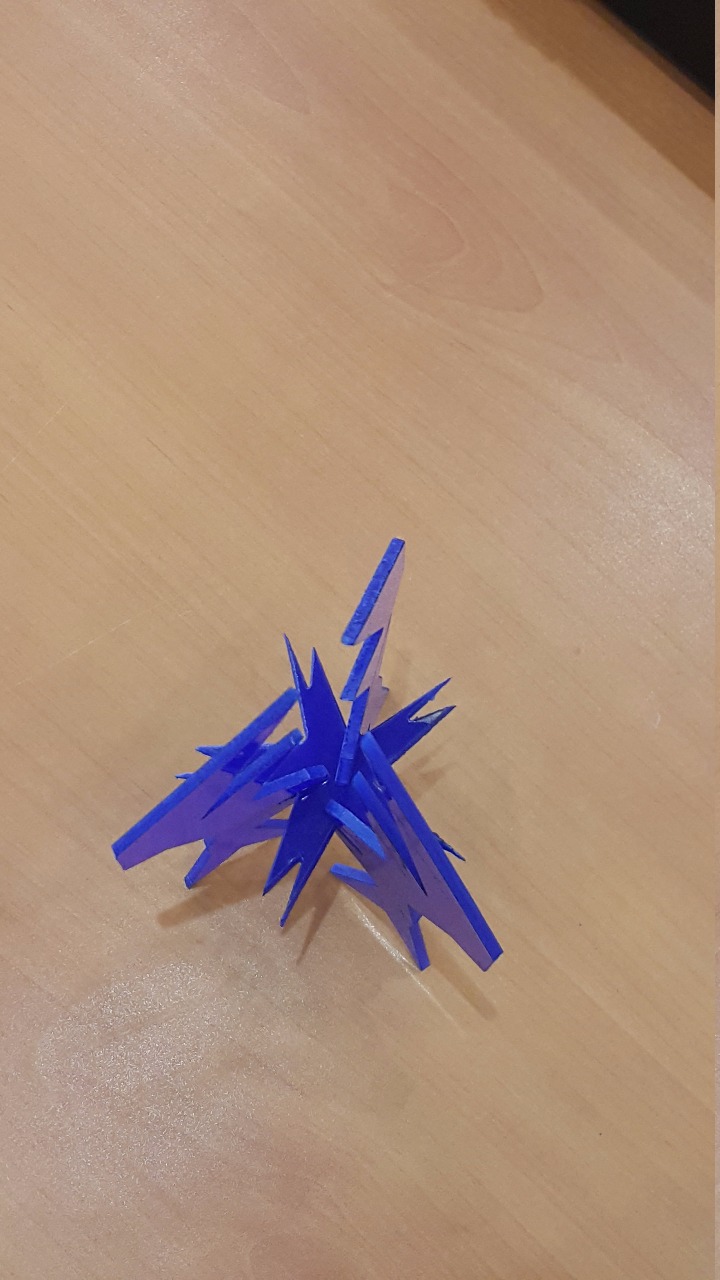
The second design is the leg. Same process but this time there was a problem occured. When the cutting process finished, the shape itself cannot be released from the plate easily due to the poor laser power. I tired to detach the shape but i did it not successfuly.
Problem Fixing
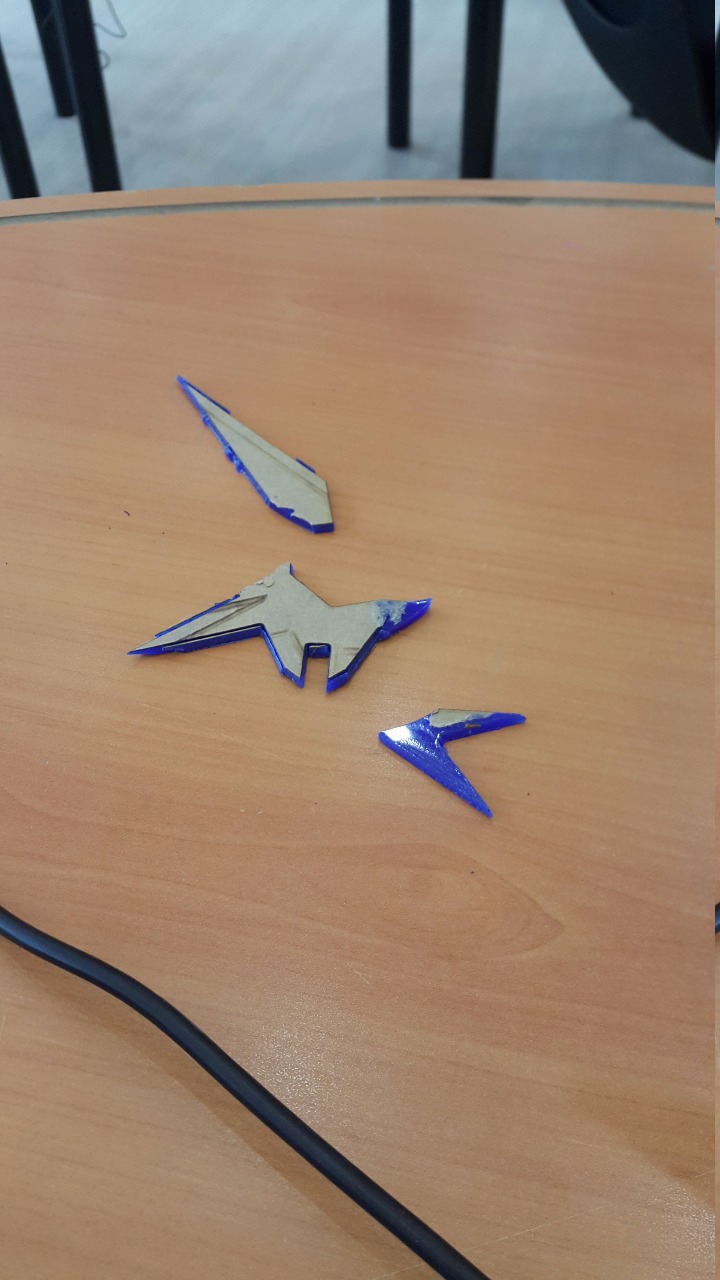
The shape got broken. To avoid this from happening, you can lasercut the shape twice without removing it. Once the laser process finished, immediately start to another laser process on the same shape to create a much deeper cut for you to detach it from the plate and avoid this to happen.
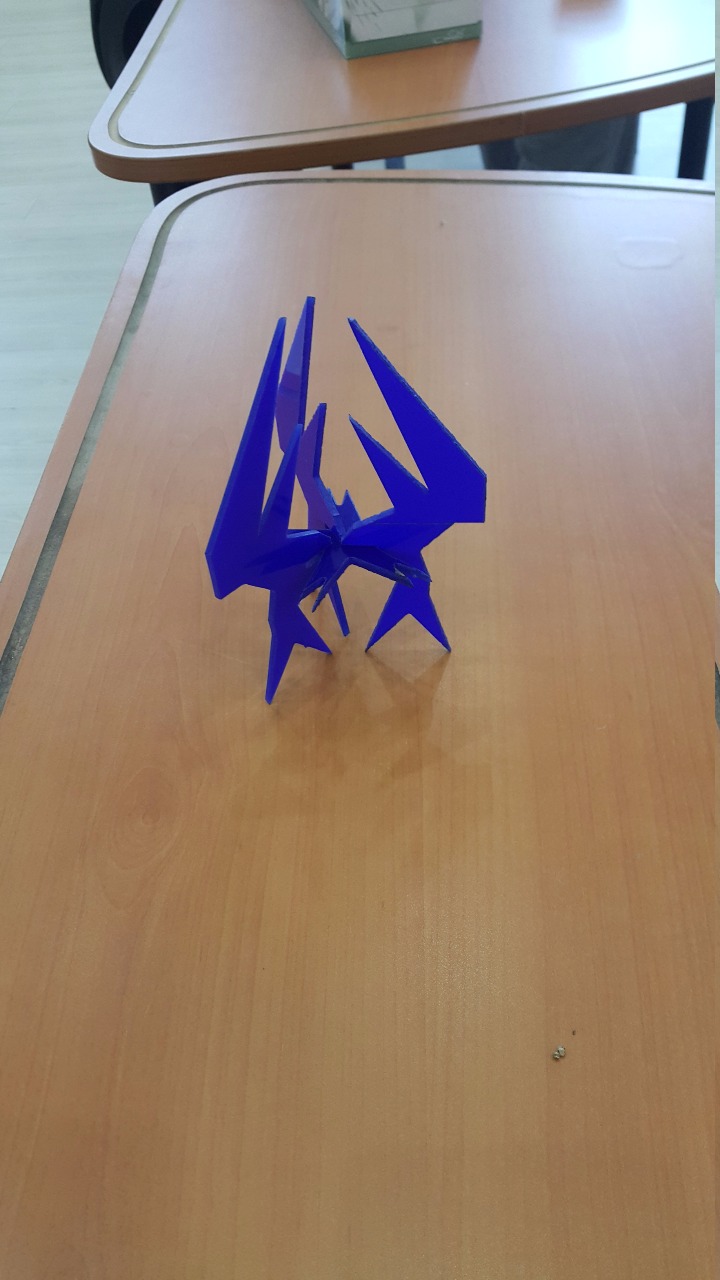
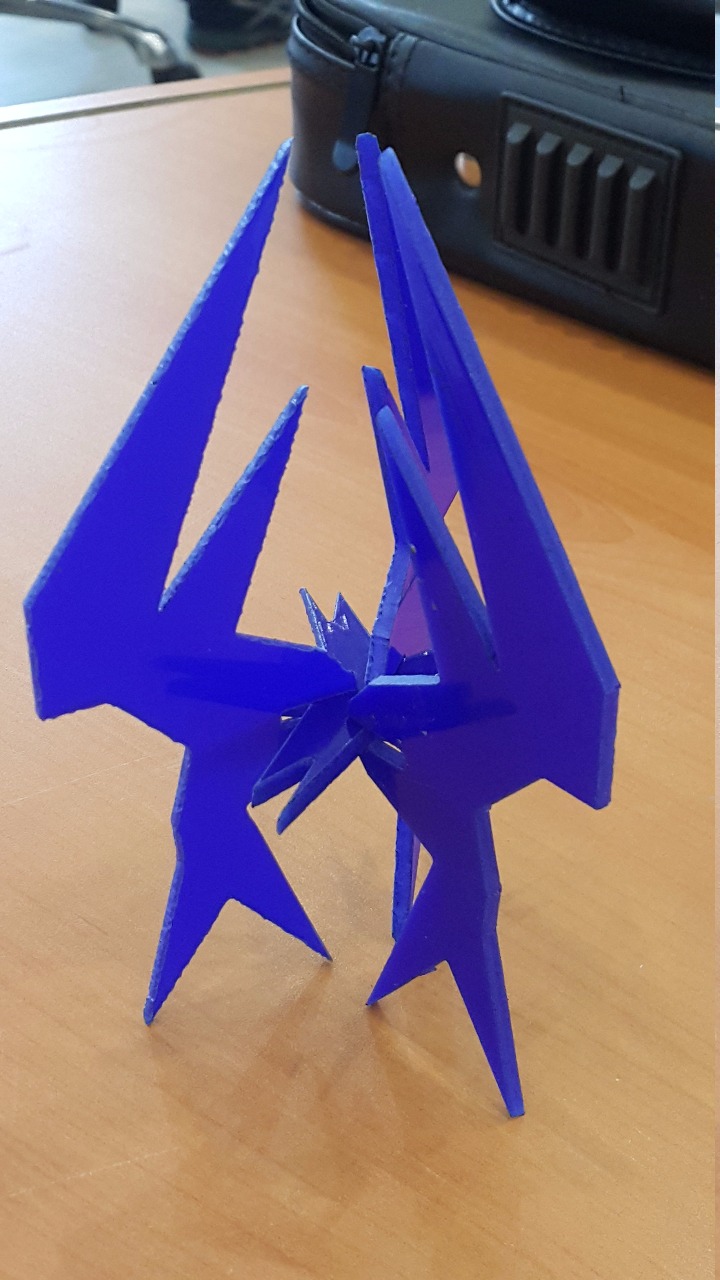
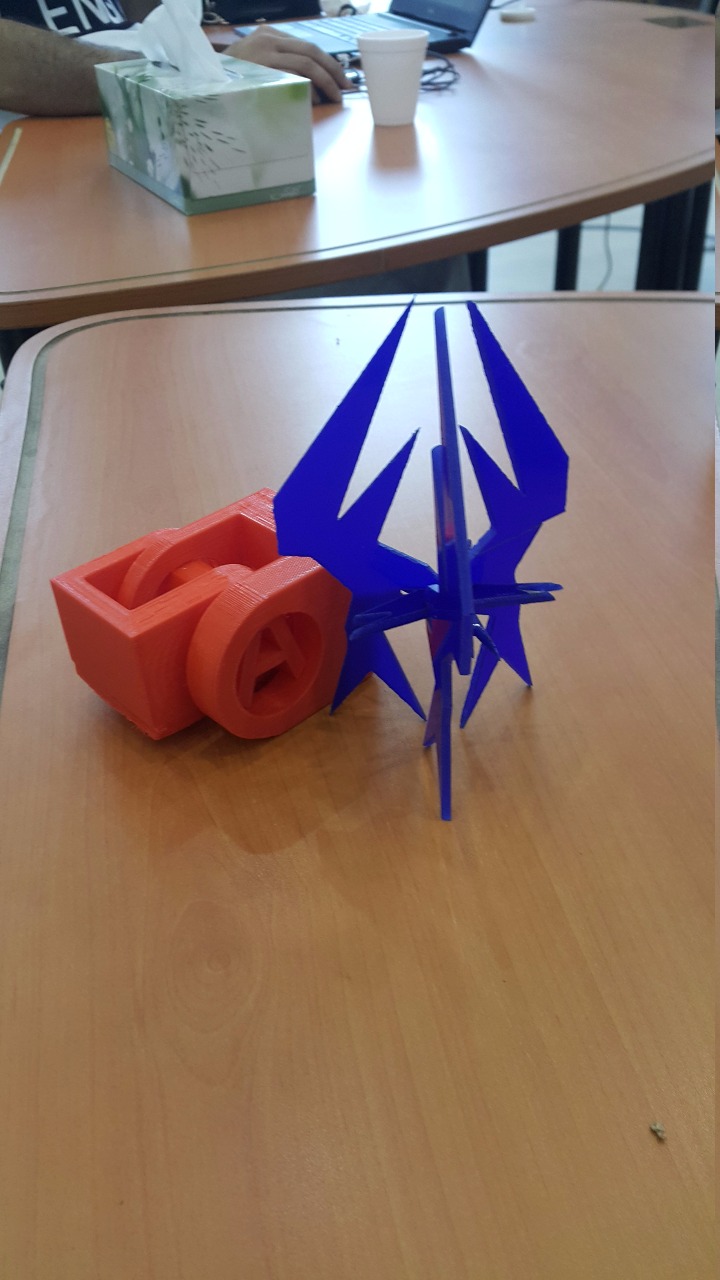
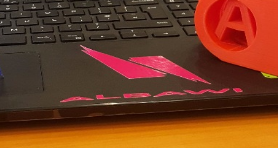
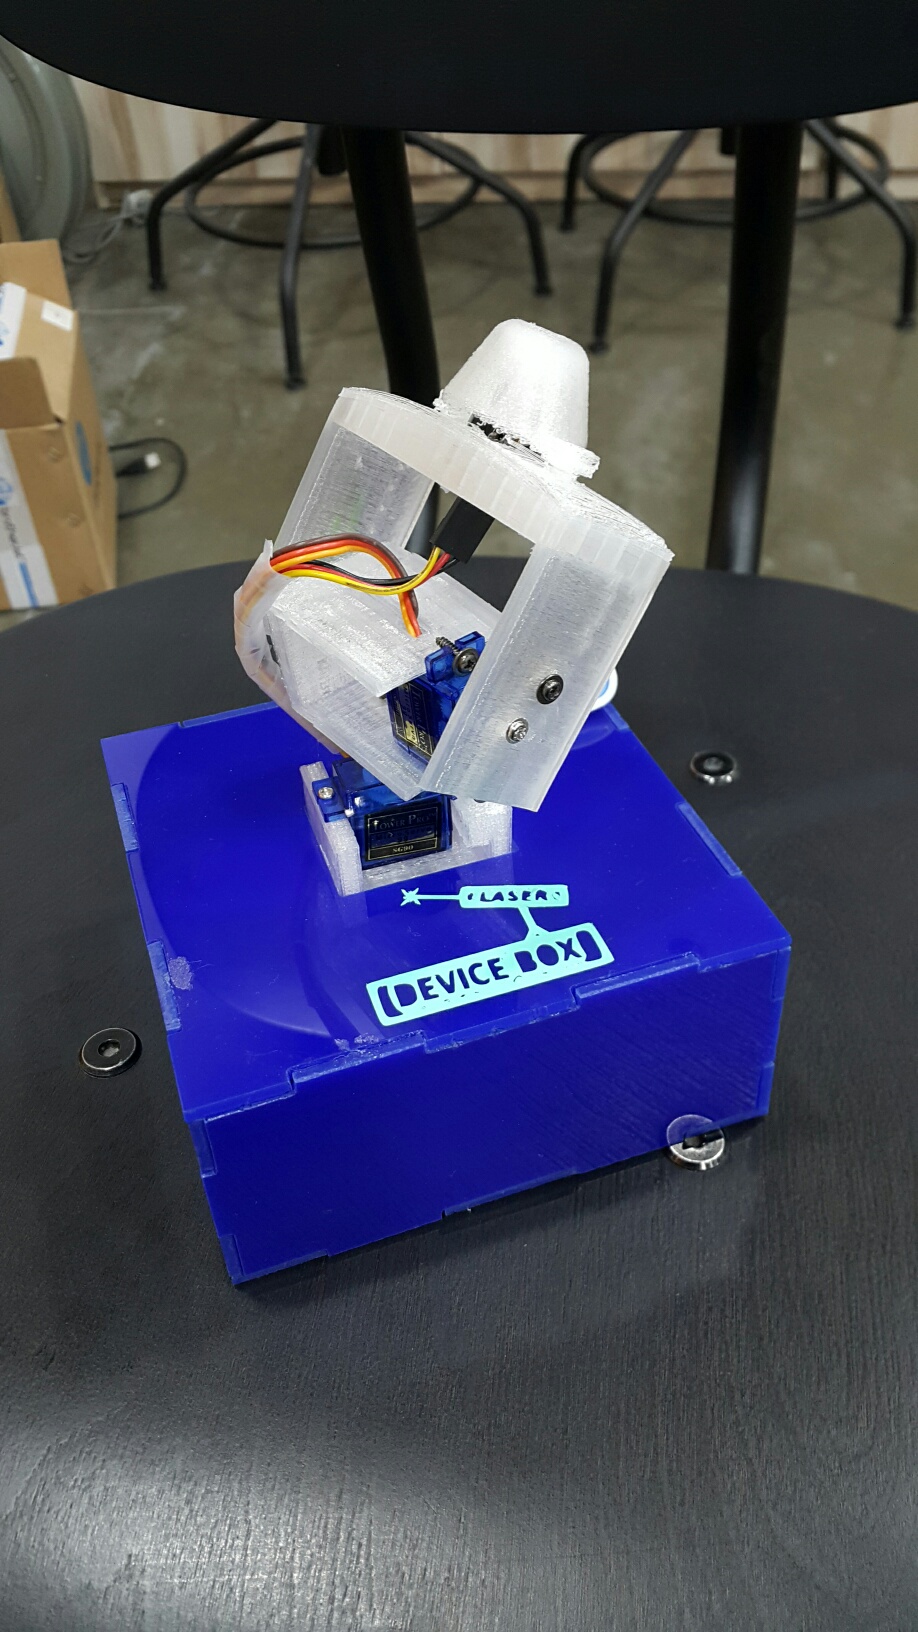
The legs are successfully attached with the base star as we can see. A beautiful design.