Assignment
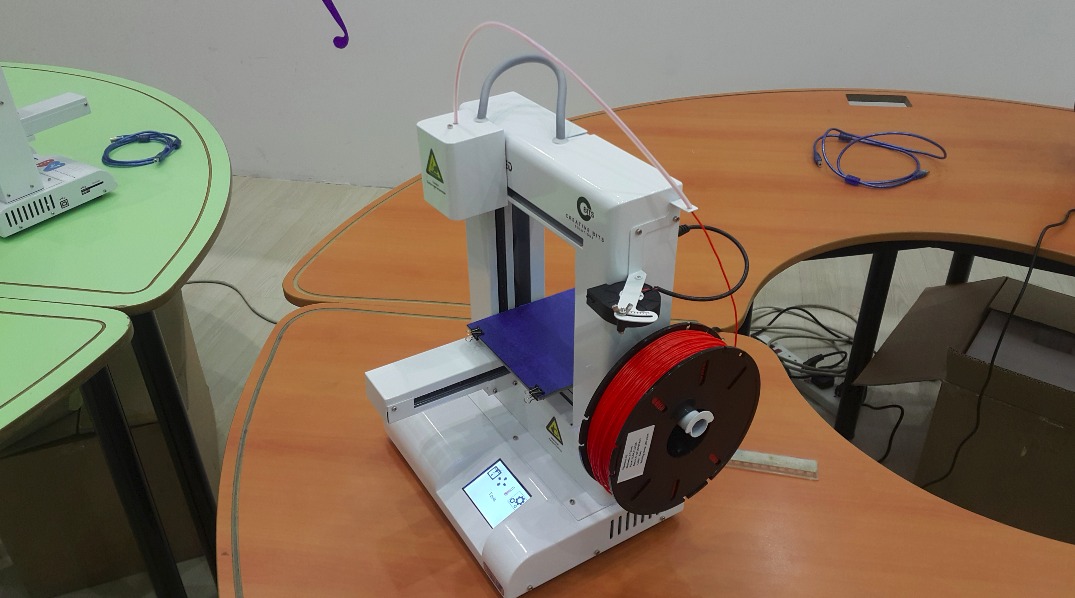
The 3D Printer
This device is same like the normal printer but it produces 3D shapes. Onces a design get programmed
The way it functions
Instead of just moving the X axis and the Y axis of the print pen, The 3D printer moves around with an additional Z axis with both pen abd base floor of the printing area. This will create a combination of full dimention movement which would easily produces mostly any shape we want.
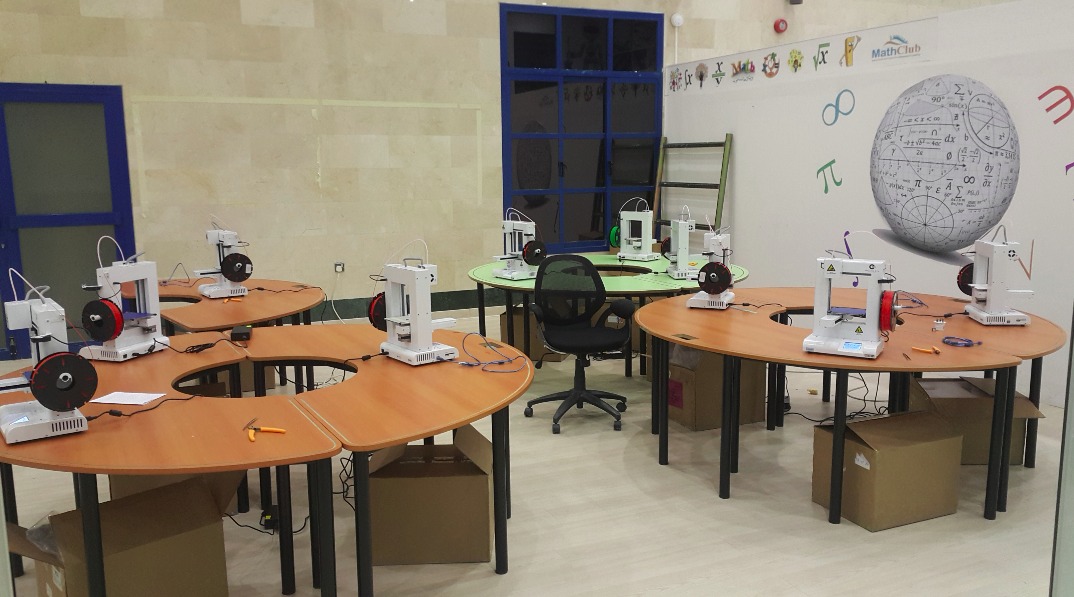
3D printing hall
The Kuwait Fablab has made the student do their own 3D printing individually. Becuase as known, 3D printing takes time to finish an object design. It takes approximately 20 to 90 minutes depends on the design.
Group Assignment
3D Designing
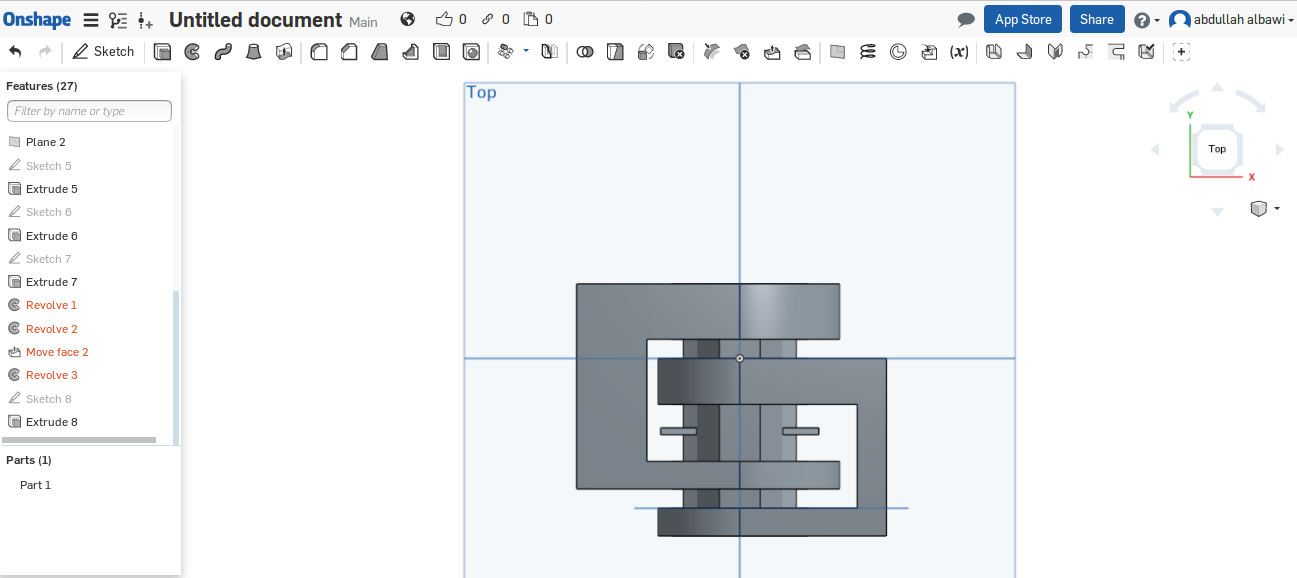
The design is about merging 3 parts together in order to be able to produce it using the 3D printing. The one i made here is just like a lock with an "A" letter inside it to make the connections for both of the locks. I used the Plane tool to create a replica of the circul face each ther. Ones the plane is on the front of the object that you want to clone, use the "use" tool in order to take which part you want to put it on that plane that you have created. And then it will create the sketch you want and extrude it as you like.
The is the Plane tool activation. As you can see, a new layer is infront of the object. Once pressing on the object, it will be copied on this new layer and create a clone of the only parts that you need.

This is the "USE" tool that i am explaining. First use the "Plane" tool and then this this tool and try it out.
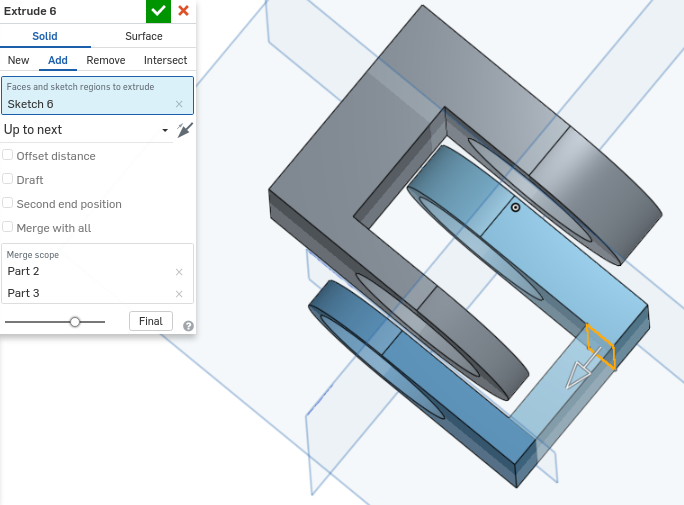
This tool is to increase the thinkness of the shape selected. I will use it a lot becuase my week project requires to make a 3 dimension shape which is tool creates.
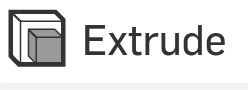
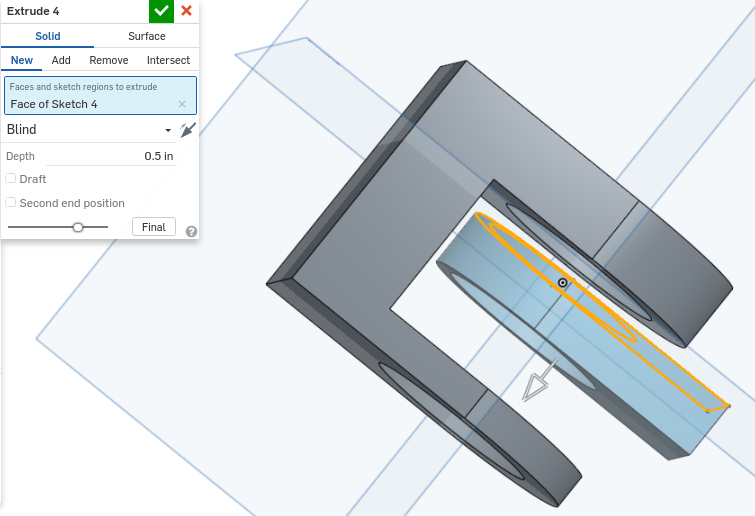
I will extrude the shape on the added plane.
Drawing a rectangle on the first object and then extrude it like a bridge to the next object to create he first part of the project.
I will sketch a new shape in the middle of the first part. And then extrude it.
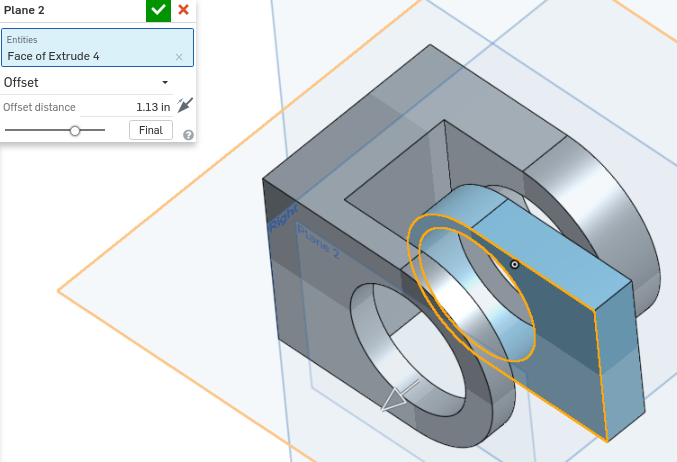
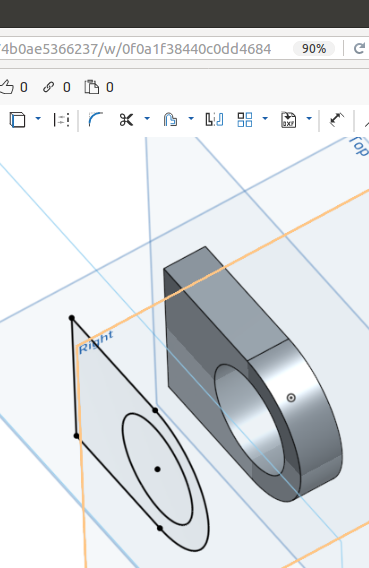
Adding a plane to create an exact sketch of the previous one on it.
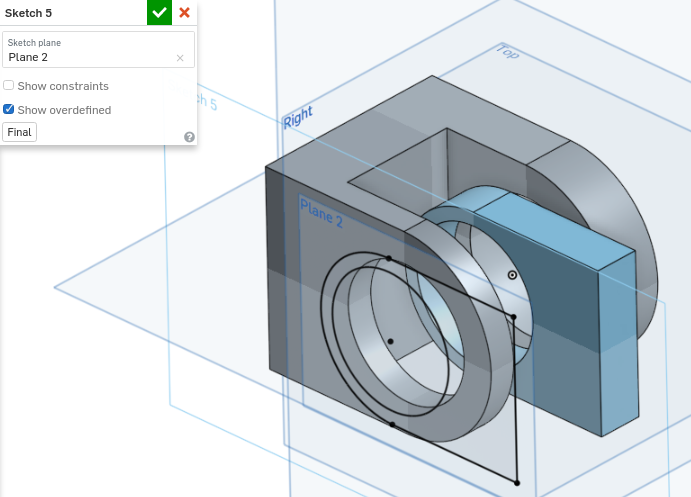
The exact shetch has been added on the plane.
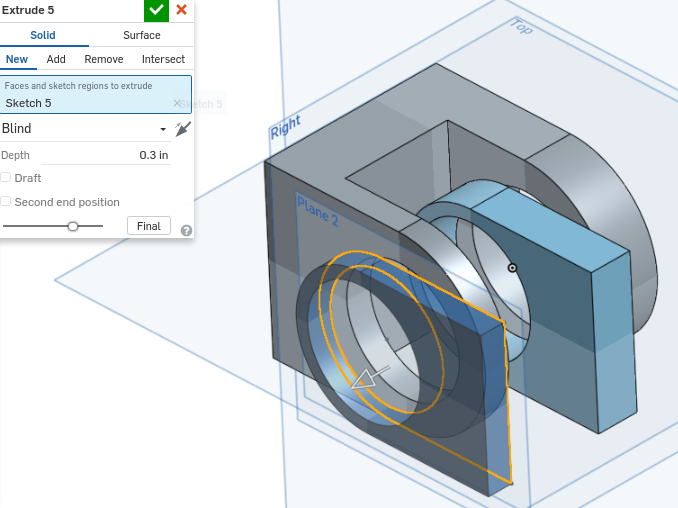
This sketch has been extruded.
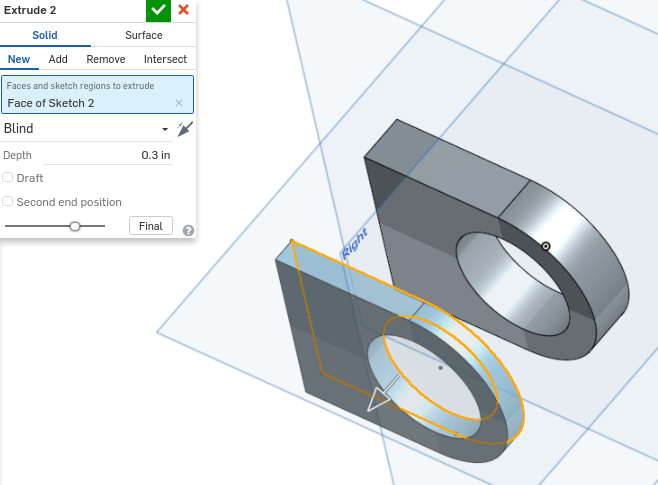
Same method, drawing a rectangle and then extruding it into the next object to create another bridge and connect the two parts together.

The final step is to make the letter "A". I make the sketch of the letter A using the line tool and then extruding it inside the two parts.
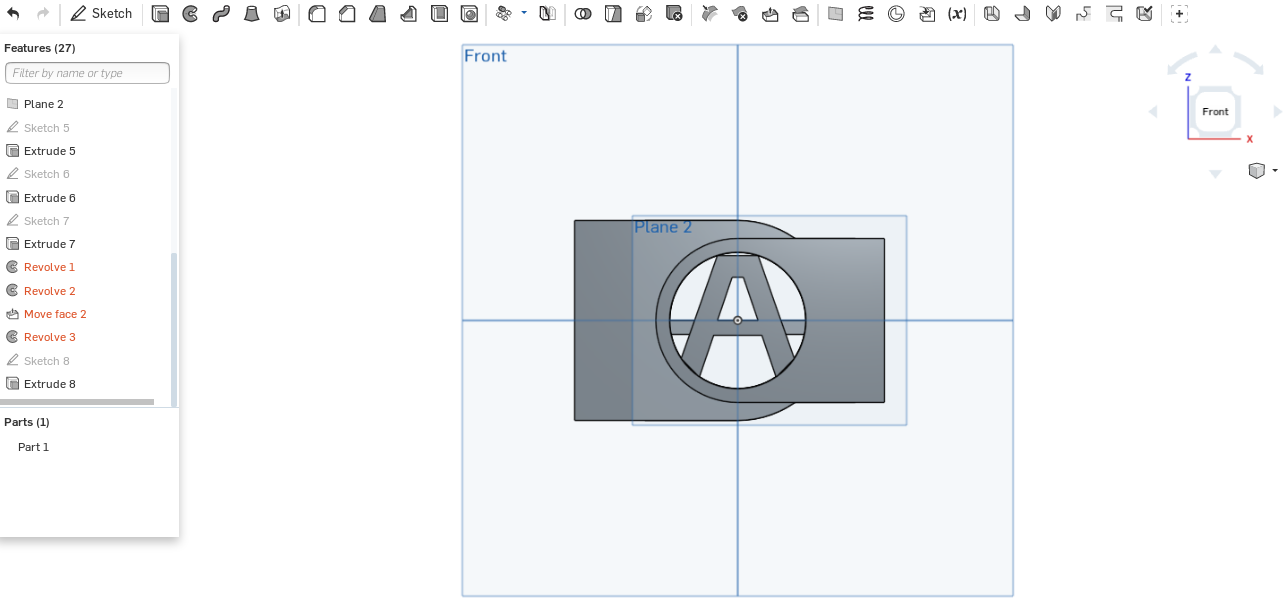
The final shape will be like this. The A letter is not a letter, it is an extrude object connecting both locks.
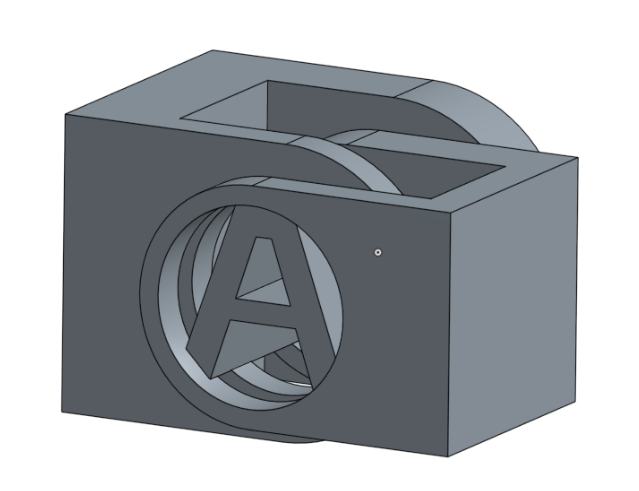
Once you move the angle, you will see what i mean. The letter "A" with its extrudiness, it is touching the two locks with its edges only.

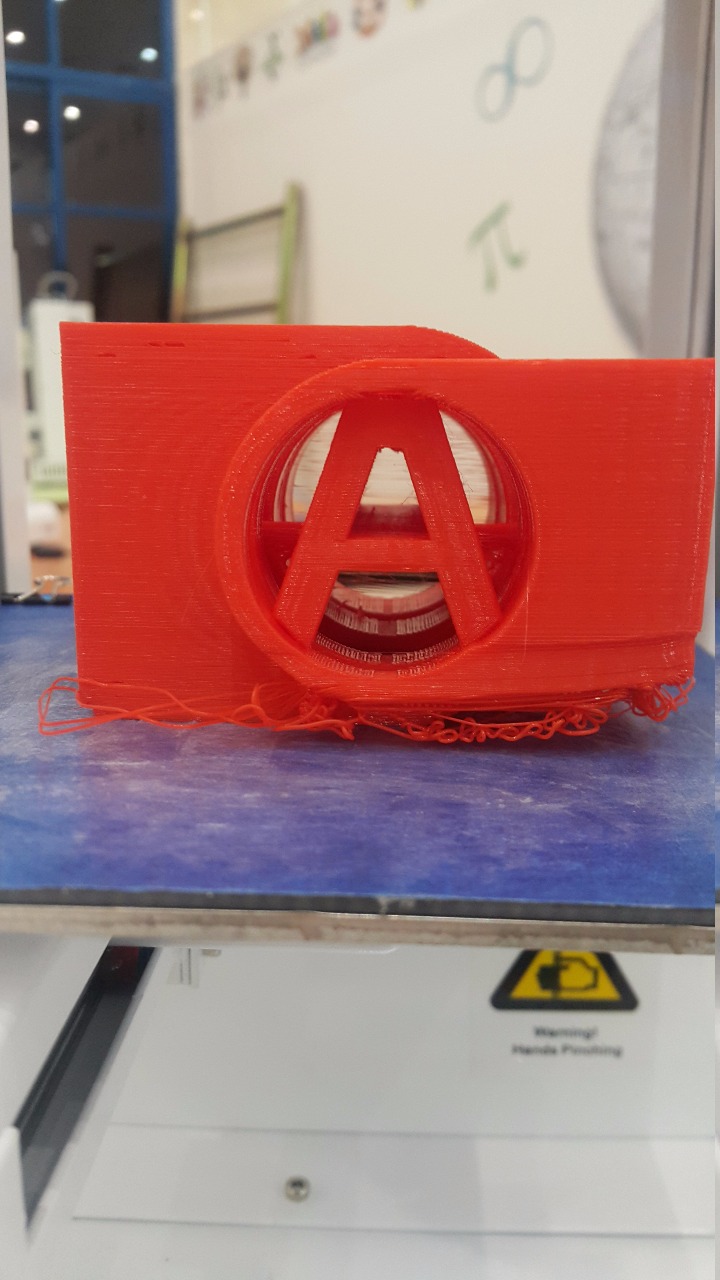
By beginning the printing of the design, i need to put glue on the surface before i start becuase it may not print properly. It plastic material will not be steady while printing. Once we need the first lines of the printing process is OK, we continue the print. If not, we should add more glue.
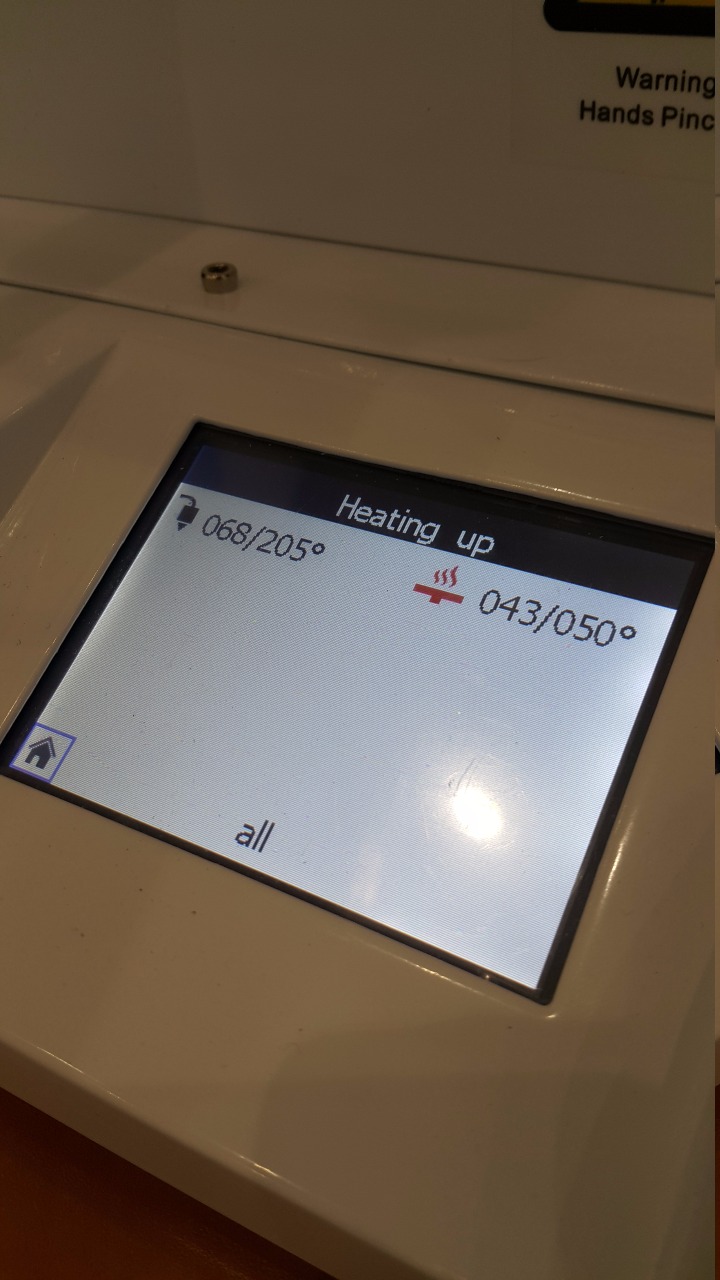
Make sure to check the heating process. The tempreture should be at least 190 to 200 in order to create the plastic material melt properly for printing.
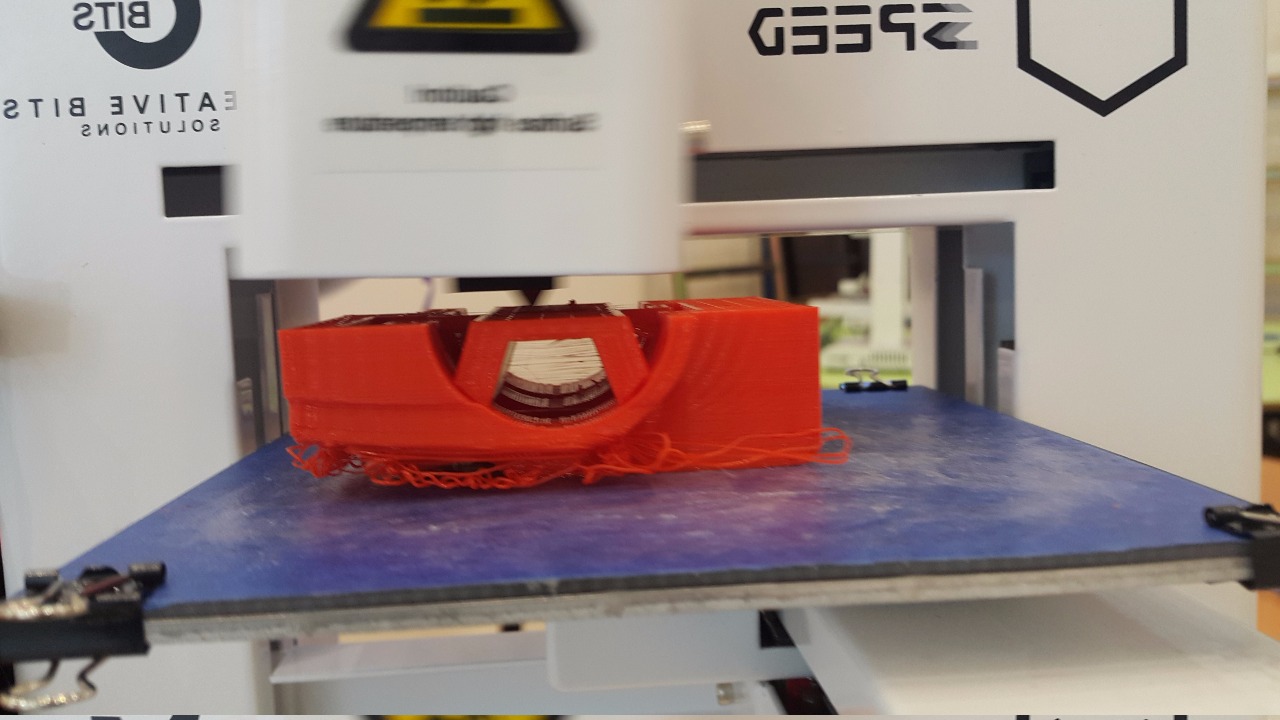
You can see the letter is appearing in a nice way. By continuing the printing, the letter will be more obvious.
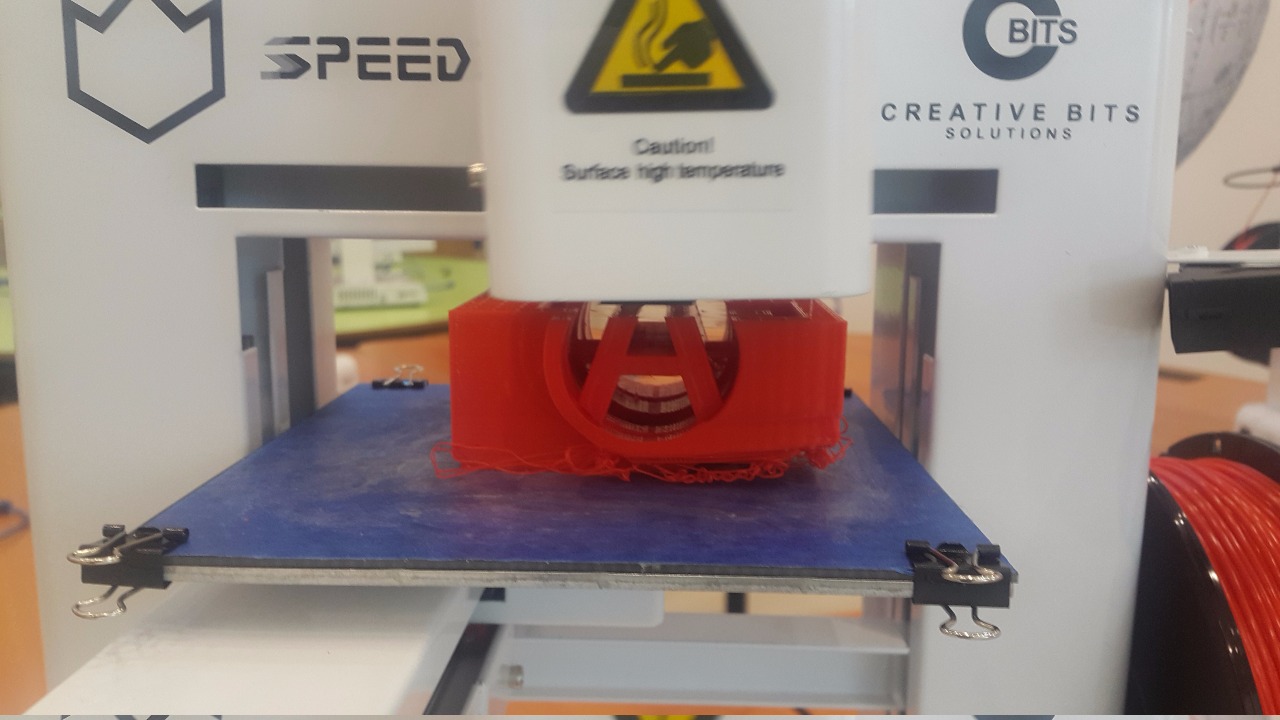
The letter is almost completed. Here we can see the design is 80% finished.
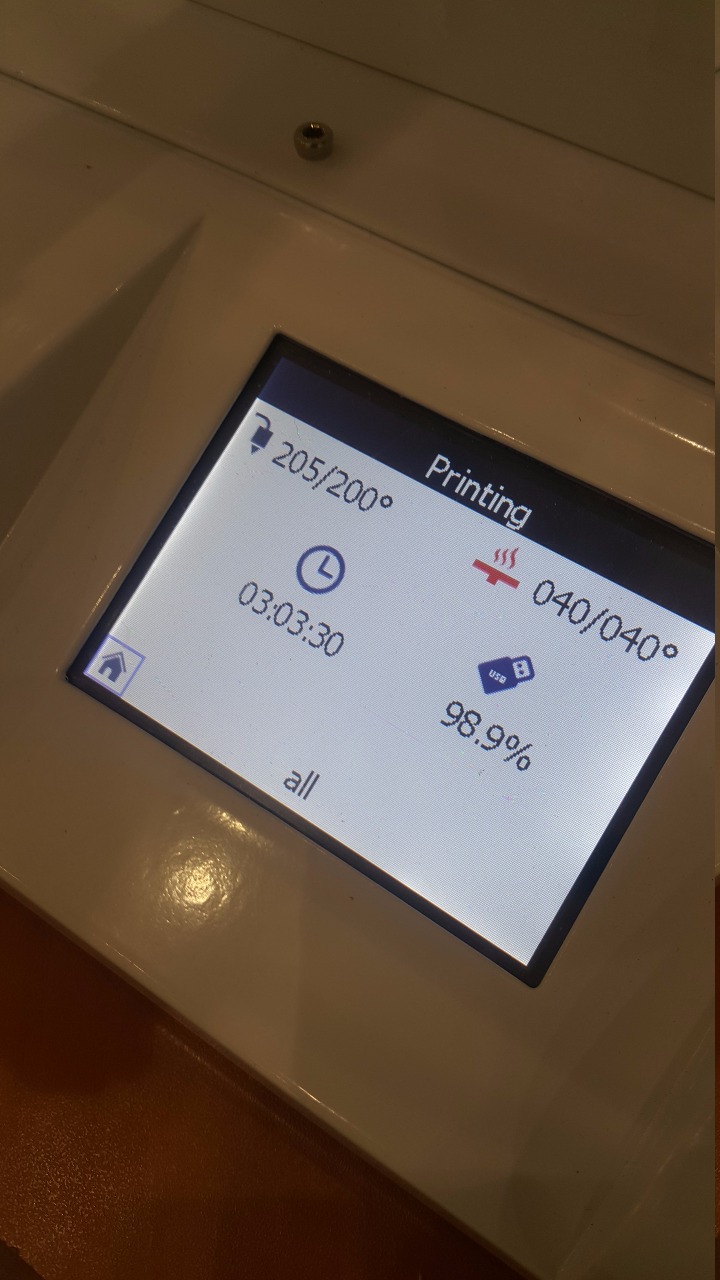
My design is nearly completed with a period of 3 hours. It is a very long time to wait.
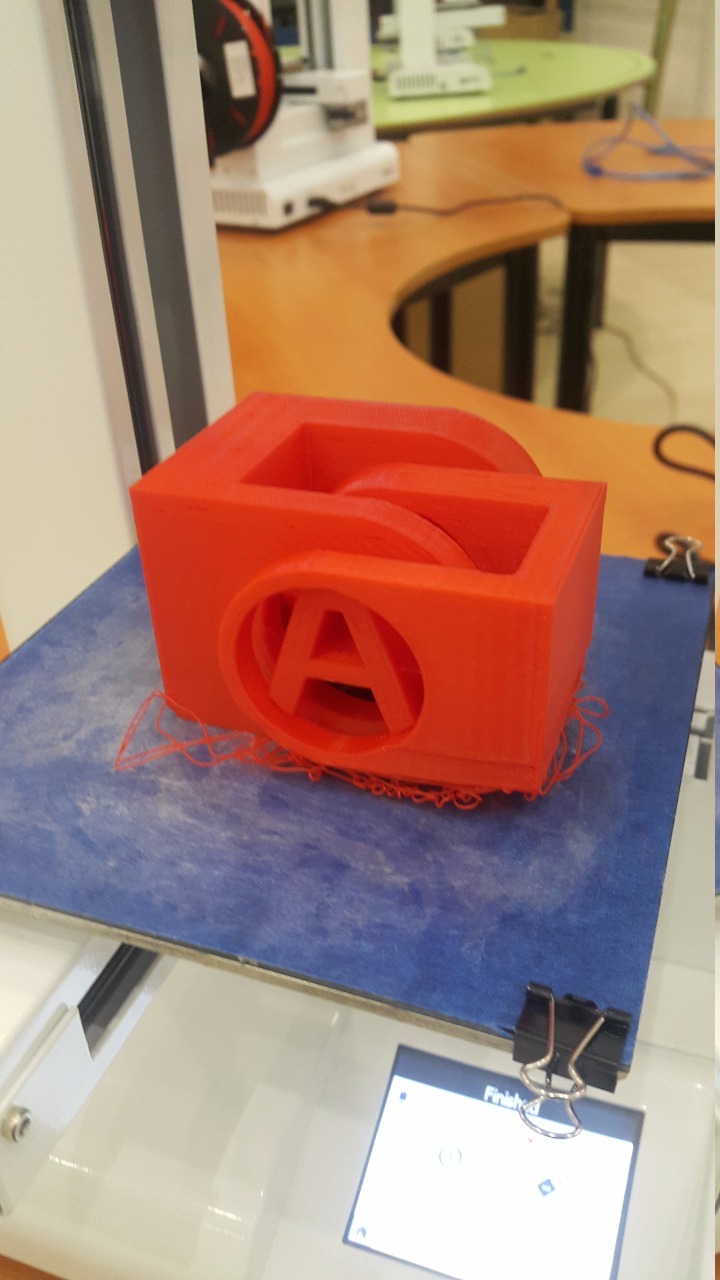
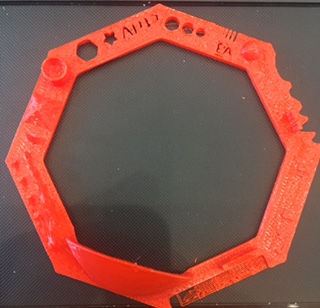
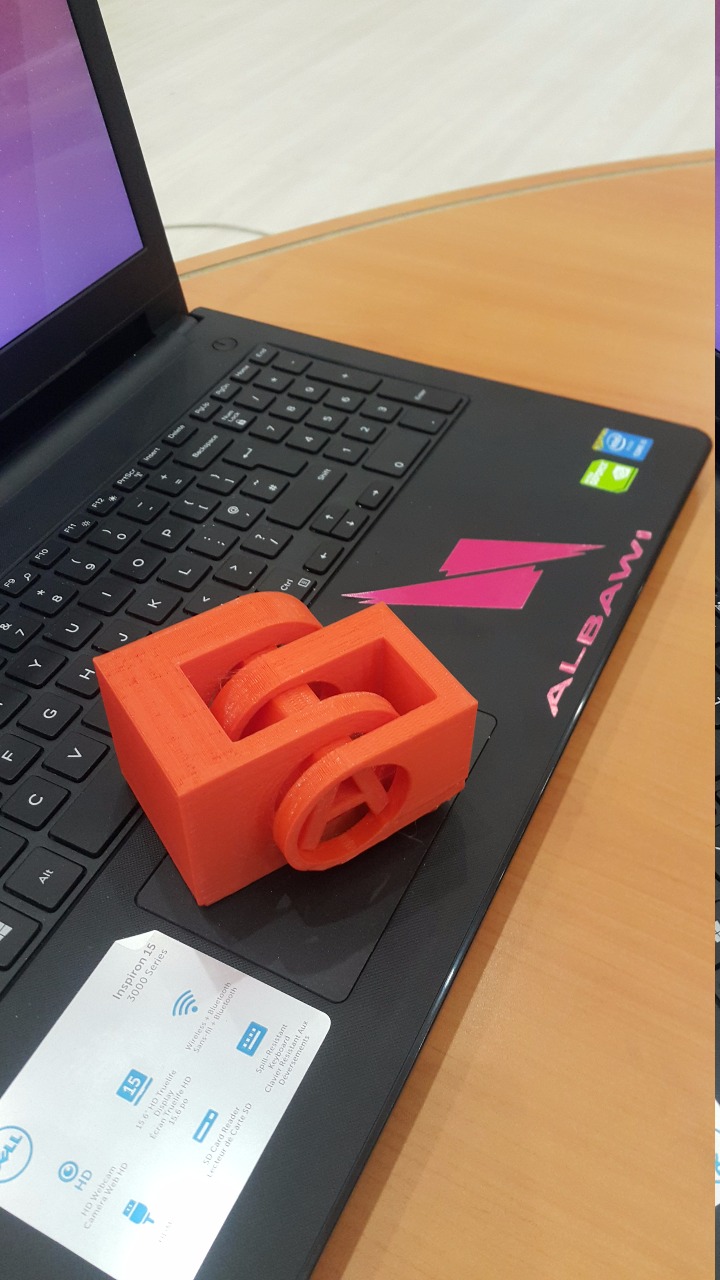
This is the final result of the 3D printing of my design. All my colleages liked it which made me pleased and happy.
The letter "A" is inside the object in this side which is tricky to know what it is actually.

An "S" letter is created on the top of the object. It is like a lock but it can not be adjusted becuase the "A" is grabing the whole thing.
I really liked 3D printing becuase it can convert anything inside you imaginary head into real objects.
Advantages of 3D printing and limitations
The advantages are the ability to create any impossible shape that could be created in a normal way. The 3D printing can produce objects inside objects. An example of that is to make a ball inside a box, or stairs inside a tower. As long as these objects are connected together, they can be made. However, the limitations of the 3D printing is on the object itself. We can not create an object which has two seperated parts. The 3D printer can recognize the object, but it can not see the other part of this object becuase it is not connected to it. What it does, is finishing the first part of the object, and then it will print on the air space and random wise due to the unknown area of that second object.
Problem fixing 1
My design was not a full one part. It was two parts due to a reason. Behind that reason is the size measurements of the objects. We have to becareful when attaching two objects together. The digits should be accurate to avoid the spaces between object with another. The holes or the extrudes should be exact and fixed with the next part infront of it. We need to use the measurement tool to check the inches and try to adjust it in a perfect way to be able to merge all parts together.
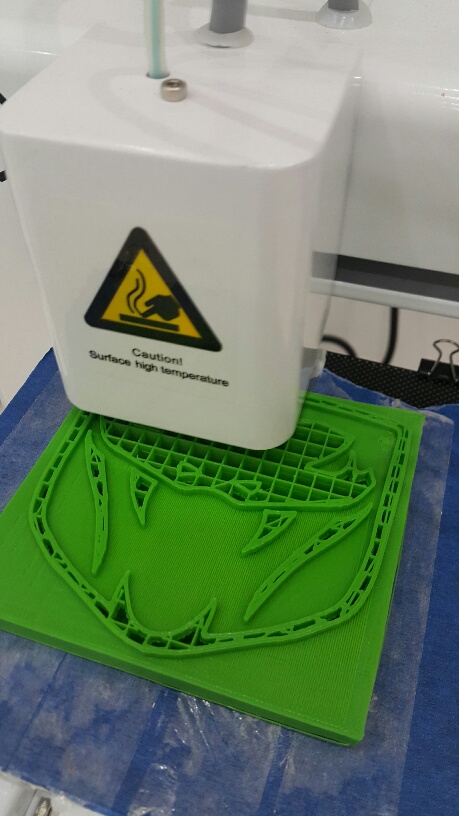
Problem fixing 2
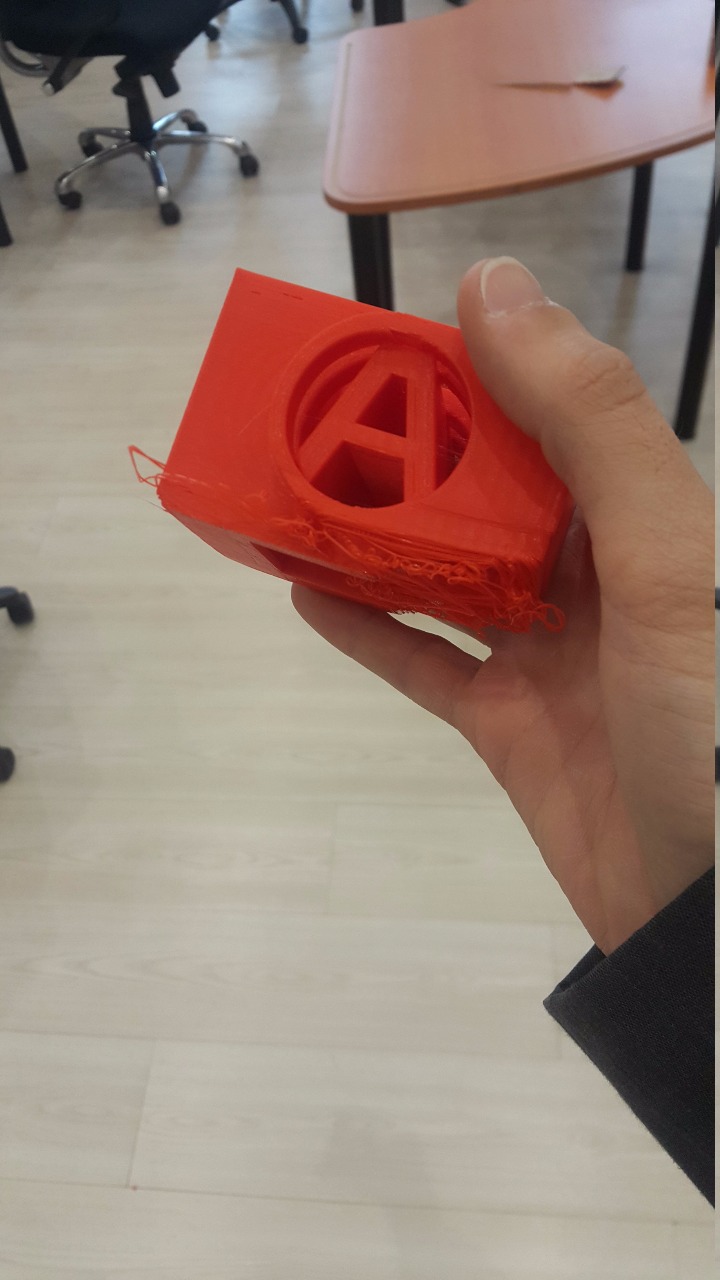
There has been a failure with the bottom side of my design. This is due to a reason. If the design is not flat at the bottom of it, and if there was more than one level of surfaces with different heights, this what will happen as it shown above. To avoide that, i need to put a support base using a software Realvision or Onshape by just putting a supportive base under it. It will be easier for the 3D printer to make the base of the design smoother.
3D Scanning
For the 3D scanning, I choose to scan my 3D object which is a small one.
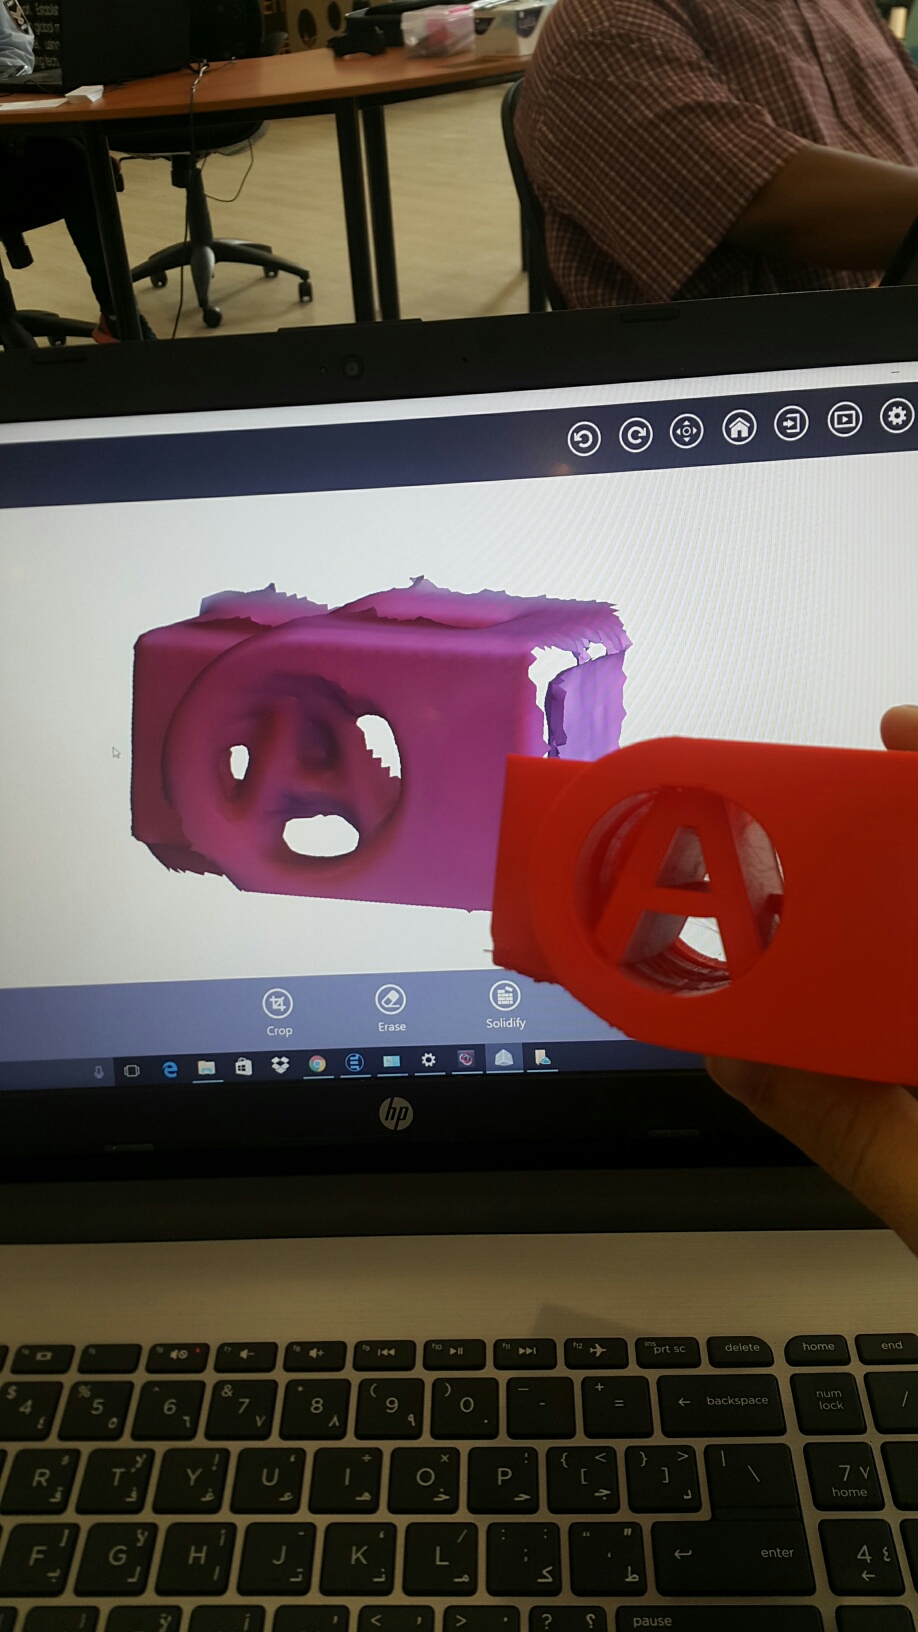
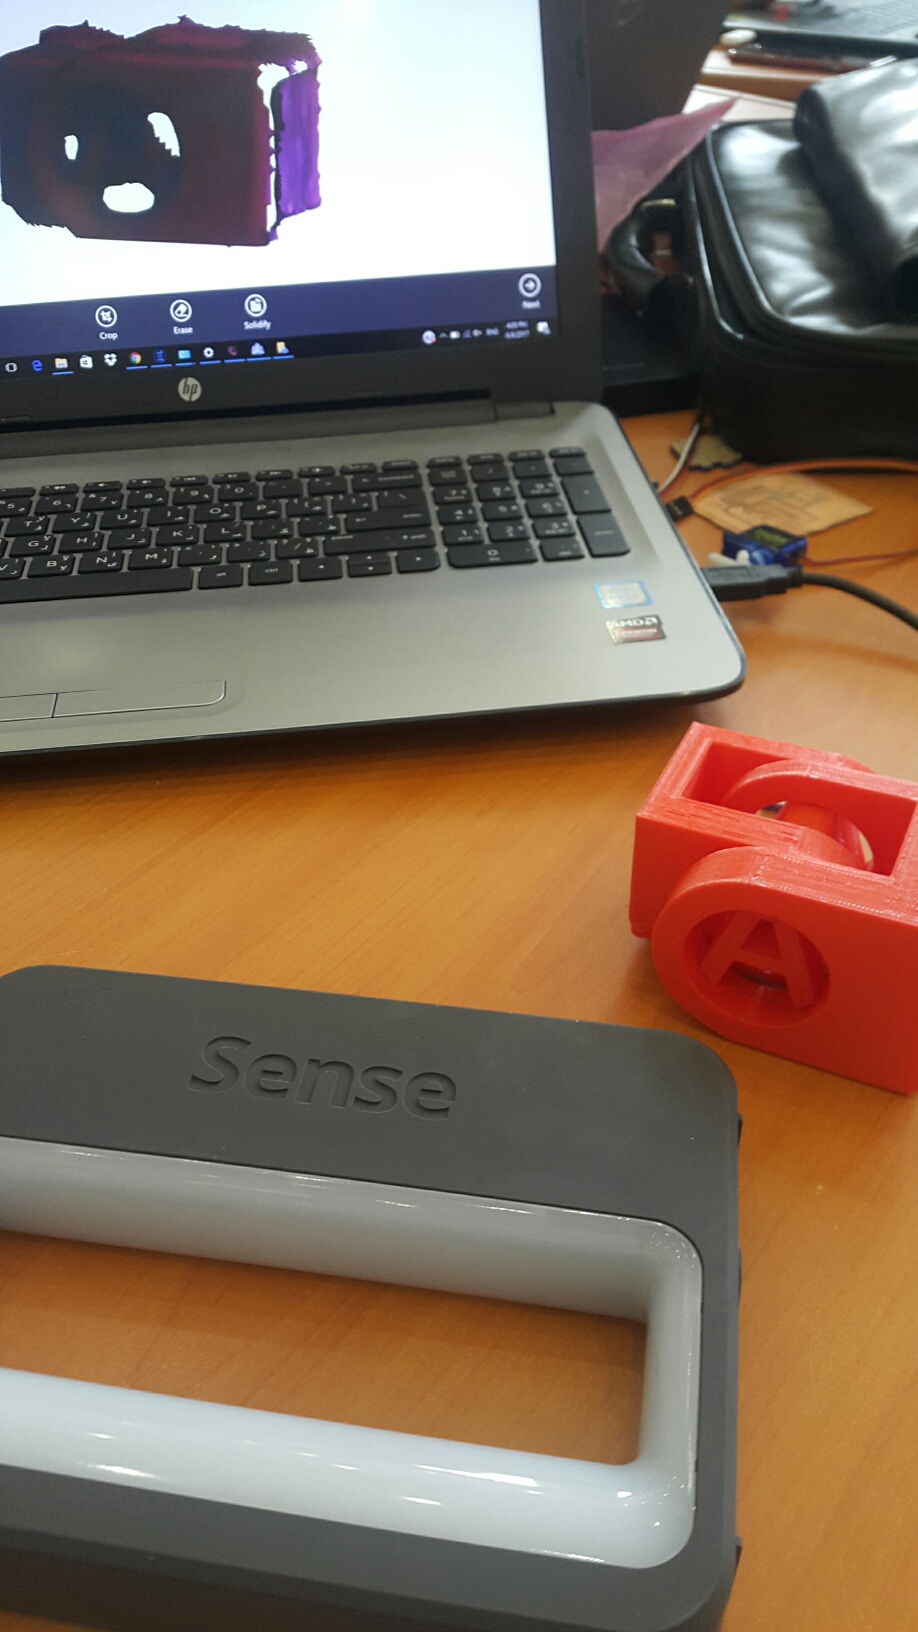
It is not accurate due to the lack of experience and practise. If the object is big, it will be easier to scan. But if it is small in size, it will be difficult.
I have learned
1) design 3D shapes.
2) Converting files from STL to Fcode to print.
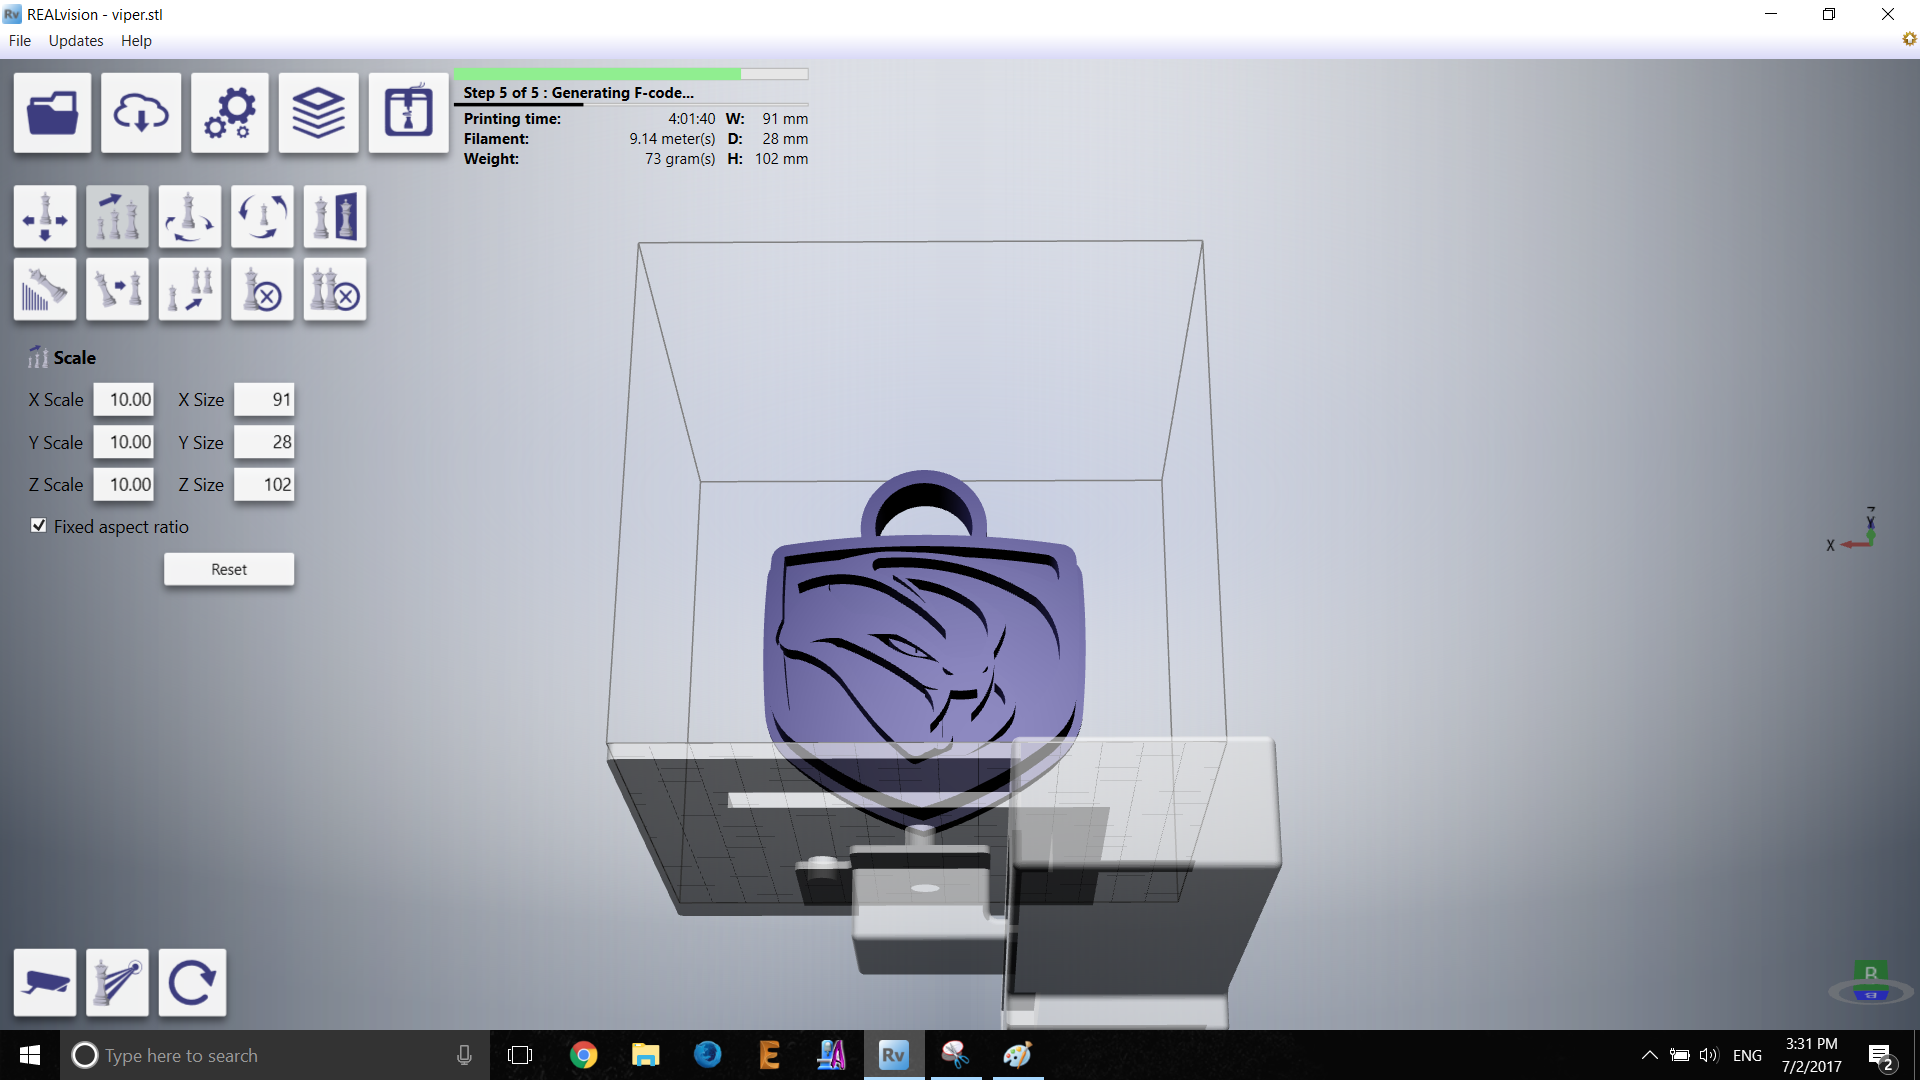
I just open my STL file inside the RealVision program, and press the .Fcode coverting button on the top left.
Personal and Fun design
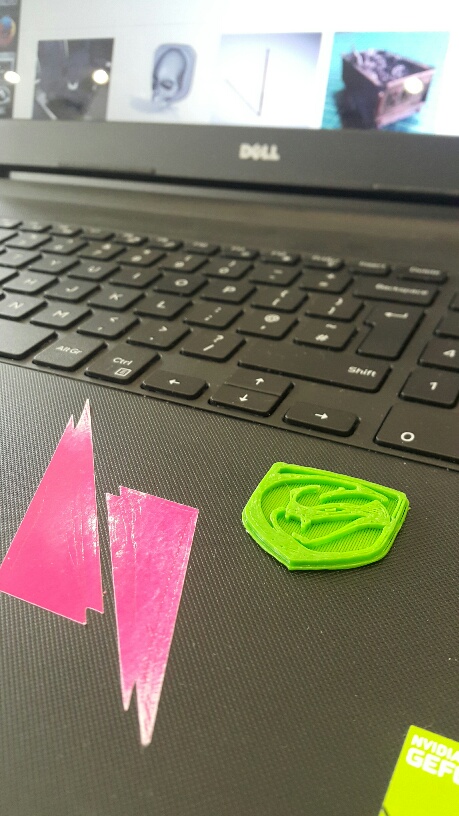
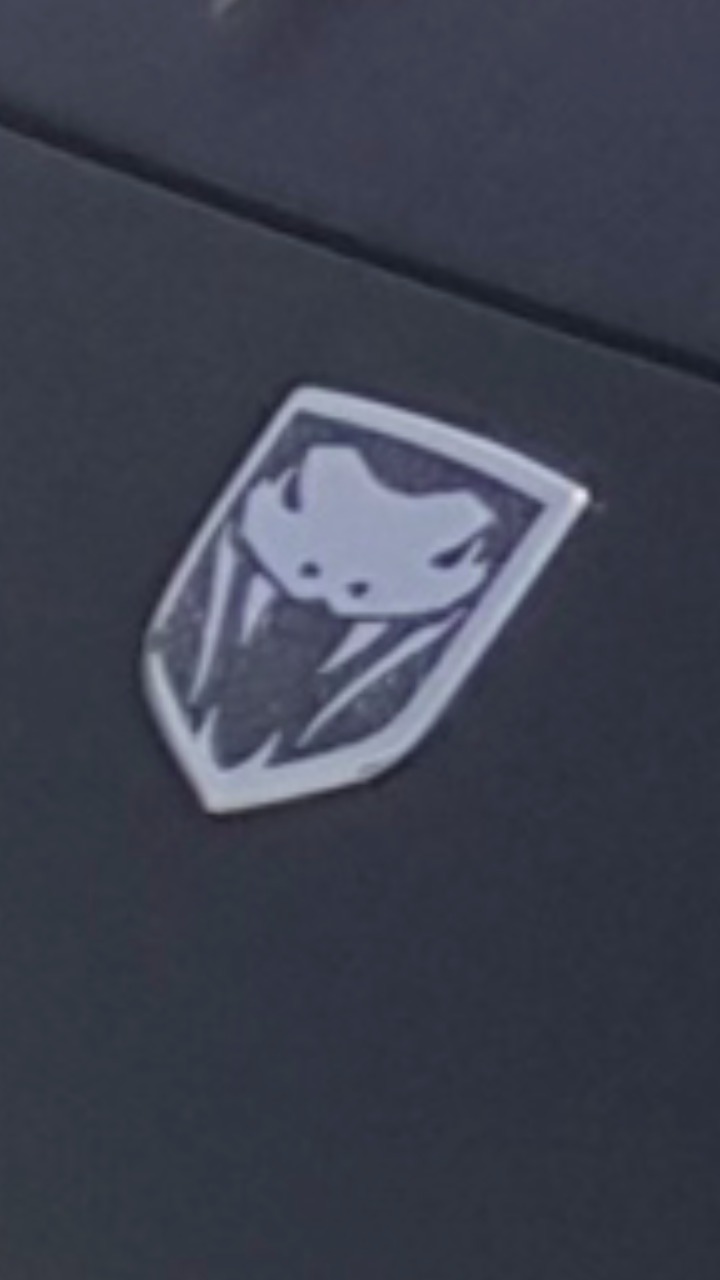
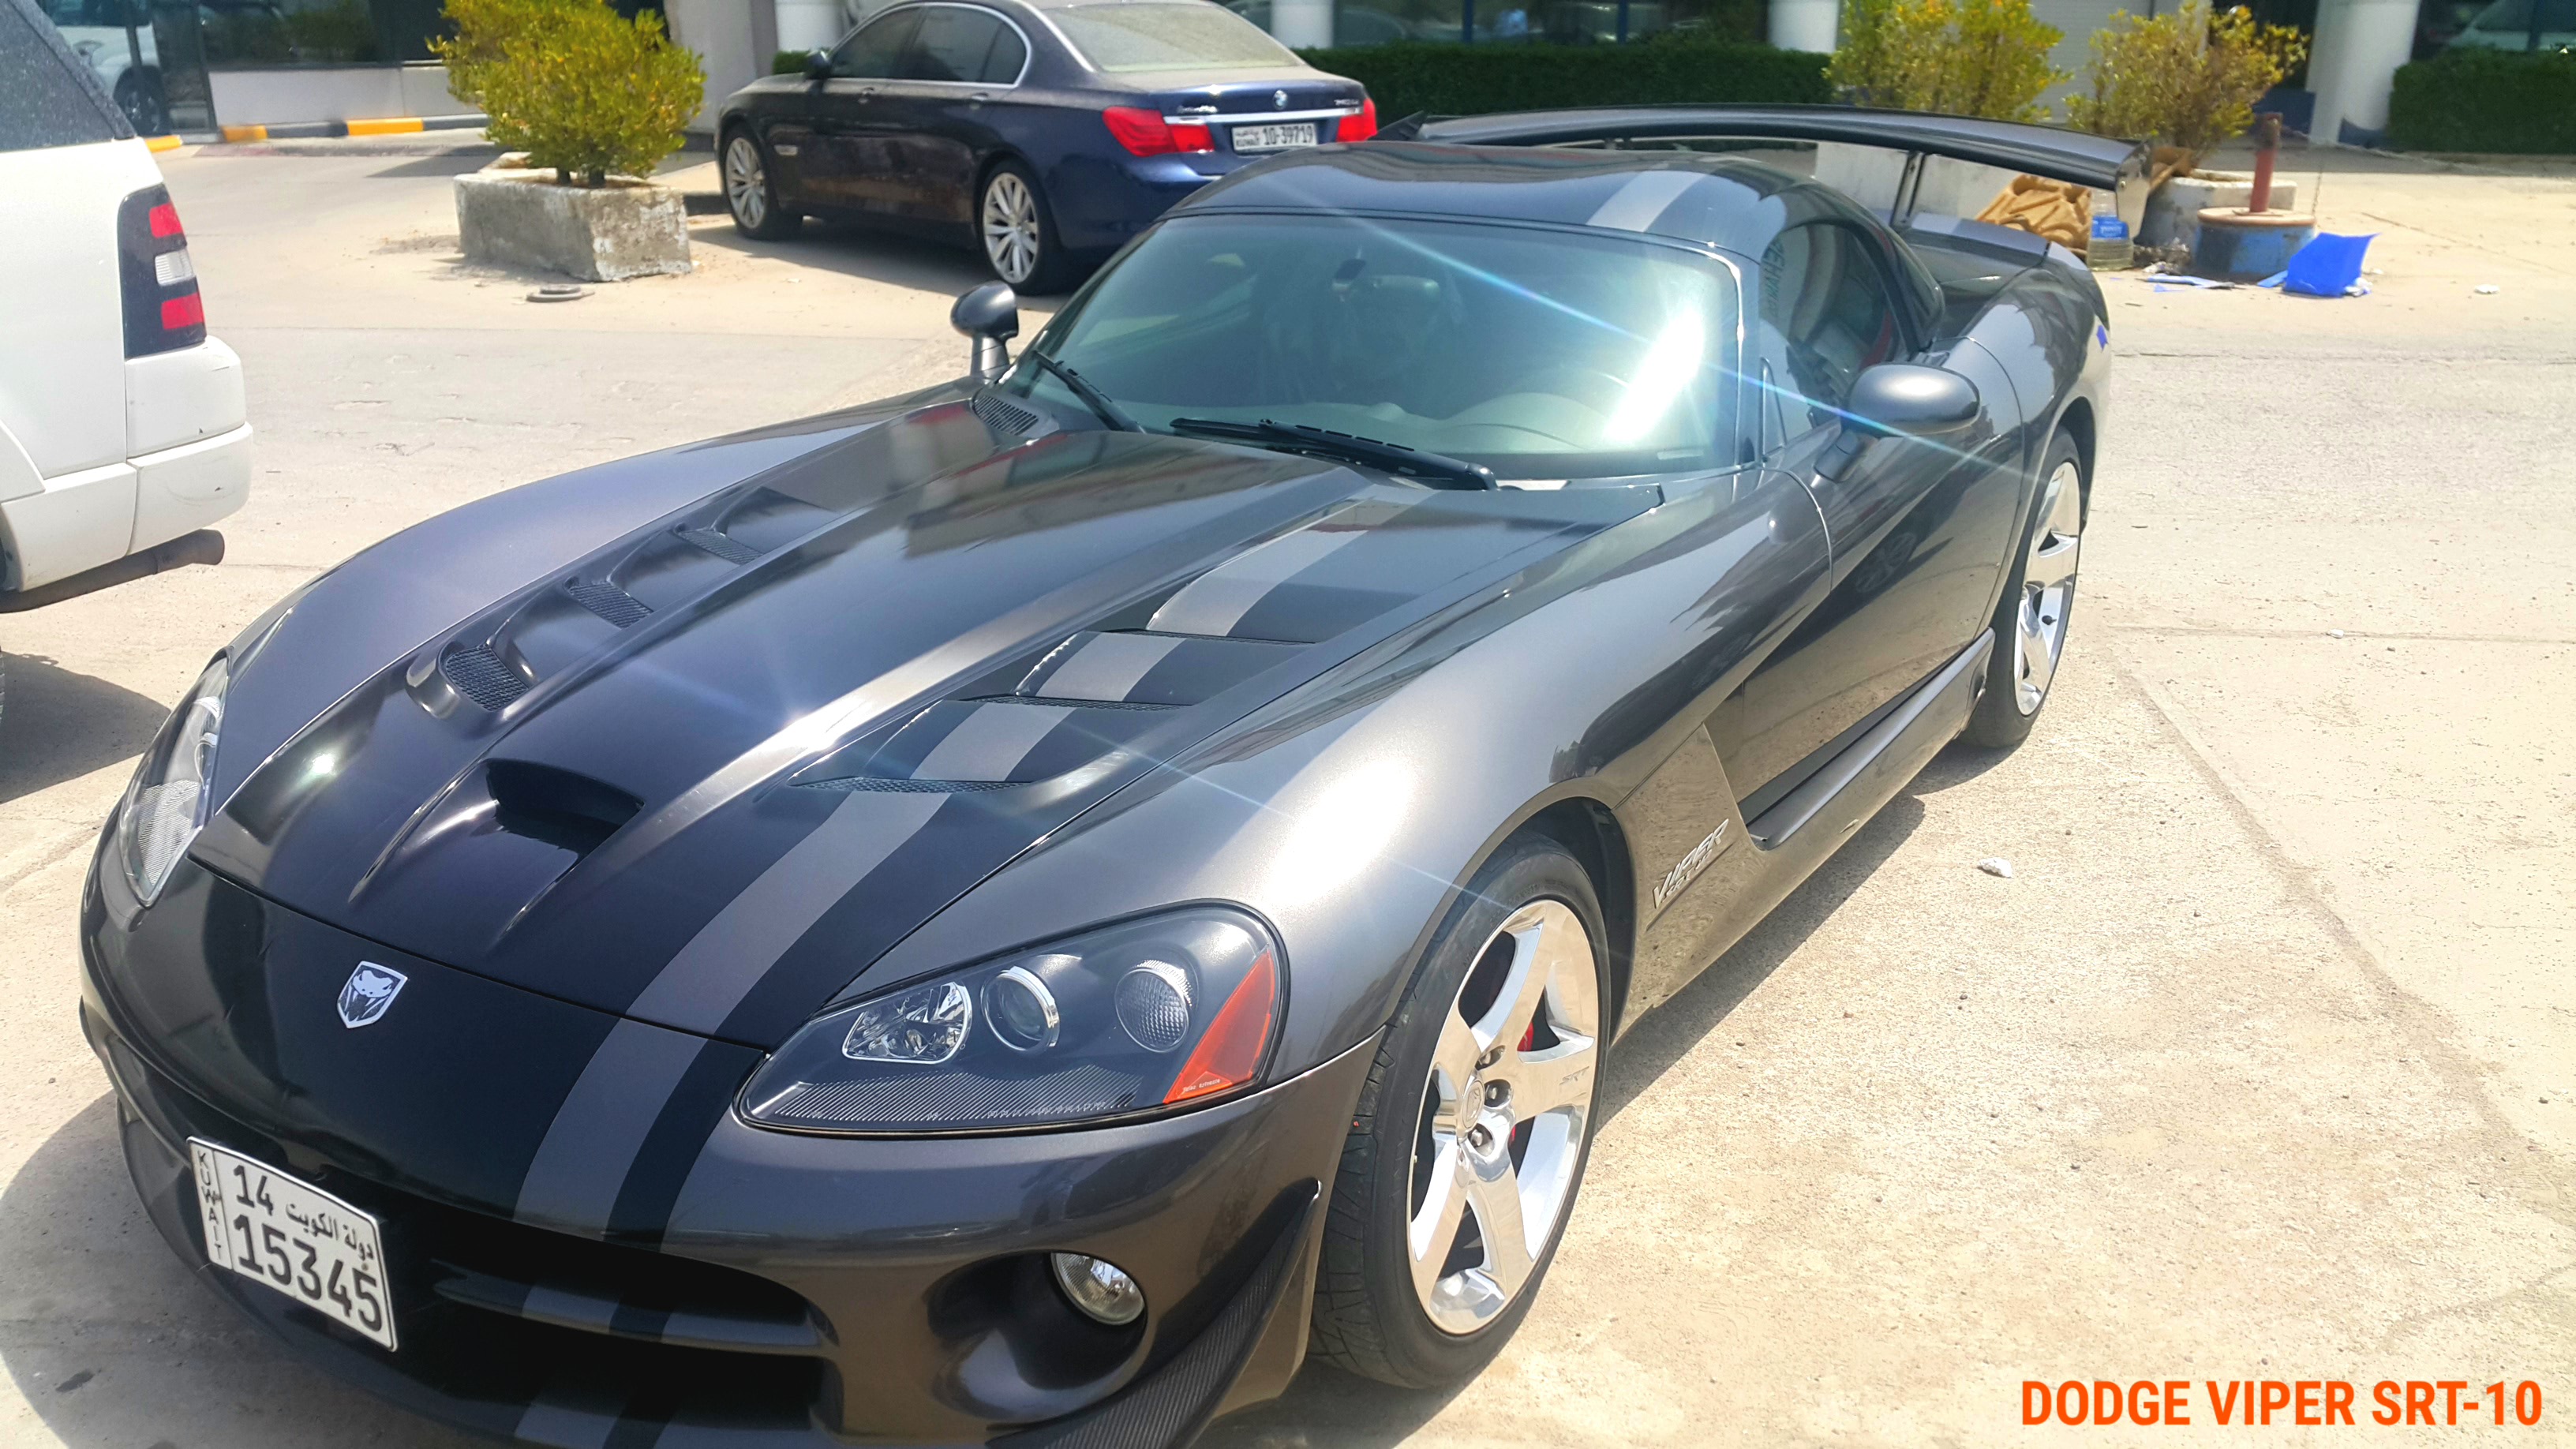
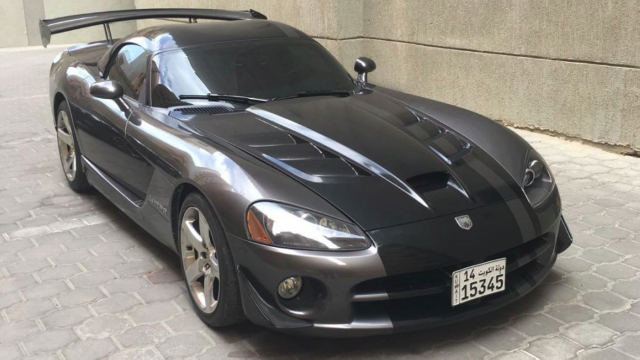
I want to make a logo of my car which is the Dodge Viper.
It tooks over 5 hours to make the logo becuase it is not small.
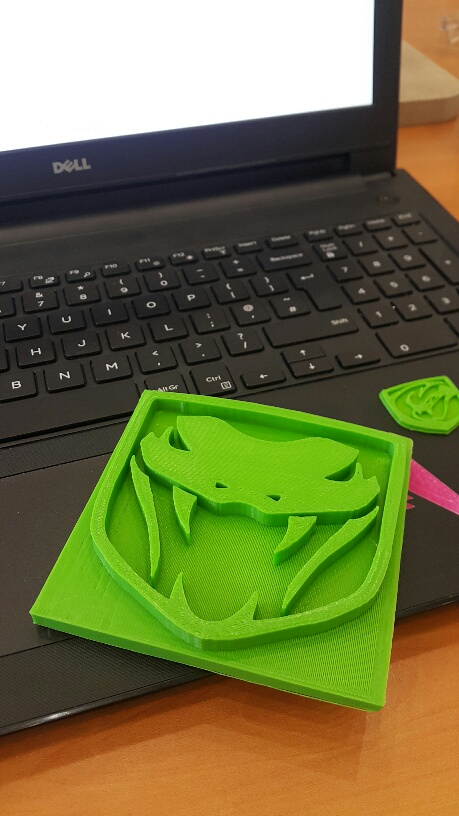
To be honest, I have downloaded this design from www.thingiverse.com
Not for sale
My Final Project Design
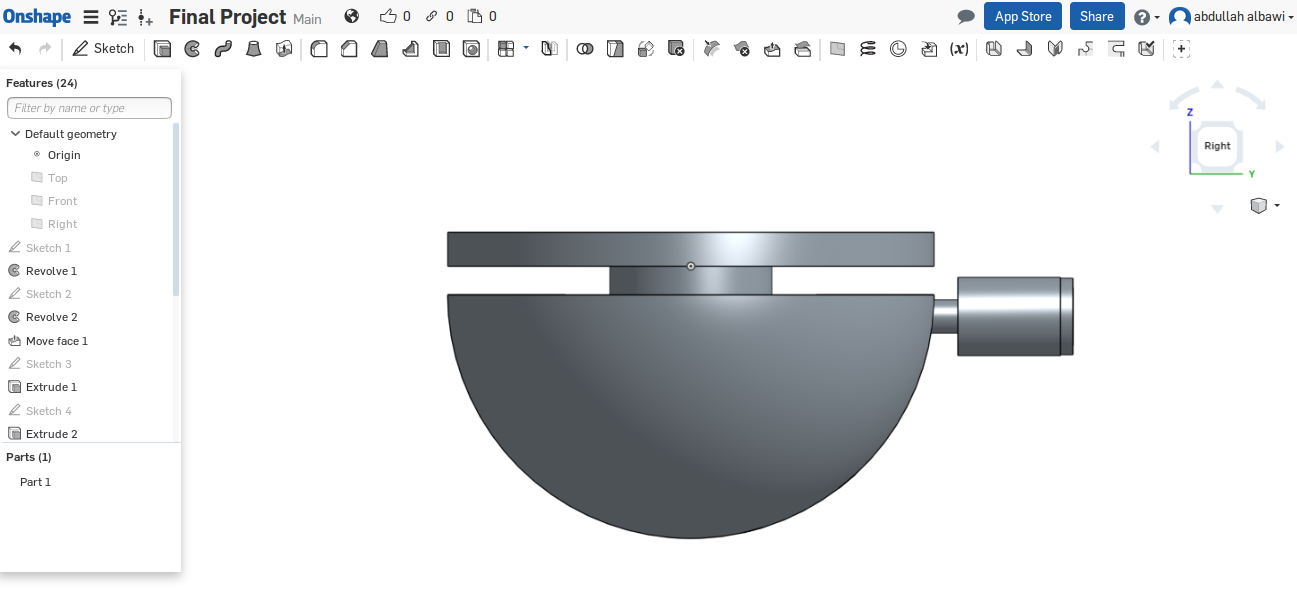
The final project should be like this. It looks like a cannon but it is not.
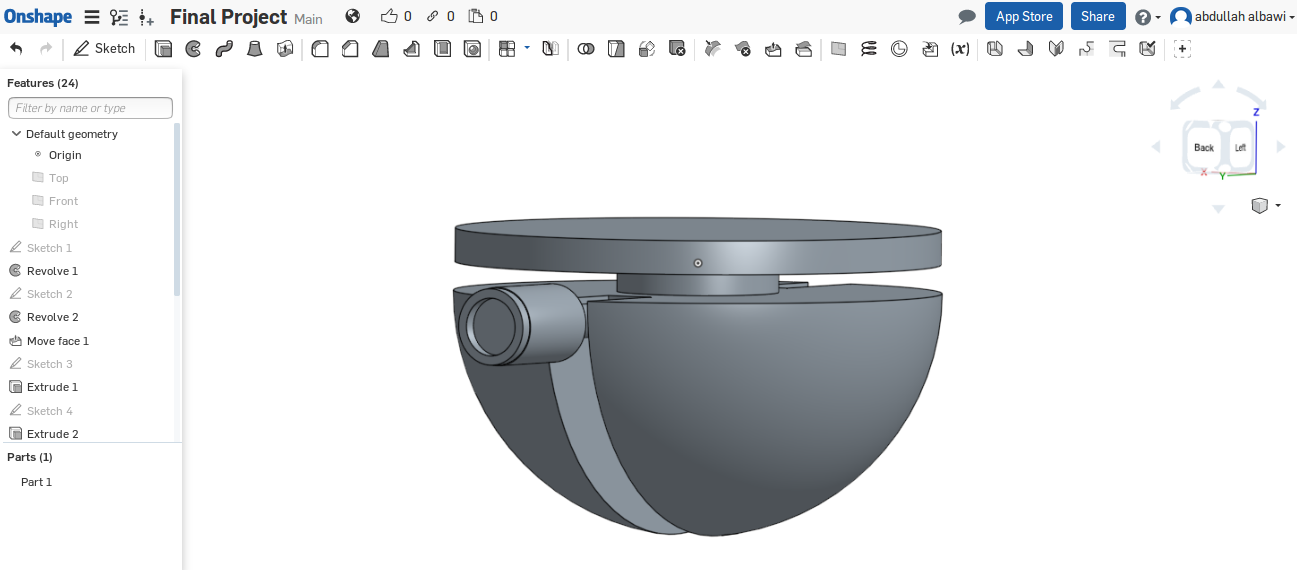
It is a laser controlled by an application.
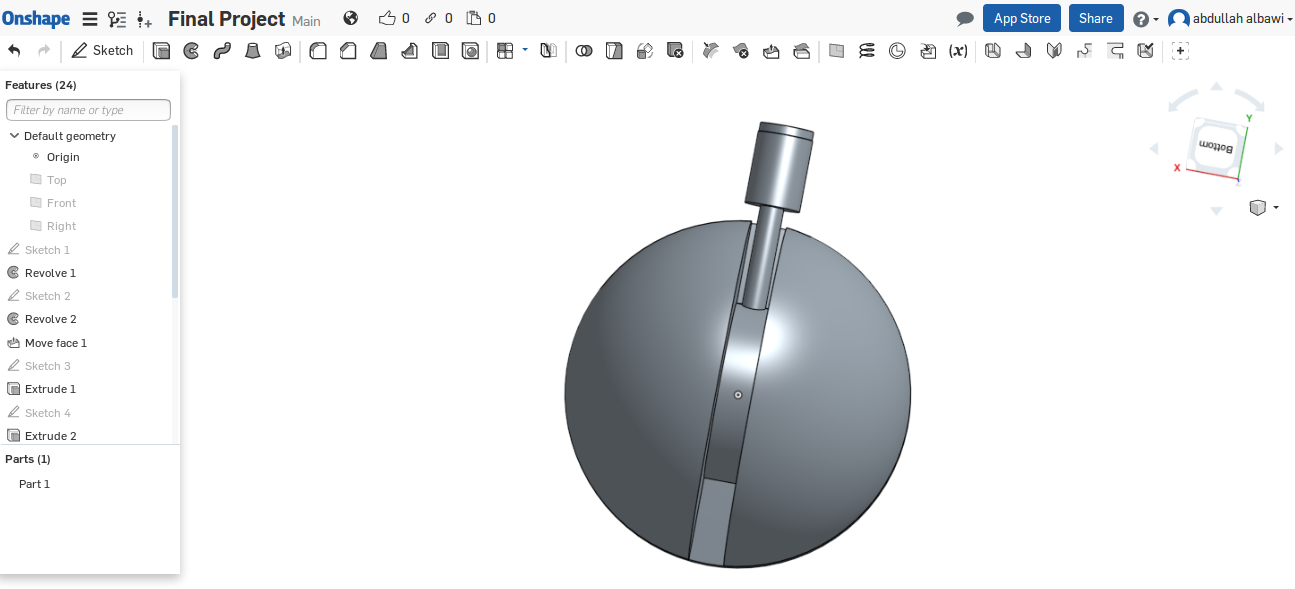
Two angles are the secret of the movements of the laser itself. A 360 degree parallel with the X-axis. And a 180 degree half circul movements. This will create a full movement to see every position accurately.