Assignment
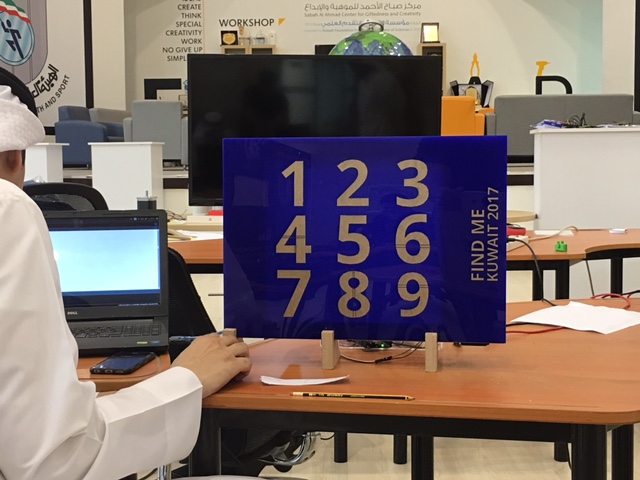
About our Project
My contribution
My contribution is the designing and the making of the project. For the electronic part, I made the wiring and PCB box to protect it from outside factors, which has the color of transparent. And for the 3D design, I made the bearings for the motor to be able to make the movement smoothly. So the two parts I made are the following:-
1. The Wiring Box.
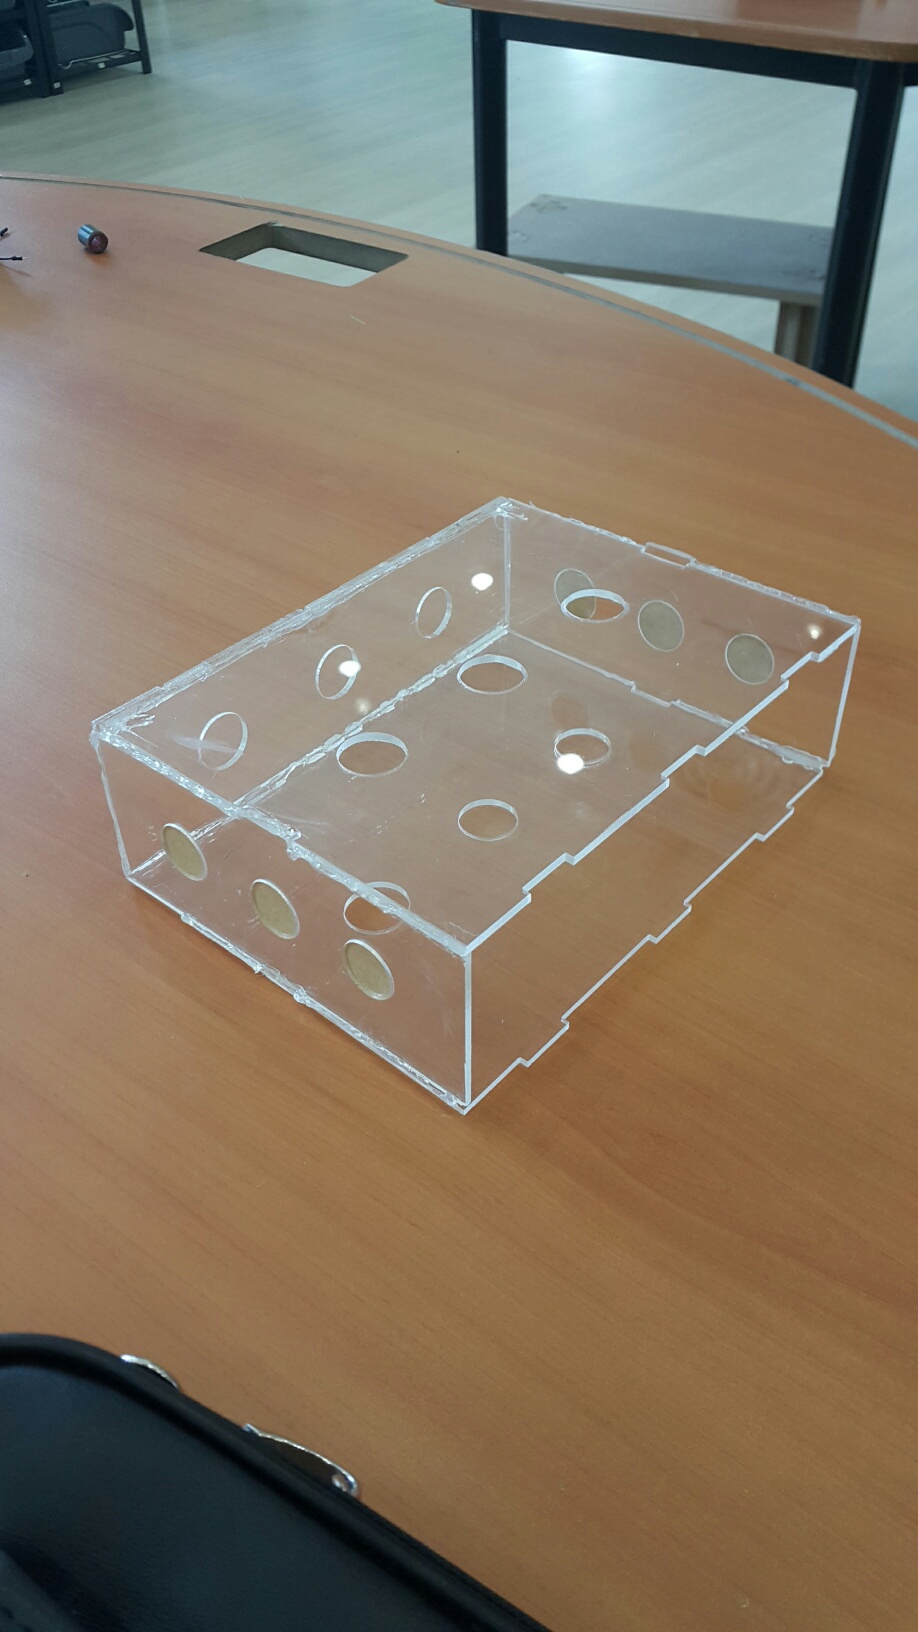
Onshape Wiring Box Design By using the Onshape, I will design the box for the wires of our group project. The purpose of this box is to gather all the wires that are creating chaos of the project. It will organizes the apperance of the project and makes nice. We have chosen the transparent color of the box to see through it the wires.
We have to be careful when designing the sides of the parts to be attached with the other parts. There will be wholes and teeths on each part of the box.
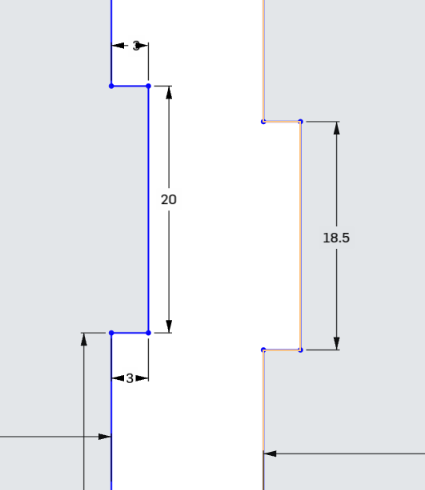
In order to create a perfect box that all of its parts fits with each other, I made the teeth bigger than the whole to make the fitting more tighter and create a strong hold.
The teeth is 20cm and the whole is 18.5cm. There will be a 0.15 difference between them. If both of them have the same size, they will be loose. On the other hand, we have to be careful when measuring the distances between each teeth to another for the other part to fit. At the end, we want to have a perfect measurement for the box.
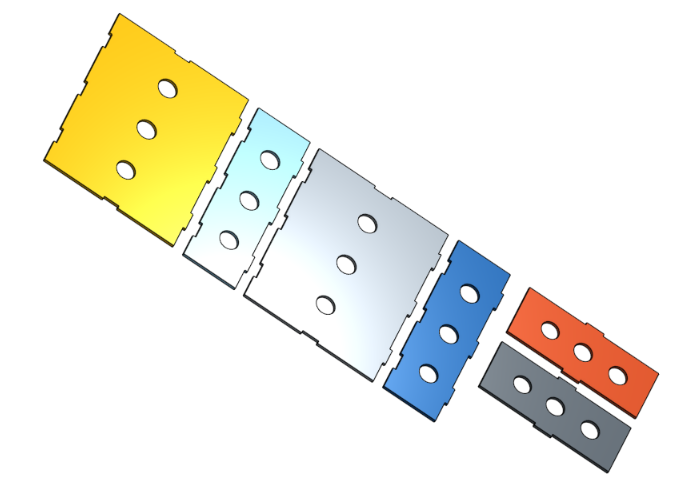
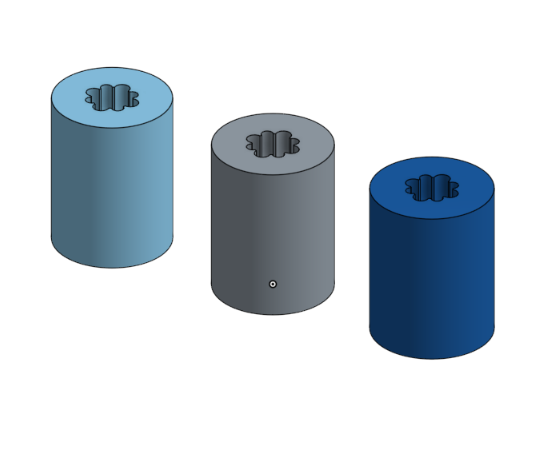
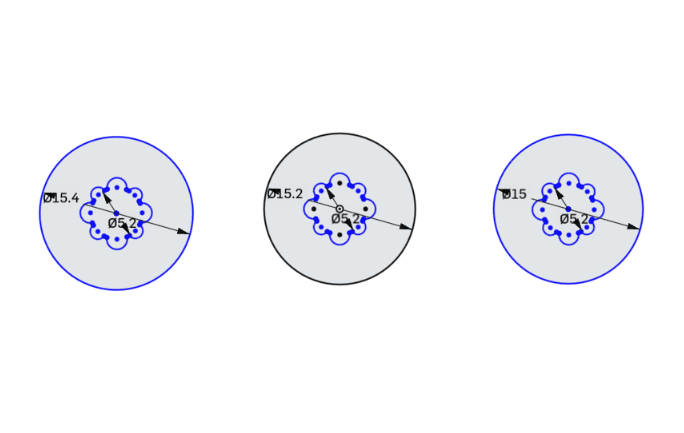
Onshape Bearing Design By using Onshape, i have created more than one sample for the bearings. The differences are the sizes. I did this because when printing the design, the size would be not the same inside the software due to the 3D printer material, tempreture and status. So after printing, i try all the bearings i have printer and choose which one fits.
The sizes i have put for the hole are fixed with 5.2mm and the height is 2cm. However, the size of the outter layer are different which are 15mm, 15.2mm, 15.4mm.
Download the design Files
2. The Bearings.

The Wiring Box
The Bearings
Logo