
- This week's lecture : Lecture
- Fab Tutorial Link : Tutorials
- Fab Tool's List : Tools List
Assignments:
- design a 3D mold, machine it, and cast parts from it
What I did this week?
- Designed 3D model of object for casting
- Milled the object on wax
- Created mould
- Created metal object using the mould
In this week our assignment is to create a 3D model of an object and mill the design and build a mould for the corresponding design. Then we have to cast the object in plastic or metallic material. I decided to try metallic casting first and then try with plastic if there is enough time.
3D Designing
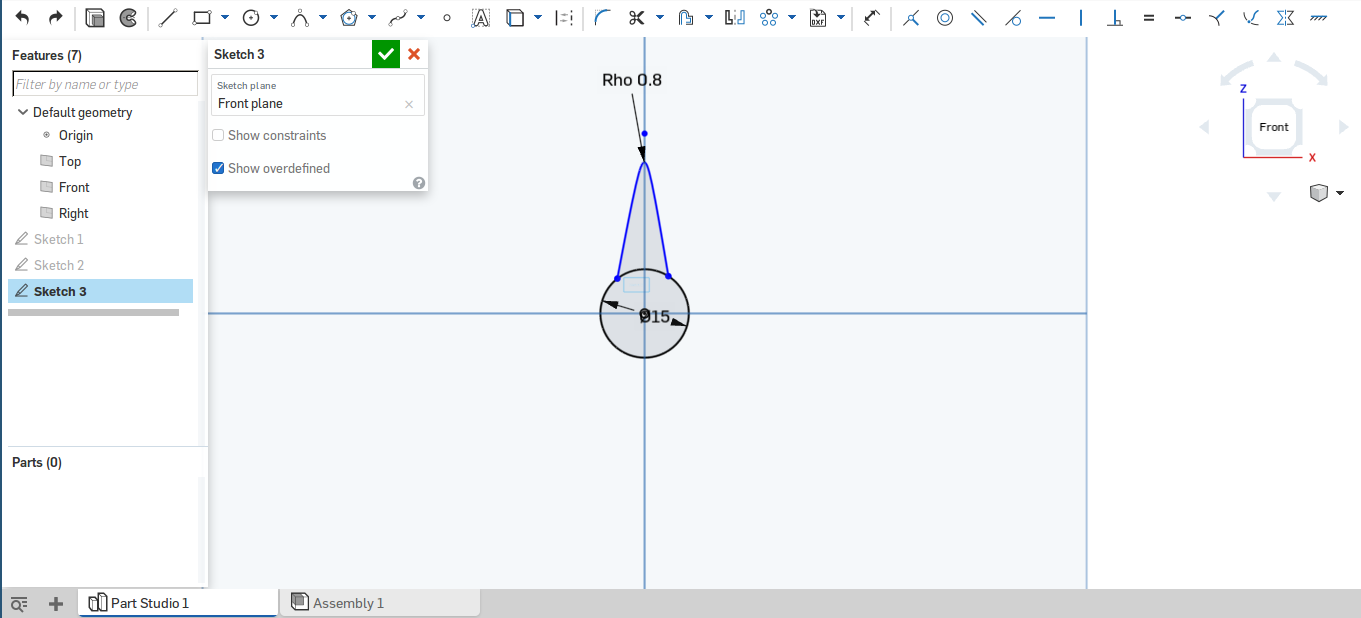
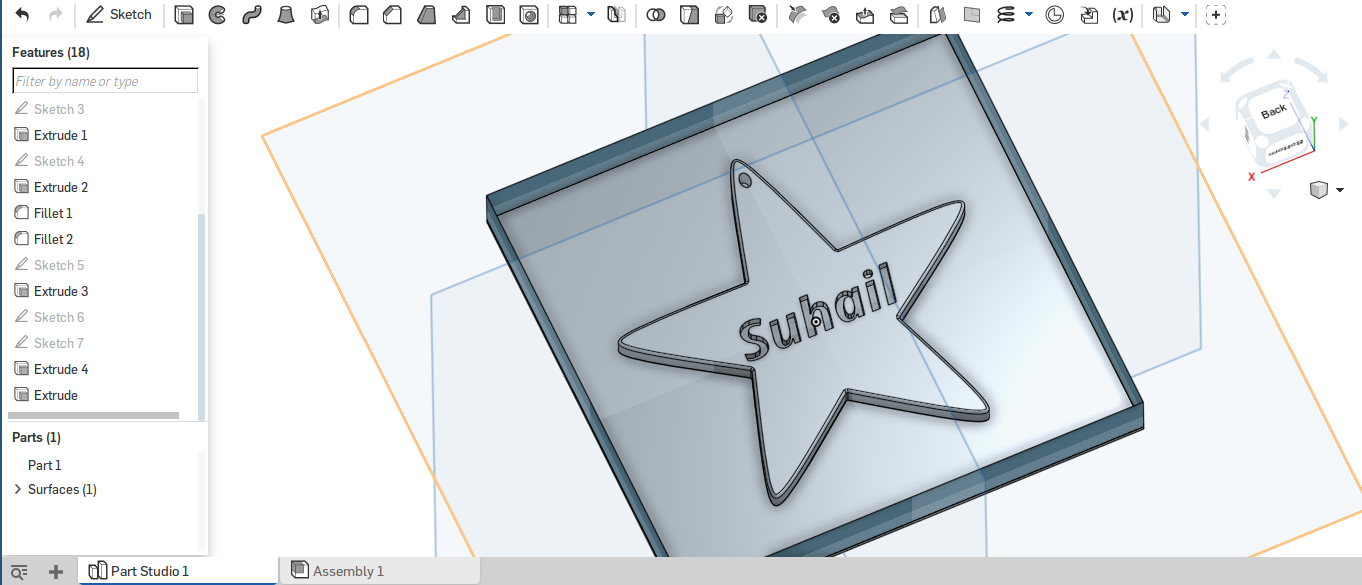
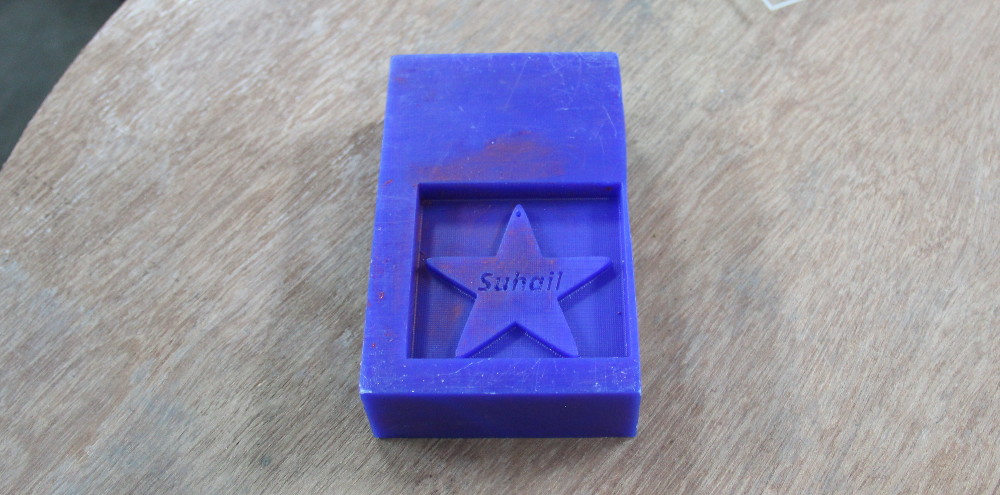
I was planning to design a star shaped keychain. I started designing in Onshape. I first created a circular shape and a single leaf of star shape.
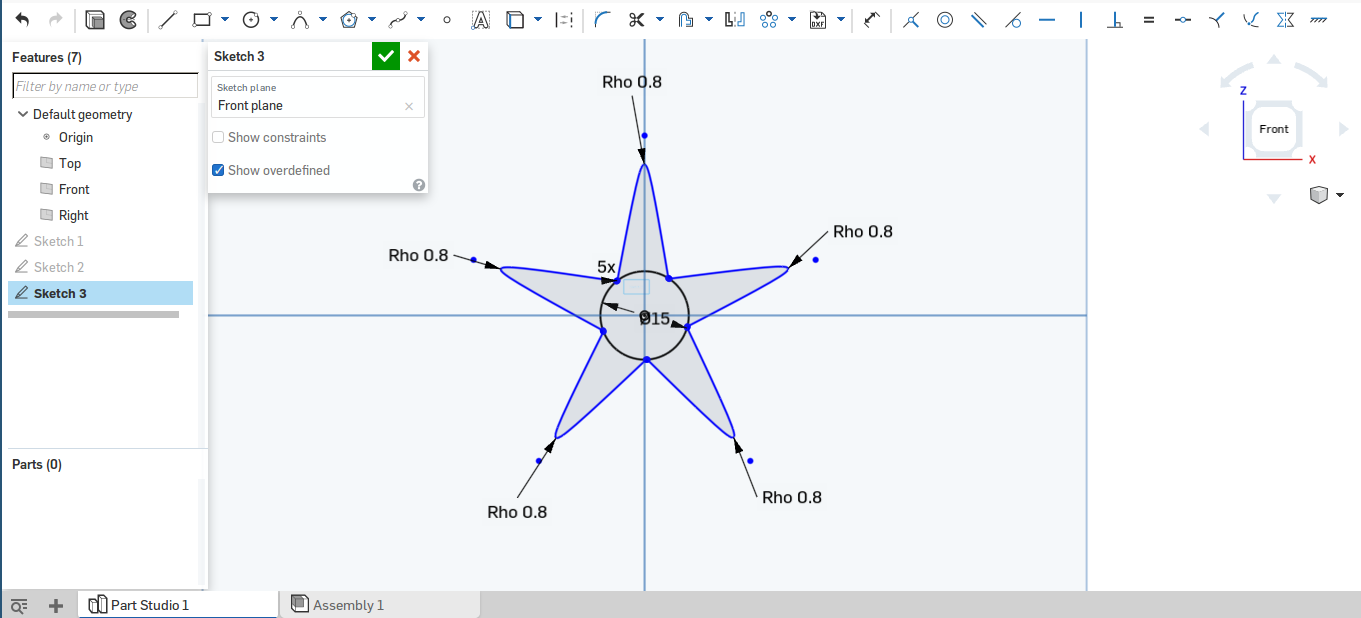
Then I used circular pattern tool to created 4 more copies of the leaf around the circular shape.
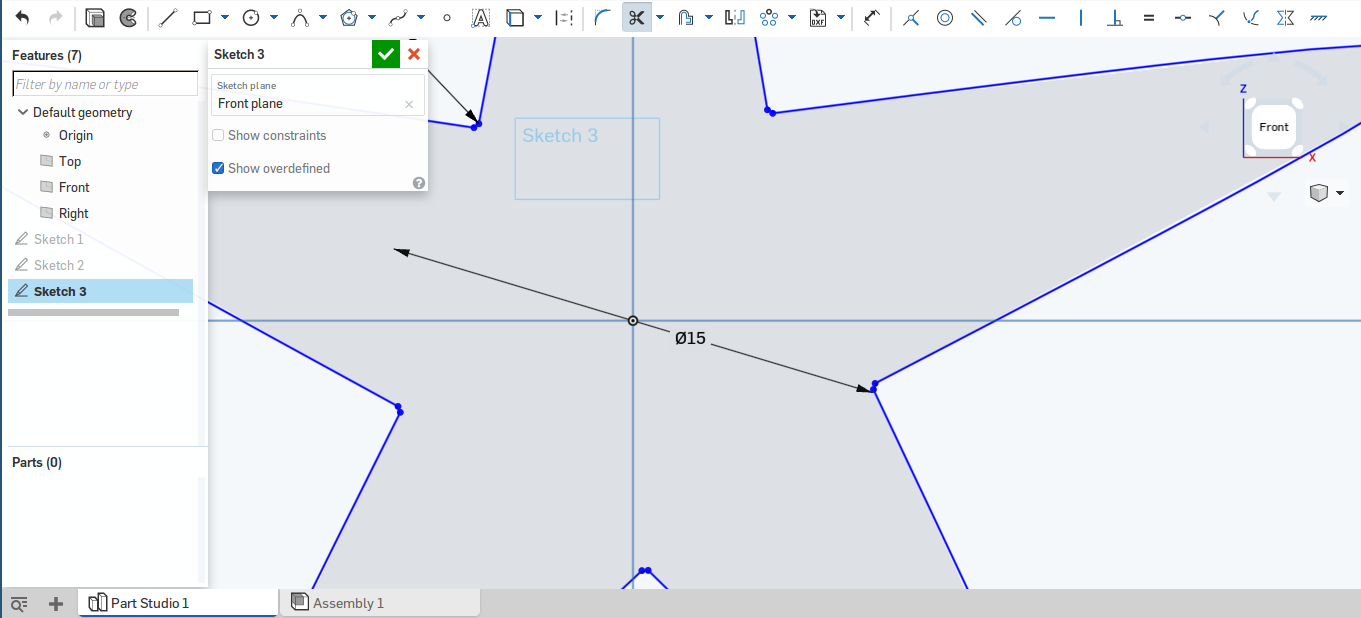
Now removing the unnecessary parts from the circle.
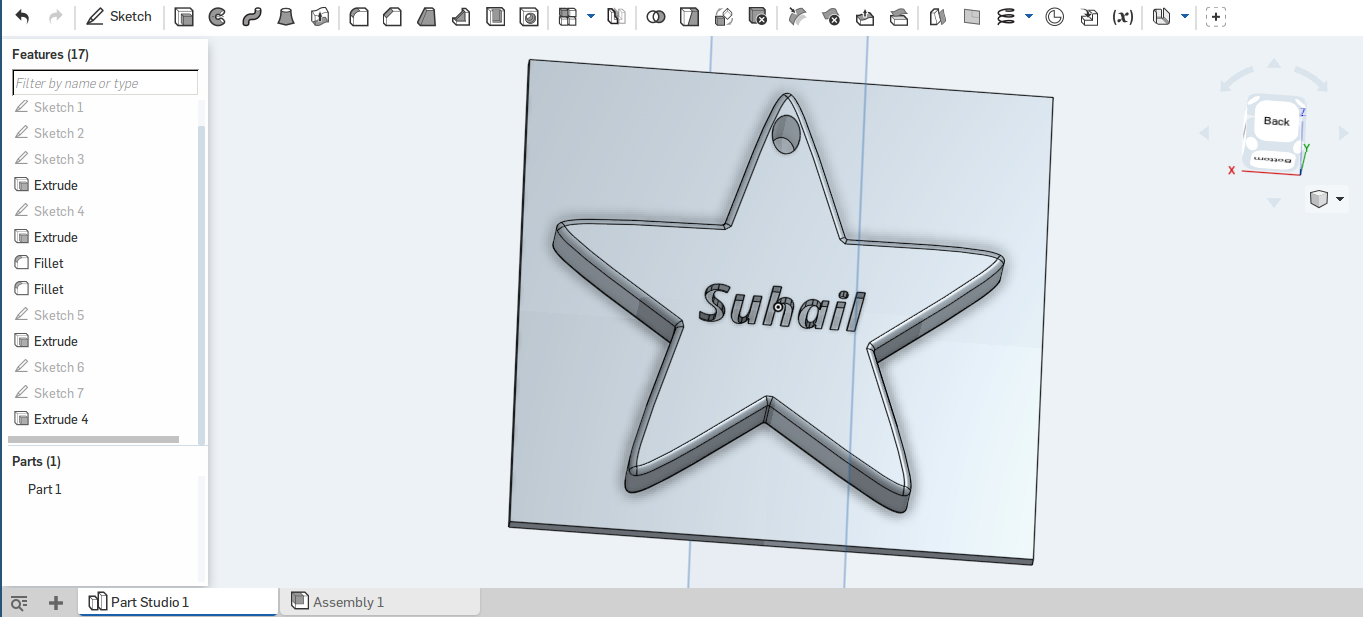
Then added a hole, fillet, a text(my name), and a base.
Milling
Next step is to mill the design in wax. I used modella machine for this. Milling was done in 3 steps. First a rough cut was done using 1/8 flat end bit. Then a fine cut was done using 1/8 ball end bit. Since the text written on the design is very small, another fine cut was done using bit of size 1/32.
For doing the rough cut I connected the 1/8 inch flatend bit into modella head. Wax piece was fit using double sided tap. I followed the following steps.
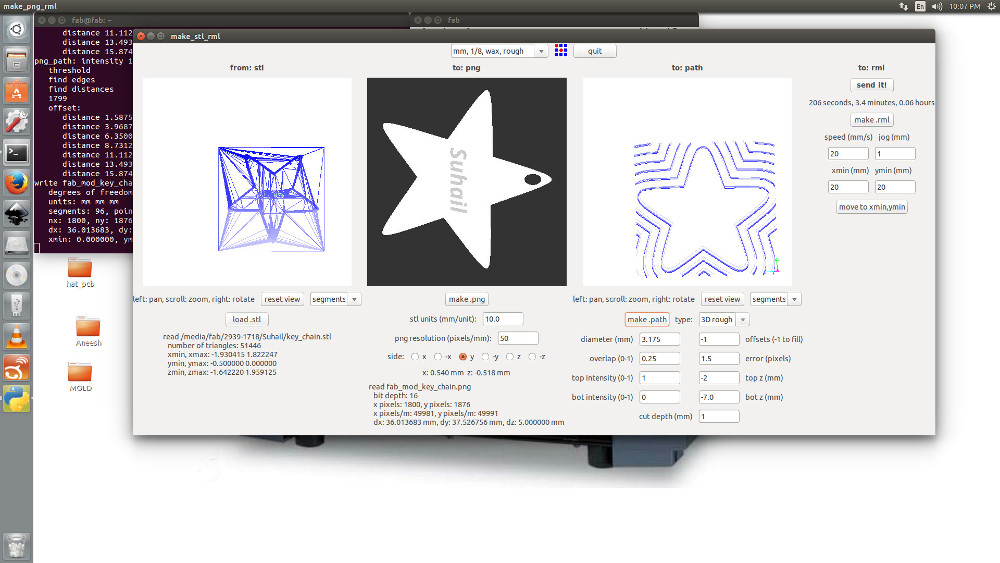
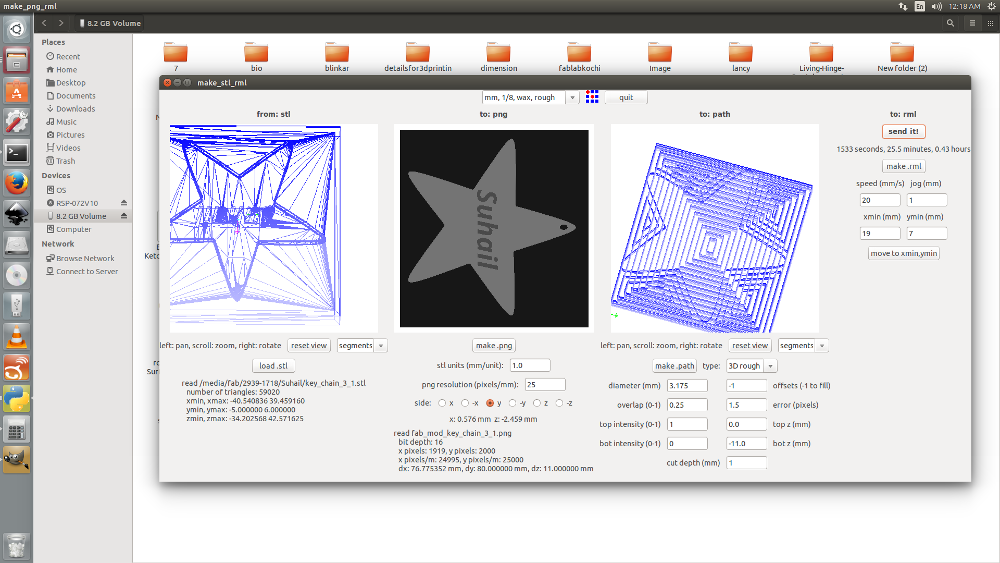
Opened the fab module and selected .stl file as input and modella as machine.
Set x,y and z values for the machine.
Loaded the stl file using the button and click on make png button for generating the corresponding png file, which is a black and white image representing height of each section.
Make sure all values are correct and click on make .rml button and then send it.
Begin milling
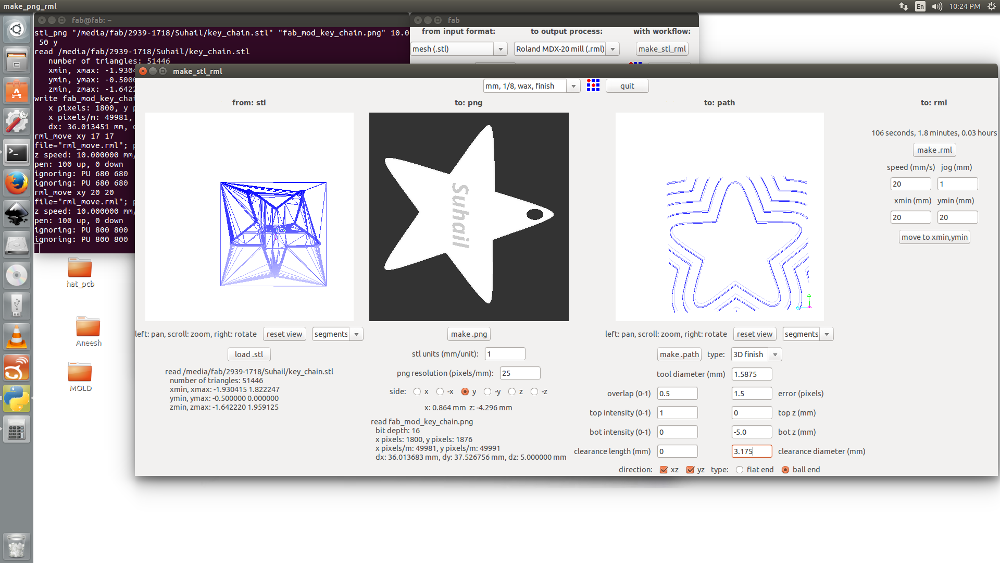
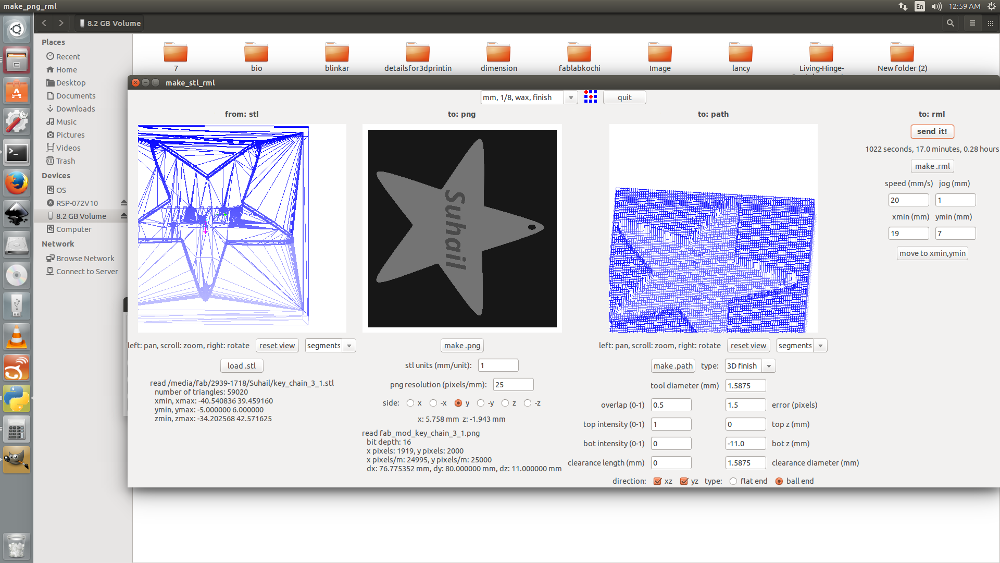
For doing the finish cut I used the ball end bit of size 1/8 inch. Same steps as above were followed.
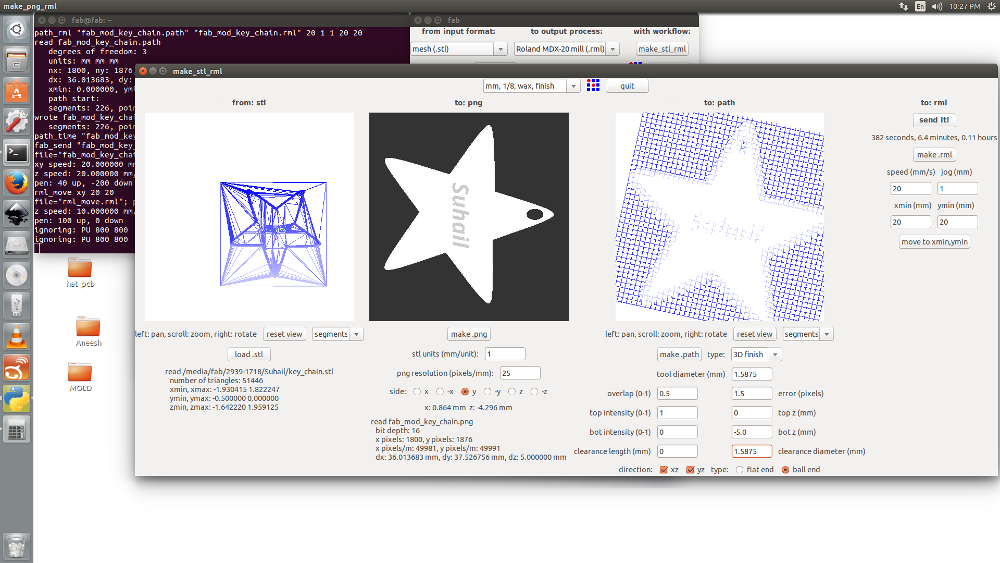
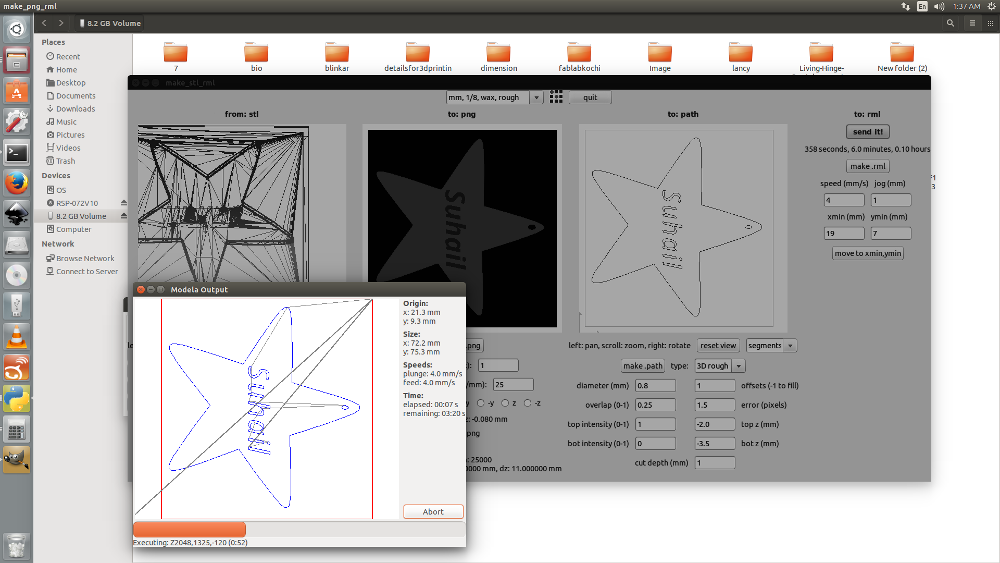
For getting the text on the designing 1/32 inch bit was used.
Note: Fab module has no option for selecting1/32 inch bit. So we have to change the tool diameter and clearence diameter from settings. Screenshot is below.
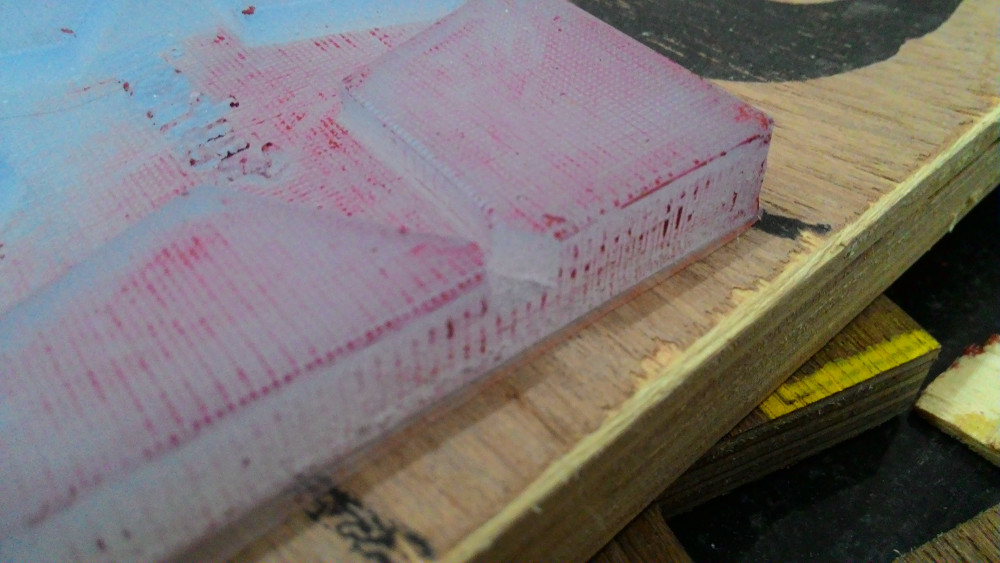
Wax
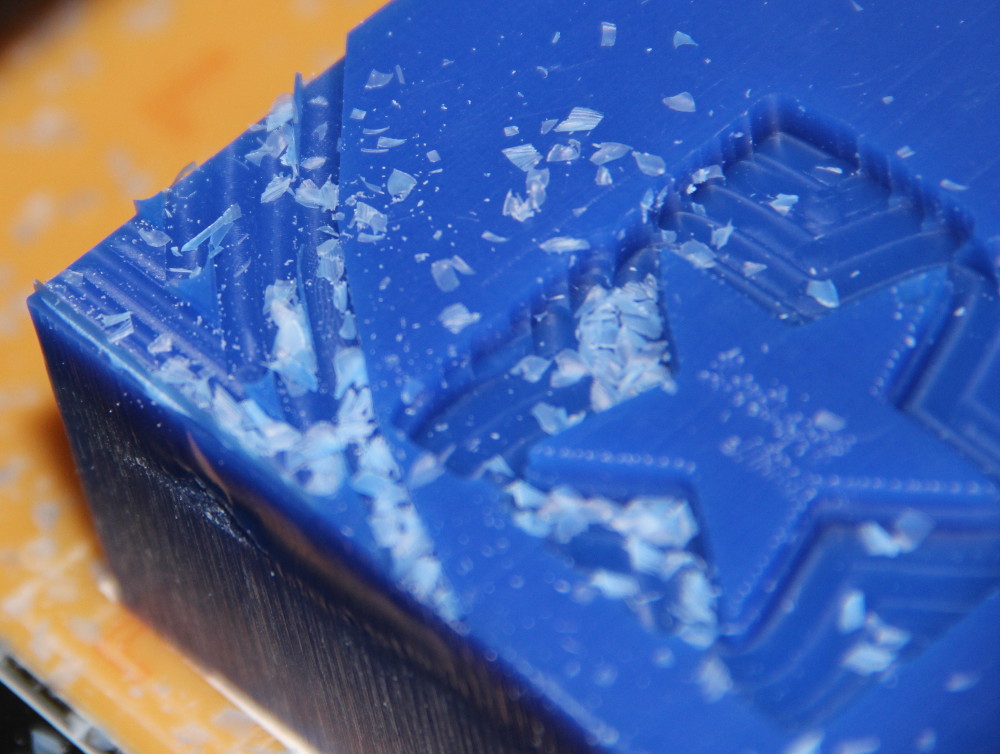
So here is the wax after the milling.
Problems
- While milling with 1/32 inch bit I forgot to set back x and y values to original position (I had changed it for setting z value for new bit). So, if you check my wax image, you can see another text below original design :(
- Text was not at all clear, so decided to increase the total design size. I guess it wont look like key chain any more. But its okay.
- Top surface of wax and the design milled was at same level. So I wont be able to make the mould. There should be some depth. It happened because I hadn't put walls for the design. I added walls on four sides in new design.
- I had issues with the units. png image size was wrong initially. Then I had to change 'stl unit' option to 10. Then the issue was resolved.
Redesigning
I added a wall of small thickness on 4 sides. Height of the wall is more than that of the design. Total design size was also increased.
Milling the redesigned file
Here are the screenshots
1/8 inch bit - rough cut
1/8 inch bit - finish cut
1/32 inch bit
Creating mould
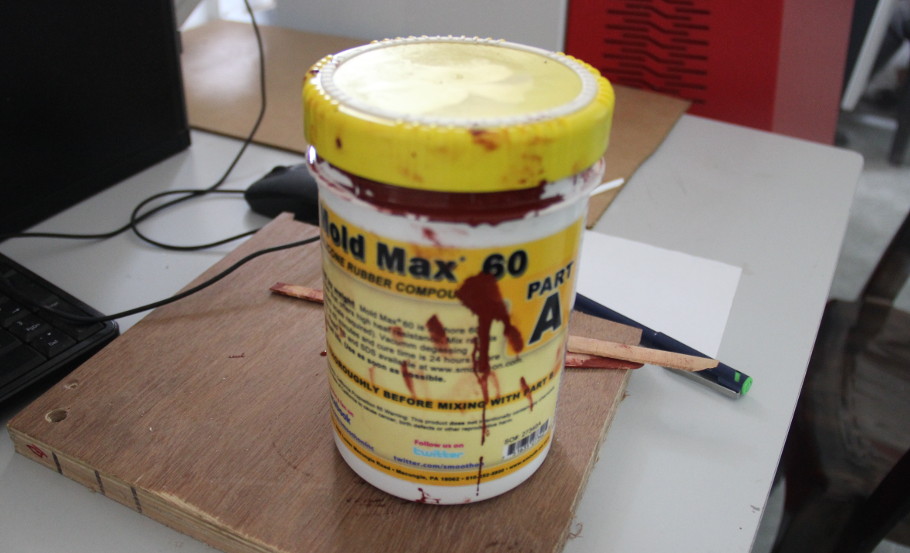
To create metallic part, first I need to create a heat resitant mold using this wax. For this, I used Mold Max 60 high heat resistant silicon rubber compound. The ratio to be mixed is 100A to 3B by weight.
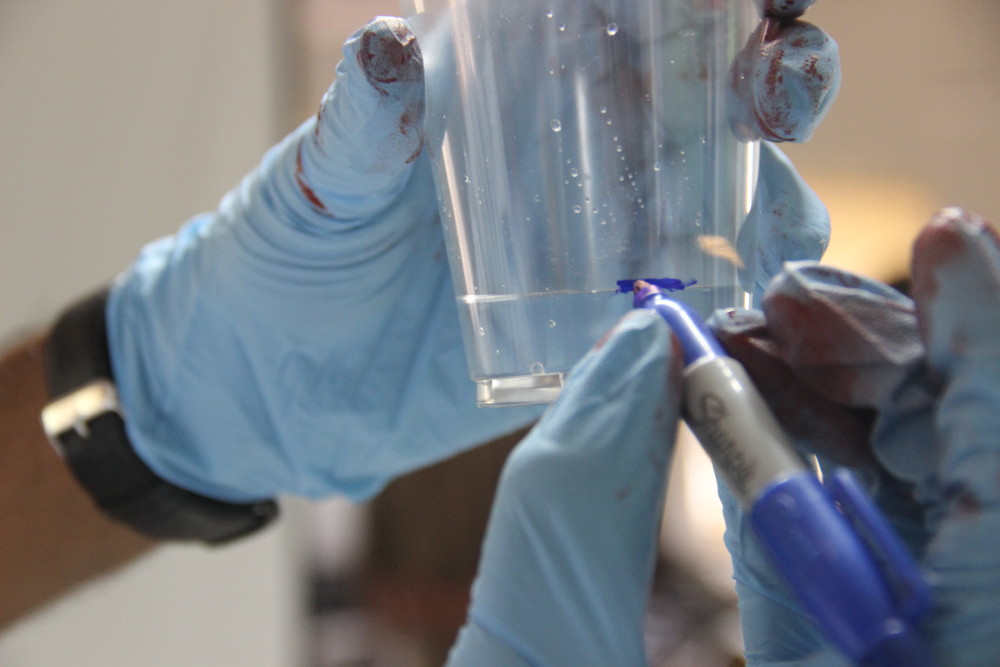
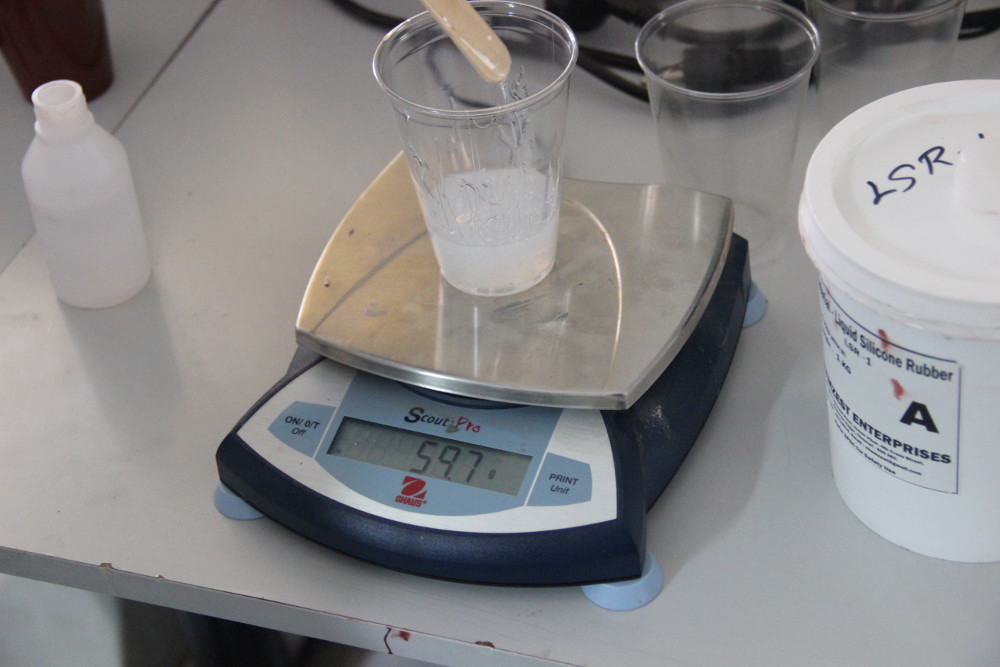
Inorder to get an idea on how much volume of compound will be needed, I poured some water into the wax mould. Then I moved that volume of water into a disposible glass and marked the point with a marker. And then I added silicon rubber compound till that mark.
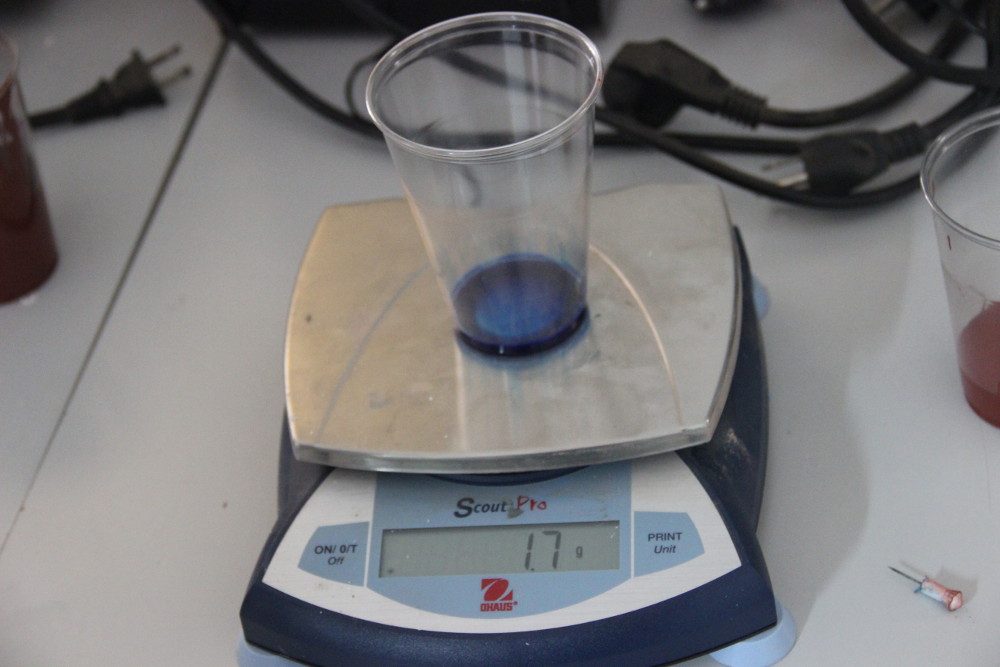
Now I have to mix compound in the ratio 100A:3B. So I weighed the A using weighing scale. Its 56 grams. And the B material has to be 1.68 gram (3%).

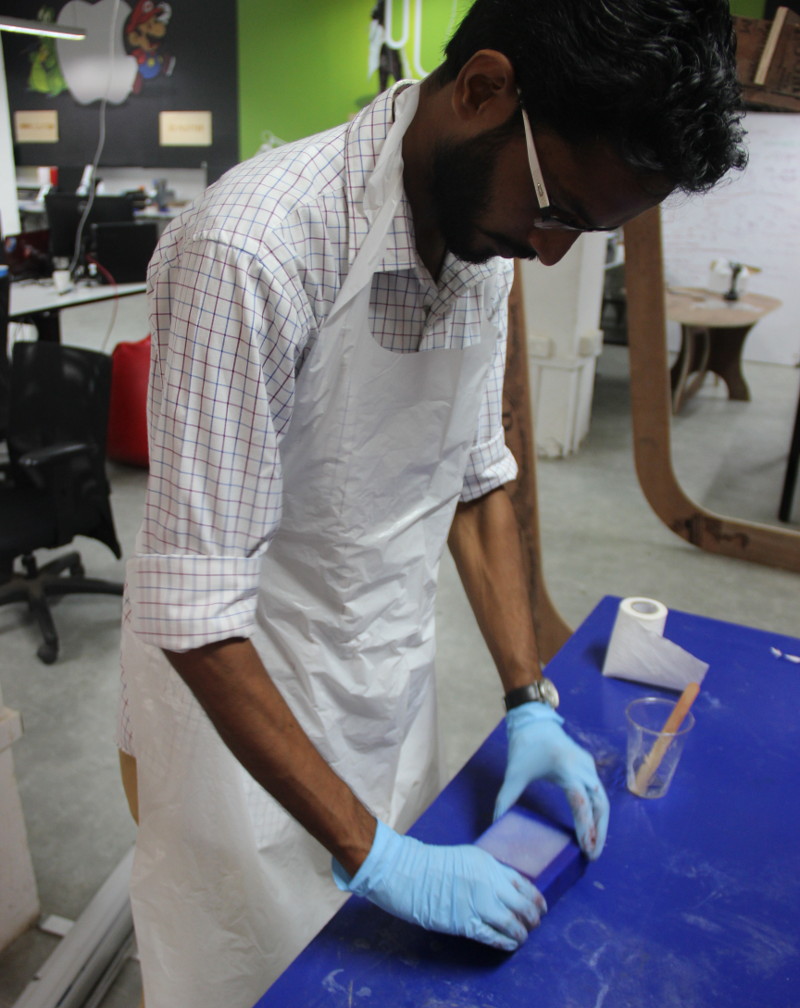
Then I mixed both material and stirred well for a few minutes.
And then started pouring into the wax mould.
Twist!
As I was pouring the mix into the wax mould I noticed that the material flow was very very slow. My instructor told that it has started setting already. He said the materials I was using was expired!!! I had to remove the materials from the wax mould and clean it well.
Changing the moulding material
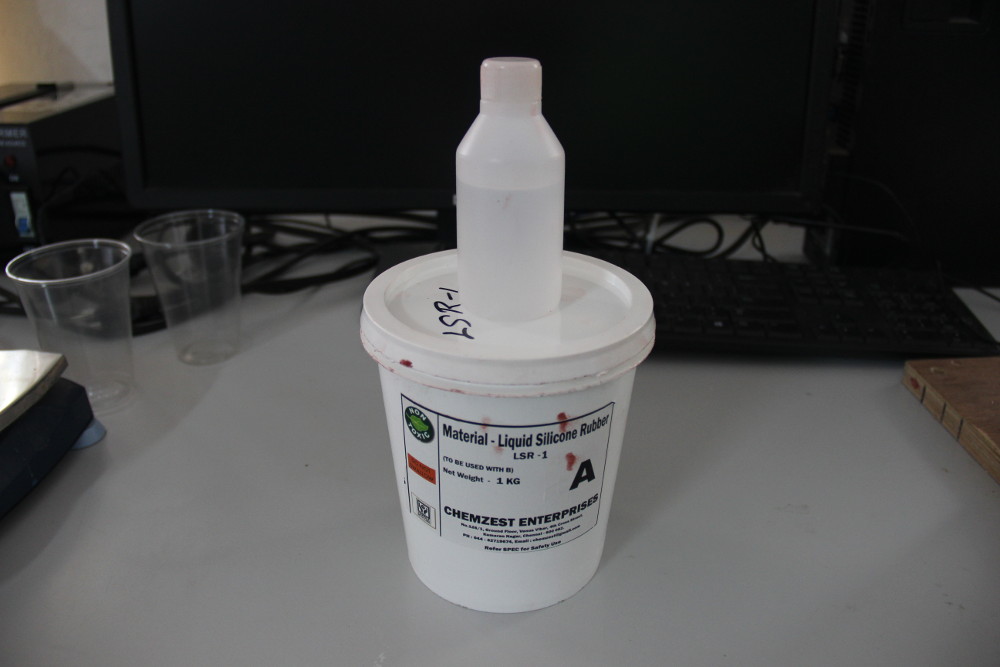
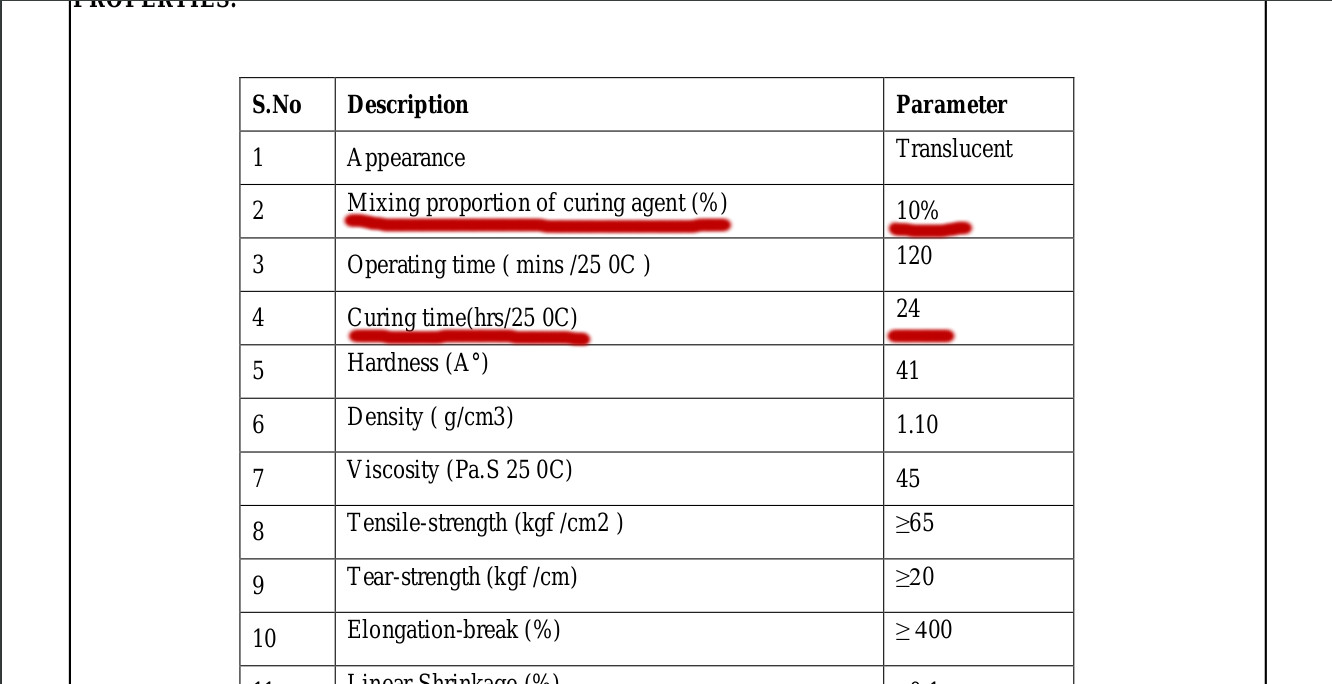
We have new LSR-1 (Liquid Silicon Rubber). According to their data sheet, its mix ratio is 10% and curing time is 25 hours.
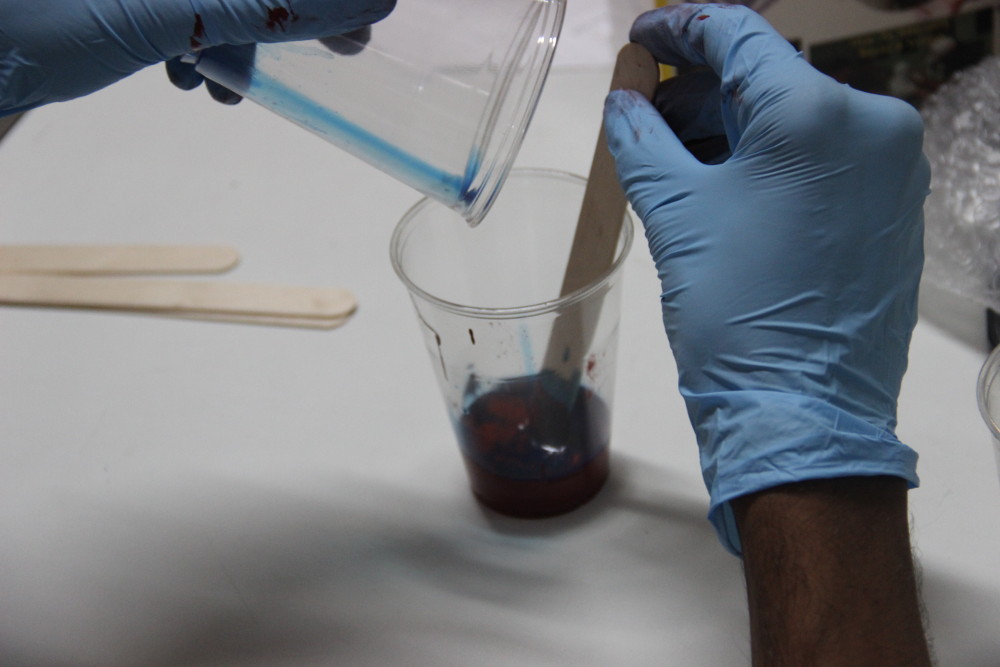
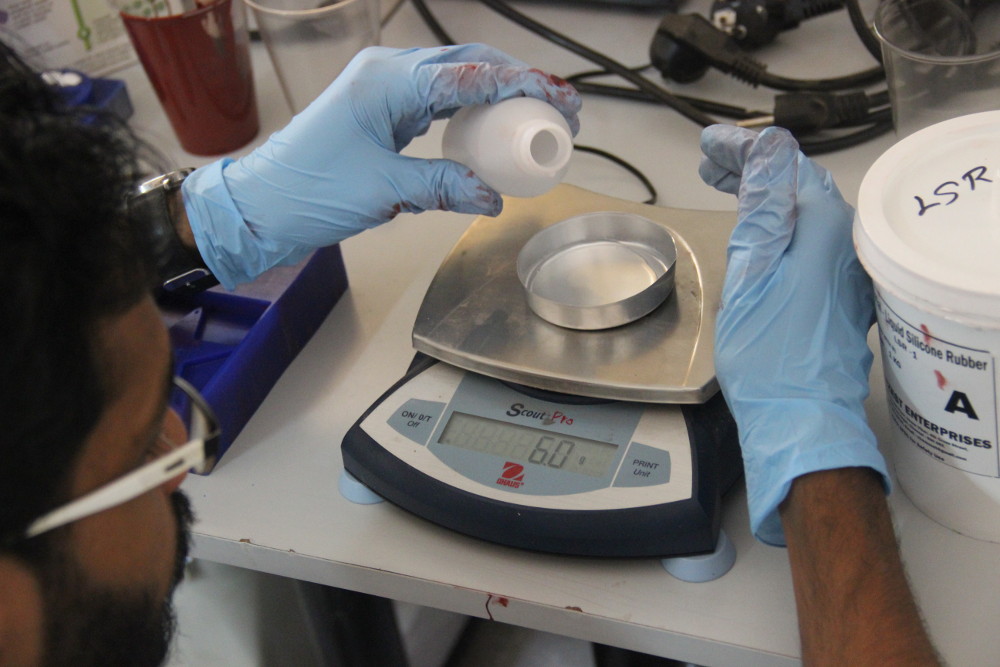
I weighed both materials. I took around 60g LSR and 6g mixing agent.
Both were mixed well and stirred for a few minutes. Then it was poured into the mould slowly.
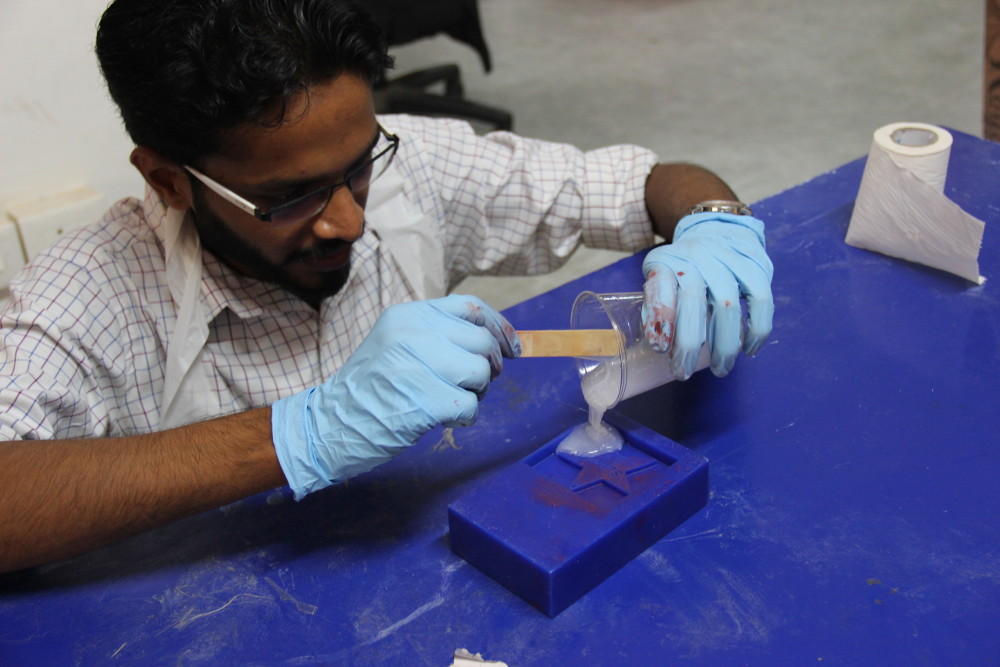
To allow the air bubbled to escape, I had to tap the mold a few times on the table.
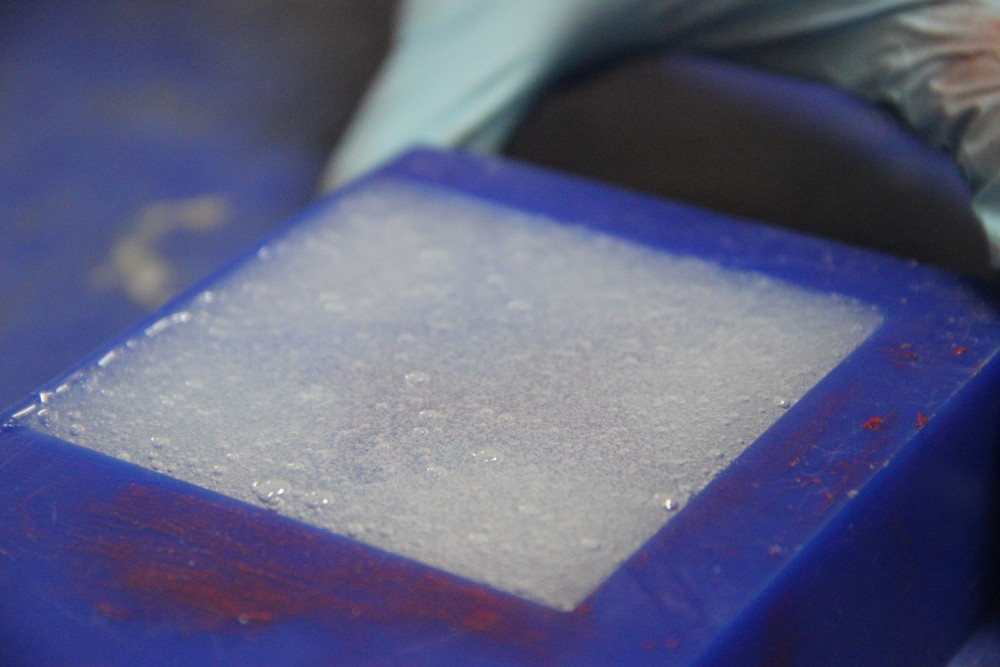
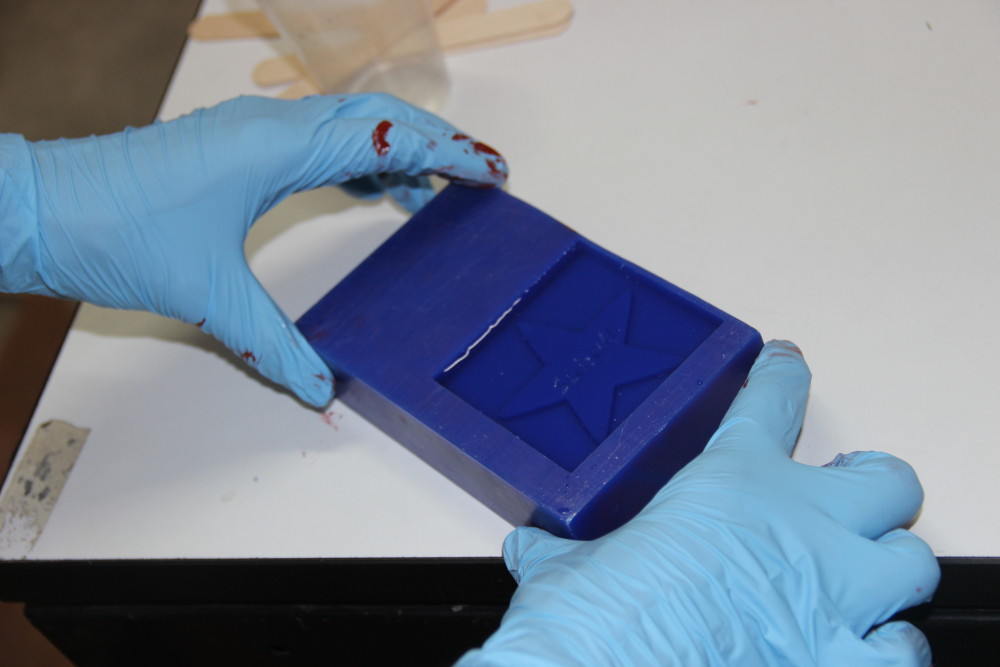
Setting time is 24 hours at 25 deg. So, next day I took the mould from wax. Here is the mould I created.
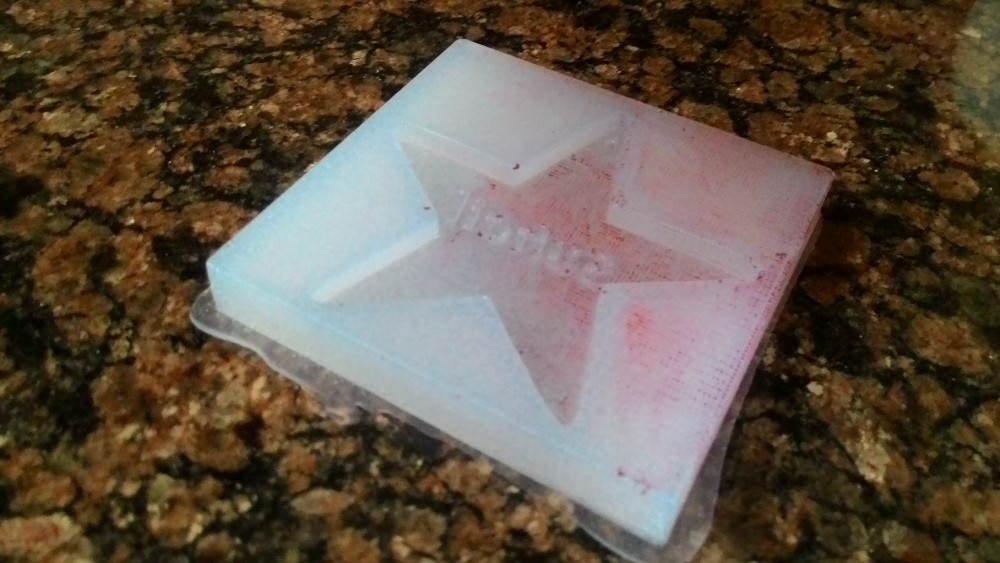
I then created a small hole on the top for pouring metal.
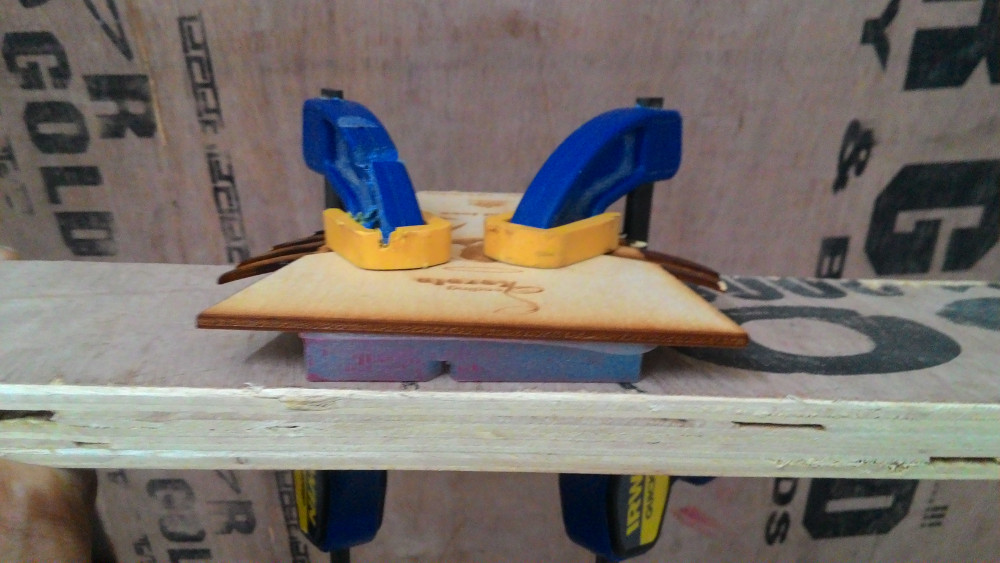
The mould was then tightened using wooden piece on both sides.
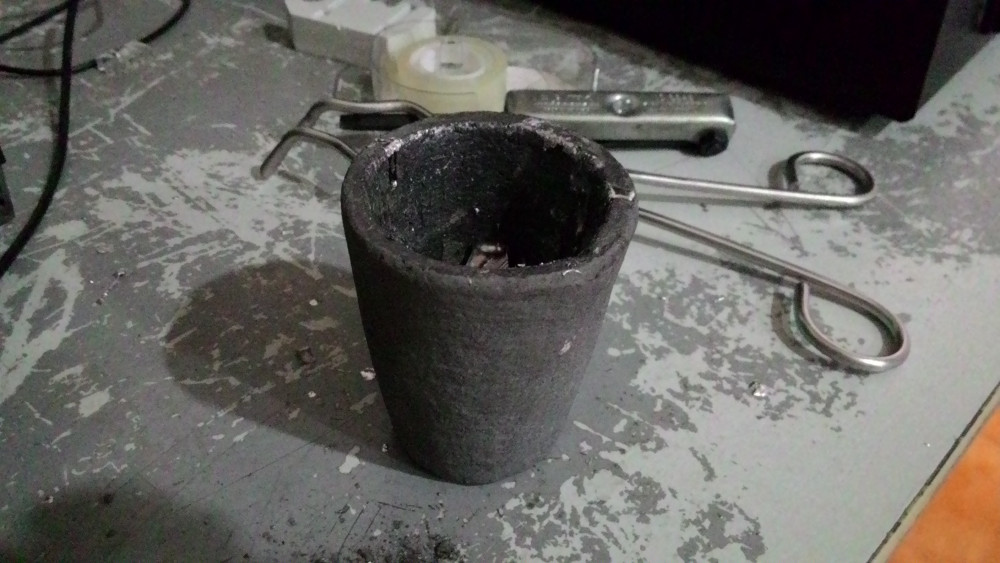
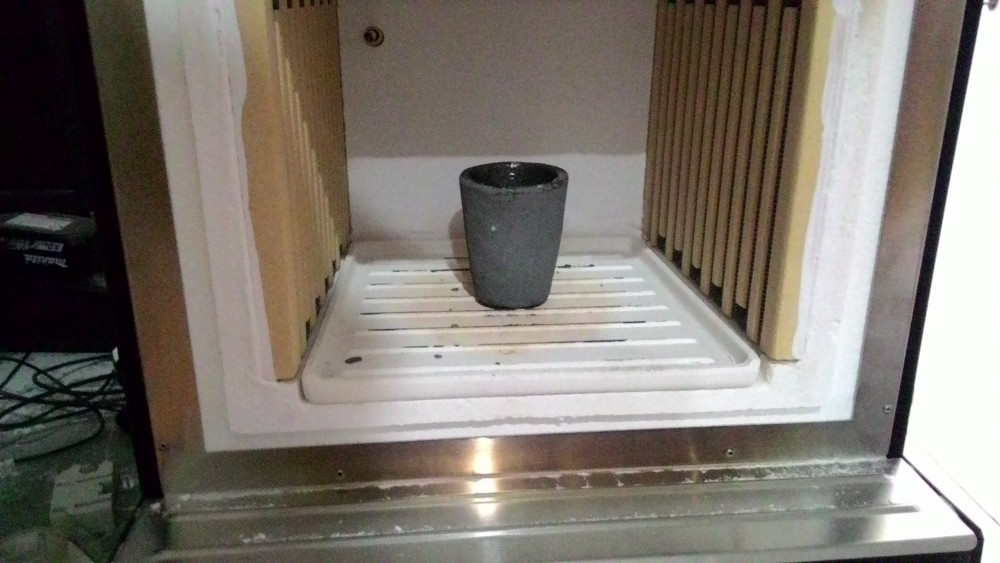
Bismuth alloy (vabbit) piece was then put inside a cut and heated at 800 degrees using furnace.
Here are final output.
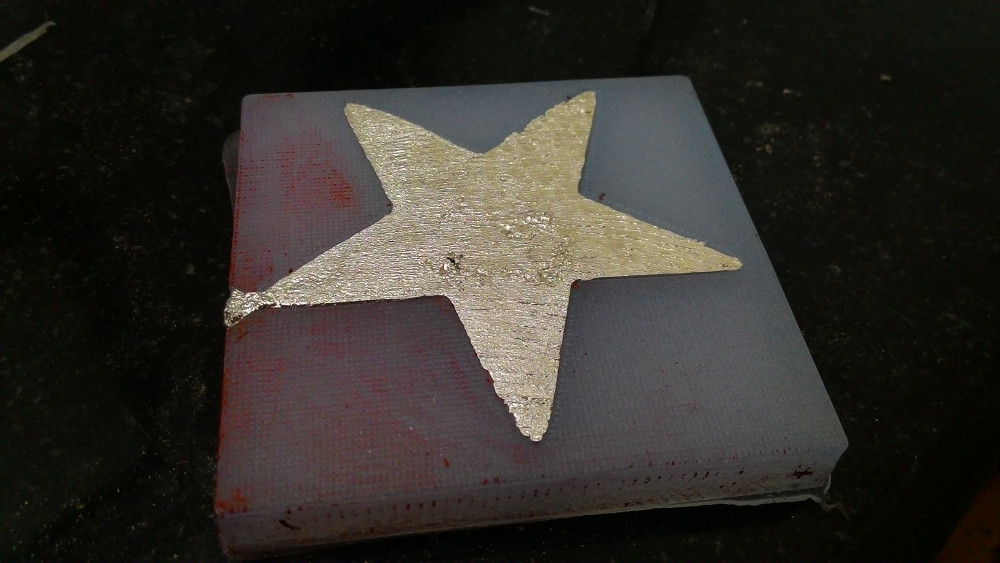
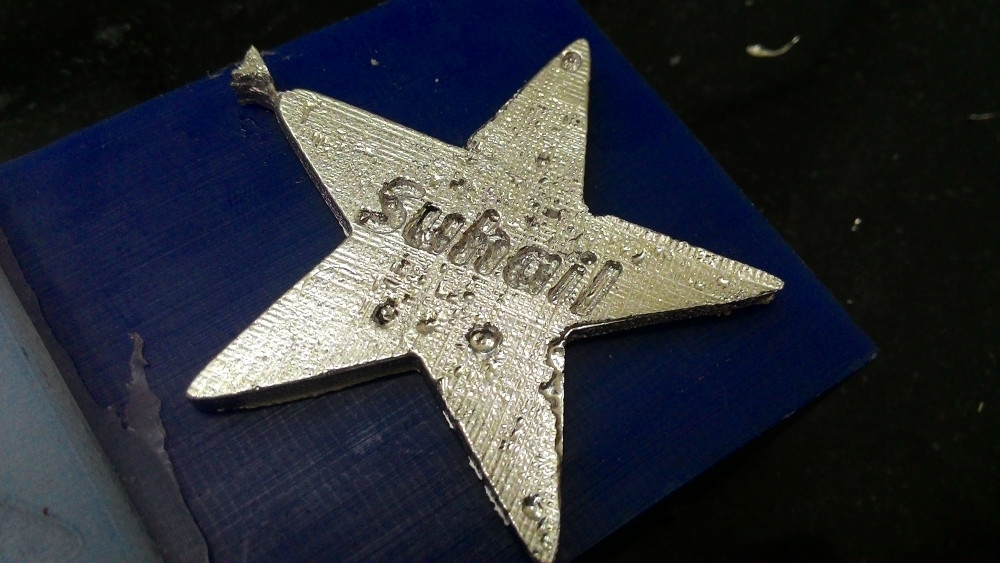
As you can see, there are some holes in it. Its because of the air bubbles.
Downloads
Mould 3D design - Download