All right, here is what I have done in my first week. This week is all about familarising version control systems, website development, setting up git repository, and creating a website. At first our instructor Mr.Sibu gave a brief introduction to gnu/linux and some basic commands. Our team decided to use 'Manjaro OS', an arch-linux based distro. I decided to stick with Debian because I have some experience with it.
Some of the linux commands we played with are
| ls | list directory contents |
| pwd | print working directory |
| cd | change directory |
| cp | copy files and directories |
| mv | move/rename files |
| sudo | temporary root previlage |
| sudo su | switch to super user |
| chmod | change file permissions |
| which | locate a command |
| man | manual page for commands |
and a lot more.
Text Editors: Lots of editors are available in internet, for coding, with veriety of features. Emacs, VIM, atom, sublime etc are some of them. I had used VIM, emacs and sublime before. I like emacs very much, so I decided to use the same for this course.
Version Control System
Version control is a system that records changes to a file or set of files over time so that we can switch to specific versions later. It allows us to revert files back to a previous state, revert the entire project back to a previous state, compare changes over time etc. SVN, git, mercurial etc are different types of version control tools. We are going to use git in this course.
Working with git
First thing we did was setting up authentication method with remote git server. It can be done using two protocols.
- HTTPS
- SSH
Normal HTTPS method allows us to authenticate using a username and password combination. SSH is easier and secure mode of authentication which uses a private key and public key combination for user authentication. Once public key is stored in remote git profile, there is no need to use username/password any more. For setting up SSH mode of authentication we have to generate our private/public key in our OS.
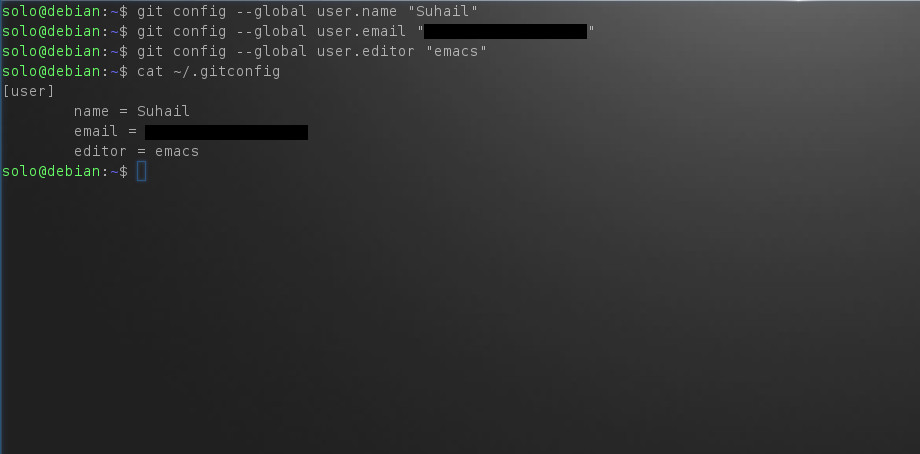
Initially I declared git global settings using code below
1 git config --global user.name "MY NAME"
2 git config --global user.email "MY EMAIL"
3 git config --global user.editor "EDITOR"
I tried practicing git commands through git challenges.
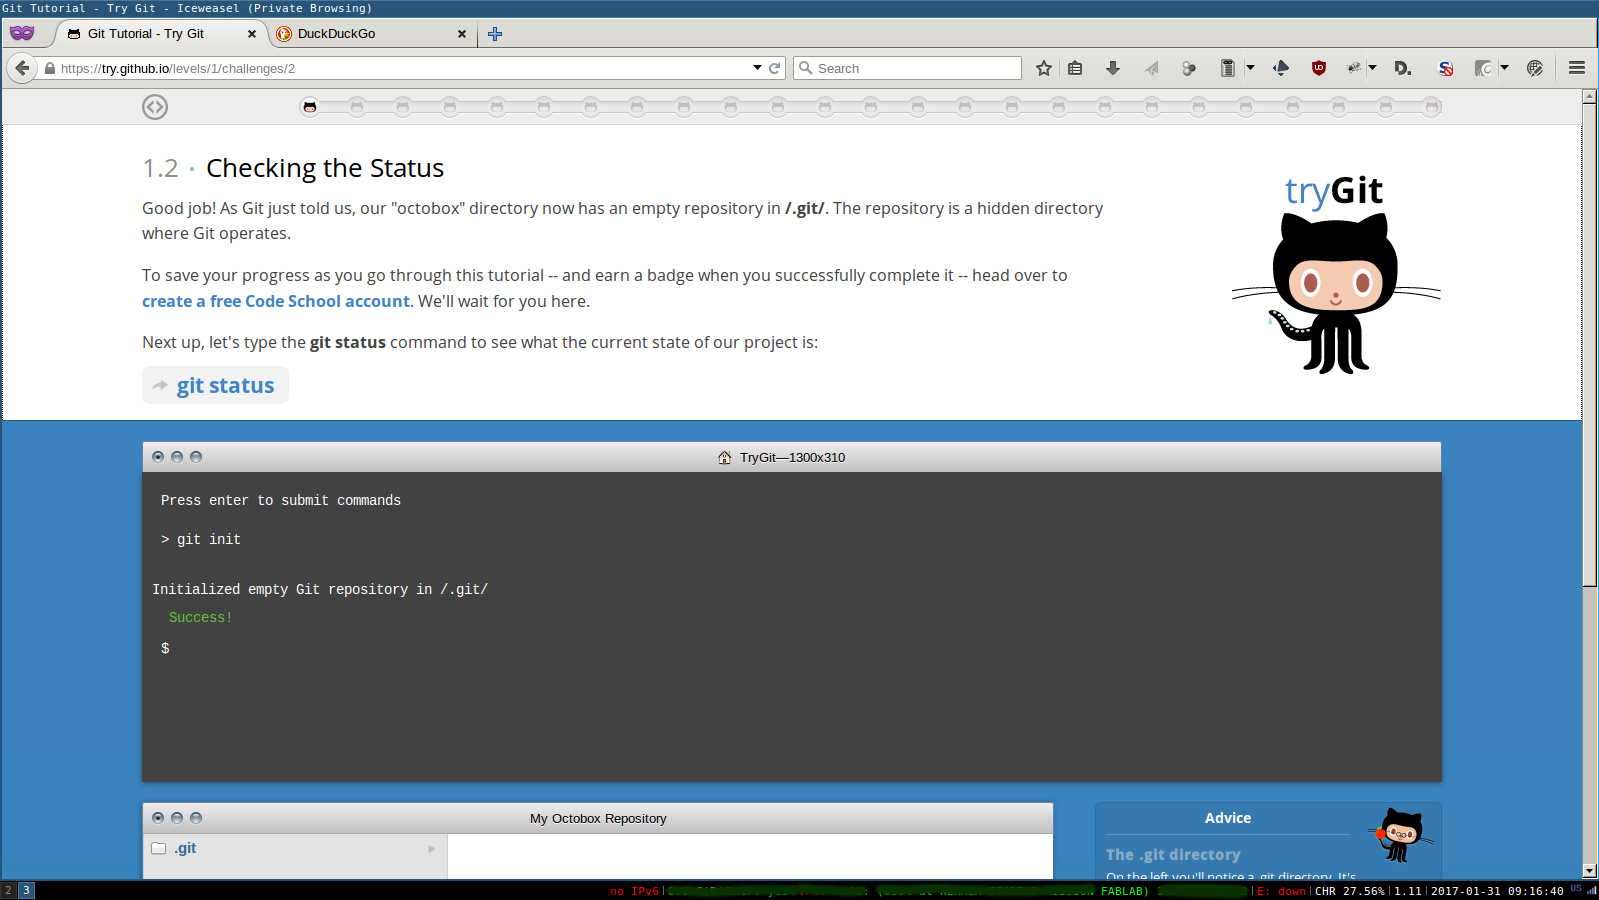
'git init' command is used to initialise a directory as local repo. Then all changes in this directory will be tracked by git. We already have our repository ready in git.fabacademy.org. So, we don't have to do 'git init'. We are going to work on an existing repository.
Setting up keys
Following commands were used to generate fresh keys in my system.
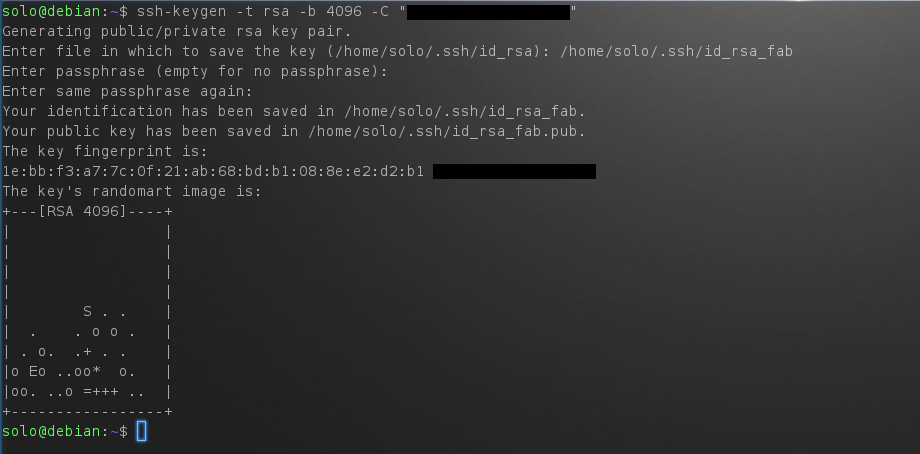
Step 1: Generating key pairs.
ssh-keygen -t rsa -b 4096 -C "email@example.com"
Then I set ssh file name and passkey.
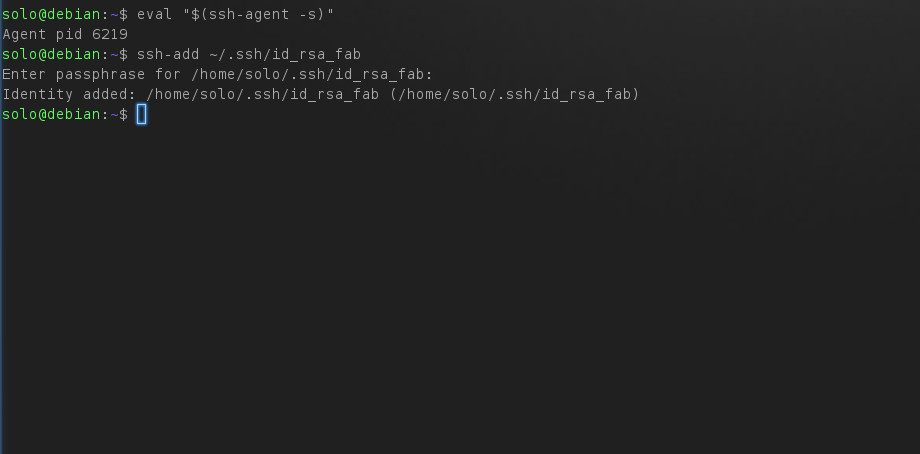
Step 2: Adding my new key to ssh-agent
eval "$(ssh-agent -s)"
ssh-add ~/.ssh/id_rsa_fab
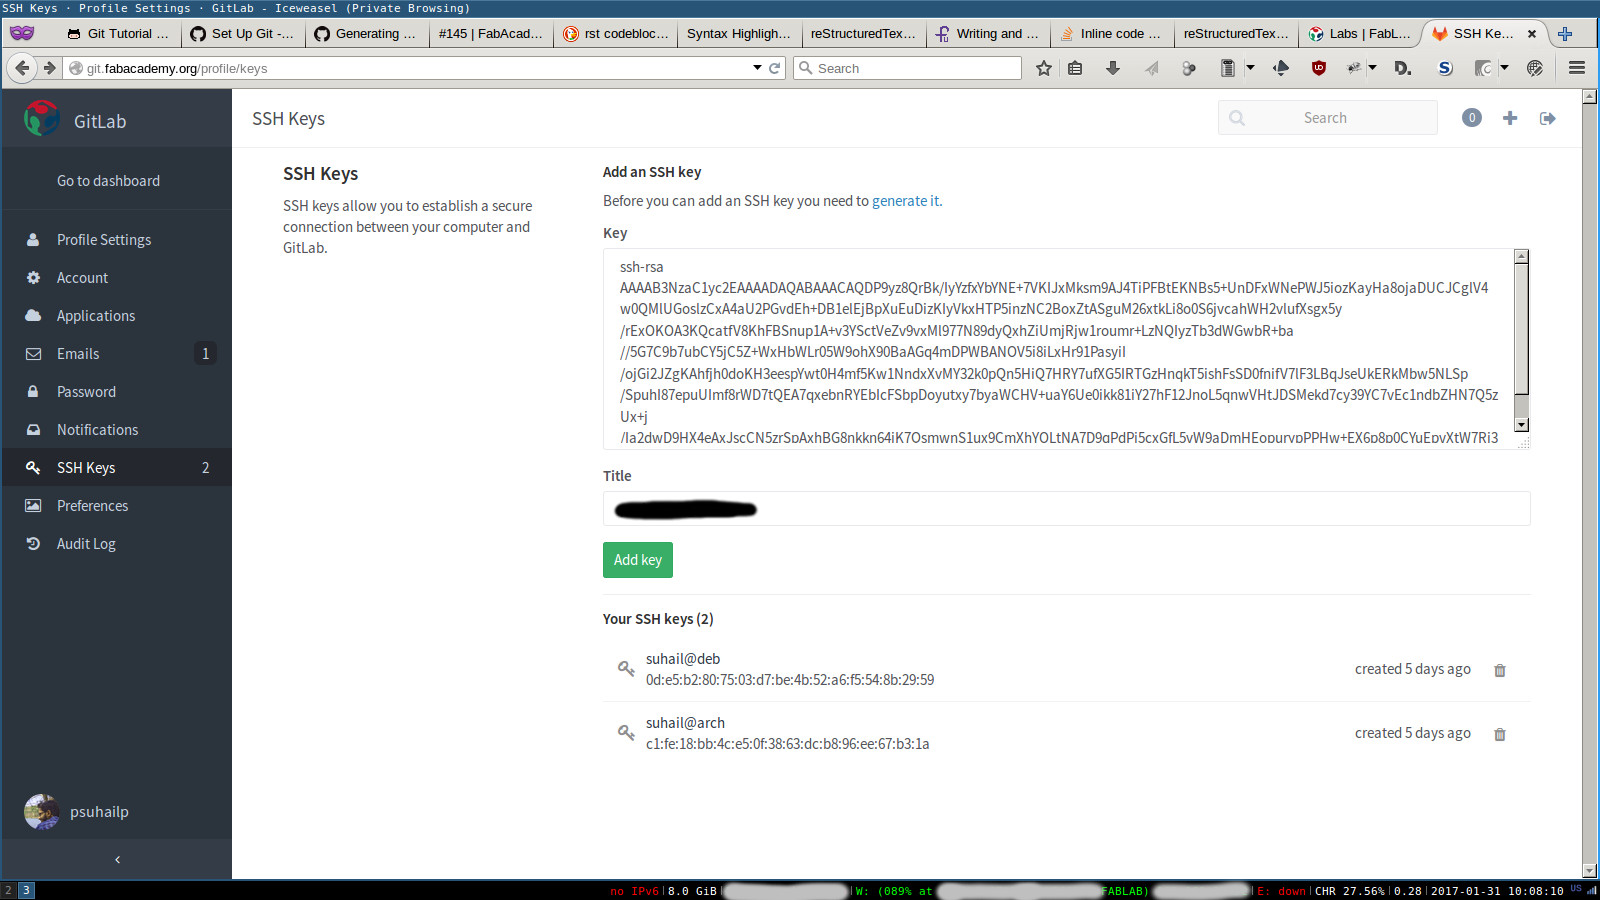
Step 3: Adding keys to git profile.
cat ~/.ssh/id_rsa_fab.pub
Above code displays my newly generated public key. I added this key into my fabacademy git profile.
Git workflow
We have our repository ready at git.fabacademy.org, named as fablabkochi. We will be pushing all our works throughout this course into this repo.
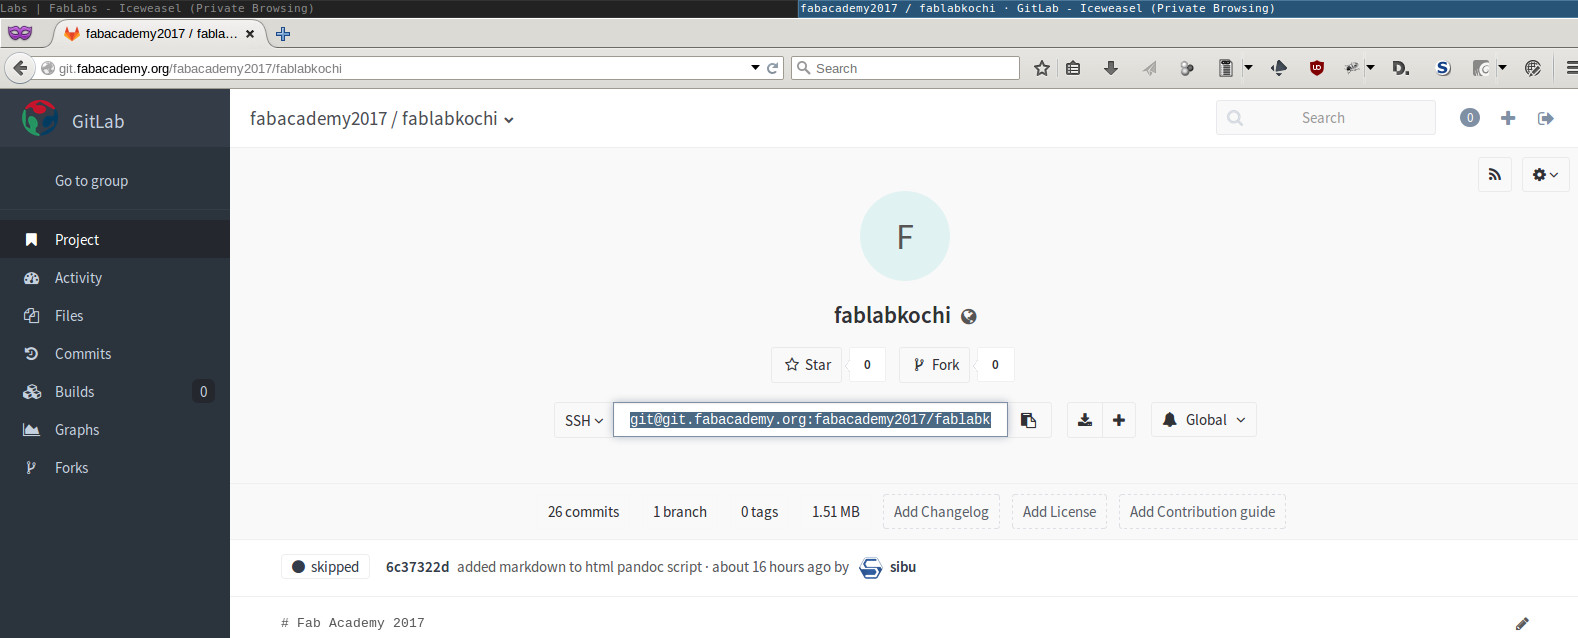
We did clone our repo using command below
git clone git@git.fabacademy.org:fabacademy2017/fablabkochi.git
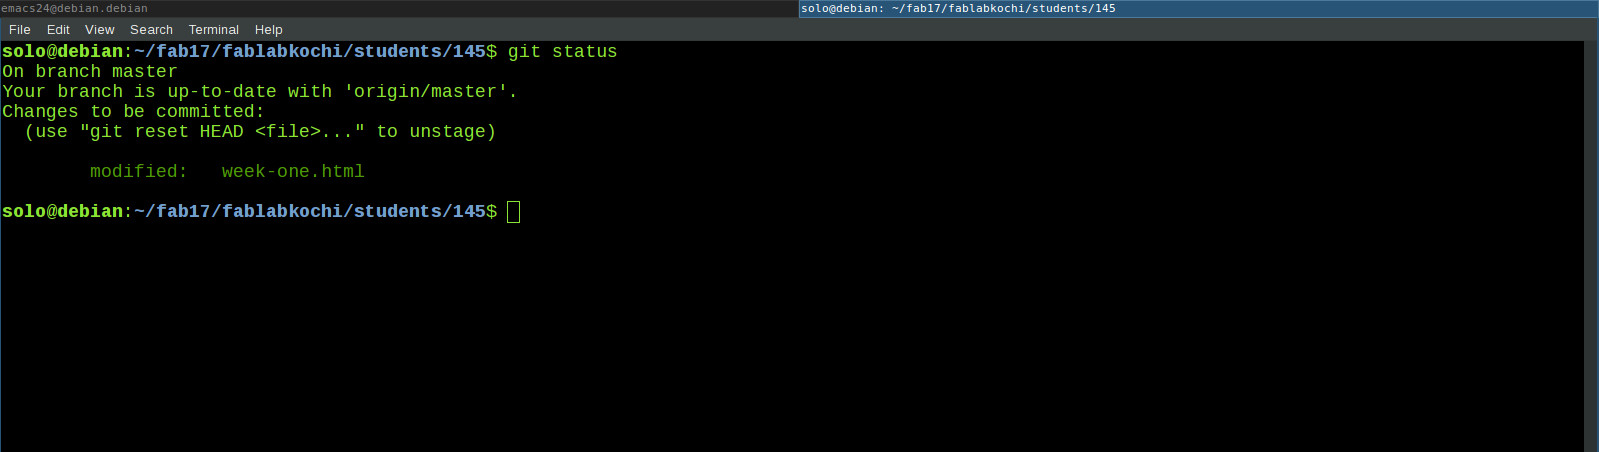
Now we have our repository ready in my local system. To check current status of this git repo we use the code,
git status

Git says everything is upto date. Upon changing any file, git mark it as 'not staged'. Inorder to add this file into git we use 'add' command. It can be used in different ways.
- git add <file_name_1> <file_name_2> <file_name_3> (To add specific files we mentioned)
- git add *.html (To add files with particular extention, here HTML)
- git add . (To add all modified files)

I ran 'add' command as below
git add week-one.html
Now git status says files are unstaged. So I have to commit files I editted to stage it. For this 'commit' command is used.
git commit -m "Commit message"
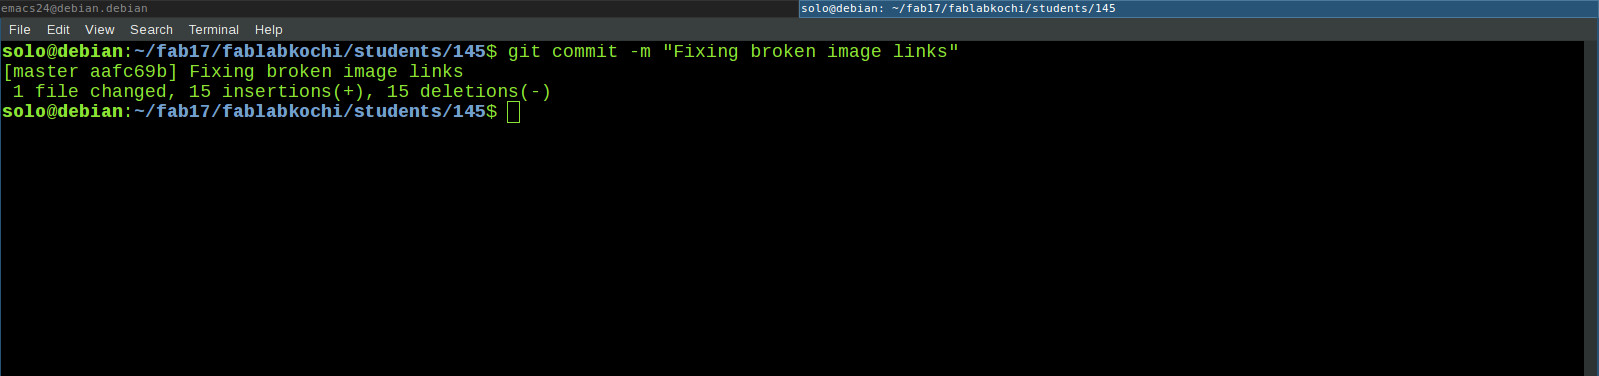
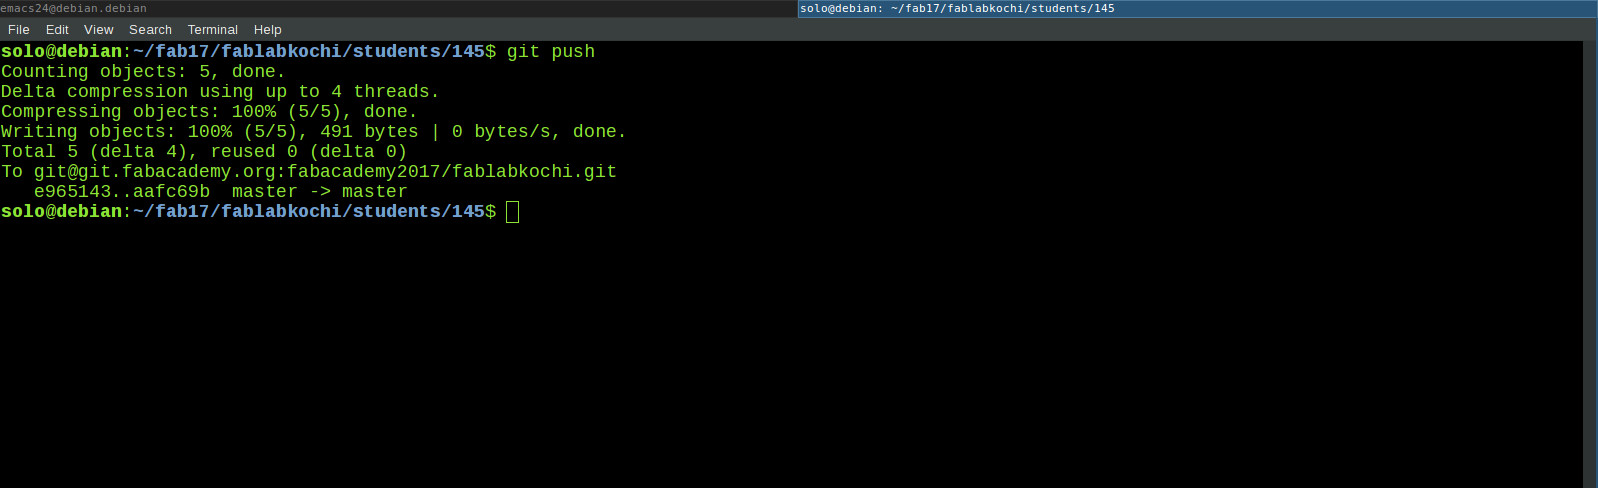
Now git status shows all files are staged. Done! Its time to push my files into remote repo. We do it using 'push' command.
git push
Everything was cool until somebody, with write access, pushed his code into the repo. Once someone else push their code into the same remote repo, it become out of sync with my local repo. So, that's why we have a 'git pull' command, to sync our local repo with remote one.
git pull
I do a 'git pull' before start working on my assignment.
Generating website
Building a website was an easier task for me. I have good experience in this field. I decided to try Python's static website generator named Pelican. Pelican engine generates html files from restructured text(.rst files). Restructured text(reST) is almost similar to markdown. I had a theme which I had developed, a few months back, for my personal website. All I had to do is initialise a pelican directory, copy my theme files into theme directory and ask pelican (in settings file) to use this theme. All rst files are stored in 'contents' directory in pelican's folder.
Here is a screenshot of my pelican directory
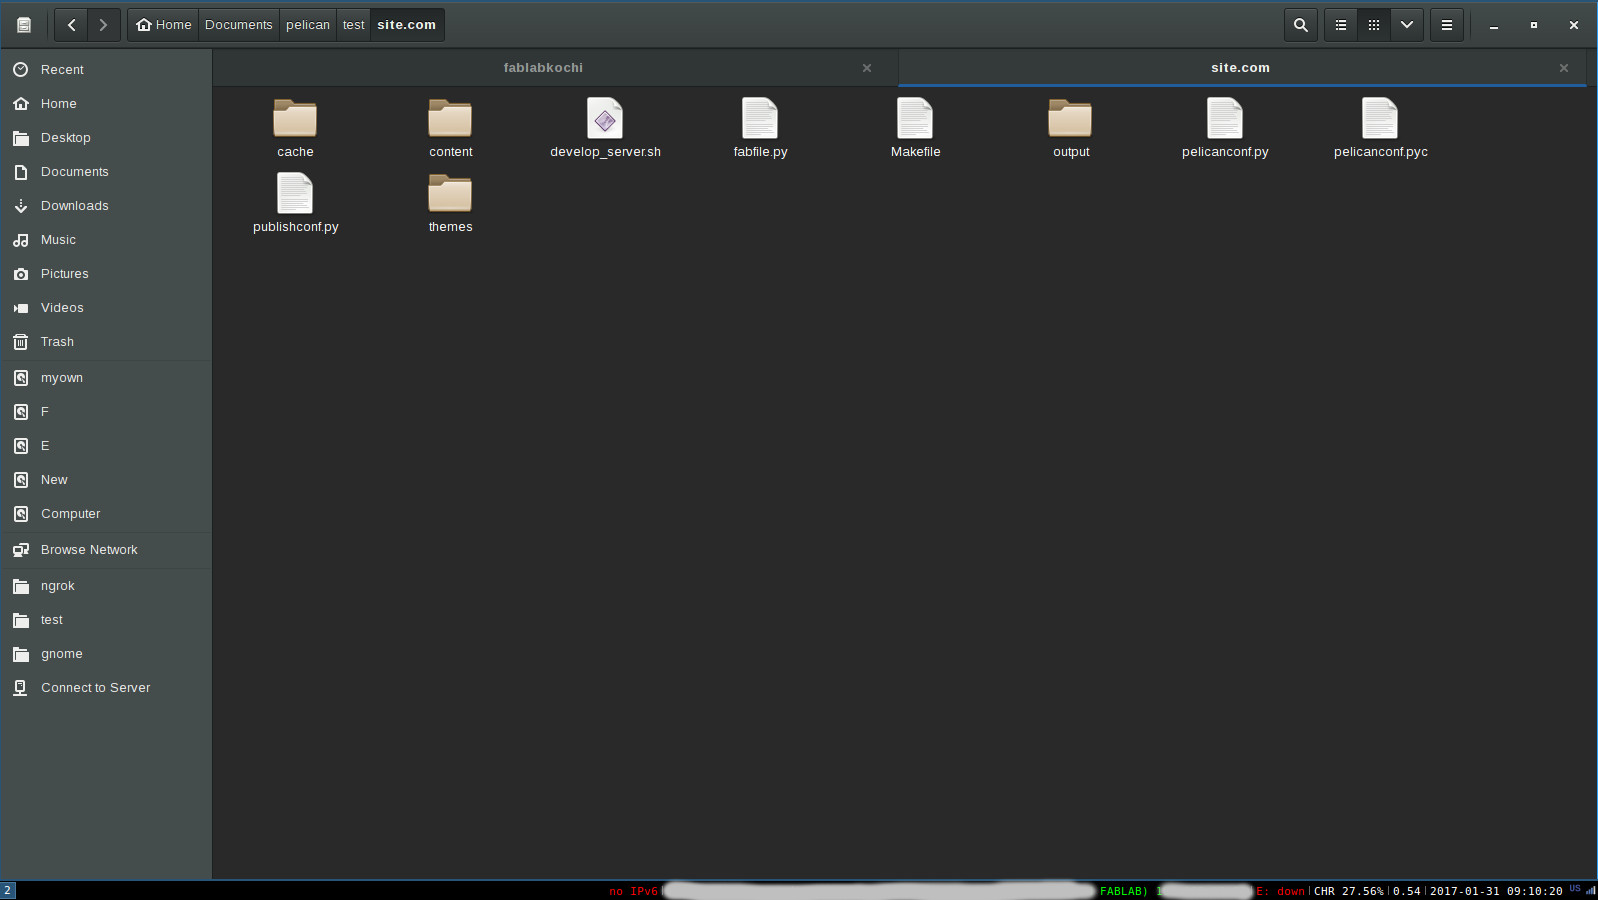
There is a file named pelicanconf.py, where configurations are declared. 'content' directory is where my reST(.rst) files are stored. Pelican will convert all reST files inside 'content' into HTML(.html) and store in 'output' directory. I just copy these output html files into my fab repository. Then followed git commands to push all files.
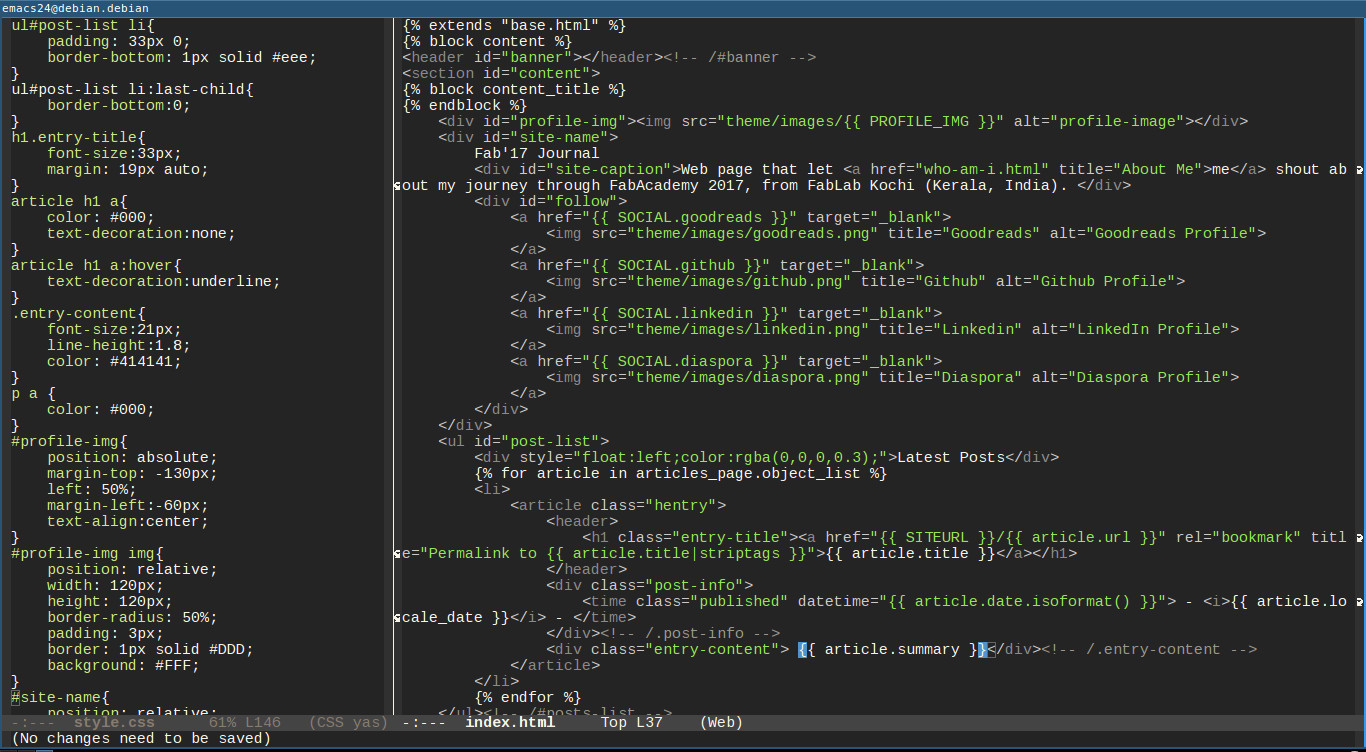
Below screenshot shows my about-page rst file opened in emacs editor

Here is another screenshot of my html and css files opened in emacs editor
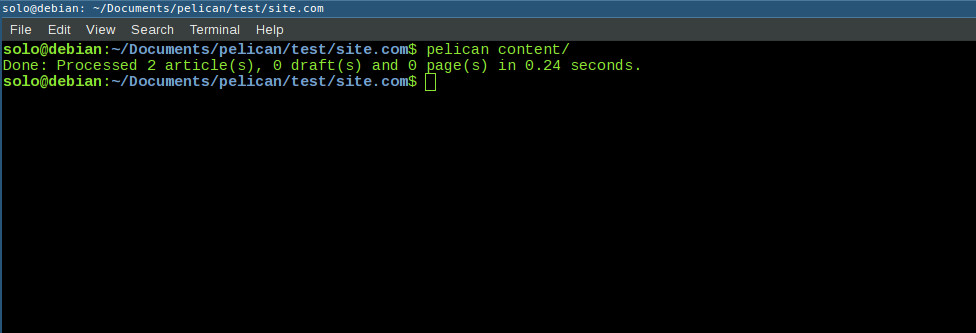
rst to html conversion is done using the command below
pelican content/
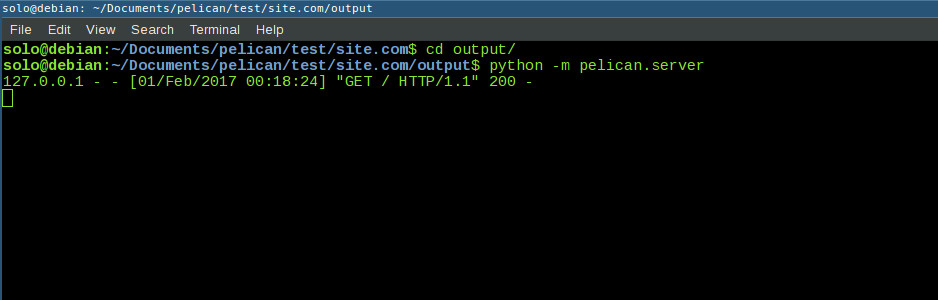
Now html files are ready for use. Website can be viewed locally using pelican server. For this I executed below command inside output directory and opened local ip address 127.0.0.1:8000 in my web browser. Done!
python -m pelican.server
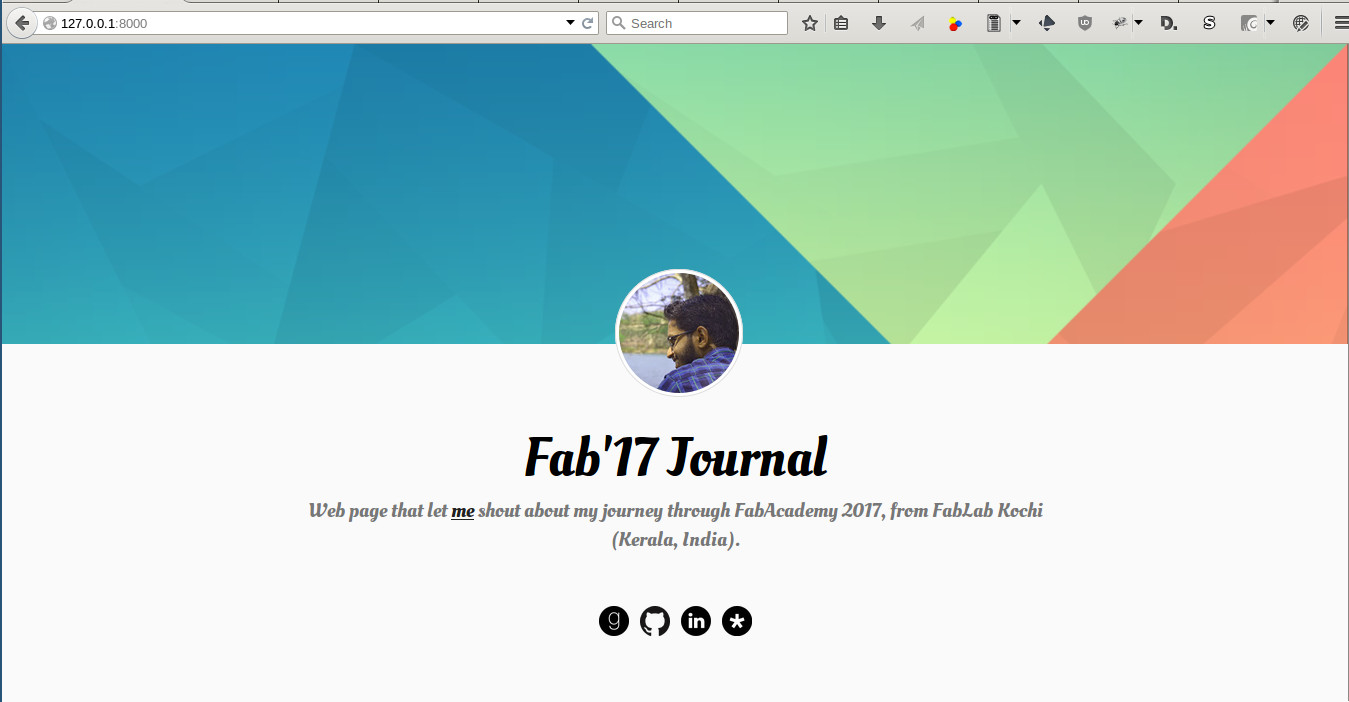
Here is browser screenshot
Project Idea
I am not yet sure about my final project. I have only a rough idea about the project. As I had already mentioned in my about page that I have some interest in topics like human behavior and brain science, I would like to do something related to this. But I do not have any experience in this field. I am planning to use Fab Academy course as a starting point to explore these fields.
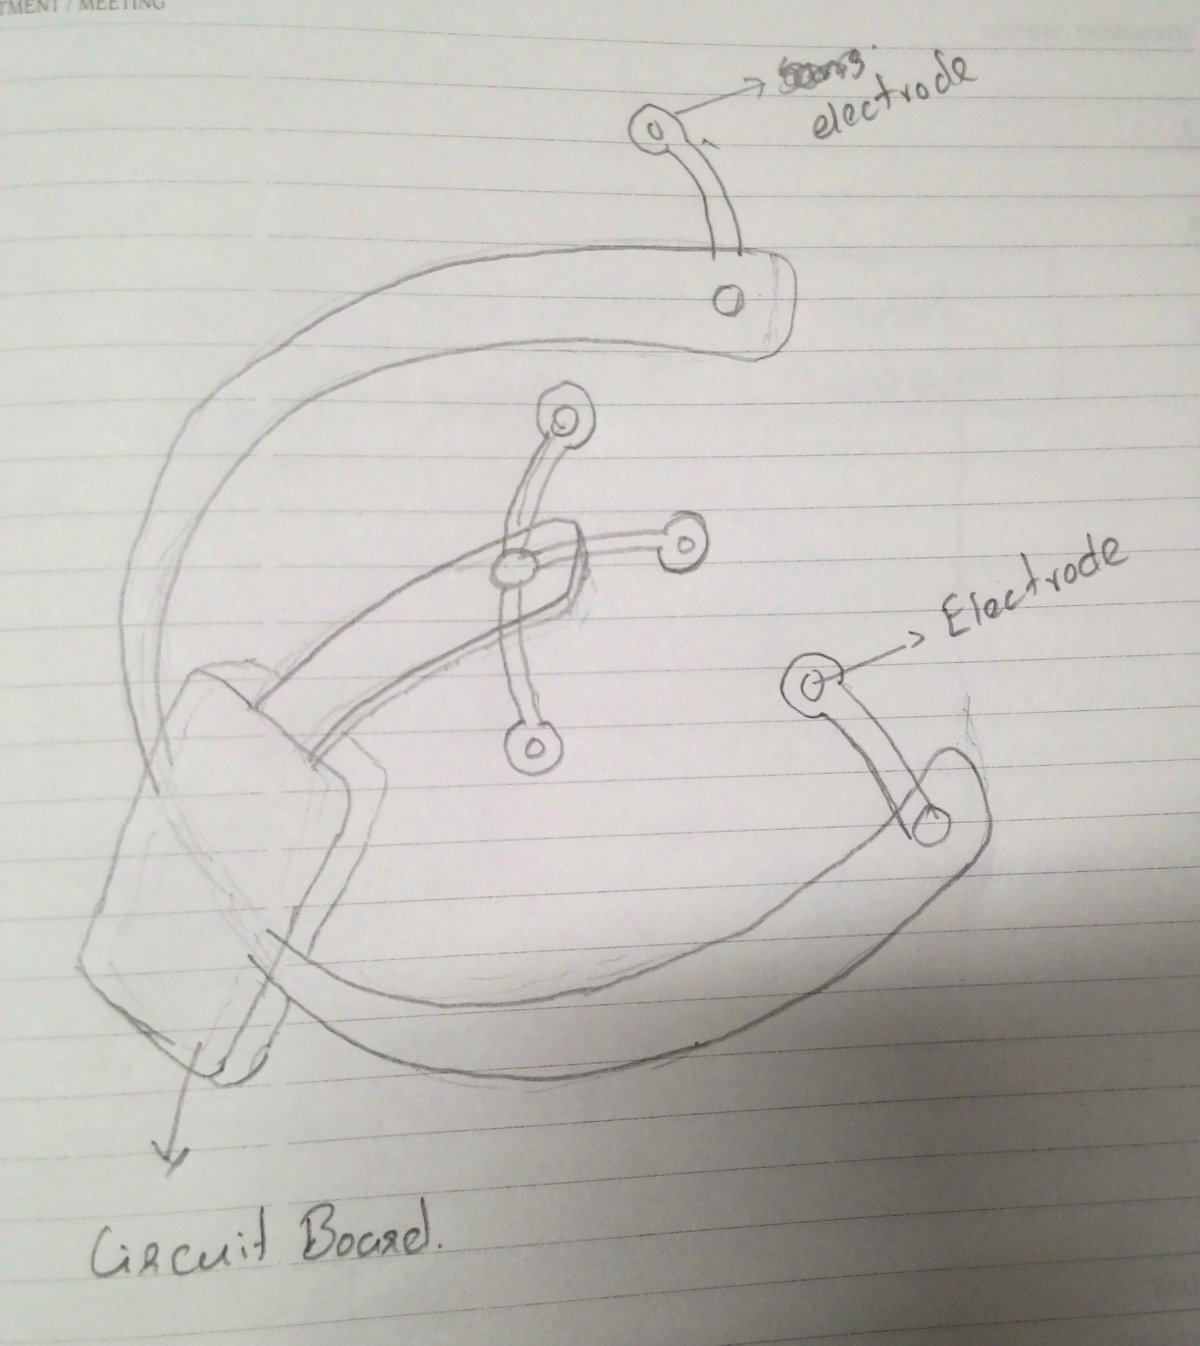
Idea is to build a brain wave detecting helmet to analyse and use the output signals to control another devices. I want to observe variation of signals according to the reaction of user to a particular stimuli, for example, while concentrating on a particular object and while letting our mind wander.
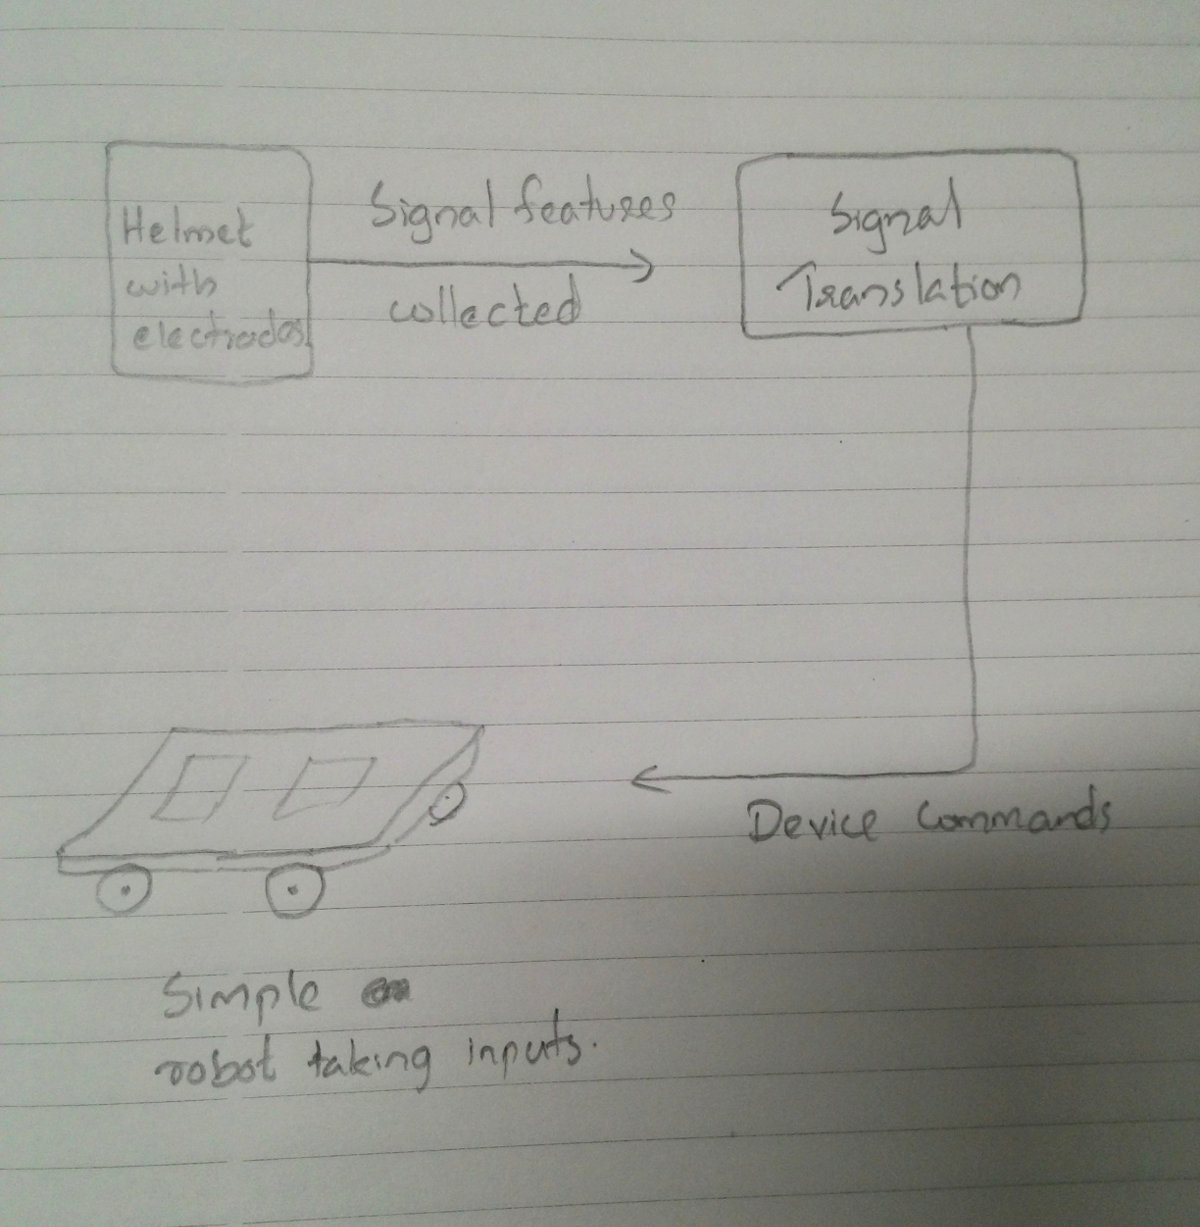
There will be two parts for the project. One is a Brain Computer Interface and the other is a device which has to be controlled using this device, like a simple robot. Our brain activity produce electrical signals of very small ranges. These signals can be measured using electrodes placed on our scalp and by amplifying these signal we can use it as input for other devices. Such method of recording brain activity is called Electroencephalography (EEG).
Here are some rough sketch. Sorry for poor quality :).
Helmet mounted with electrodes.