
- This week's lecture : Lecture
- Fab Tutorial Link : Tutorials
- Fab Tool's List : Tools List
Assignments:
- Read the material safety data sheet (MSDS) and technical data sheet (TDS) for the resins that you're using
- Design and fabricate a 3D mold (~ft2) and produce a fiber composite part in it
What I did this week?
- We didn't have a datasheet for the resin we use. We had a phone conversation with the vendor and he said it is safe on skin
- Designed and fabricated a 3D mold
- Produced fibre composite
Plan
I decided to create a mudguard model for my bicycle. Hope it would work as I expect :)
Composites
A Composite material (also called a composition material or shortened to composite, which is the common name) is a material made from two or more constituent materials with significantly different physical or chemical properties that, when combined, produce a material with characteristics different from the individual components. The individual components remain separate and distinct within the finished structure. The new material may be preferred for many reasons: common examples include materials which are stronger, lighter, or less expensive when compared to traditional materials. -- Wikipedia --
Getting things required
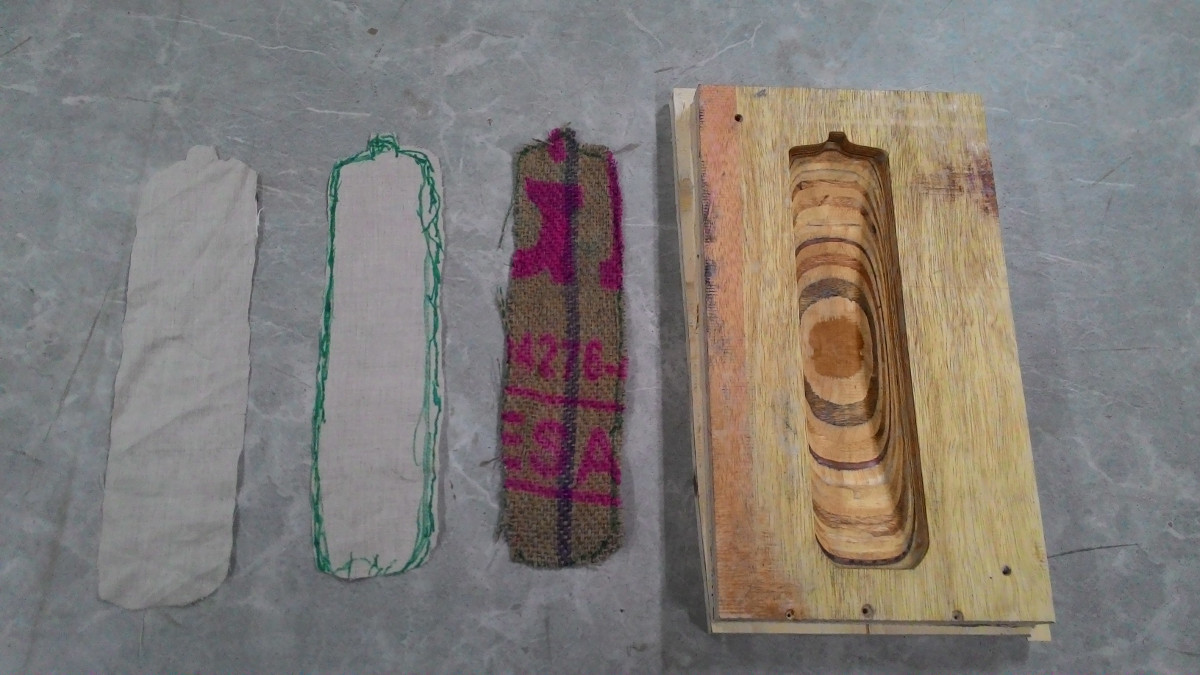
For this week's assignment we are using 3 layer composite which contains 2 layers of linen cloths and a burlap in between them. We have enough linen cloths here at lab but burlap is not available here. So we bought burlap sheet from nearby town. It was very dirty. So we started by cleaning the sheet.


Design
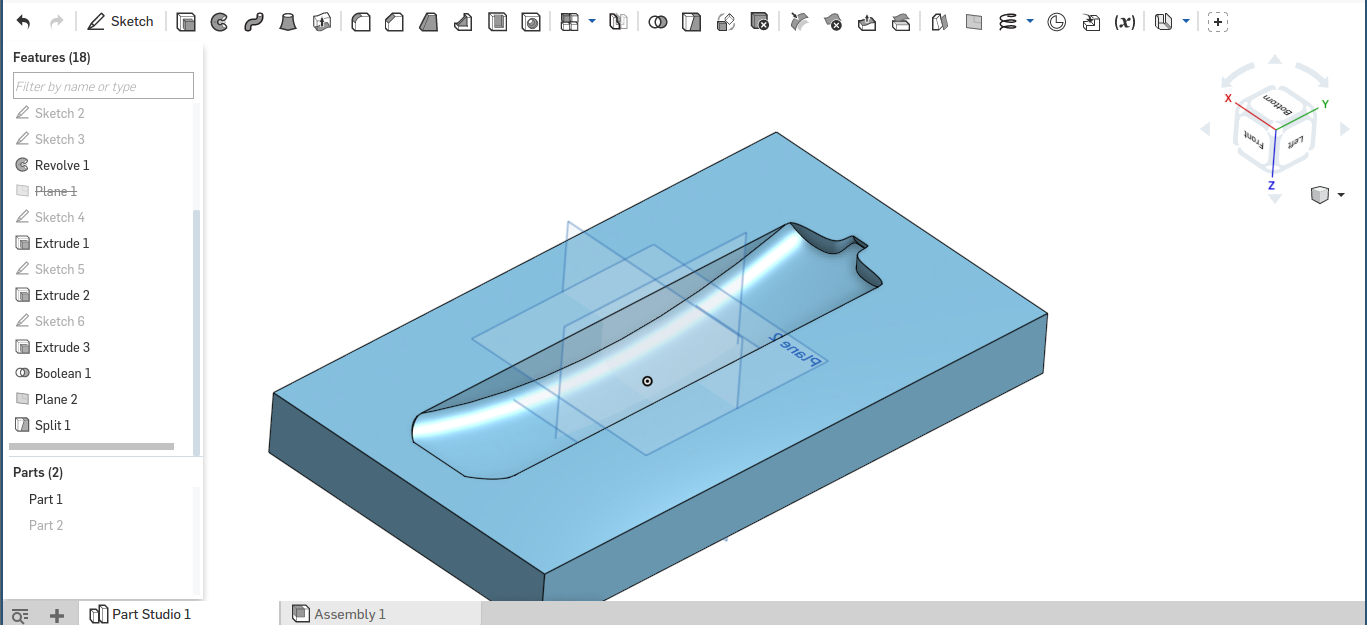
I used onshape for designing the 3D model. Some screenshots are available below.
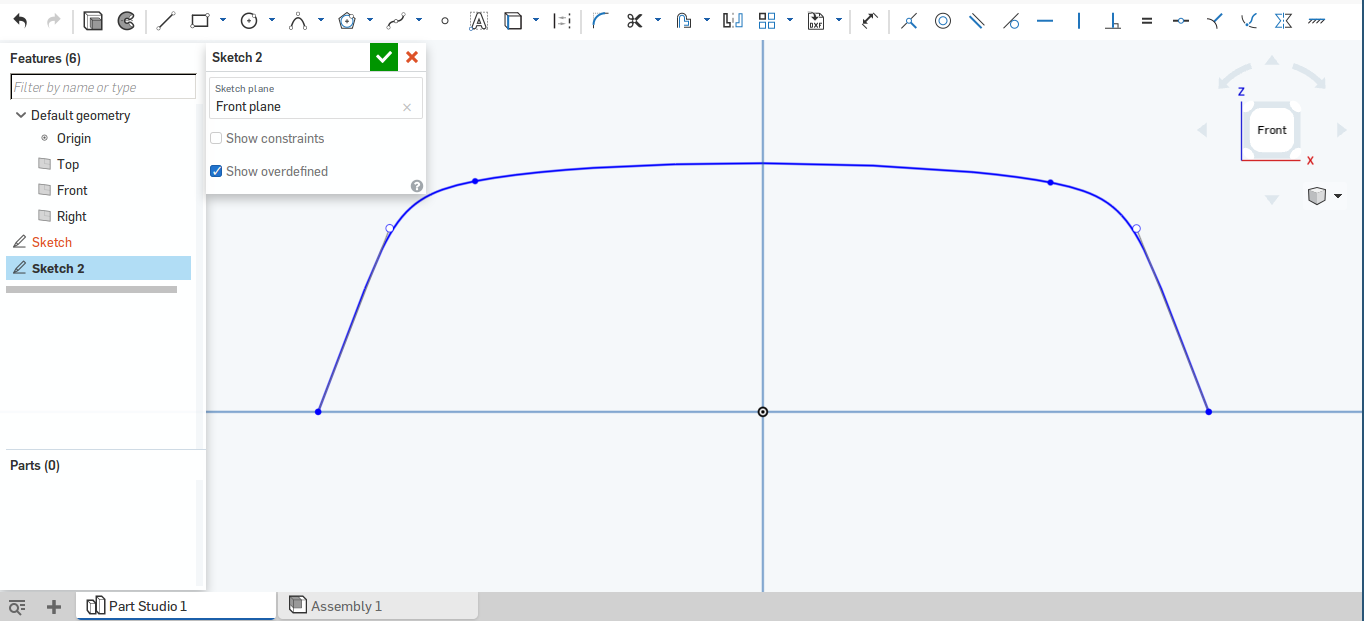
I first drew a cross section of the model.
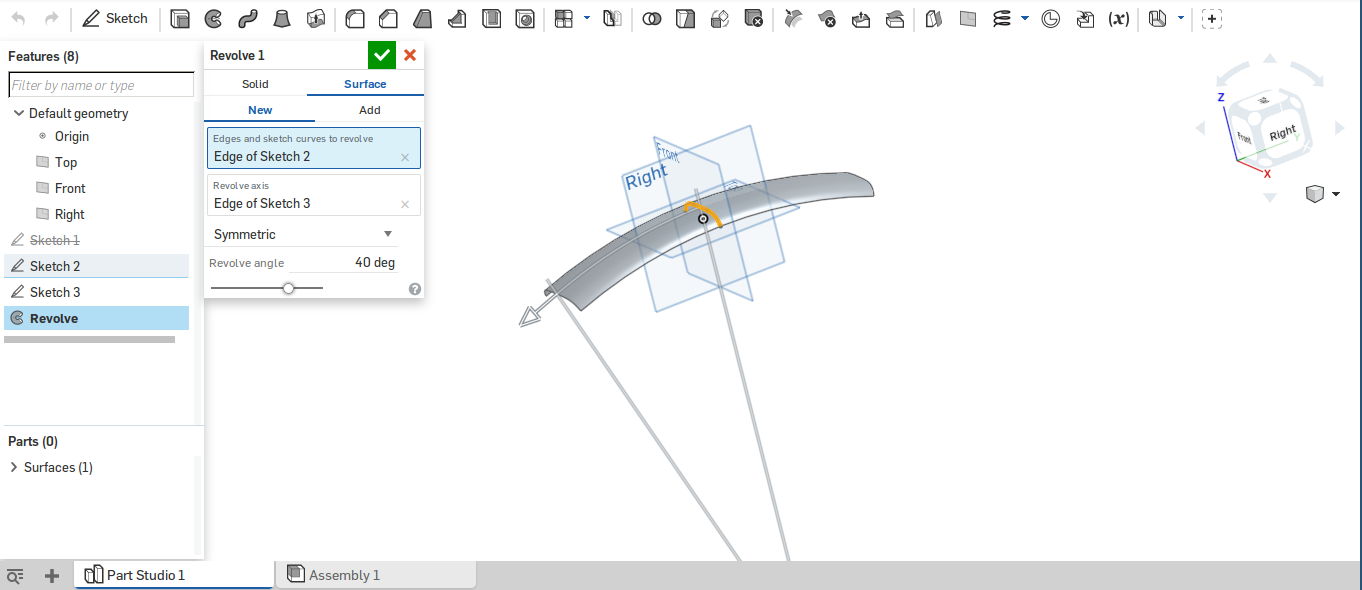
Then I used revolve tool to get a sheet model.
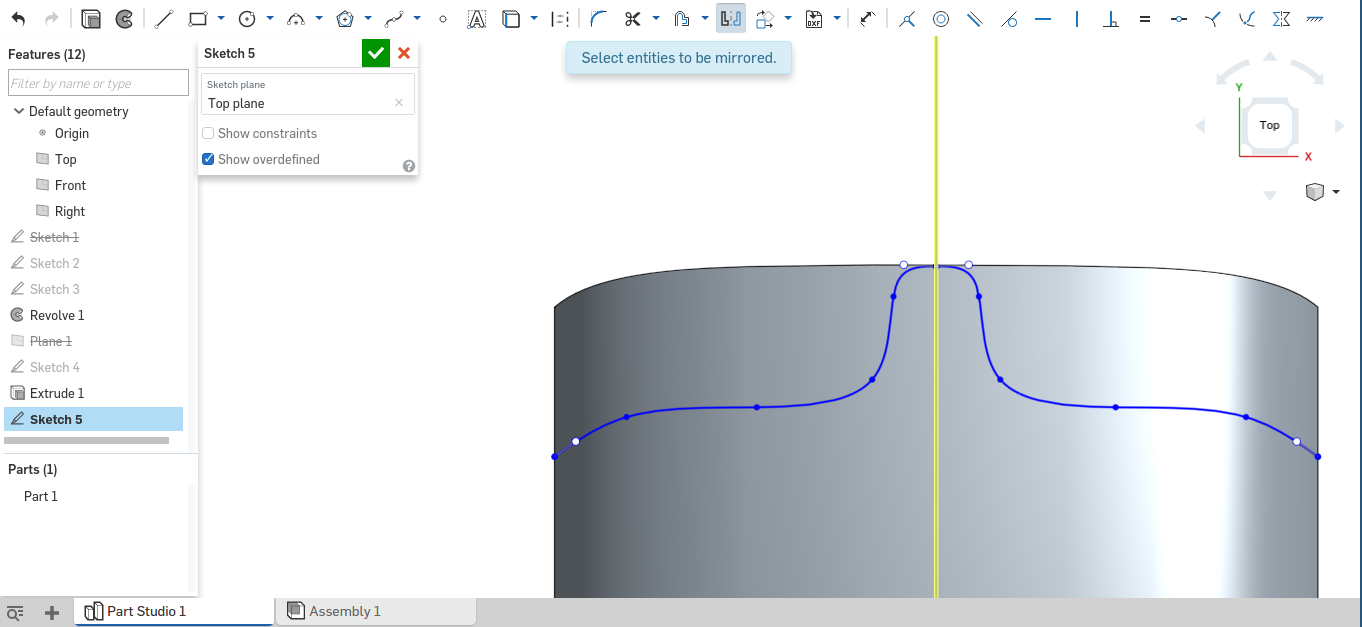
Both ends of the model were then cut in particular shape. I had to draw one side only. Mirror tool was very useful.
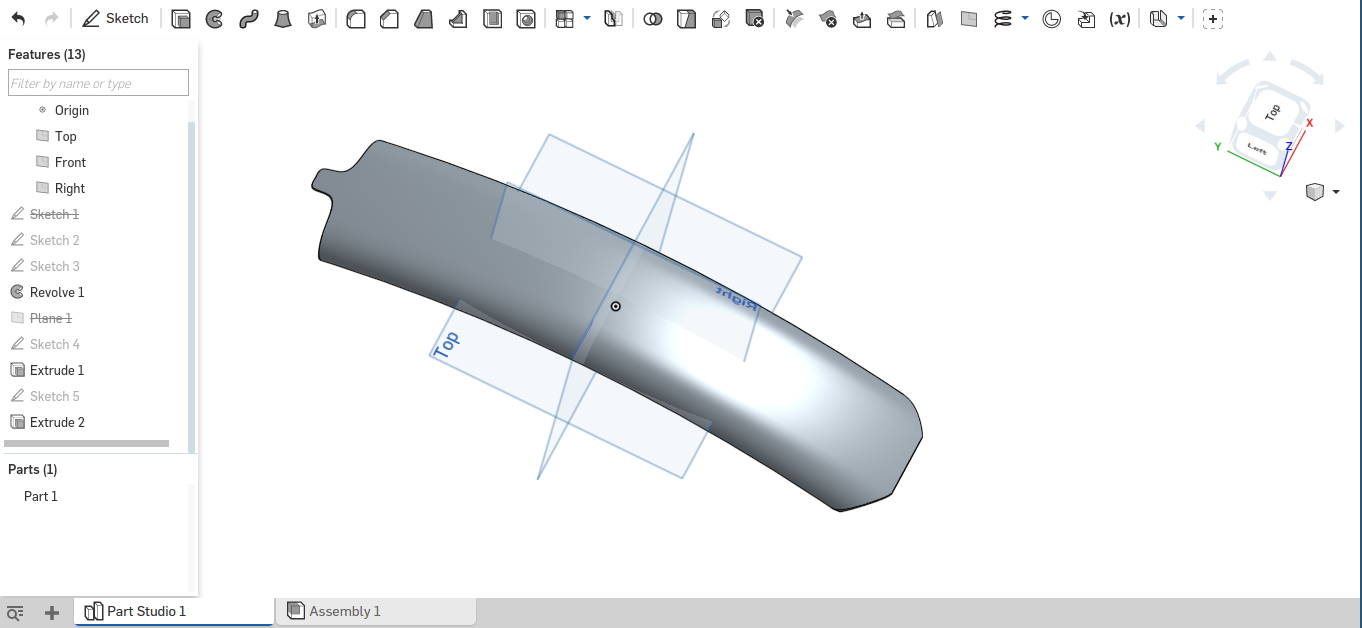
Here is the final design
Then I made the outer rectangular shape and extruded it. And boolean operation of the both shapes were taken to get the negative part of the mold for using in CNC machine.
Here is the sketchfab view of the mould
Testing
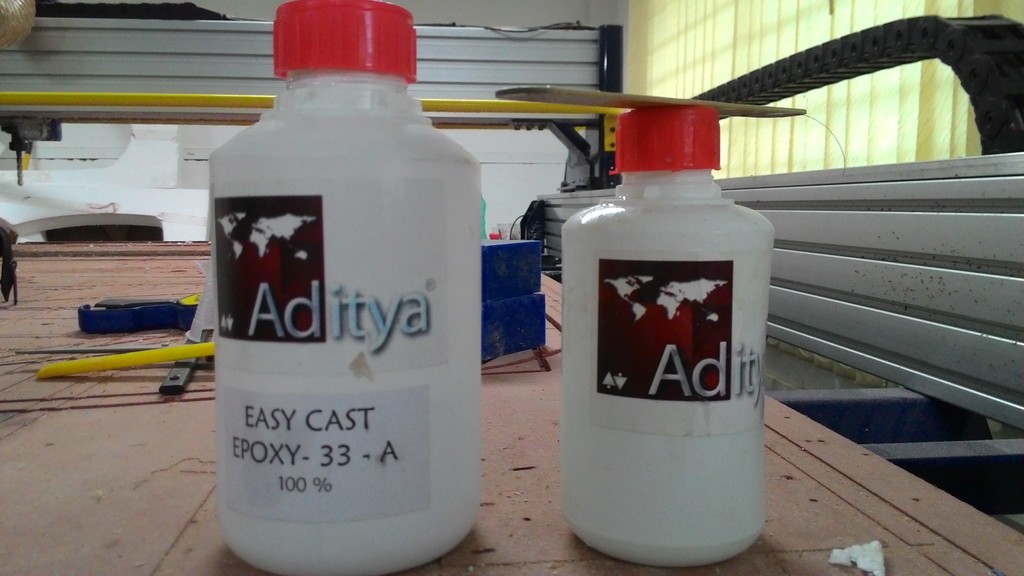
We have two resins at lab. We decided to test them both. Here are the resins.
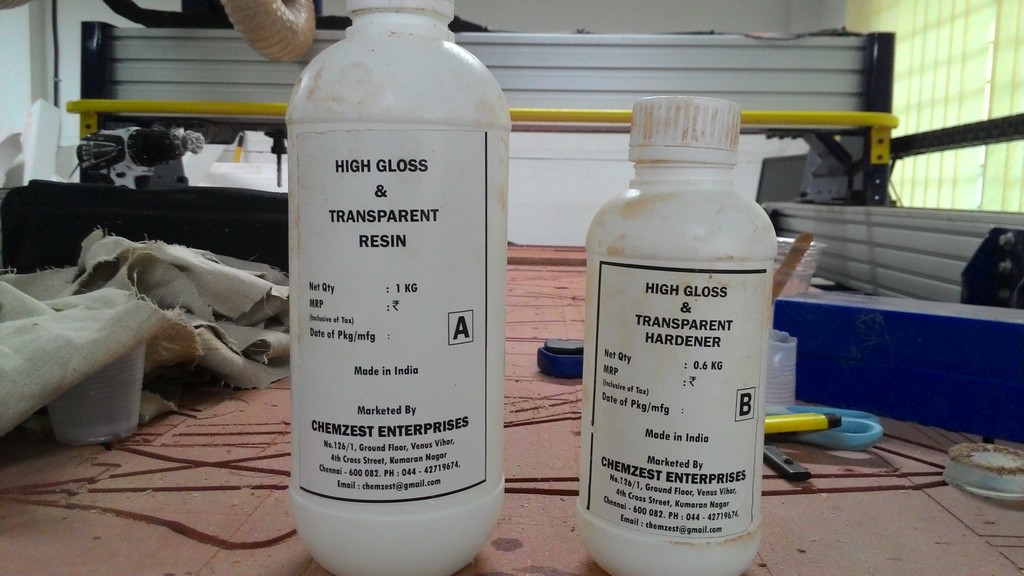
- Mix ratio
- Material 1 - 1:0.6
- Material 2 - 1:0.5
3 layered composite(linen-burlap-linen) with enough resin in each layer was placed in between two wax pieces and compressed using two clamps.
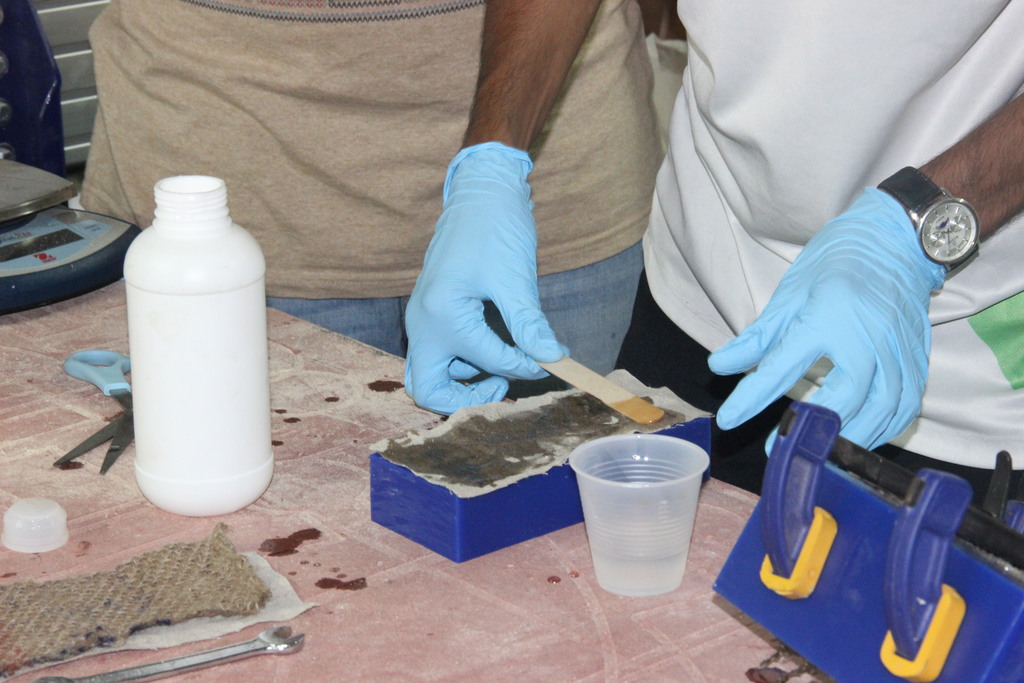
Below are our test material final images. First one is made using the first resin and the second one is made using the second one (epoxy from Aditya). Both have good finishing. First one is more flexible. Second one seems more stronger.
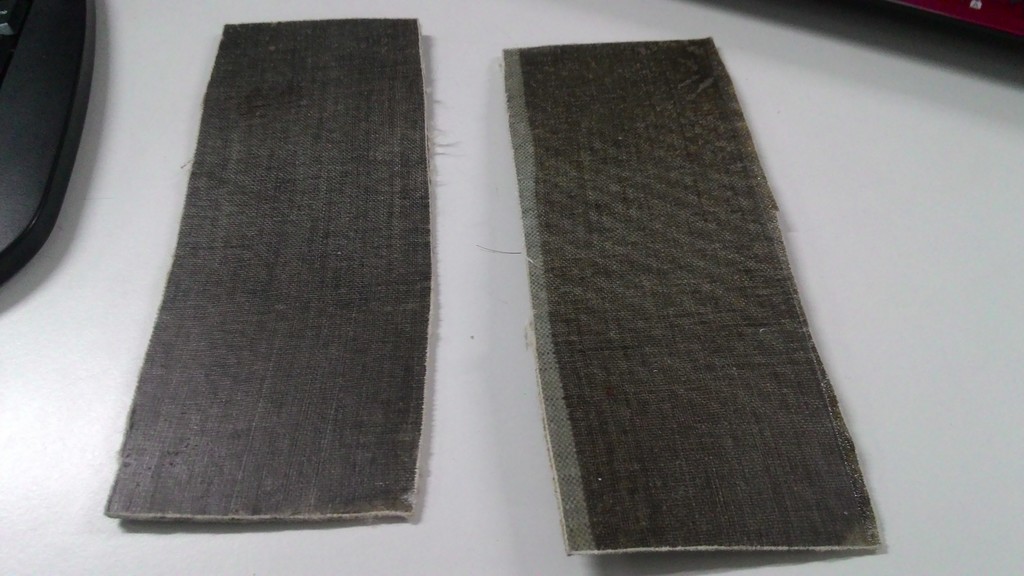
Then we tried with two layers of burlap. It is even more stronger.
Making the mold
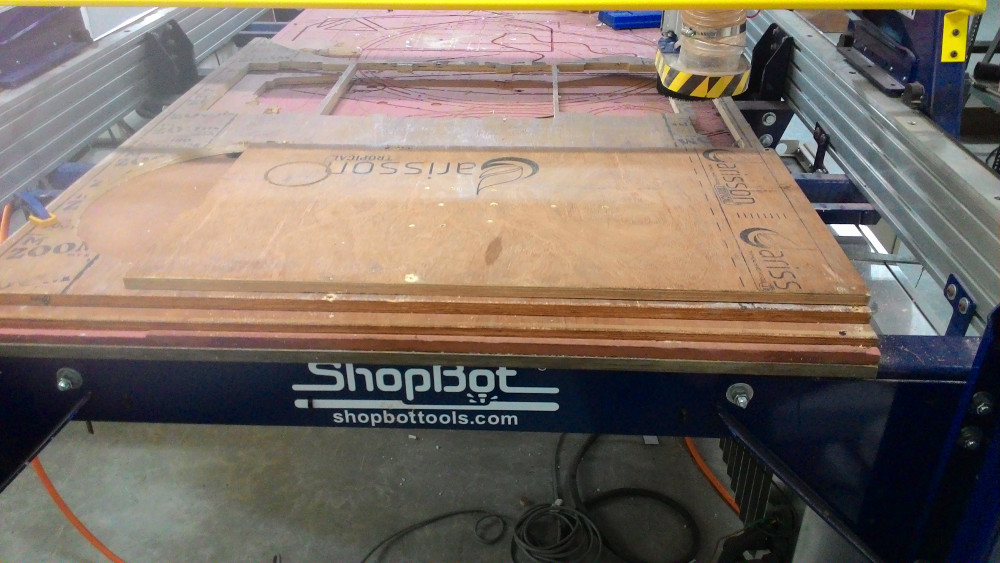
My model has a thickness of 44mm. So I had to stack atleast 3 pieces of 18mm plywood to make this mould. I used 3 scrap pieces for cutting my mould. First I fixed the base plywood using screws. Then the other two plywoods were placed above this.
Then I created a new file with required width and height in vcarve software. And the design file in stl format was imported into the software.
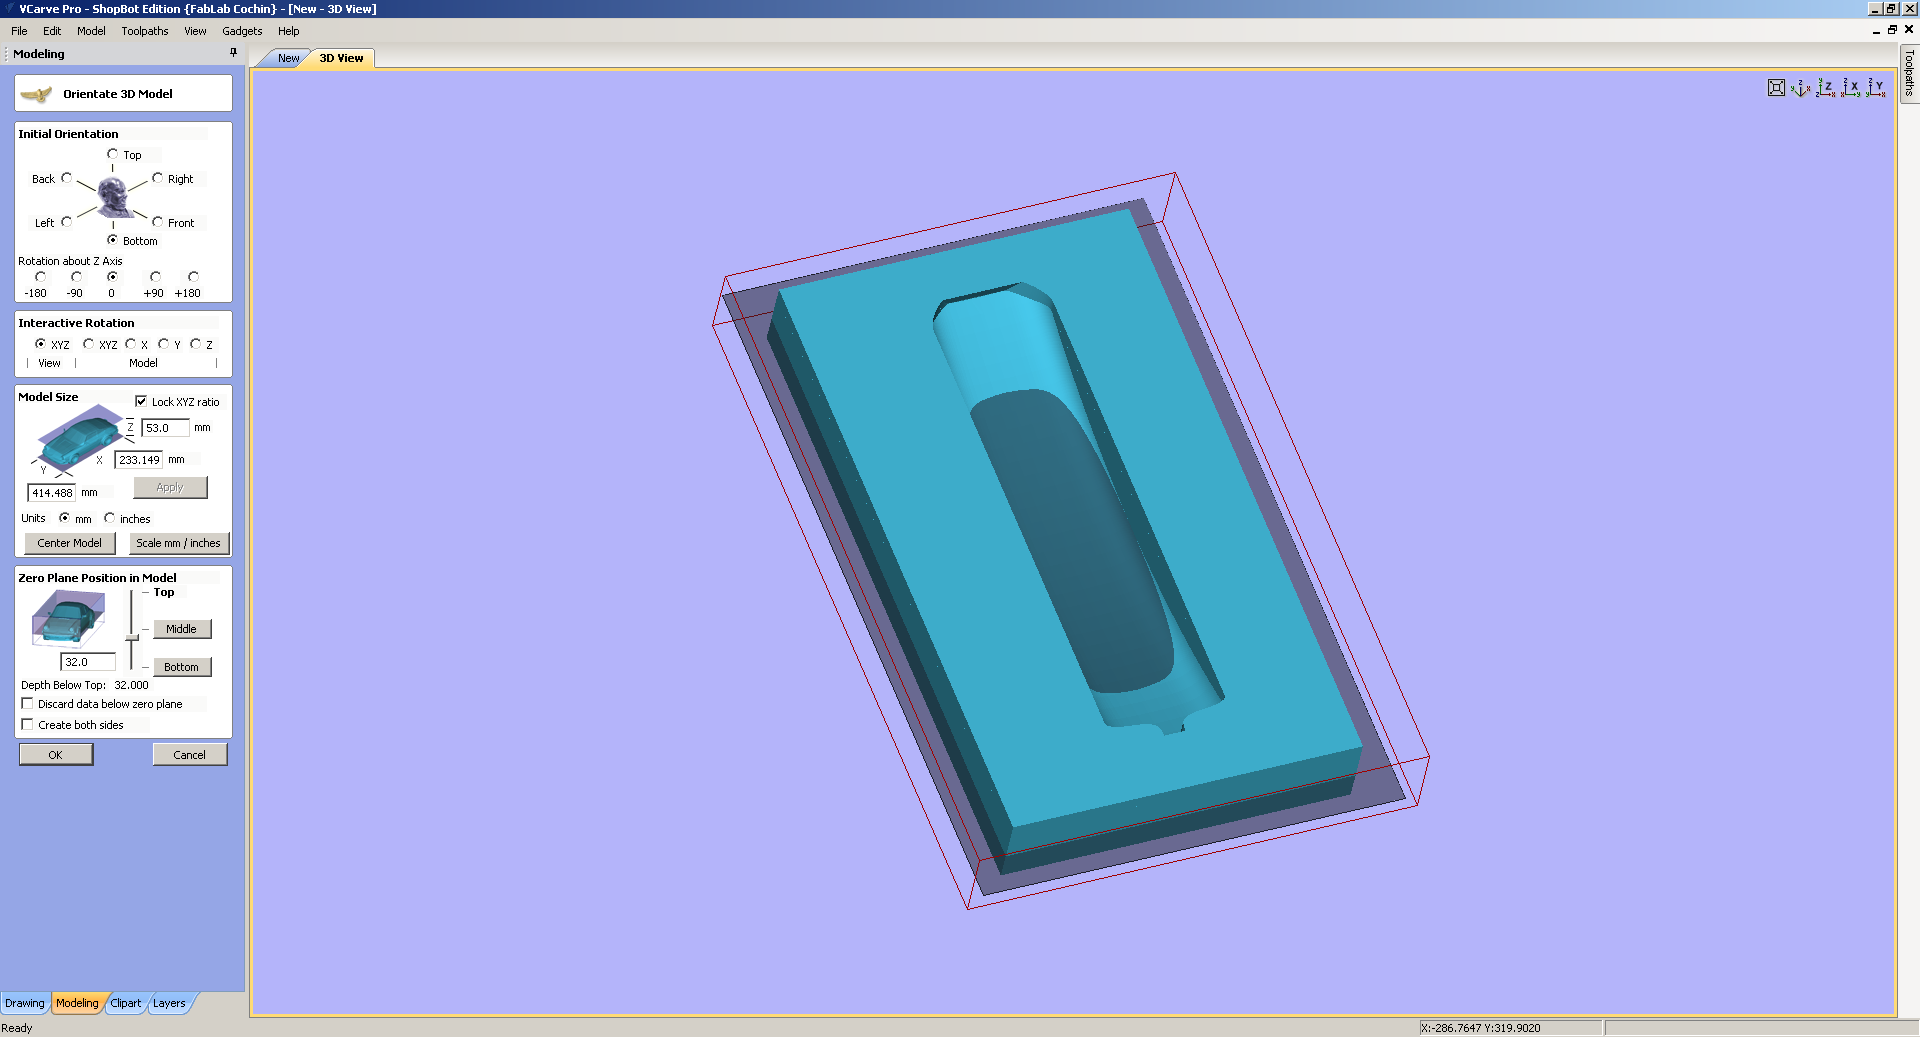
From tools, rough cut option was selected first. Following settings were used.
- tool - 1/4 ball nose
- pass depth - 0.125 in
- stepover - 50%
- feed rate - 2 in/sec
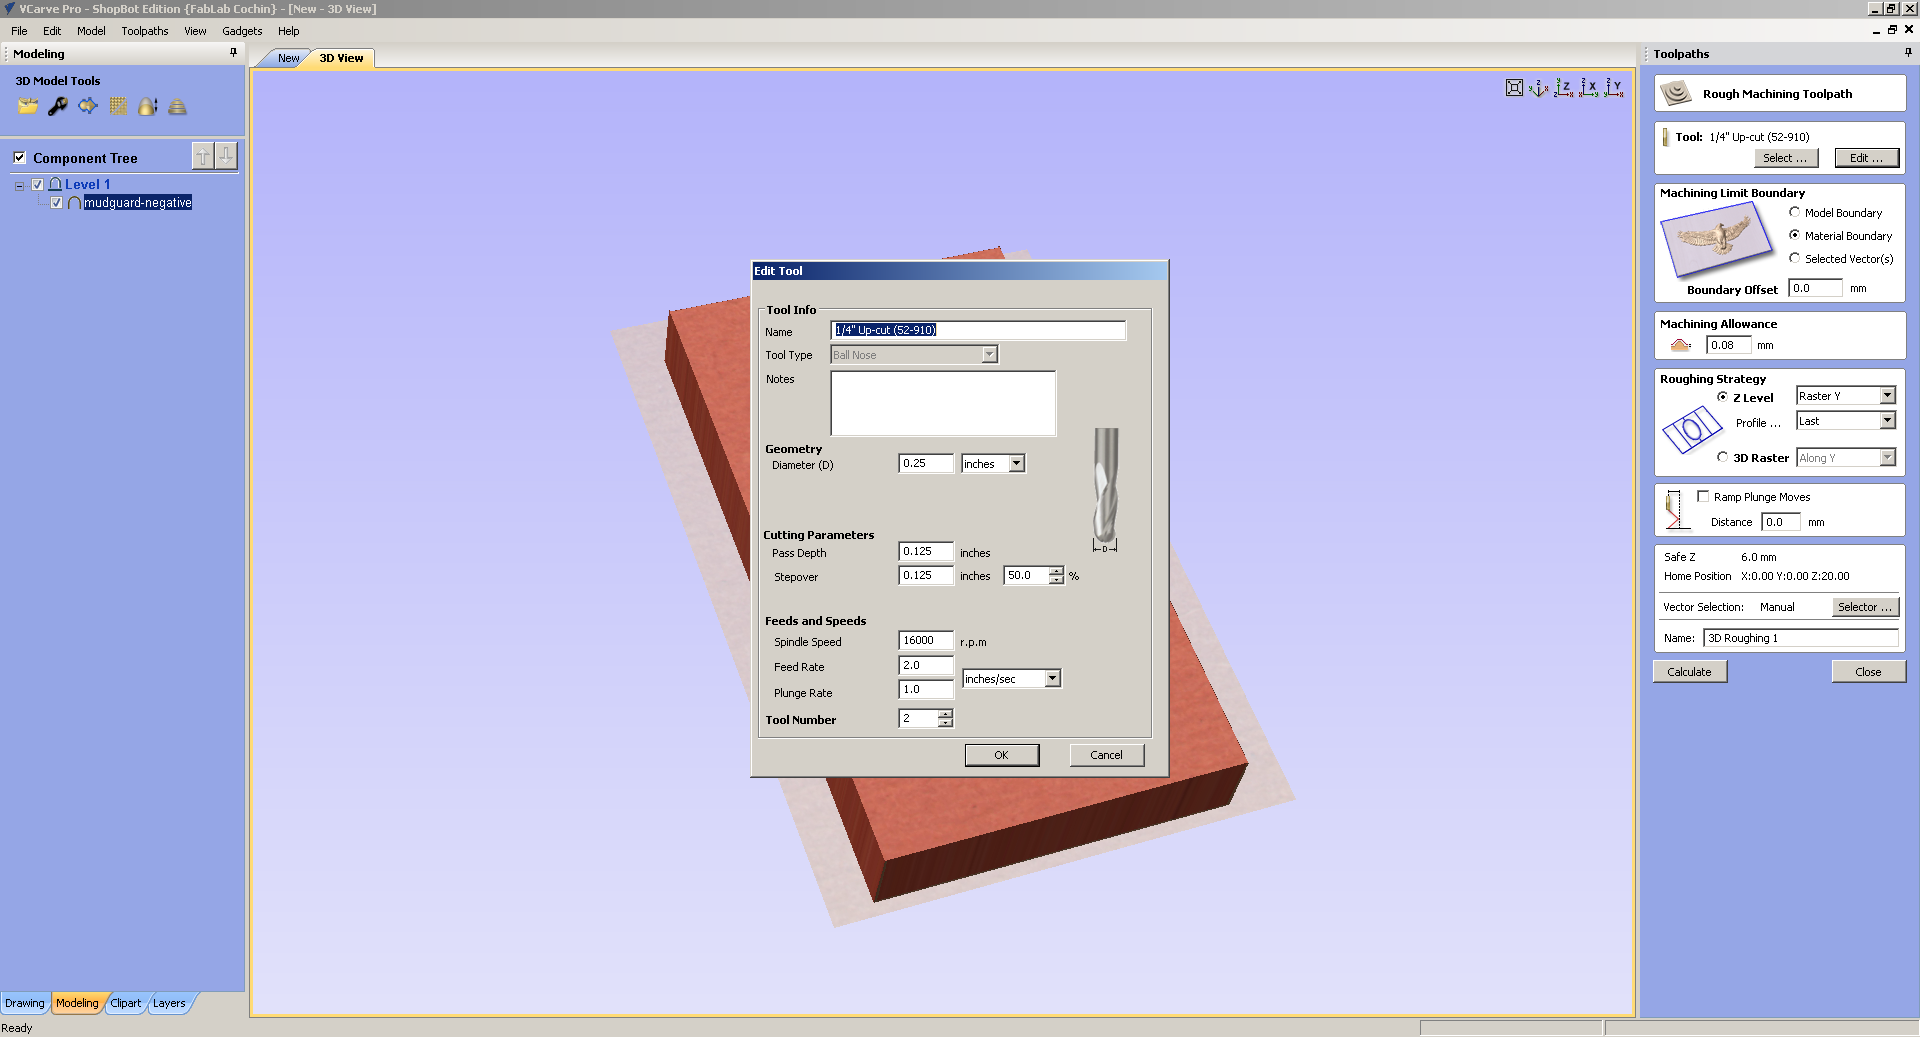
After that fine machining option was selected from toolbar. Following settings were used
- tool - 1/4 ball nose
- stepover - 20%
- feed rate - 1.5 in/sec
Rough cut and fine cut files were saved together as a single file. I set the X and Y origin points and set Z in shopbot's application. Previously saved file was imported into this application and started the machining.
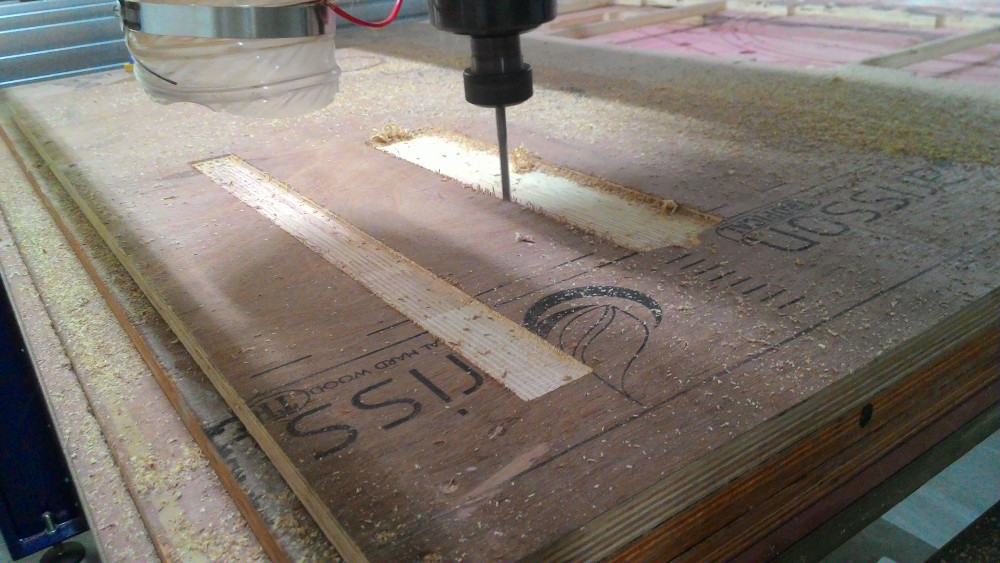
Stupidity!
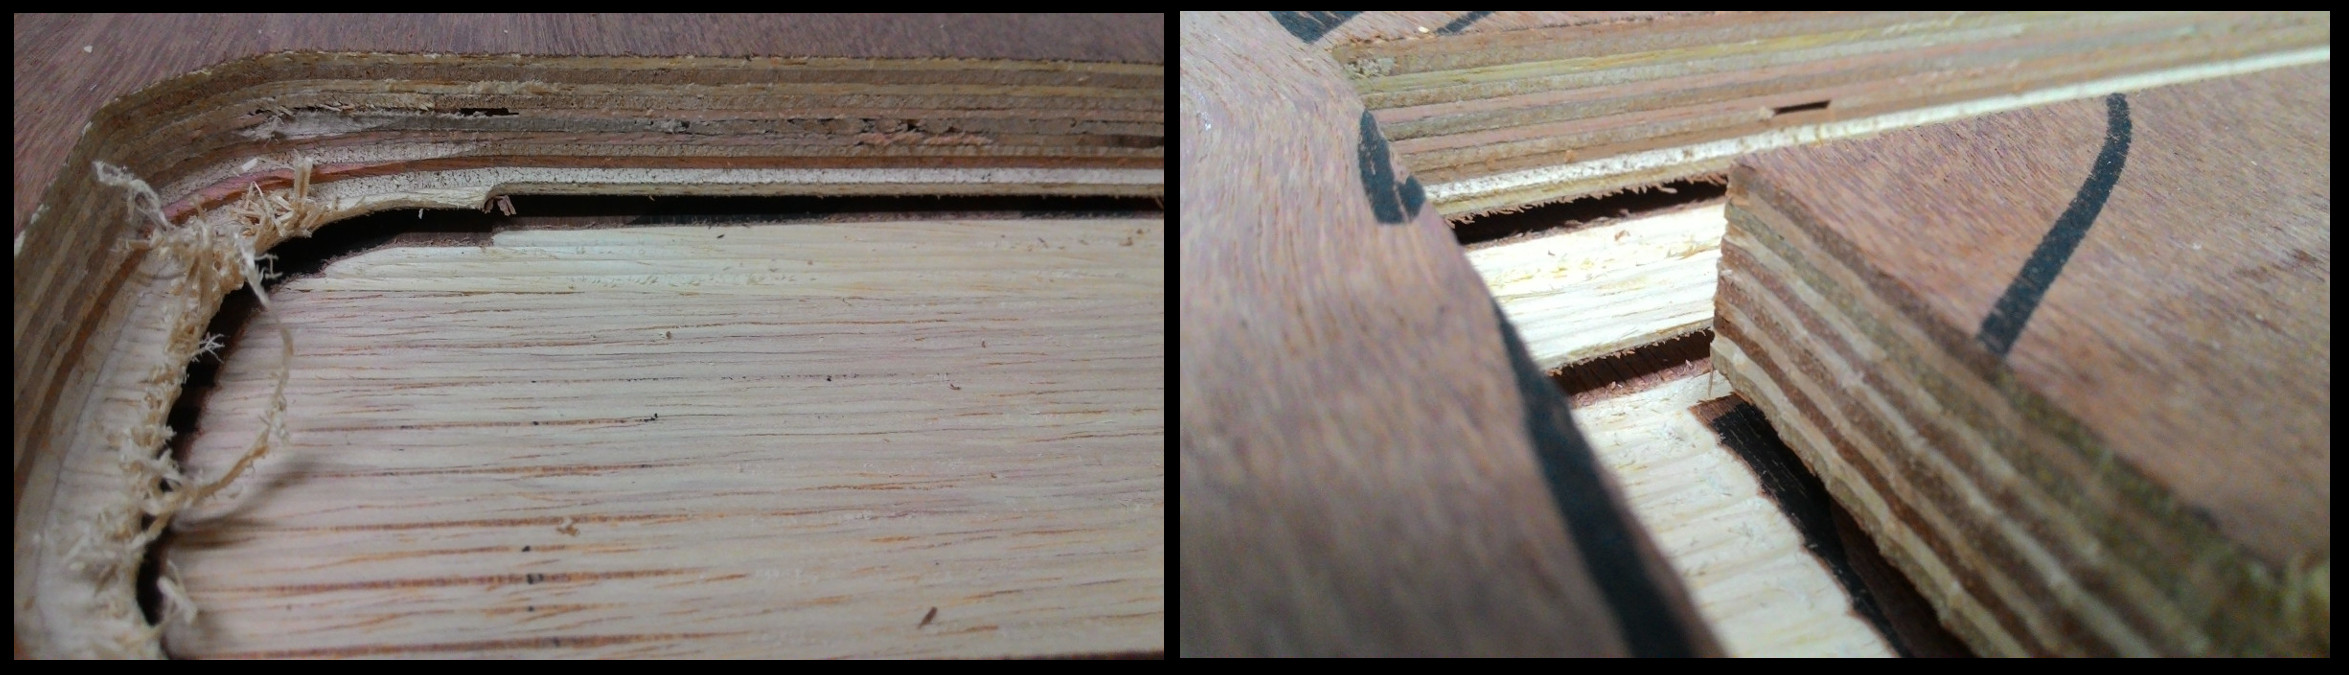
I have made a grave mistake! I have used 3 plywood pieces stacked together and they were all fixed together using screws. But as the machine reached bottom part of the top plywood, cut piece started to seperate from the second layer. I quickly paused the machine. I should have glued all the layers well. But it was too late. If I try to seperate the playwoods for adding glue I would lose the origin points.
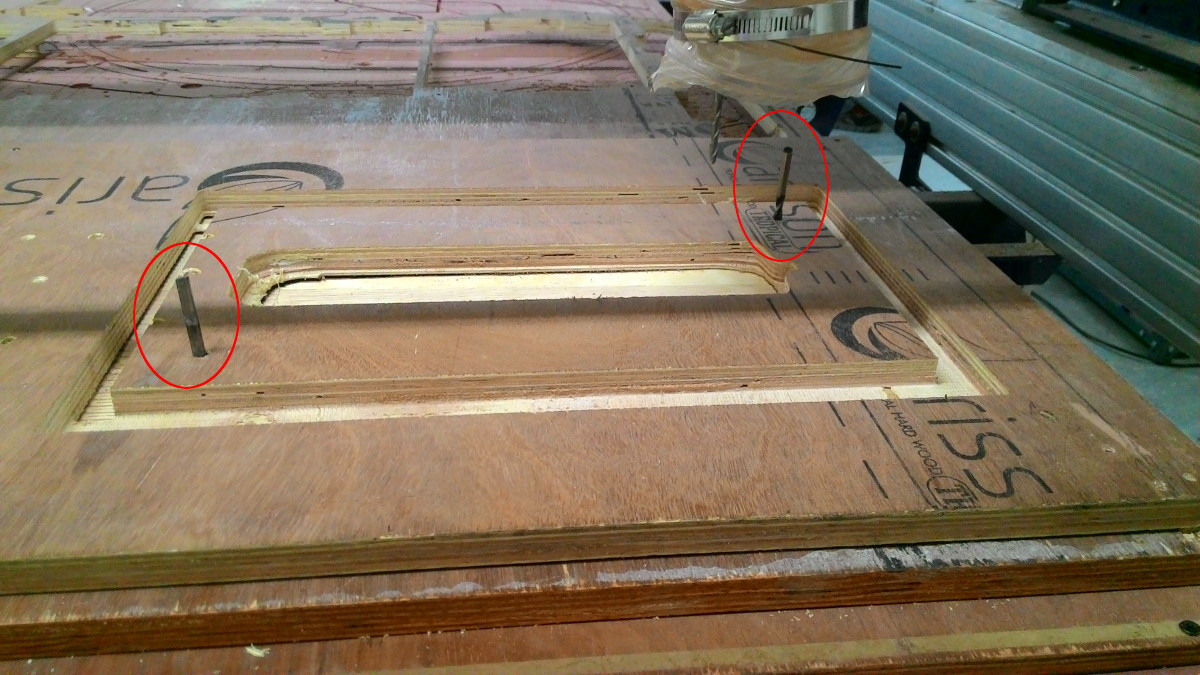
I was feeling angry and confused. Fortunately my instructor came up with a solution. We drilled two holes on the model so that the hole pass through all three layers. Now, by arranging these drill holes in proper position (just put a drill bit in it) I can properly arrange the plywoods in its older position even if I take top 2 plywoods away.
I glued all plywoods together and resumed the machine process.
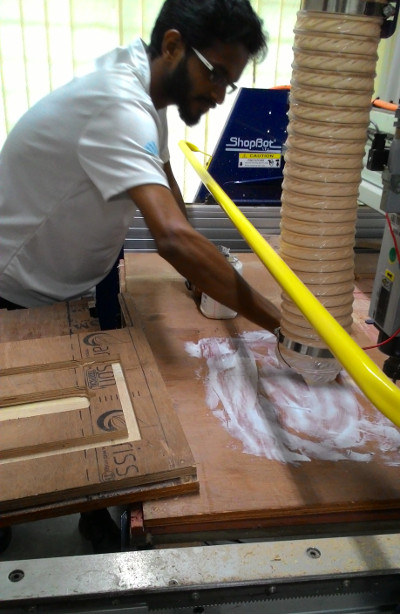
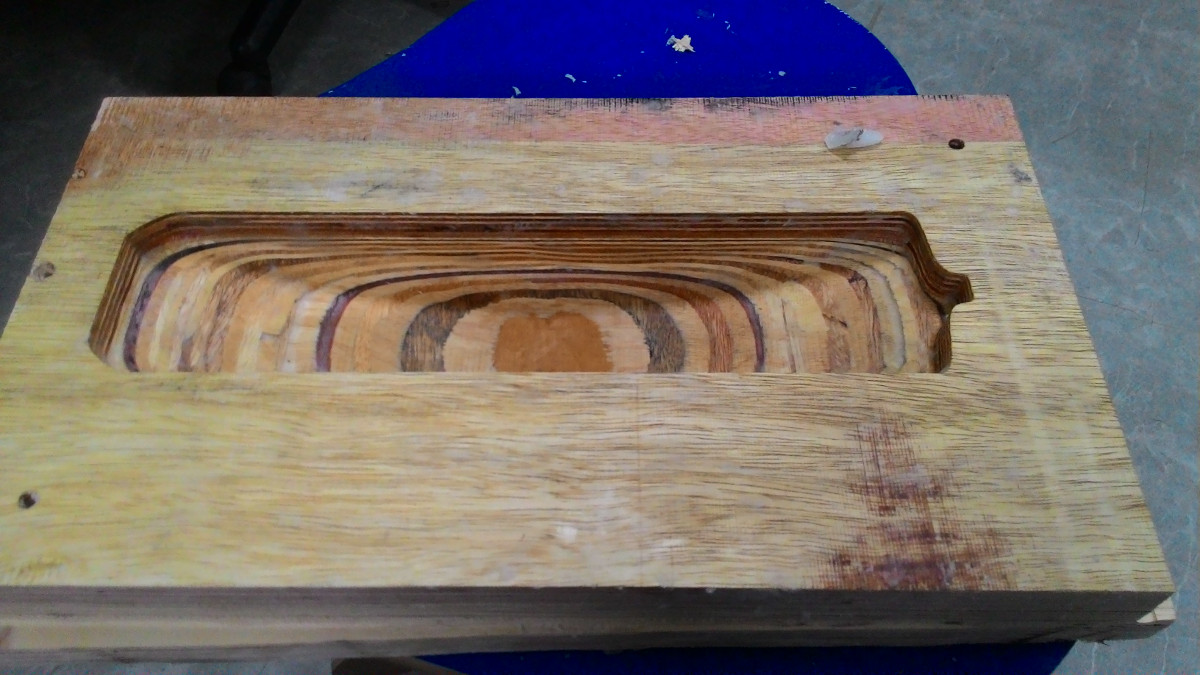
Completing the mould
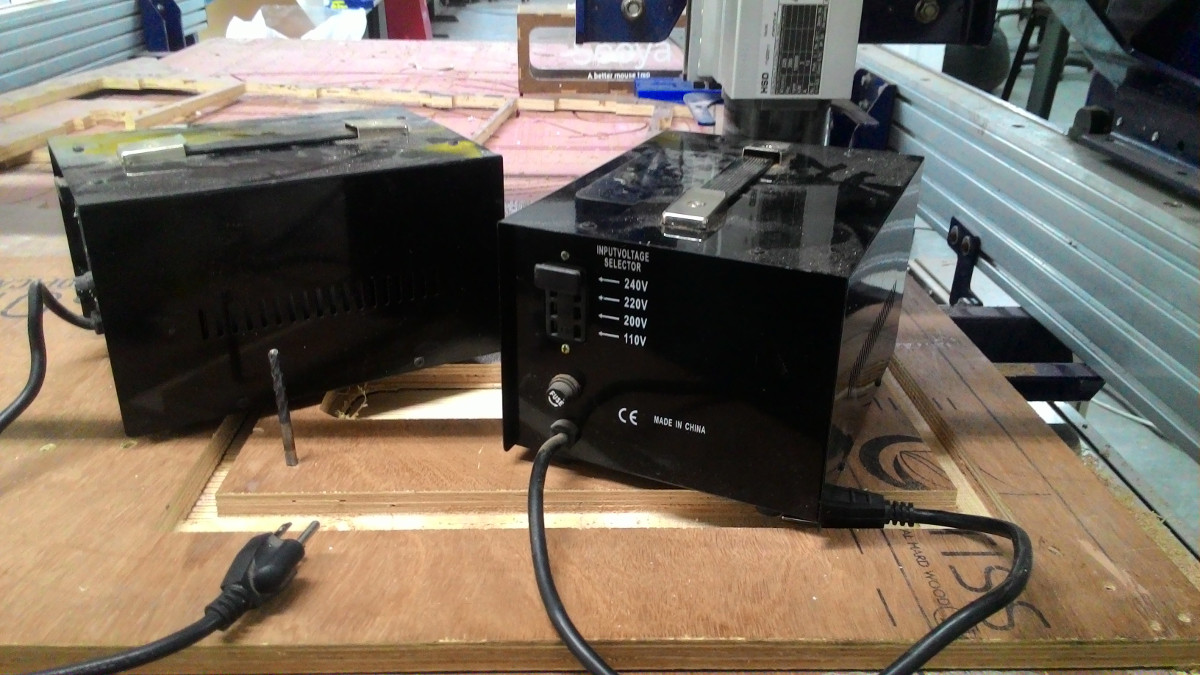
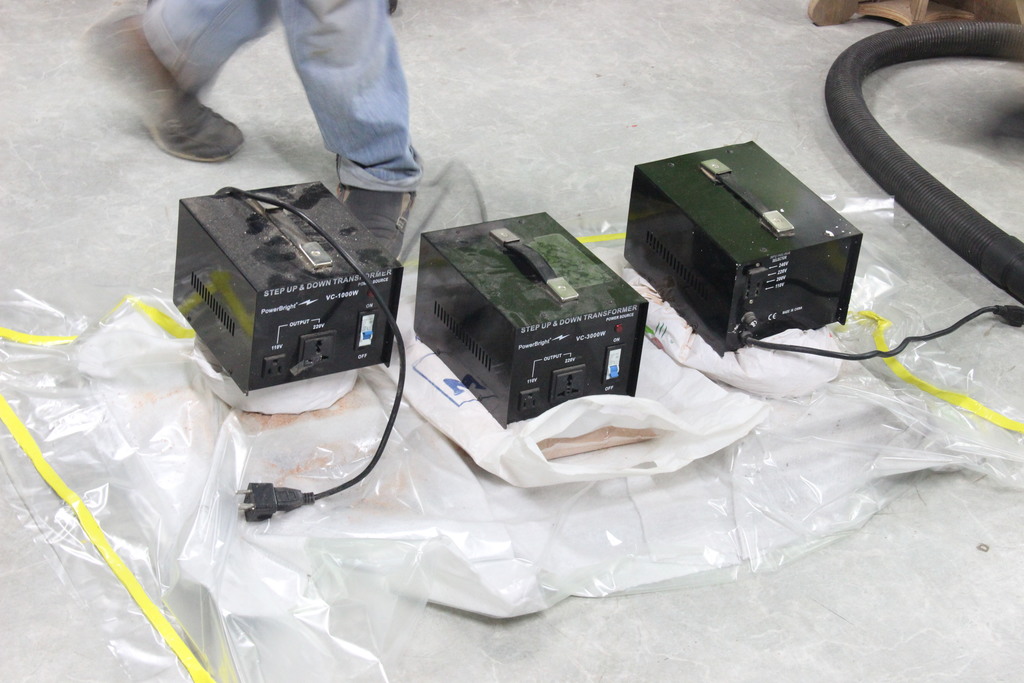
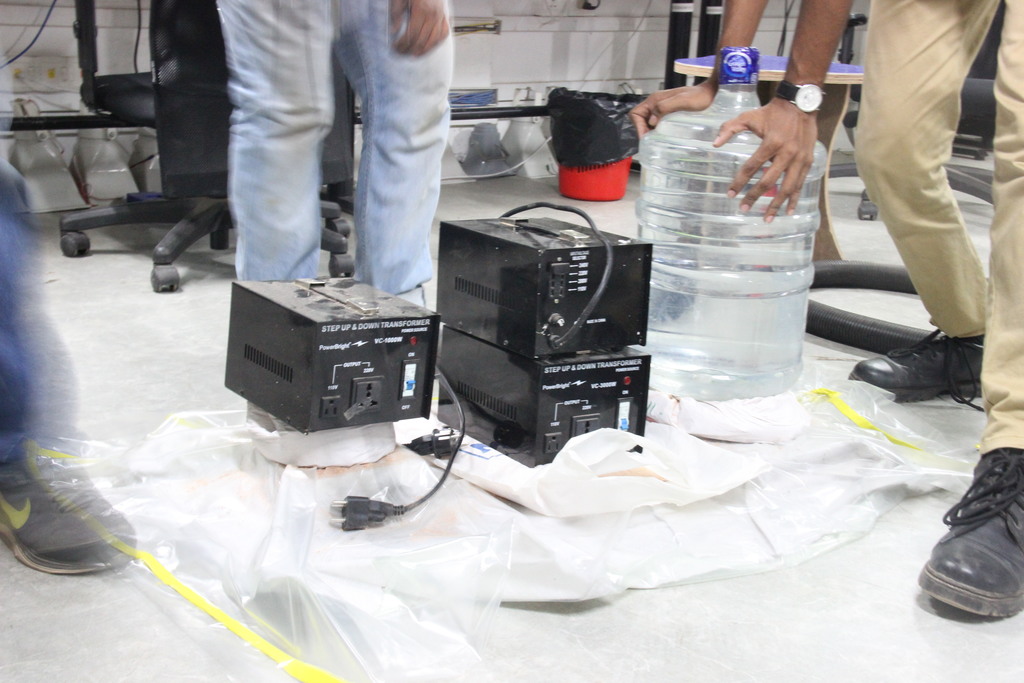
Now I have to put something heavy on the plywoods to stick all the layers well. I used two spare transformers. There wasn't anything else in lab :) :)
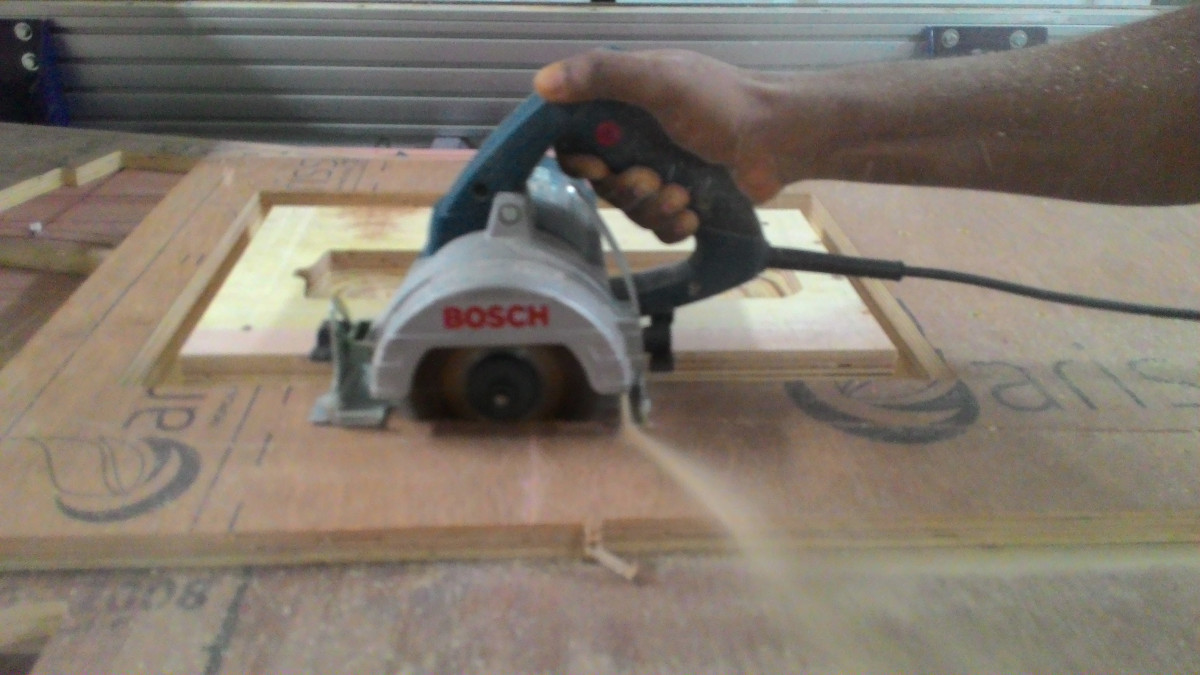
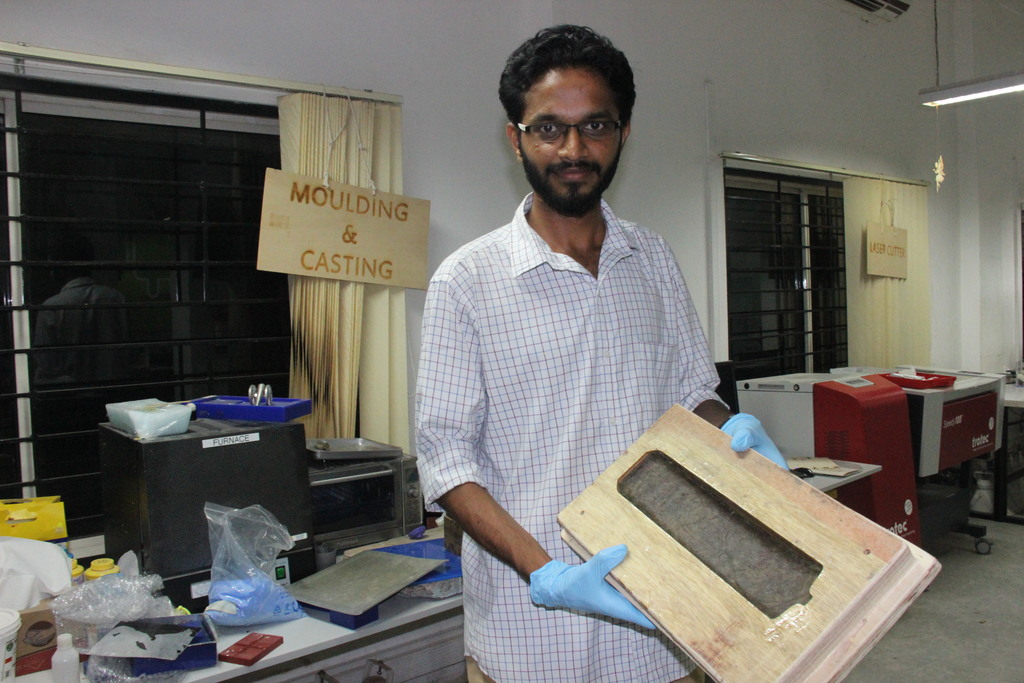
The required piece was cut from the plywood
The mould was then coat with a thin layer of wax.
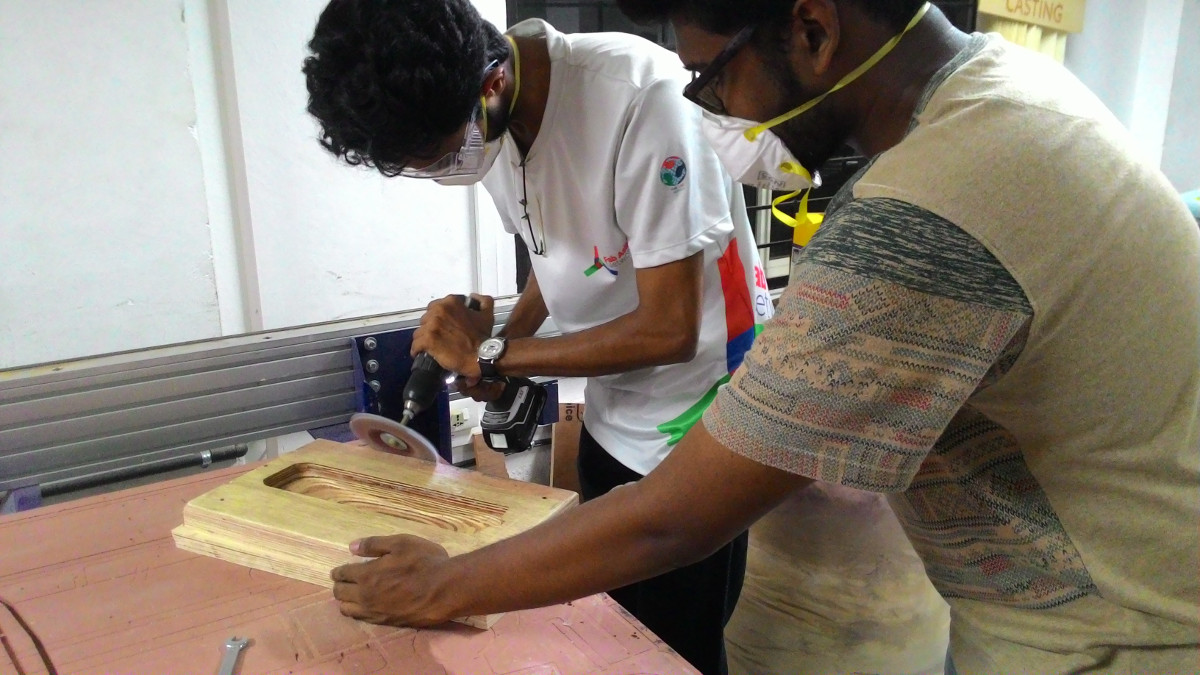
There were sharp edges on the mould. These might damage the plastic cover used while vacuum pumping. All sharp edges were cleared.
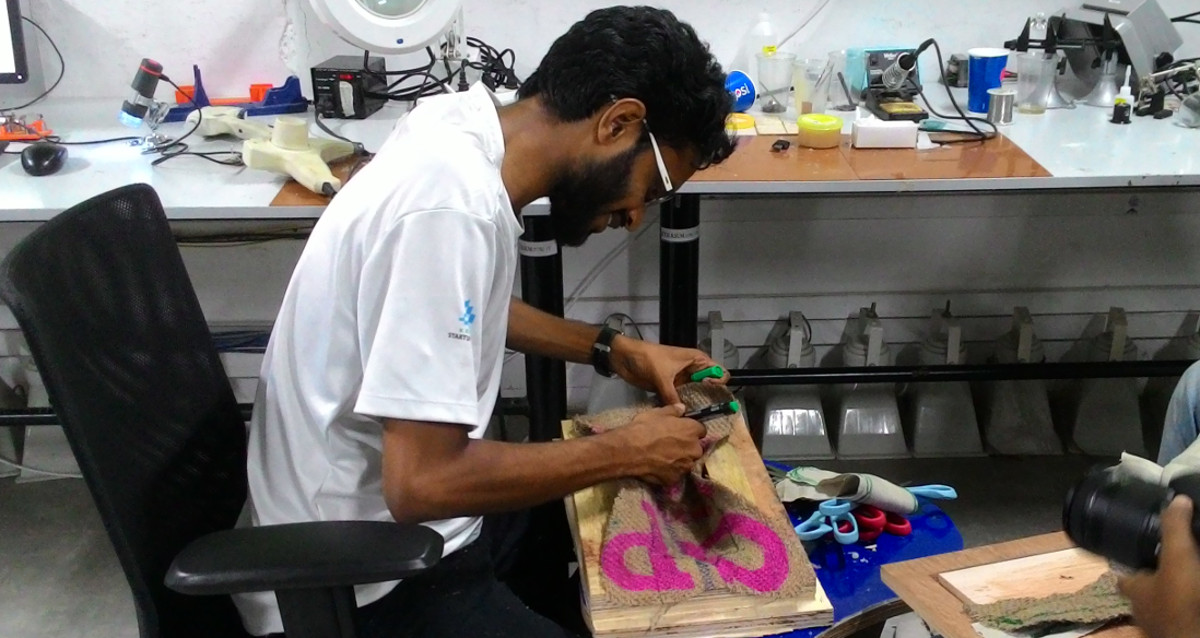
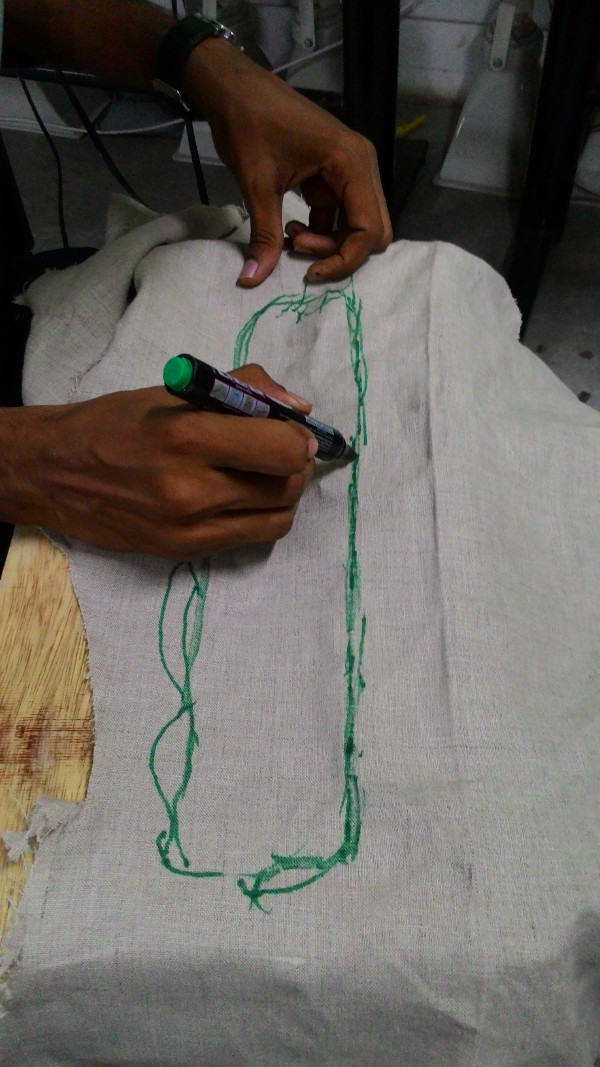
I used a sketch pen to mark the mould shape and it was cut using scissors.
Then two pieces of linen cloth were cut.
Whole items are ready. Now its time to start the composite process.
Composite
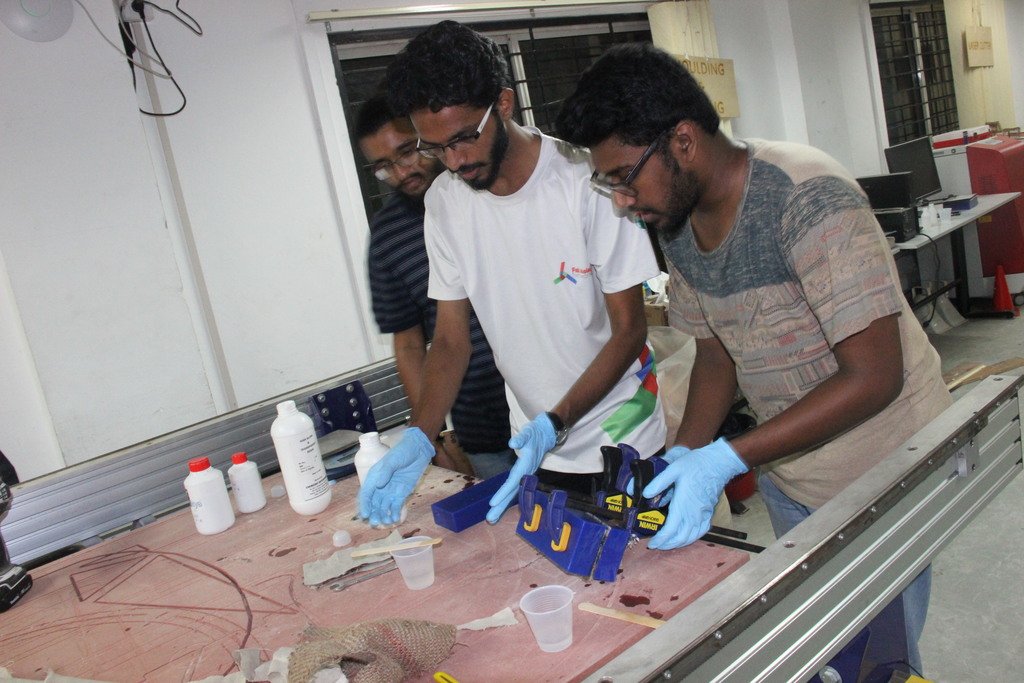
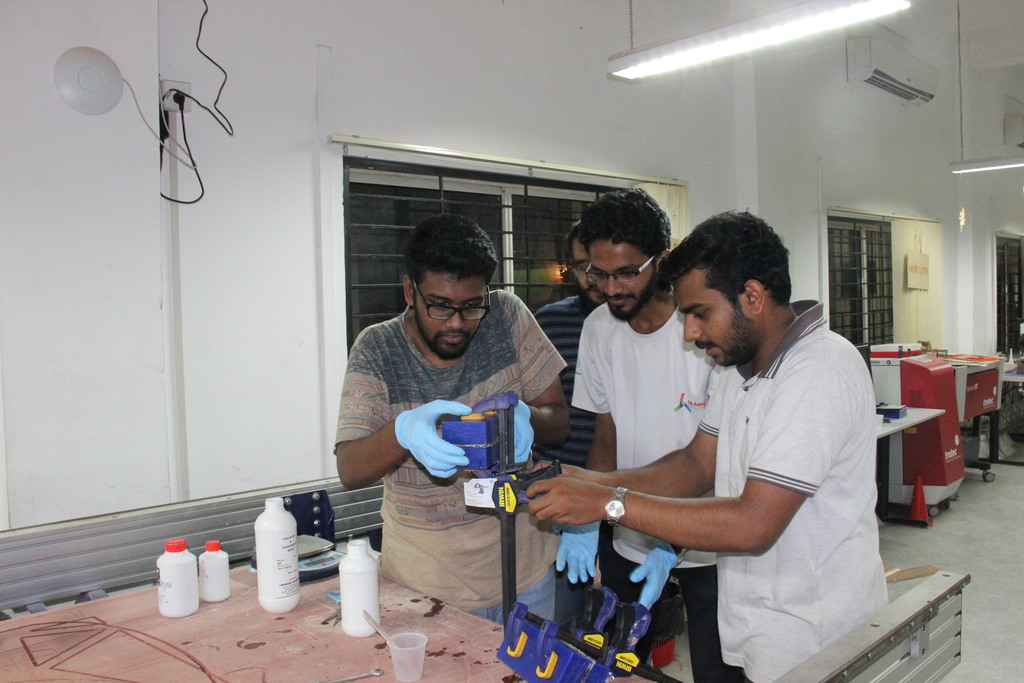
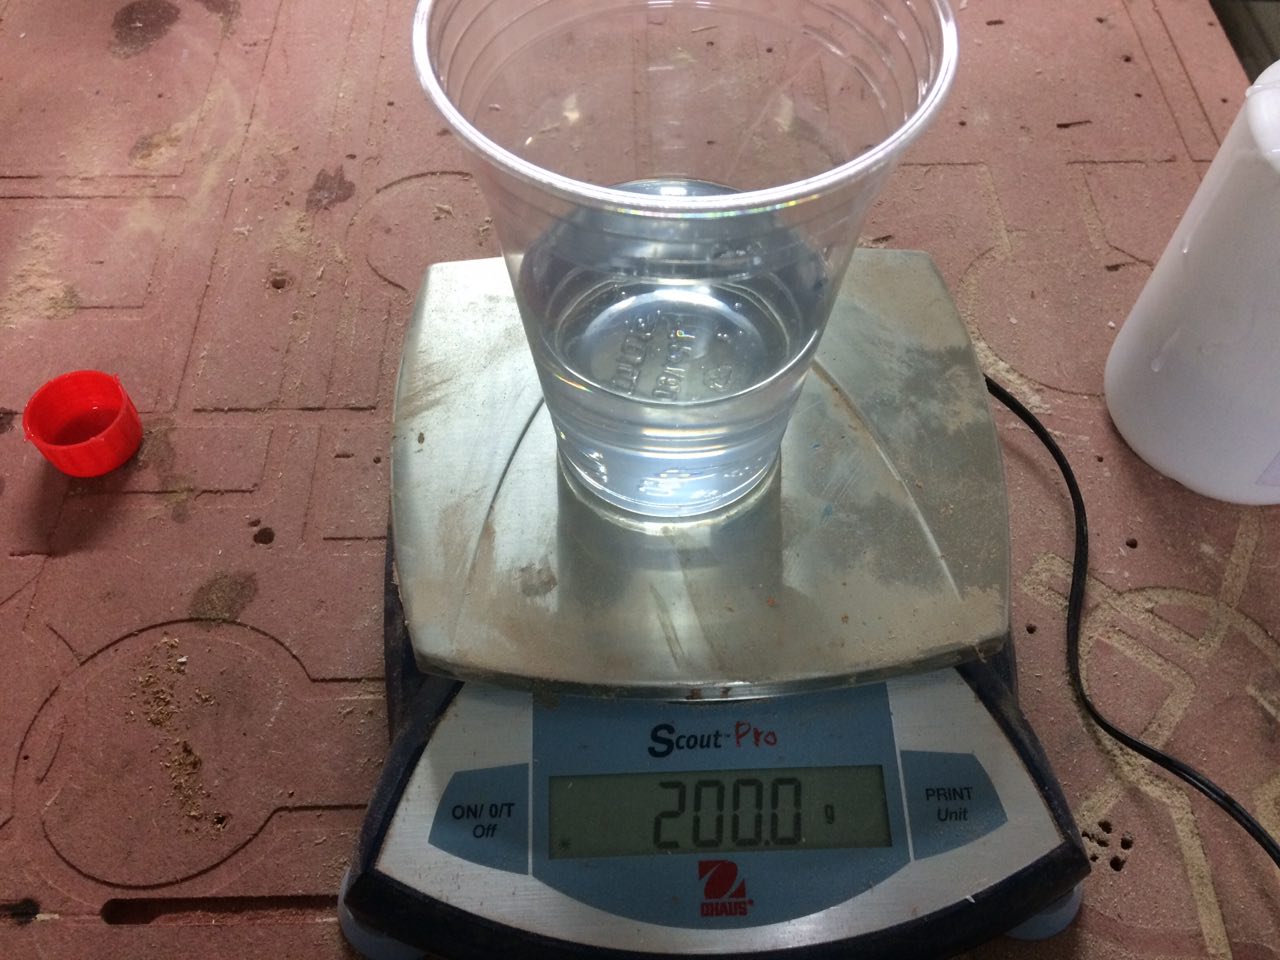
As I told in testing section, epoxy from Aditya seems stronger. So I decided to use this resin. Mixing ratio is 1:0.5. Me, Tanvir and Aneesh were doing together. So we took 200g first material and then 100g of the 2nd material.
The mixture was stirred well. Then a thin layer of resin was coated on the mold. First linen piece was placed on the top of this. Then I placed the burlap cut piece above this and again poured enough resin.
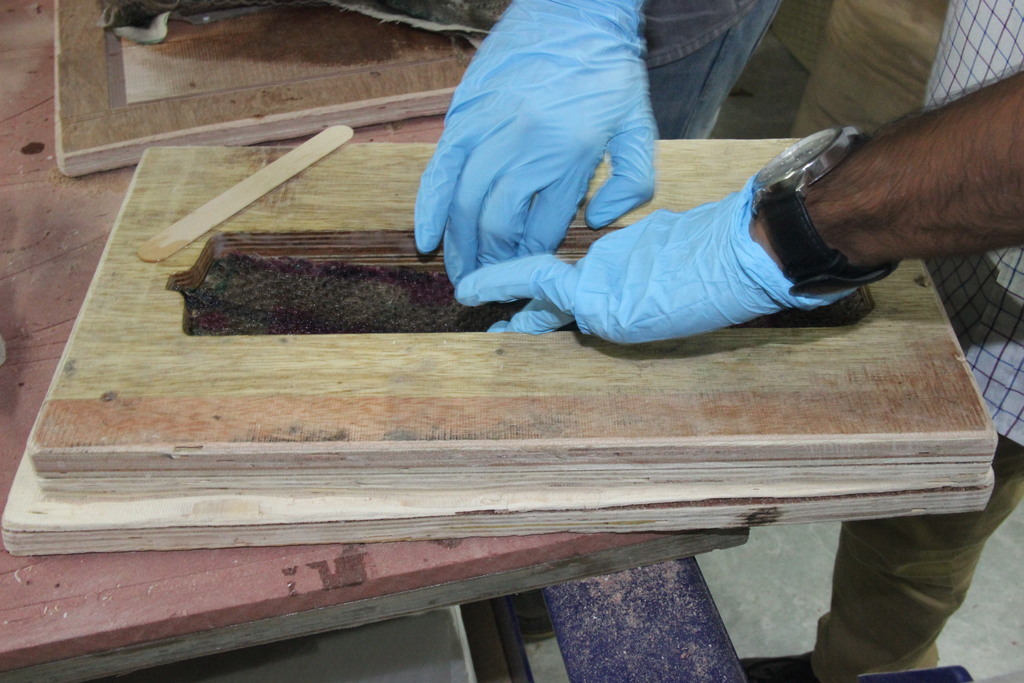
Another linen piece was used as third layer and poured epoxy again.
Here is the mould with three layers of material.
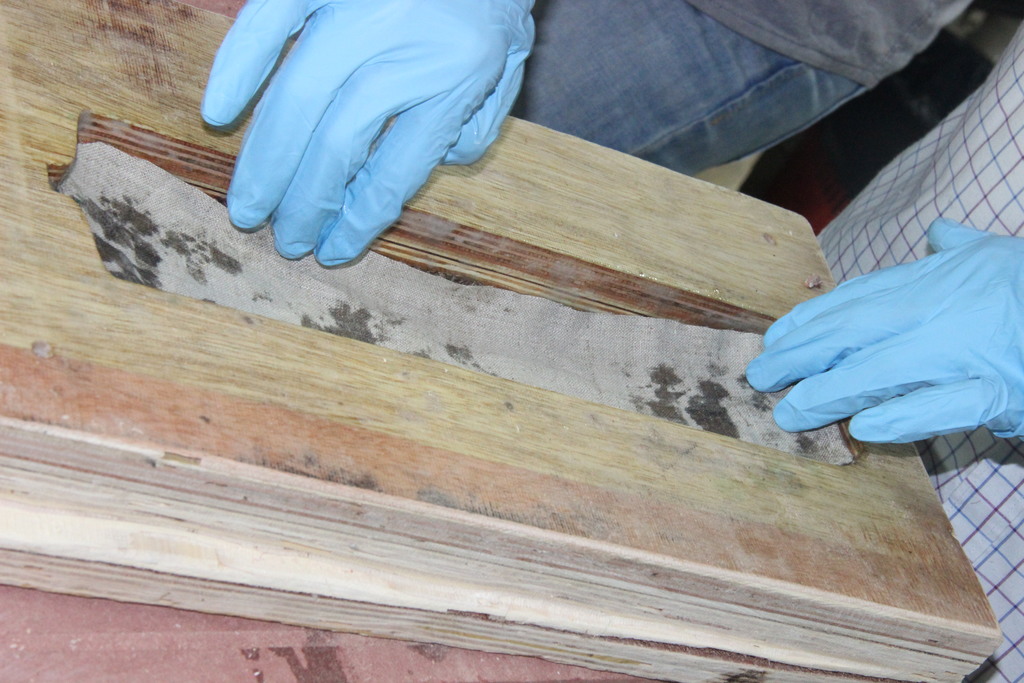
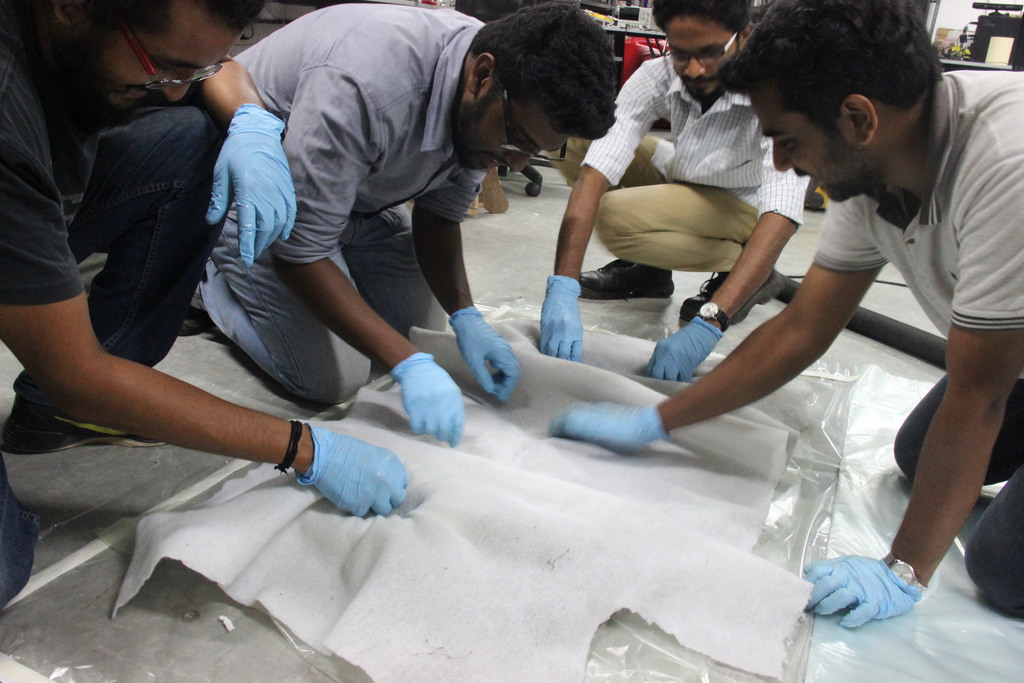
The whole mould was then placed inside a plastic bag for using vacuum pumping. Above the mould we placed a peforated film. Excess resin will be absorbed by the breathing cloth through this film, which contains tiny holes.
Coating with breathing cloth. This will absorb execess resin while using vacuum pumping.
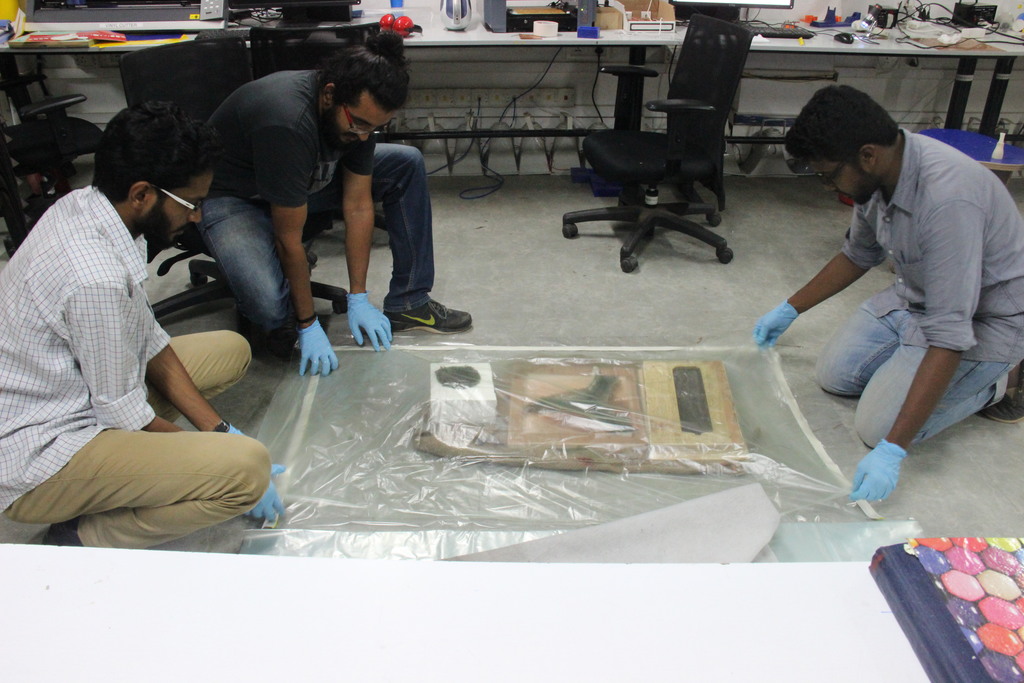
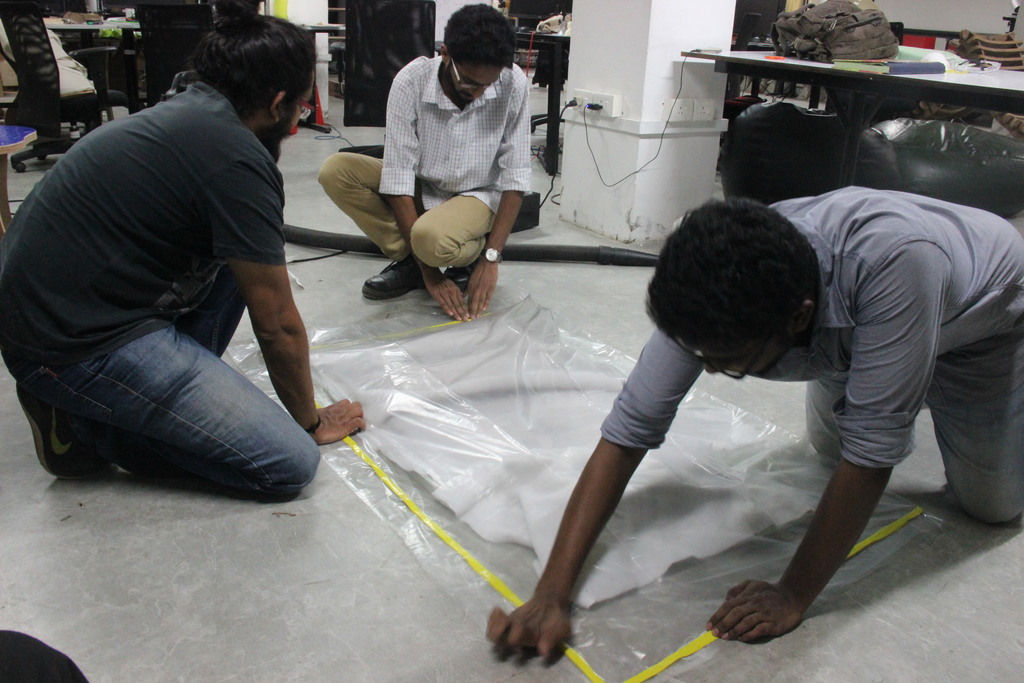
Whole mould is then tightly sealed for vucuum process.
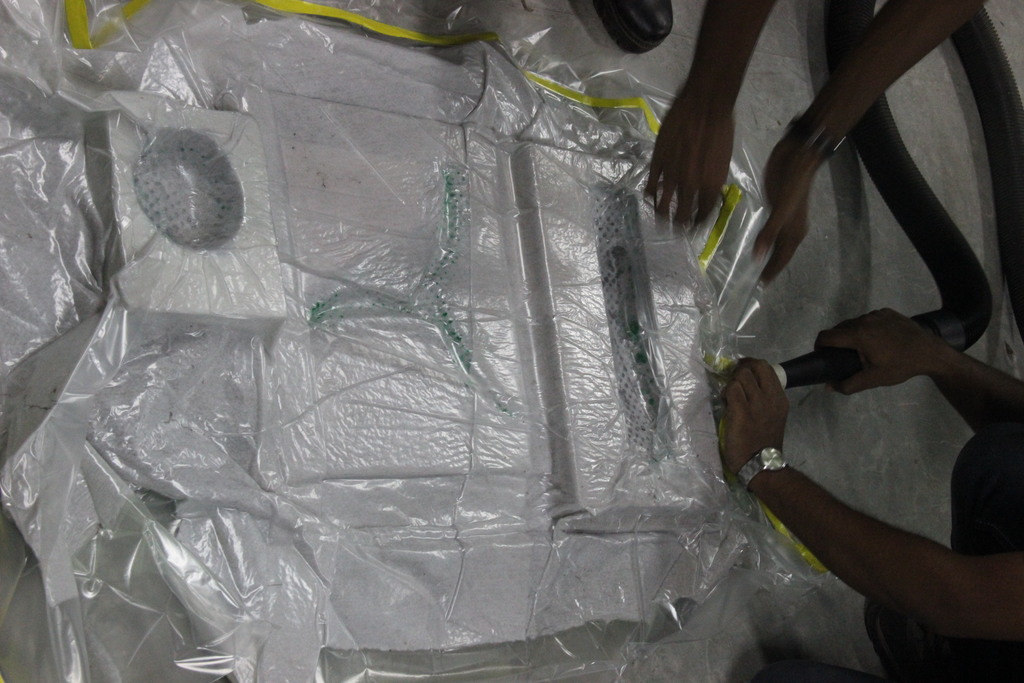
Doing vacuum process to absorb all air.
We had used vacuum pump of shopbot, which cant be used for long time. So we filled a plastic bag with plywood dust and placed above the mould for compressing.
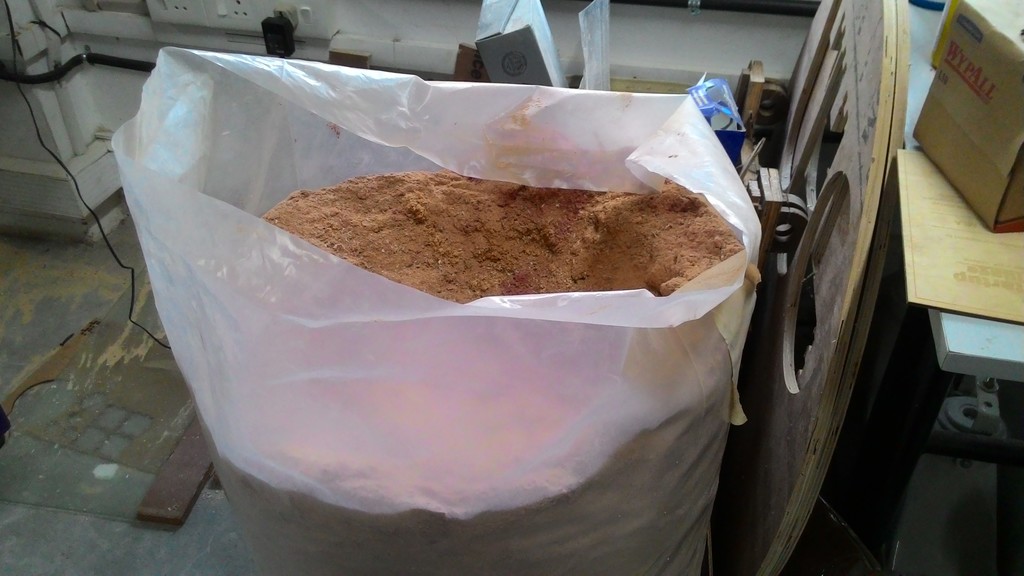
We put some transformers above this as weight.
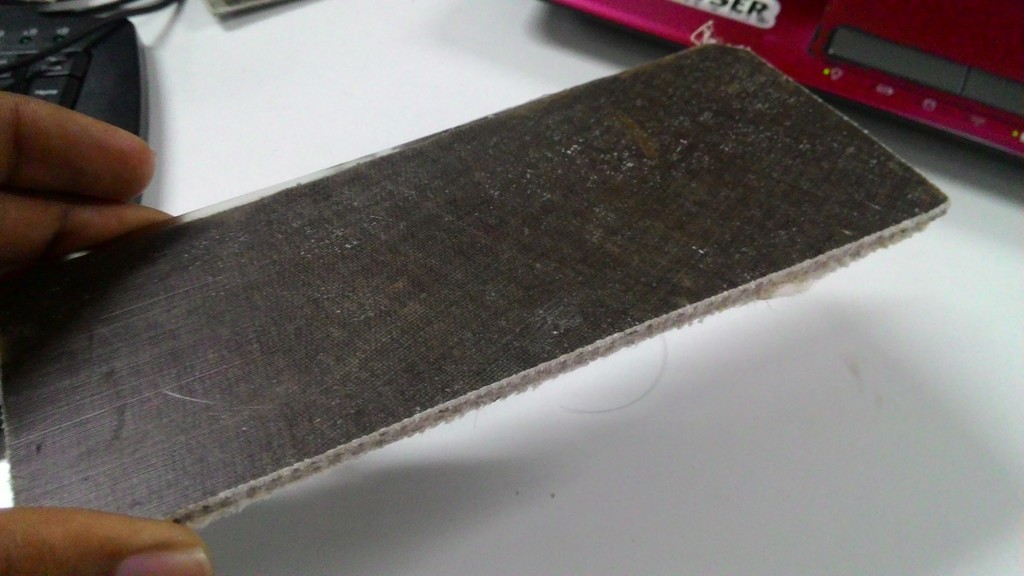
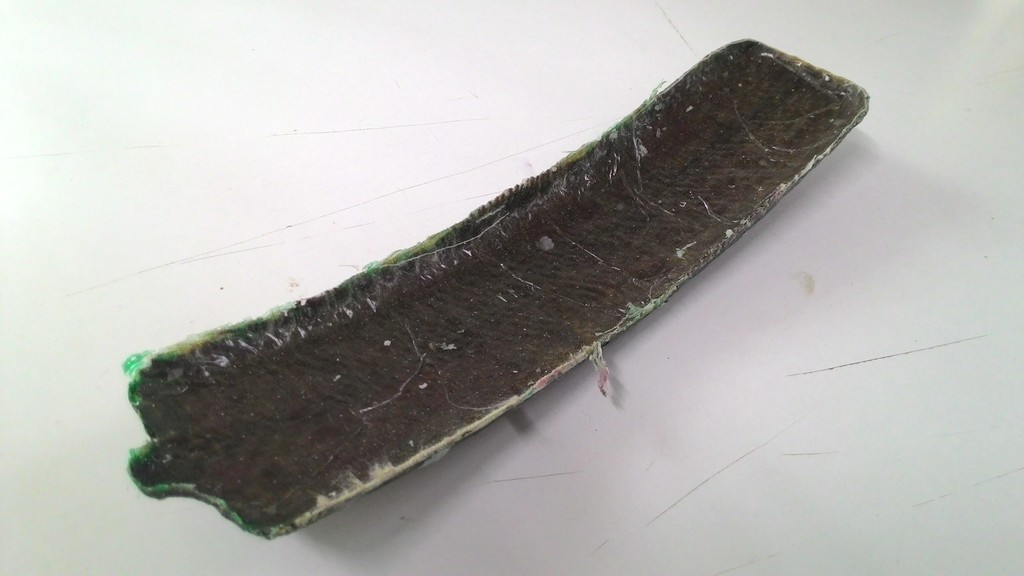
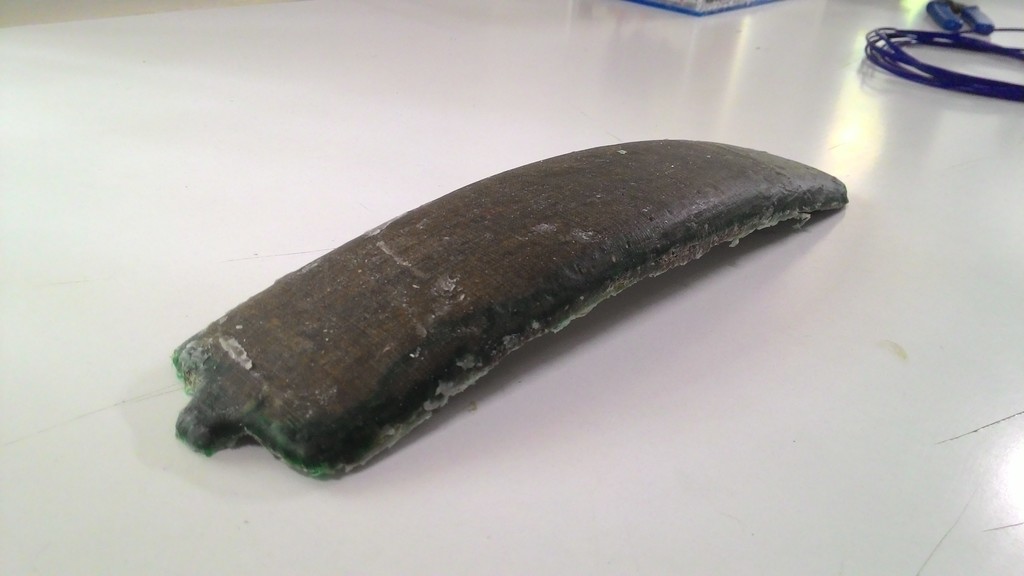
Next day we took the material from the mould. It was very flexible. So we put it in oven for a few hours.
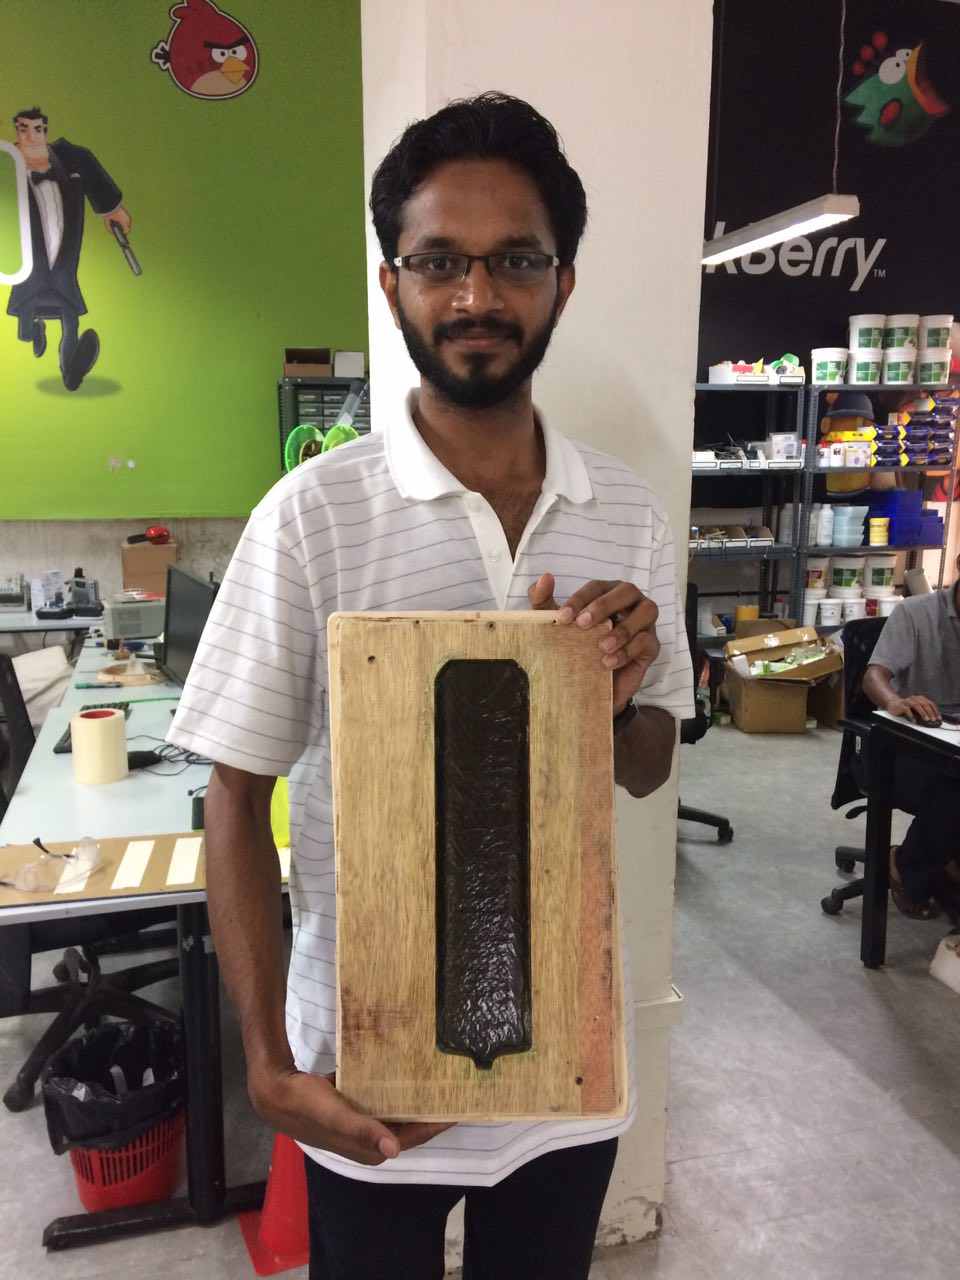

Here is the final output. Its much stronger now.
Downloads
3D design file - STL file