Embeded Programming
Microcontroler Data Sheet
In this board have the attiny44 and to programming a read the Data sheet.
I read this cheap the operating voltage is 2.7 - 5.5V, and if i use the 10Mhz crytal i need 2.7 - 5.5V and if use 20Mhz crytal i need 4.5 - 5.5V.
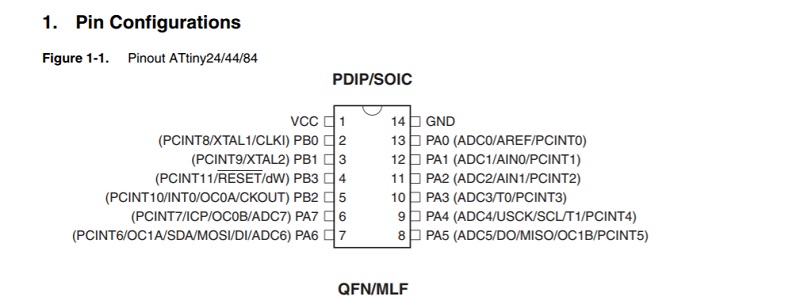
My package cheap is the PDIP/SOIC and i learn the pin out to now the pins if i connect the components.
VCC - power Supply
GND - Ground
Port B (PB3:PB0) - Port B is a 4-bit bi-directional I/O port with internal pull-up resistors (selected for each bit). The
Port B output buffers have symmetrical drive characteristics with both high sink and source
capability except PB3 which has the RESET capability. To use pin PB3 as an I/O pin, instead of
RESET pin, program (‘0’) RSTDISBL fuse. As inputs, Port B pins that are externally pulled low
will source current if the pull-up resistors are activated. The Port B pins are tri-stated when a
reset condition becomes active, even if the clock is not running.
Port A (PA7:PA0) -
Port A is a 8-bit bi-directional I/O port with internal pull-up resistors (selected for each bit). The
Port A output buffers have symmetrical drive characteristics with both high sink and source
capability. As inputs, Port A pins that are externally pulled low will source current if the pull-up
resistors are activated. The Port A pins are tri-stated when a reset condition becomes active,
even if the clock is not running.
Port A has alternate functions as analog inputs for the ADC, analog comparator, timer/counter,
SPI and pin change interrupt.
Burn Bootloader
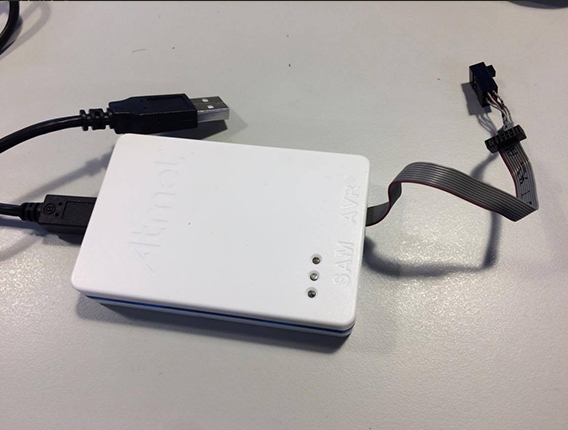
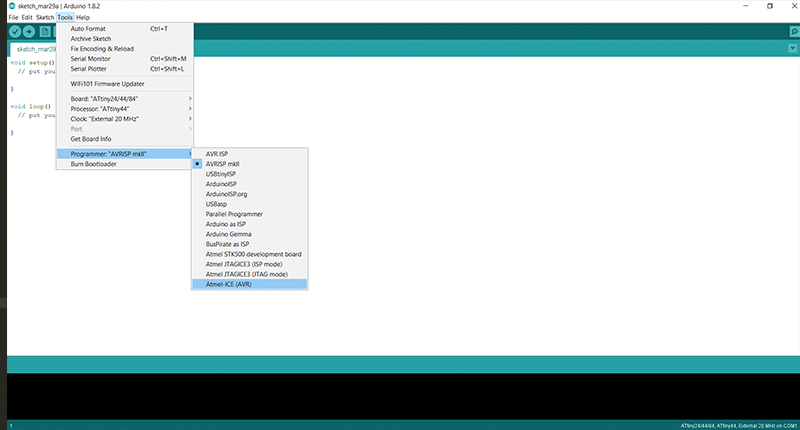
For Programming and flash my hello world pcb first i make bootloader, to make the bootloader i use the ATMEL ICE and Arduino IDE.
I use the Atmel ICE because is the most easy to use in my mac.
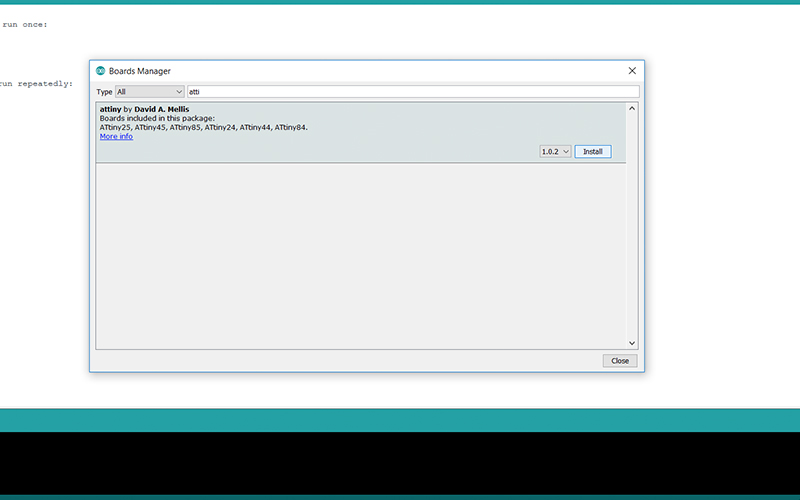
First i put this link in IDE Ardiono in Files>Prederences>URL board manager.

This link uodate the boards in Arduino IDE i need this update becase i use one Attiny44 and in defauld boards dont have a attinys.
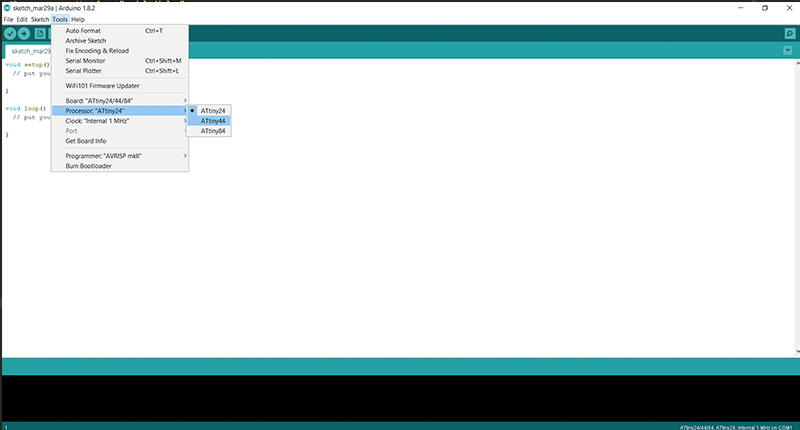
 My Board settings to make bootloader:
Board: Attiny24/44/84
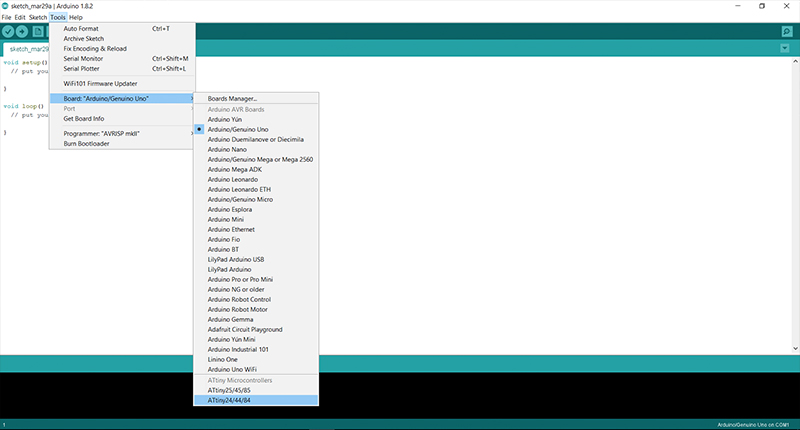 Processor. Attiny44
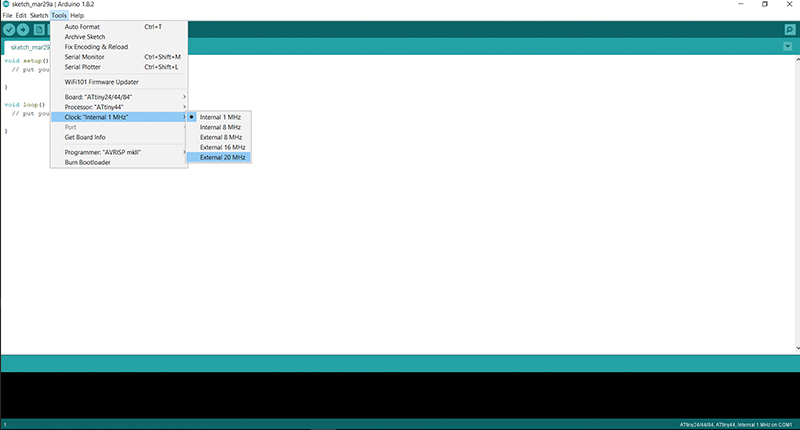
 Clock: 20 MHz
 Port COM: (in my Case COM3)
Progammer: ATMEL ICE (AVR)
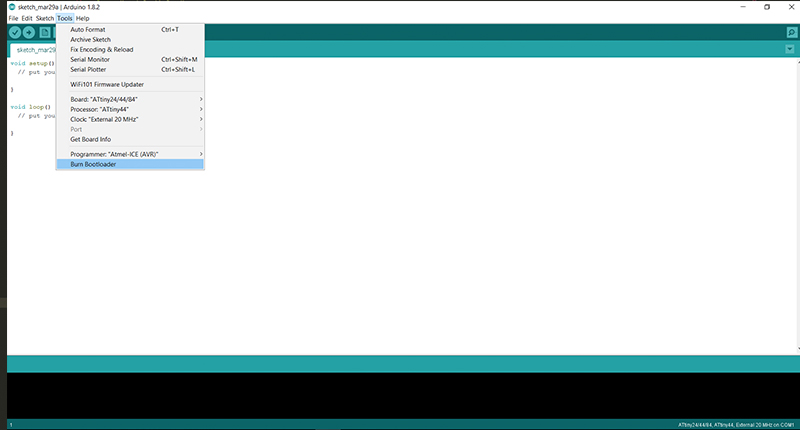
 After i choose my settings i make the bootloader to flash my board.
Programming Hello Board
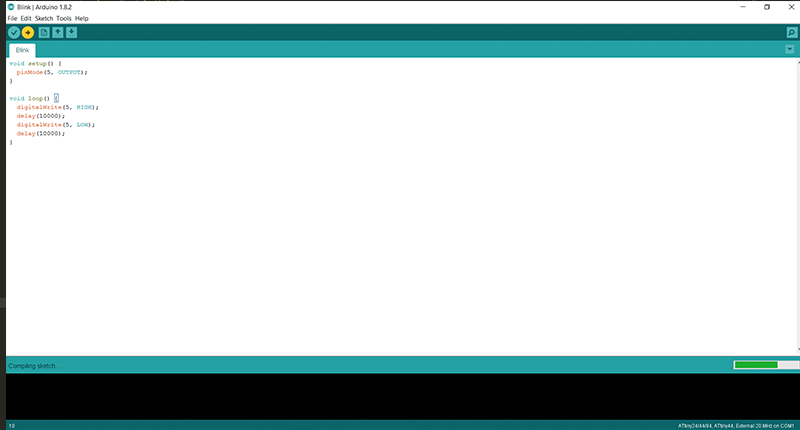
I prommaging my board with this simple sketch. This sketch make the led turn on and turn off 10 seconds. To upload the code to my board a use arduino IDE.
void setup() {
  pinMode(5, OUTPUT);
}

void loop() {
  digitalWrite(5, HIGH);
  delay(10000);
  digitalWrite(5, LOW);
  delay(10000);
}
After you click the program make compiling sketch.
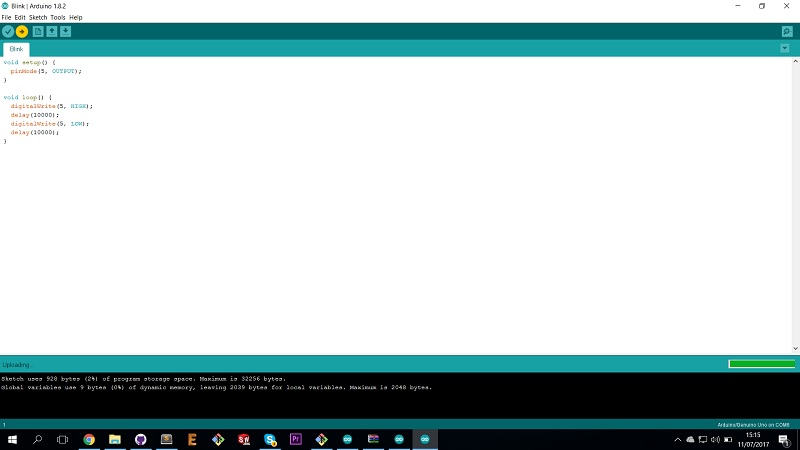
Make the upload to the board.
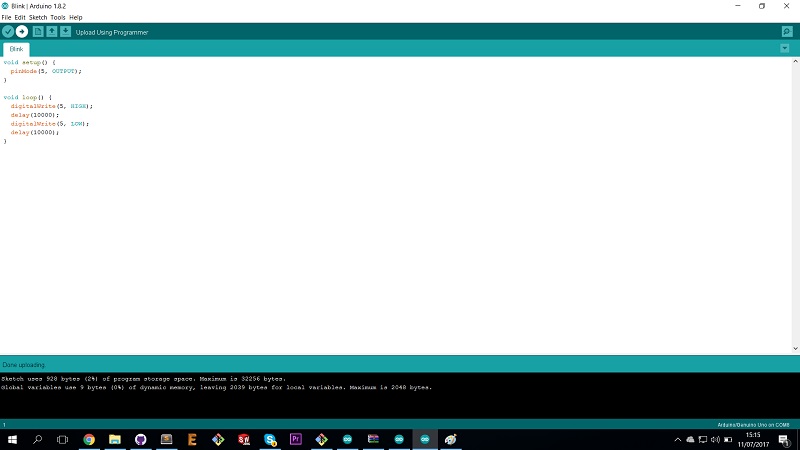
And final Done uploading.
Programming Button
In this code i say if the click in the button the led go off if not click the led is high.
const int button = 7;
const int led =    8;


int buttonState = 0;

void setup() {

  pinMode(led, OUTPUT);

  pinMode(button, INPUT);
}

void loop() {

  buttonState = digitalRead(button);


  if (buttonState == HIGH) {

    digitalWrite(led, HIGH);
  } else {

    digitalWrite(led, LOW);
  }
}