Week 11 and 12 - Machine designing
In the next two weeks, my colleagues from Incite Focus in Detroit and I will make our own machine. We have decided to make a Automated Camera Mount. The linear cardboard-stage is already mounted, so I started to design and make a rotary stage to ahve an one-axis-rotation-device.
Designing in Corel Draw
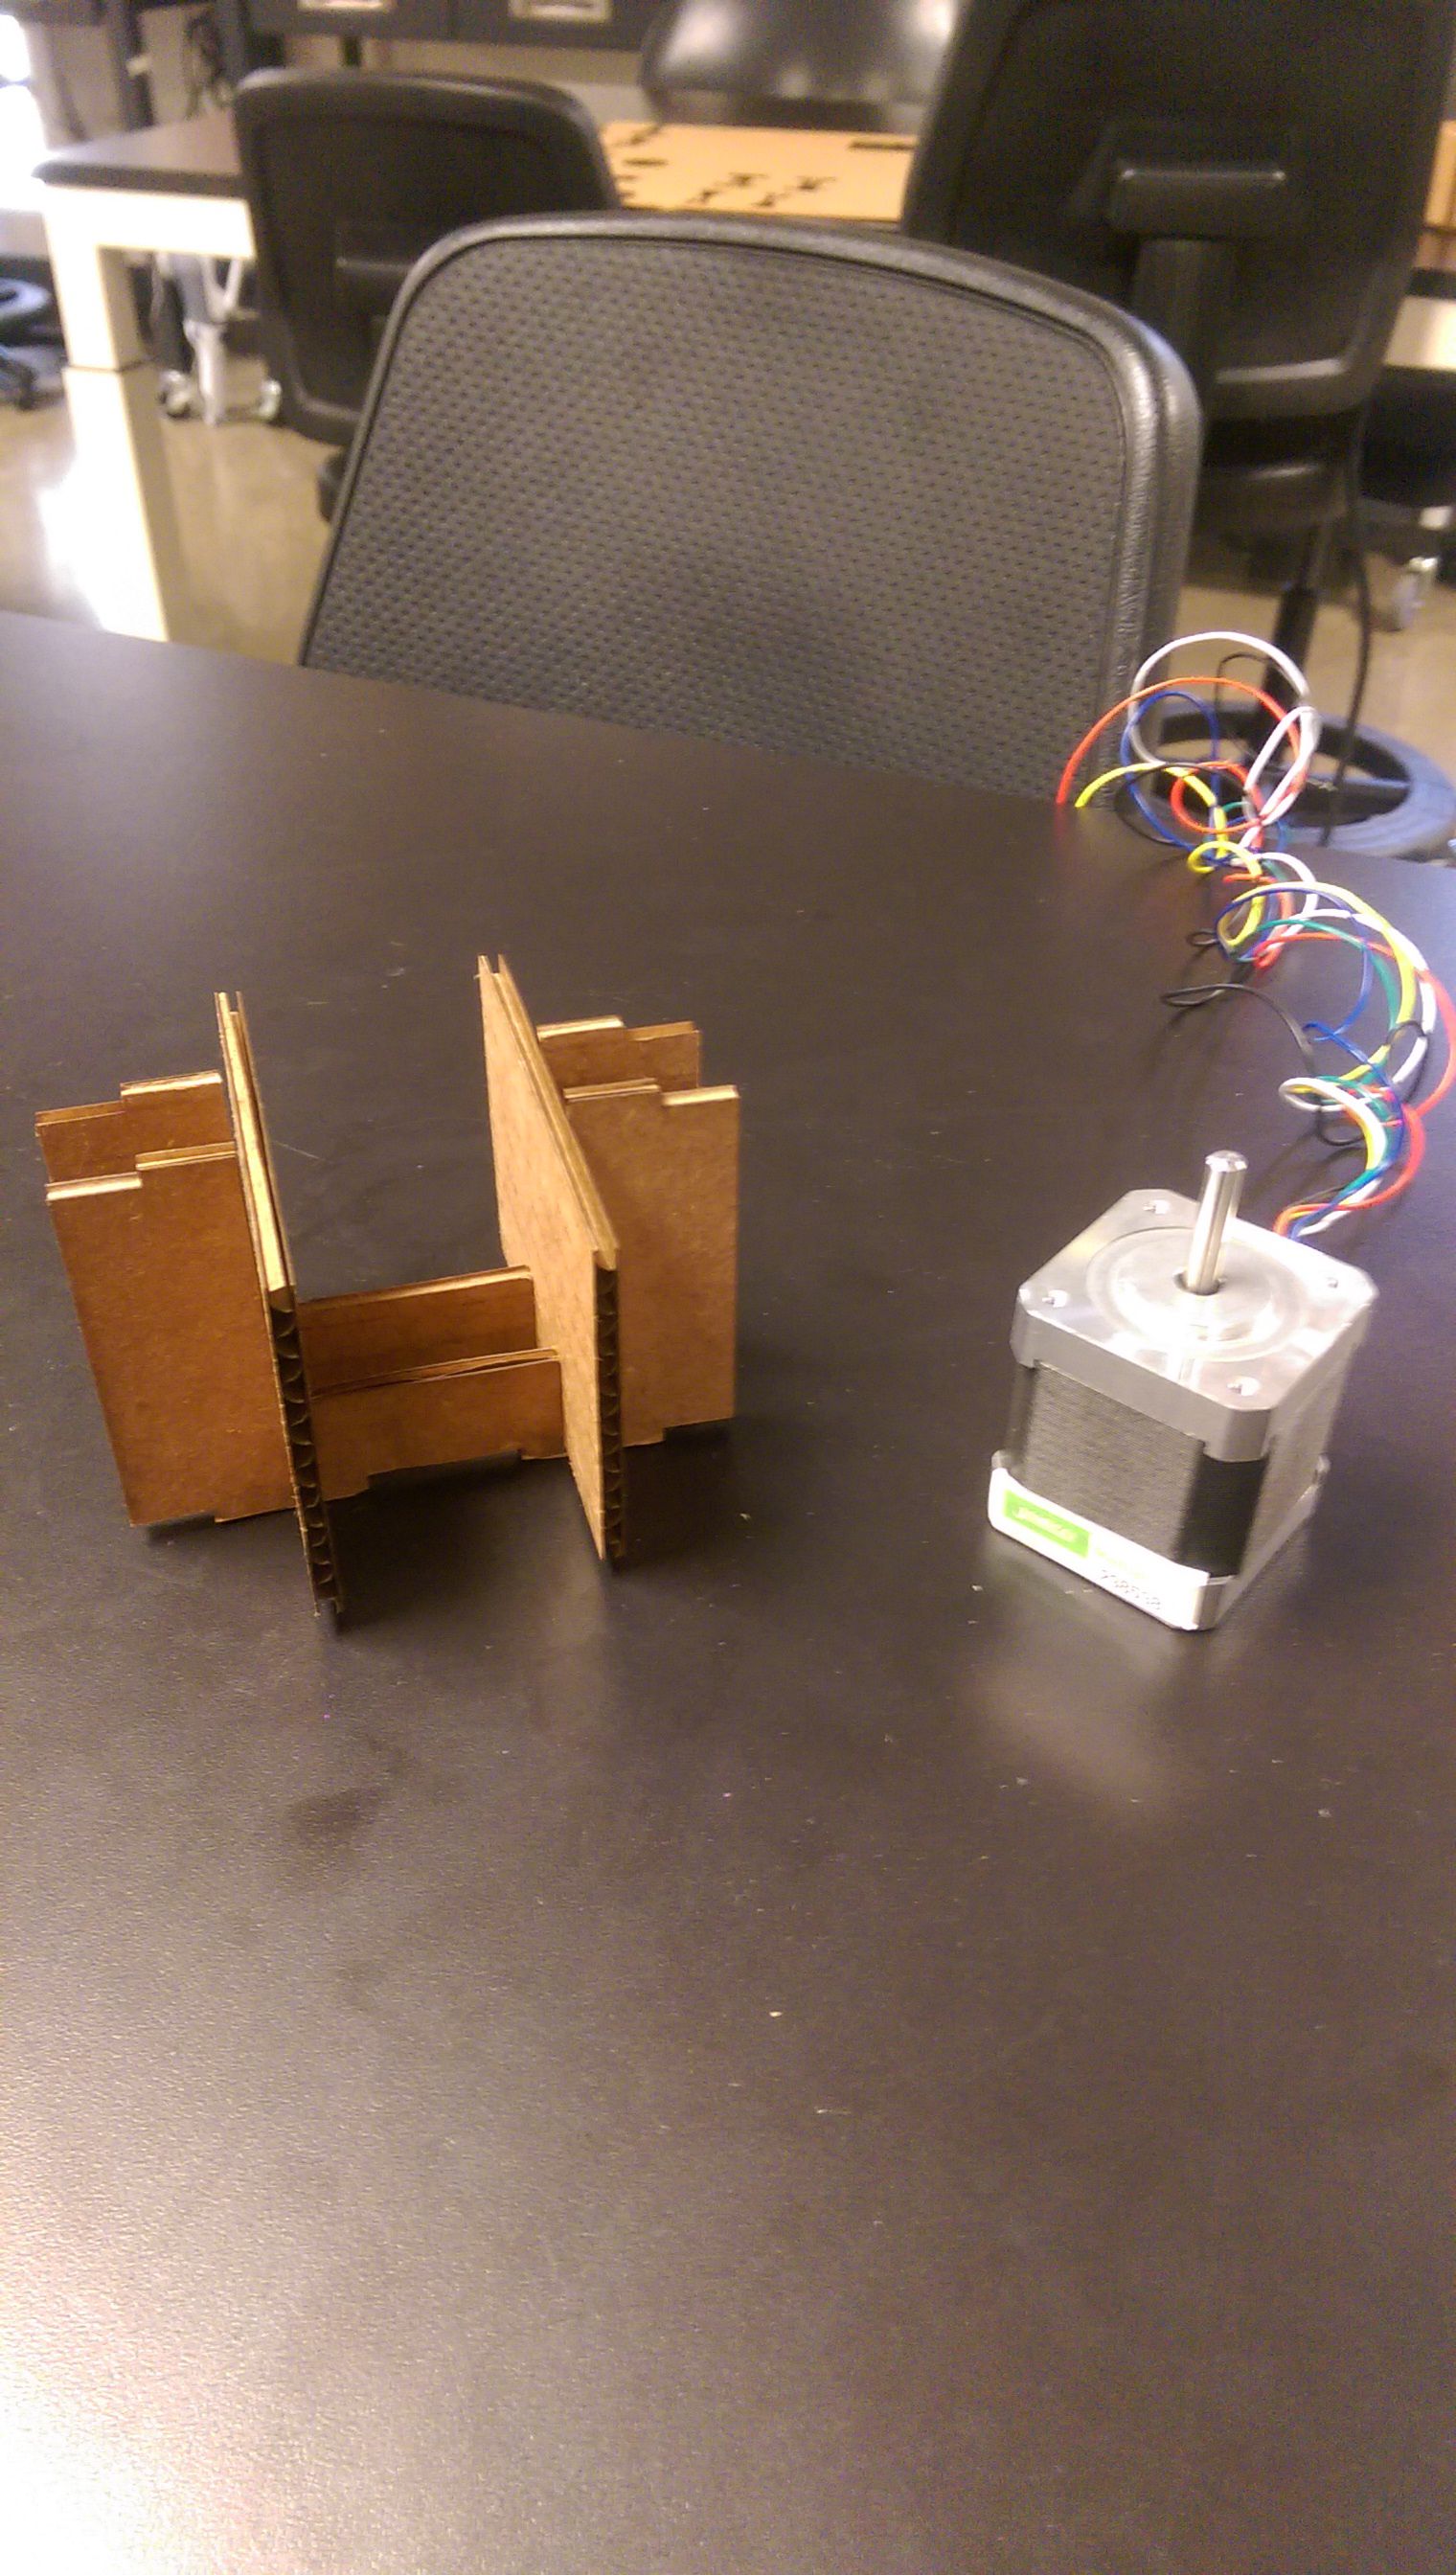
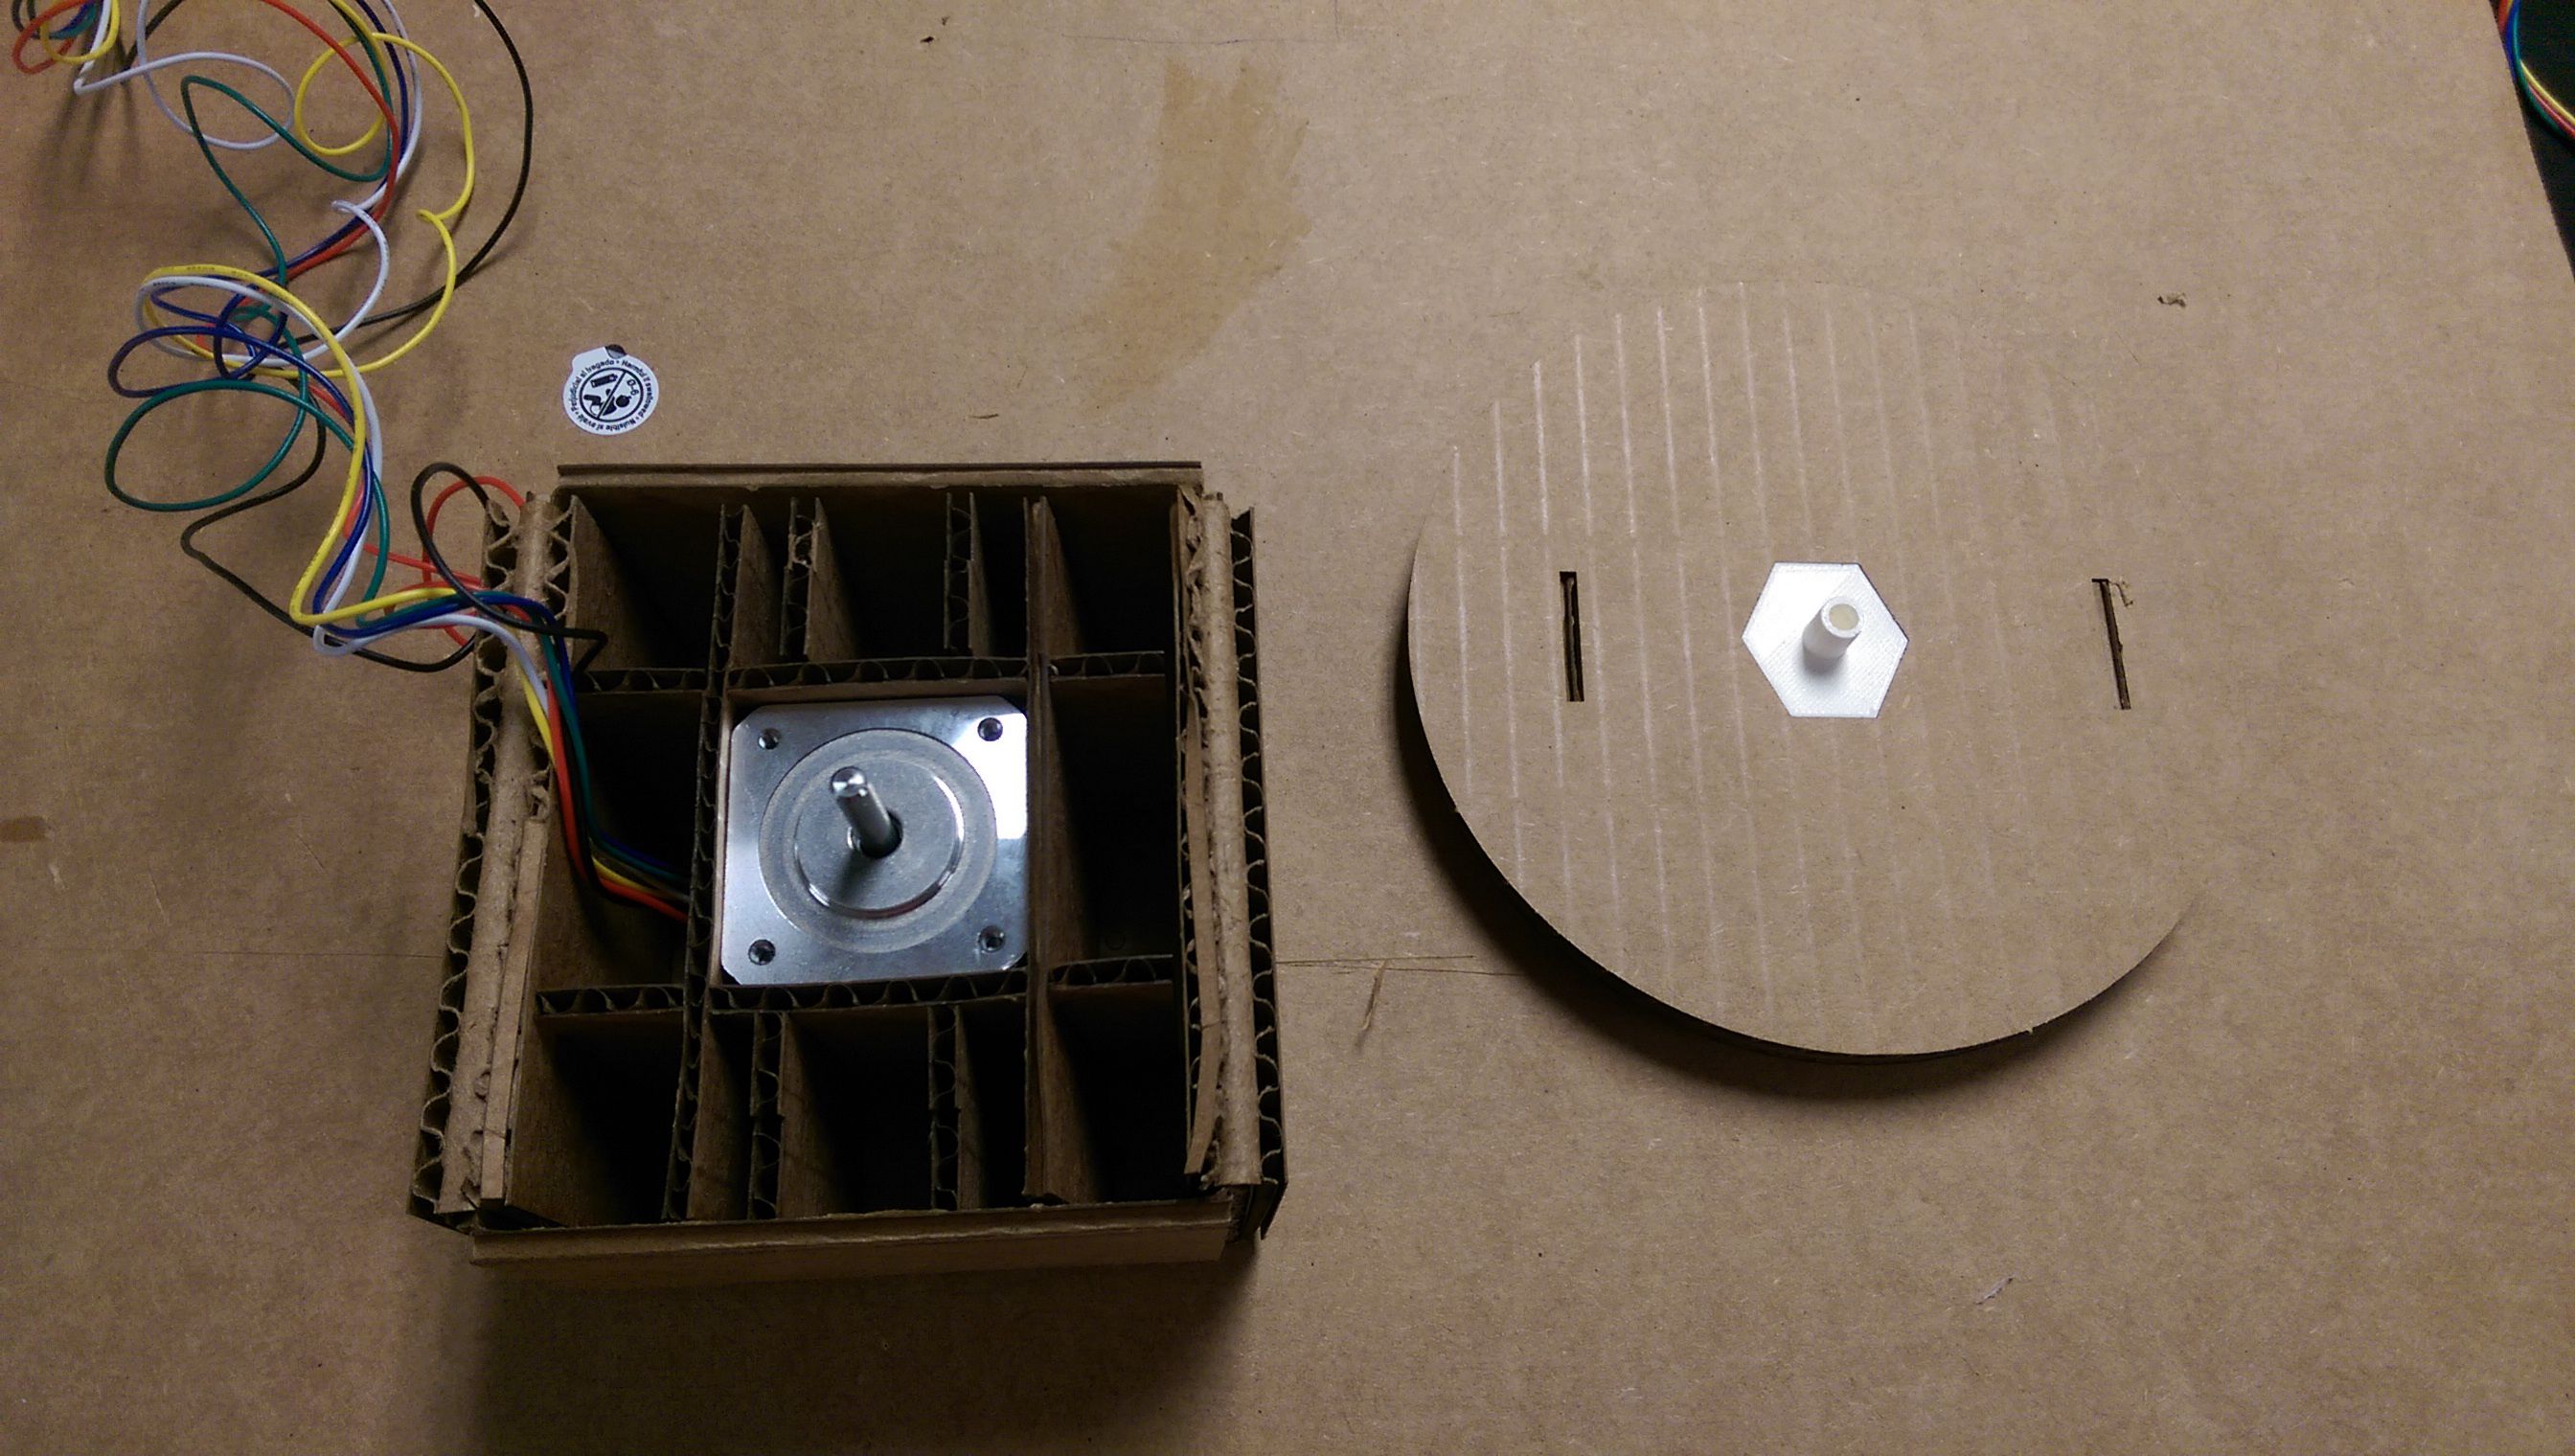
My design base was the moving stage of Nadya's linear stage. I removed all the holes and designed a holding structure for he motor. I am using a unipolar stepper, Jameco Relia Pro 238538.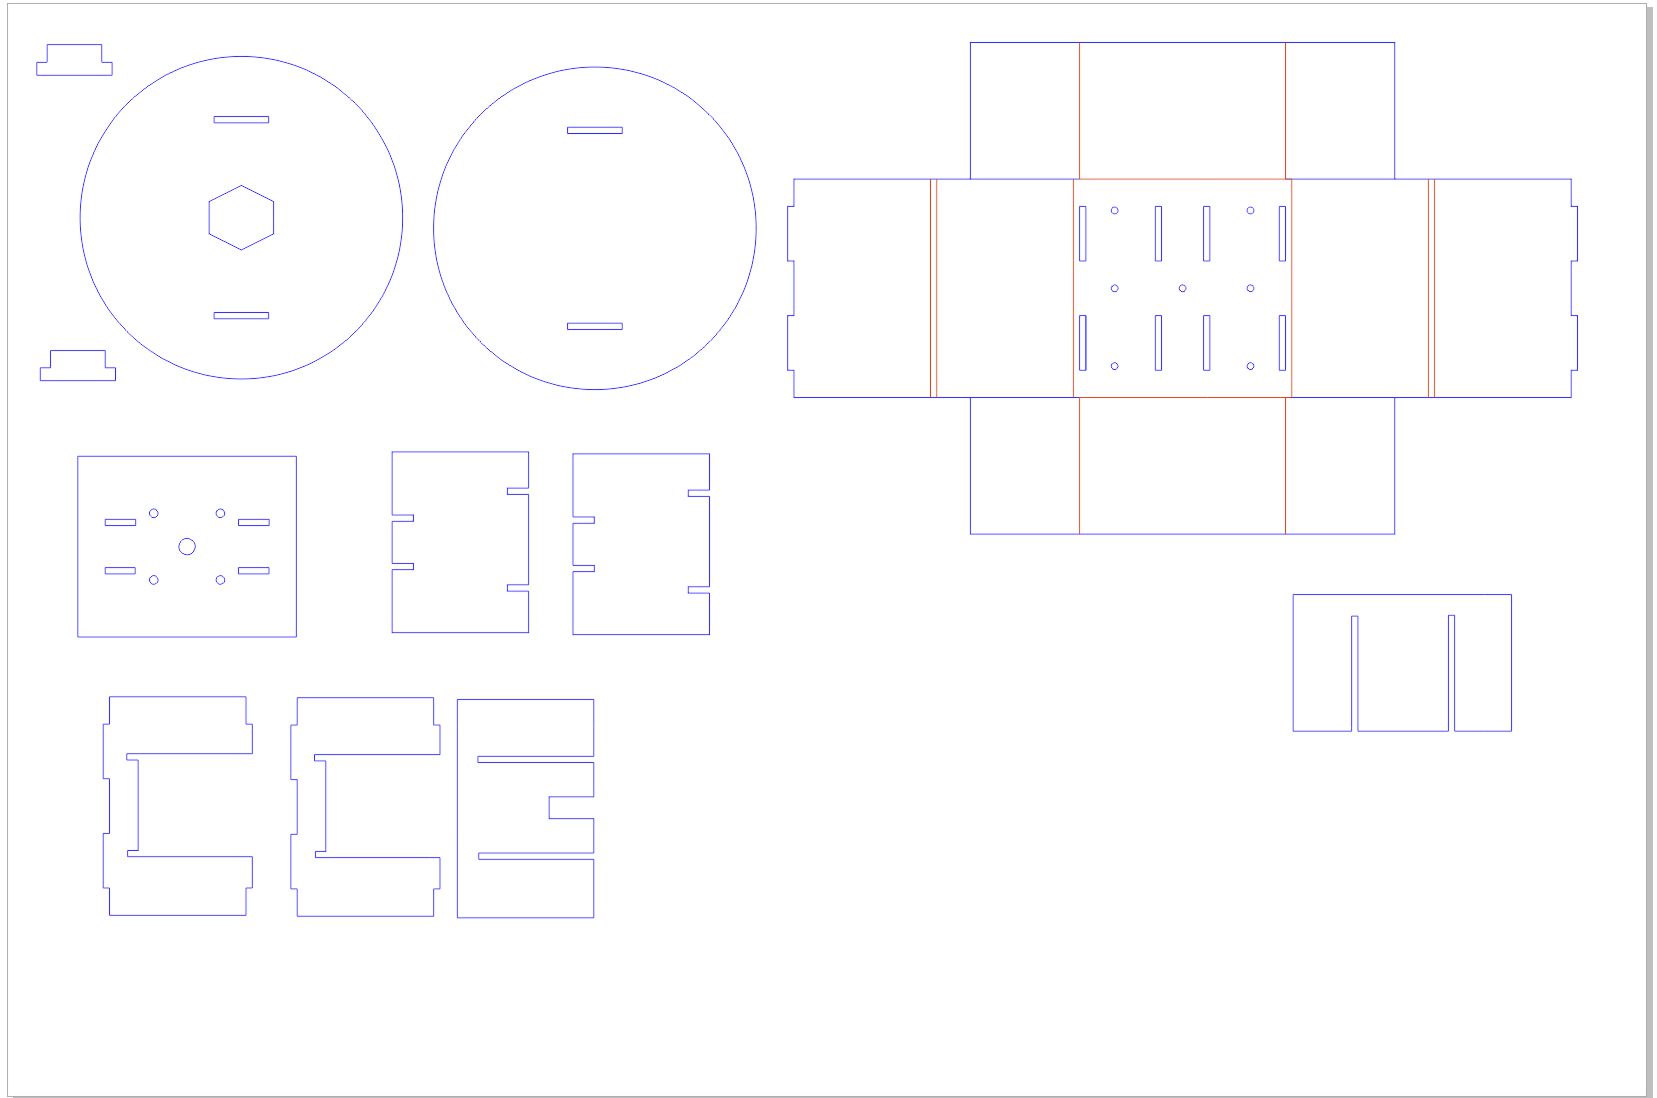
The idea was, to fix this stage via the holes to the moving linear stage.
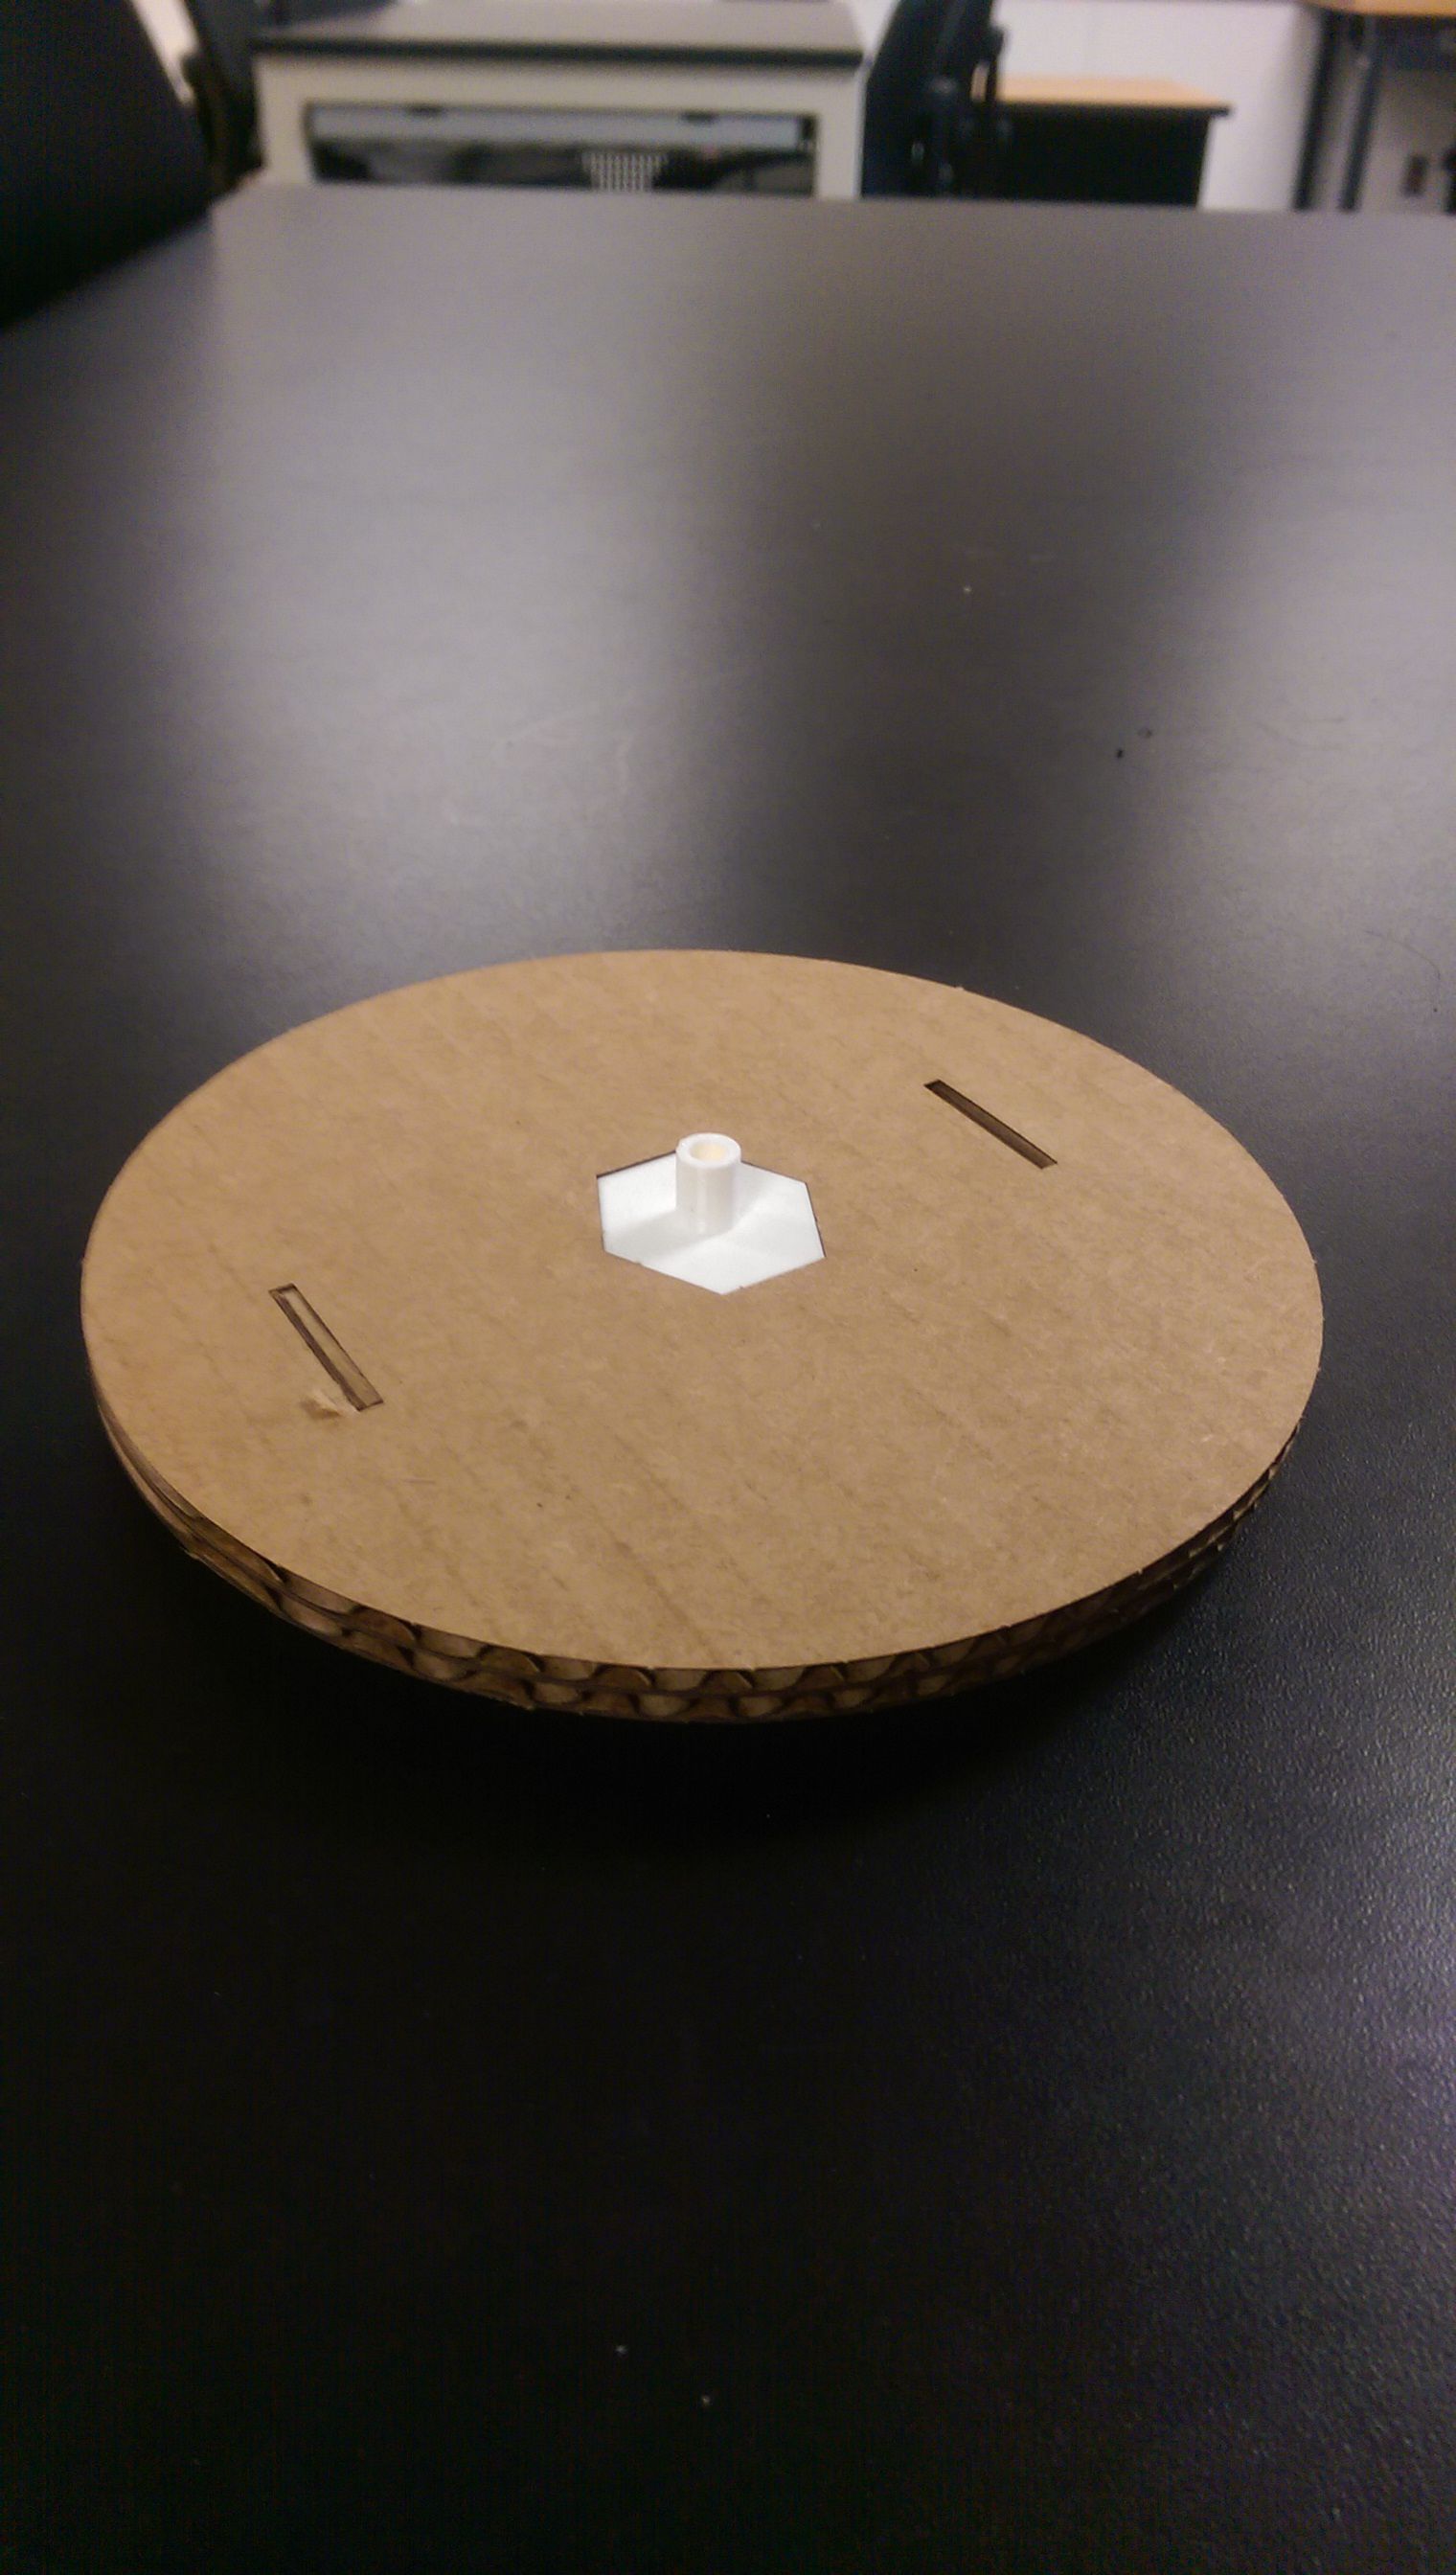
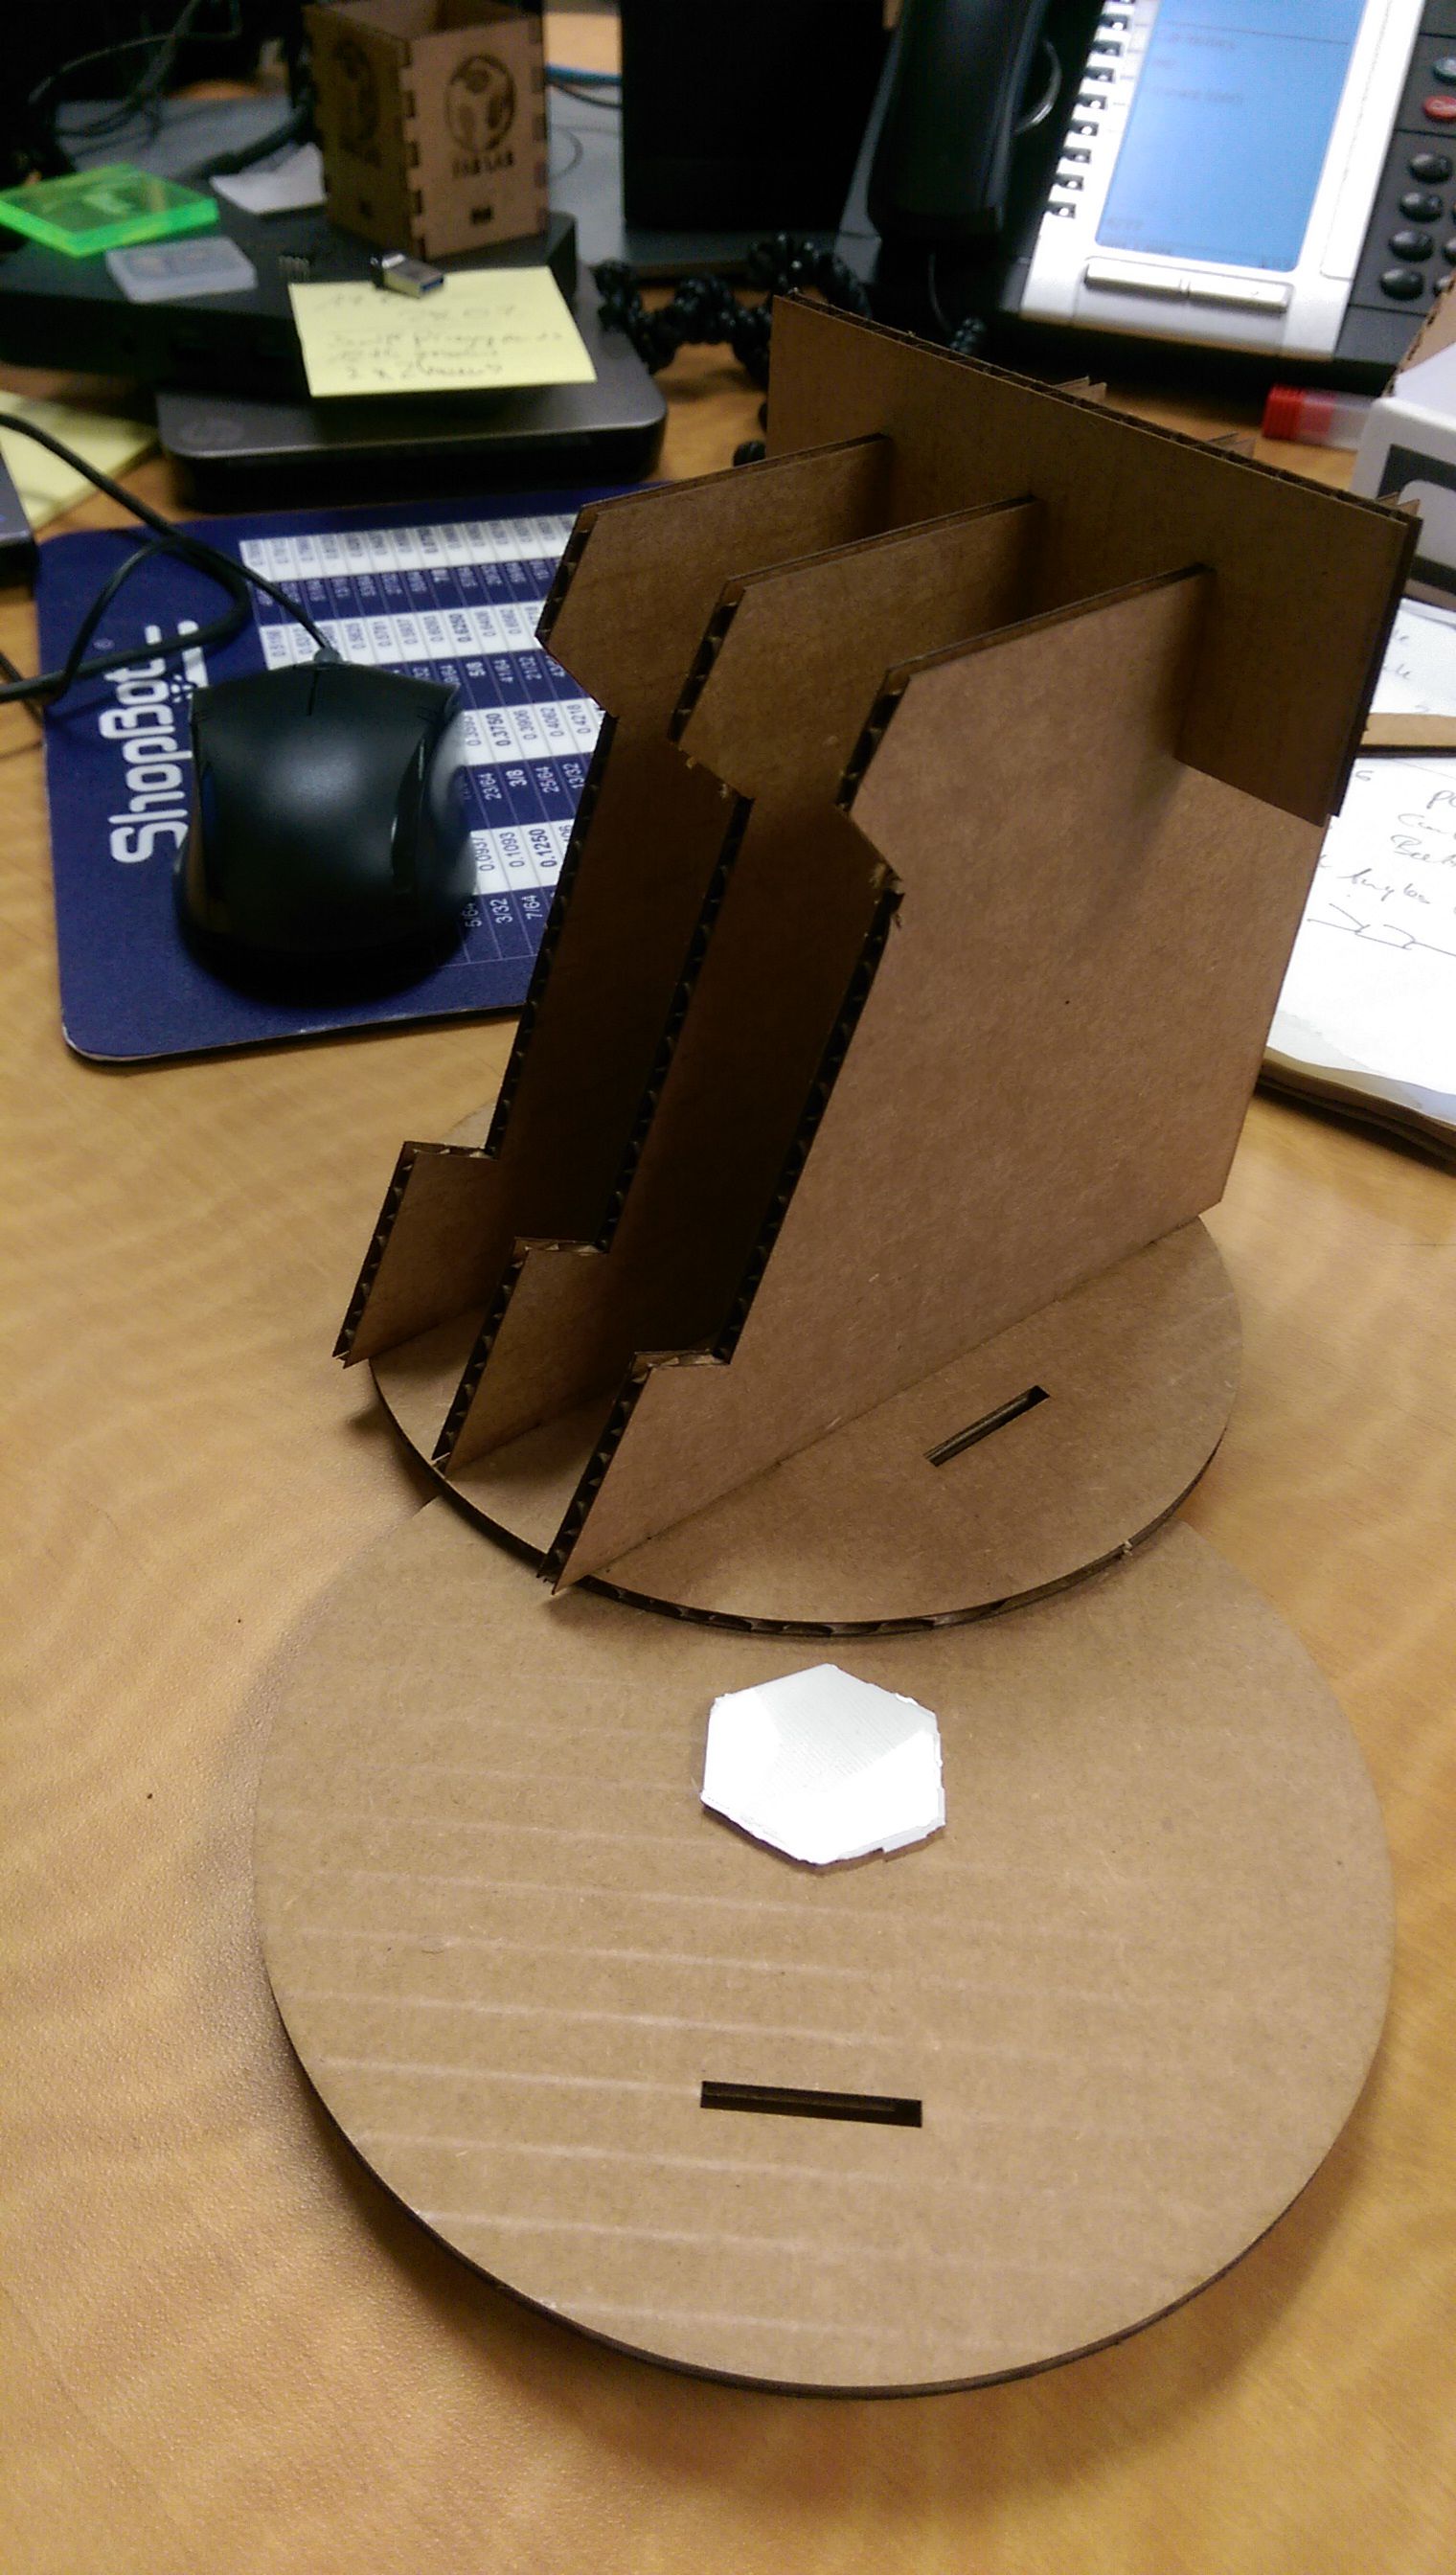
For the actual rotation platform, I designed two cardboard sheets and a 3D printed mount, to plug them on the motor shaft.
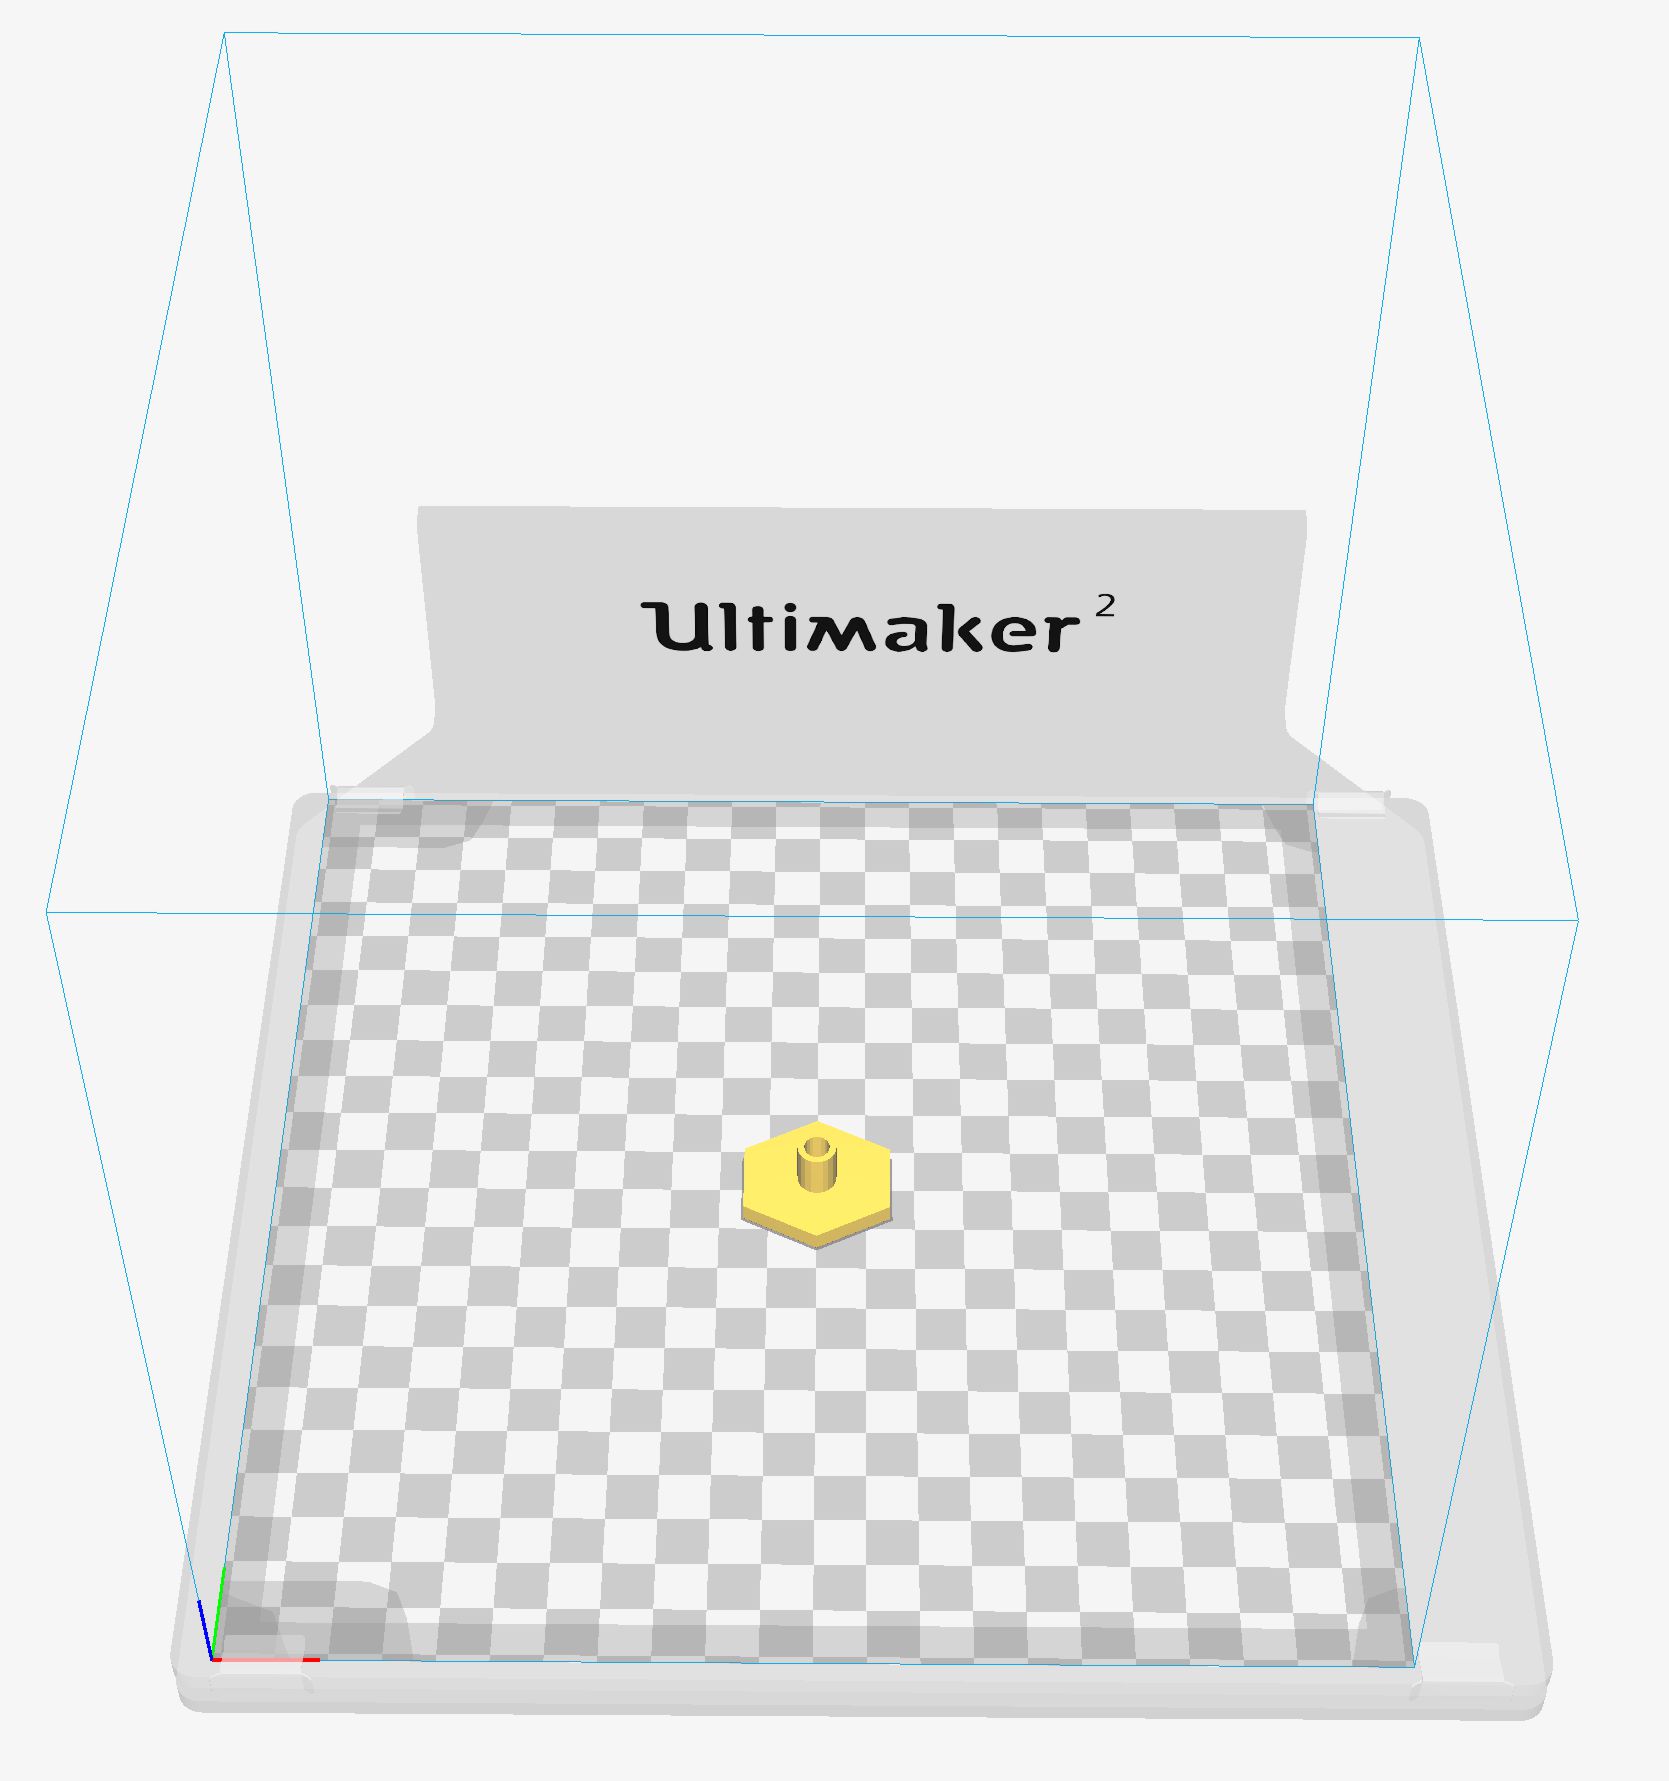
It was a bit tricky to find the right dimensions for the print, since I learned in week 5, that the accuarcy of the Ultimaker 2 has its limits. The motor shaft is 5 mm and the inner diameter of the cylinder needs to be 5.2 mm to have a snug fit. For the design I used tinkercad as a rapid prototyping solution.
The motor fits pefectly and is hold in place by the cardboard. I have also attached a cover. All is fit joint, no glueing so far.
The idea, of having two cardboard discs as rotating stage is to attach different mounts. Omar has used his mount for holding his phone and I have designed another one for holding my phone. With the joint fits no problem.
Turn it on
For getting it moved, I have two approaches. For the rotation I am using the unipolar stepper as mentioned above. I milled Neil's board to control it.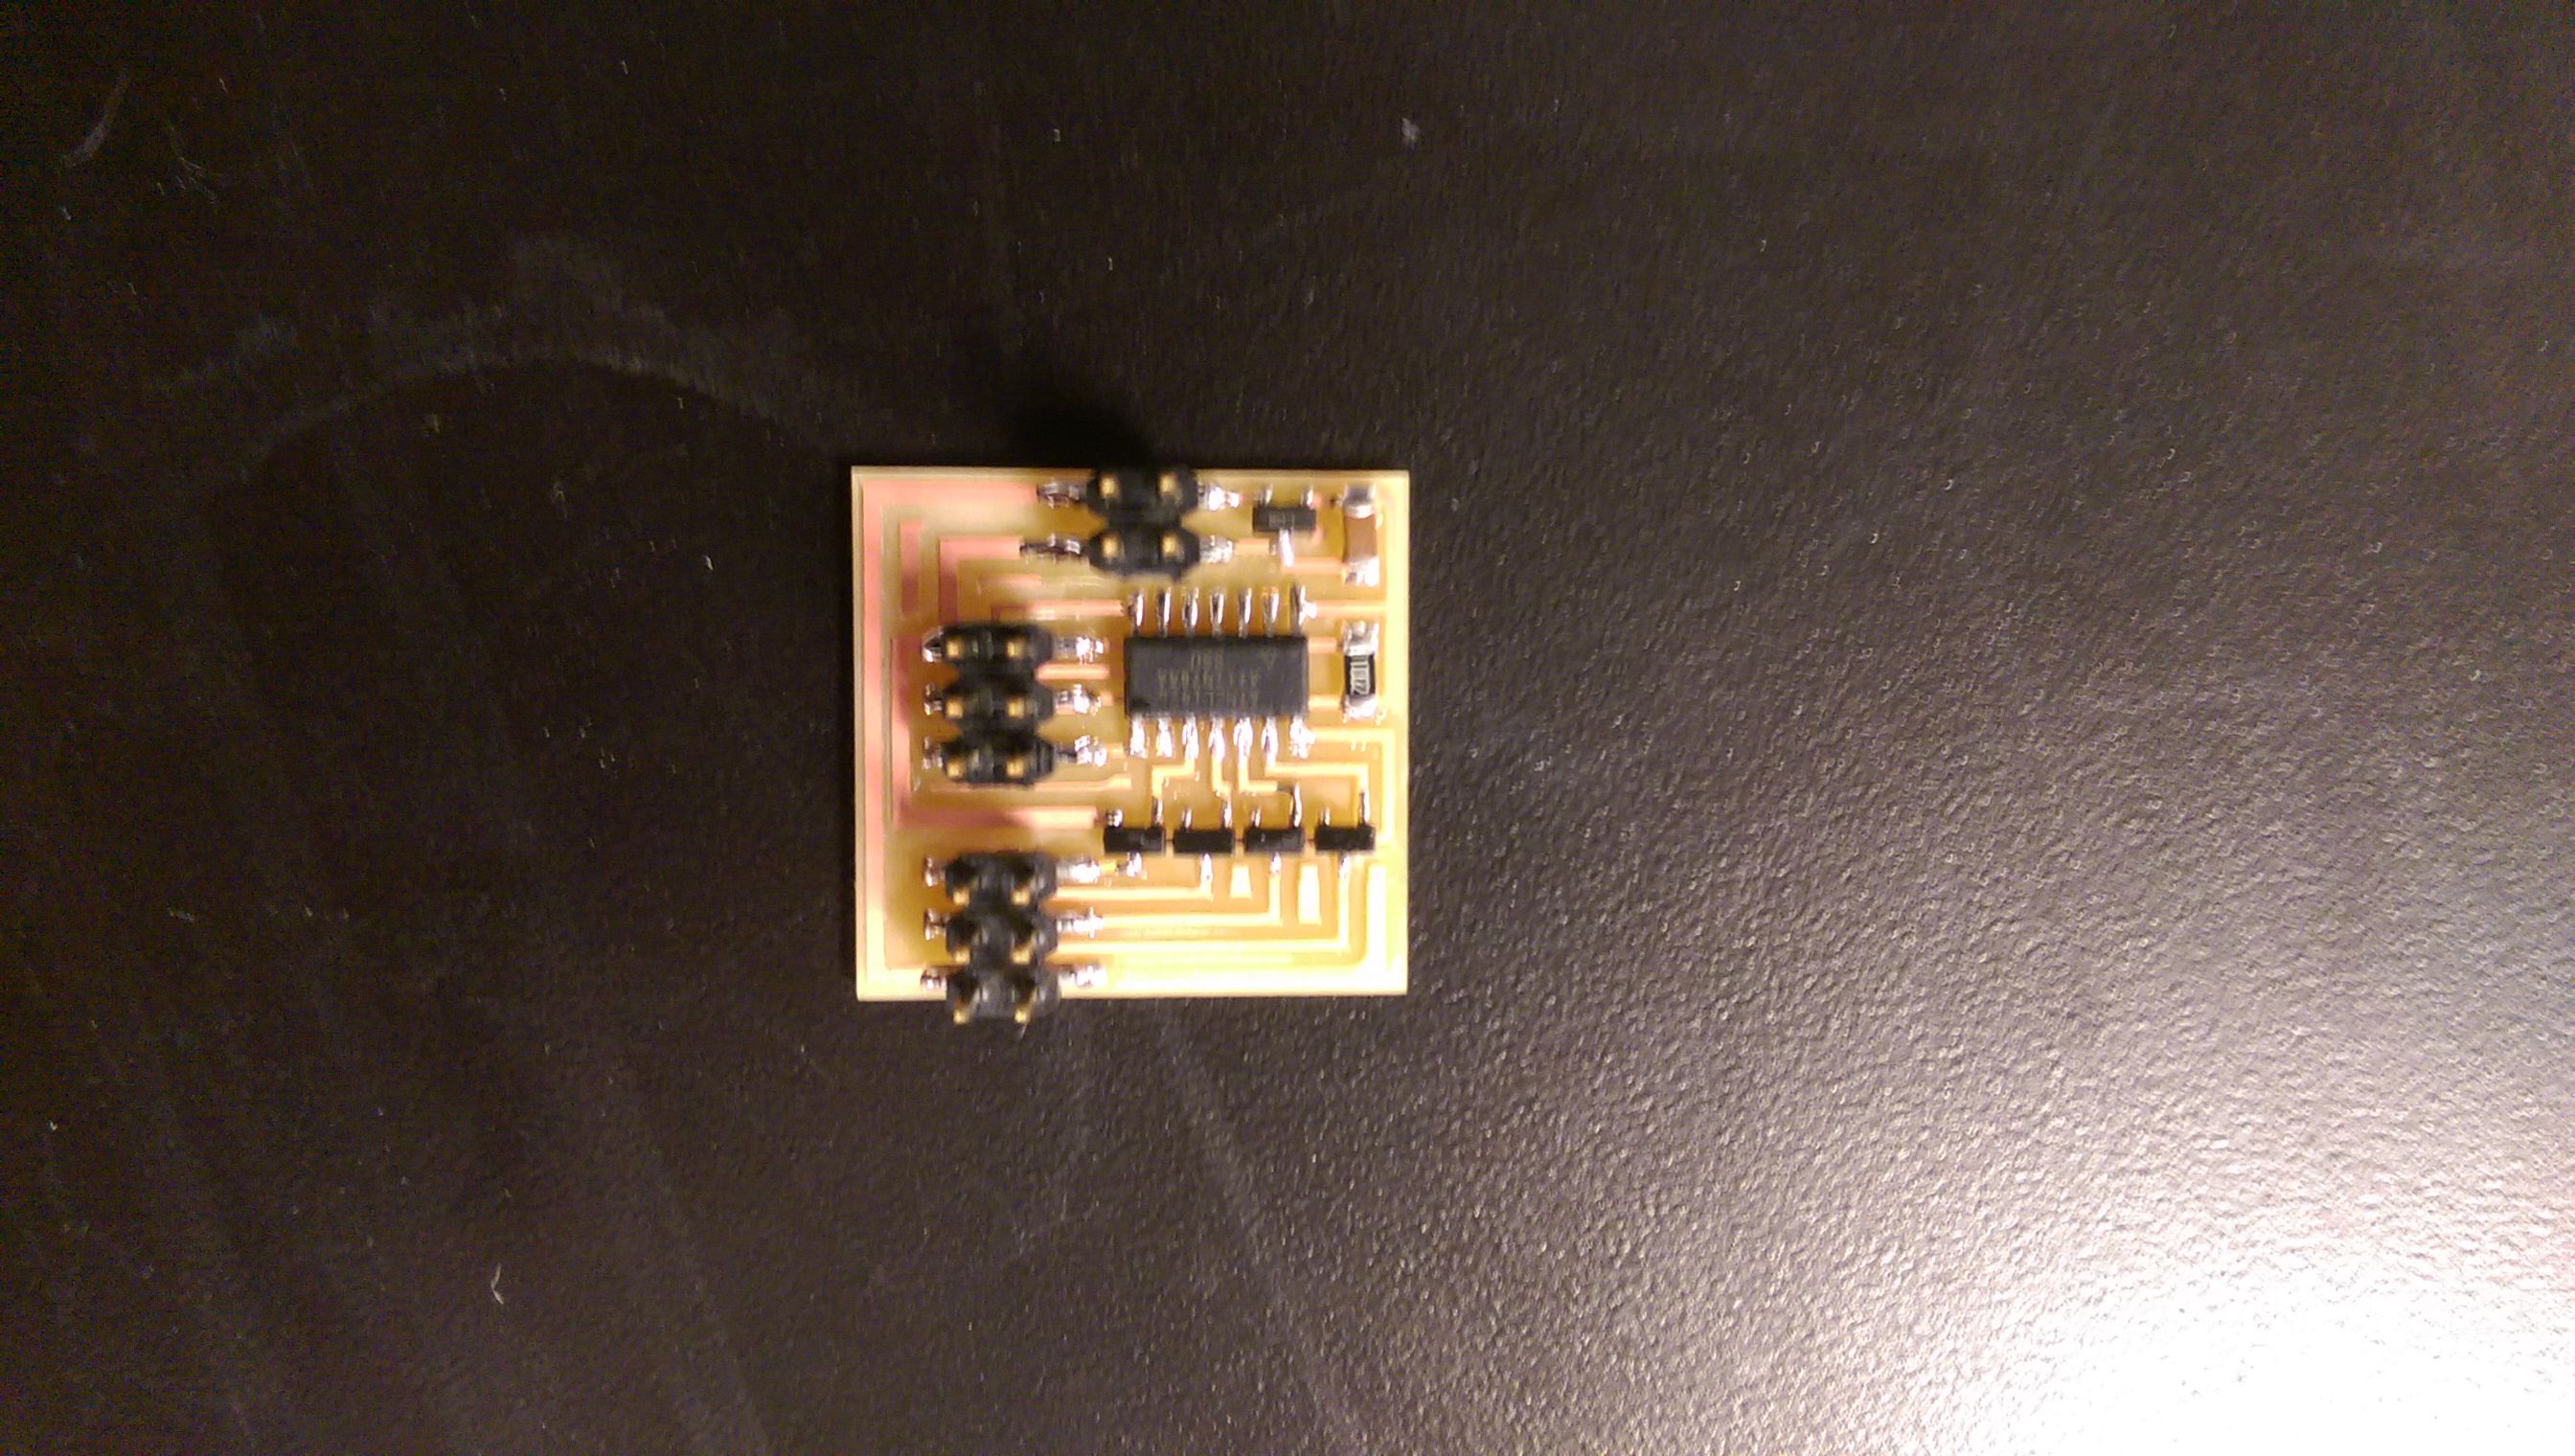
The wire configuration was different and I needed to rewrite the code.