FabLab Cept
PARTWORKS
I used partworks software for Shopbot to prepare my cutting files.
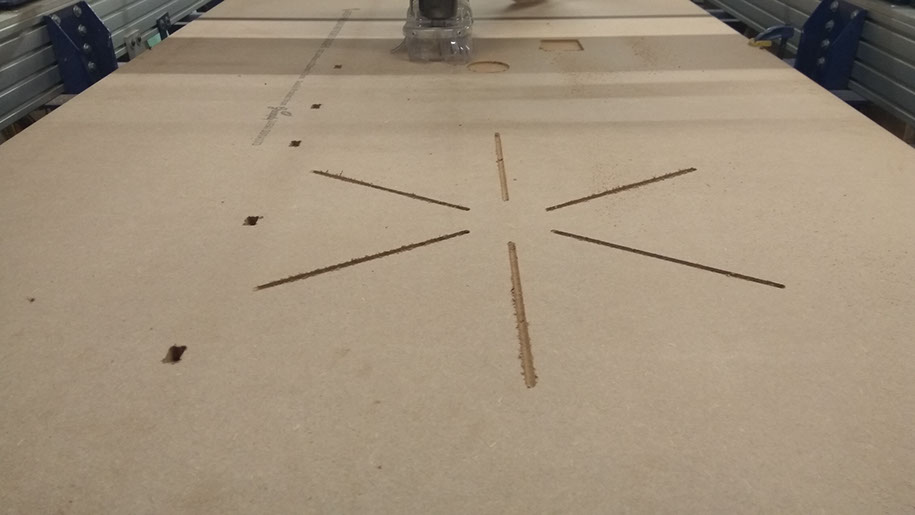
I did about 8 tests before I got the precise parameters for my grooves and notches. Here is a collection of screenshots from some of my tests. The detailed description of the software is explained next with the final box files.
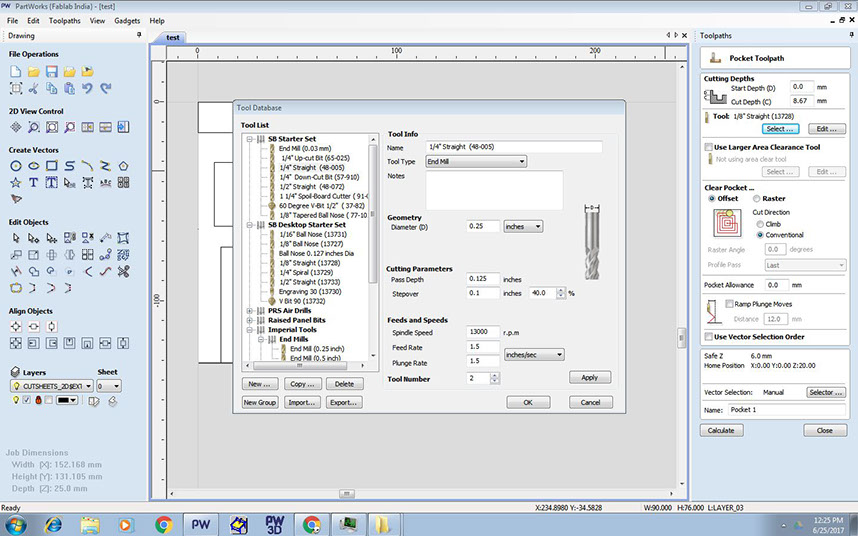
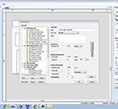
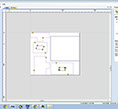

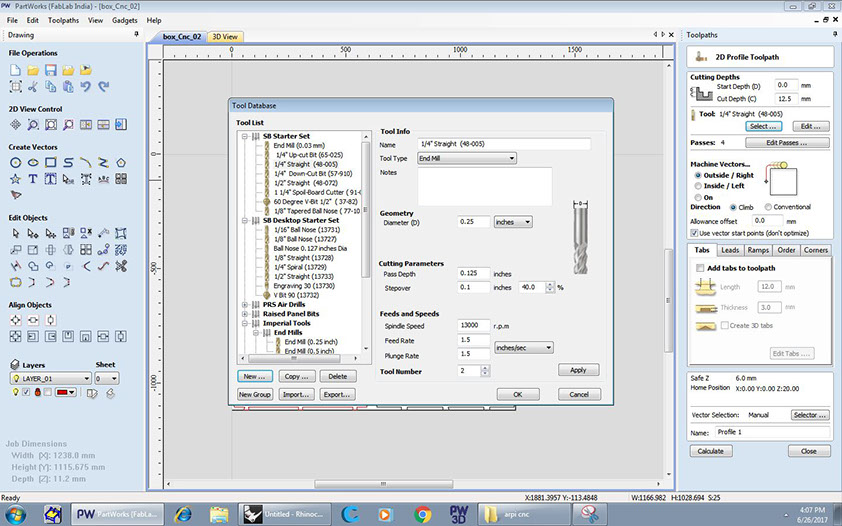
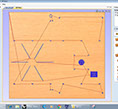
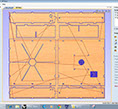
Selecting 1/4" straight bit for making pockets
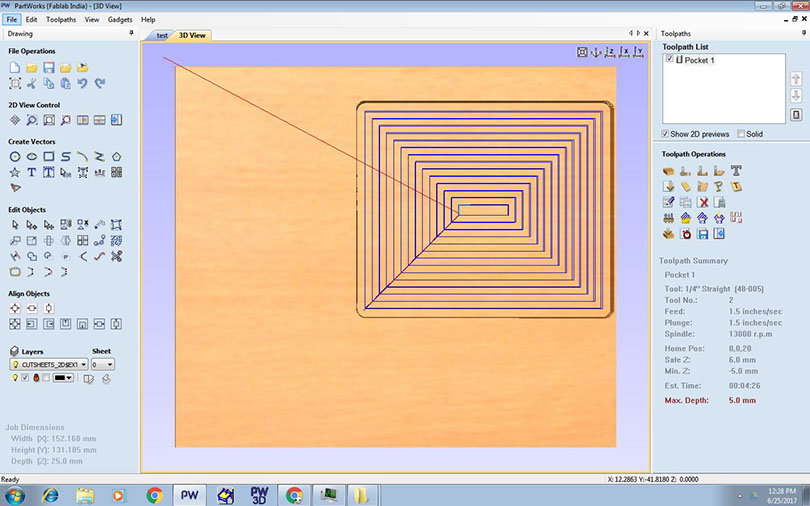
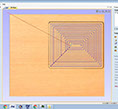
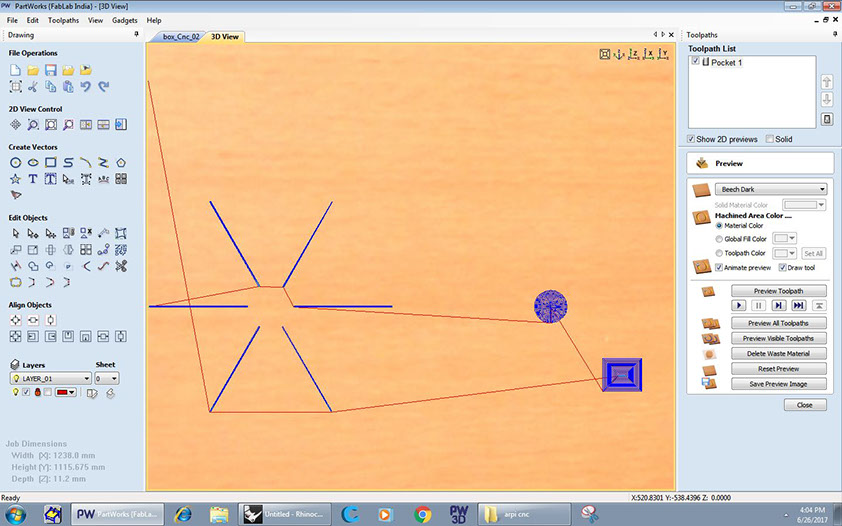
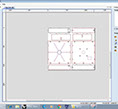
Pocket toolpath calculated and previewed
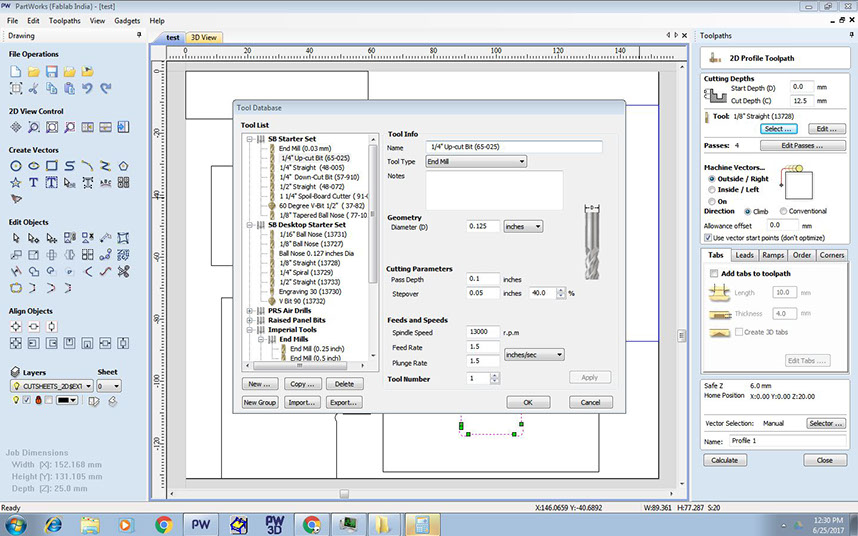
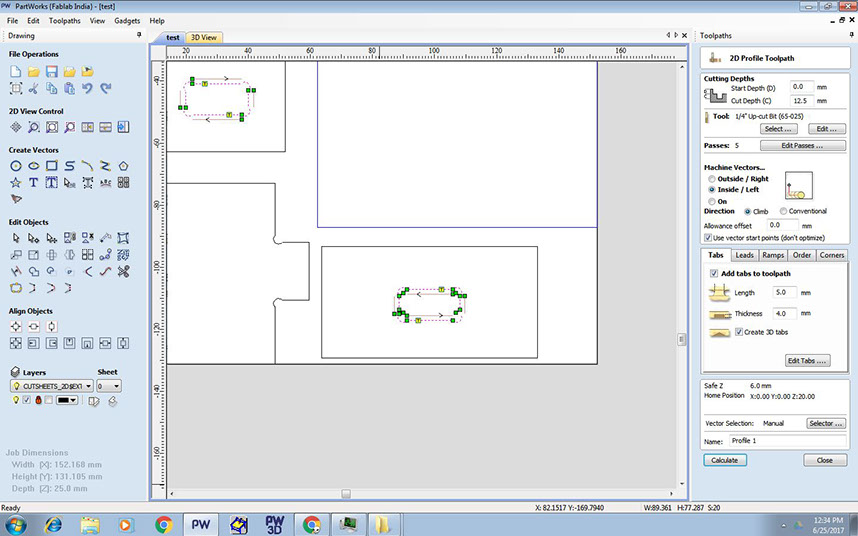
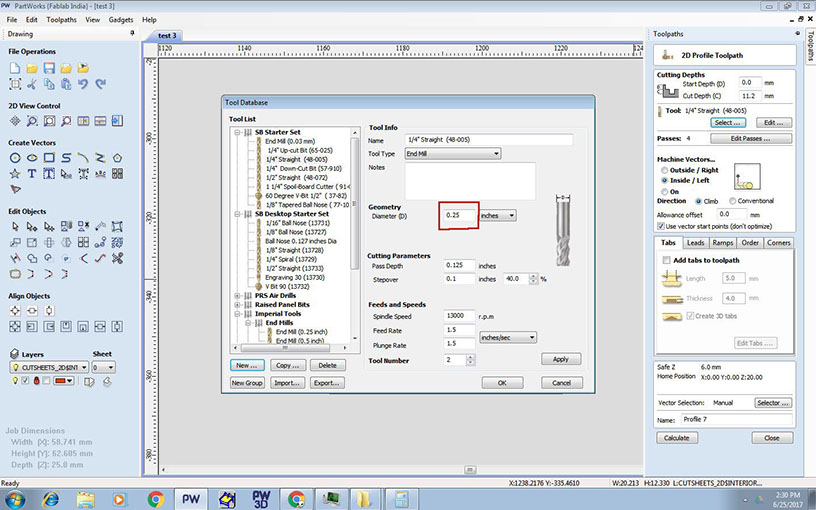
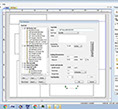
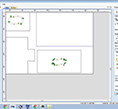
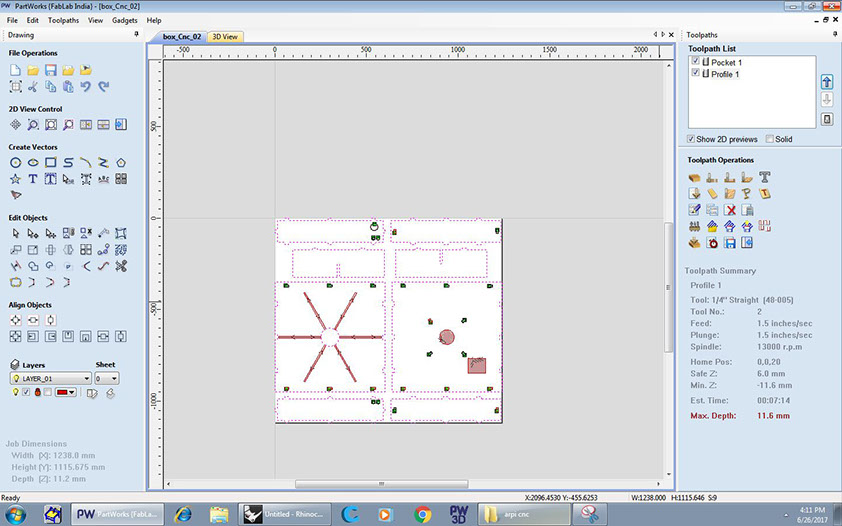
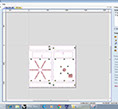
1/4" straight bit selected for profile cut
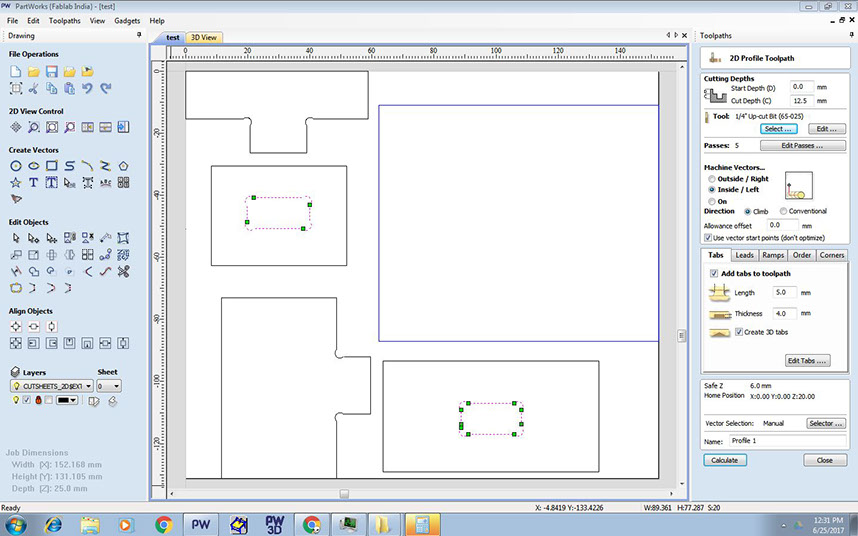
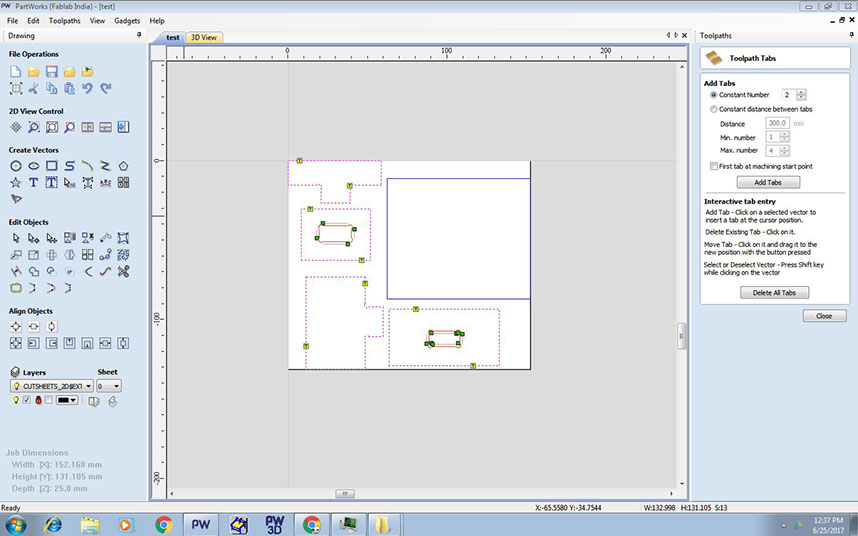
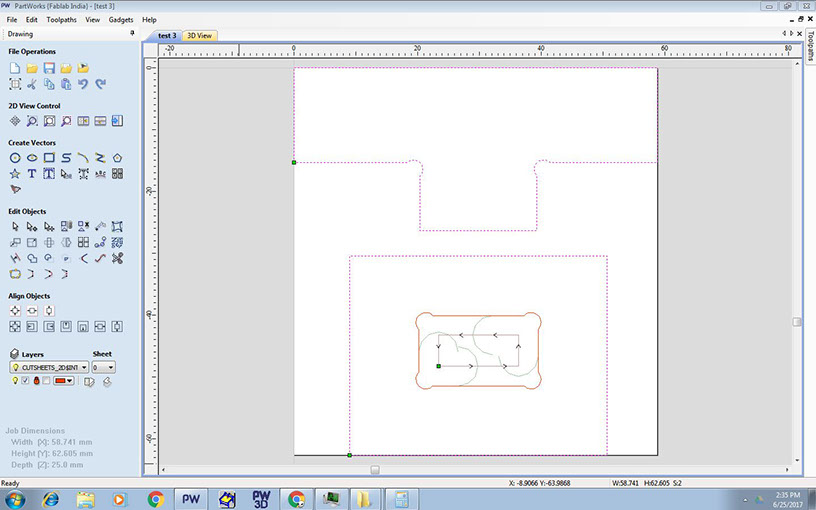
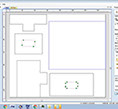
2 separate profile cut toolpath created so that the holes are cut before the outer profile.
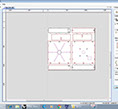
Selecting outer profile for 2nd profile cut toolpath
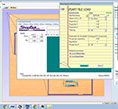
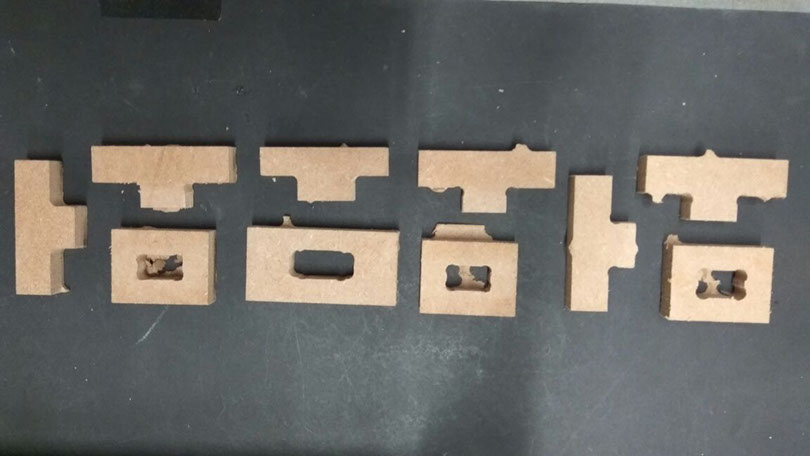
Dimension of the holes were modified again and again to achieve easy press-fit joinery.
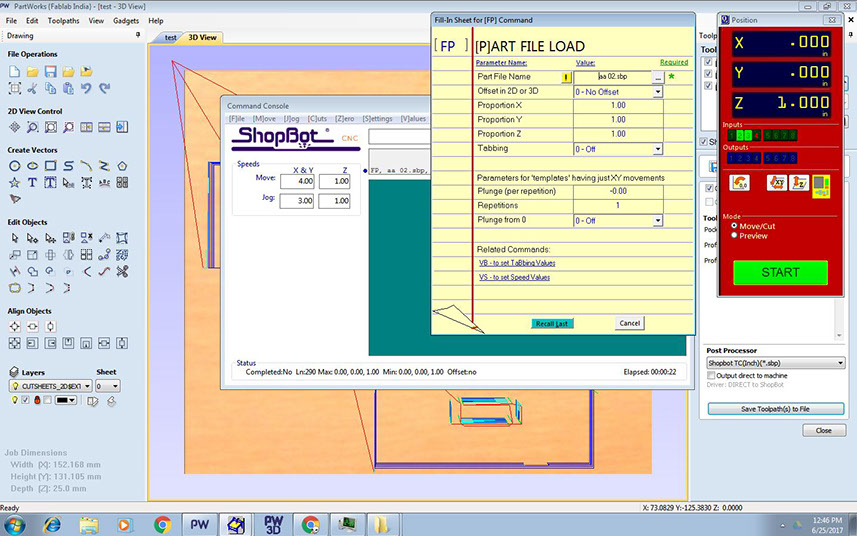
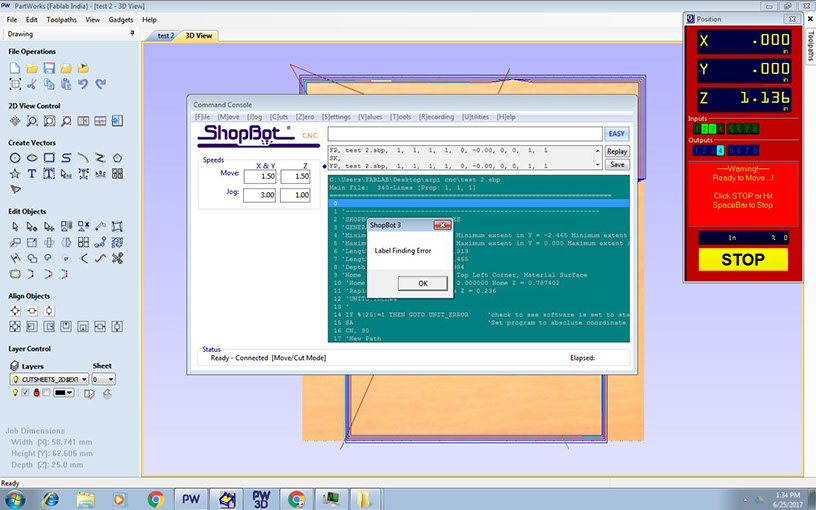
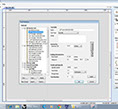
Sending file to shopbot for cutting
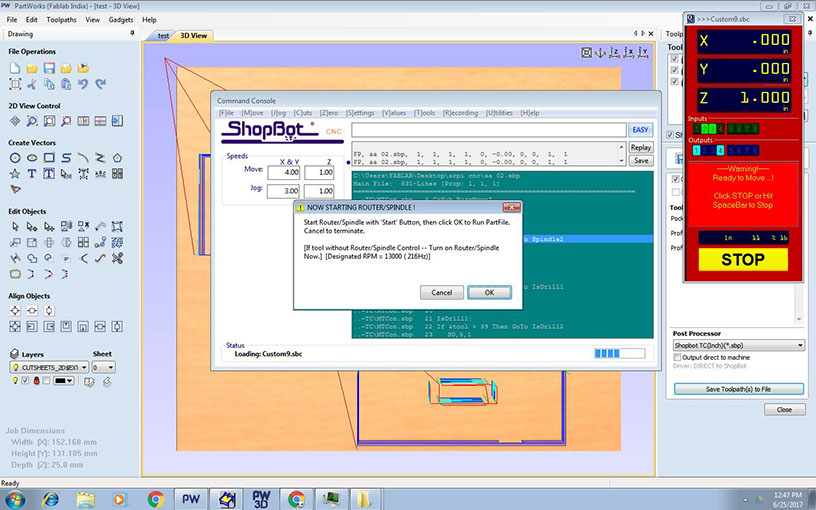
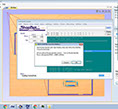
Need to press the start button when this dialogue box appears to start the spindle.
I encountered few errors but gradually it was solved.
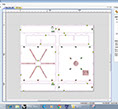
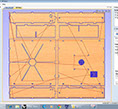
In the previous toolpath this was th emajor error. Though I was selecting 1/4" bit, the diameter selected was 0.125". This lead to lot of errors. Finally in this test, I corrected my mistake.
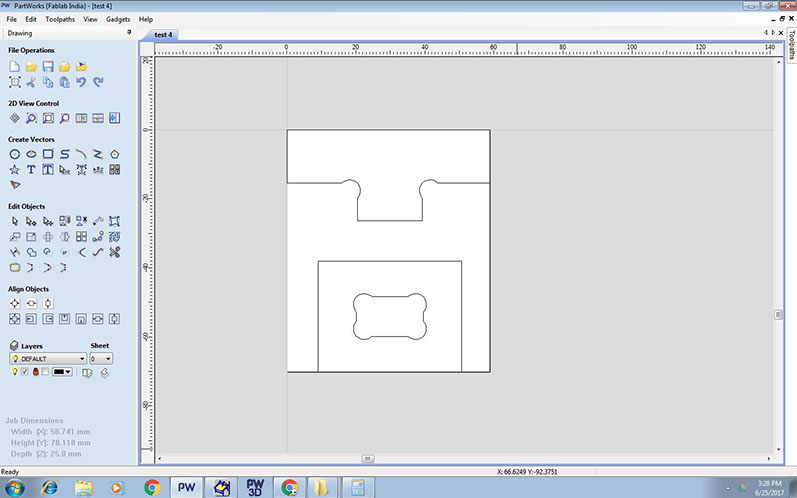
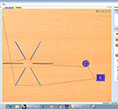
Had provided dog-bones with increased diameter for easy movement of the bit at corners
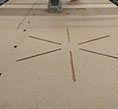
Final test that worked.
11 - 12
<
>
Here is a list of learnings from my above experiment:
1. Most important to check the bit diameter on the partworks software. Selecting the bit does not set the diameter to correct size.
2. To give "inside" toolpath for holes and "outside" toolpath for outer profiles
3. Cut holes before outer profiles to ensure the profile does not shift before the holes are made.
4. Provide necessary tabs to hold the cut parts or else they come in the way of the machine.
5. Always start the spindle before starting the cutting.
6. Remember to use vacuum machine to remove saw dust.
7. Pockets to be cut before profile toolpath.
8. Join curves before making toolpaths.
9. Reduced the Plunge rate to 1 inch/sec for pocketing so that the bit moves in z direction a bit slower. This was done to obtain better finish.
10. Spindle rate gave smoother surface when set to 10000rpm for pocketing, while for profile cut, 13000 rpm gave cleaner cuts.
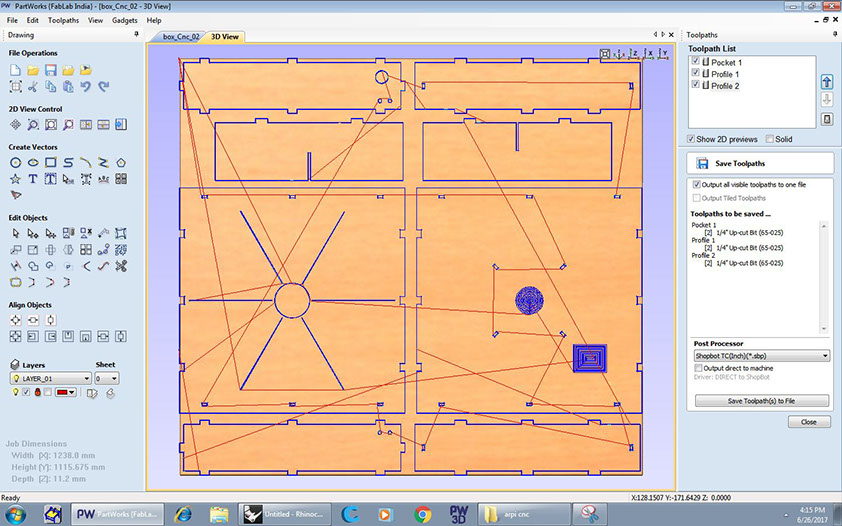
Here is a set of process followed for my final design to generate toolpaths in Partworks.
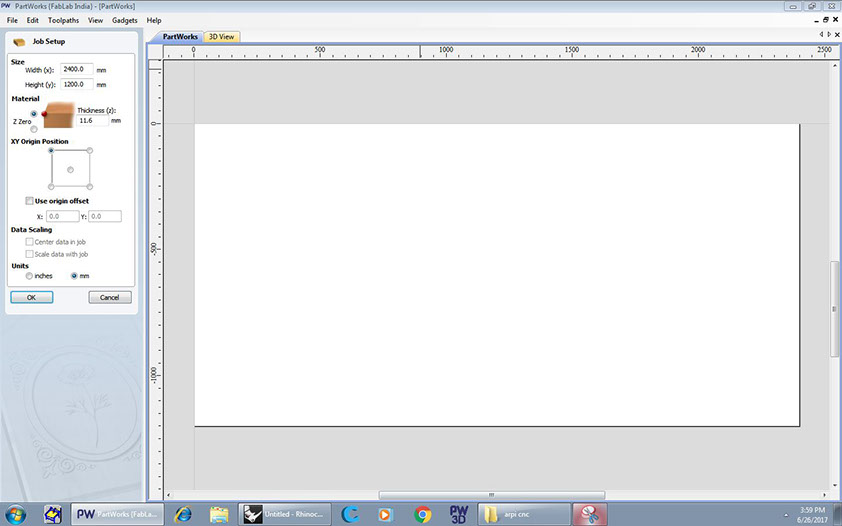
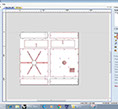
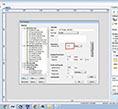
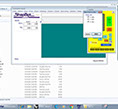
When you open New file in partworks, this screen appears. Select material thickness and origin .
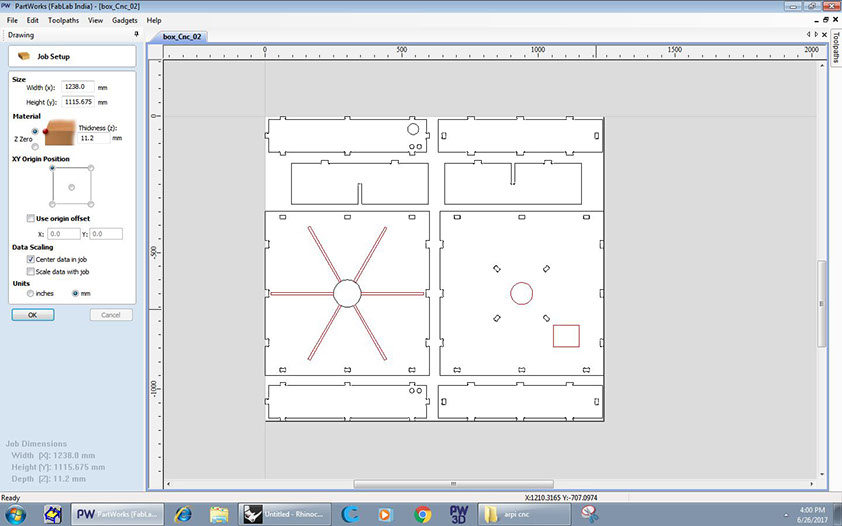
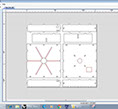
Import .dxf file to partworks. Tick "center data in job to ensure your drawing is withing the cutting bed.
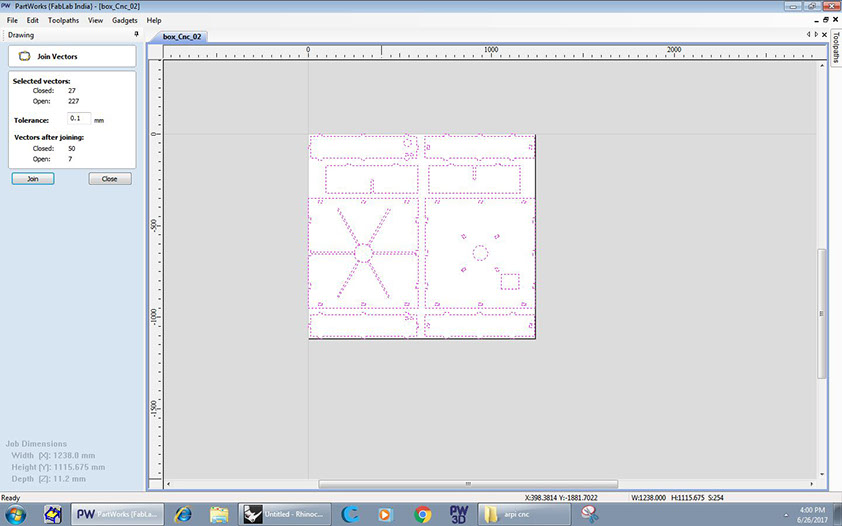
Select all curves and join them before proceeding
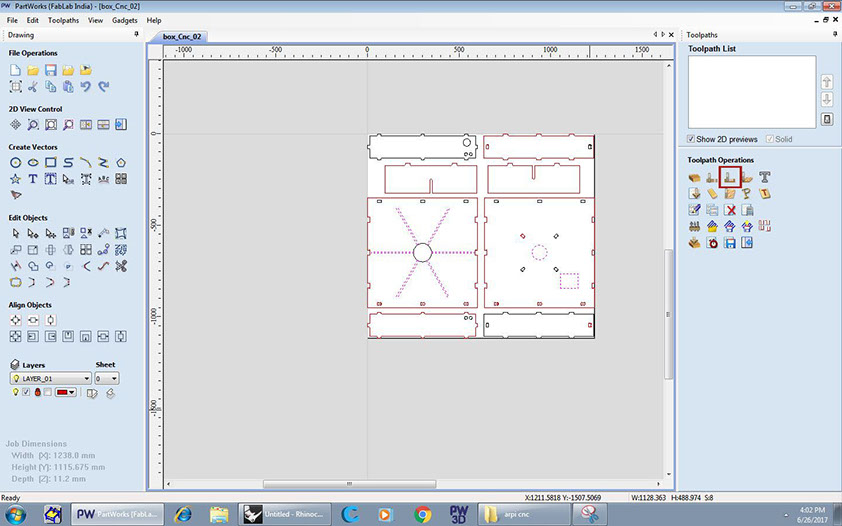
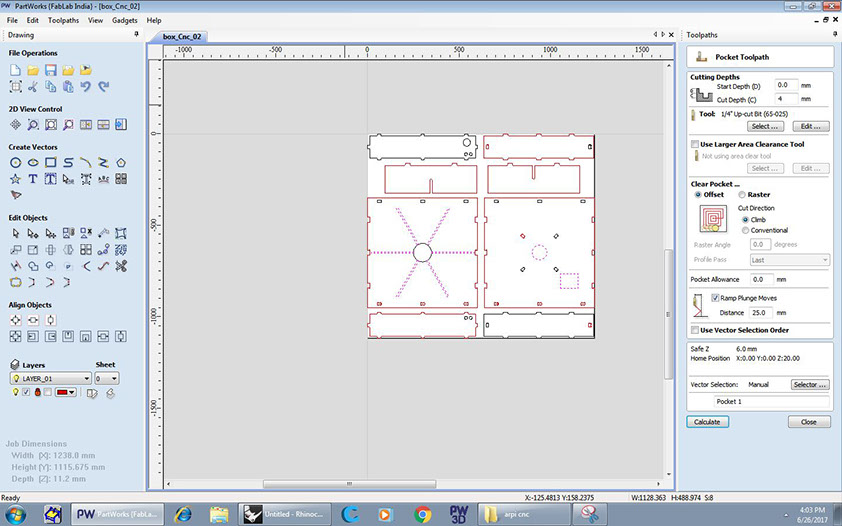
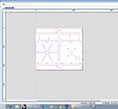
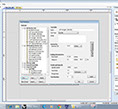
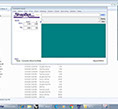
Next I selected the curves that were to create only pockets. Then i selected Pocket toolpath icon .
I needed only 4mm pocket for my design so cut depth was specified accordingly. I selected offset method and ramp plunge moves to generate smooth surface.
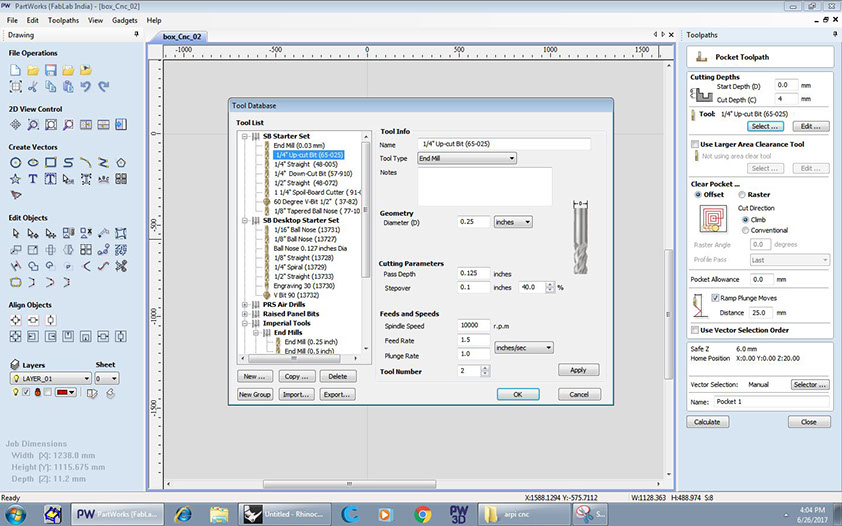
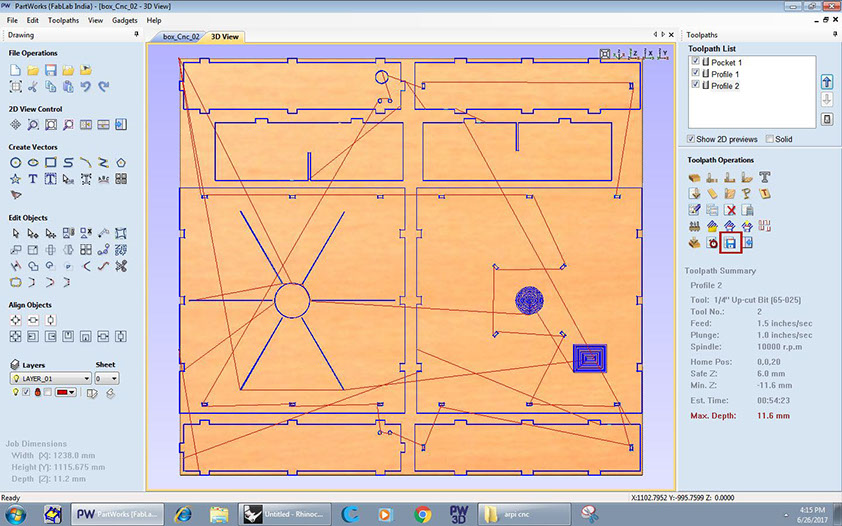
Selecting 1/4" up-cut bit for making pockets.
Pass Depth = 0.125" StepOver = 40%
Spindle speed= 10000 rpm
Feed Rate = 1.5 inch/sec
Plunge Rate = 1 inch/sec.
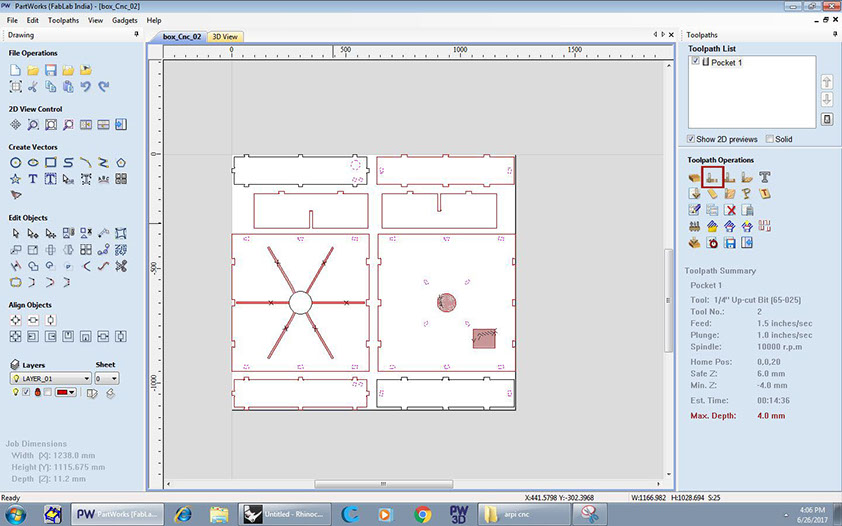
Then Click on "Calculate" to generate the toolpath.
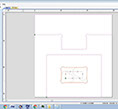
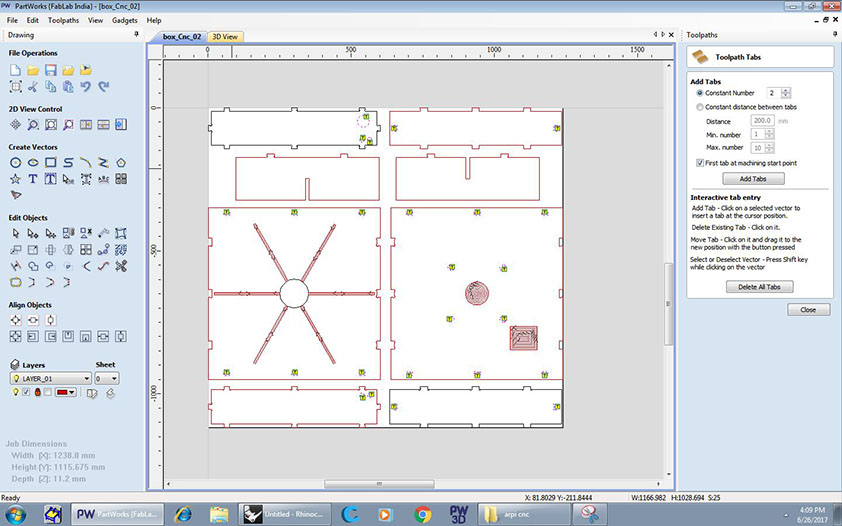
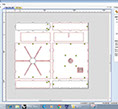
Next I selected holes that needed to be cut through. And selected "profile toolpath" for it.
Selecting 1/4" up-cut bit for making pockets.
Diameter = 0.25 inch
Pass Depth = 0.125" StepOver = 40%
Spindle speed= 13000 rpm
Feed Rate = 1.5 inch/sec
Plunge Rate = 1.5 inch/sec.
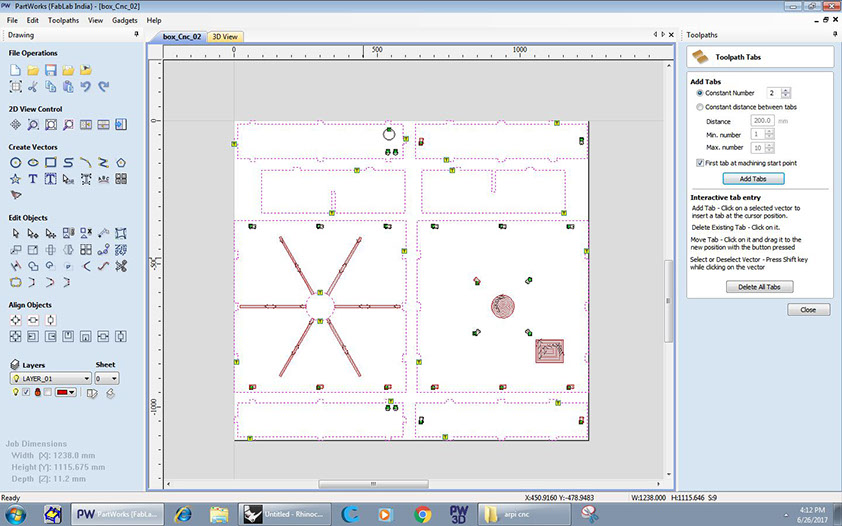
Next is to add the tabs so these small pieces do not get cut thoroughly and start flying around.
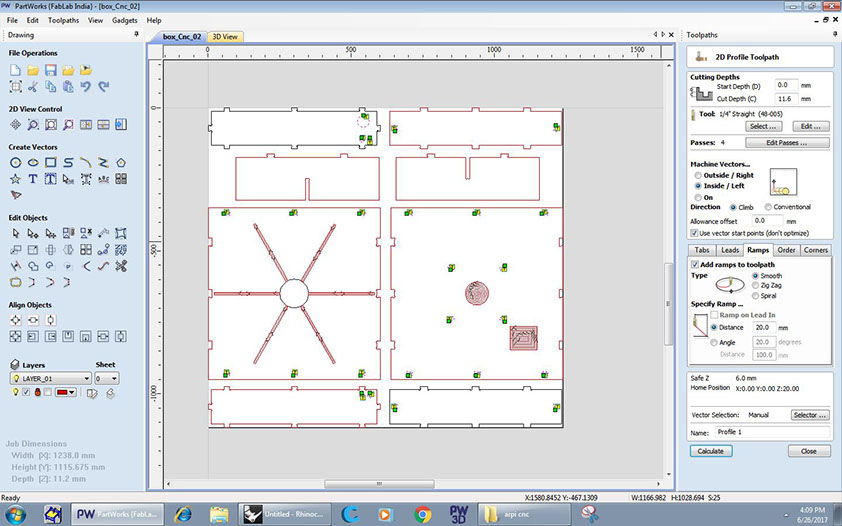
I selected "Ramps" with smooth option.
Next I calculated the toolpath.
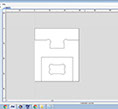
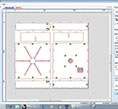
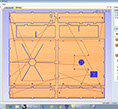
Next I selected the remaining outer curves and selected "profile toolpath" .
Again, I added tabs to keep the model in place instead of moving once cut thoroughly.
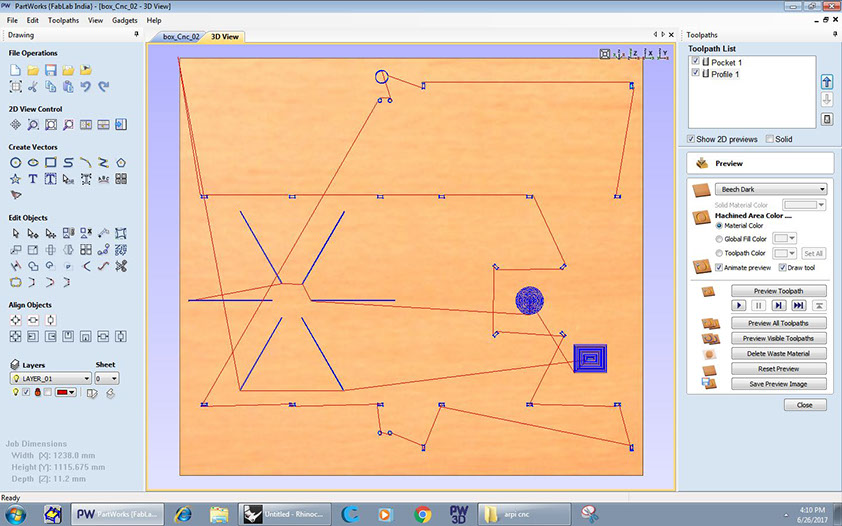
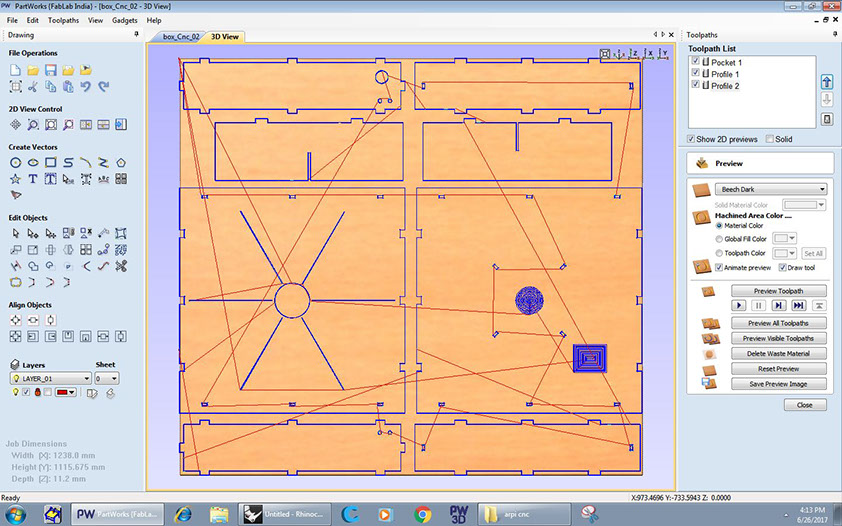
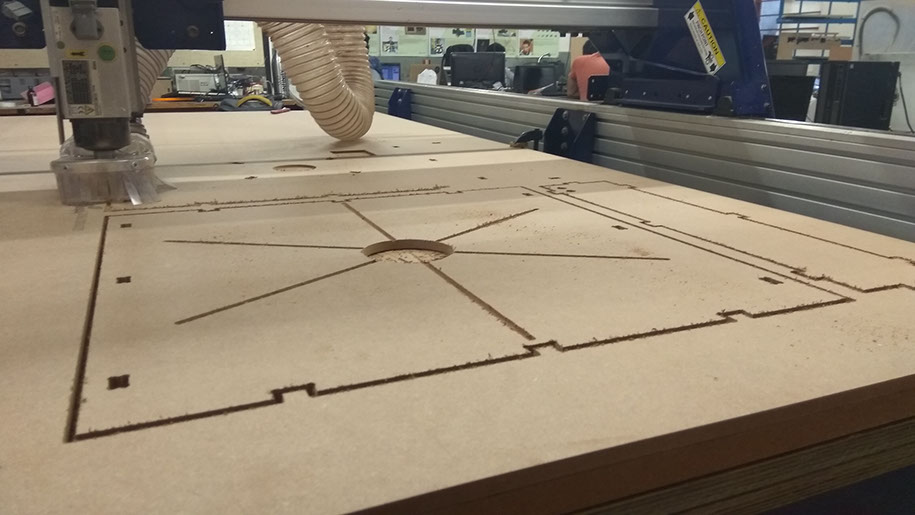
Next Calculate toolpath again . Selecting all 3 toolpaths shows the entire model.
Next step was to save all the toolpaths. Since I was using the same bit for all 3 toolpaths, I saved all of them together. Else, one can save them individually if the bit needs to be replaced.
Lastly,click on "Save toolpath to file"
6 - 17
<
>
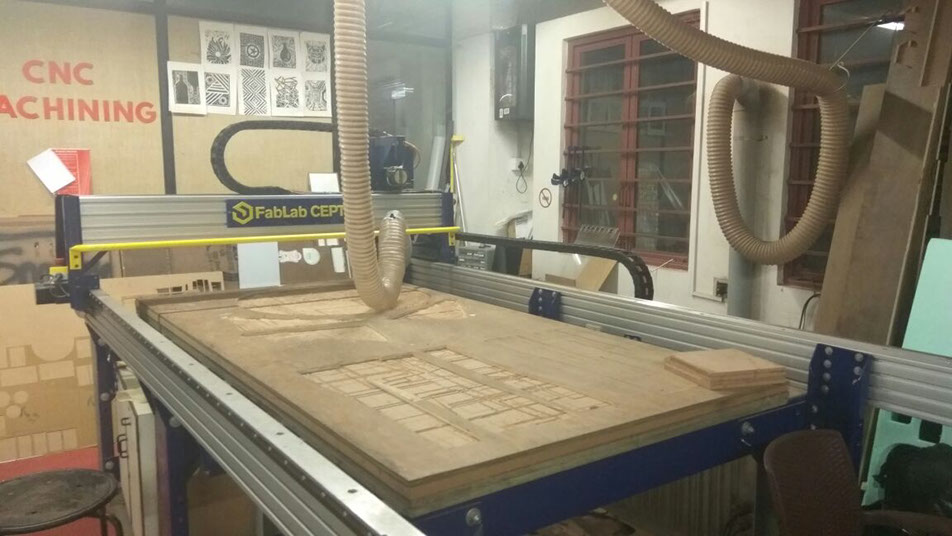
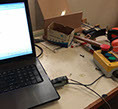
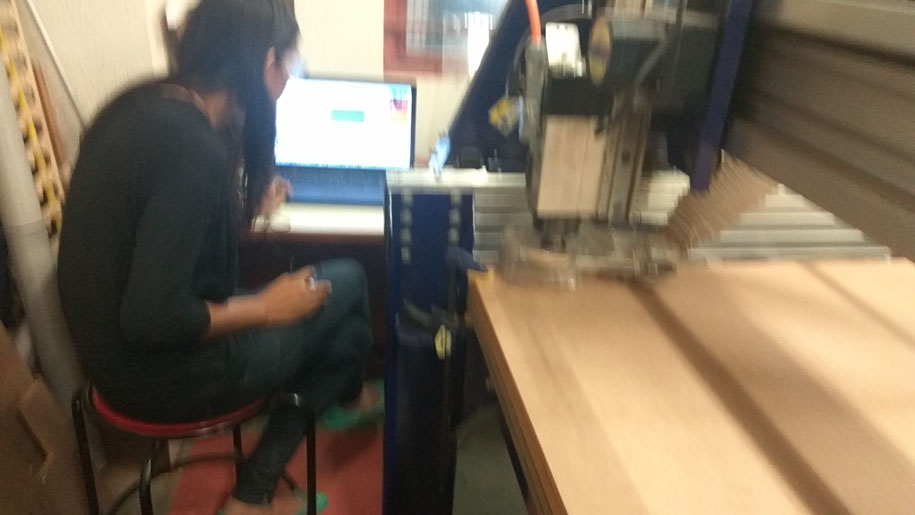
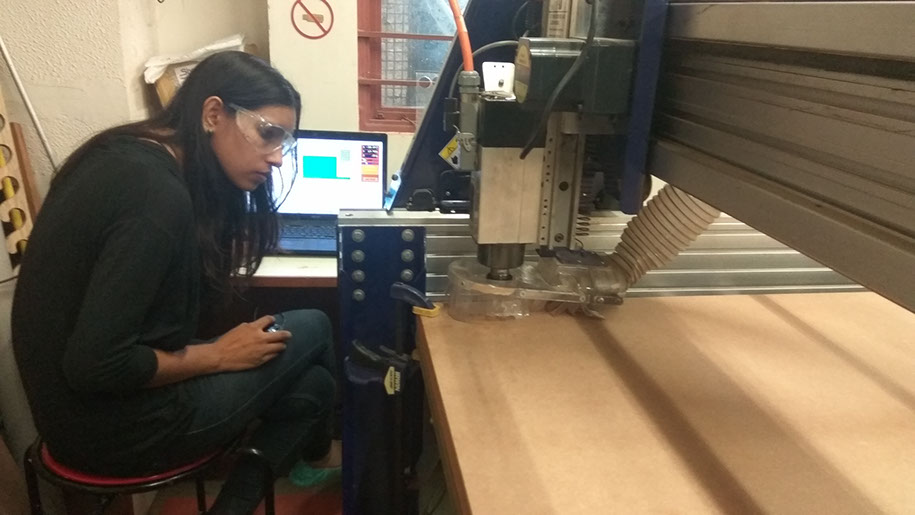
SHOPBOT
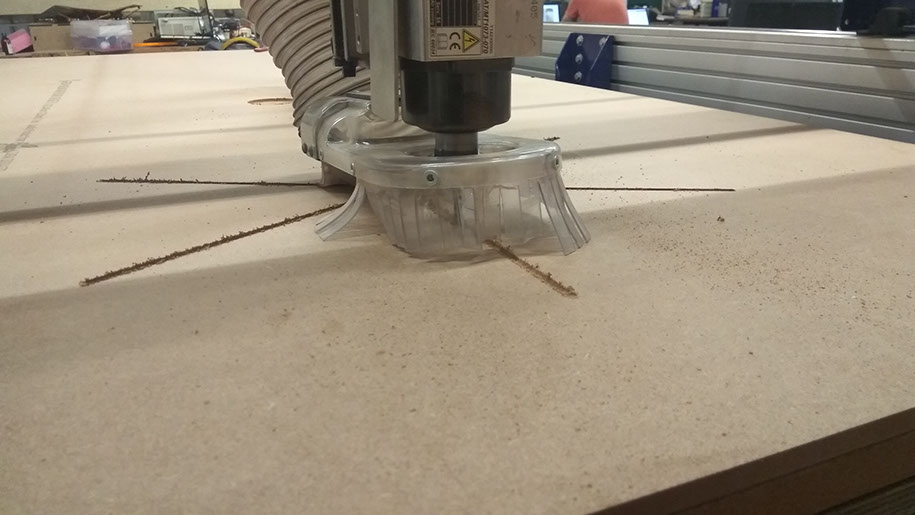
The most exciting part is to finally use the machine.
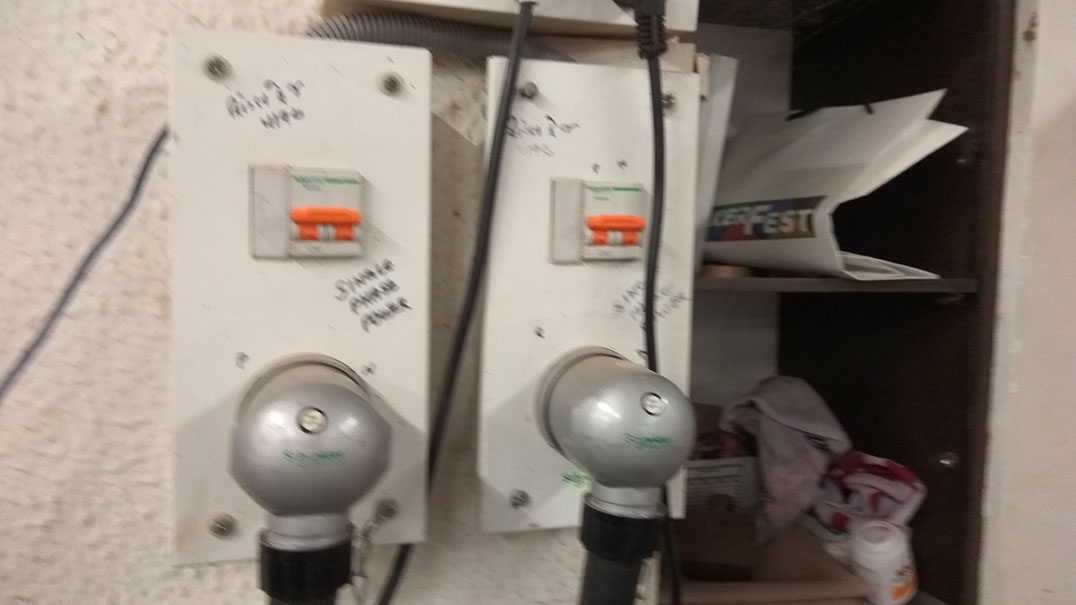
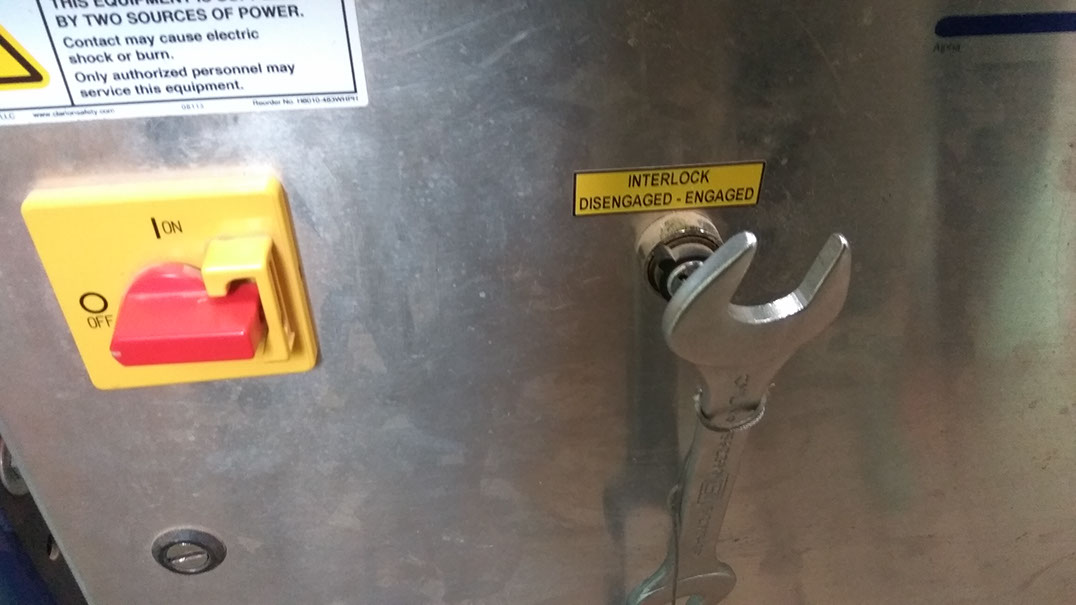
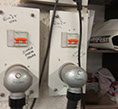
These are switches for power and exhaust.
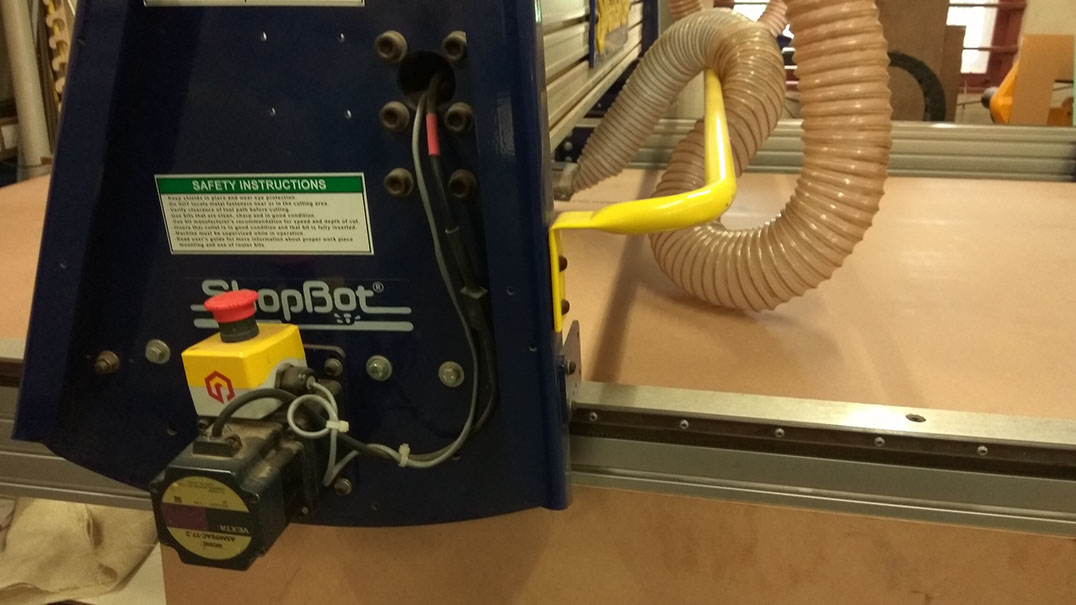
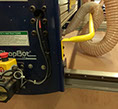
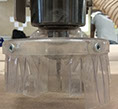
These are additional controls on the machine, to turn on-off the spindle and the movement.
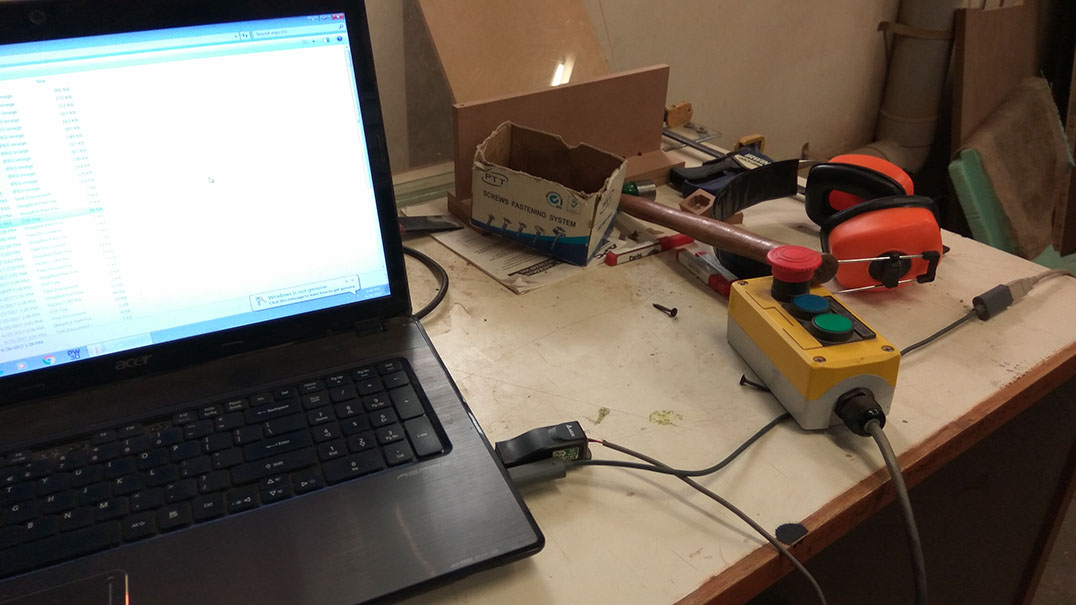
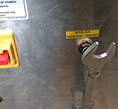
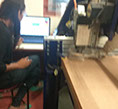
Emergency "Stop" box
Emergency stop box with "Reset" and "start" buttons always kept near the system.
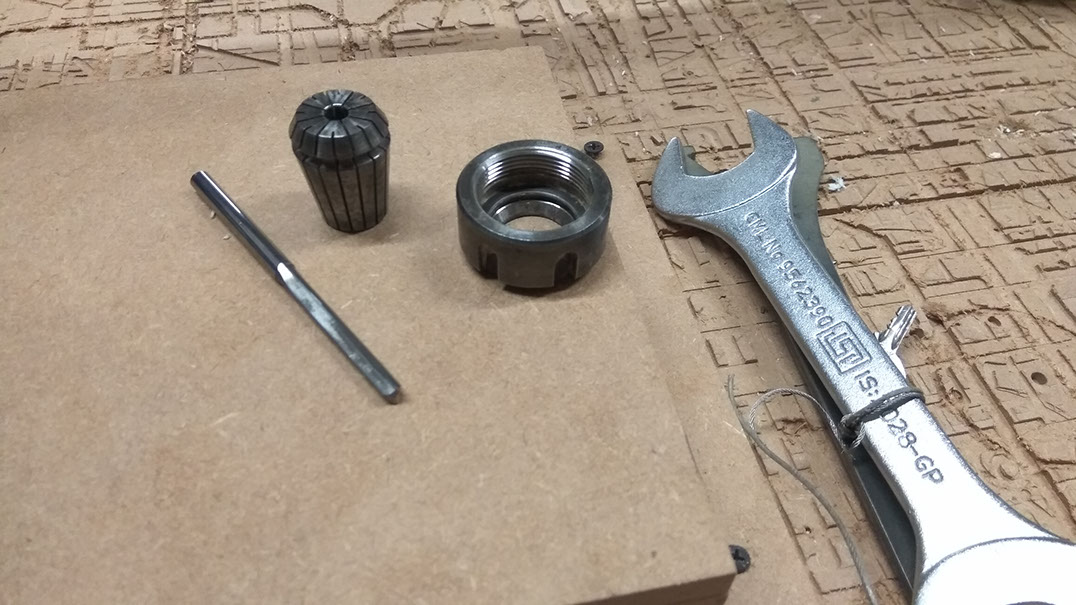
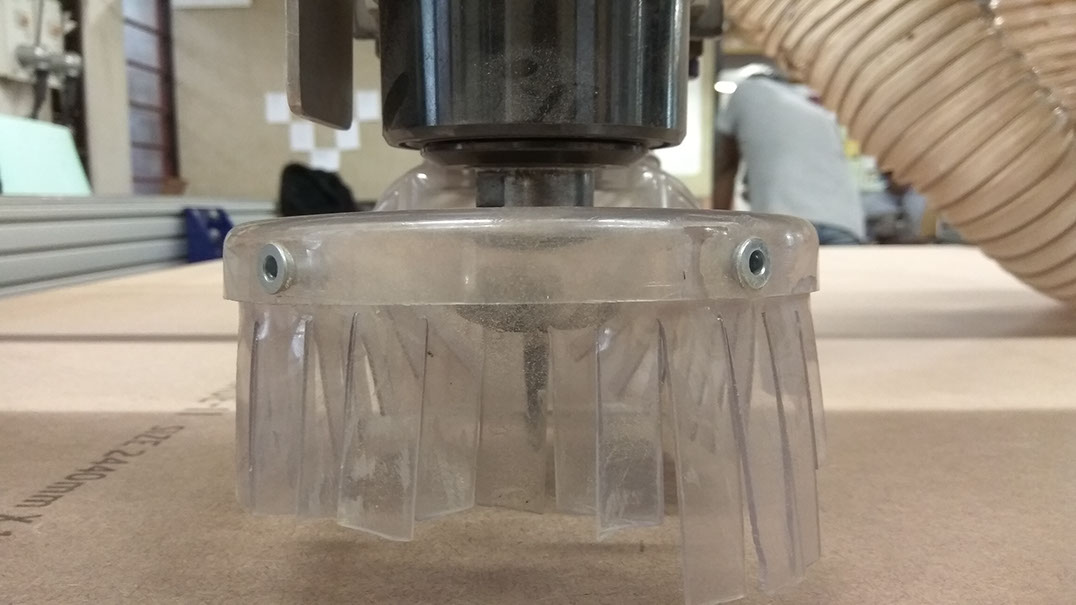
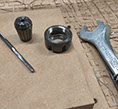
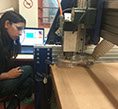
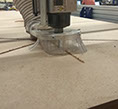
Next step was to put the right bit before starting to mill.
Once the bit is up, it is time to start milling.
6 - 6
<
>
The most exciting part is to finally use the machine.
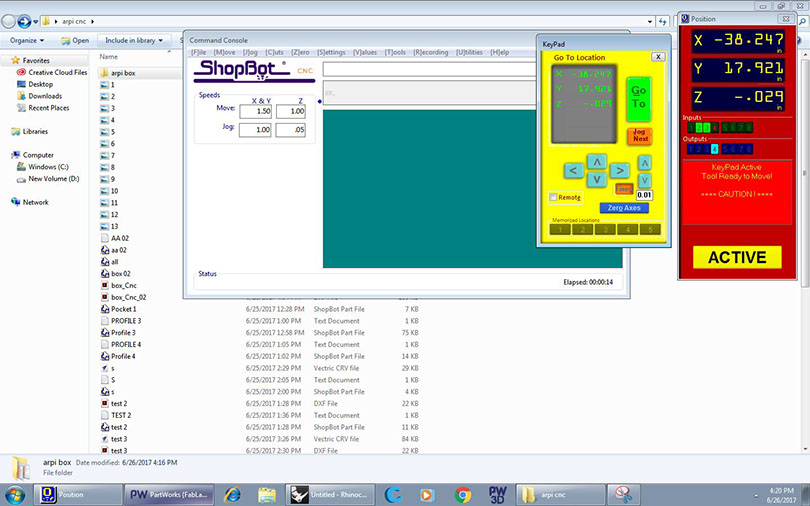
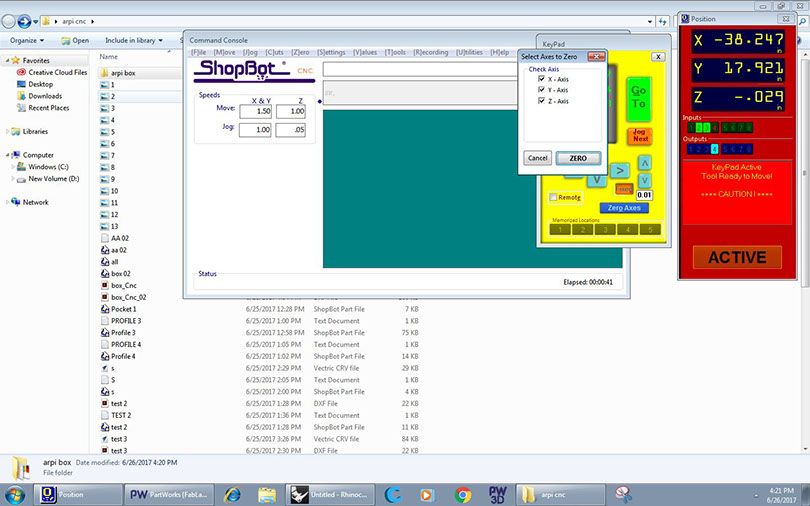


Start the Shop Bot software. Use the arrows on the yellow keypad to set origin on the machine. To make sure the spindle moves by smaller distance, we can select "Fixed" option and specifiy the distance. Once the origin is set, click on "zero axes"
Select all the axes and select zero to select the origin as the current position of the spindle on the machine bed.
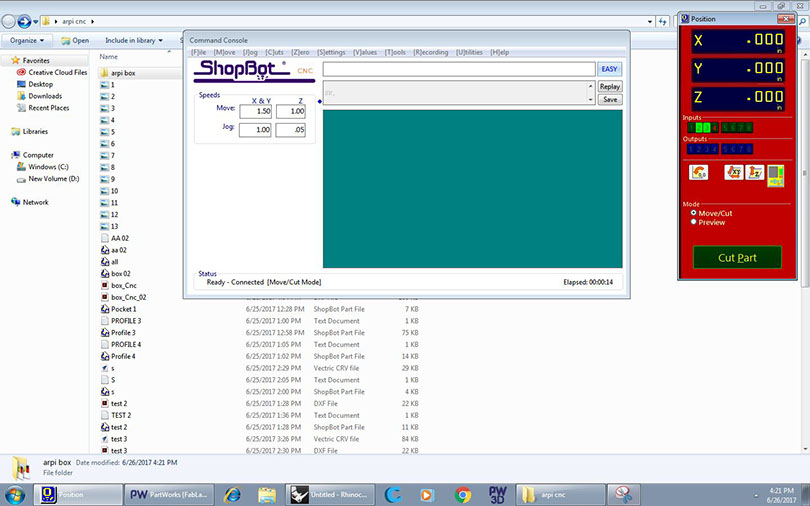
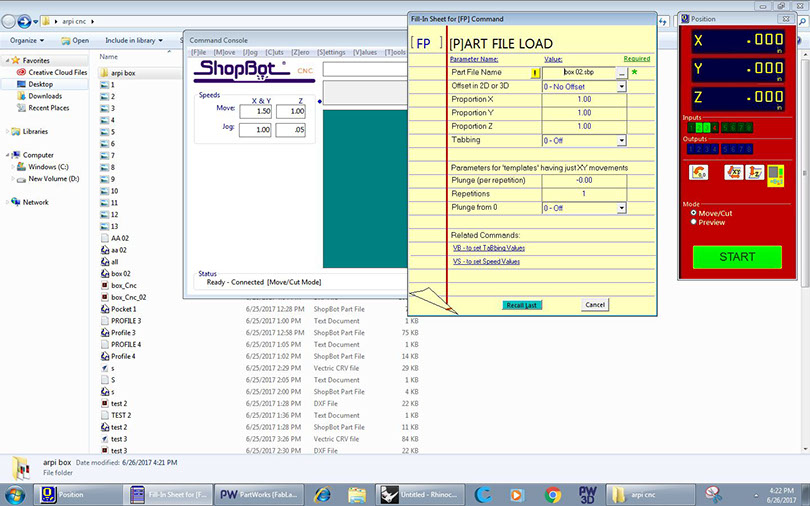
Next click on "Cut part" and select the file generated with Partworks.
Select "Start" .
Press the Start" button -green coloured , so that the spindle starts. Now is the time to start the cutting.
4 - 5
<
>
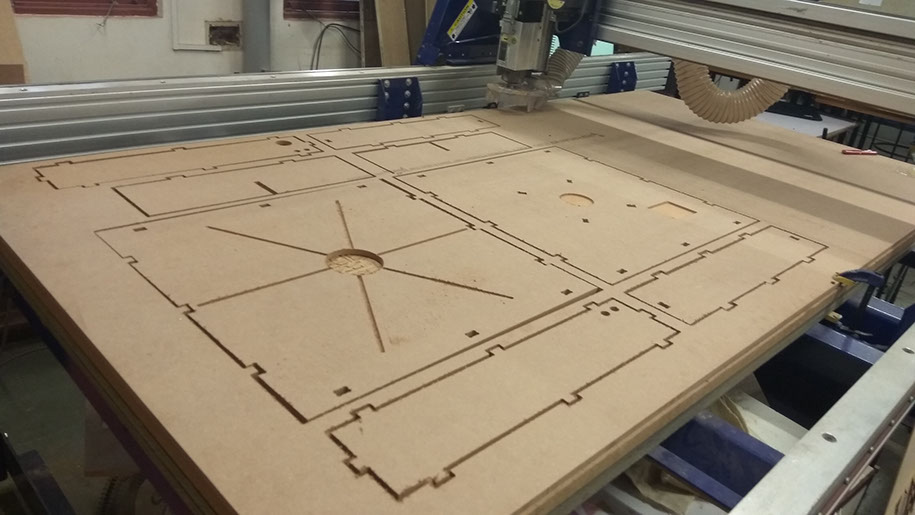
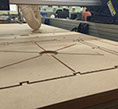
Here is a collection of some pictures.

1 - 6
<
>
Here is a compilation of some videos.
cnc combined from ARPI on Vimeo.