FabLab Cept
3D PRINTING
This week's group assignment can be found here.
For individual 3D printing, we were supposed to print something which could not be generated by any other technique except additive process.
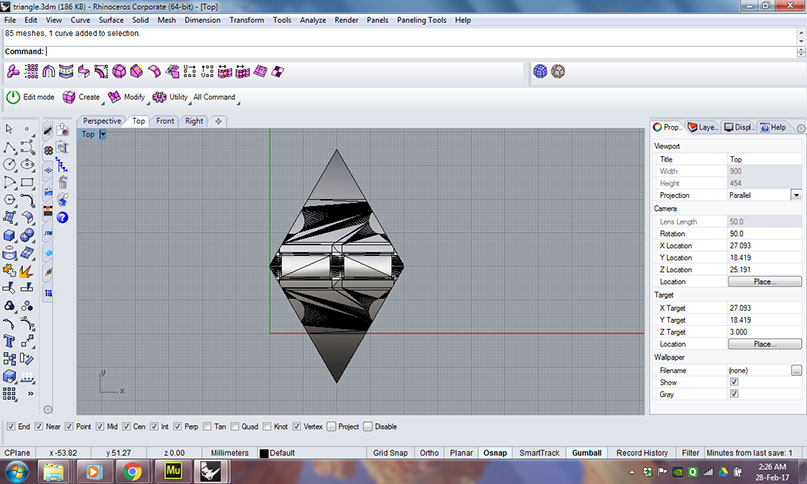
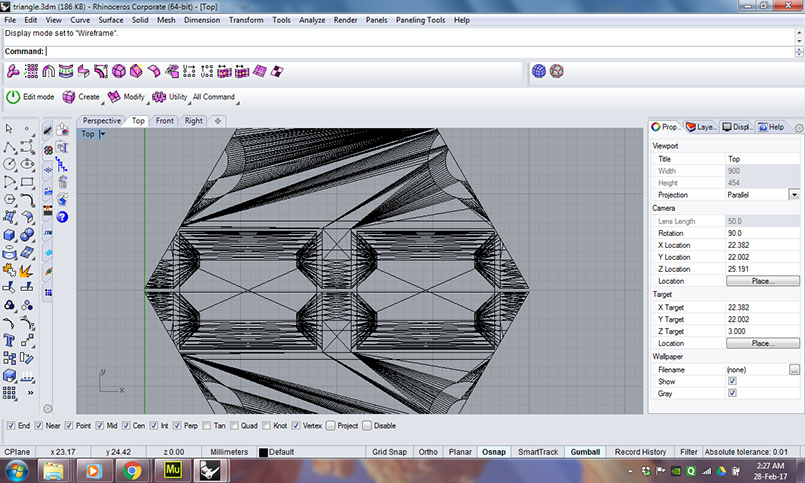
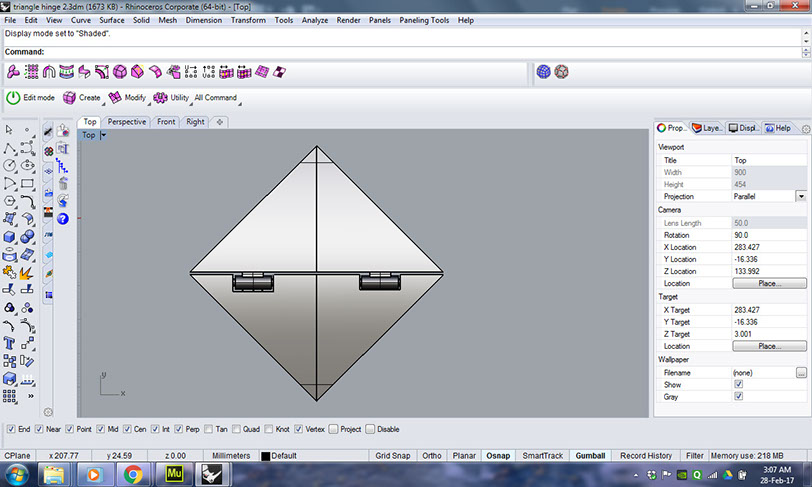
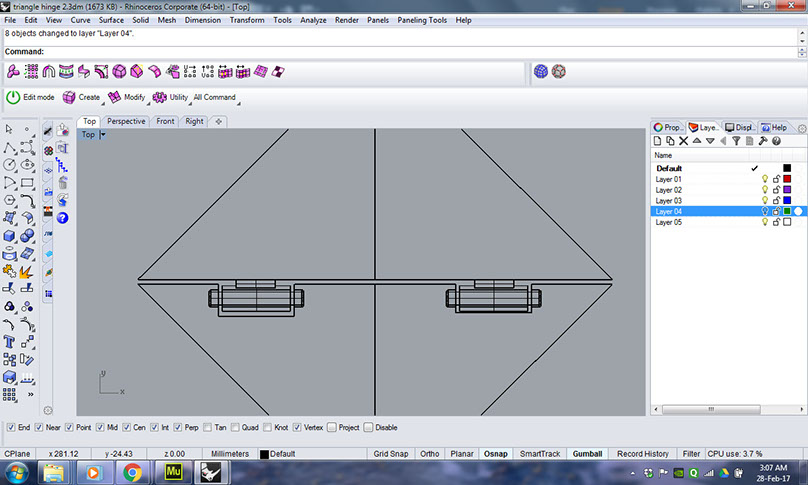
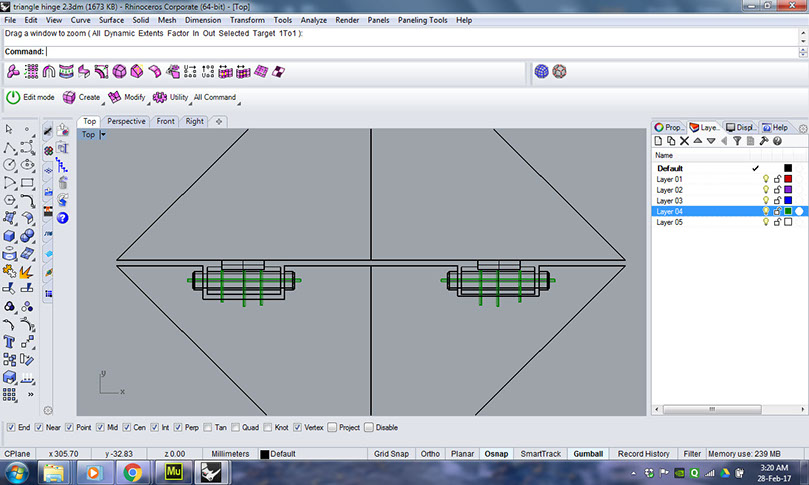
So the first thing I did was to download a reference file from www.thingiverse.com and edited it to the shape of triangle resembling panels of my final project. This was an attempt to understand the working of the printer and the offsets required to achieve the hinge joint.
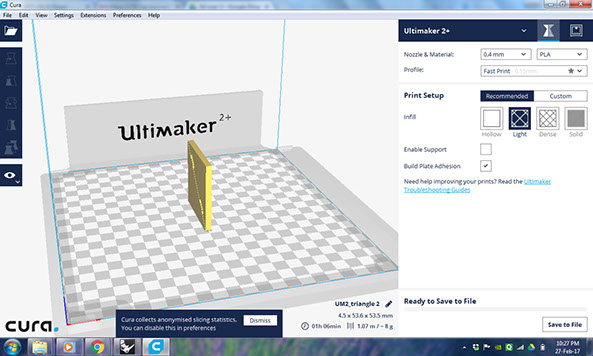
The next step was to export the file in .stl format and open in "Cura" which is the software to create toolpath for the 3D printing.
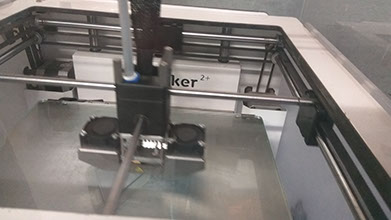
The first thing in Cura is to select the printer.
Next is to set the nozzle size and the material.
.jpg)
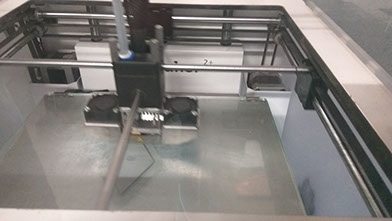
After that I set up print quality to normal and infill to Dense.
.jpg)
.jpg)
Clicking on "save to removable drive" saves and exports the file to .gcode format. This is transferred to memory card which is used to transfer the file to the printer.
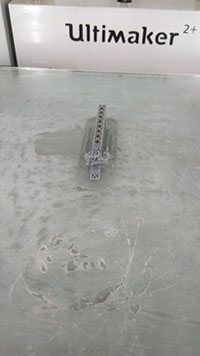
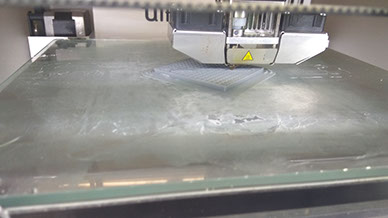
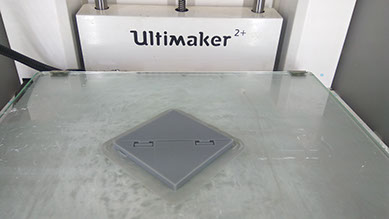
After this, I initiated the printing. However the joinery failed
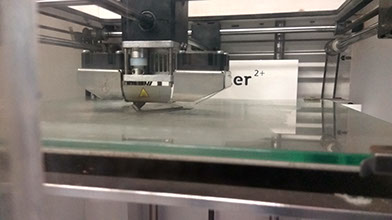
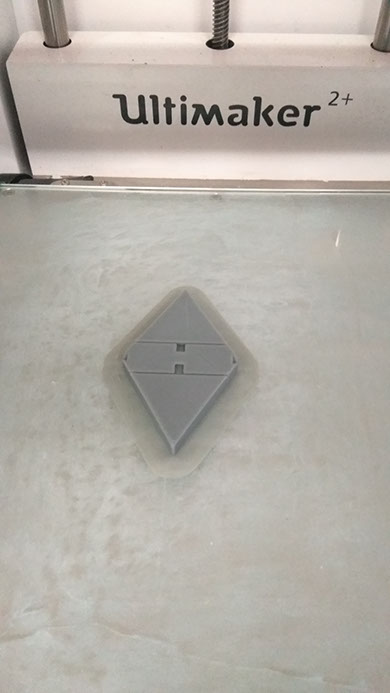
I believe the spacing between the joints was not appropriate, hence the material got glued and the hinges were not working. So, this time I decided to make the 3d file myself and try.
Radius of the inner rod and outer rod was 1mm and 2mm respectively with 0.3mm offset between them.
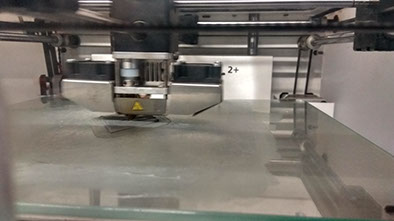
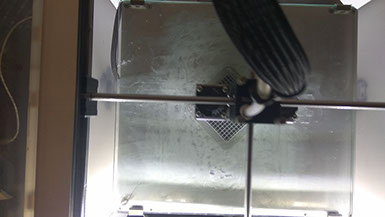
Following the same process, I started 3d printing it. However this time I tried rotating it and placing it vertically.
But again there was a failure. I realized that i needed to put supports between the hollow portions which can be later broken or removed,
Hence, I added few supports to the 3D file. These supports were 0.2mm diameter.
Also this time I decided to go back to the original orientation since the vertical orientation was not helping at all.
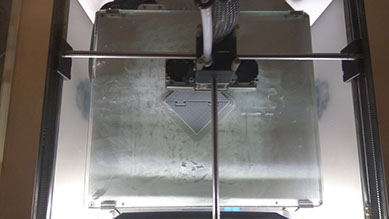
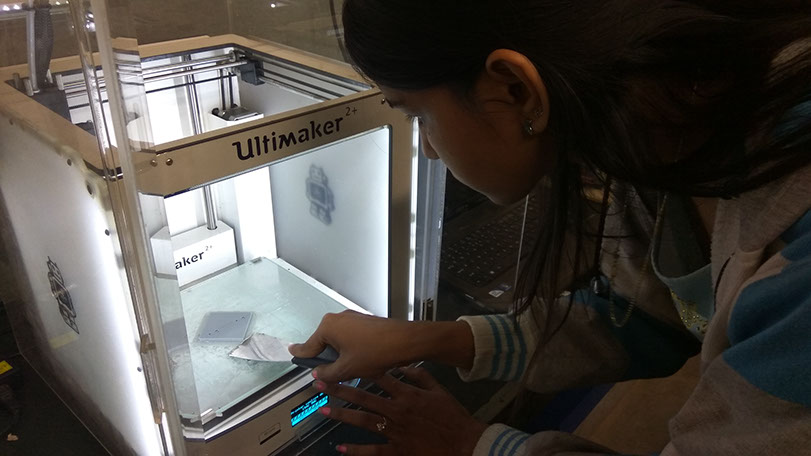
It is important to let the machine cool down a bit and then remove the print carefully.
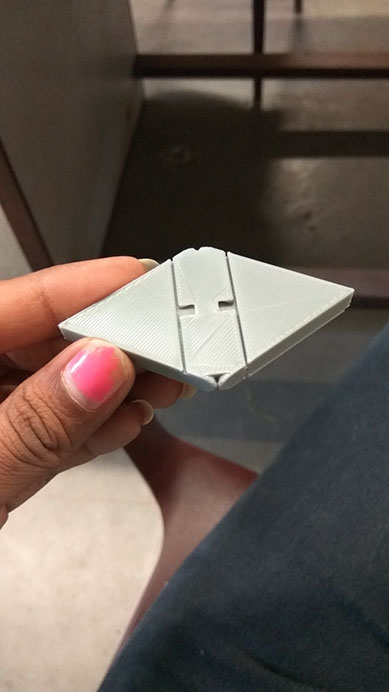
This is how the hinge looks like.
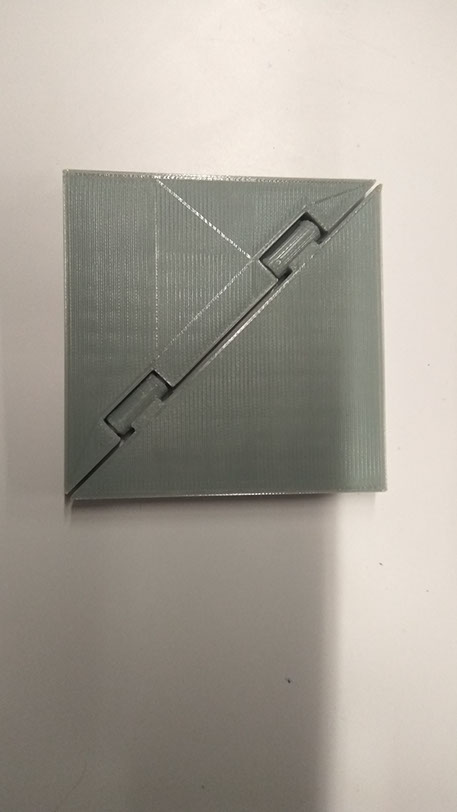
Finally this time the hinges worked as soon as I rotated it slowly to breakdown the supports.
Final file for this hinge can be found here.