Moulding and Casting from negative to positive
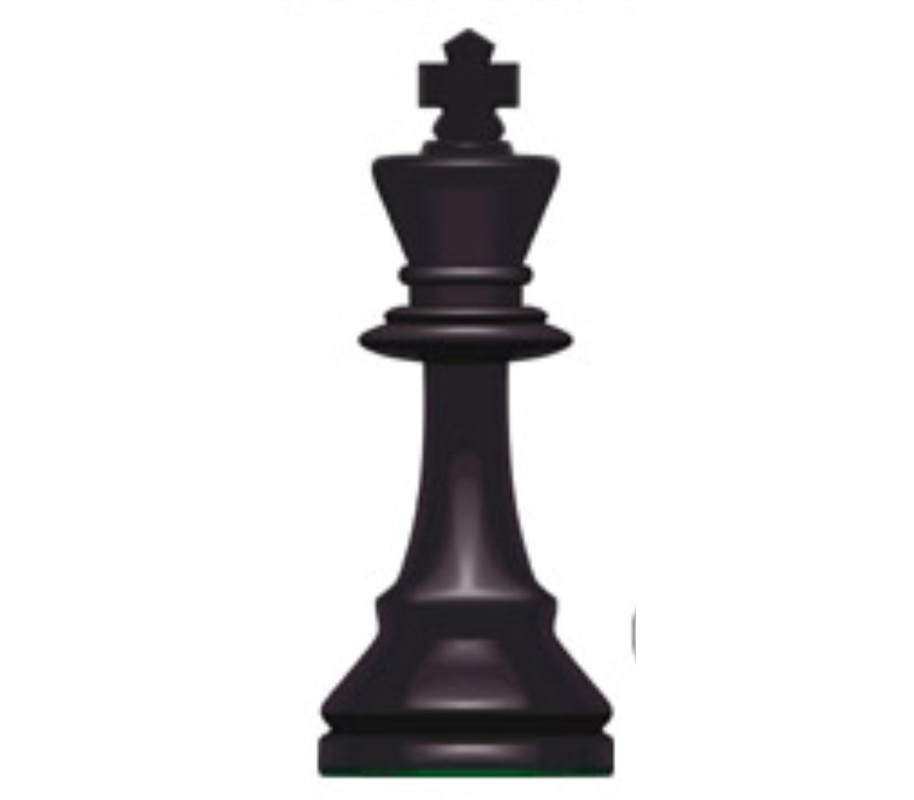
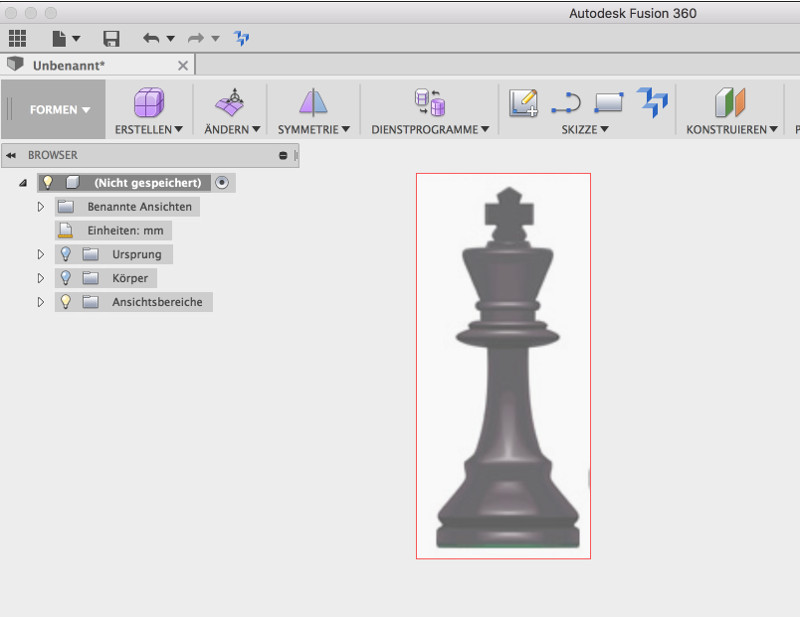
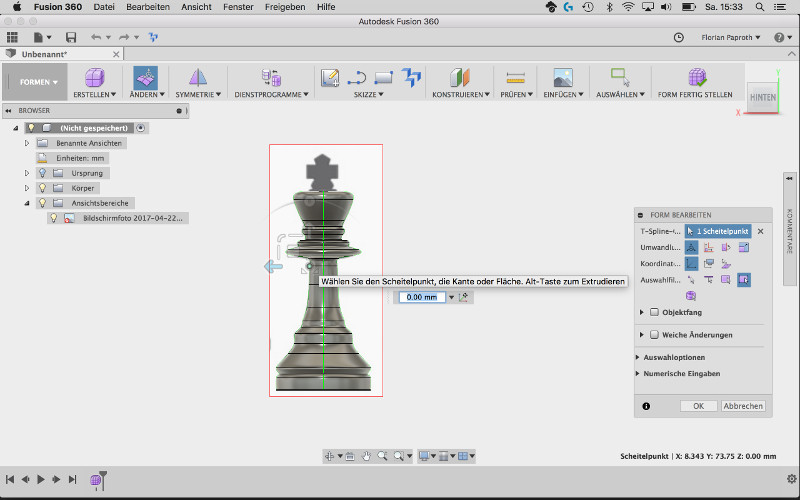
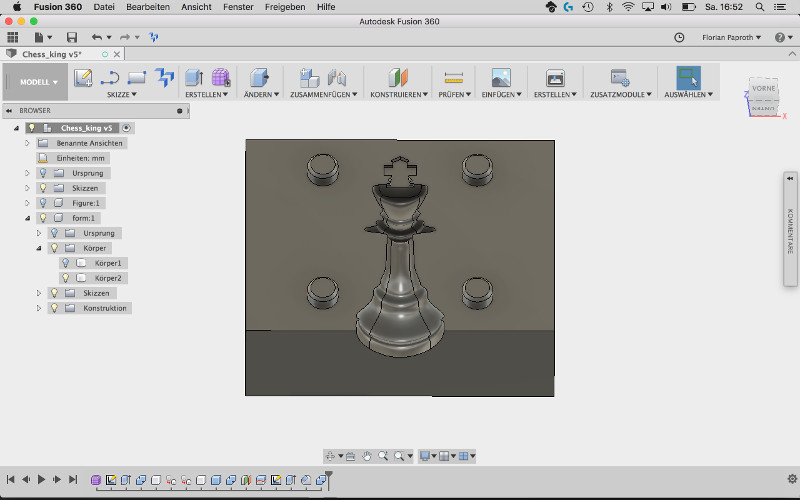
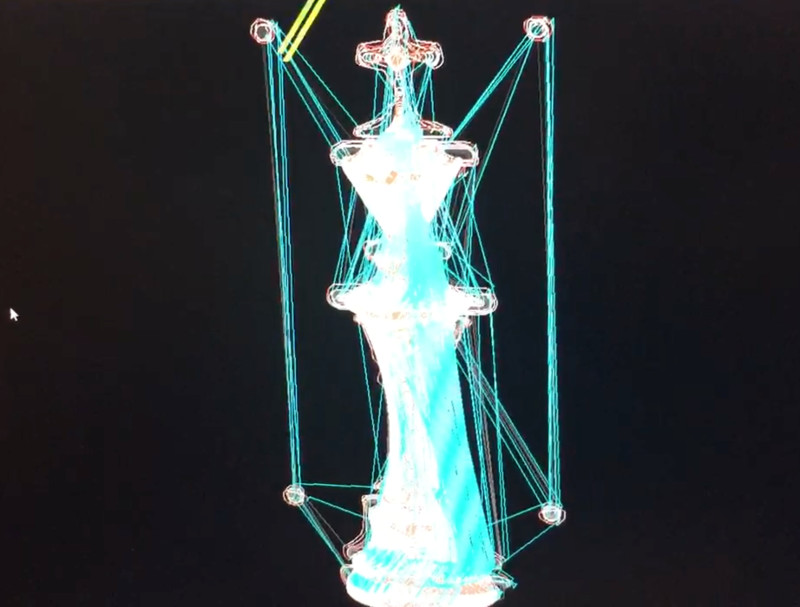
This week I created a mould for a chess figure. Because I didn't want create a positive first I directly designed a negative form for my model. That didn't mean I dont't create a positive, but I've did it in software. The image show the chess figure I want to recreate.
Design the mould fusion again
Fusion 360
Fusion 360 is from Autodesk. It's similar with Inventor but it's cloud based. The best advantage that it has in comparison with Inventor is, that it can be installed on my Mac. So I can use it at my Windows workstation at home and on the go on my Macbook.
Universal-G-Code-Sender
This is a Java based software to control CNC machines and for sending the machine code to the machine controller.
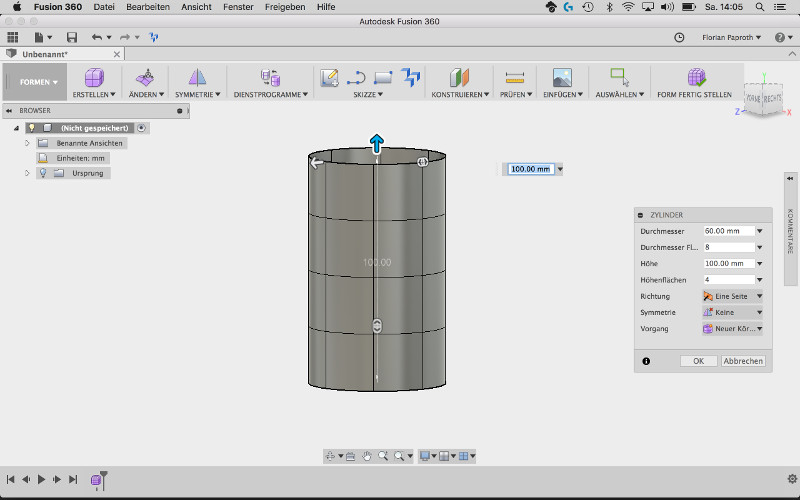
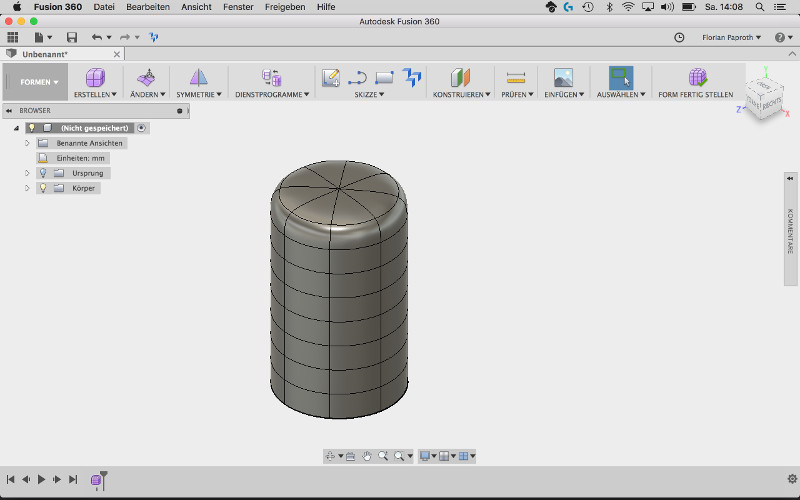
To build the model in Fusion I want to test something I saw in a fusion tutorial. This is using a background image and create a for in front of it. This technique I used to form the body of the figure. The cross on top I created with normal sketches again and combine it with the body of the figure.
If you want you can download the positive of my figure to print it directly if you don't want to cast it.
Download section try yourself
| Chess figure king (stl) | download |
| Chess figure king mould (f3d) | download |
Creating the positive
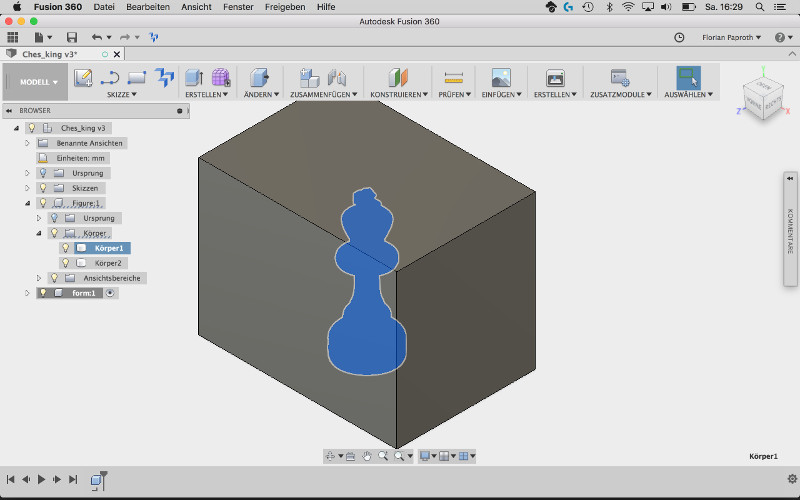
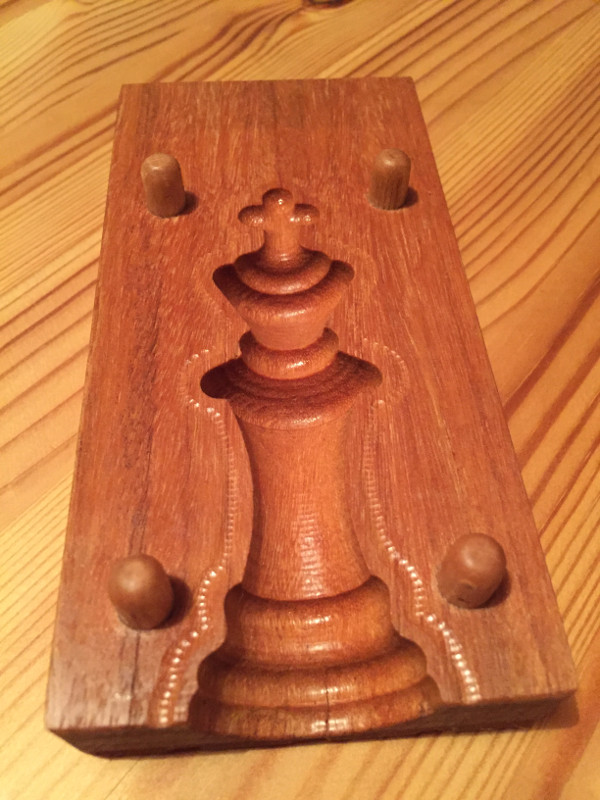
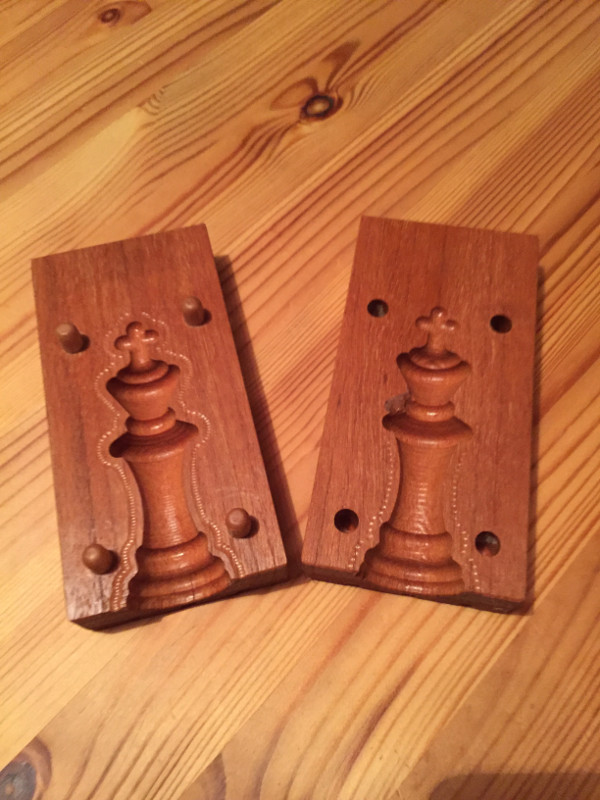
Now as I mentioned in the introduction I created the mold in software. To accomplish that I draw a box around the figure. After that I combine the box with the figure and used the figure as tool to remove it from the box. After that I split the box in two parts with a construction plane I places in the middle of the figure. Now, when I remove the figure whats left are the two parts of the mould of this chess figure.
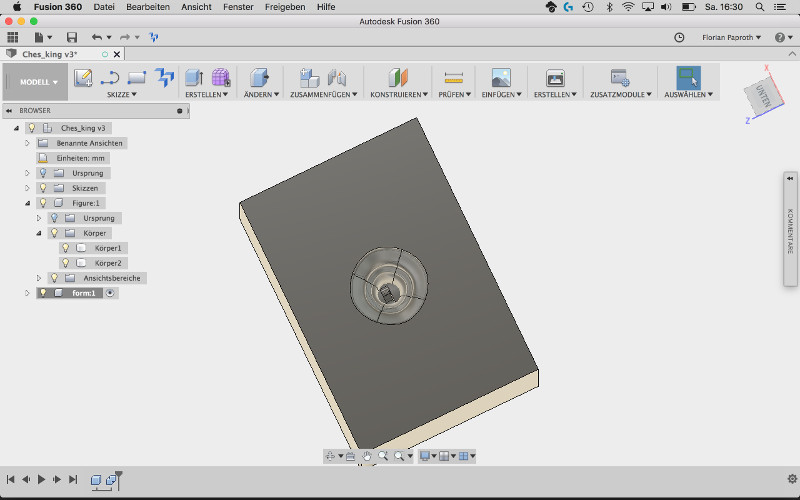
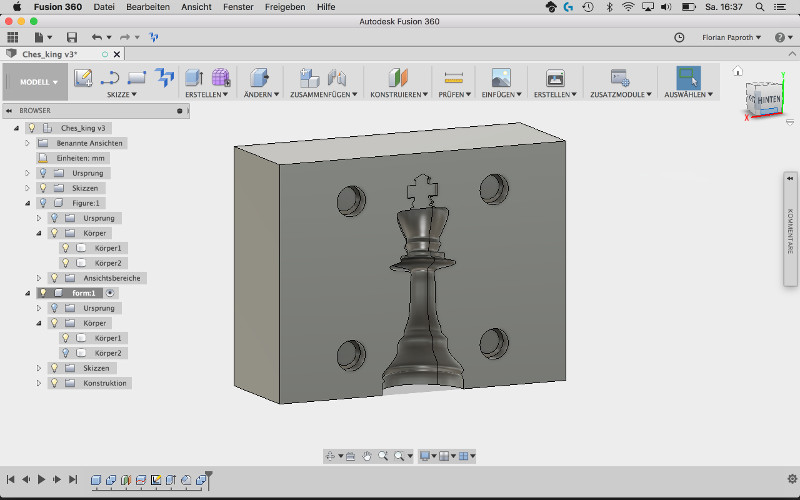
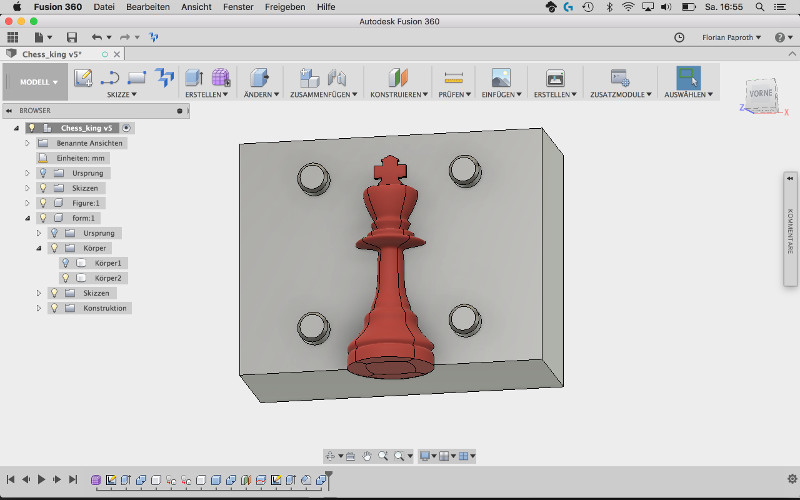
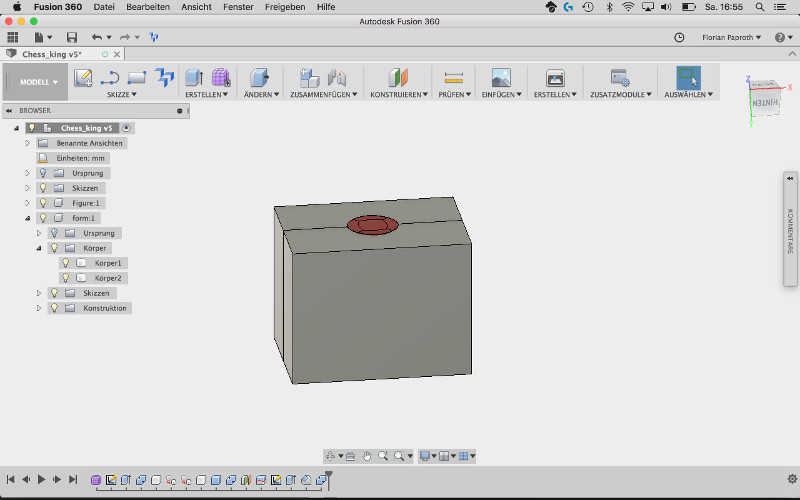
The two parts has positioning pins, on one side positive and on the other side negative so that the figure form matches when the form is put together. On the bottom of the form is the end of the figure. This is where later the fluid mass for casting the figure can be filled in.
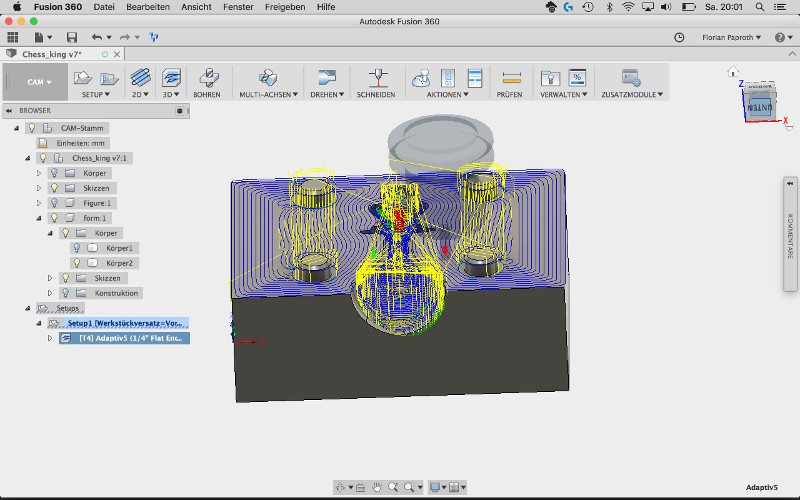
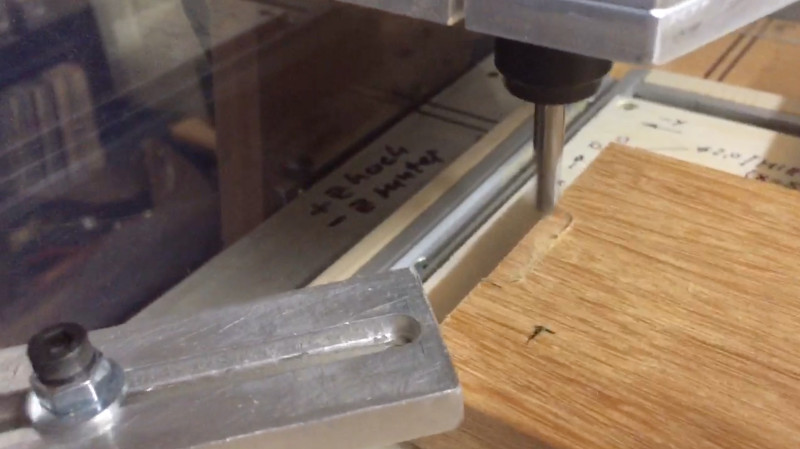
Creating the mould mill the negative
With the finished Fusion model I created two CAM setups for both of the model halves. I used a 6mm mill for the job because it should fit into all pockets of my designed mould. I exported the job with the postprocessor menu item. Because I use a custom build CNC mill that is driven by an ardunino CNC Shield V3. with GRBL firmware. So I exported it with the GRBL file format as .nc file.
This file I import into the software Universal GCode sender that drives my CNC mill.

Here you the software Universal Gcode sender of the newer Version UGS Platform. The right image is the visualization of the classic UI of UGS.
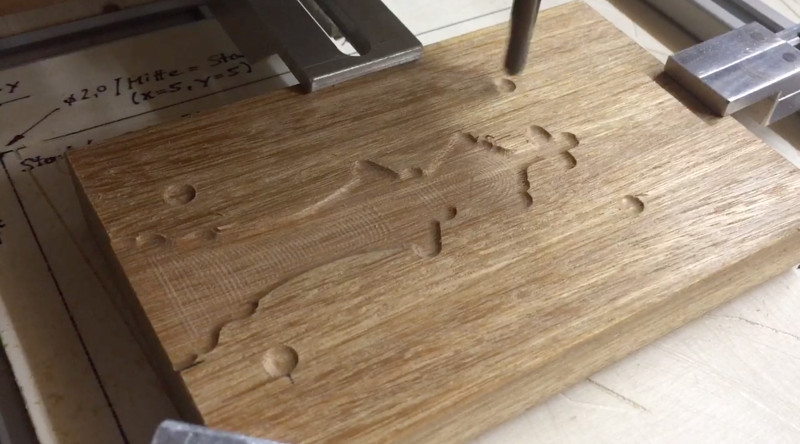
This image shows the milling process of the mould.
Casting filling the mould
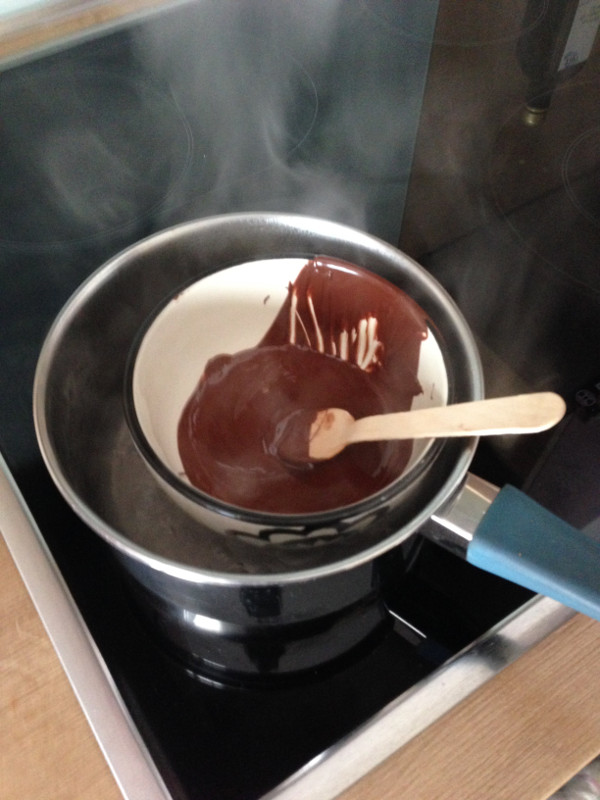
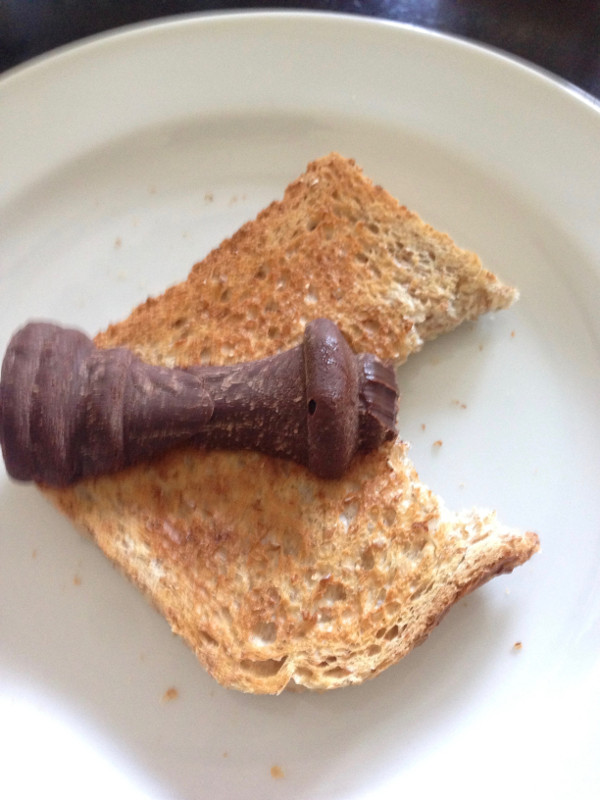
With the finished mould I wanted to fill it up with something. For a first try I want to use chocolate to produce a chocolate chess figure.
For testing I used one half of the form and closed it with a flat peace of wood. I used some dark cooking chocolate and heat it up in a water bath.
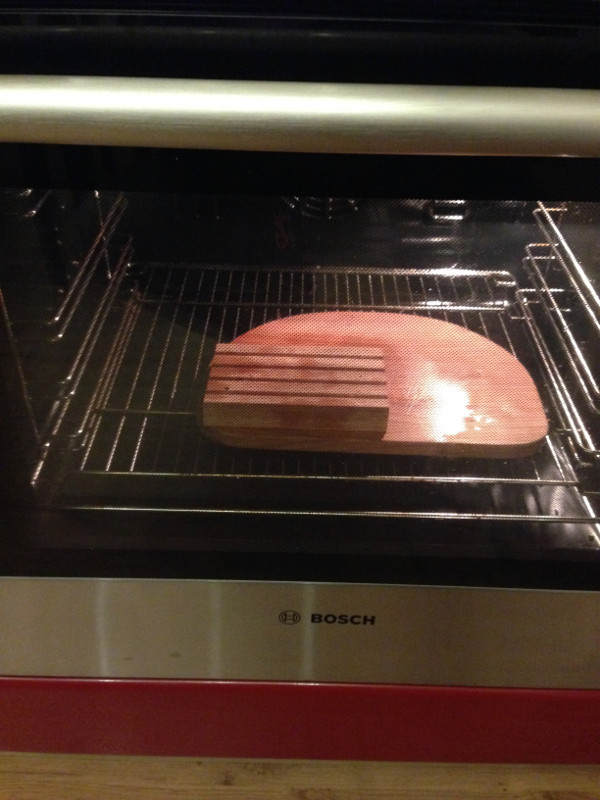
To prevent the hot chocolate to become stiff then it touches the cold form I put it into the oven to preheat the form as well.
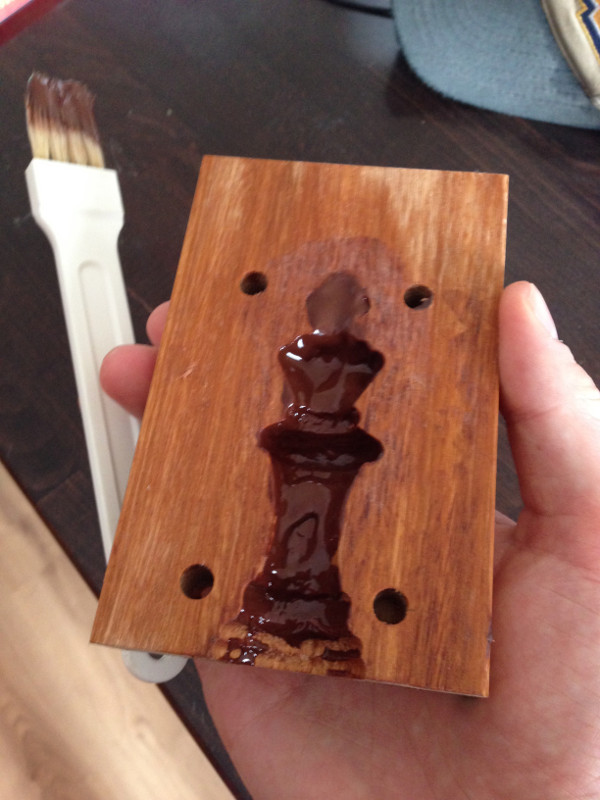
After everything was heated op enough I used a brush to paint the form first with a film of chocolate to prevent air bubbles on the sides. At last I filled up the form and let it rest cool up outside. When it started to become stiff I put it into the fridge over night.
The first try had some problems. When I removed the object from the form. It comes out of the form very well but sticked on the wooden board I used to close the form. The result was that it comes out of the form but broke into three parts.
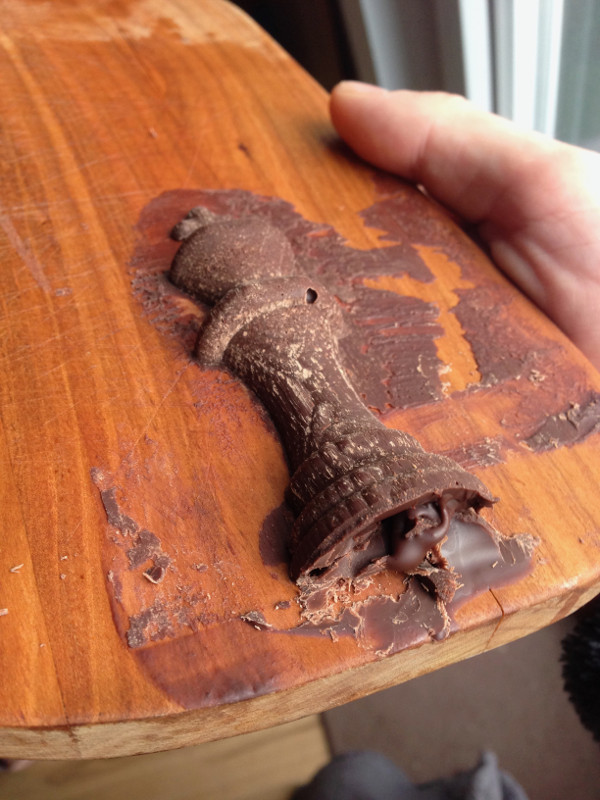
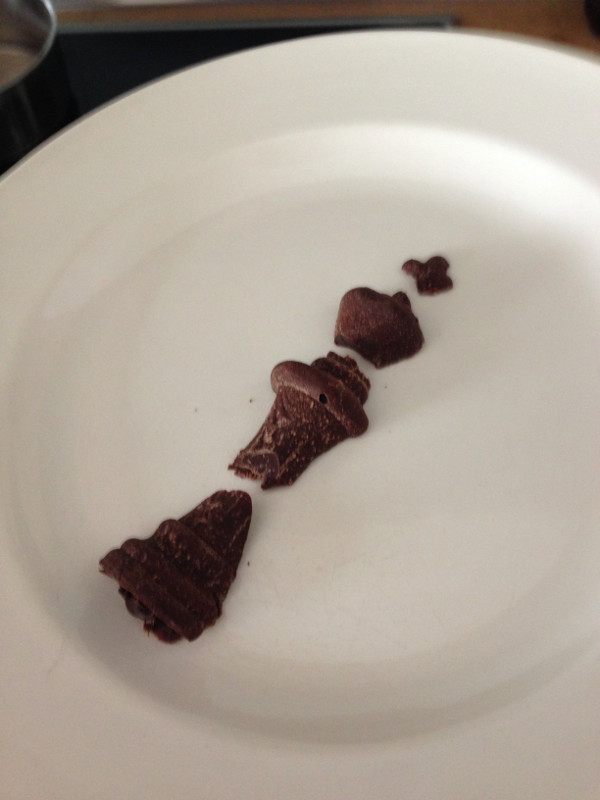
As punishment for breaking it was eaten laster.
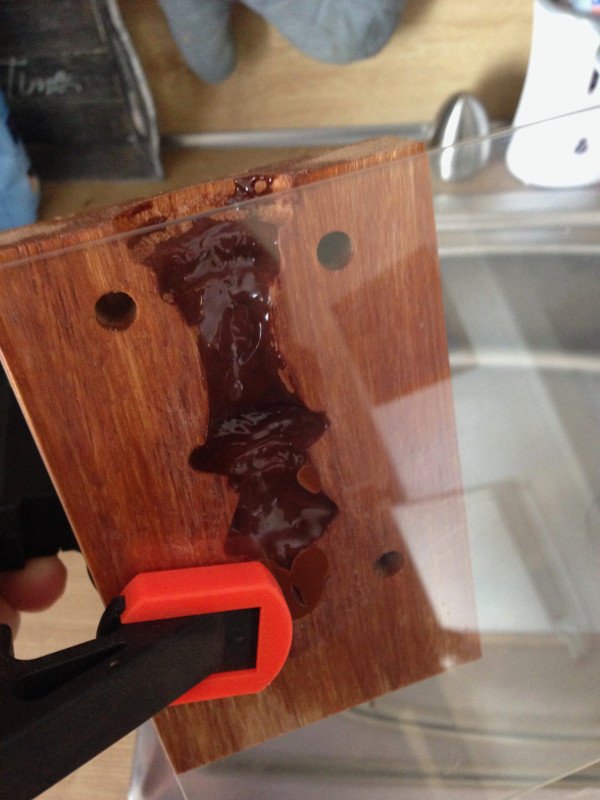
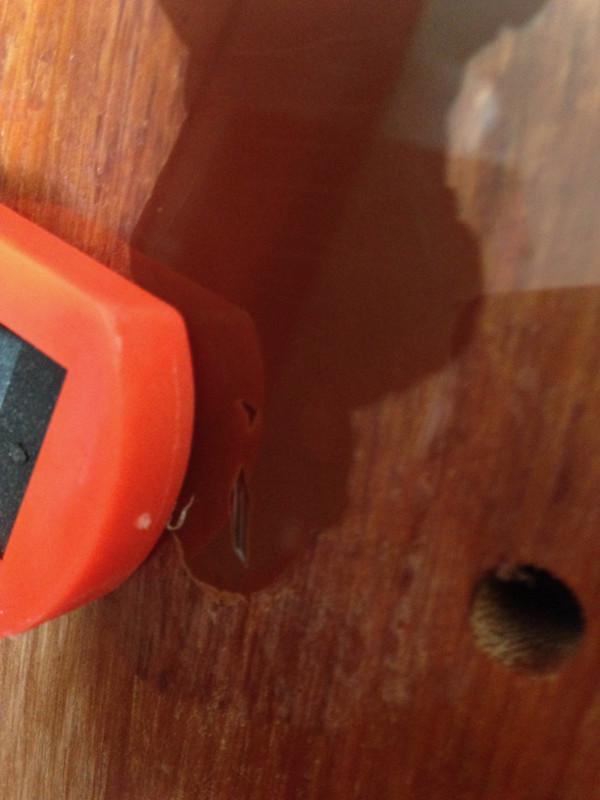
Give it a second try with glass see whats going on
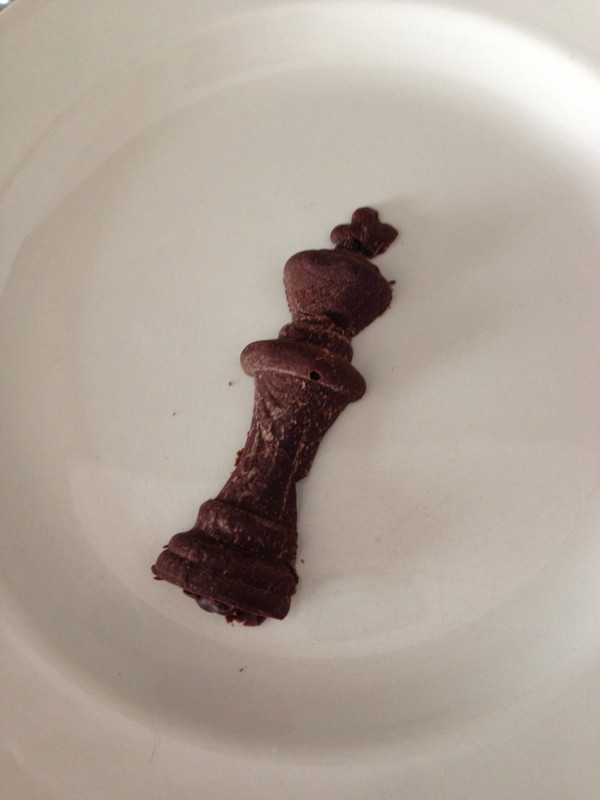
In my second try I replaced the wooden board with a glass plate in hope that the model will become lose better from the glass surface. I made a video that shows the flow of the material very well through the glass plate.
With the glass plate it was easy to see that there was a small air bubble at the very top cross of the model. I used a toothpick to move it out of the object.
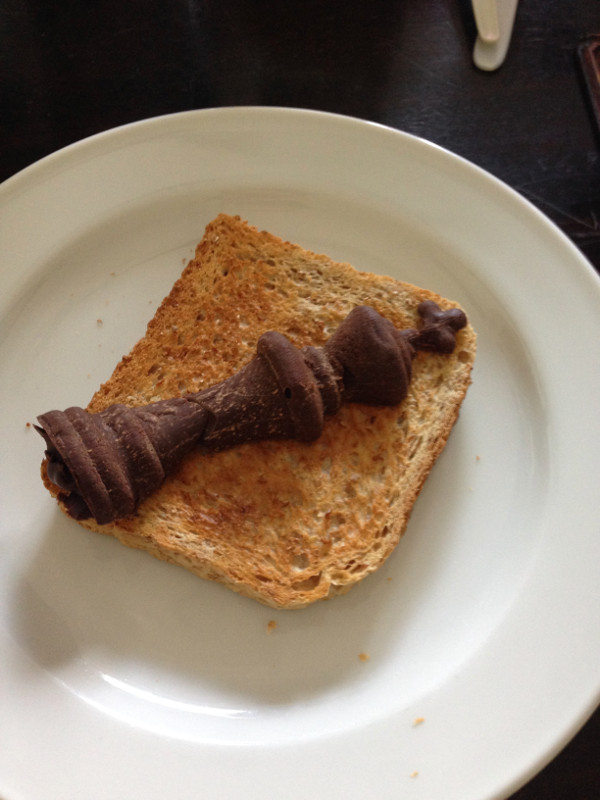
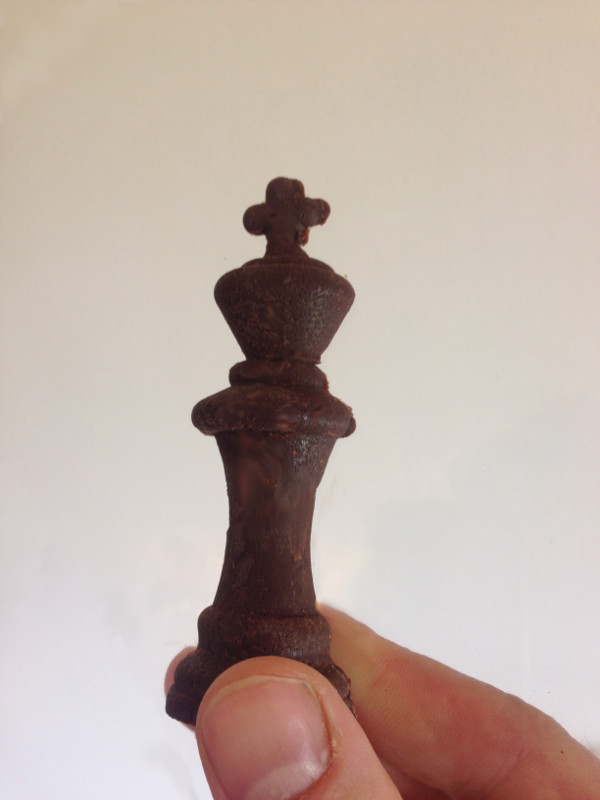
On the second try the object loses better from the glass surface. The result was this chocolate chess figure.
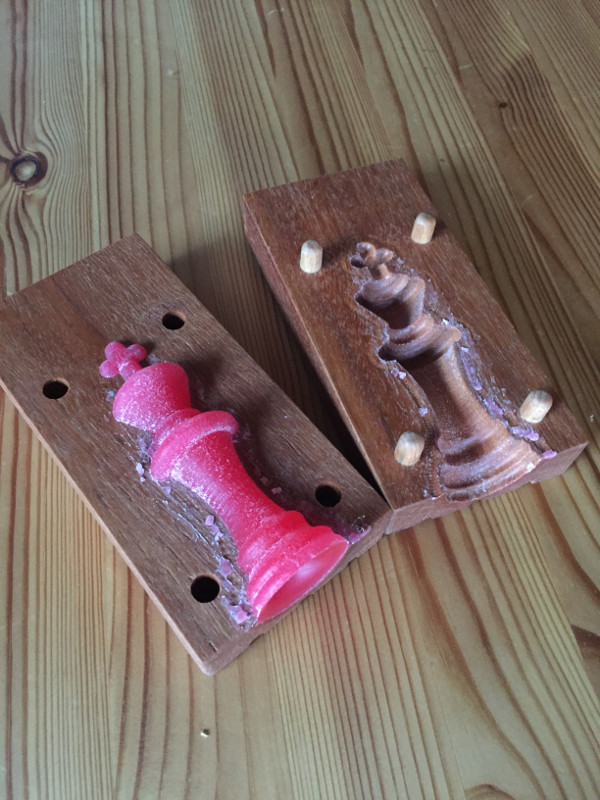
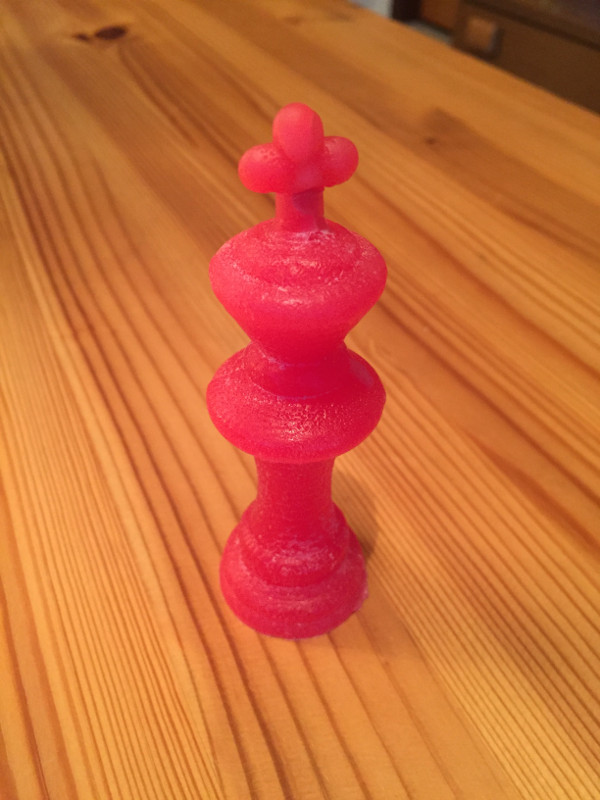
Test with wax
This time I test the mould with the fitting counterpart and use wax instead of chocolate. The wax was a really easy to use material and cames out very smoothly. The result was quite nice. I can imagine to make some candles this way.
Second time I milled the mould I milled the second counterpart as well. The two halves fit very well together.
Test with resin
Finally I want to test my mould with an additional material so I choose Epoxid resin to create a chess figure out of it.
First I prepared the mould with tinfoil to get the resin out of the mould later.
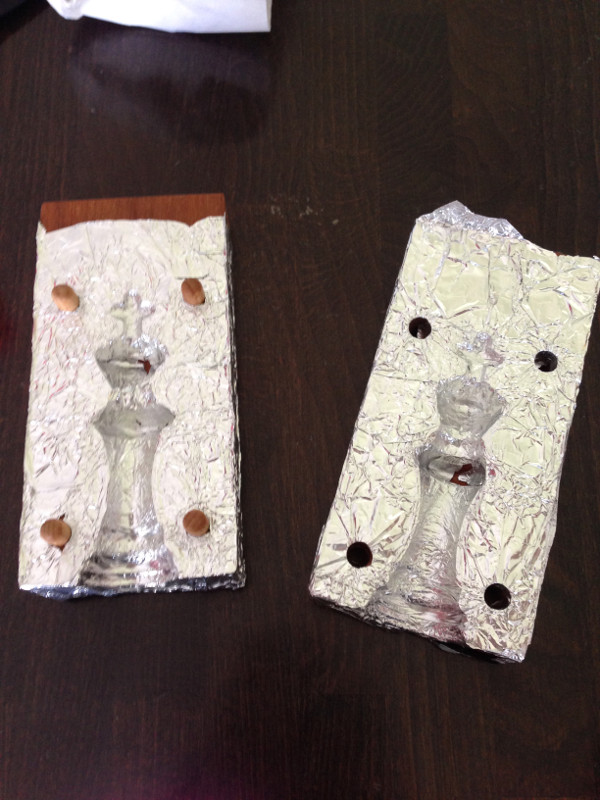
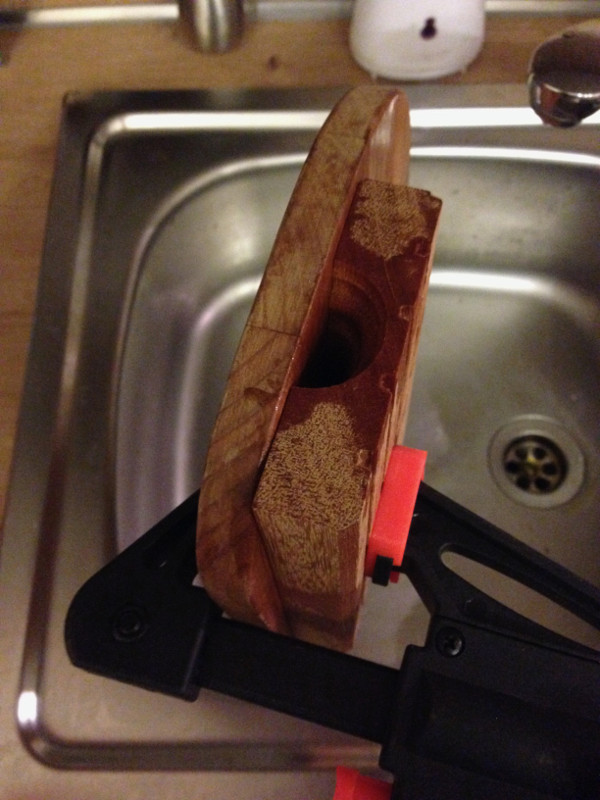
The test with the resin was not as smooth as the wax and the chocolate material. Caused by the glue like behavior I had problems to get the model apart the mould. As I wished the resin sticks to the tinfoil and give the model a metal look but also the form was glued together. I had to separate the two beautiful halves of the mould with a hammer and a screwdriver that damaged the mould but in the end the model came out.
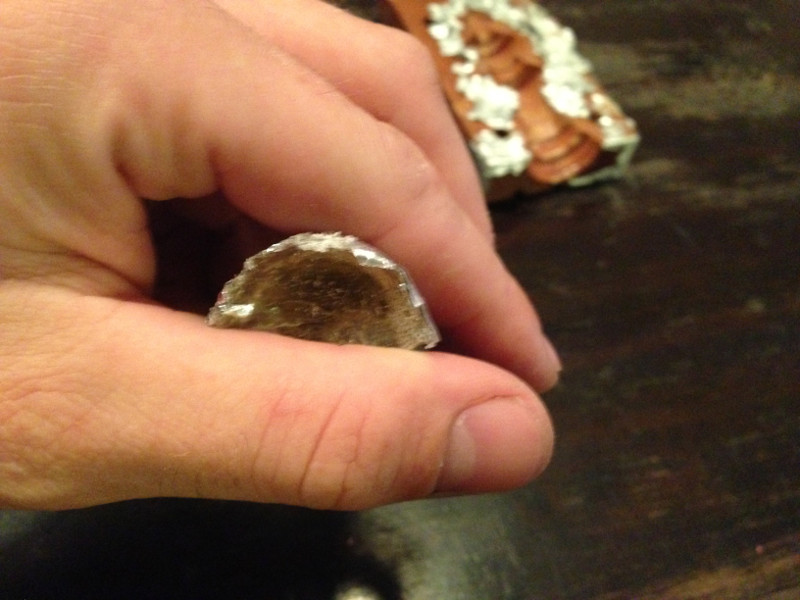
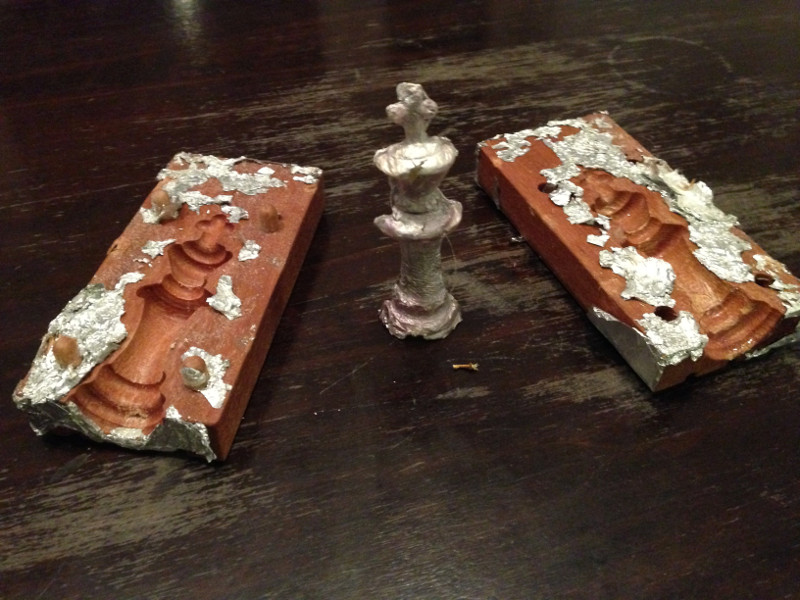
The test with the tinfoil was medium successful. I like the metal look of the model but the tinfoil was not elastic enough to fit good into the mould. Thats why it cracked and the resign got contact to the mould and made separate the mould such a hard task.