Mechanical Design, Machine Design machines that make machines
Teamwork work together
The machine we want to build should be build as a group. Please follow the link below if you want to see the rest of our group study.
Setup the motor Arduino and ESC board
In our project we want to use a brushless motor to drive the mill. Because the motor is controlled by an ESC controller I first want to give the motor a test drive to be sure that it can be handled later in the project.
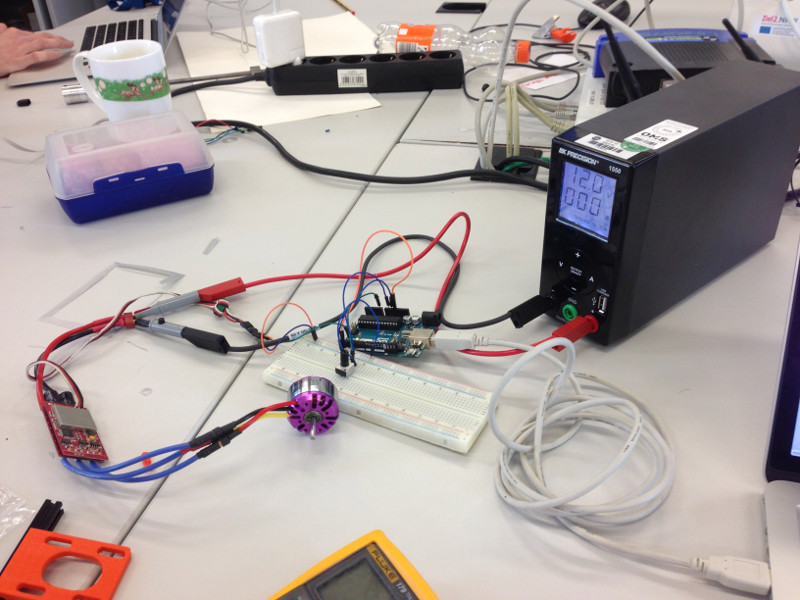
Below is the test code the initialize the ESC of the brushless motor. I hooked up a Arduino to a potentiometer and a brushless motor.
#include  <Servo.h>h;// include the servo library

Servo servo;  // create servo object

unsigned long starttime;
unsigned long interval = 100000; //Intervall in Mikrosekunden
int val = 25; // Current value

void setup(){
  Serial.begin(115200); // initialize the serial connection for debugging
  starttime = micros(); // remember the start time
  servo.attach(3);  // init the pwm on port 3
  servo.write(25); //Is used to init the ESC
  delay(2000);  // wait the seconds
}

void loop(){
  if ((micros()- starttime) >= interval){
    servo.write(val); // set the value of the motor
    Serial.println(val);
    starttime = micros();
  }
  val = map(analogRead(A0), 0, 1023, 30, 110);
  servo.write(val);
}
Download section stuff to download
| ESC init script (Arduino) | download |
Moving the axis with gbrl studio
Here we move the the axis and set the machine to zero with gbrl studio
Setting up the CNC board firmware and software
To control the machine movement we are using a Arduino CNC shield with the GBRL firmware installed. The the software on the computer is Universal gcode sender. We ordered a cheap CNC shield from amazon. The heart of it is an Arduino Nano. The Arduino uses a firmware that translate the commands that are send to it by the Universal Gcode Sender. The firmware on the Arduino is GRBL. Is opens a serial connection in bandwidth 115200. The Universal Gcode Sender can connect to the Arduino with a USB cable. After it is connected the Universal Gcode Sender is able to send commands to the firmware to move the stepper motors with help of the stepper motor driver.


The images above shows the flashing process and the Universal Gcode sender connected to the Arduino.