_Week08_EMBEDDED PROGRAMMING
_Introduction
In the week of embedded programs we go through differents components and ways to programming this type of systems; basically starting with get know about microcontrollers and microprocessors and its configuration, architectures, the communication between, boards familys and also ente into the datasheet information of each components knowing how can we use it.
_Background
Embedded programming is a specific type of programming that supports the creation of consumer facing or business facing devices that don't operate on traditional operating systems the way that full-scale laptop computers and mobile devices do. The idea of embedded programming is part of what drives the evolution of the digital appliances and equipment in today's IT markets. Embedded programming is also known as embedded software development or embedded systems programming.
Interest links
_Workflow /Step by Step

_Reading ATtiny44 data sheet.
Trying to understand for the first time the datasheet of the microcontroller was very difficult even right now I don't understand a lot of thing buy it start to get know some concepts of the ATtiny (pins, clock,components) and I think that during the work I will open again and reading the part what I need to understand more of the microcontroller.
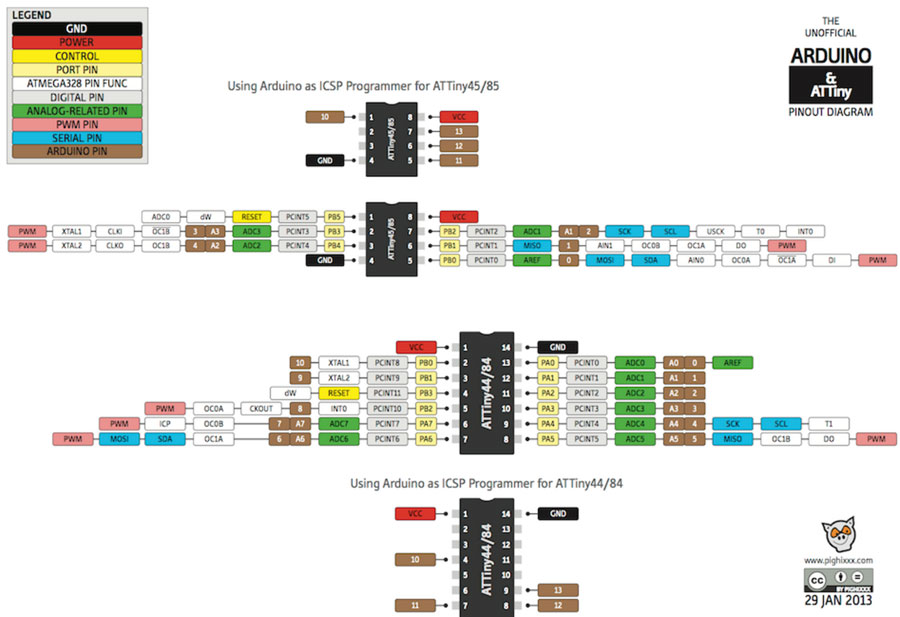
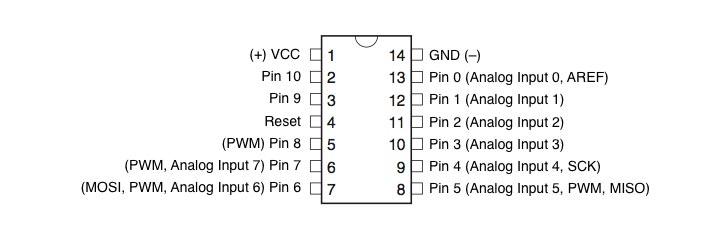
Later through the assigments I came back to this datasheet and it helps me a lot about how to use each PIN, how to improve the internal clock for having more useful PINS, how many memory for uploading an Arduino sketch for example.
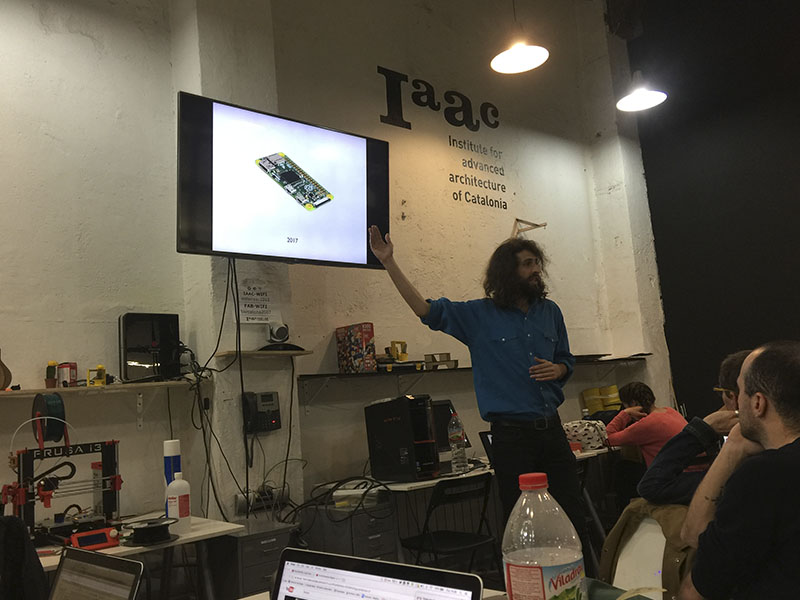
_Arduino programming.
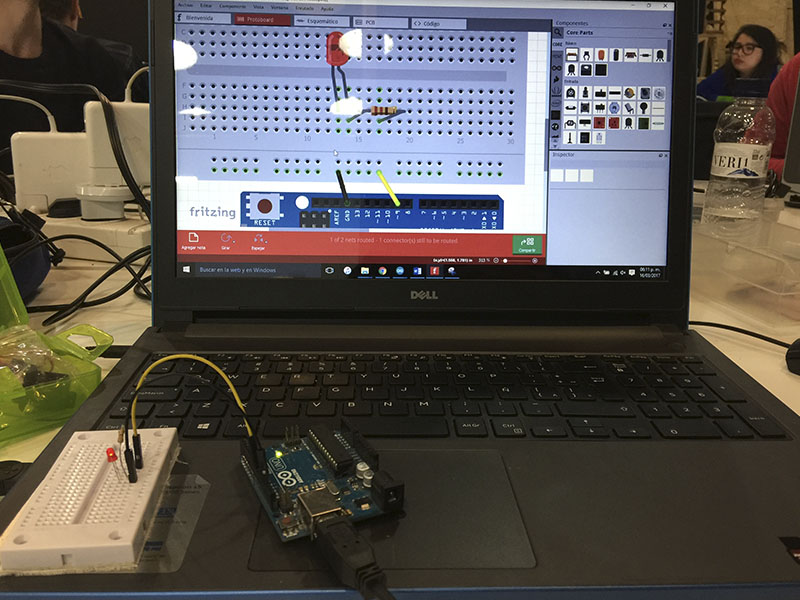
We got our first class for introduce us Arduino programming with Guillem Camprodon were we know more about the board, the components, the uses and how to start to build a circuit to programm. I worked with Fritzing software for simulate the circuit and also use a resistor calculator for start using LED to programm.
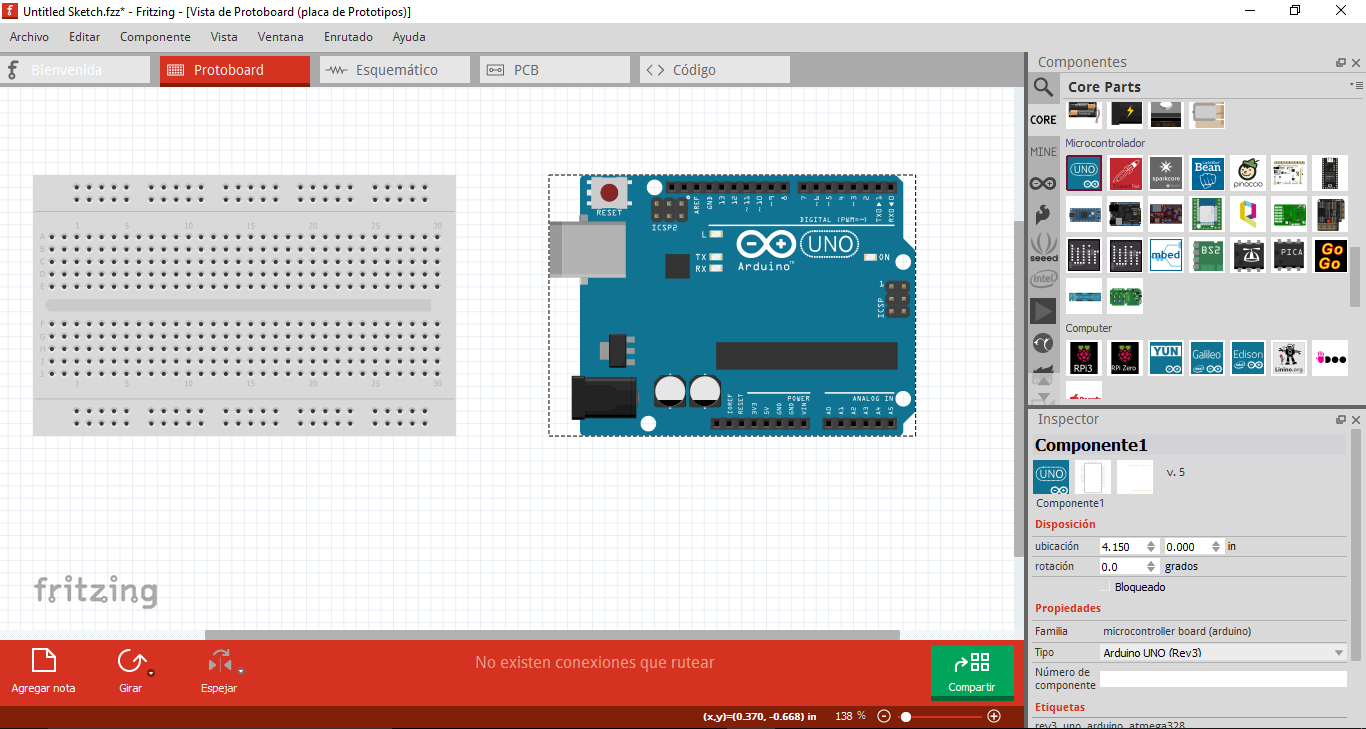
In Fritzing I put the correct resistor and start to wiring all the components on the BreadBoard for connecting the circuit, then I start for programming some examples like a Blink for the LED, later a Fade ant this the result.
_Program your board to do something.
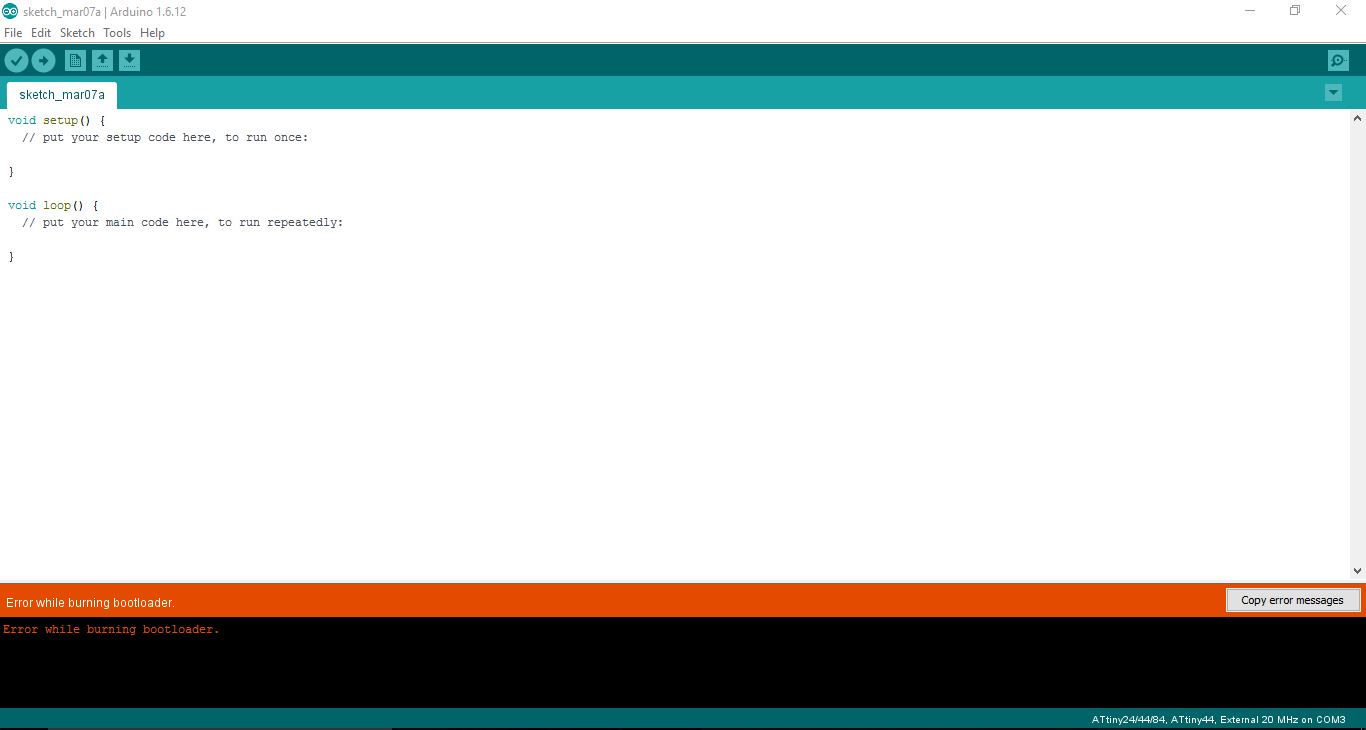
First try on my laptop several times the steps in the tutorial they gave us but I always left this error without specifying and I was advised to do so in a Macbook so I used the Arnau.
These were the steps I followed to program my board:
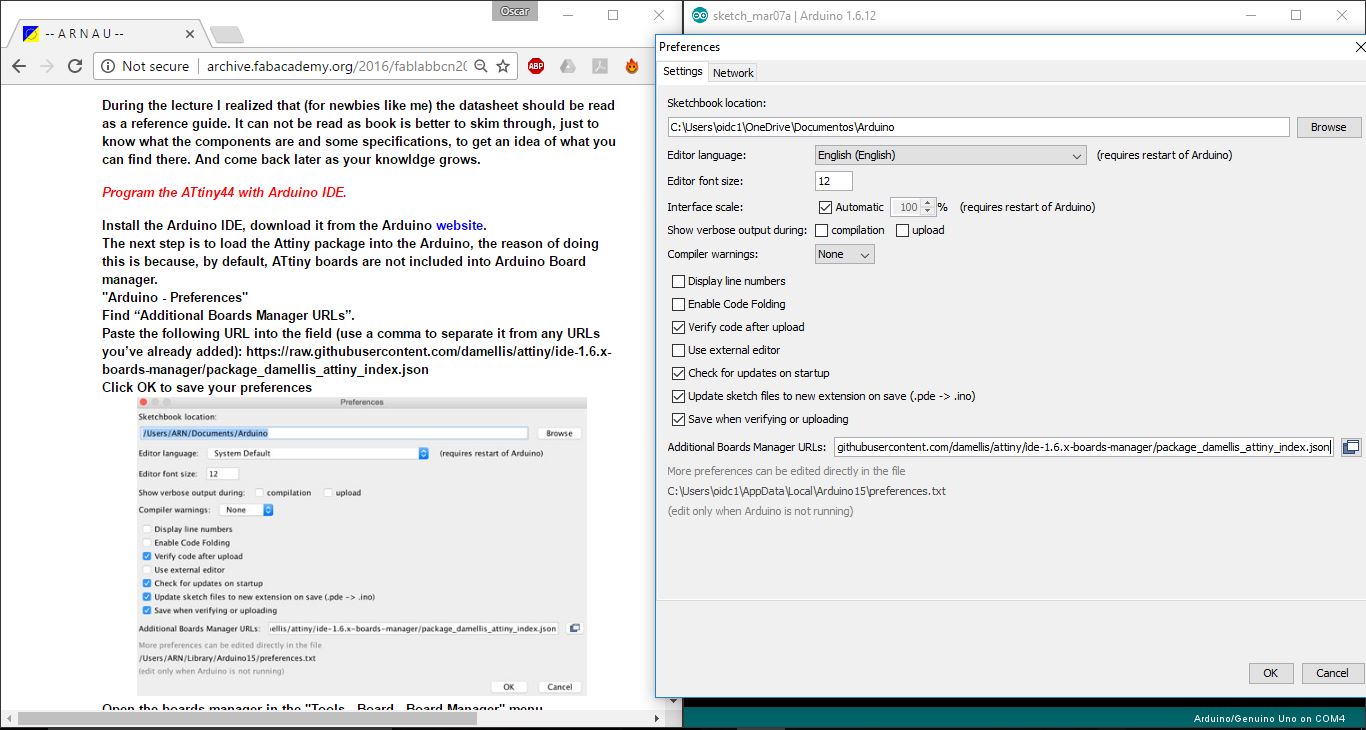
Arduino >> Preferences >> Additional Boards Manager URLs
Then paste the following URL into the space
https://raw.githubusercontent.com/damellis/attiny/ide-1.6.x-boards-manager/package_damellis_attiny_index.json
Tools >> Board >> Board Manager menu
Find the ATtiny click on install and should appear the INSTALLED word.
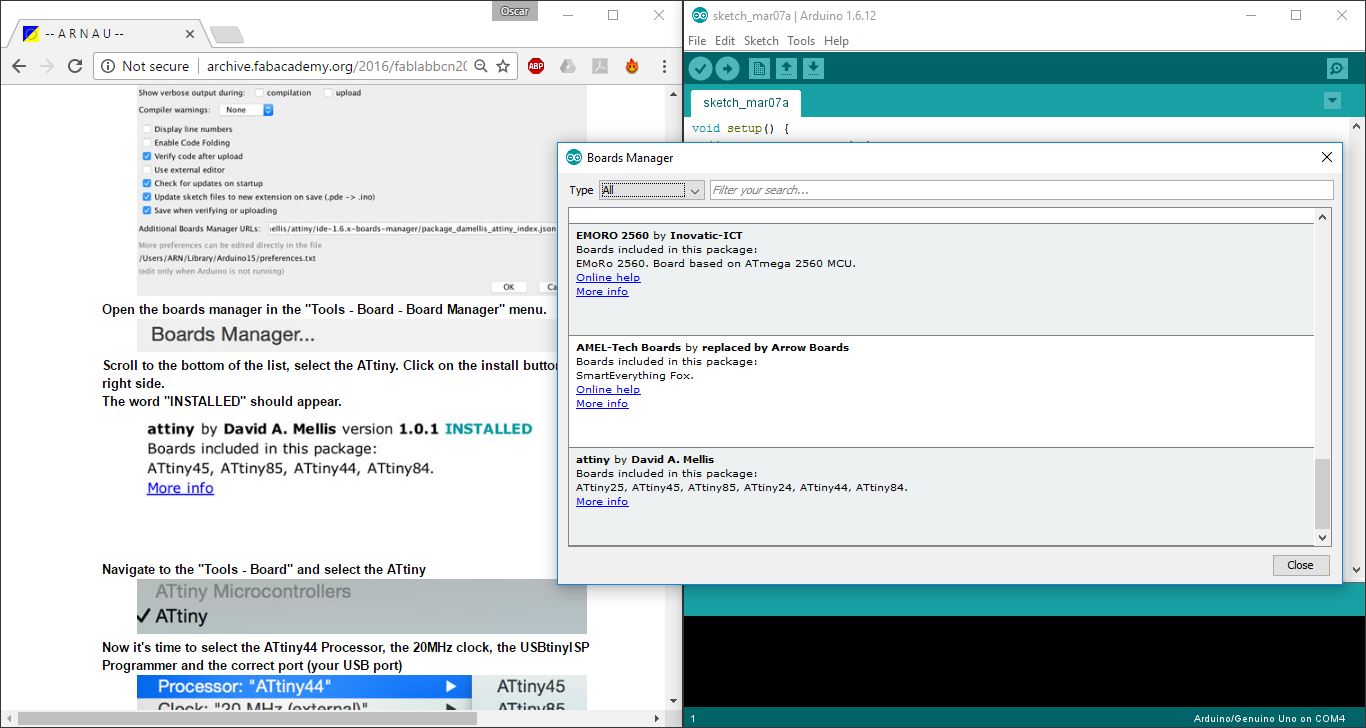

Tools >> Boards >> Select ATtiny
And I selected the processor, the clock and the correct USB port and do the Burn Bootloader.
Tools >> Boards >> Select ATtiny
Tools >> Processor >> Select ATtiny44
Tools >> Clock >> Select 20MHz (external)
Tools >> Programmer >> USBtinyISP
Tools >> Burn Bootloader
Once that the Burn Bootloader its done we can programm as usual the board.

For these exercise I worked with the basic examples of Arduino, Blink for the LED, Digital read serial to programm the button and a Fade also defining PIN 5 (PB2) of the ATtiny 44 as the LED.
NOTES:
_FILES
All the files for this assignment are available to download here