
Fab Academy 2017 at Fab Lab Barcelona By Trinidad Gomez Machuca
Identify relevant information in a microcontroller data sheet.
Implement programming protocols.
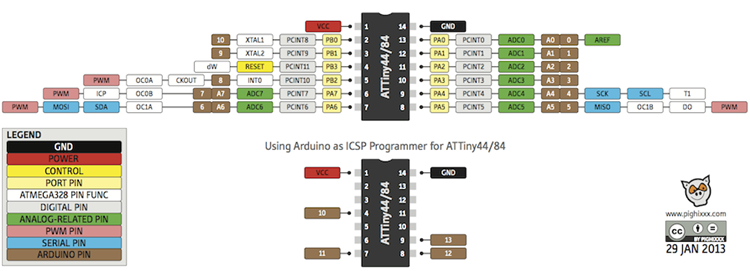
We have to understand that we are going to program a microcontroller, in this case the Attiny 44; Arduino Uno has one like this but it works different, so what we have to do first is to understand that we have to send a signal but translated to the Arduino language, this means that some parts of the microcontroller are in other place, Pins, VCC, GND, etc., here you can find a diagram that explain the equivalent in the Arduino:
Here, your Arduino needs to read the Attiny 44, so you have to install Arduino software and then the library
1.- Here you can download Arduino IDE to Install
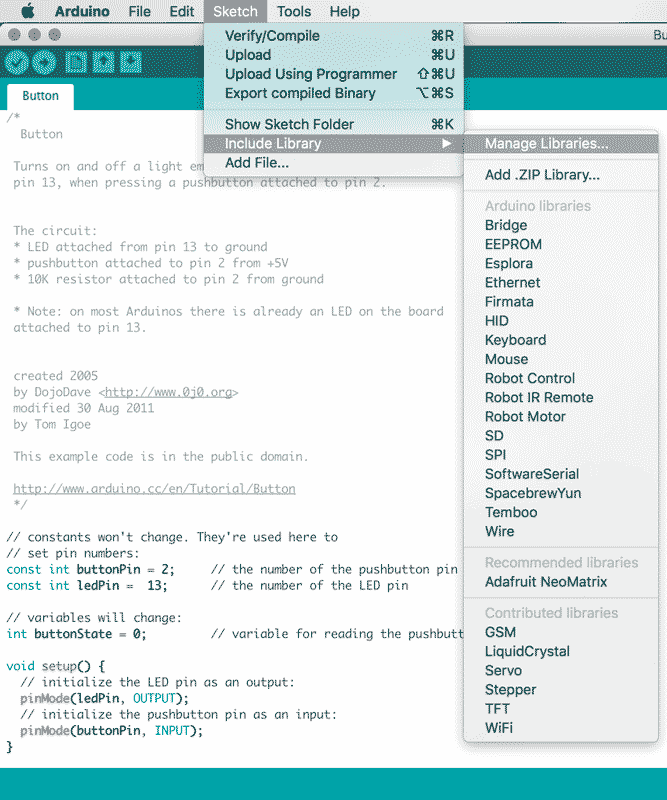
2.- After you install Arduino IDE you have to go Menu, Sketch, Include Library, Manage Library.
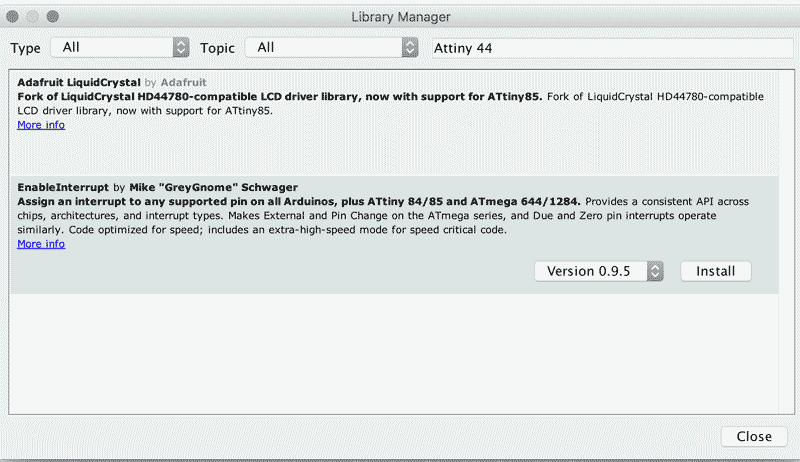
3.- Write Attiny 44 and install, in this case I already had installed, that is why didn´t appear
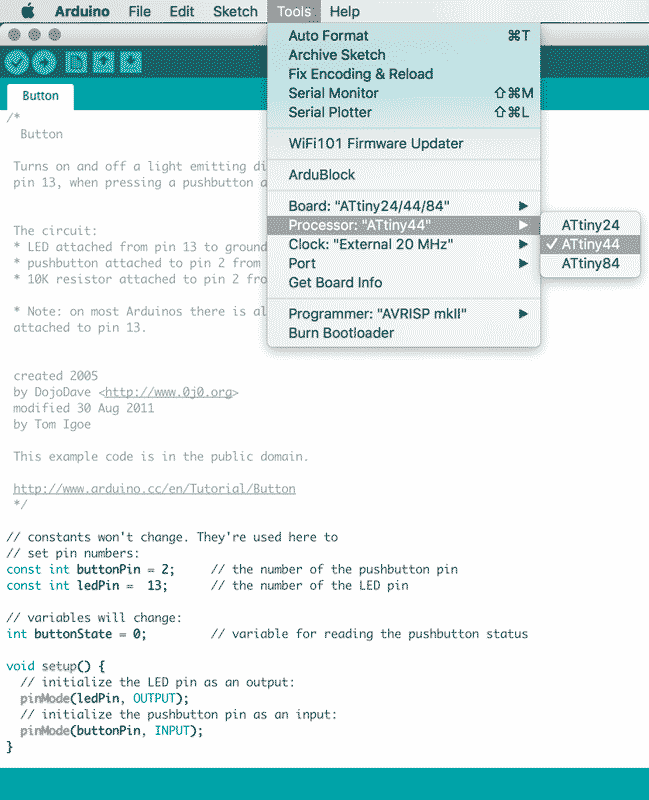
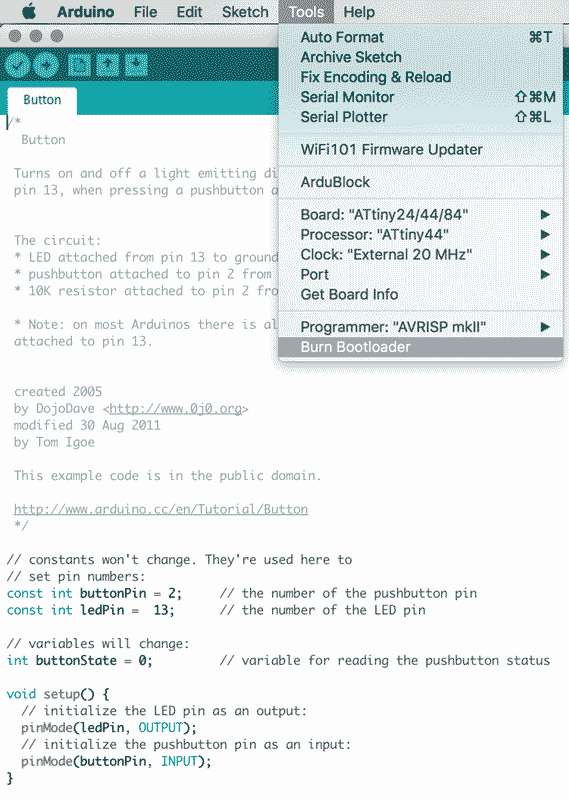
4.-Board: Attiny 44
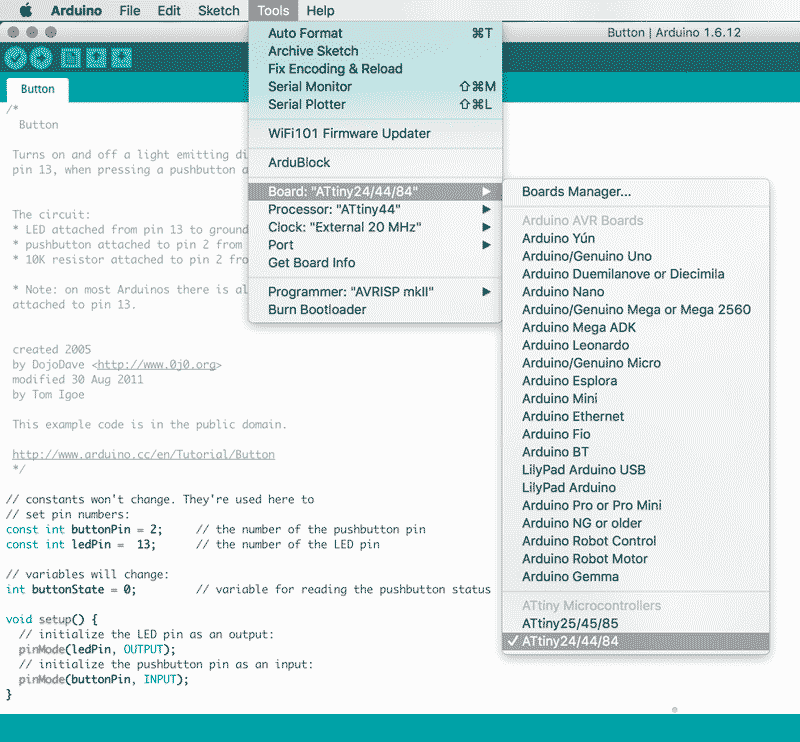
5.-Processor: Attiny 44
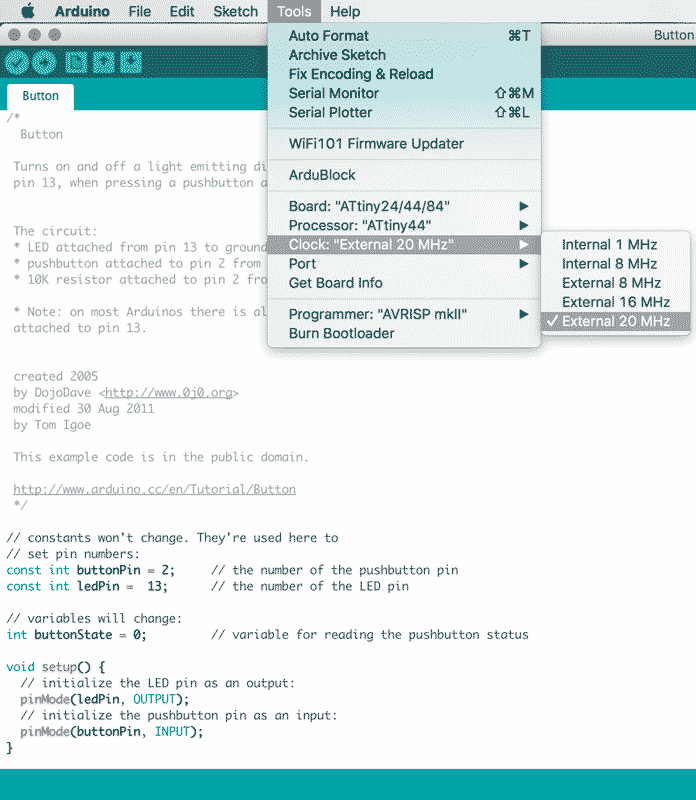
6.-Clock: External 20 Mhz
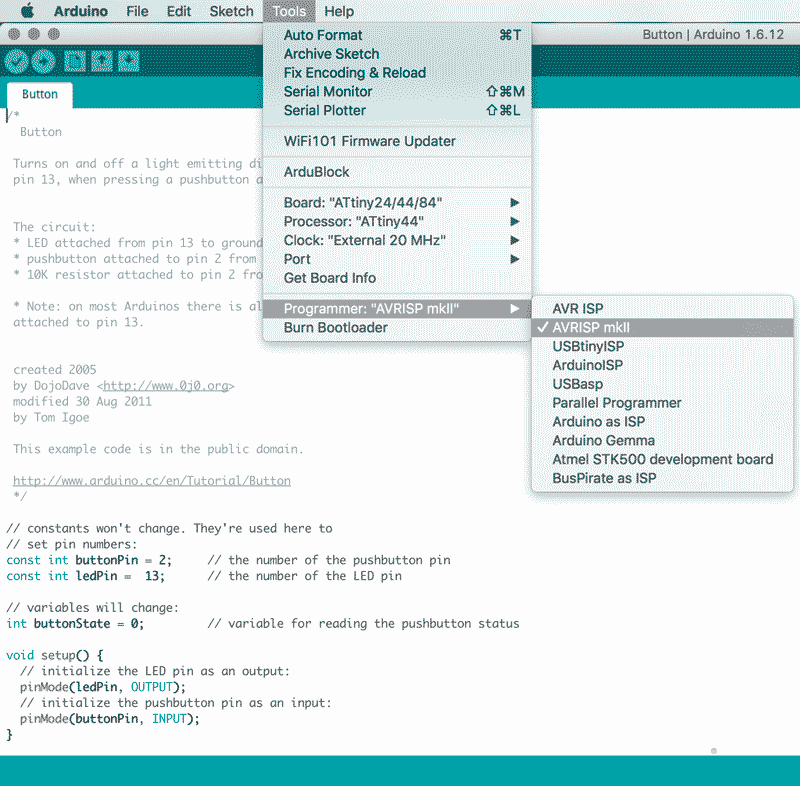
7.- Programmer: This depend of the programmer that you are using, if you use the Fab ISP, you have to select USB Tiny ISP; if you use the other in case you need to make a test you have to select AVRISP mkl.
8. - Port: When you connect the two boards it will appear a new port, you have to select that one.
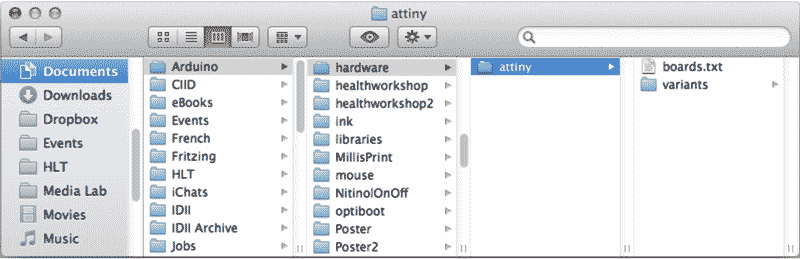
Only for Mac users: you have to download this like a support for the Attiny 44 for the Arduino
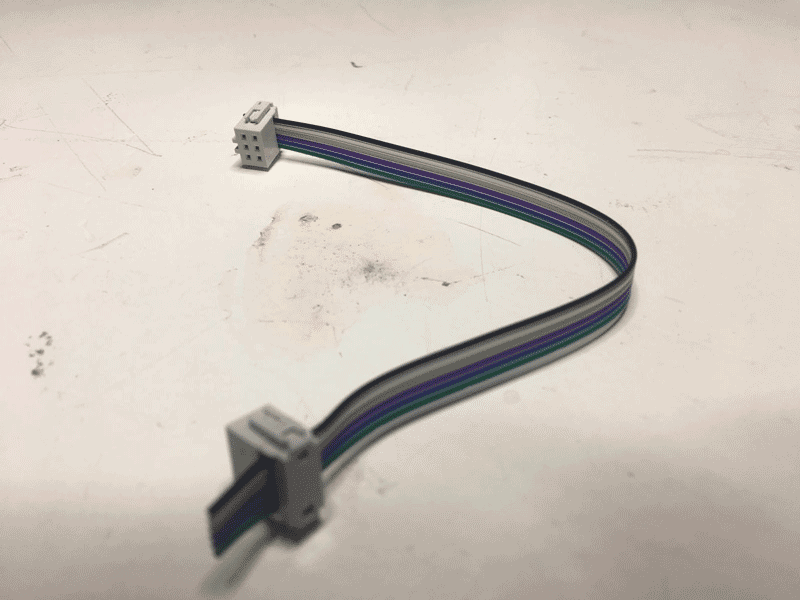
Before to connect you need to make a 6 pin header cable to attach the Hello board and the FabISP board with the cable.
We need 2 female connectors, and a 10 wires cable, we will separate the last 4 color wires in the side of the red so at the end we will reduce it to 6, DO NOT REMOVE THE BLACK WIRE.
Black is always GND
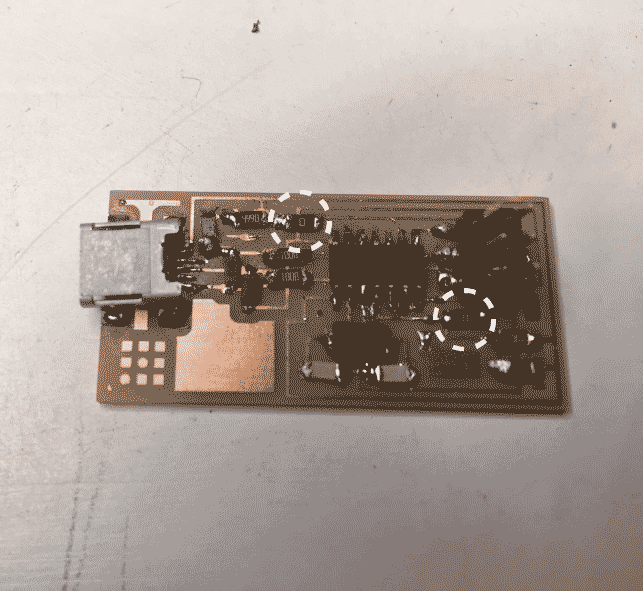
Remove the Resistor from the Fab ISP
Connect the Fab ISP to your Led and Button board, remember to connect GND with GND, this is very important otherwise even though you have a good board, soldering, etc. it will not work.
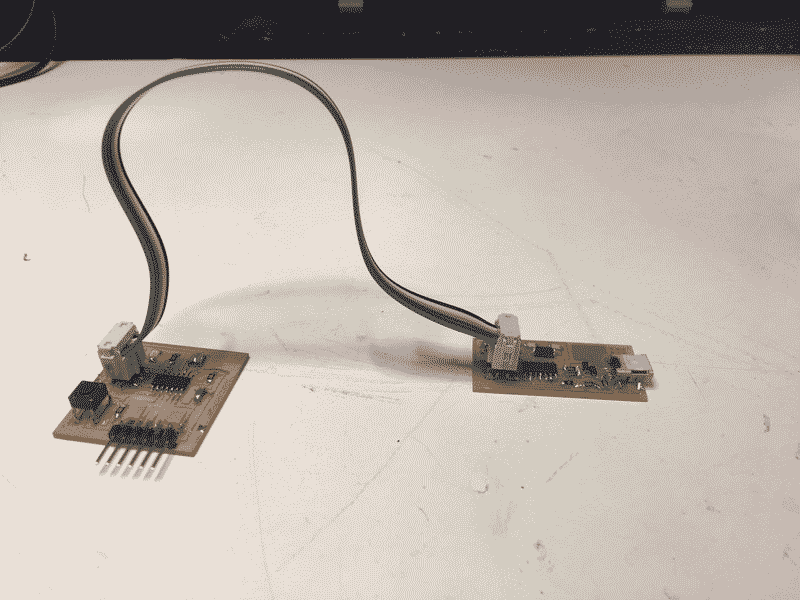
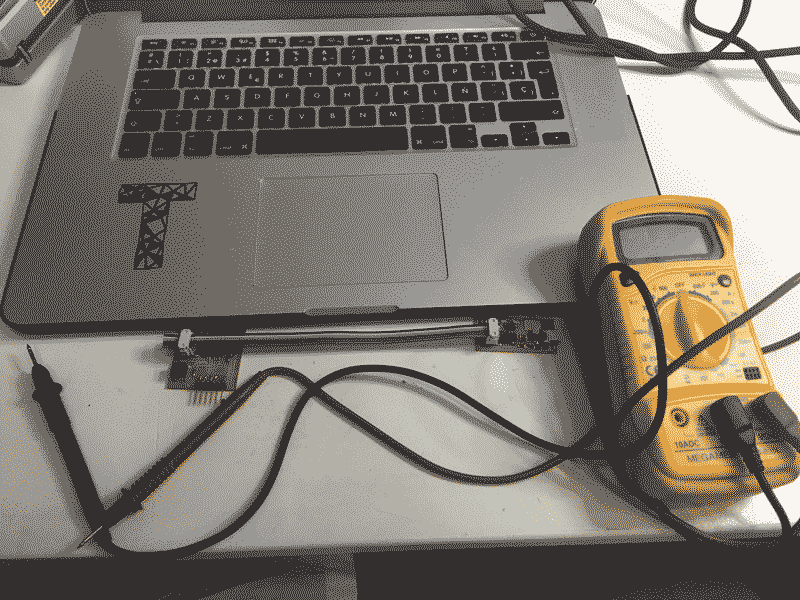
Now is time to connect the FTDI to the USB side on the computer. And also the FabISP must be connected via USB to the computer. Both boards should be connected.
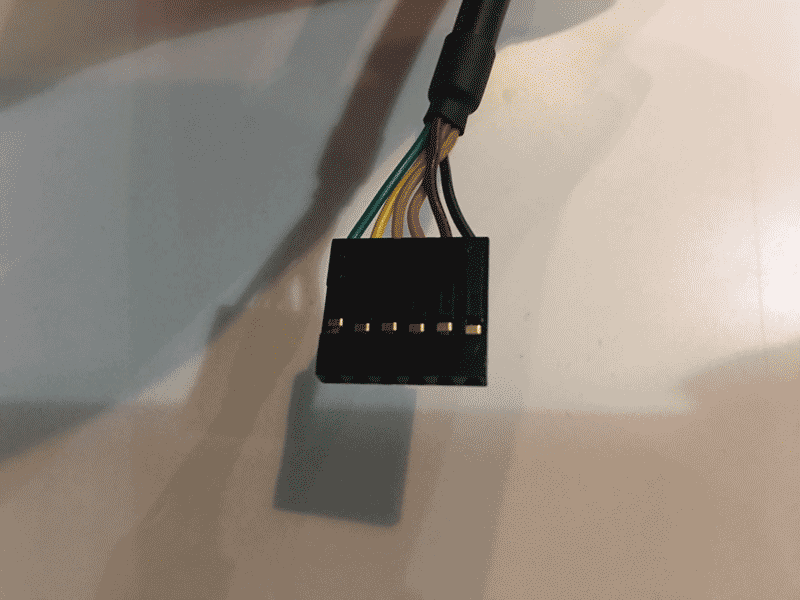
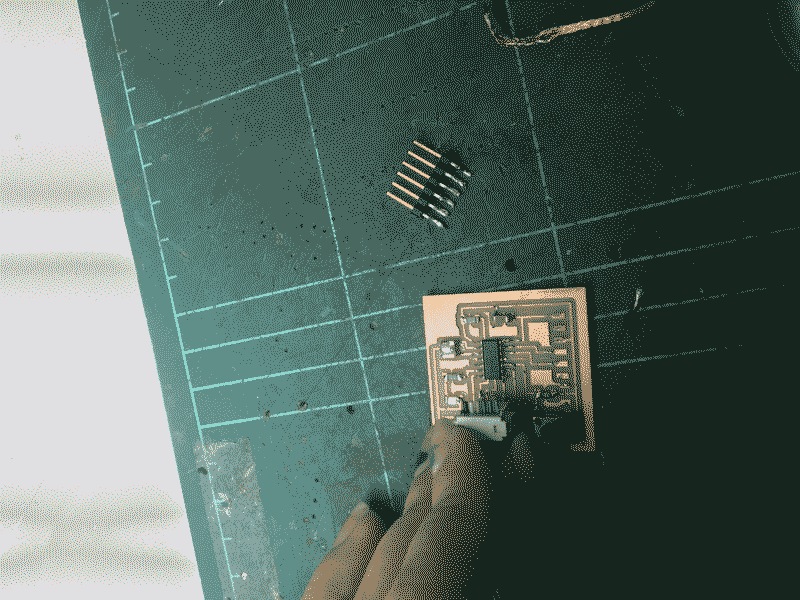
You should be very careful when you are connecting the wires, otherwise you will break the pin connection like it happened to me.
Other thing that is very important to mention is that you have to test very carefully your Led and Button board with the multimeter, if your connections are wrong you will never be able to turn the LED on.
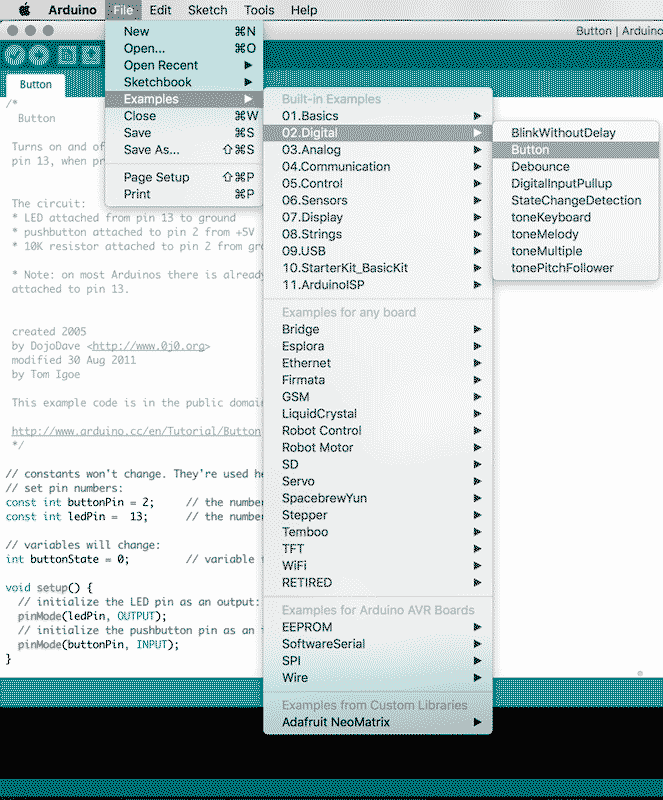
First we have to open the button program in Arduino
Here you have to change the number pins, this values works for Arduino for default

Values for Attiny 44, you can see the comparations with the diagram of the begining

After you connect everything, you have to open Arduino IDE and start programming; you have to go to Menu, Tools and BURN BOOTLOADER; after that, if your components are well connected there should be no errors; in my case I had lots, so I had to dis solder the Attiny 44 with the help of the tutors, after that, it worked perfectly; don't be afraid to soldering everything again, otherwise it will not work.
Here you can see that the led is controlled by the button
Trinidad Led and Button from trinidad on Vimeo.
//ARDUINO
Embedded Programming Assignments and Assessment
Here is the Tutorial to programing the Hello button and Led in spanish
Here is the Tutorial to programing the Hello button and Led in english
This is the first i programmed something else than an Arduino, and I'm excited and scared at the same time, I have doubts, like how much i can programm, what is the most complex thing i can do with this microcontroller. I saw once that we can program electrotextiles, but i think i can used for make something more powerfull, not only leds. I saw other examples for input and output device using other kind of this microcontrollers so I would like to research and see what are the limitations for every one so i can be sure which one i can use for future projects.
For this assignment there is no download files
| Fab Academy 2017 | Fab Lab Barcelona | Trinidad A. Gomez Machuca |
| IAAC | trinidad.gomez@iaac.net | |