Computer-controlled machining
Week assignment:
· Make something BIG
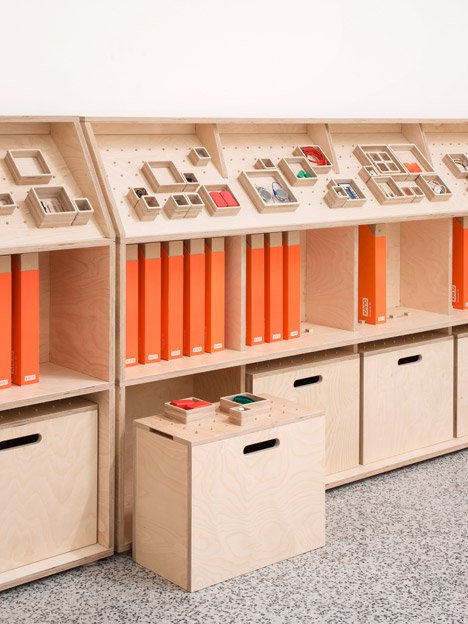
This week's assignment was quite open but at the same limited in the options and materials we had. All of us had to use a CNC machine to do something big in wood. I looked at Opendesk furniture, which I discovered through Neil's explanation and really liked. I saw they did very nice furniture for Kano and wanted to replicate it (in a smaller scale) for our lab in Barcelona.
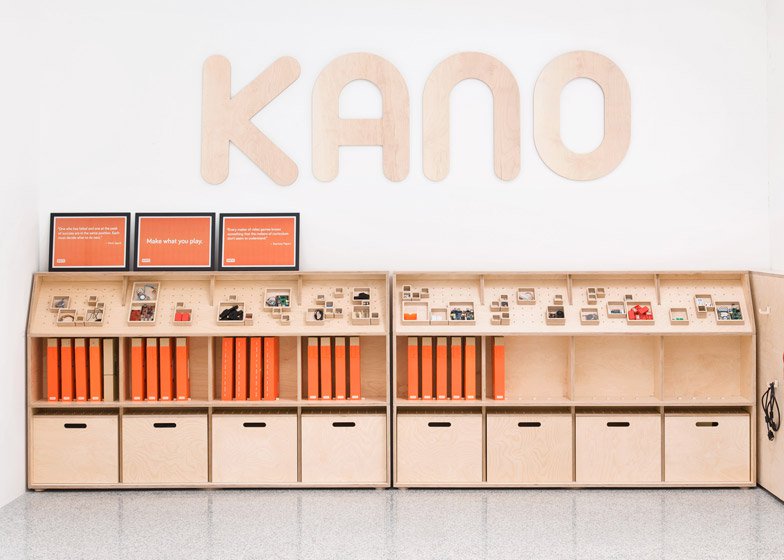
The furniture has some drawers and some pins on top where you can place some trays with objects on it.
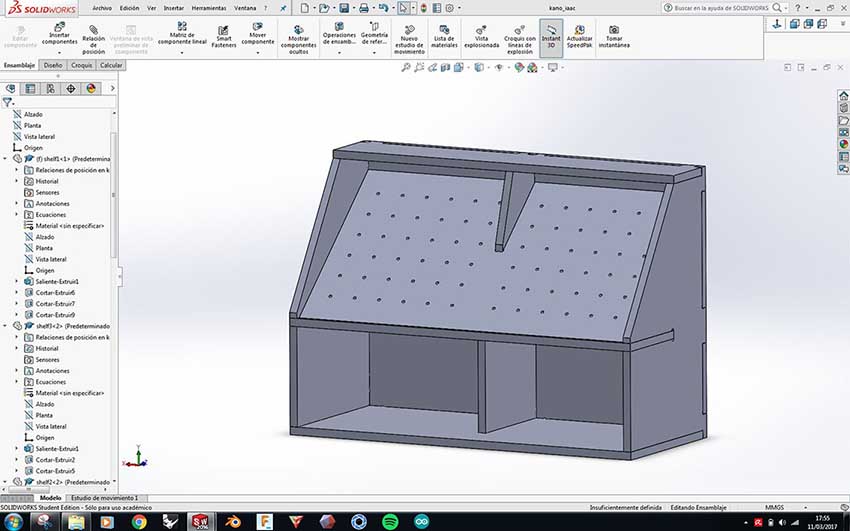
I started modelling my piece of furniture by measuring the space we had in our lab, and then creating all the measures with formulas in Solidworks, and linked to a text file, so that it can be changed easily but just modifying its values.
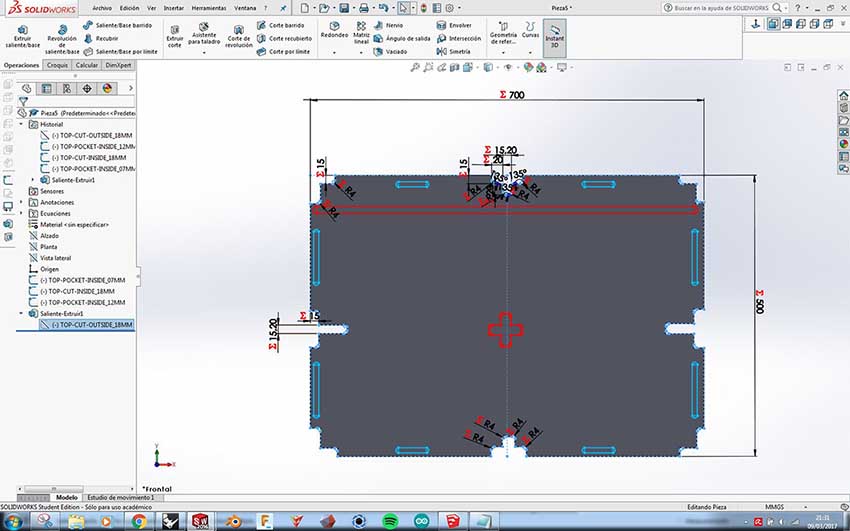
I did all the 3D in different parts and then assembled it all together, also in Solidworks.
During this week we had a nice workshop with Mateo and Ricardo, the guys in charge of the CNC machines in the lab, which explain us how to use them, program and everything. They seemed to be a bit old machines, but still very robust and precise.

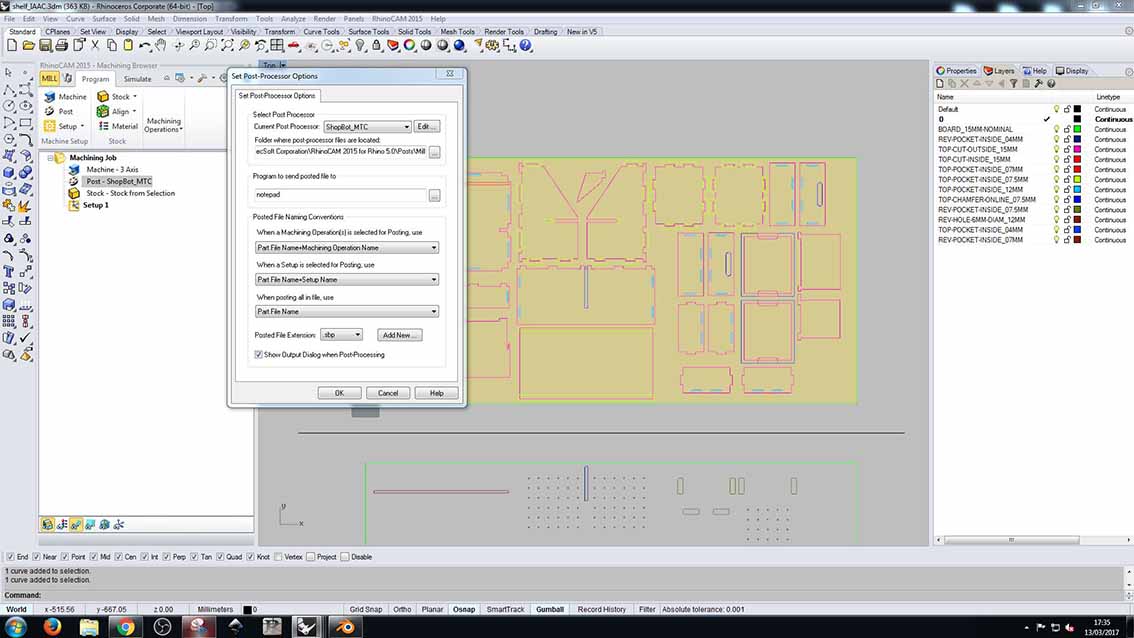
Ingy, another guy from the lab did us a very nice class about RhinoCam, showing us all the tools and the strategies needed to be done for milling with the machine. The most used ones are: engraving (to do wholes for screws for instance, pocketing (to take out some material from the wood) and profiling (to cut through the wood)
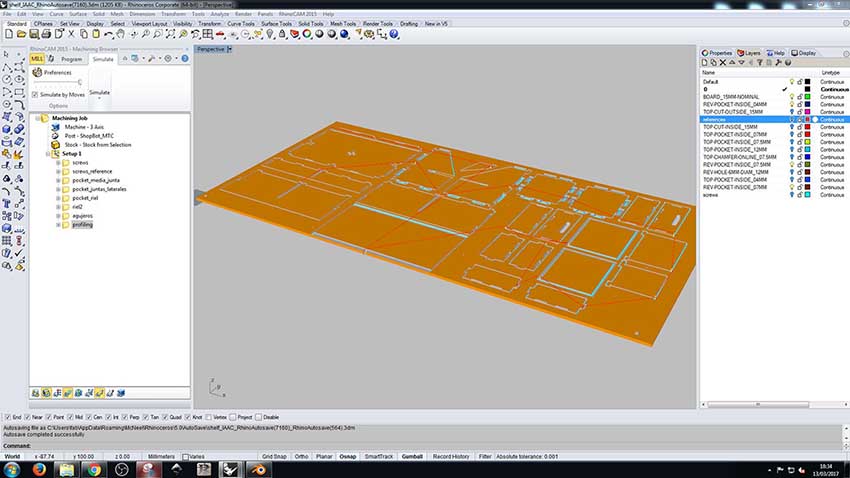
I did a two sided board, so I had to take special attention on how the different parts of the furniture will be milled, so everything fits together once I flip the board.
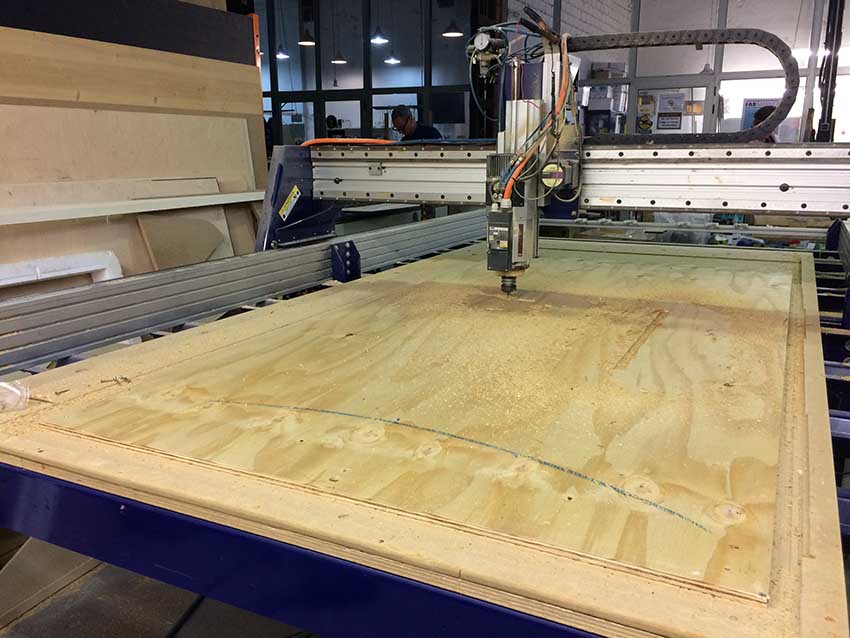
I started milling after engraving some screws to fix the wood to the table, so that when the machines passes around it doesn't move
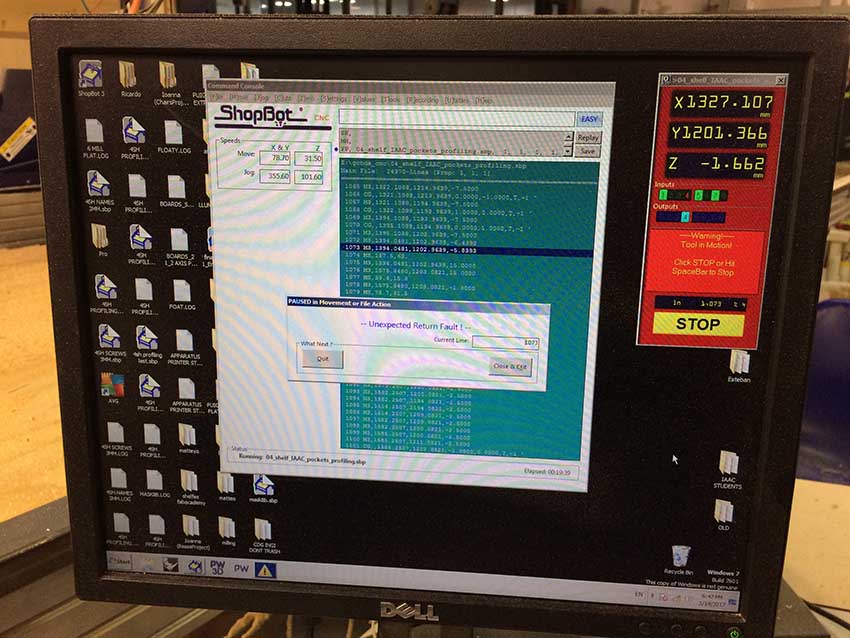
I had been using the shopbot machine. I had some issues as the machine stopped suddenly, without any special thing we might seen to happen. We captured the last line of the gcode and then re-write the file again, and send it back from there to the machine, so that it continues from the same exact place. Thanks god, the 0,0,0 was still in place and everything went smooth.
Here you see a small pocketing
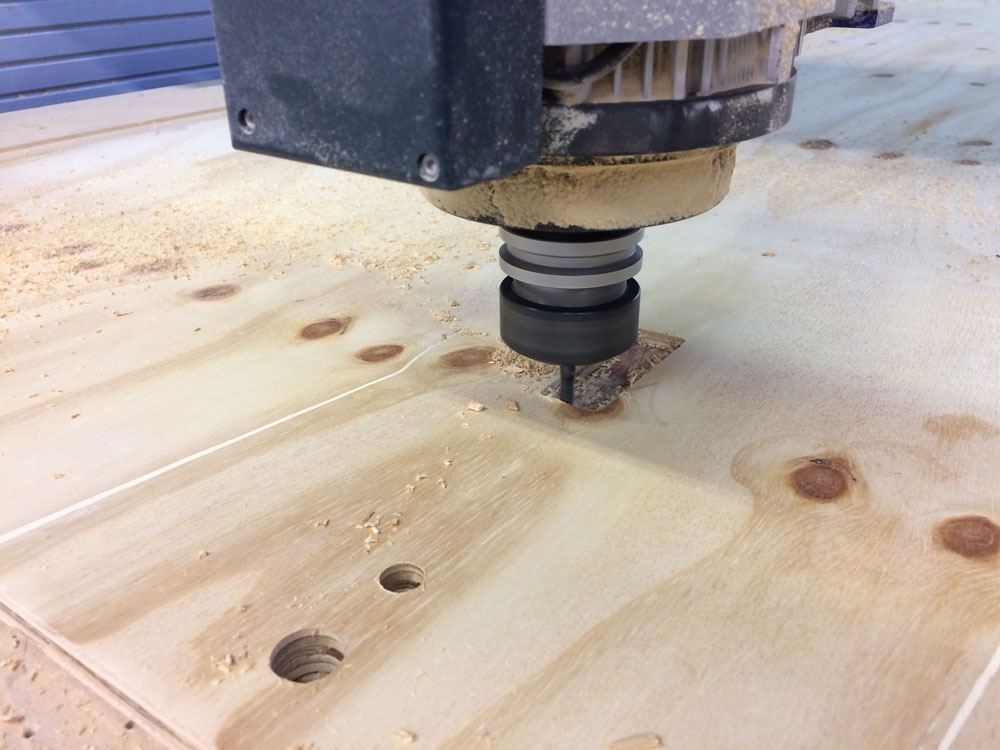
After a few hours (2 more or less per side) I had all the parts of my cabinet.

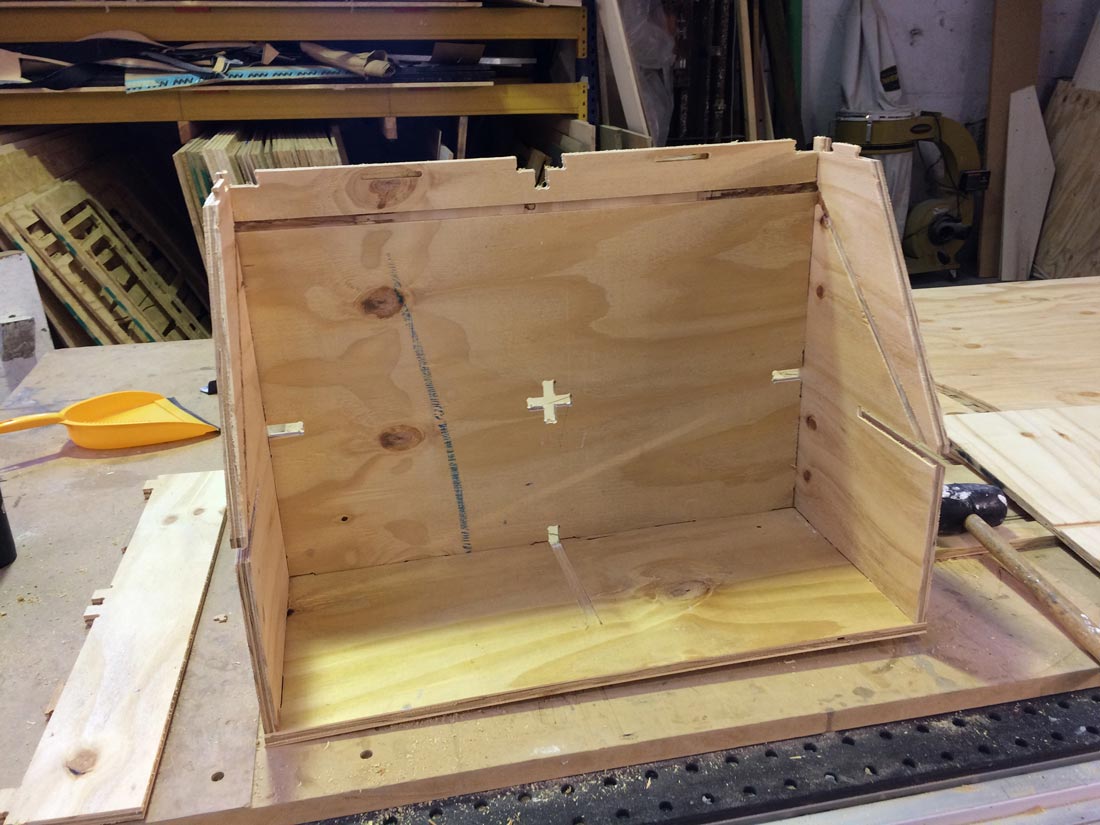
I joined all the pieces. Tolerances (I used 0.1 per side)seemed to work well, athough they were a little bit too much in some cases. I think it's because the wood wasn't really a good one, so when the drill pass through it it removed more material than it should, due to its softness. Anyway, everything was really stable without needing any other joinery (screws or glue)
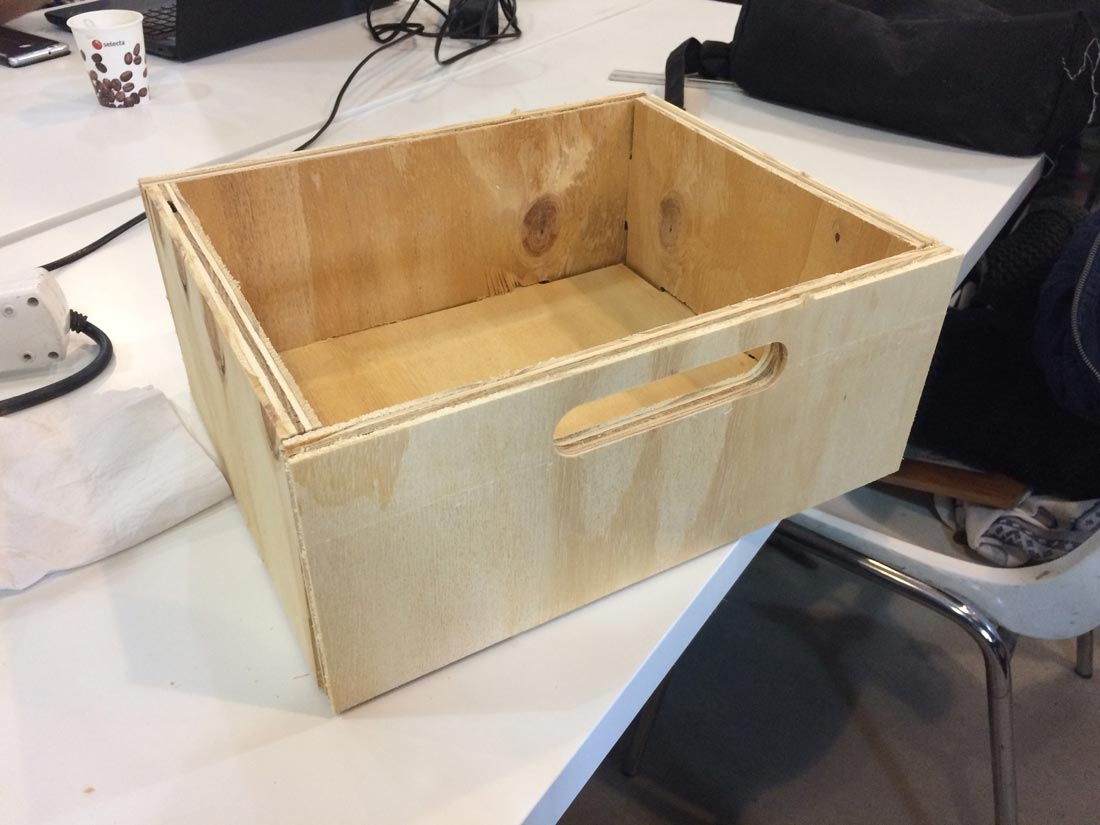
This is the final piece one finished and assembled

This is one of the drawers I did.
Surprisingly I had some issues with the drawers and the cabinet, first ones were a little bit bigger than expected. A part from that, the cover of the drawers didn't come out well, as when flipping the board the two sides of this part didn't match at all. I understood why we have this standing in the middle of our lab.
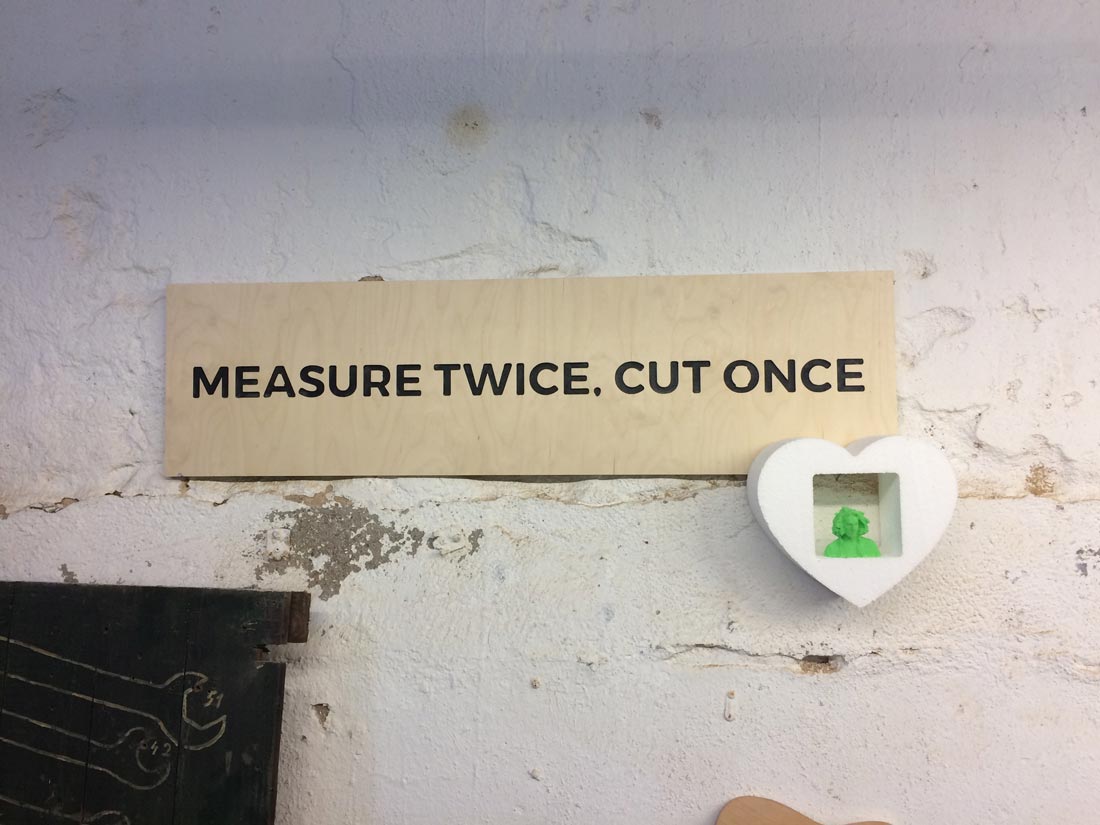
Things I've learned: measure twice, but specially with the material you are going to use to cut. Tolerances might be different from one material to another so it's better to check with the real material.
Measure the wood plank first of everything. I didn't do it as I assumed the mesuarements the supplier gave us where correct, but they didn't. I then realized the plank was a little bit smaller than I should, that's why I had some issues with the two sided mill. As my center line was in the middle of a plank which wasn't the same measure than the real one, there were some pieces that didn't turn out well. But overall I am quite happy with the result and the knowledge of this week
Download all the files here