3D scanning and printing
Week assignments:
(GROUP)
· Test the design rules for your printer(s)
(INDIVIDUAL)
· Design and 3D print an object (small, few cm) that could not be made subtractively
· 3D scan an object (and optionally print it) (extra credit: make your own scanner)
This was one of the most exciting weeks so far, where we captured things from real world by 3D scanning them and then create some others by printing them.
As part of the group assignment we downloaded a test model from Thingiverse to try out our printers and see how to set it up to perform the quality of our printings. To do so we used Cura, a 3D slicer program that allows you to chose among several options. Most important and common ones to play with are: Layer height (this will determine the quality of our printing in height) / Line Width (this will determine the quality of our printing in width, it shouldn't be a lot less than the noozle diameter) / Percentatge of infill (this sets up an internal mesh in our object, to make it less heavy but still resistant) / Supports (this create some external supports in case we need them to hold any part that couldn't be printed without them)
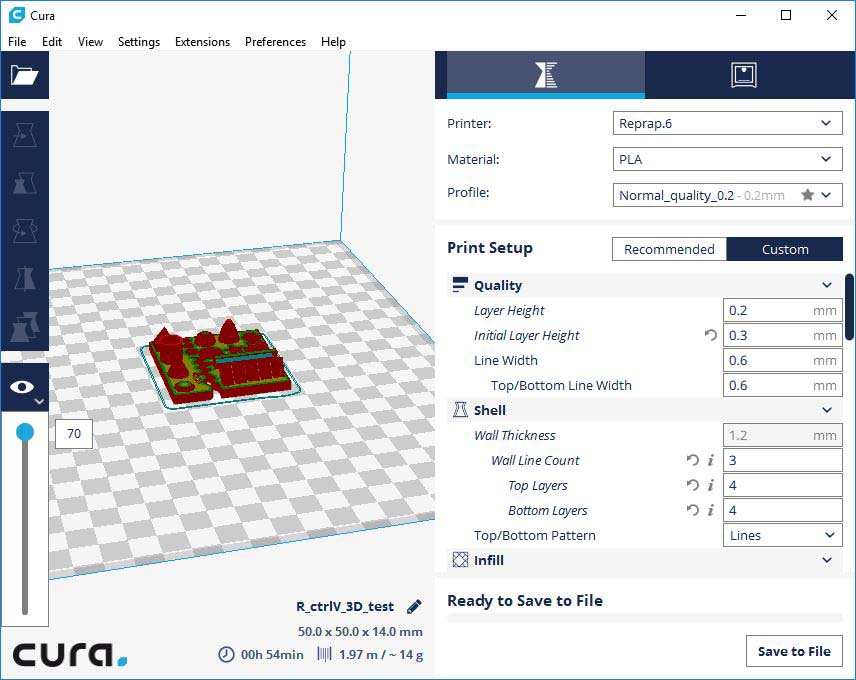
To do this first test we used a Rep Rap machine, which is an affordable 3D printer that can print other printers, and any other design we want, but extruding hot material and making thin layers of it.
Before printing the bed should be warmed and also the extruder, so that they rich the optimal temperature to start our object.

All the 3D printers in IACC are setup on an internal server, so we can use them all and send the files through a webpage. This is very useful and makes the whole process very easy. At the same time this webpage allow us to see how the printing is going in realtime, and even record a video of the process, to see if there were any problem or just for fun.
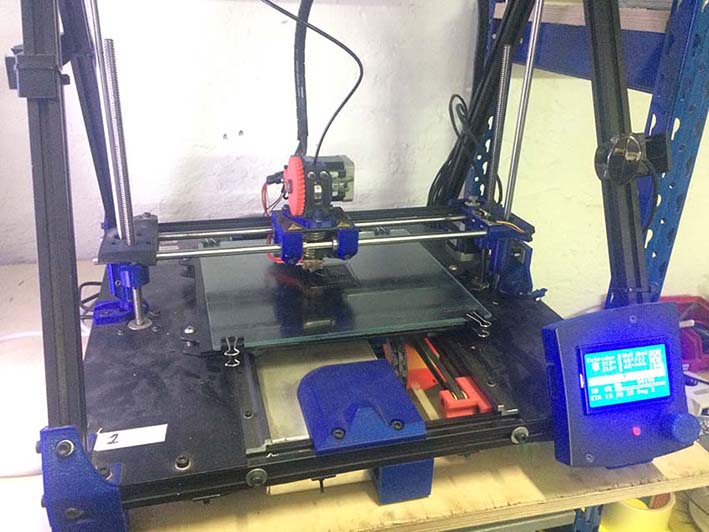
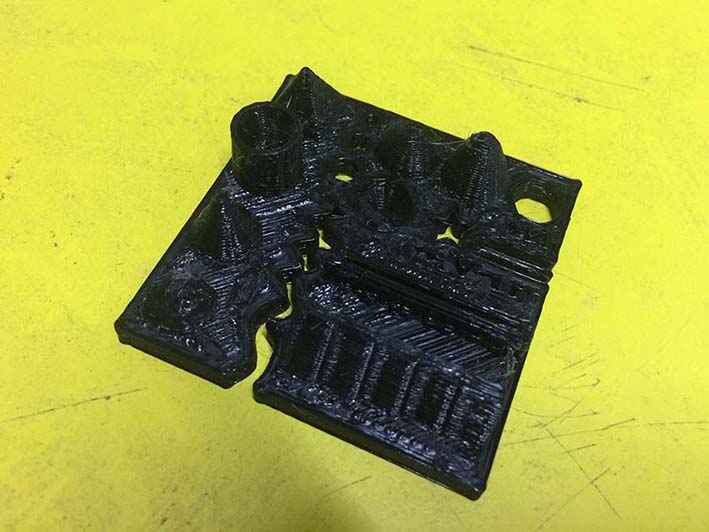
This is the result of one of the tests we did with a 0,6 nozzle machine. The rest are here
There were a few parameters to adjust to get even better results, such as the retraction of the material, or the line height. All the details are explained on the link before.
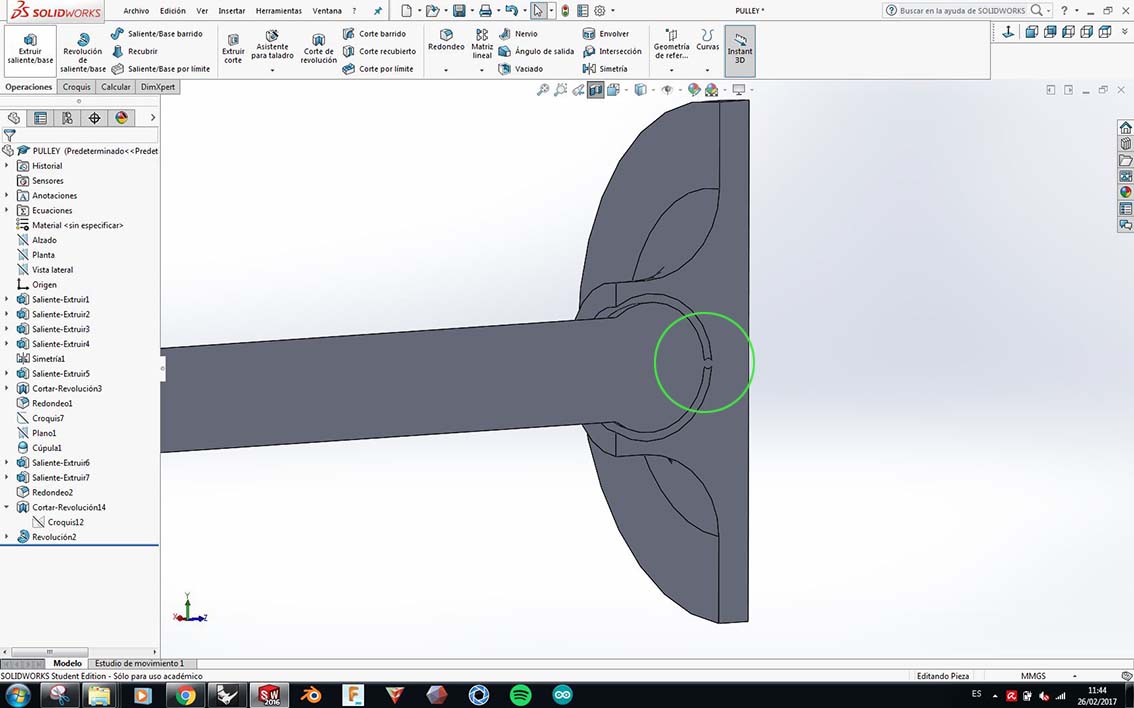
Another important part of this week's assignment was to create a 3D object and print it. The object shouldn't be possible to be made subtractively. In other words, we had to design something that could only be made additevely with a 3D printer. I thought about doing a pulley + shaft, that can turn around another piece which will be static. This would be very useful for my final project as I need to have some system to make my objects go up and down through the servos.
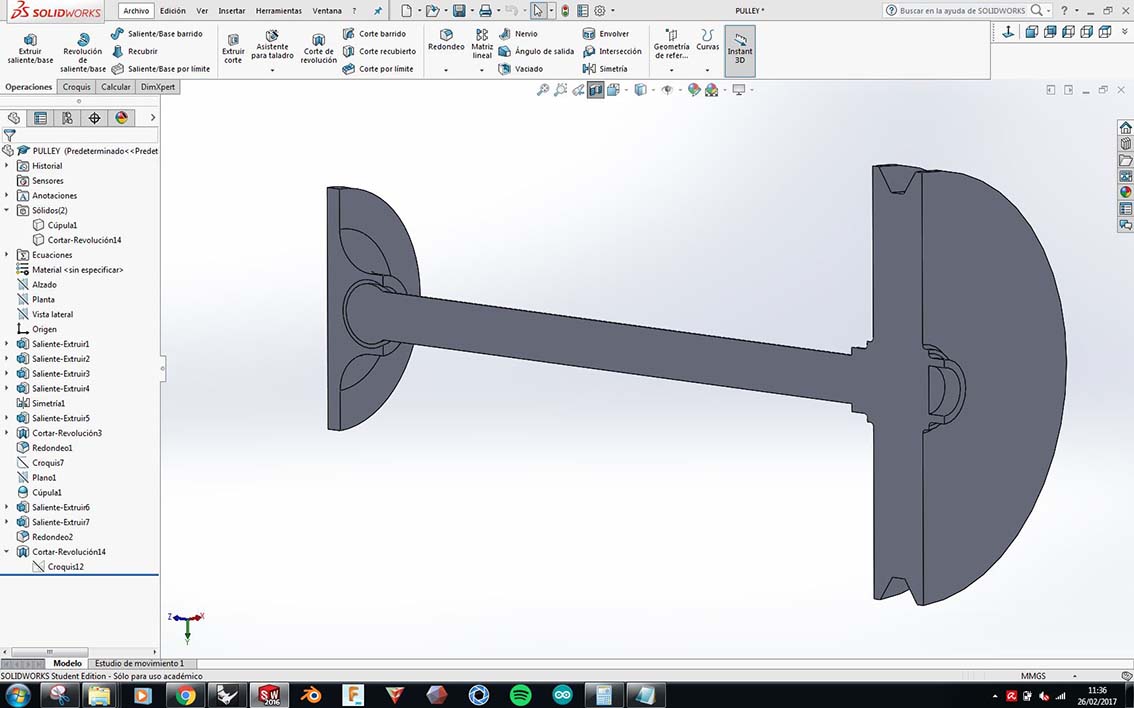
As you see on this detail I printed both pieces together with a small connexion point between them, so that after printing I can break it and make the shaft move around the other piece.
I decided to print my file on the Ultimaker, to try a different machine this time. It actually work pretty fine. The Ultimaker seems to be easier to set up than the other machines, for the good and the bad, as it doesn't allow you to "touch" many things from the software and is a very closed system.
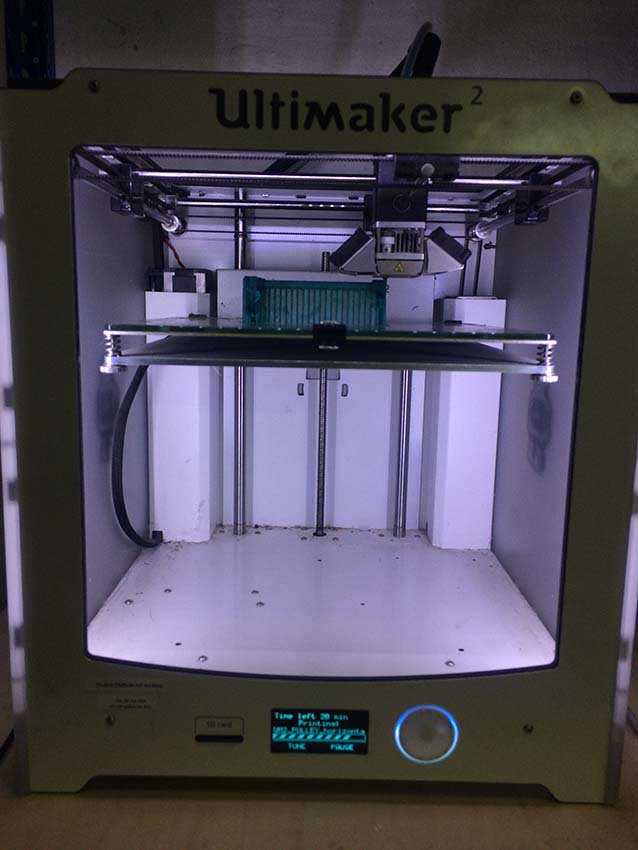
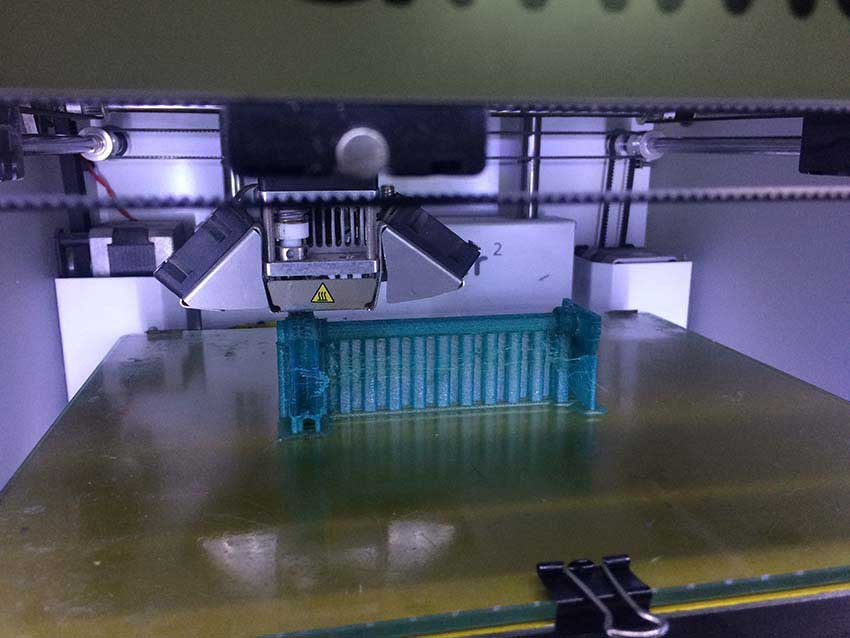
As you see there were many supports to print with this object, as the shaft on the middle need to be hold. At the same time printing the object horizontal make it stronger, as it goes on the direction the filament is extruded.
This is the final object out of the printer, with all the supports on it.
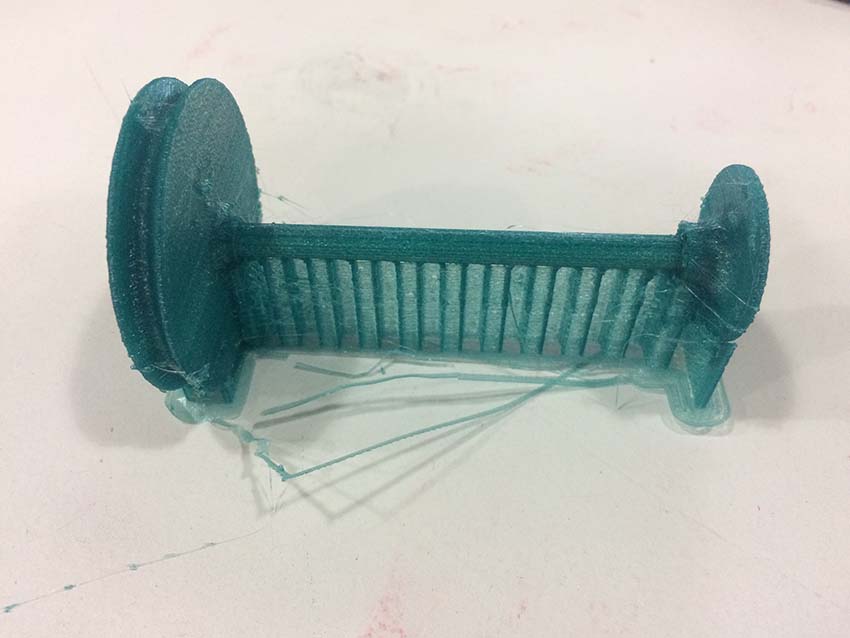
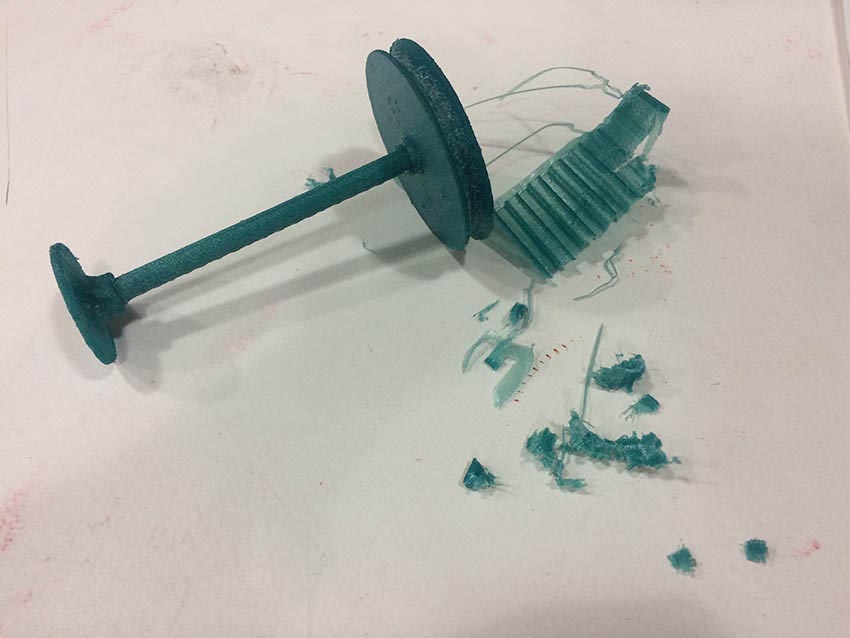
I had to break them all with the use of a small pliers and loads of pacience. Afterwards I broke the small system that hold both parts and actually worked : )
The pulley is turning around the other piece and the system seems to be working fine! A few adjustments should be make though, such as the size of the support on the left, which I think I will increase to get more space for the screws that hold it.
After that I started discovering the amazing world of 3D scanning. There are several ways to scan a 3D object. This week I have tried three of them, as I wanted to see how they perform and which is best for whicc thing.
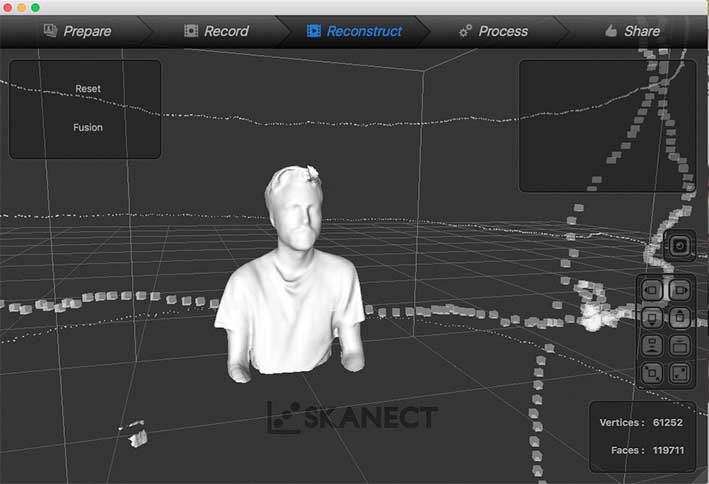
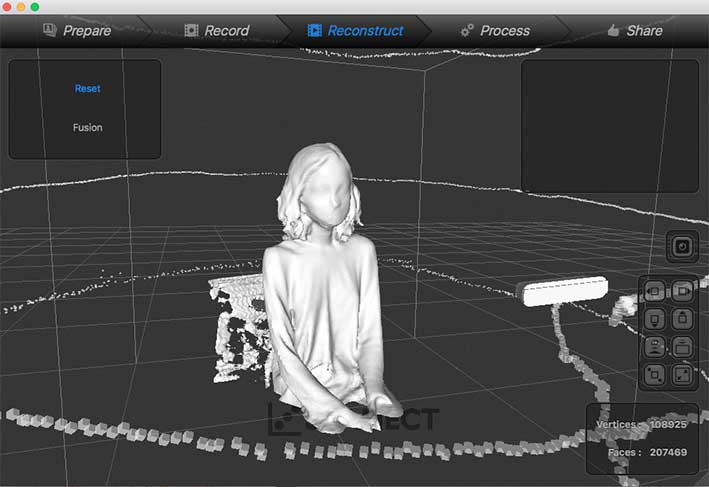
First I started using Skanect, a software that allows the use of a Kinect (Xbox device) to scan things. Nico scanned myself on the lab. After some trials to know how the software works this was the result.
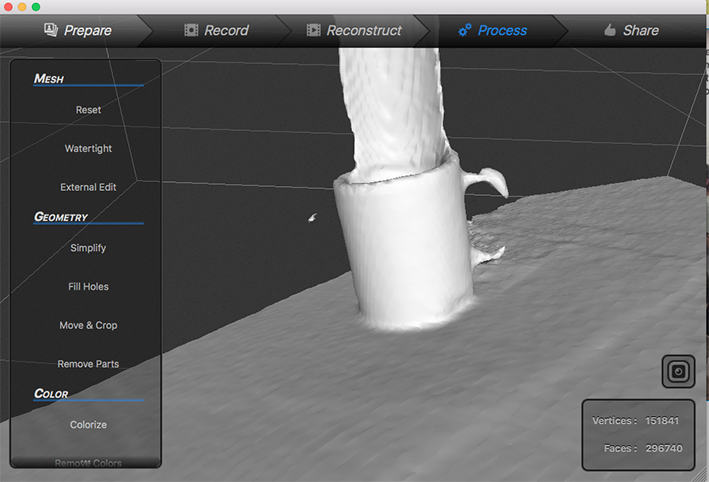
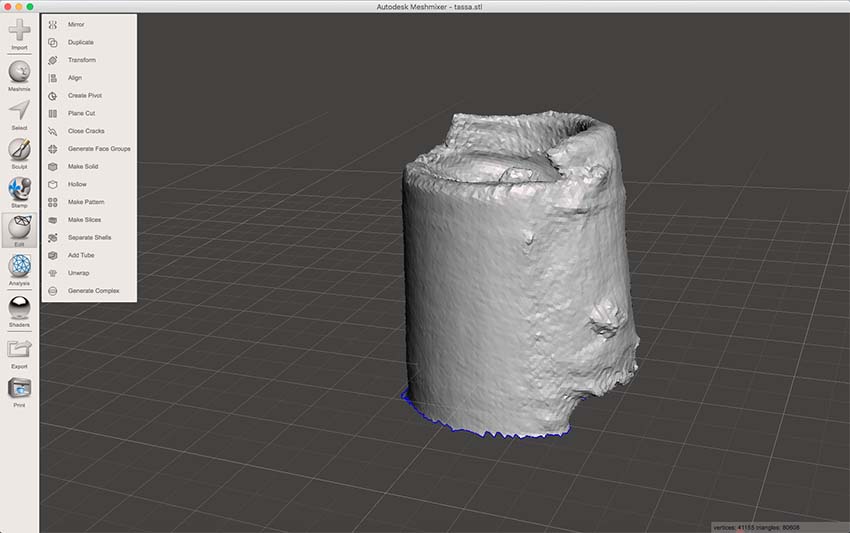
I then took one kinect home, so that I can try with other object. I tried with a cup of coffee, to see if kinect was able to scan small objects as well. As you see on the picture below the result wasn't very good.
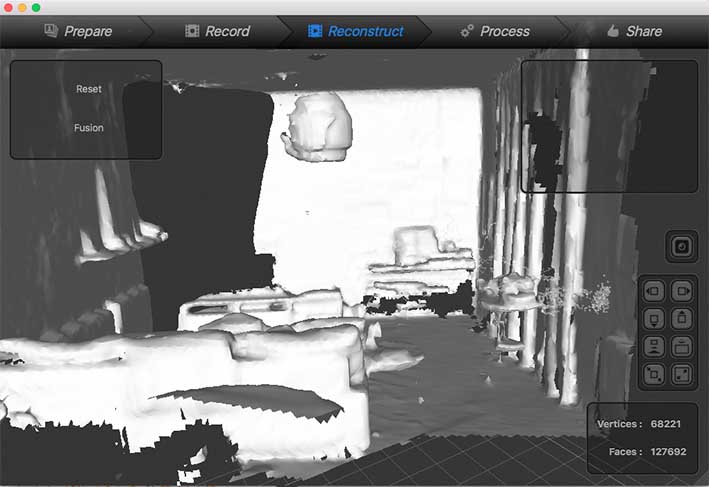
I scanned some parts of my flat as well, which weren't really well processed by the software either.
I tried with some bigger objects but still difficult shapes, such as a plant. The result was pretty good I have to say.
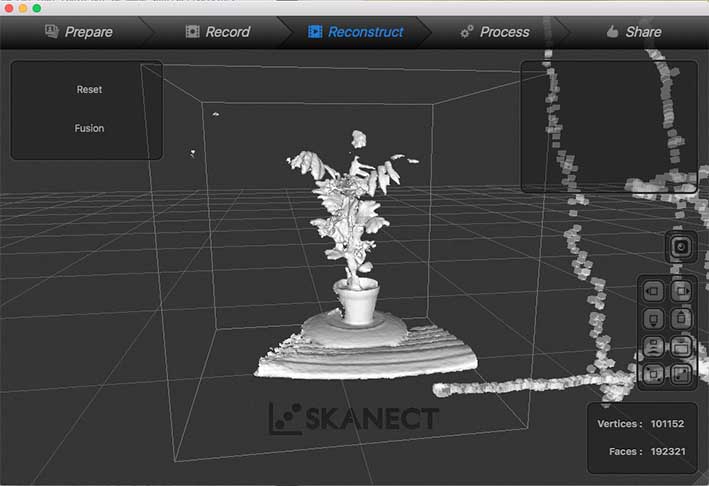
I then tried again scanning some human bodies. I have to say this is the size ob objects I think Kinect and Skanect works best for. It makes sense indeed, as this device was meant to be to read body gestures to control another device.
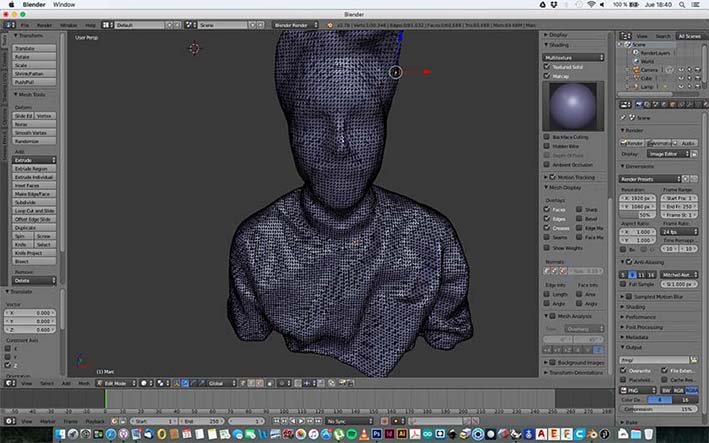
I did some software trials as well, to rebuild meshes from the scanned objects, close them and refine them to make them printable. I used Blender, which seems to be perfect for this purpose (I didn't really like it for modeling). You can actually edit the object or sculpt it, on a more artistic way, adding new meshes to the object.
I tried meshmixer as well, which seems to work good too, but more for standard features as removing parts of the scanned objects we don't want, closing wholes, or refining meshes. I would recommend it for most of the works, where the object is clean and we don't need to do a lot of processing after.
I tried to use Remake (from Autodesk) but with not very good results. First of all you have to take several pictures from your object, from different angles and perspectives, and upload them on their server.
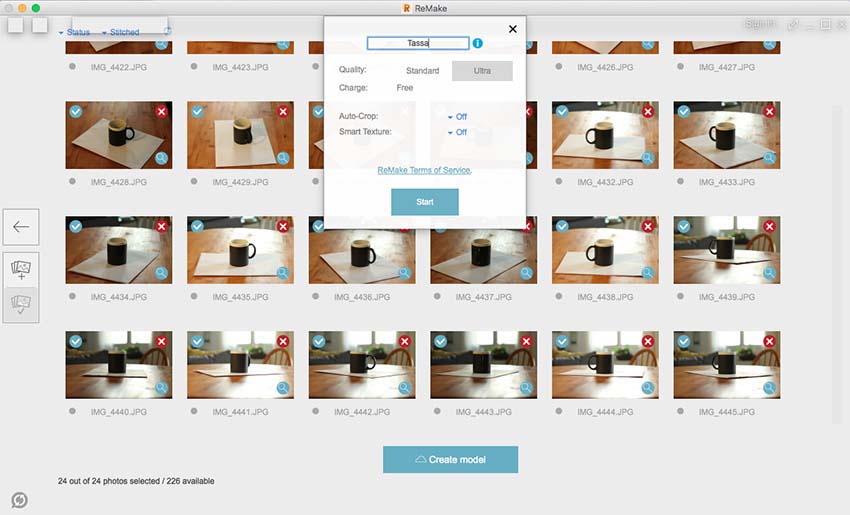
This is the first result I got trying to scan the same cup of coffee I scanned with Skanect. I think Remake didn't recognize the shape of the object, as most of the parts of the cup are the same, and the software doesn't have the ability to understand that.
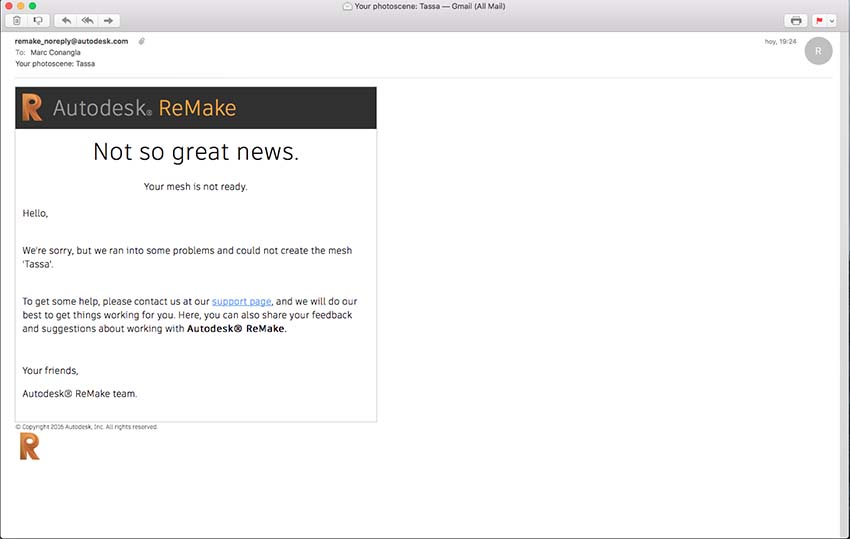
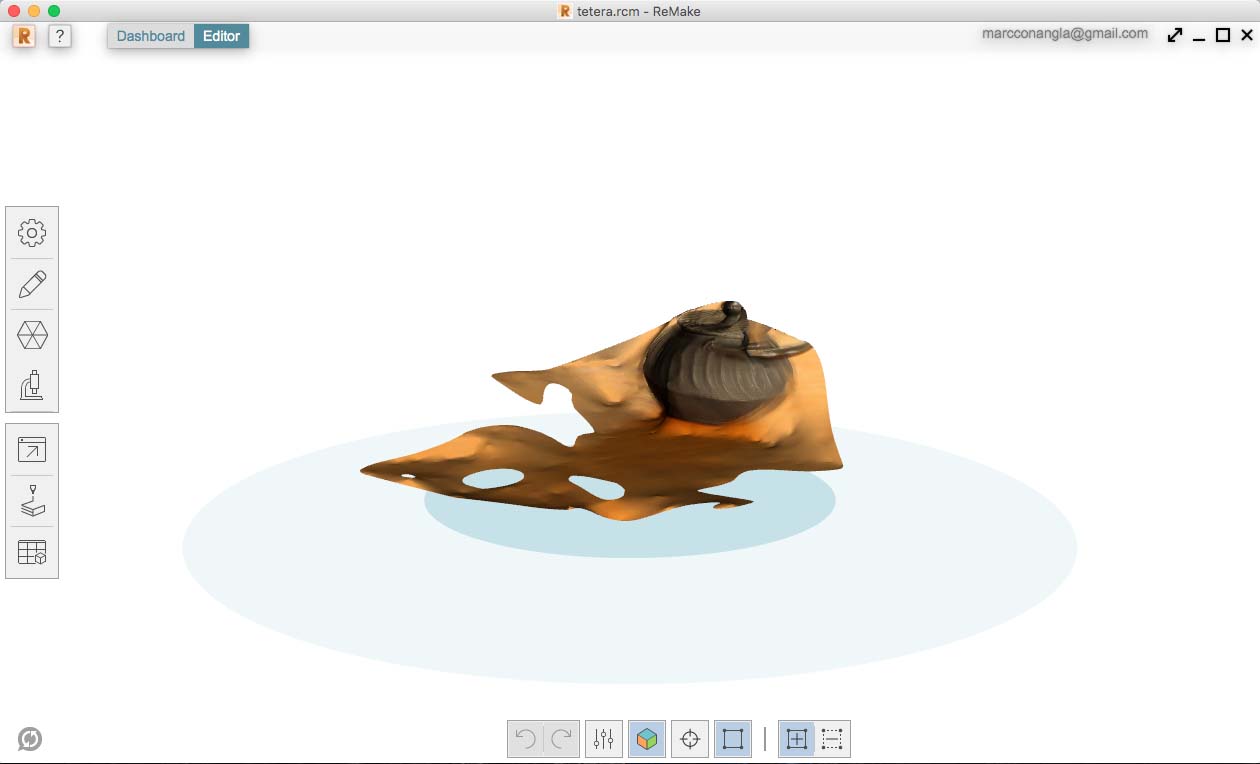
I tried to scan a more complex object, a teapot (yeah the cup wasn't full of coffee but tea). This time the software was able to recognize some part of the object but not all of it. After speaking with some of my colleagues I see the more the difficult is the object the better will Remake do it, as it will have more things to recognize and understand the whole geometry.
I finally used the Roland milling machine for scanning. This is a very precise toold so I wanted to see the limits of it. I scanned a small screw.
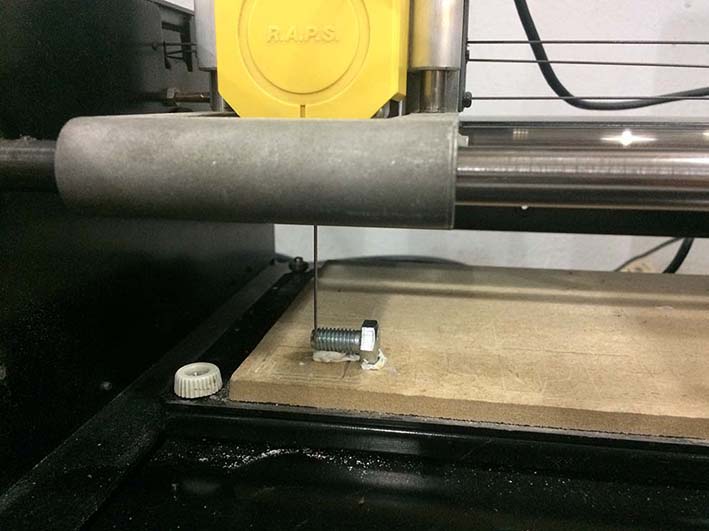
I first set up the machine with Picza, but didn't seem a very handy software.
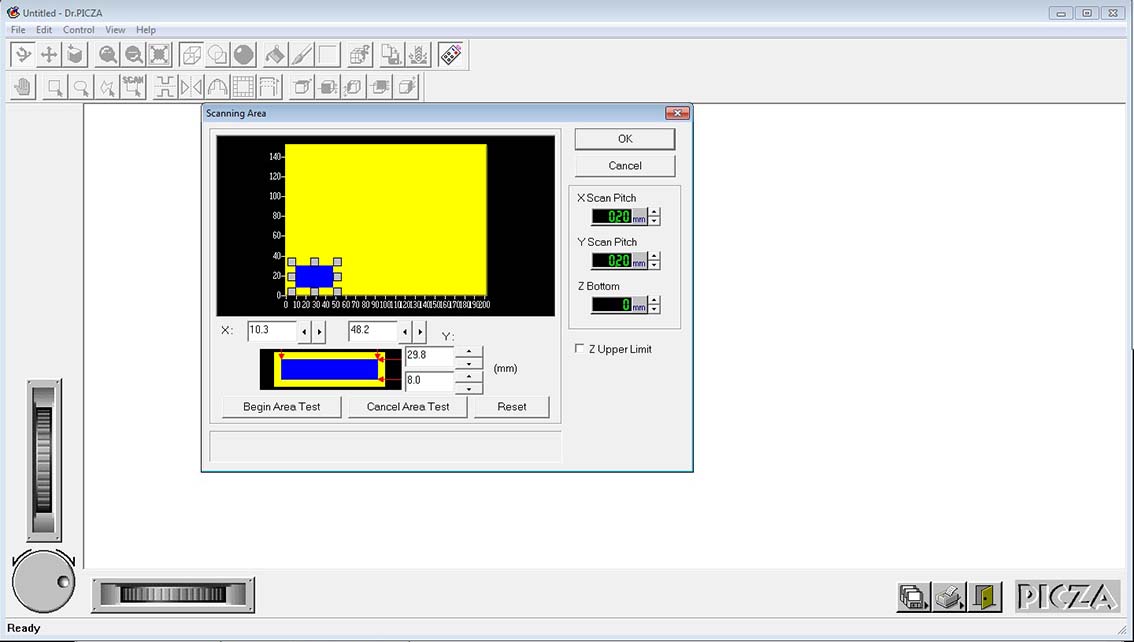
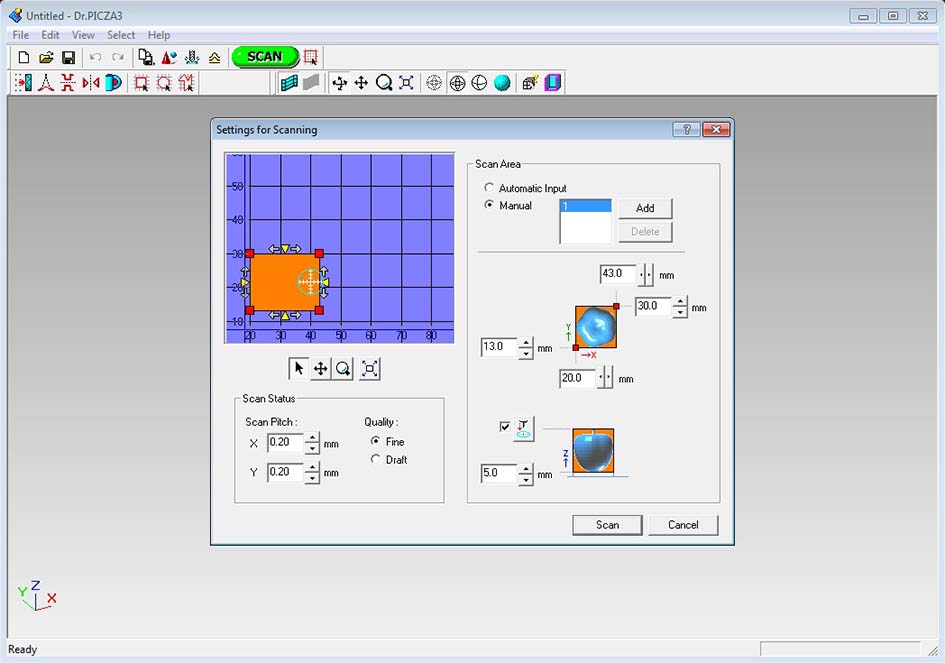
I was adviced there was a new software for the machine so I tried it out. It doesn't have a load of new features but at least it seems a bit better and easier to use. You can set up the maximum height of the object, as well as the surface and quality of the scan. To scan the screw it took almost one hour with a 0,2mm resolution.
Once I had the screw scanned I uploaded on Rhino, and rebuild the mesh to complete the object again.
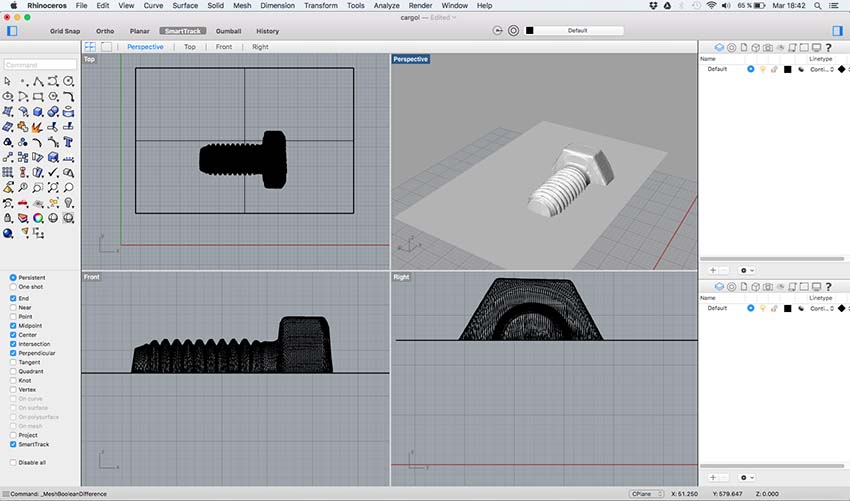
This is a render with the object scanned. You can see how precise is the Roland scanning even small parts, and how good they look once done the whole process.

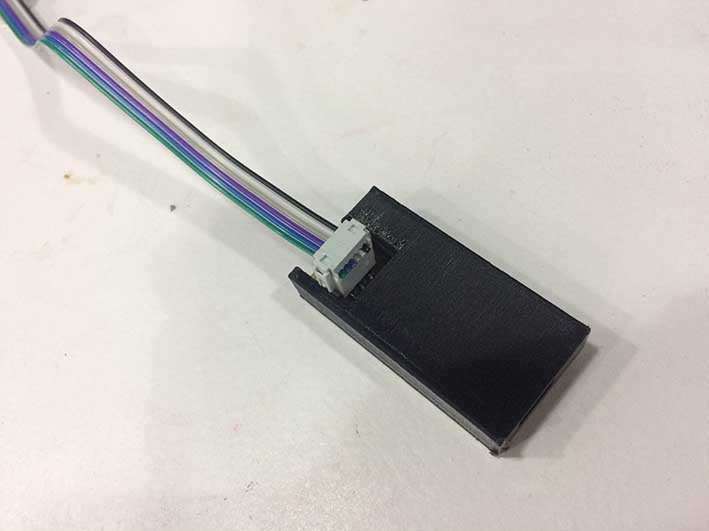
Finally this week I tried another 3D machine which Tomás is really happy about, the Prusa i3. I printed a case for the FabIsp we build last week. I have to say the Prusa seems to work faster and better than the other Rep Rap machines, at least it seemed to me.
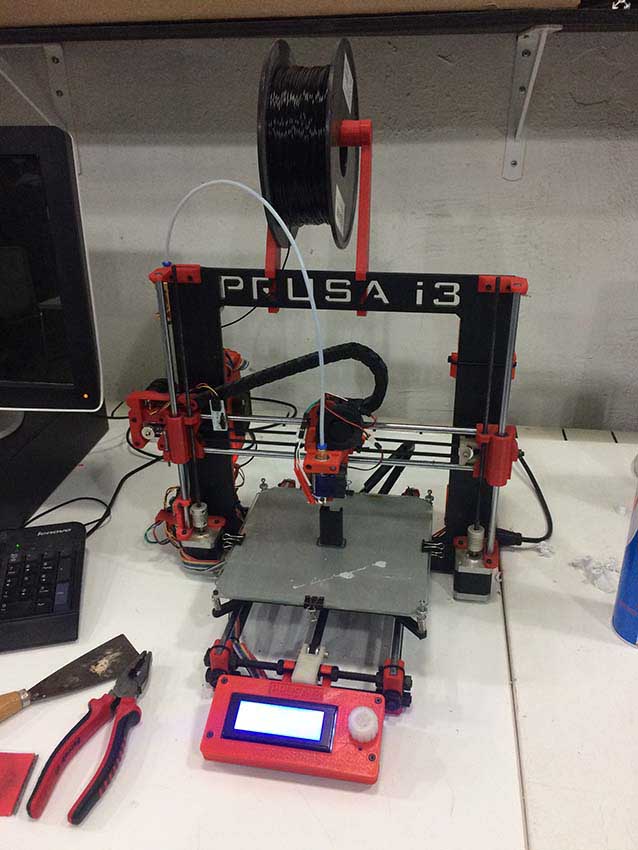
As you see the quality of the final object is quite good, with same parameters as I put for the other machines.
Of course there are still some limitations with 3d printing machines. Specially for objects than can't be printed without supports (although there are machines with two noozles specially for this purpose) and for very detailed or structural pieces. In this sense, 3d printing technologies are still mostly dedicated to prototype objects, not really producing them. Shapeways is one of the companies that work more on this second direction, being able to print objects in several diferent materials, even metals.
3d scanning at the same time has its own limiations (as all technologies at the end) but depends on what want to be achieved and for what purpose. Scanning with a kinect for instace would be great to scan big spaces or general shapes, but not to scan small objects with very fine details. At the same time scanning with the Roland machine is great for having a good resolution but it takes a lot of time to scan even small objects.
Download all the files here


