Composites
Week assignments:
· Read the material safety data sheet (MSDS)
and technical data sheet (TDS) for the resins that you're using
Design & fabricate a 3D mold and produce a fiber composite part in it
This week we had a very special class during two days in the lab. Quim is an architect speciallised on refurbishing houses and old furniture. Therefore he very often uses composites and fibers for his work, to reinforce old structures or refurbish them. He explain us the difference between natural and synthetic resins and explain us how we had to deal with all of them: security instructions, behaviour, temperature range, etc. It was really interesting
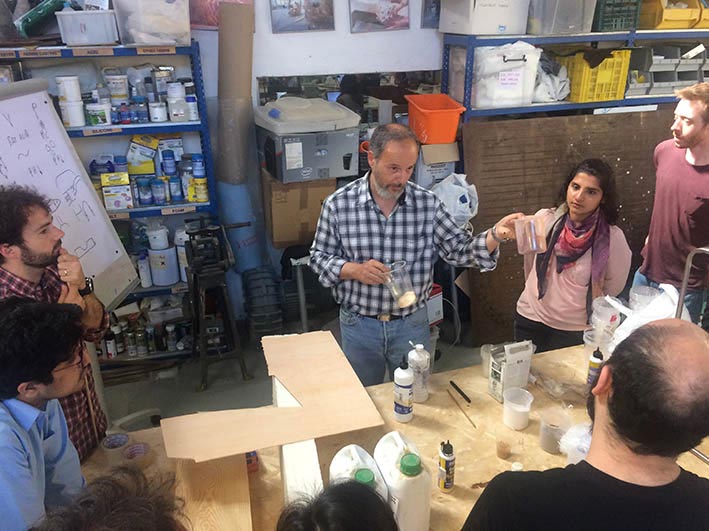
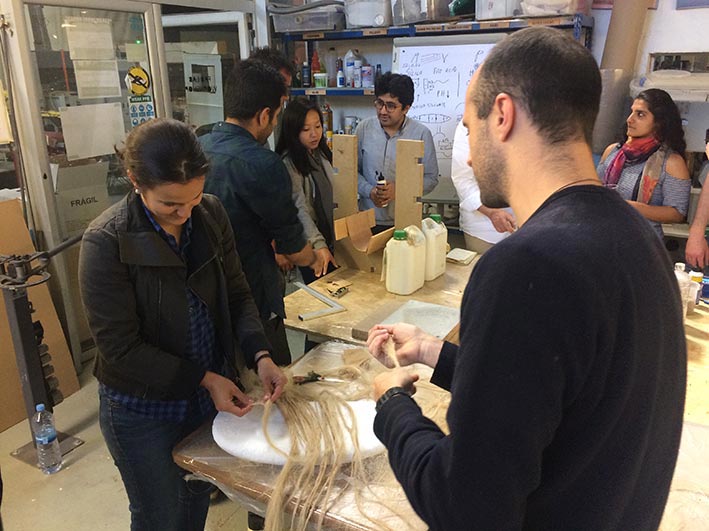
Second day he made us work on something we wanted to, creating a mold with and existing object, or with some left materials in the lab (wood, polysterne, etc). We worked in teams of 3/4 people, and created different composite structures/objects.
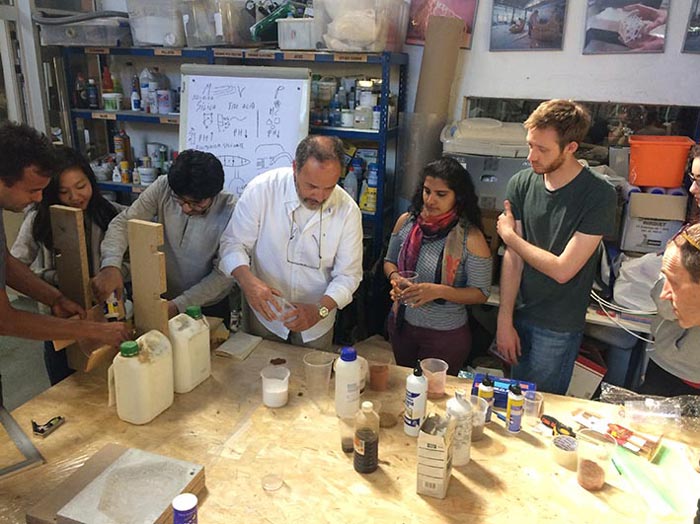
We created a small surf board from natural fiber, or at least that was our intention. I have to say the result wasn't nice at all, so I will not even post a picture of it.
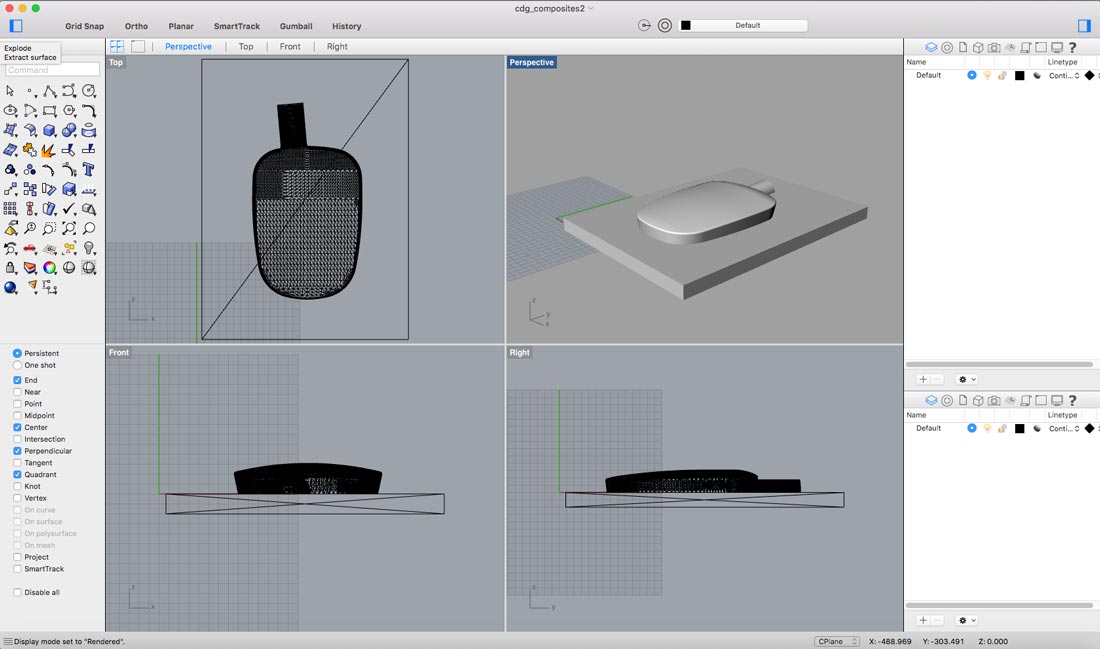
After Quim's visit I started working on the assignment and draw a perfume bottle which I like a lot. The idea is to create a kind of shell that protects it, but also useful to personalize it.
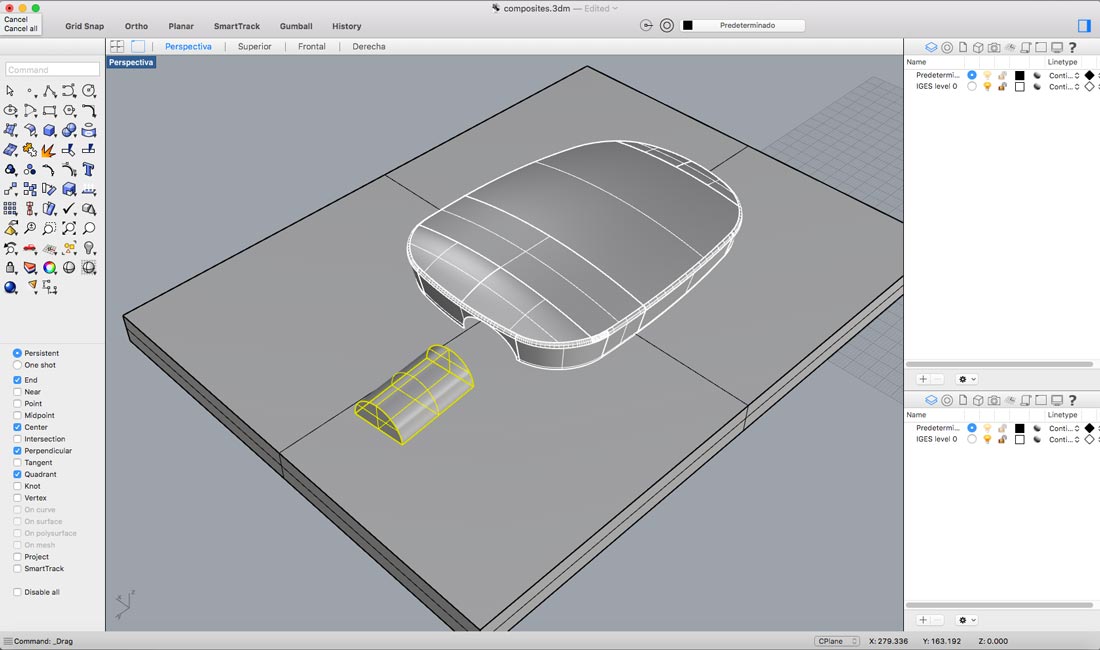
I did just one side of the bottle as it's symetrical from the vertical angle, and I will just create one part too.
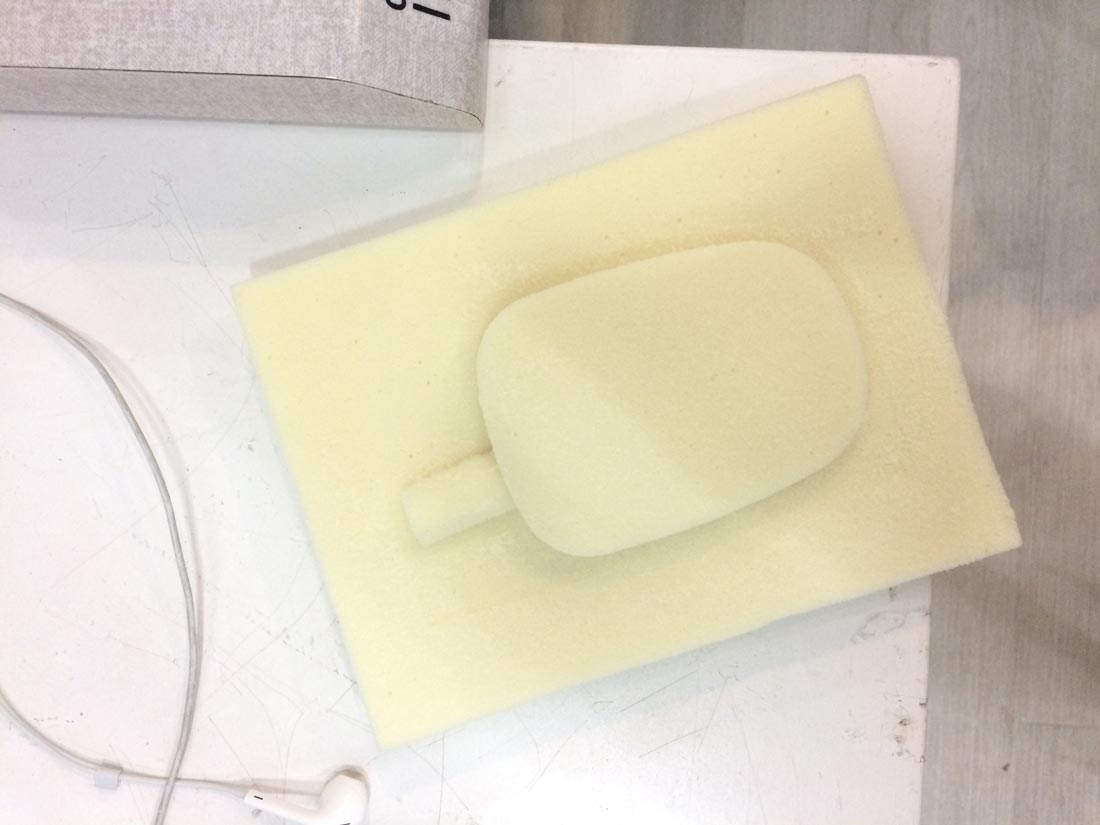
I milled the mold with the Modella SRM-20 with it's own software, same I used for milling the wax (just changing the material parameter). I had to flatten the surface first as the piece of material I got wasn't really straight.
pass: fab
This is the resulting mold, with a roughing and finishin strategy, one in X and the other in Y direction. As the material is really soft we could use the machine almost as its maximum speed, without worrying to break the tool
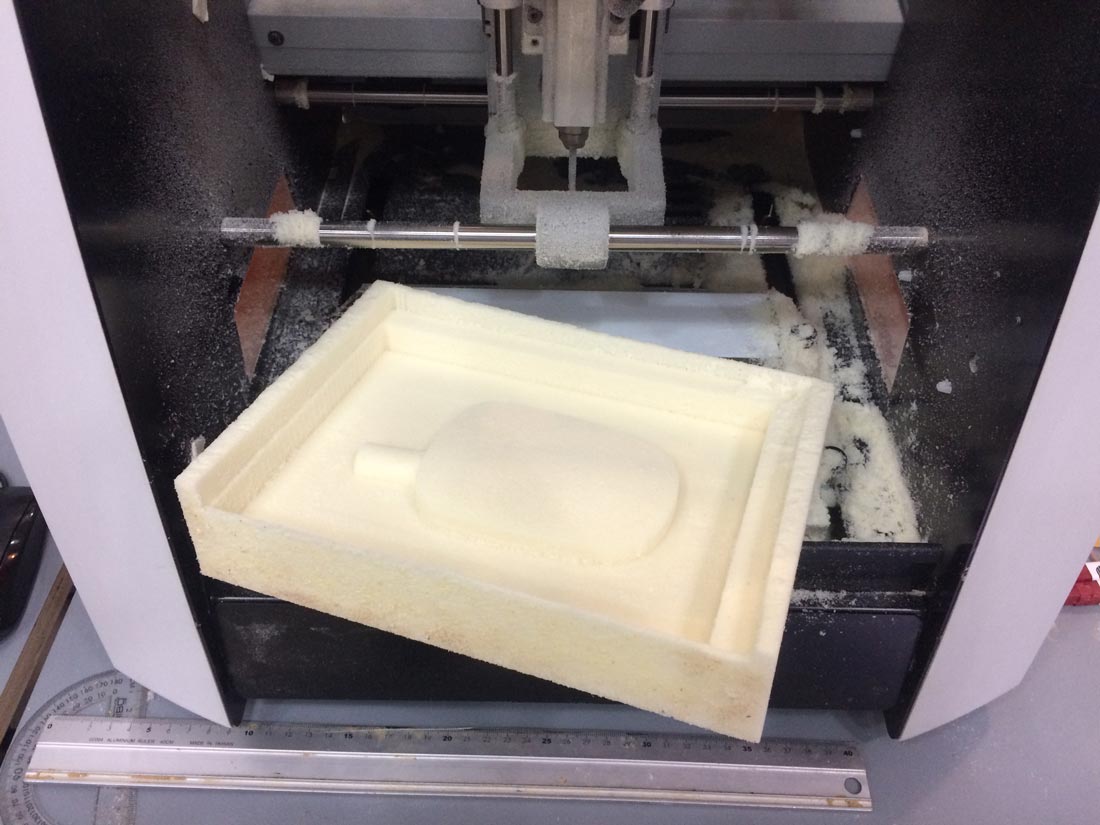
I cut the mold so it didn't have any walls at the perimeter.
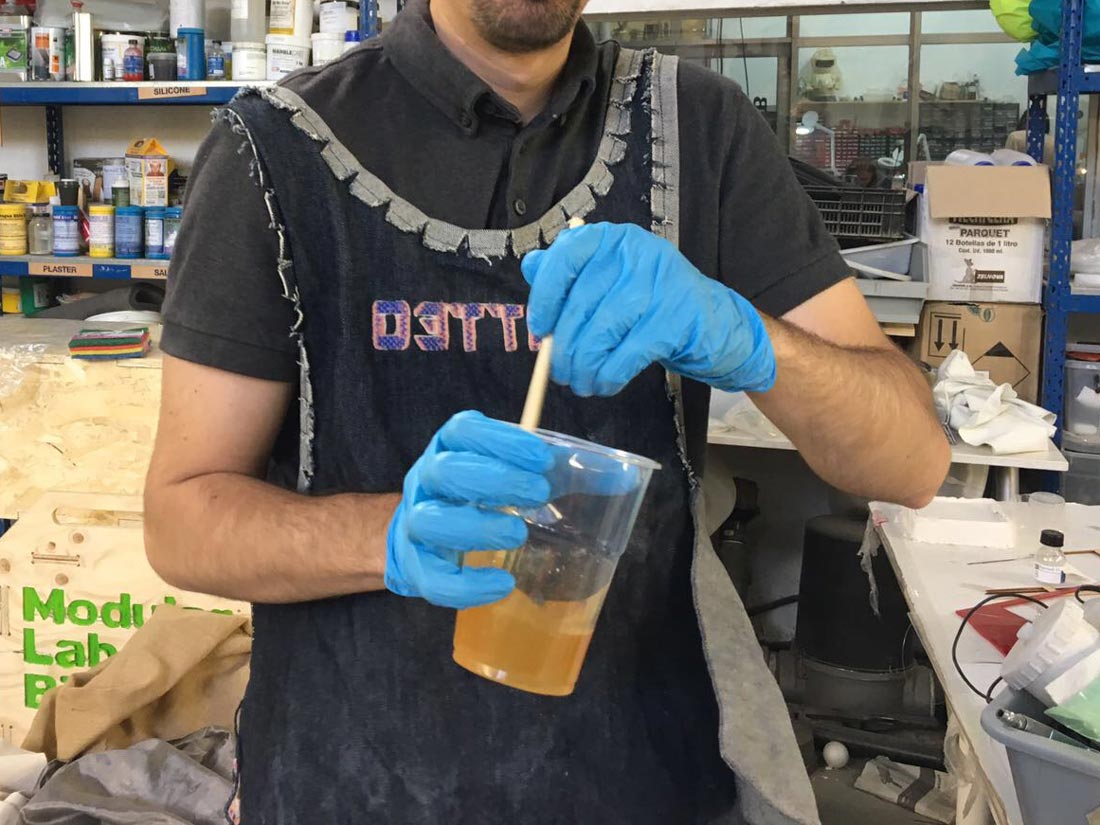
The resin I used was epoxy, and had to be used at a proportion of 2:1 with the hardener (2 times epoxy per 1 of hardener)
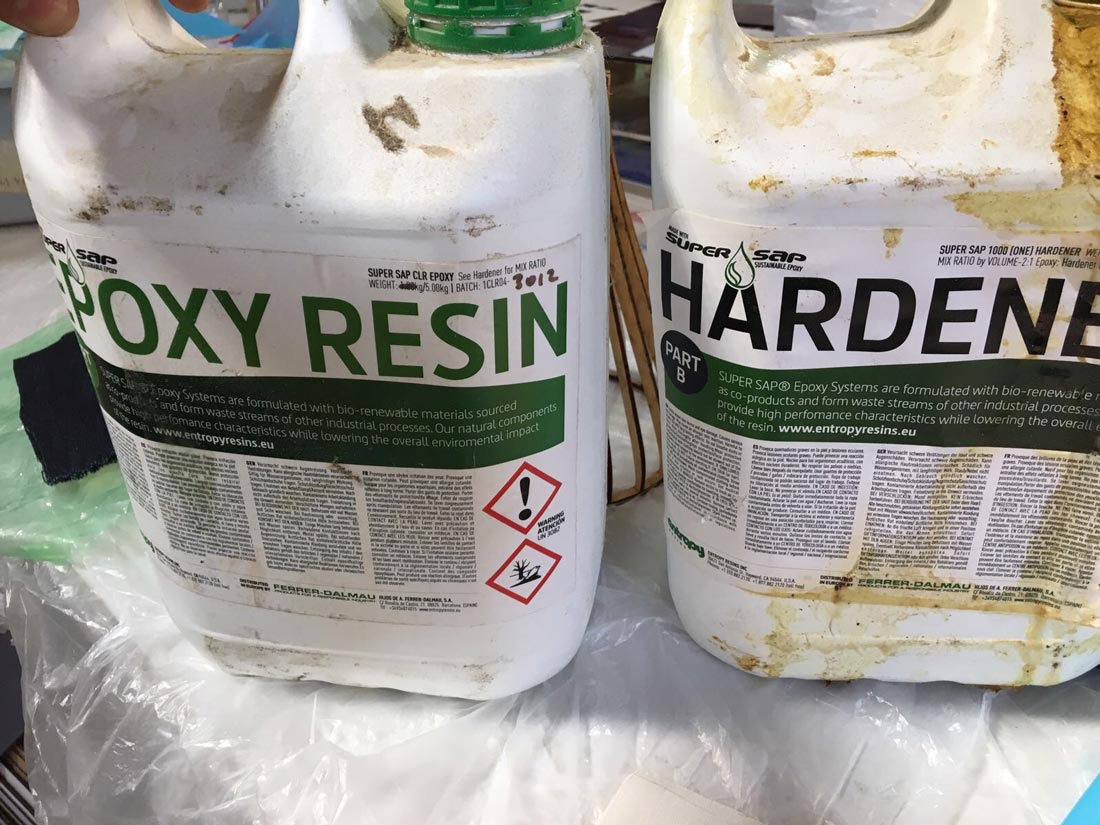
I covered myself with some clothes and gloves, so that the epoxy didn't touch directly the skin. I then mixed both components all together for some minutes.
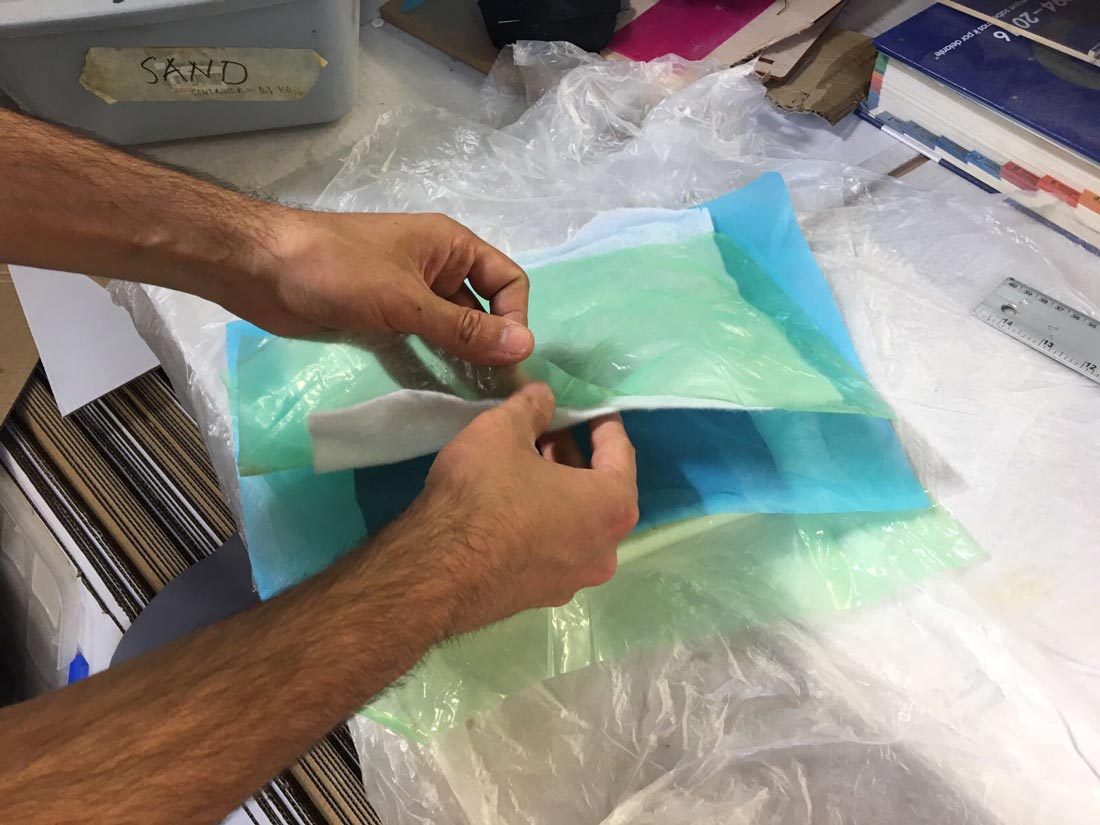
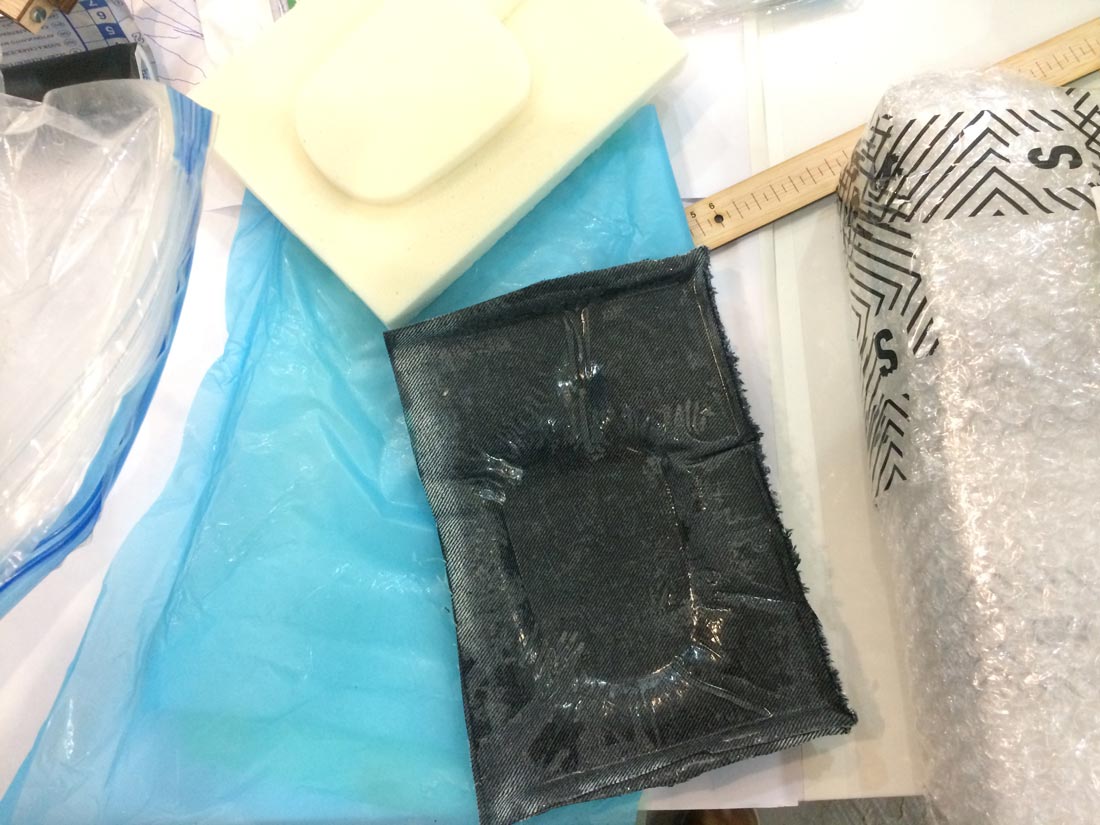
The different layers used have different functions.
Let's explain it quickly (from above to top) · First layer: green color in the picture. Its function is to release the final piece from the mold.
- Second layer: here we have to add as many layers of fabric or any other material we want. Between them we have to put the mixture of components we did before. I put 3 layers of jeans fabric
- Third layer (blue in the picture): it is a microperforated plastic, so the excess of resin can go through it until the
- Forth layer: cotton layer that absorves the excess of resin. And finally
- Fifth layer: another releasing plastic, as the bottom one.
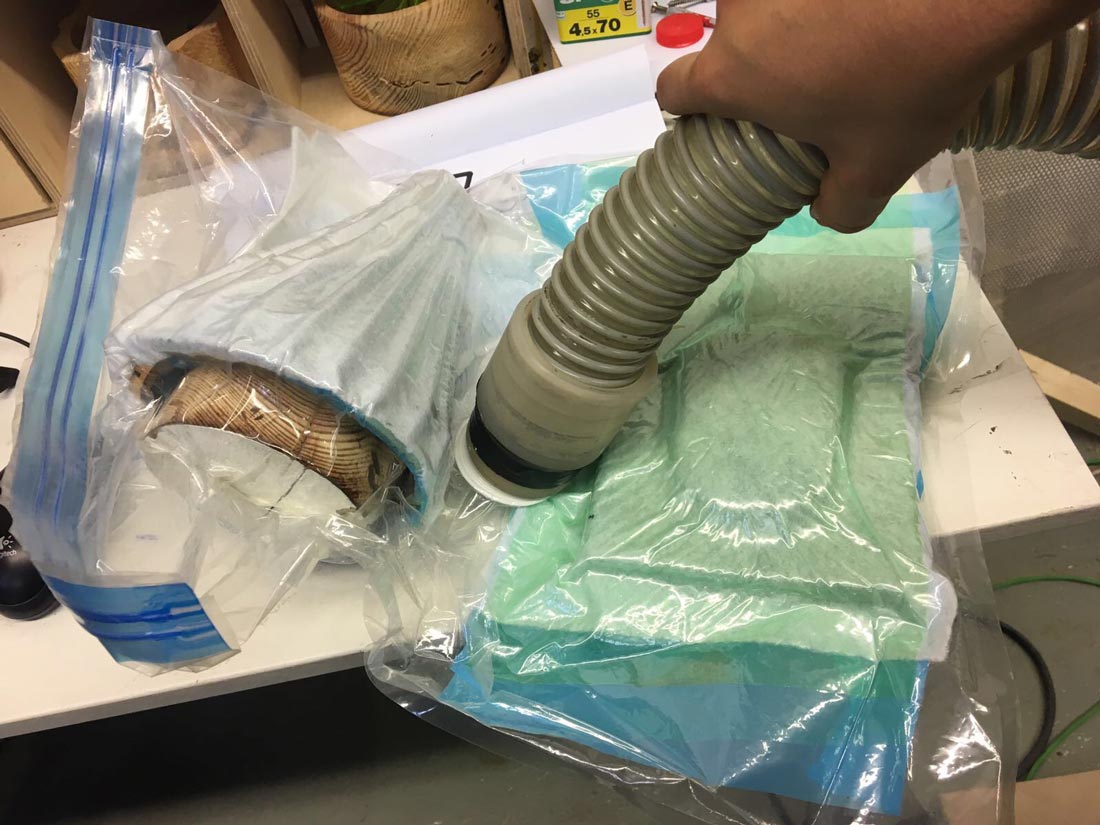
We put the mold + layers into a vacumming bag. We wanted to use the big vacumm machine we have in the lab but unfortunately it was broken (still reapairing it) so we had to do it with a small bag and a big vacumm cleaner we have in the lab.
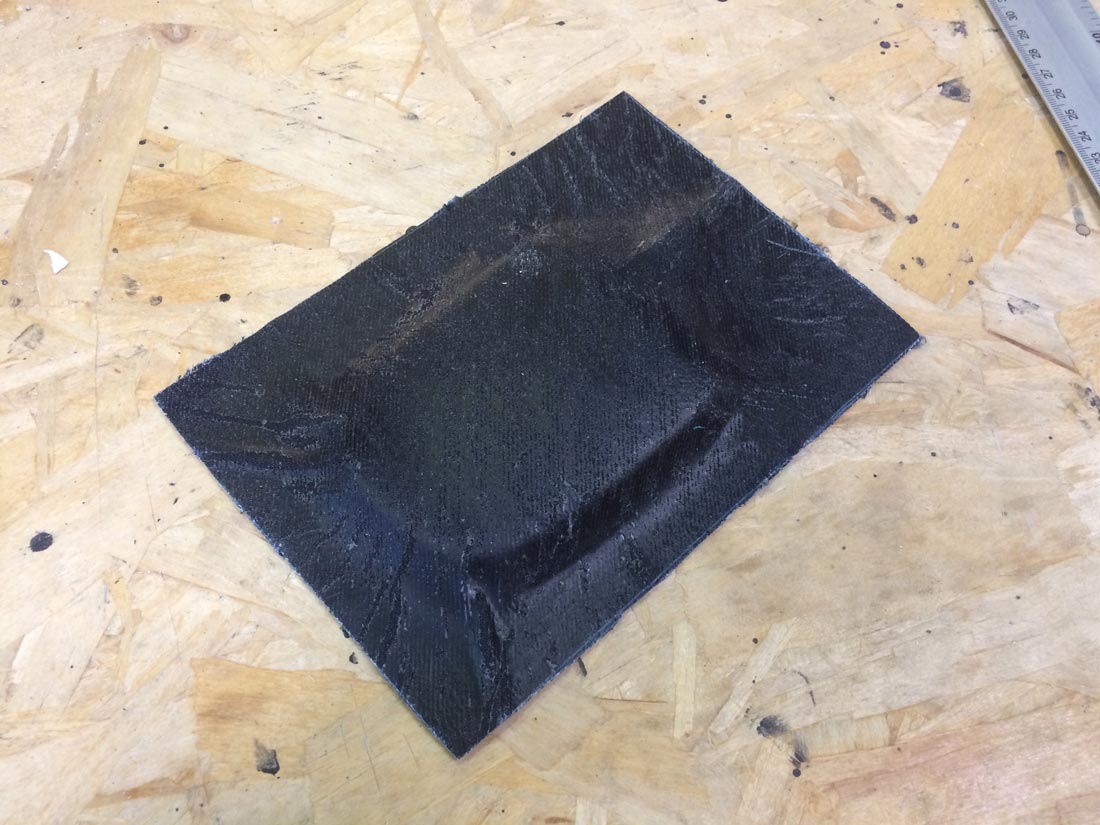
After 24 hours I took out the piece.
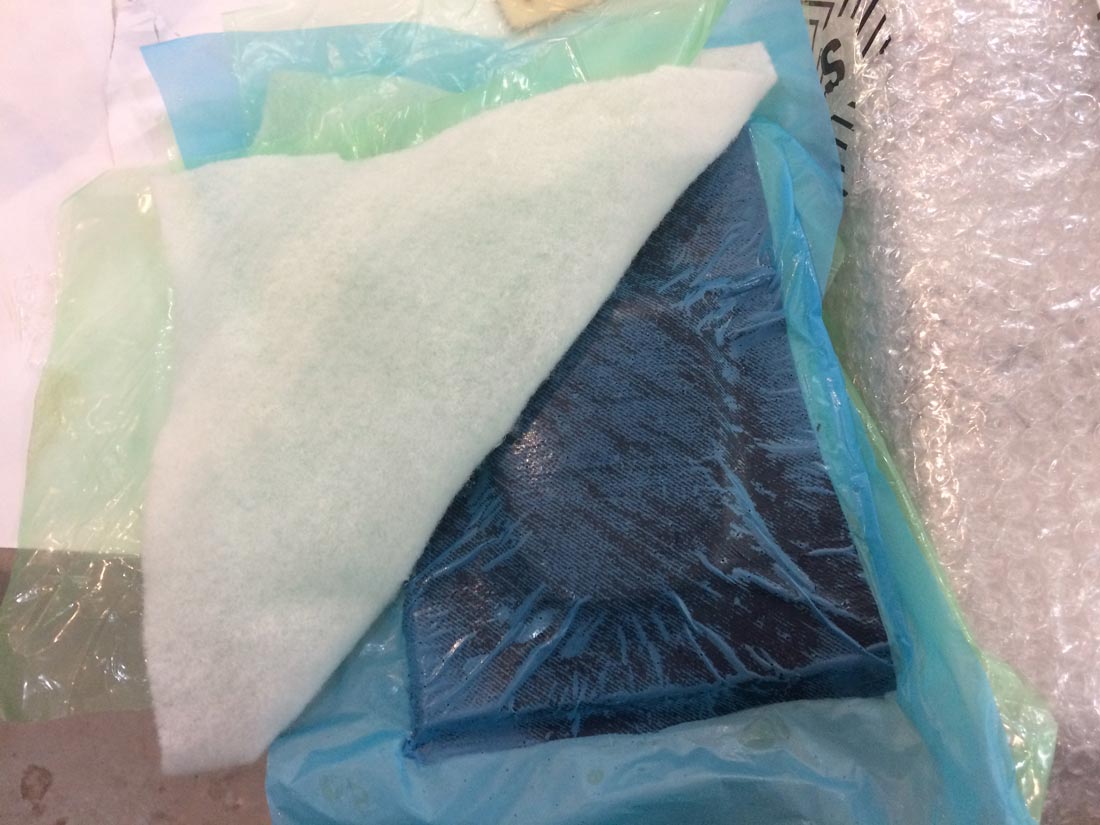
It was a really strong piece but unfortunately it had some wrinkles, due to the low pressure of the bag, and the thickness of the material
I cut it so that I just had the sape of the bottle itself
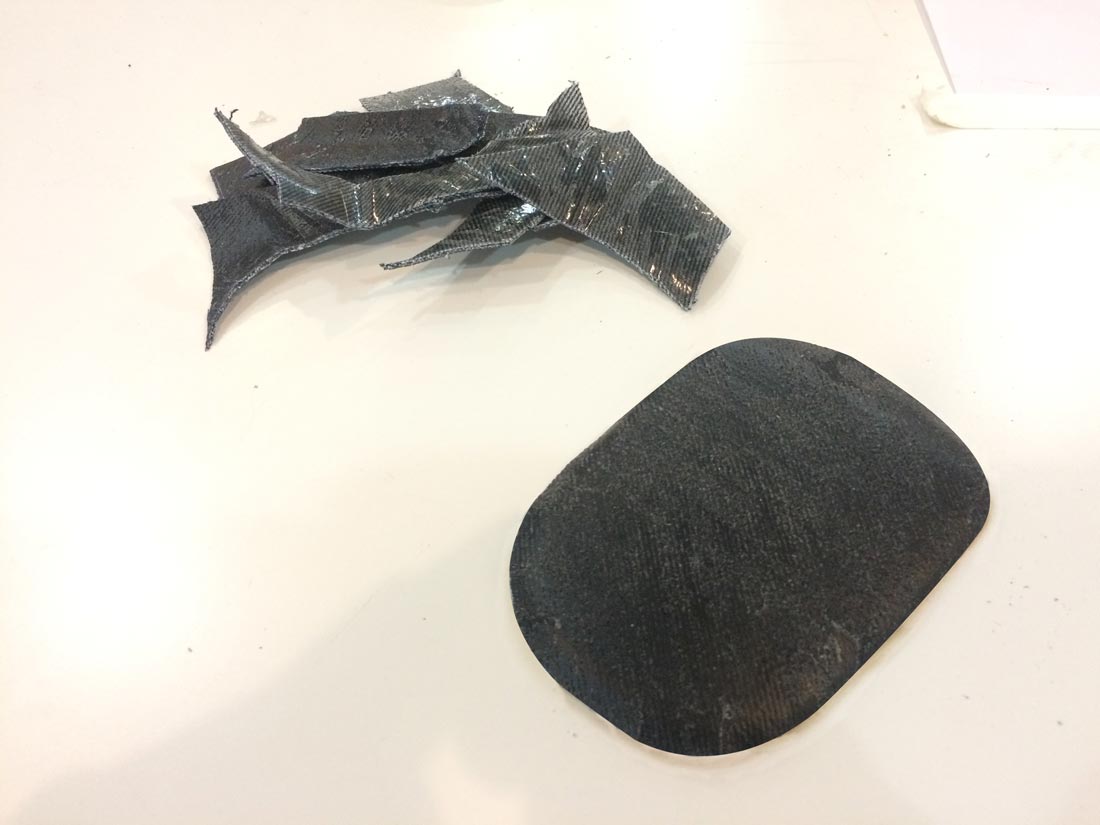
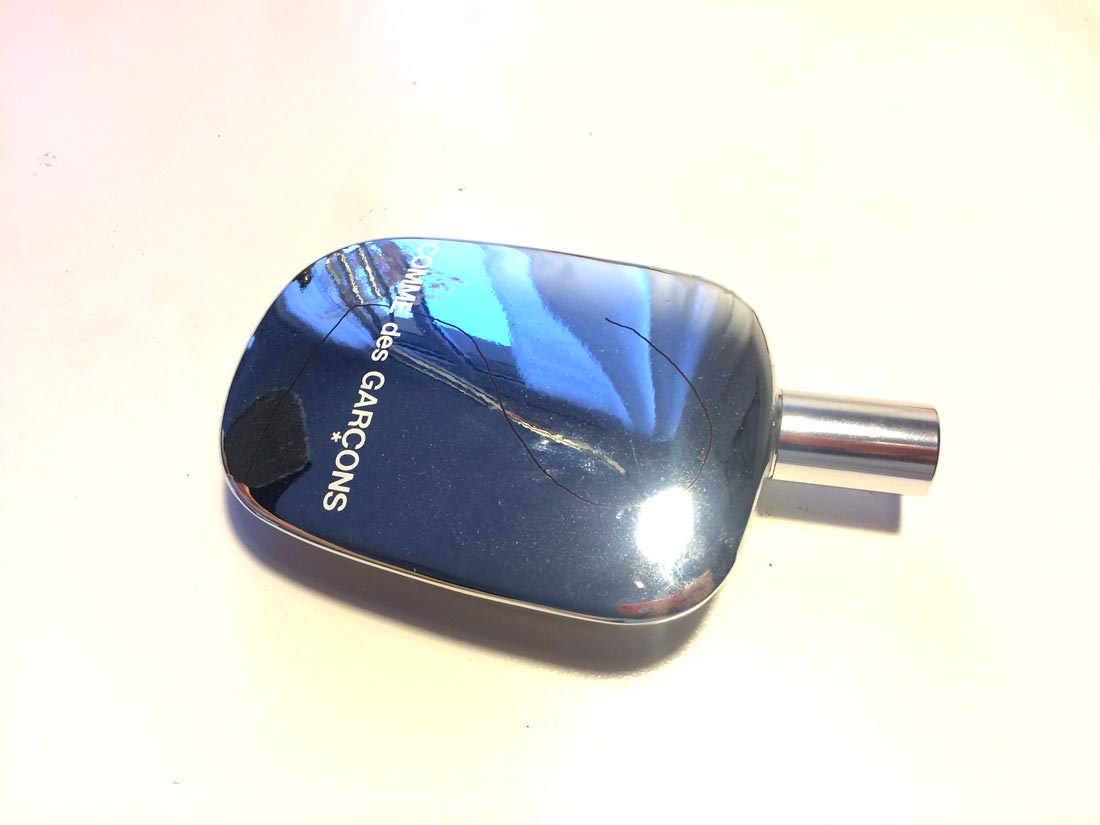
And then cover it and personalize it with a white pen marker.
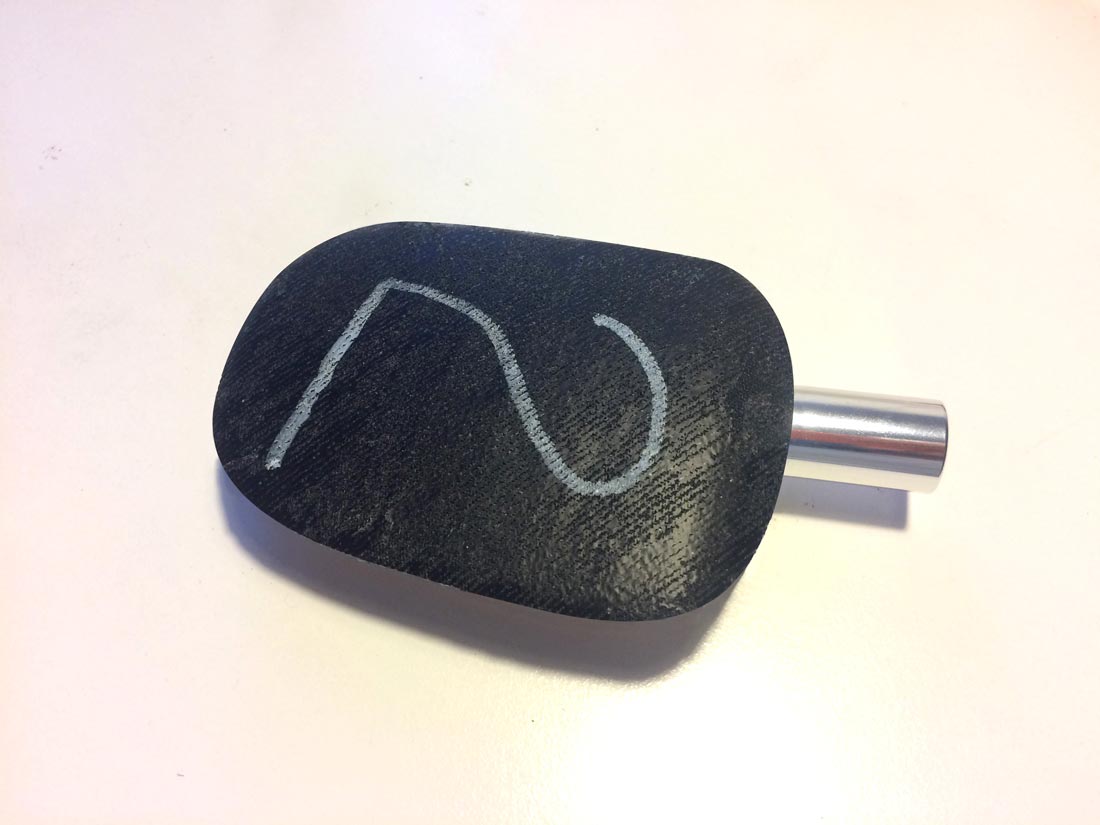
I am quite impressed by the strength of the material and the robustness of it, with just three layers of flexible material and a resin in between.
Download all the files here