Molding and casting
Week assignment:
· Design a 3D mold, machine it, and cast parts from it
Due to my professional background I have seen and designed a few molds, but never done them myself. That was exactly the main purpose of this week, as we had to design a mold, mill it (produce it) and cast a piece into it. I have to say it didn't seem as challenging as it has been, but really exciting at the same time.
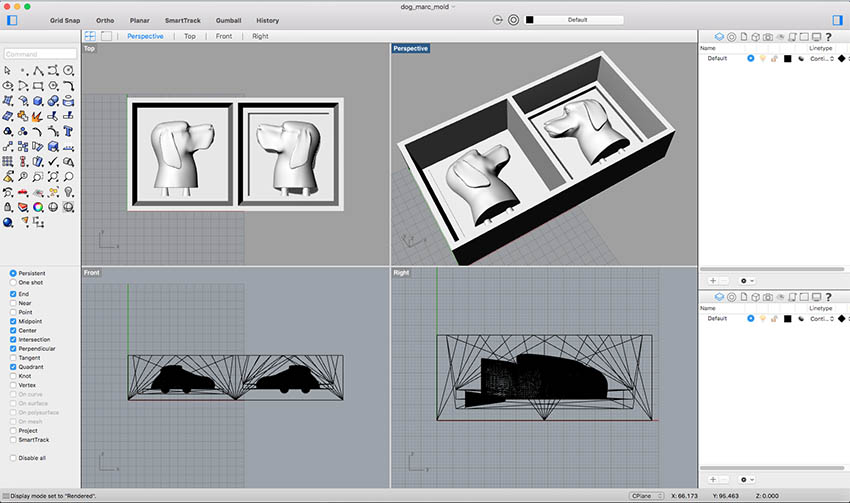
First thing I designed the mold based on a 3D drawing I had from one of my colleagues at work. I divided the mold in two parts as it was needed to cast a piece like this one. However, the division I did at the beginning (back and front) wasn't the right one. I didn't realized it would be very difficult to get some of the shapes with this division.
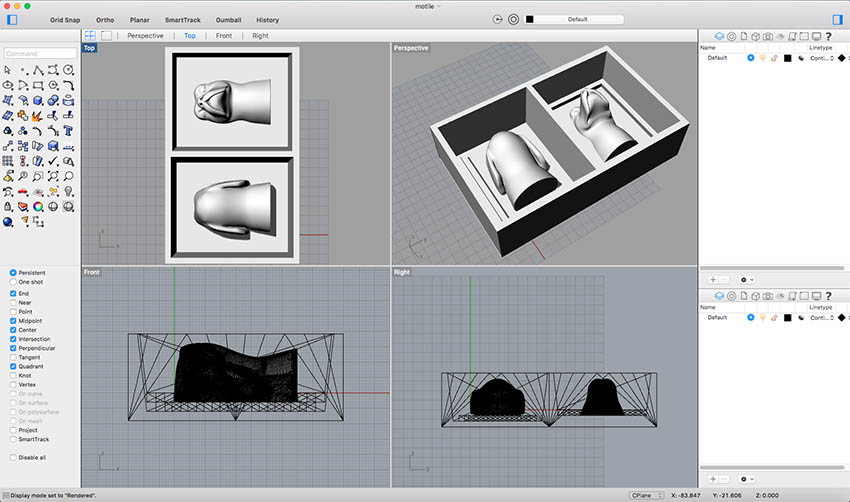
So I decided to divide the piece in two halves vertically so that I lose the minimum detail possible. Knowing how the mold will be made helps you understand which are the limitations and therefore how it should be done. So I did a few research based on previous years' work, to see the way the two parts should be joined and the best way to pour the material into it.
Once the mold was done I used Roland Modela Player 4 to set up the traces and paces for the milling machine, to produce the wax machine. First I flatten and old mold from last year's course, to be able to mill a new one in the same wax "brick".
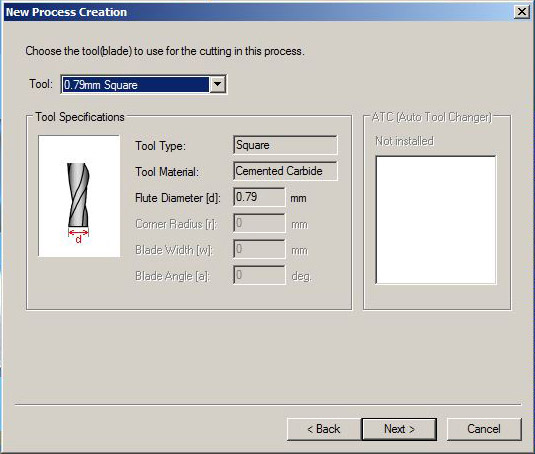
These are the paremeters I used with a SRM 20 Modela. First I selected the model name of the machine.

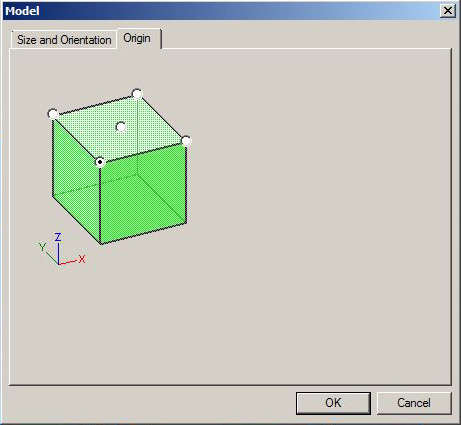
I set the origin on the down-left corner, so that the machine starts milling from that point too (setting X,Y, Z)
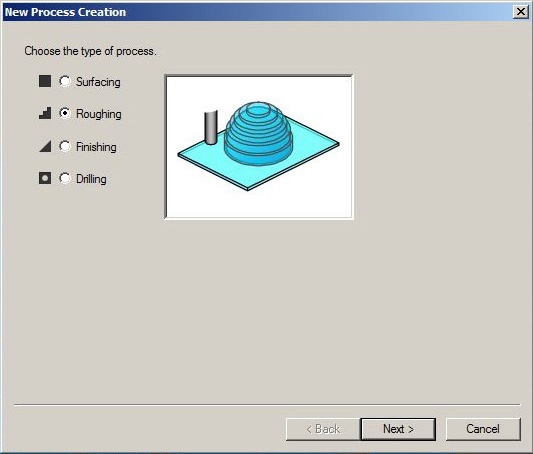
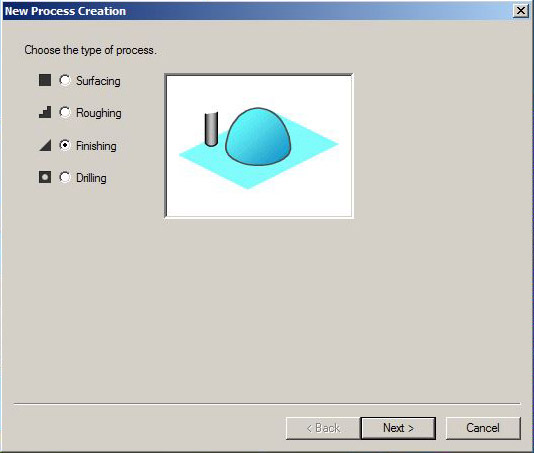
There are different types of strategies to choose on the software. I used roughing to remove most of the material and to shape most of the model, without much detail.
To do so I used a 1/8 mill tool.

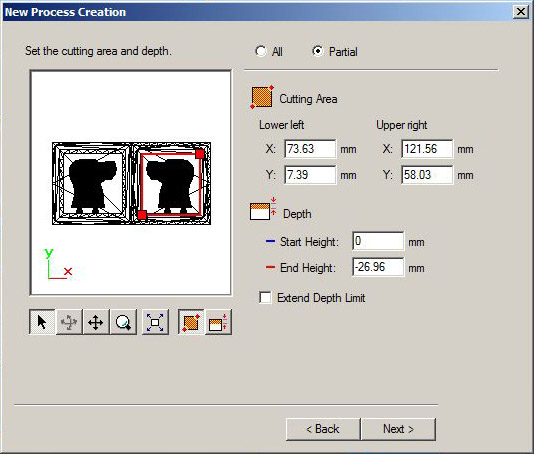
As it applied to all the mold I selected all of it
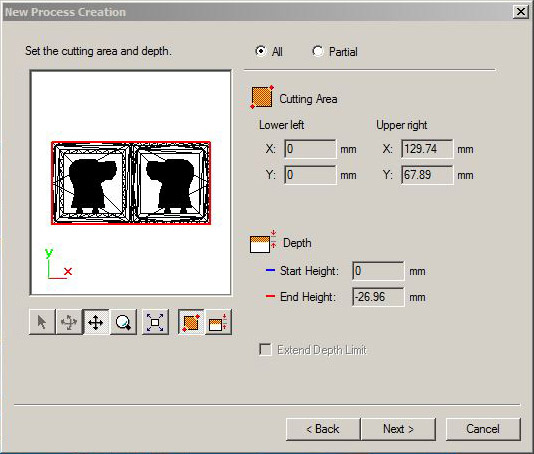
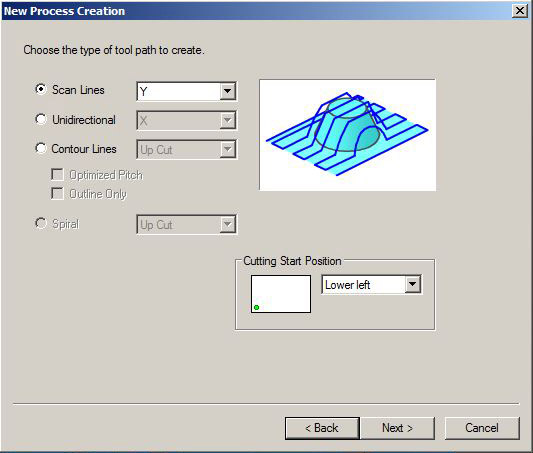
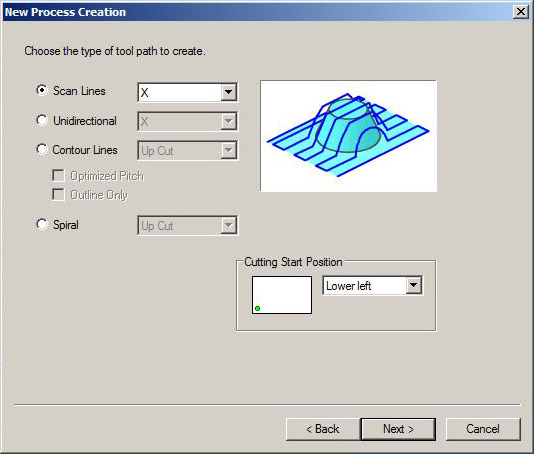
The tool path can be defined in X-Y axis. It doesn't really matter which one you choose, as far as the next one is done on the opposite direction. That helps create a smoother surface.
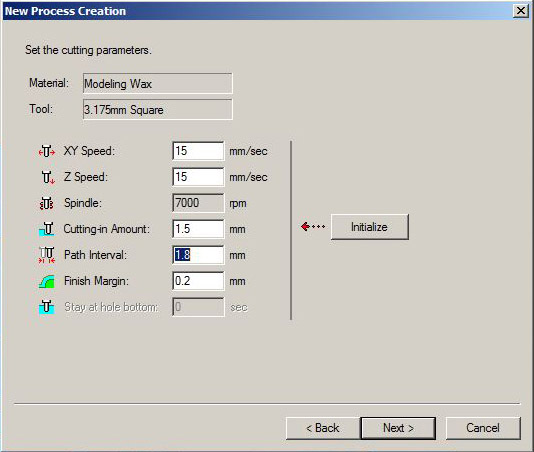
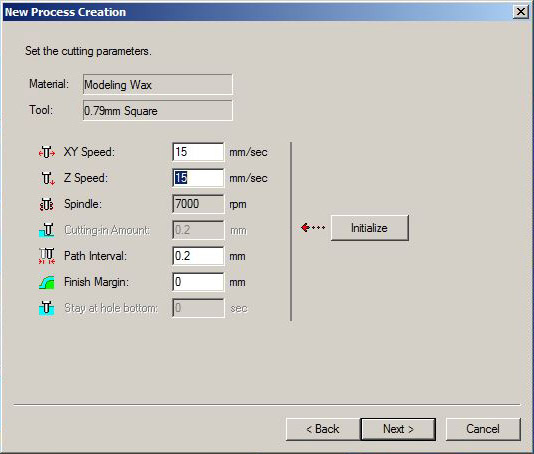
I then set up the speed and intervals as shown below
Here you can see the process of roughing and milling the wax, taking out the material. It took almost one and a half hour to do both parts of the mold.
pass: fab
Secondly I did a second strategy called finishing, which gives more detail to the piece.
To do so I used an 1/32 mill, which is thinner and therefore more precise.
This time I selected just the two parts where I really wanted to have more detail, excluding the rest.
I set the direction in the X axis this time, so the ending piece had been milled in both directions (Y>roughing / X>finishing)
These are again the speeds and intervals I used for the finishing strategies.
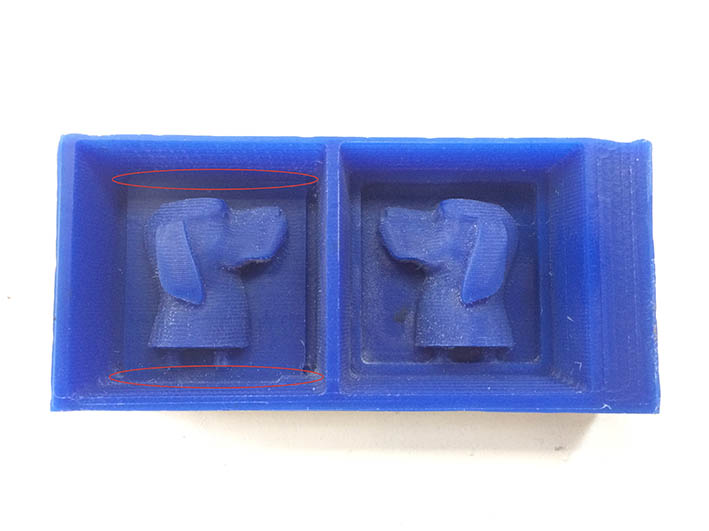
This was the wax mold once finished. The whole process took a few hours, maybe three or four.
Everything turned out well, except the extruded platform of the left side, which wasn't milled properly. It should've been deeper, so it matched the other side of the mold.
I will try to fix this in the coming days, but so far I didn't have time to do it, so I decided to move forward with the mold like this.
I then used a Smooth On silicone to make the mold. I used a 3% catalyst proportion (which was the amount recommended by the supplier) but seemed to thick to me and was a bit hard to pour into the wax.
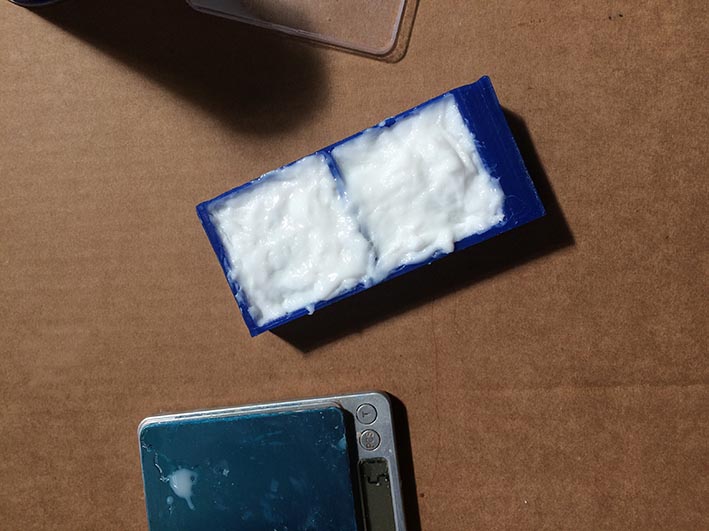
The silicone mold didn't turn really bad (surprisingly) but not good enough either. It had some bubbles inside and some parts of the wax mold weren't copy perfectly.
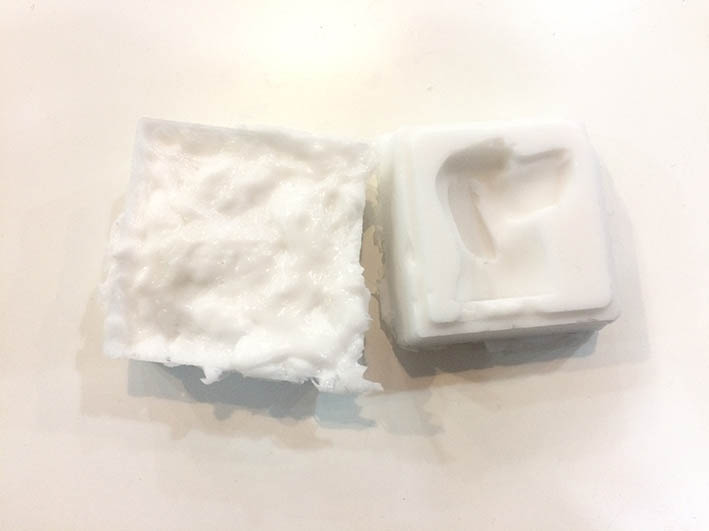
I tried a 2% formula and worked better. It was easier to pour and it moved gently filling both parts of the mold. I used a vaccuum machine to remove all the bubbles from inside, although there were some remaining on the outside part, but didn't really cause any trouble
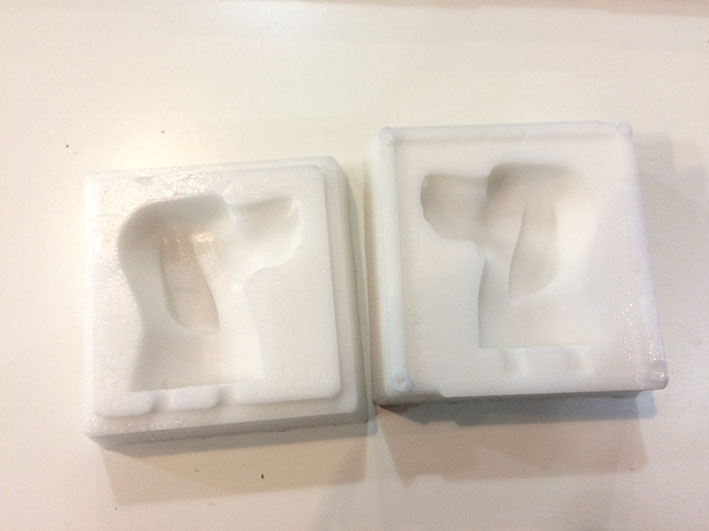
This was the second silicone mold which was much precise and had better finishing compared to the first attempt.
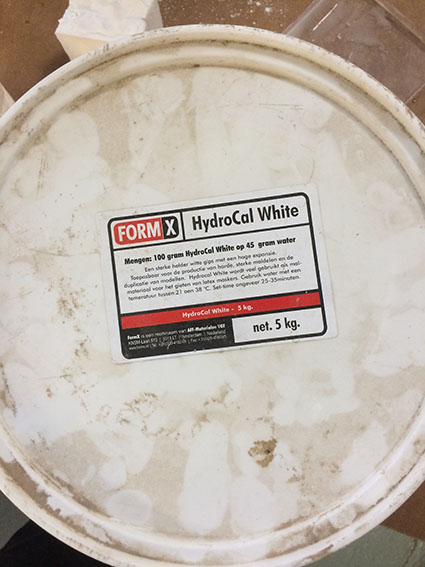
For my first trial I used hydrocal, which is a special kind of plaster for molding. It dries quite quick so it was good to see if everything turned out well.
First try didn't go great, as I didn't fill the whole mold with material and therefore there was a big whole on the piece. This was due to the milling process, as the two sides of the mold didn't really close perfectly, and some material went off.
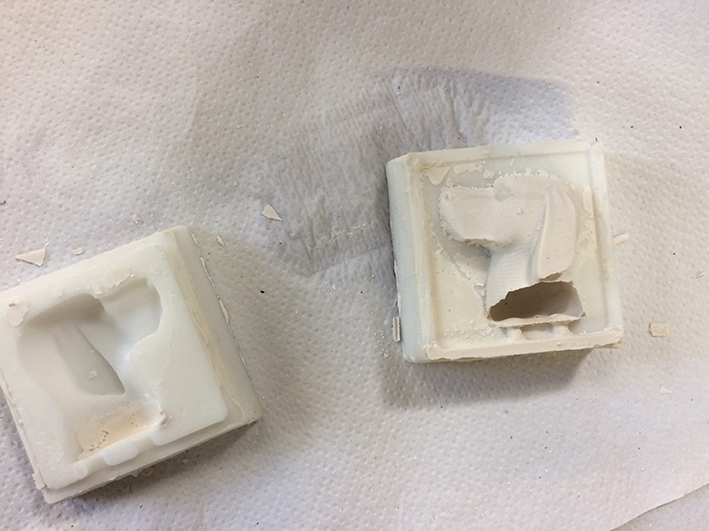
The alignment of both pieces wasn't perfect either, due to the same thing
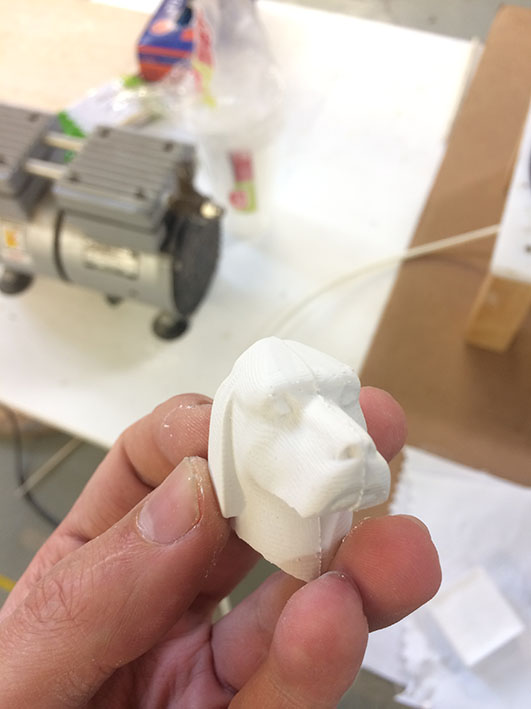
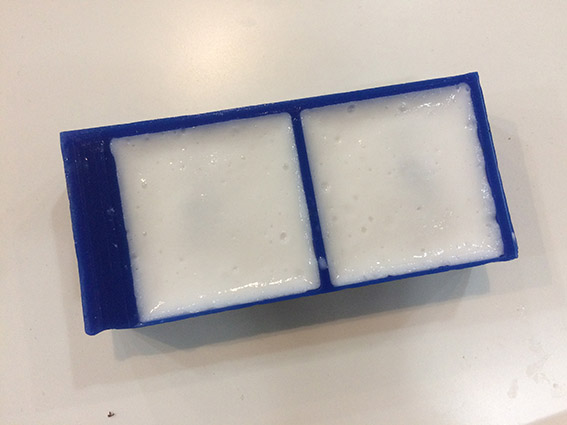
I tried again a new cast, being more accurate and making sure there was enough material inside. Everything turned out well, even there was a bit of excess this time.
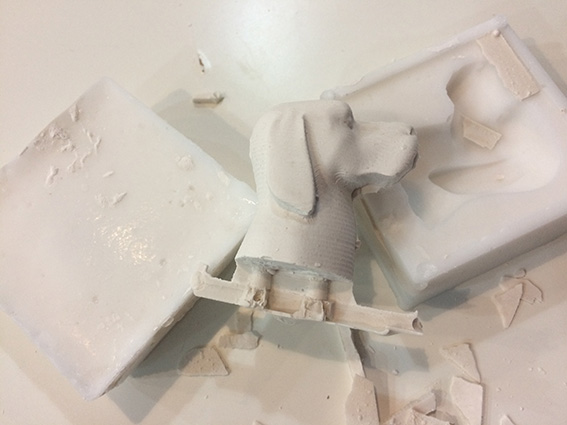
Alignment of both sides was better this time too
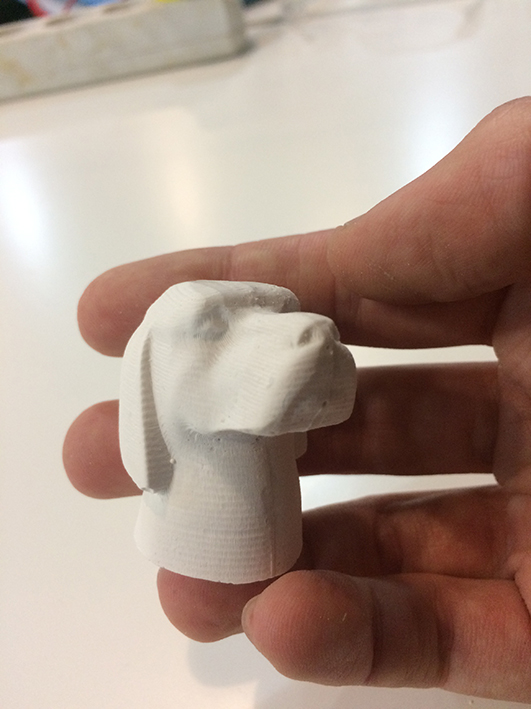
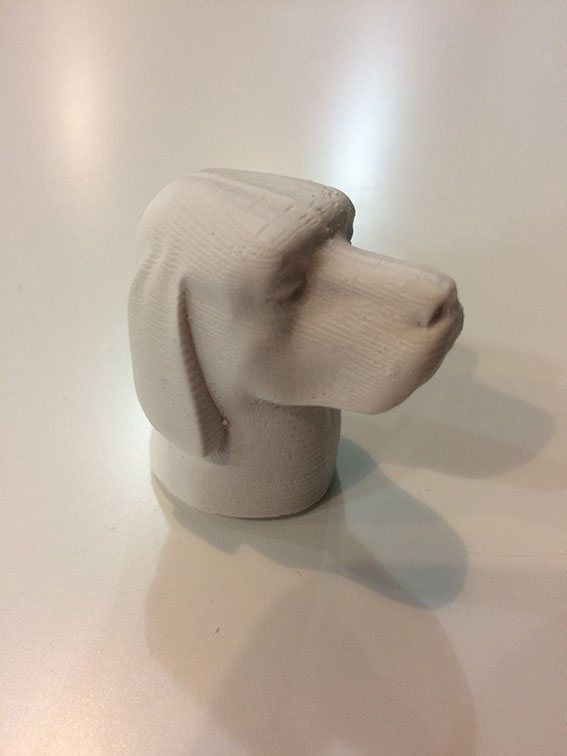
This is the final result of the whole process. I will try to cast different materials to see different finishes and casting properties.
Download all the files here