Fully Funcitional Wally
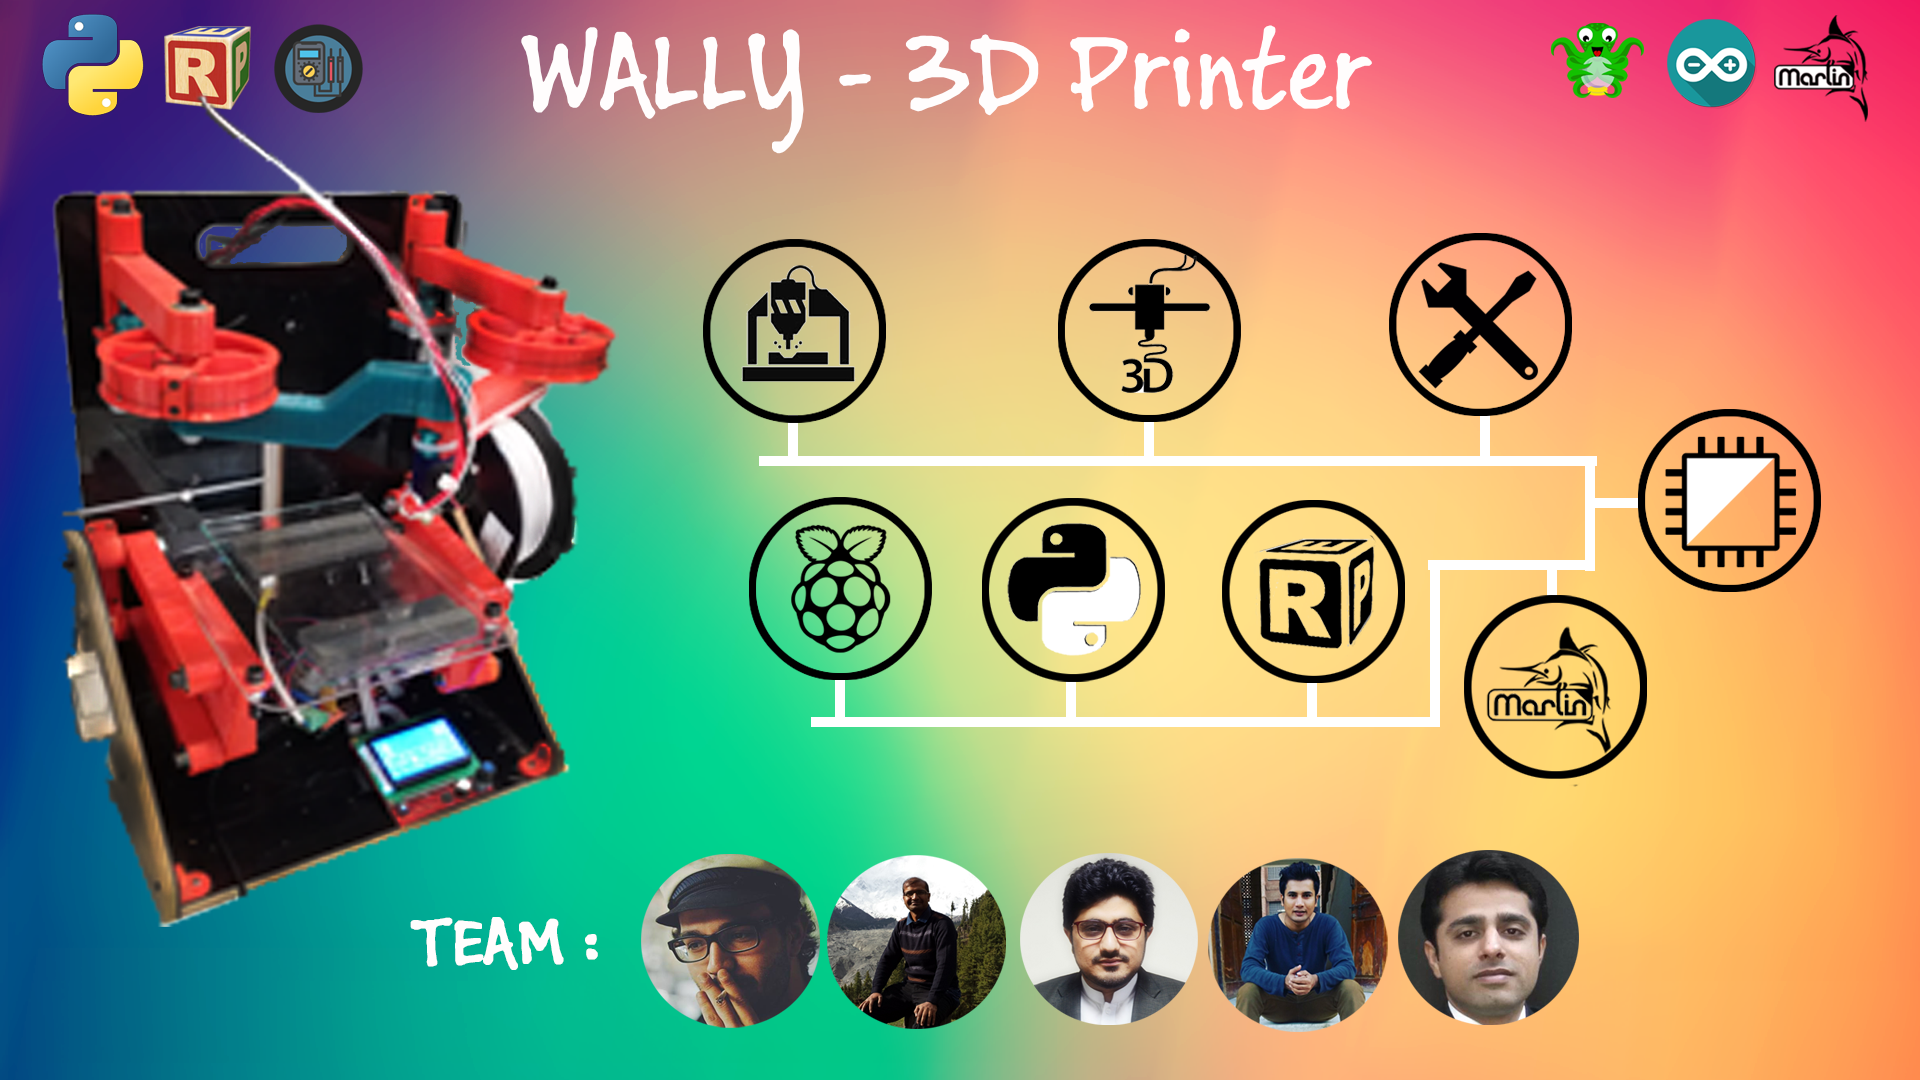
Wally Project
Wally Timelapse
So for this week is concerned, its all about Group Asssignment to develop a machine that makes (the machine). It was quite a new experience for all of us to work together in a group to develop something. Initially we planned some meetings to come up with an idea of a machine that we can make. Finally after some due delibration we decided to make a special type of 3D Printer generally called "Wally".
Wally is a wall bot where everything is mounted on the wall. Wally is a variant of reprap 3D printers which belong to Selective Compliance Assembly Robot Arm (SCARA) family. The idea was to make Wally as simple and low cost as possible, and use much less plastic and bearing than other does, but has faster speed and better resolution.
The printed parts take almost 1kg of PLA and 40-45 hours to print a complete set. Nicholas Seward recommends PLA printed at a 0.3mm layer height and 15% infill with 3 perimeters.
RepRap Community is working for the portable and replicable 3D printers. RepRap is humanity's first general-purpose self-replicating manufacturing machine. Since many parts of RepRap are made from plastic and RepRap prints those parts, RepRap self-replicates by making a kit of itself - a kit that anyone can assemble given time and materials.
Wally - The Ultimate Printer
Wally works on inverse kinematics, In robotics, inverse kinematics makes use of the kinematics equations to determine the joint parameters that provide a desired position for each of the robot's end-effectors. Specification of the movement of a robot so that its end-effectors achieve the desired tasks is known as motion planning.
Wally - Inverse Kinematics
Once the idea was ready, now its time to divide the task and get started.
Well there is quite a bit of help available for this designing this printer, first of all we made a list of the components and materials we will need during the process of making the printer.
We started our work, first one was Fida, his task was to cut and assemble frame so that we can further proceed.
3D Model of the Frame
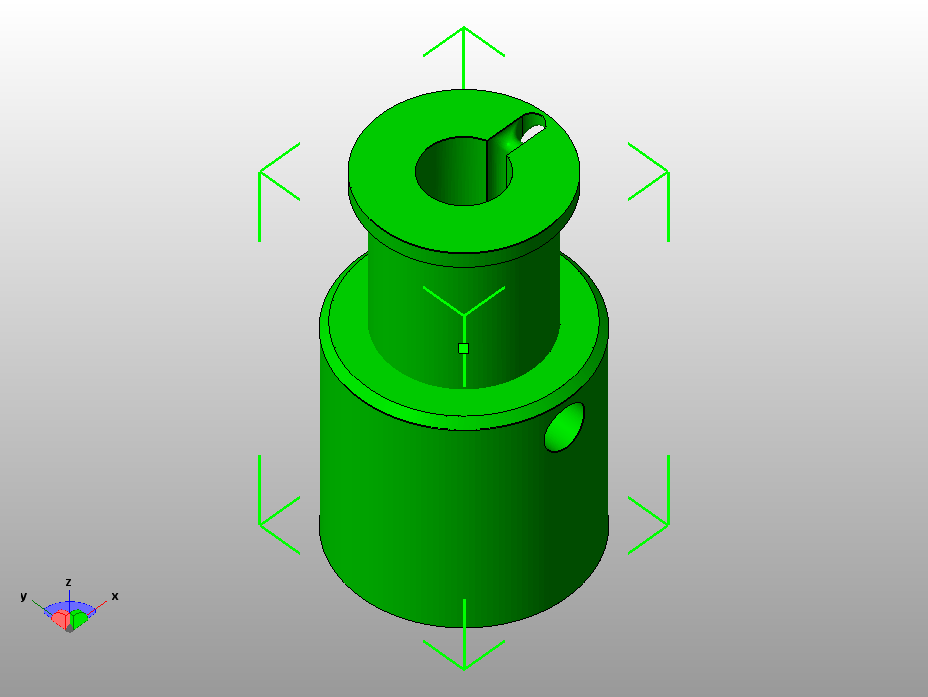
Once the frame was ready now it was the time of print the XY and Z axis components their assembly.
XY Axis Working of Scara
Wally places the stepper motors on the walls of the frame to reduce the wieght and allow the arm to move at faster speeds. The position of the arms is adjustable through fishing line drive belt as illustrated below
XY - Axis Working
Design of Wally is a sizeable task. For the mechanical design assignment I and Nisar are jointly responsible for working on the XY- axis movement framework.
The mechanical assembly of XYh movement axis required the following components
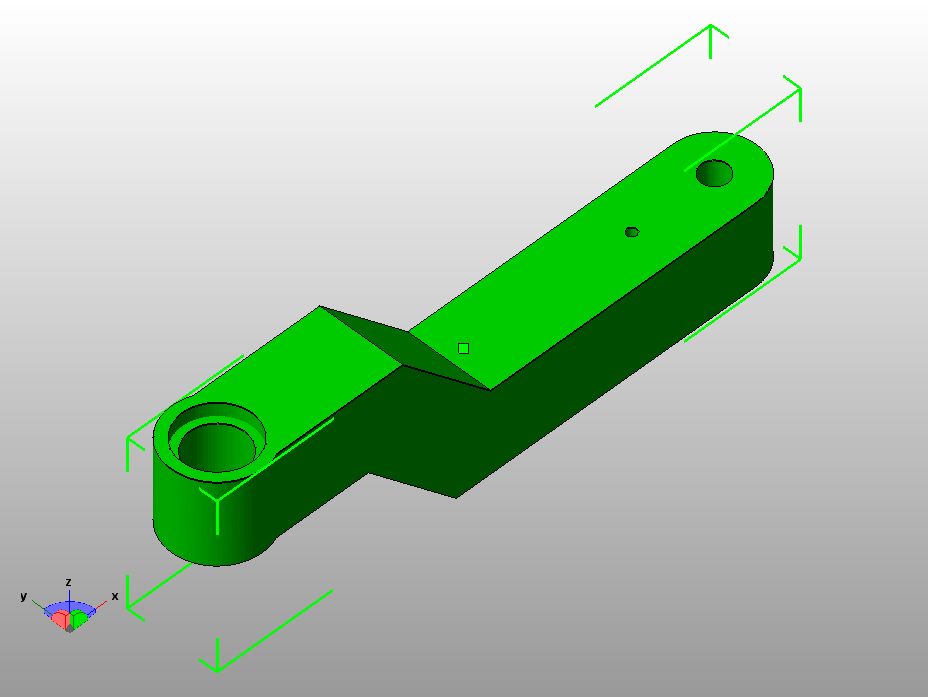
xy forearm.stl, Qty: 1
xy mount.stl, Qty: 2
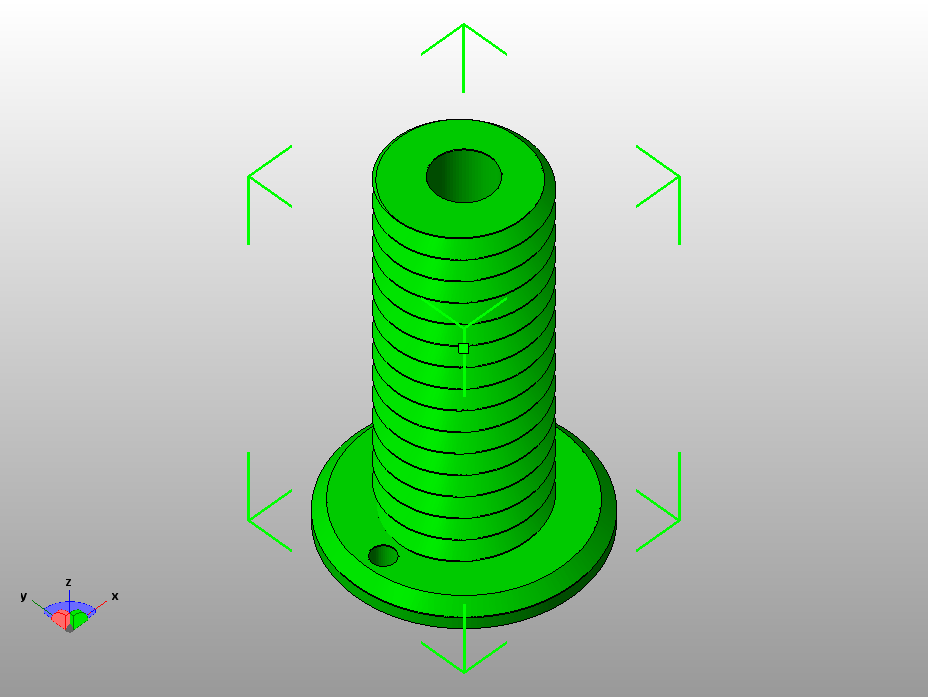
xy pulley.stl, Qty: 2
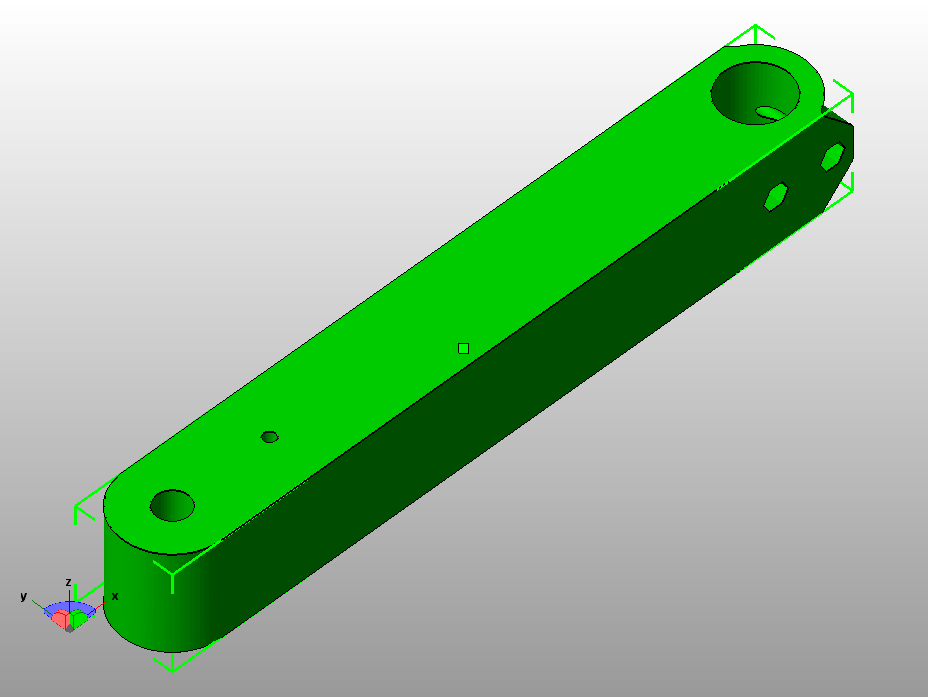
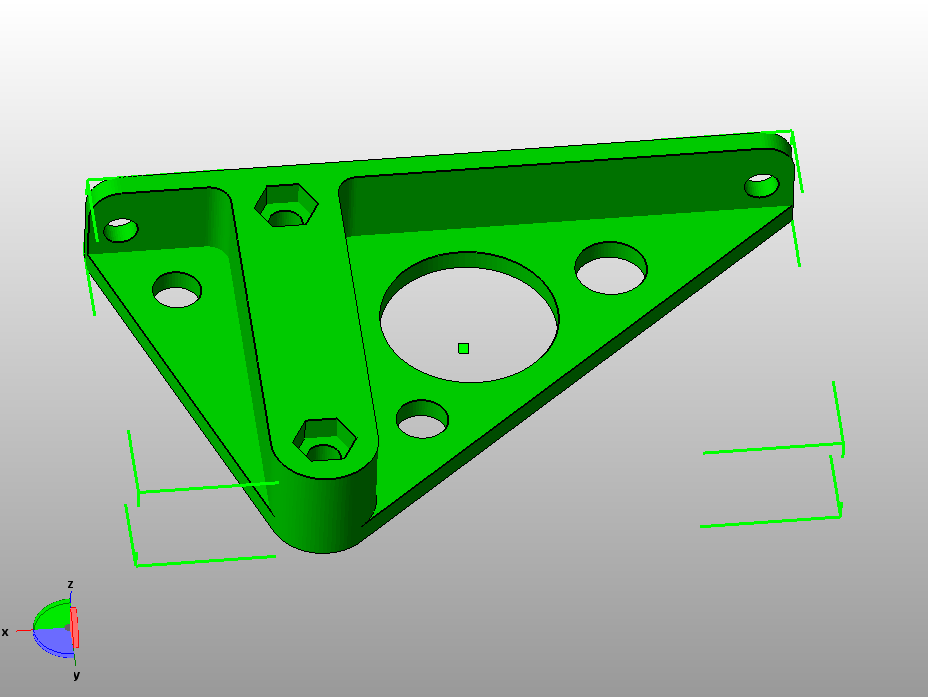
xy ubis mount arm.stl, Qty: 1
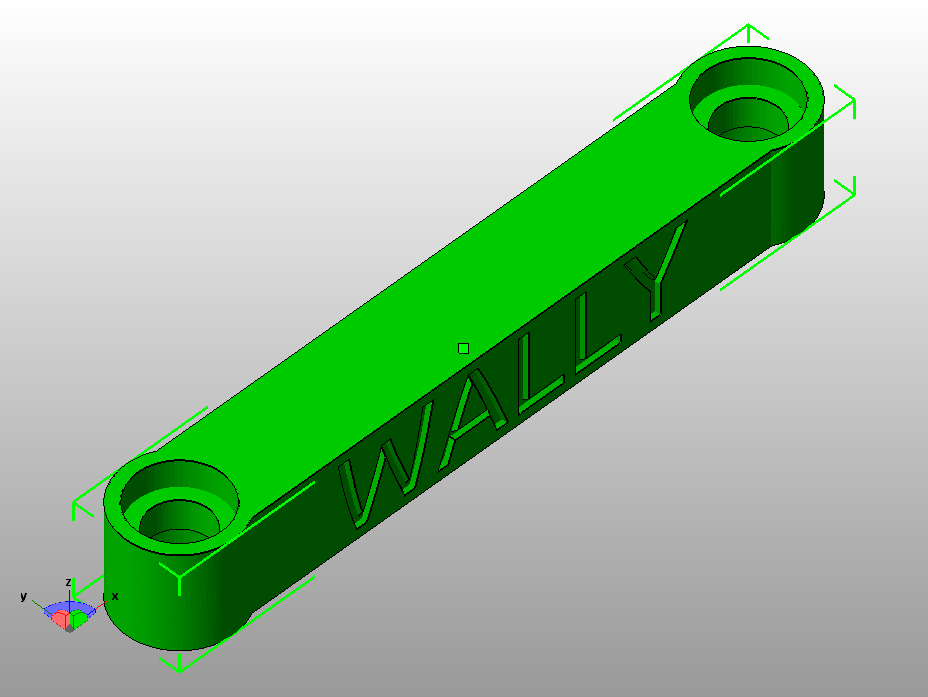
xy wall arm.stl, Qty: 6
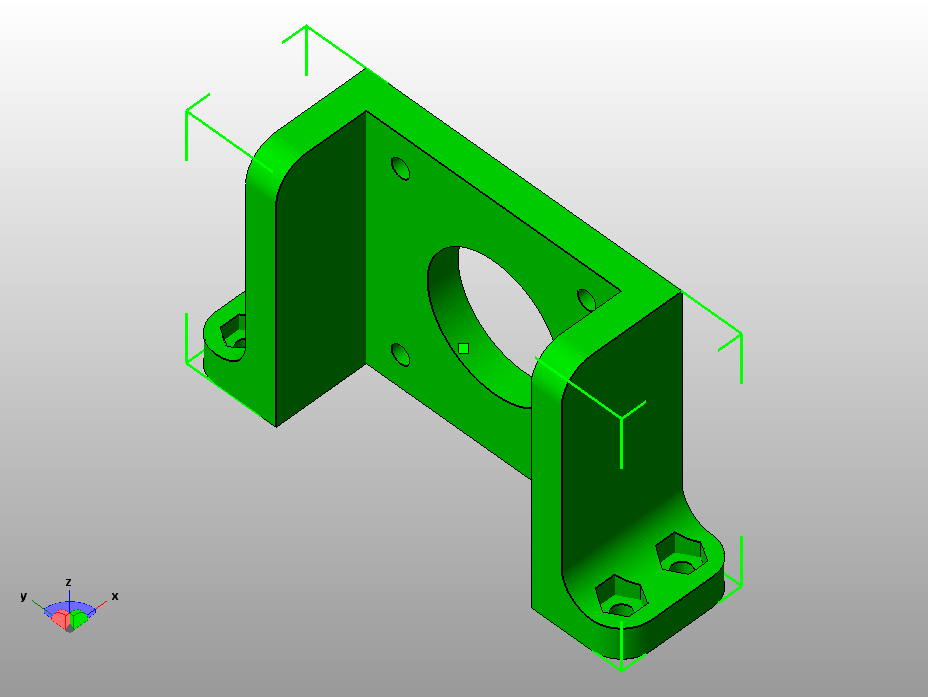
xy arm wall bracket.stl, Qty: 2
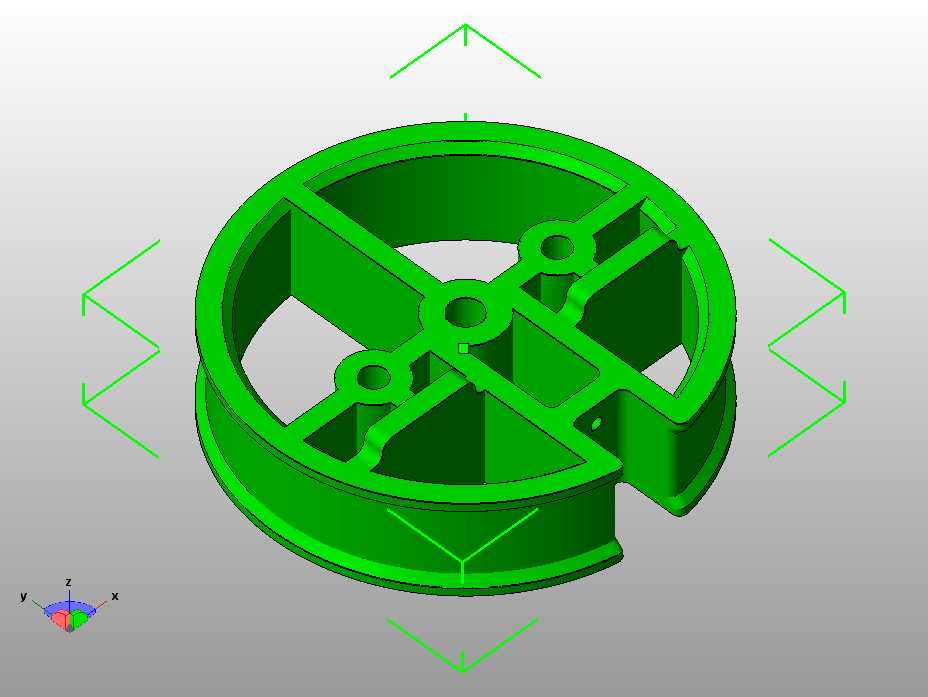
big pulley.stl, Qty: 2
Working of the XY Arm
Wally Top View and XY-Axis Working
It was the process of controlling the Z-Axis and its movement, as in Wally Z-Axis depends on the movement of the bed not the extruder like in the most of other printers. In wally the extruder only moves in XY-Axis.
Wally Side View - Z-Axis movement
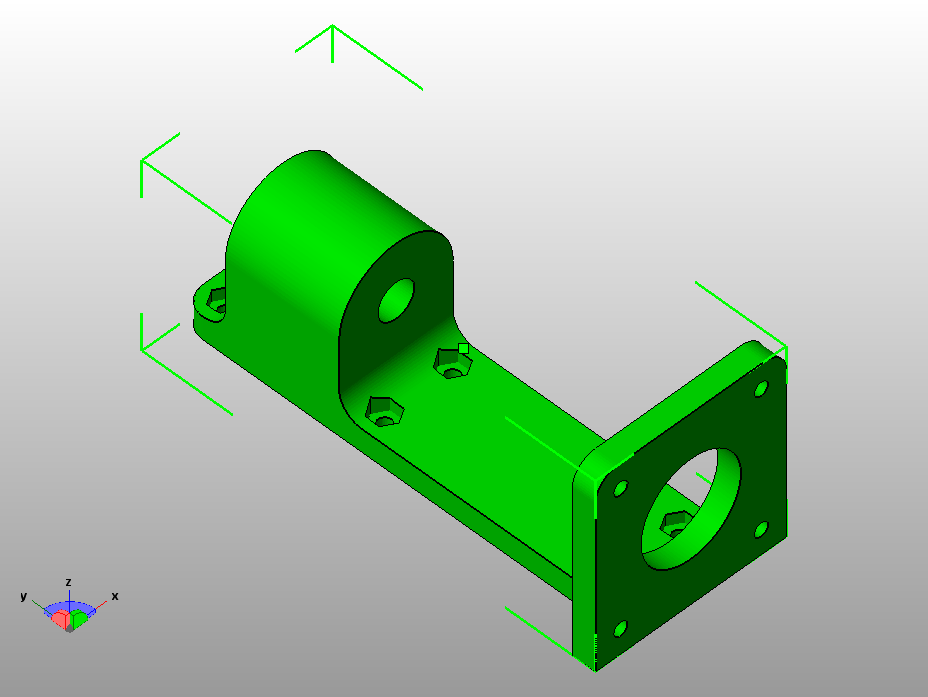
All the important parts for the Z-Axis 3D printed are here.
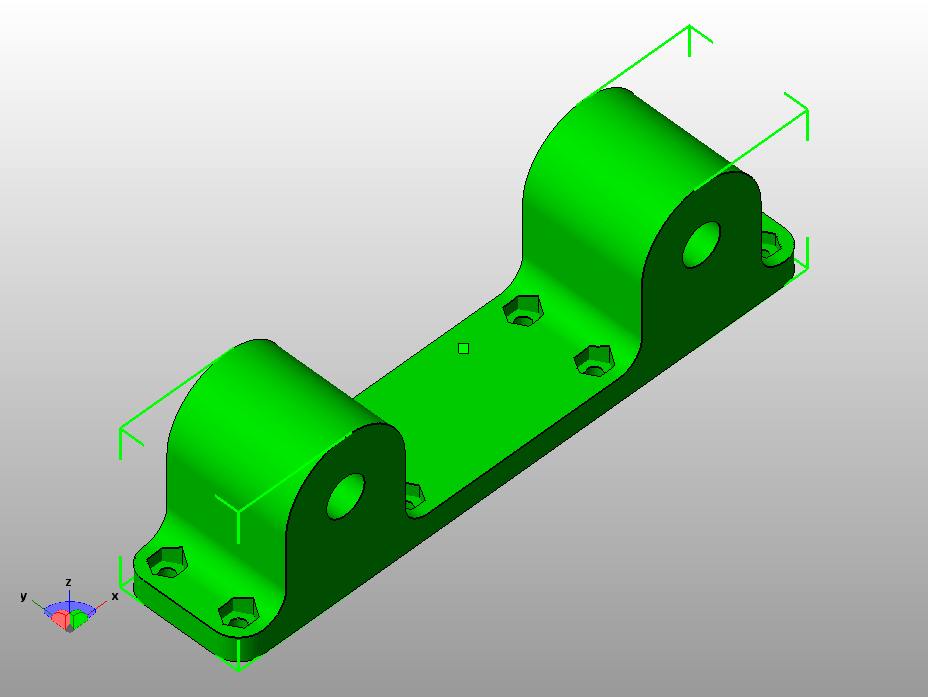
z arm wall bracket.stl, Qty: 2
z idler.stl, Qty: 1
z motor mount.stl, Qty: 1

z pulley holder.stl, Qty: 1
z pulley.stl, Qty: 1
z arm wall bracket.stl, Qty: 2 (Left and Right)
Once the Frame part was done, it was now the time to 3D print all the parts, it was the combined and huge task to print all those parts. We printed them after taking a huge time and the materials.
All the printed parts with the frame
Now it was the time to assemble all the parts
Making the holes, putting pulleys and fixing all parts together
Putting the screws
Putting the screws on the XY axis pulley
The Finaly Result after putting all the components together
The group meeting exploring further functionality