This week after Neil's lecture, I got a fair idea how to go through this week's task. Which looked fairly easy for me, as it depended fully on the programming side. But I didn't the hidden challenges behind the all electronics designing and the pin structure.
As this week heavily focused on Embeded Programming, my first step was naturally to get a little headstart to get the information about the hardware and I started reading the higly boring "Microcontroller Datasheet" to get a general idea abou the Microcontroller and its structure.
After reading the datasheet, I would highly recommend you guys to take a sip and try to read the datasheet, it helps you alot atleast in the understanding of the Microcontroller structure, and the other components like Registers, its Architecture (RISC and SISC) and others.
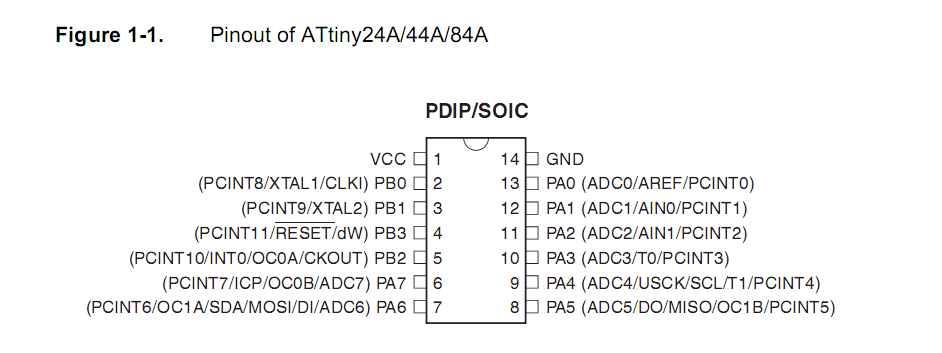
Microcontroller Pin Structure
Once I understood the basics of the Microcontroller, now it was time to dive deep in the programming side. I have tried multiple platforms and programming langauges to program my board.
The first and the foremost thing was to download the programming environment, so I downloaded the Arduino and installed it on my pc.
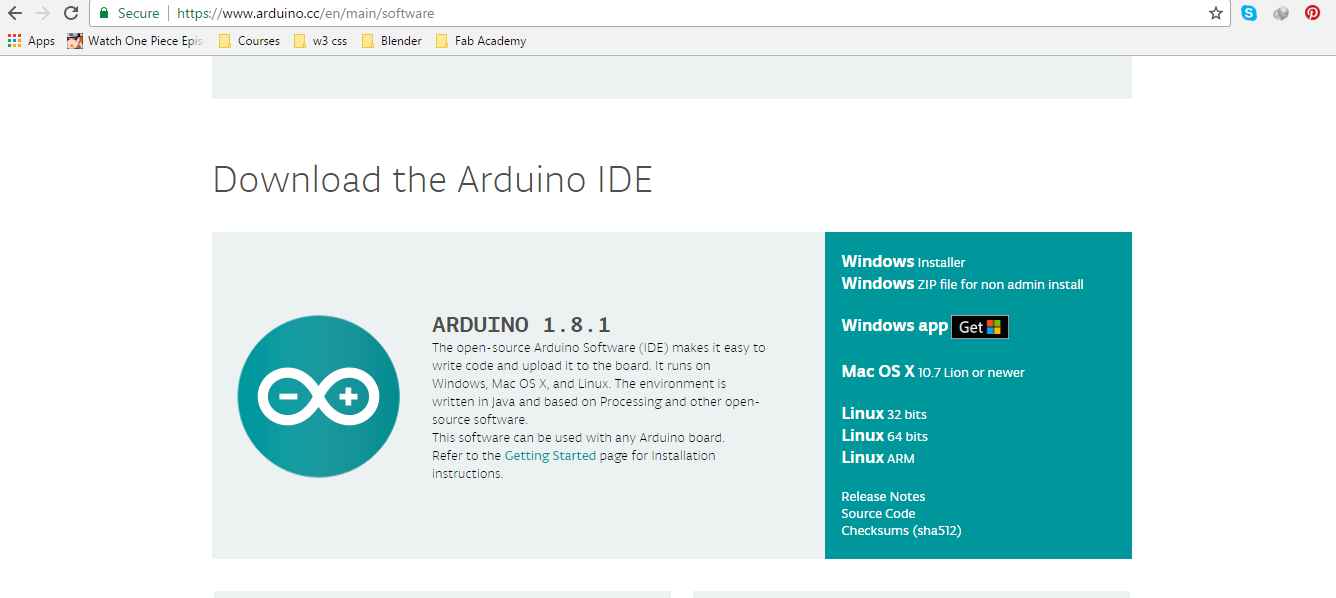
Downloading Arduino
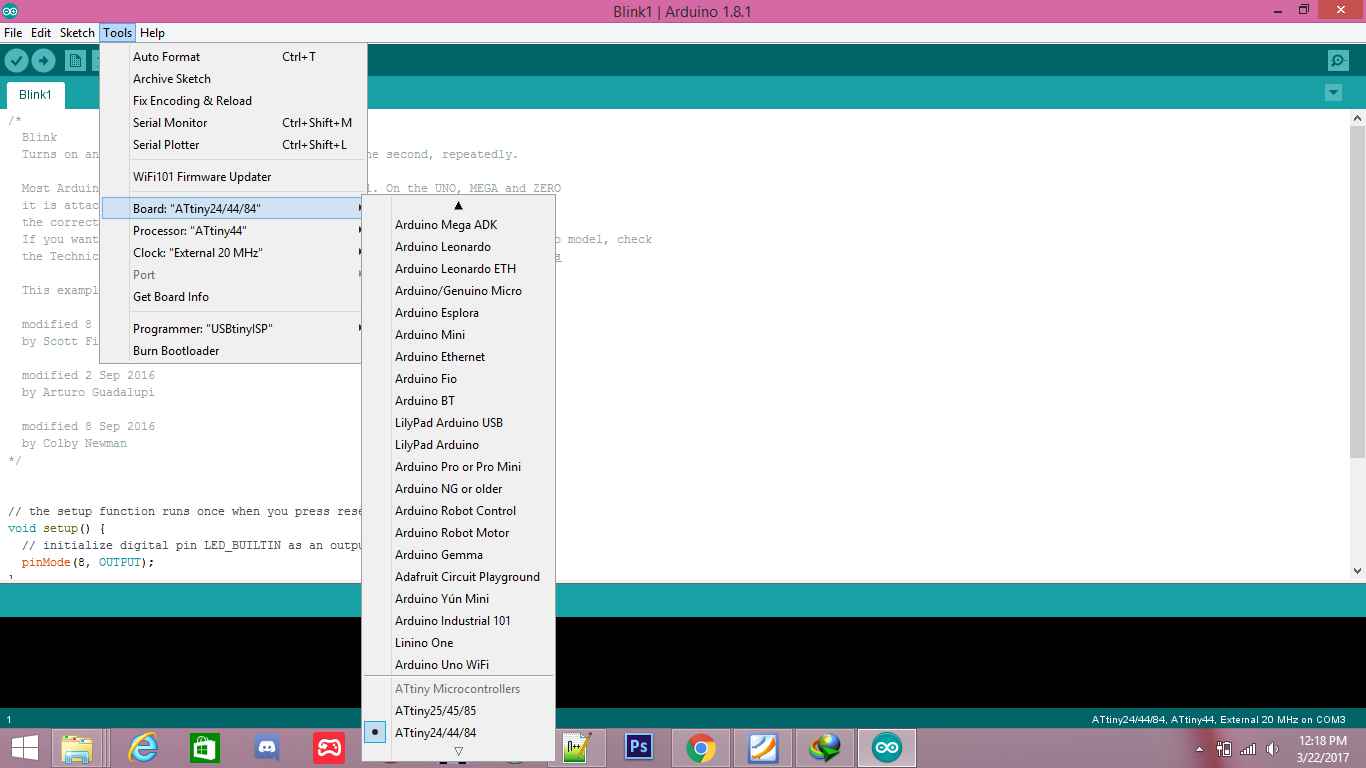
After the installation of arduino now it was the time to install the ATTiny plug-in in arduino as by default Arduino doesn't support it.
First thing is to open the Boards Manager from tools menu

Opening Boards Manager
And then search for the ATTiny in the search bar
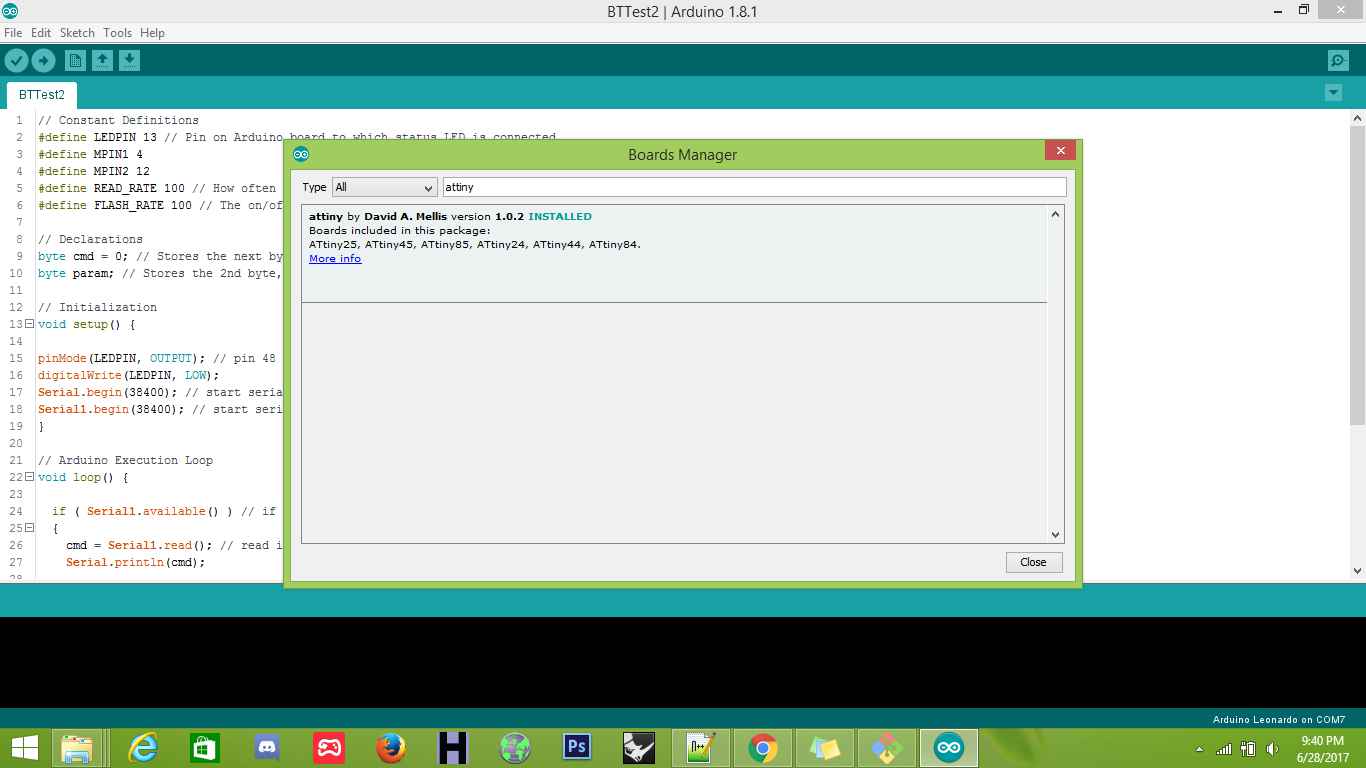
Installing ATTiny
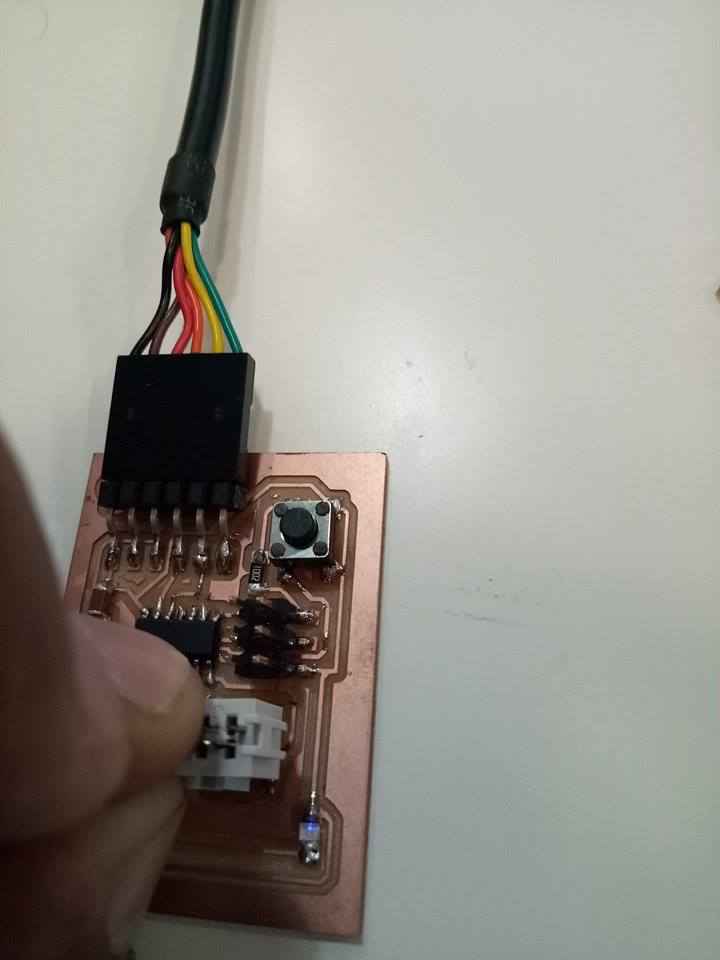
After the installation of ATTiny, now it was the time to check whether my board works or not, so I properly checked the board using Multimeter, I checked all the inputs and outputs pins on the board to confirm everything seems to work, and I found an issue. The resonator attached to the board wasn't working properly so I had to desolder it and re-attach it so that it works, and it really was a challenge but I did a few tries and finally it worked.

Checking the board
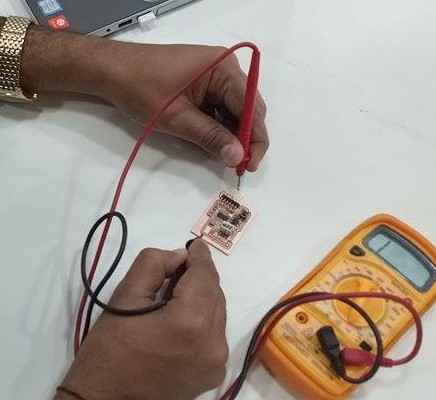
Checking the board
After confirming the working of the board, now it was the time to go for the programming, as I already had programmer available, now it was just time to setup the arduino to work with my board.
Setting the Arduino Environment
Once the environment was ready, all the tools and the settings ready for my "ATTiny Microcontroller", now it was the time to set the programming for the board. I chose a simple Blinking Program to check whether my board is working or not?
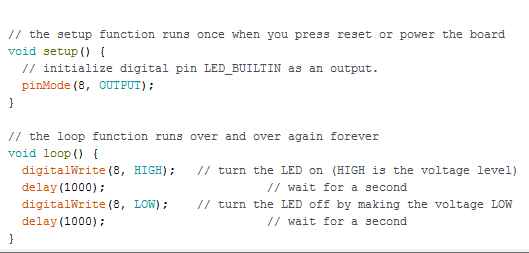
Blink Program
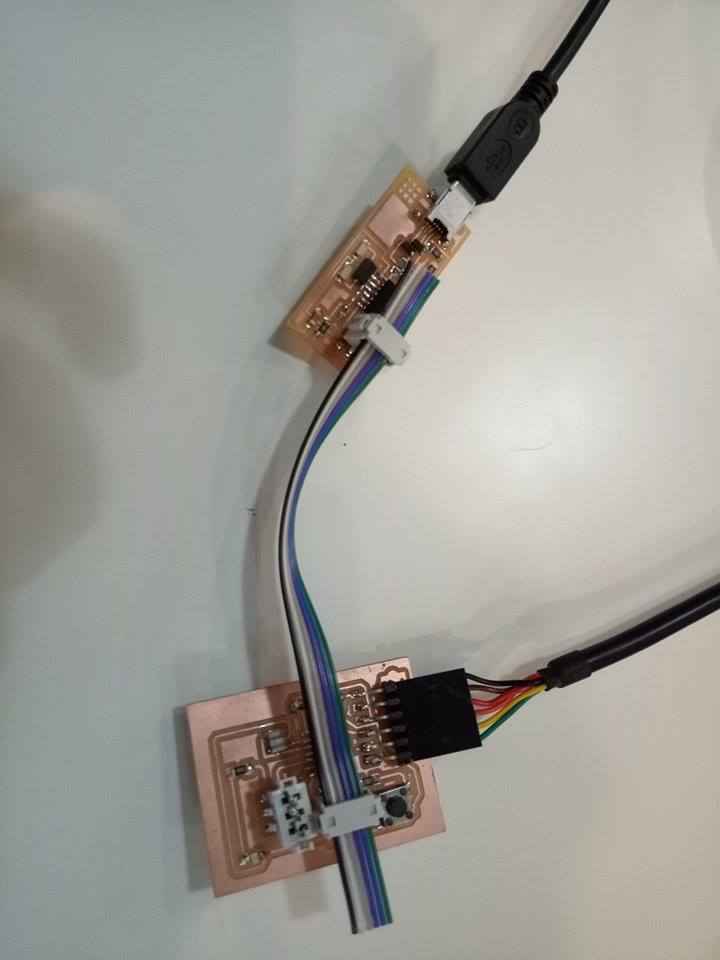
Connecting the board to PC
After connecting the board, now it was time to upload the code to the device, and once the code is uploaded, it was time to check wether the desired output is achieved or not ?
Blinking program worked perfectly
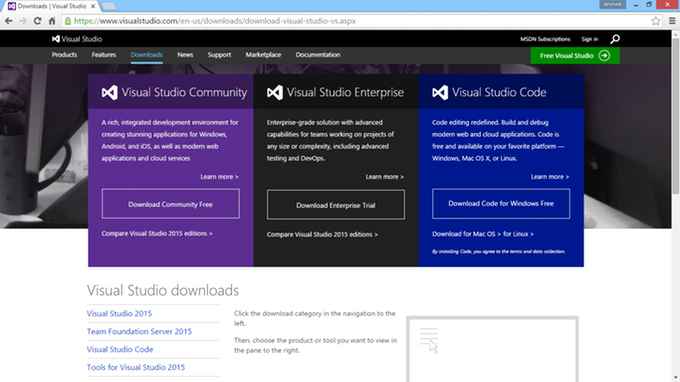
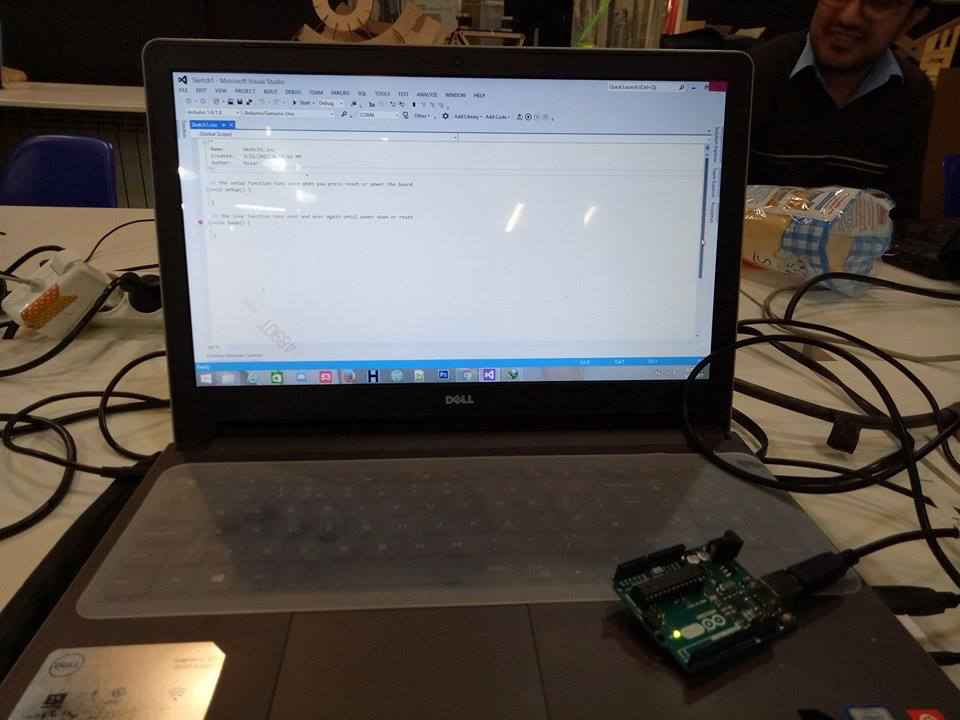
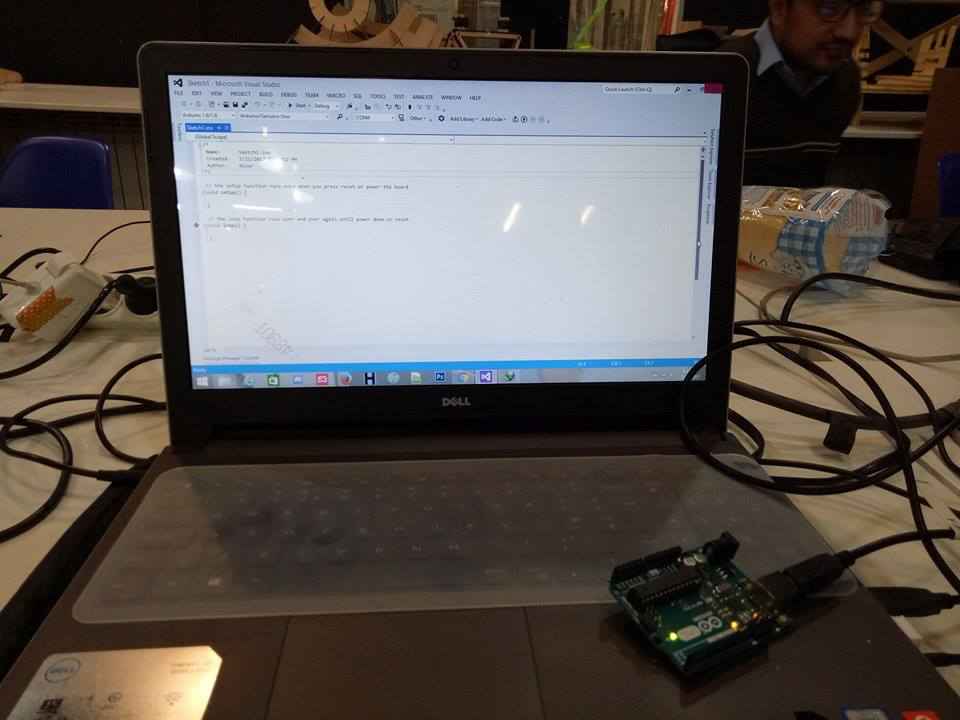
Well after the coding in Arduino, I tried other platform, and I started working towards C# with Visual Studio.
Visual Sutdio is a great tool from Microsoft. It's available in many versions I used the free version ( Visual Studio Community Edition ), you can download it from here

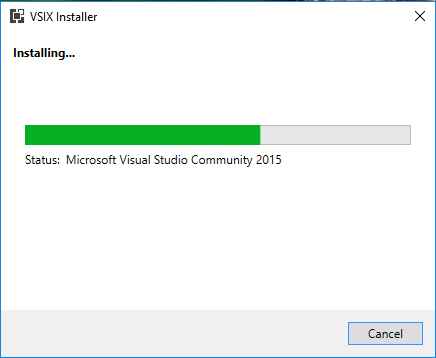
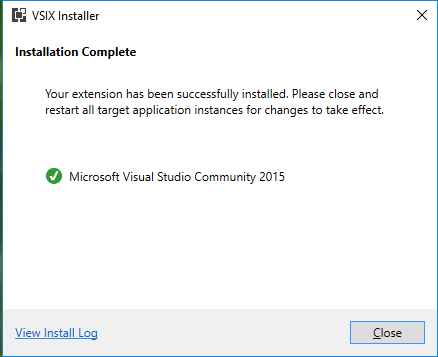
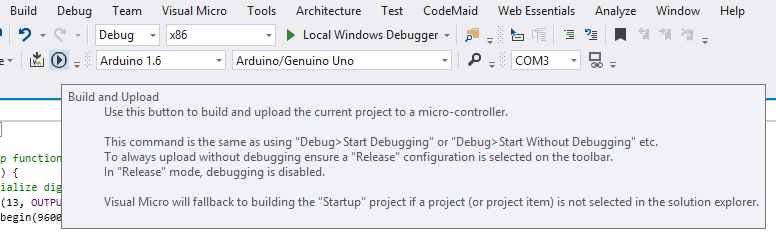
After you've installed Visual Studio with C++, you need to install the FREE plugin which is called Visual Micro. It contains many features such as :
The Visual Micro plugin will ask you about which version of Arduino IDE is installed on your pc and will try to locate it. -make sure the Arduino IDE is installed-
If it doesn't allocate, mostly the Arduino IDE is installed in C:\Program Files (x86)\Arduino

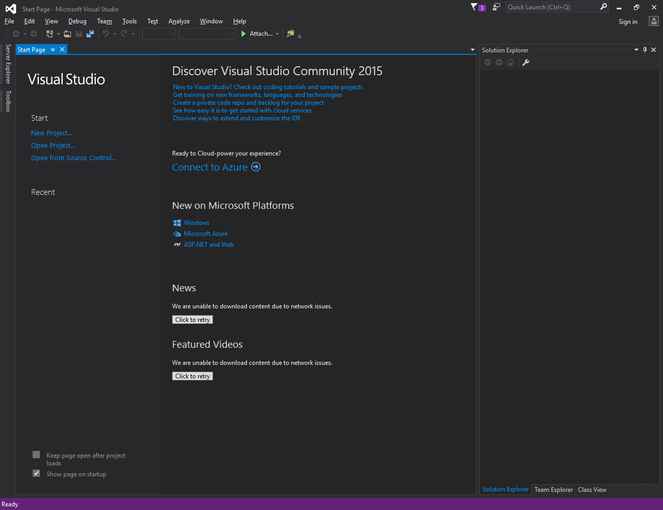
Once the Visual Micro is installed, you can see multiple changes in the Visual Studio
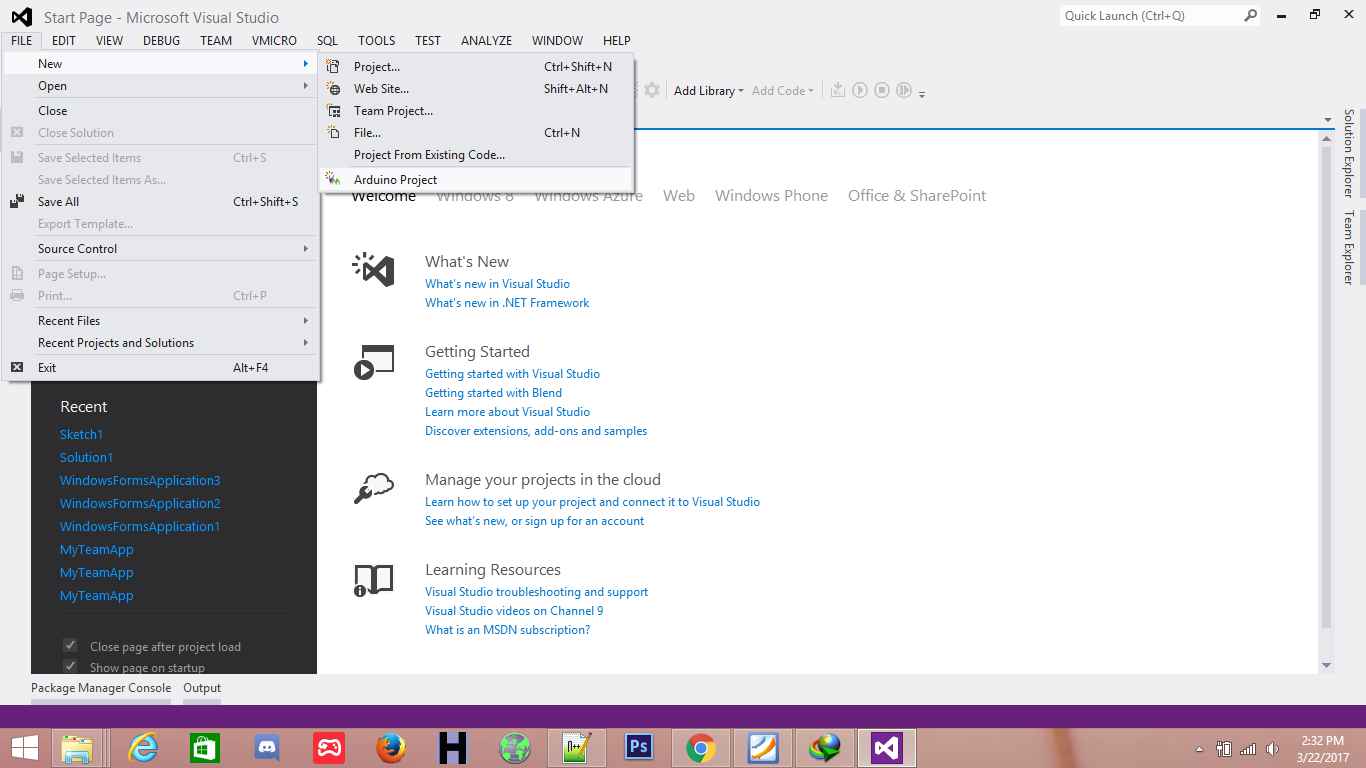
Arduino Project can be created from menu

Arduino Bar is added as well as the VMicro Menu from where you can select multiple settings
Lets create a new Project of Arduino and started coding for Arduino
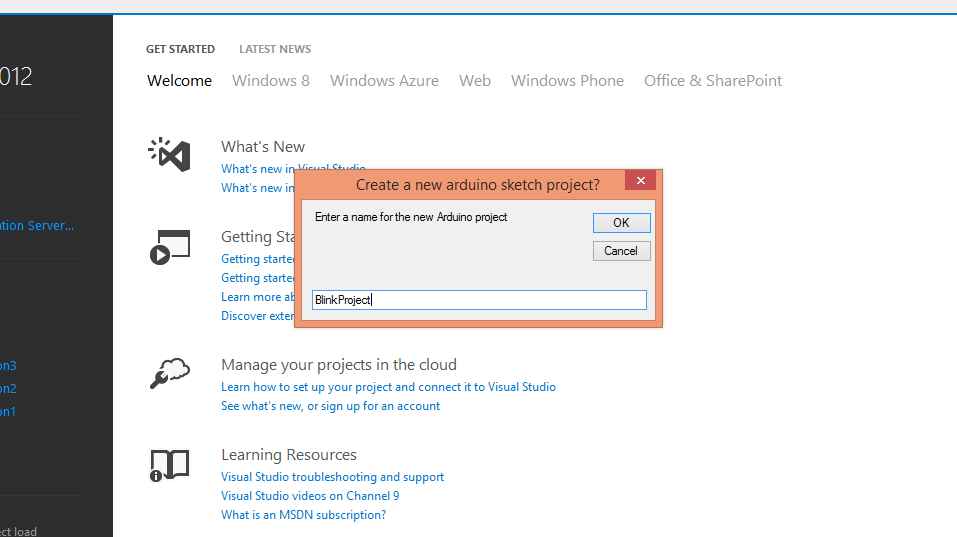
Creating Arduino Project for Arduino
And now its time to start the coding, well it was much simpler than coding in the Arduino Environment.
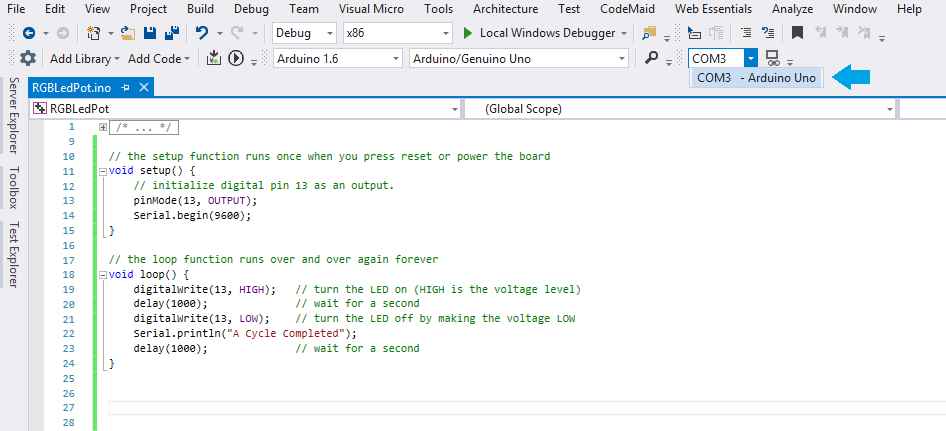
Programming Code for the Blinking Project in C# (C - Sharp) for Arduino Uno
Now it was the time to upload the code and check if it works
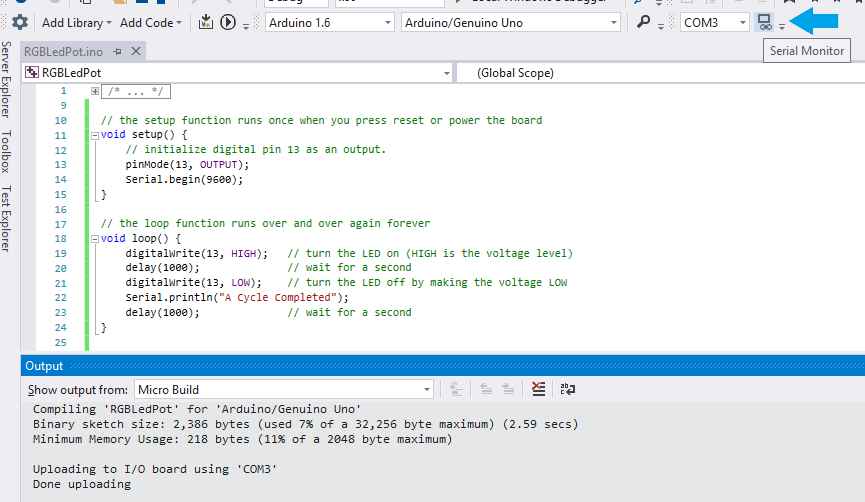
The Code uploaded successfully.
Blinking Working.
Blinking Working.
I also tried to work with Java Environment, to find the work around for Arduino, well it was really difficult and it only gives the basic wrapper functionality as you still have to program the main functionality in Either AVR Dude or in Arduino.