
07. COMPUTER-CONTROLLED MACHINING
INTRODUCTION
The goal of this assignment is learn how to use the CNC machine, desingning an object. For this object, it has to be consider the tolerance between the different pieces and the way to fixing them.
Students should have:
Explained how you made your files for machining (2D or 3D)
Shown how you made something BIG (setting up the machine, using fixings, testing joint, adjusting feeds and speeds, depth of cut, etcetera)
Included your files and 'hero shot' phtos of your final project
HIVE PROTOTYPE
Design
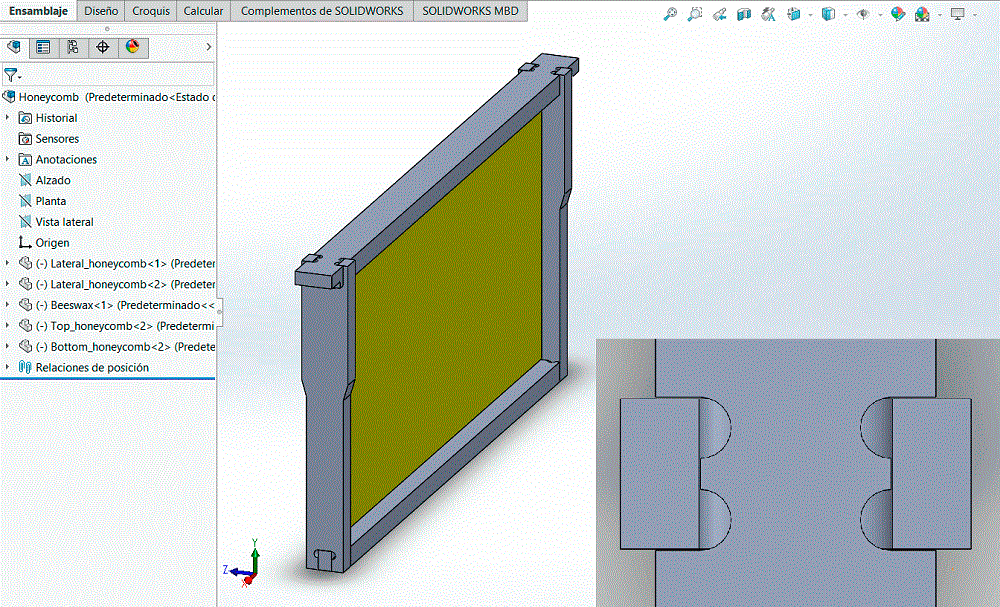
I did the hive with Solidworks. Firstly I did the honeycomb, to design the different pieces I keep in mind the kind of fixing and the tolerance to assembly them. In the image, it is possible to see the fixing with the different parts; and in the zoom, the tolerance between the two pieces.
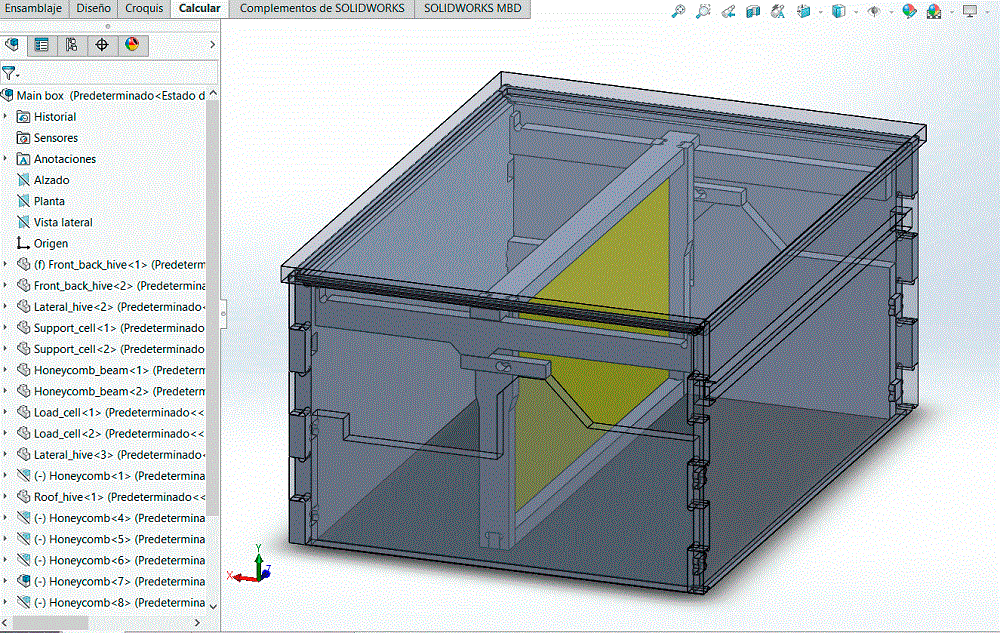
Later I designed the main box, I sized it in the way that it will be possible to put 10 honeycomb inside it. To deisgned it, I also keep in mind that will be possible put one or more box/es. I also consider the space to put the load cell in it. Like in the honeycomb, I keep in mind the kind of fixing and the tolerance to assembly them.
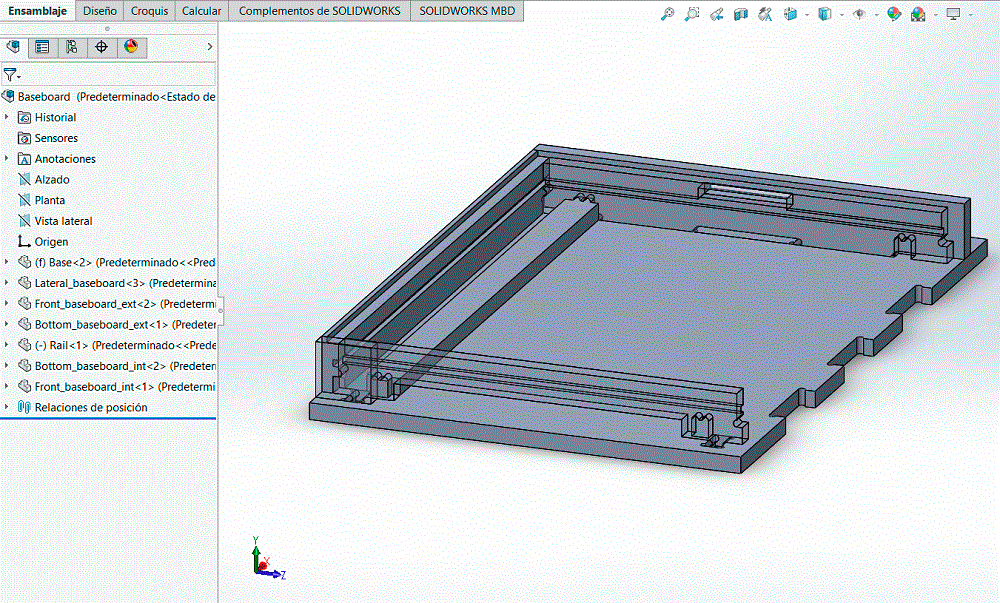
Finilly, I did the baseboard of the hive. In this part I also keep in mind the kind of fixing and the tolerance to assembly them.
To verify that all is correct, I assembled the three parts, and I confirm that there is any interference in all the pieces.
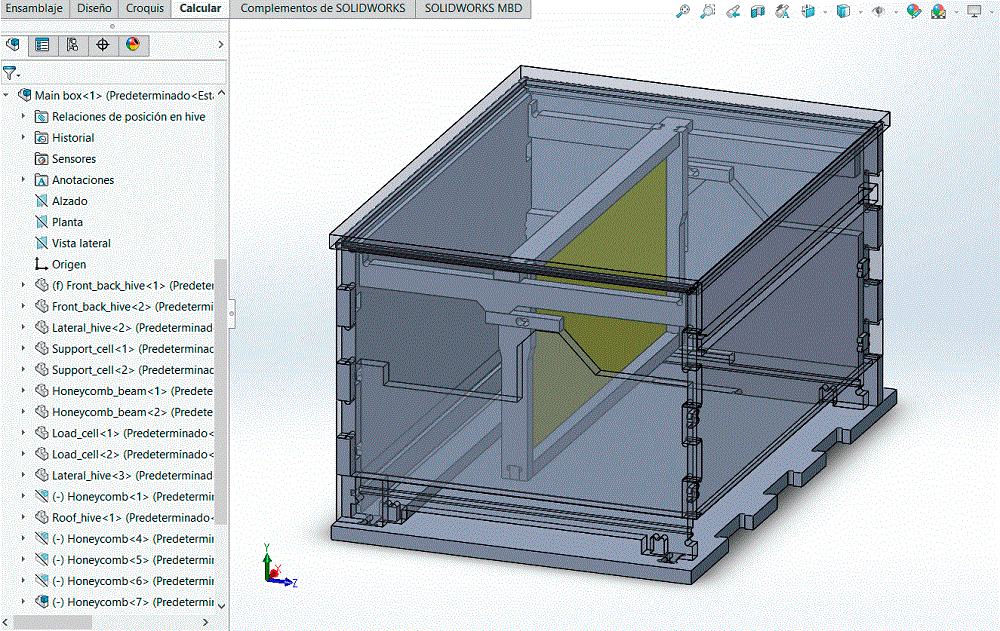
How it is a prototype, I did different toleraces:
0.15 mm if there is only one joint betwwen two pices, for example all the pieces of the noneycomb.
0.30 mm if there is more than one joint between two pieces, for example the exterior sides of the main box.
Dxf
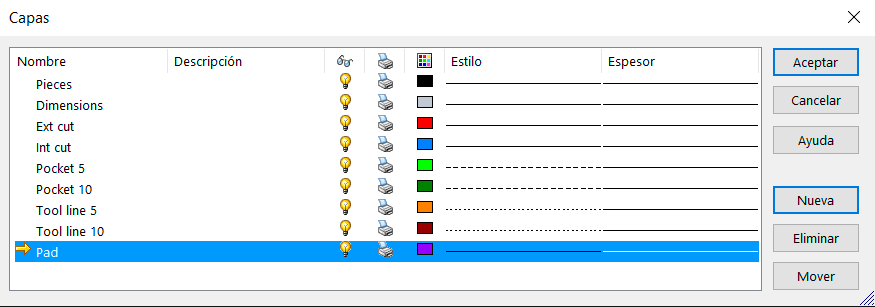
I opened a 'Drawing' with Solidworks, I personlize the size of the sheet (I put the dimensions of the wood) and I add all the component that I need to build the hive. After that I create differents layers:Pads: This is to fix the wood on the work area of the CNC.
Ext cut: The CNC has to cut following this line, but the tool has to be outside.
Int cut: The CNC has to cut following this line, but the tool has to be outside.
Pocket 5: This layer is for the pockets with a depth of 5mm.
Pocket 10: This layer is for the pockets with a depth of 10 mm.
Tool line 5: This layer is for the pockets with a depth of 5mm, but only with the width of the tool (it is the central line of the tool).
Tool line 10: This layer is for the pockets with a depth of 10mm, but only with the width of the tool (it is the central line of the tool).
Gcode
I did the Gcode with RhinoCAM. Before to begin, I take the wood and I mesured the dimensins, 2440x1220 mm. After that I opened my dxf and I did the follow steps:
1. I define the machine and the postprocessor; I selceted Machine: 3 axis and Post: ShotBot_MTC.2. Define the stock and work zero; I put 2440x1220x15 mm.
3. Create and select a tool for the machine; in my case I only selected the FlaMill6, because it has been created.
To create the tool you have to put the different diemnsions and some characteristic and save it.
4. Generate the toolpahts; when you click the 2 axis, you have some options, I used:
Engraving for the screws and lines tool (are pockets which have the width of the tool).
Pocketing to do the pockets.
Proiling to cut the wood.
When you chose one of them, you have different options:
4.1. Control Geometry; Remove all and Select Drive/Containment Regions. You click with the right button to the layer and chose Select objects; you can also select one by one the different lines. This will select all the lines of this layer.4.2. Tool; I selected the FlatMill6.
4.3. Feeds and Speeds; I go down the Plunge (Pf) to 1000 (it is the speed of the tool when it begins.
4.4. Clearance Plane; I selected Absolute Z value.
4.5. Cut Parameters; Stock 0, also to do the cuts, chose inside to do internat cuts (gaps) or outsiede to cut a piece, and for pocketing % Tool Dia put 80 (it is to be sure that it will do a good pocketing.
4.6. Cut Levels; you chose the Total cut Depth, the Rought Depth which has to be the same value amd the Rough Depth/Cut which indicates the depth of the tool for every pass.
4.7. Entry/Exit; I did not use it, but its to indicate the entry and exit the tool (angles).
4.8. Advanced Cut Parameters;.
4.9. Sorting; I chose Minimum Distance Sort.
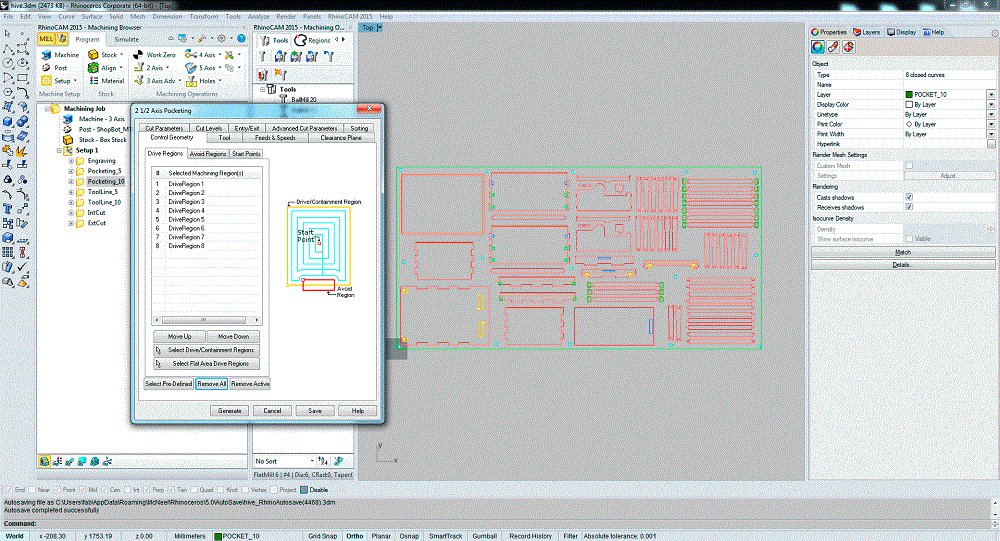
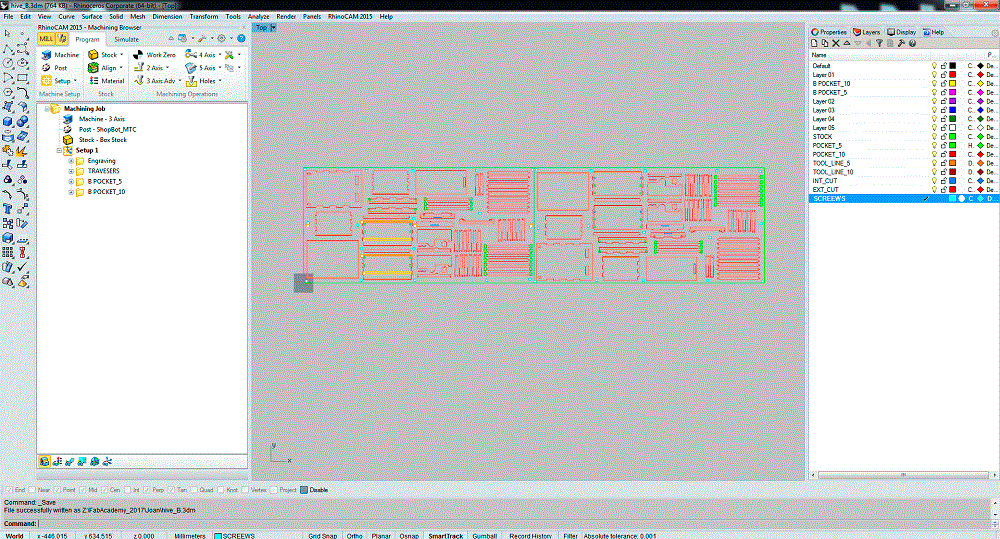
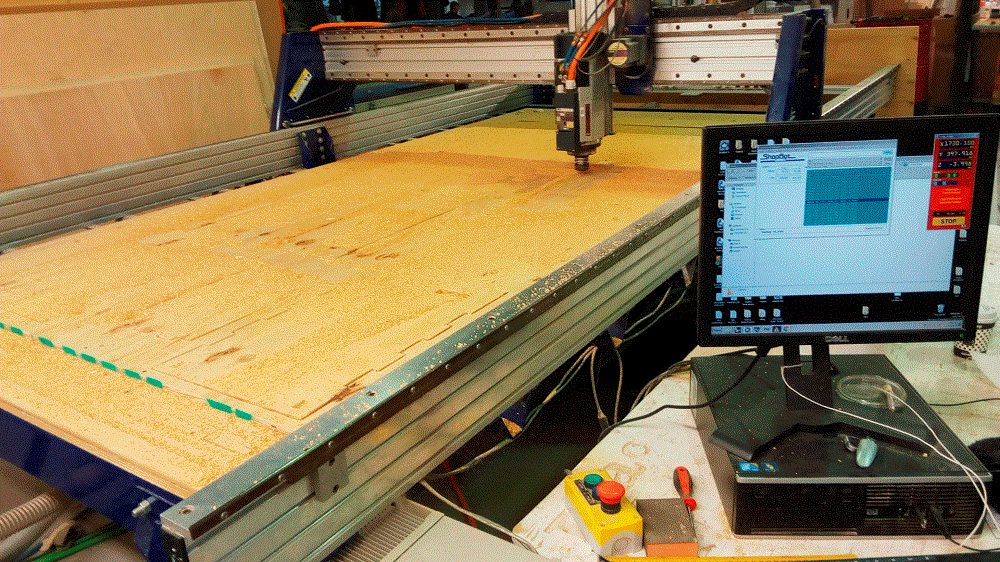
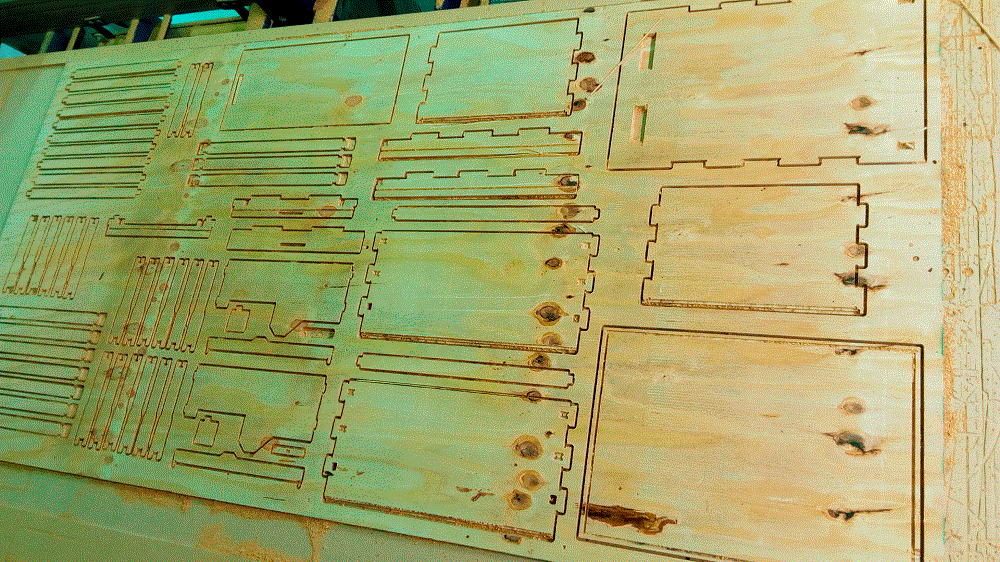
In my case I did the both sides of the wood because I had pocket in both sides. To not lose the Work Zero I did three gaps of 11 mm (because I had a metal stick of this size) in the middle of the material. These has to be a pocket, I put with a depth of 23 mm, because when I turned the wood I align the three gaps and to know that the position is the good one, i put the sticks. After that I did the second side.
First I did the side (which has only the pockets); the screws and later the pocketing. After that I turned the wood, I put in the right position and I did the second one, first the screws, after the pockets, and finally I cut. To cut it is important to do the bridges in the Gcode.
Assembly
When I had all the pieces I sand them. To do it I create a tool, I glued the sandpaper with a piece of wood. I saw that the tolerance it would be better do it all of them with 0.15 mm in every side, 0.30 mm in every side is too much. I did some pocket of 5 mm and I noticed that it will be better with 10 mm.
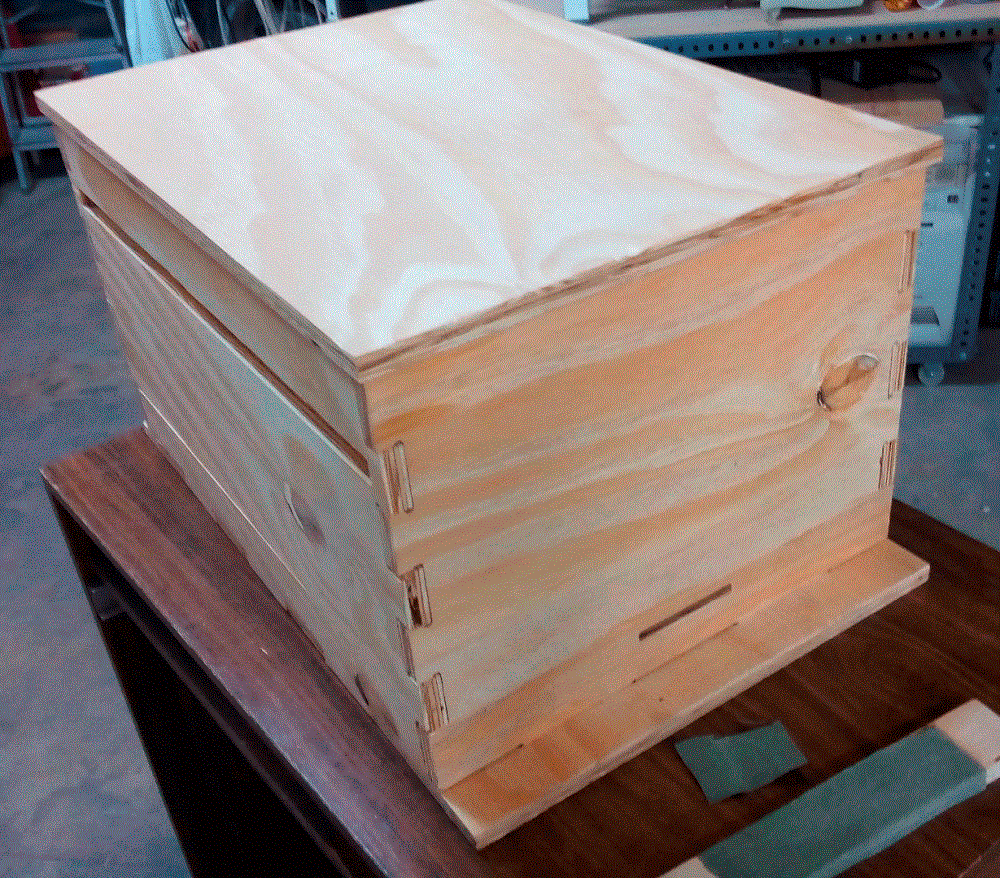
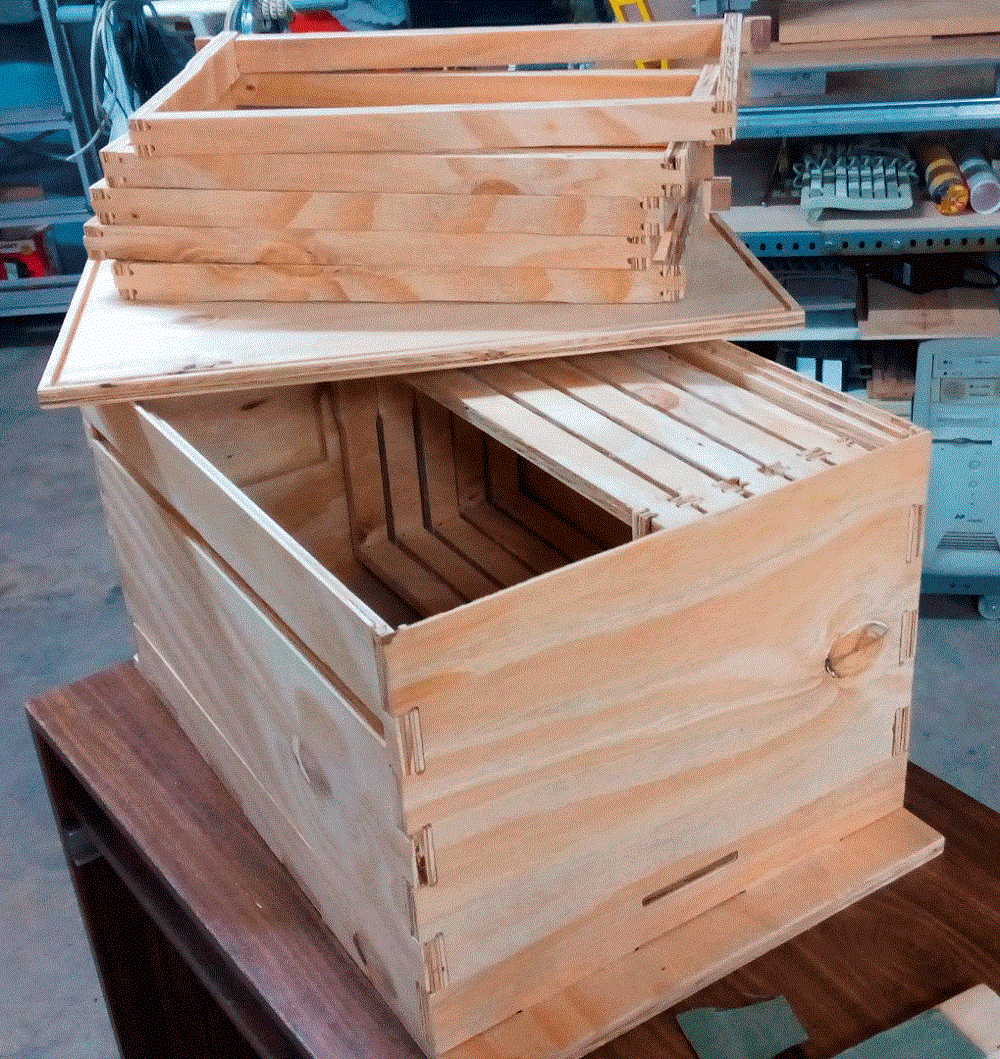
This assignment teach me a lot, and know I saw that the pices that I only need to cut it is better to cut with the laser machine, with this one the cut is clean and it is not necessary to sand; but the CNC it is very useful when you have to do pockets. Now I know how to cut the different piece of my final project.
DOWNLOAD FILE:
week 7


