Composites
Week 14: Assignment
The assignment for this week was to design and make a 3D mold around a foot squared and produce a fiber composite part in it.
My Approach
I designed a simple mould for composites. To understand the workflow, I had detailed discussions with my local instructor next day, after the class. After discussion, I decided to follow the following steps:
- Create a 3D model, using Onshape tool.
- Export STL file and generate toolpath using fabmodules.
- Mill it using the SRM 20 Modella out of the wooden block.
- Make a rough cut on the MDF block and then finishing cut.
- Put Composites on the mould.
- Do Compaction and let it for drying.
- Get the final product.
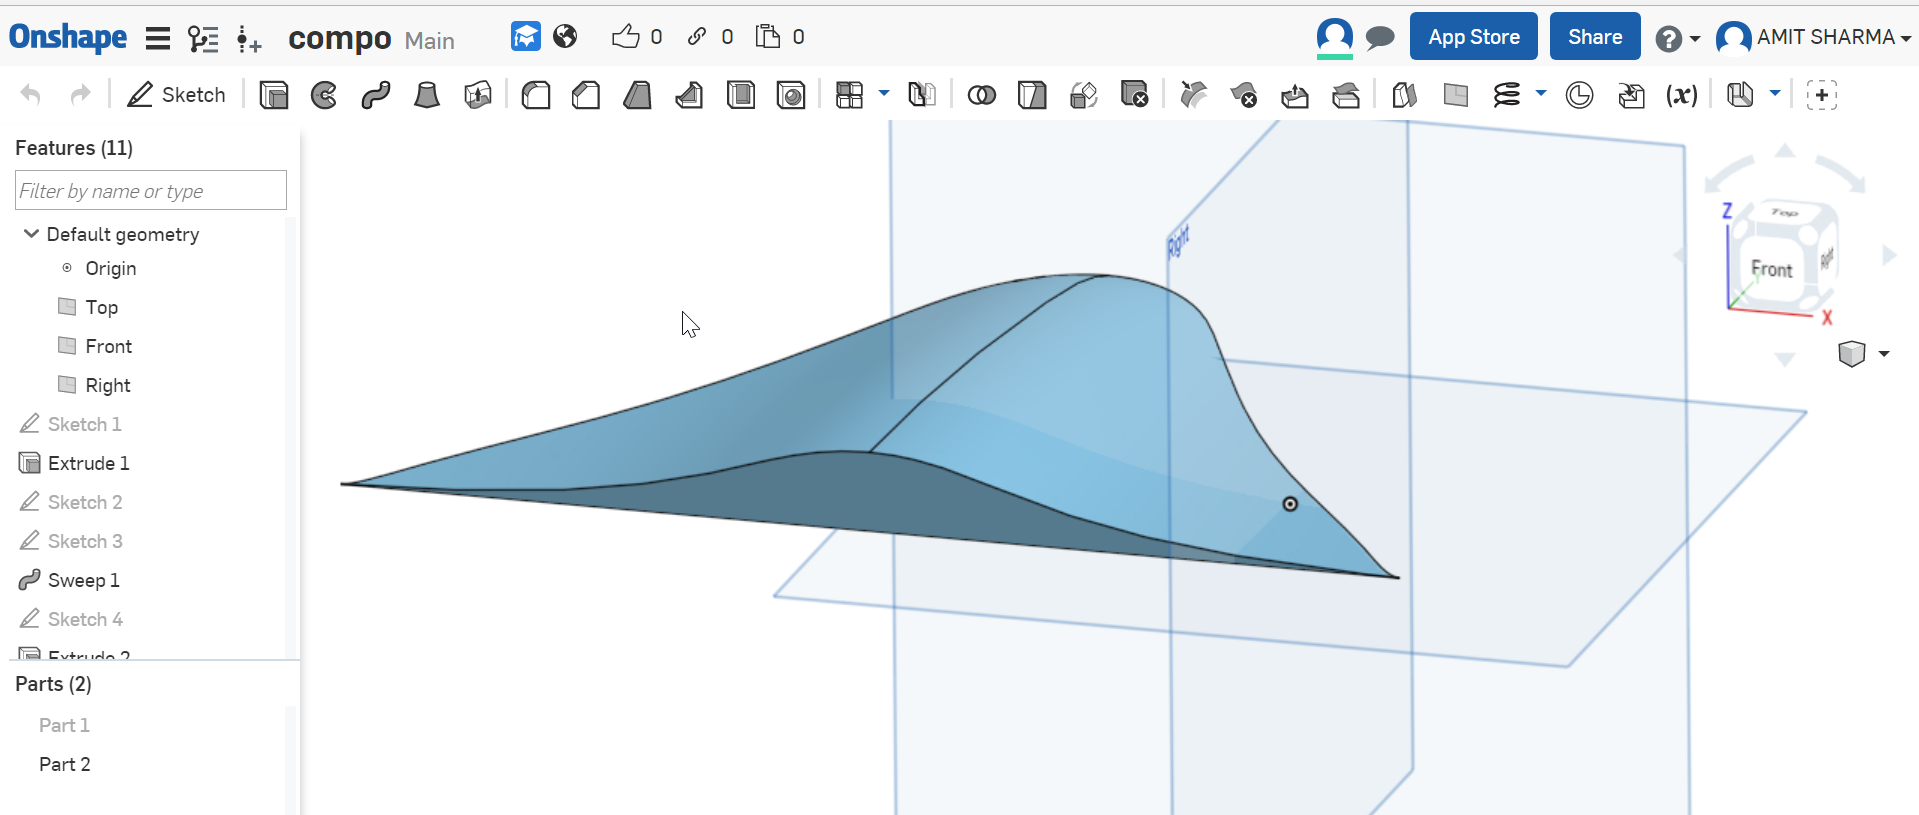
Step 1
Made a 3D model on onshape server, as shown below. It's a Lamp cover.
Step 2
I used MODELA Player 4 for creating tools path of the created model in the same way as discussed in week 12 (Moulding and Casting week).
Step 3
After the rough and finishing cut on the MDF block, the final block looks as follow. Also, the surface of the mould was covered with Tape so that the composite can be removed easily.
Step 4
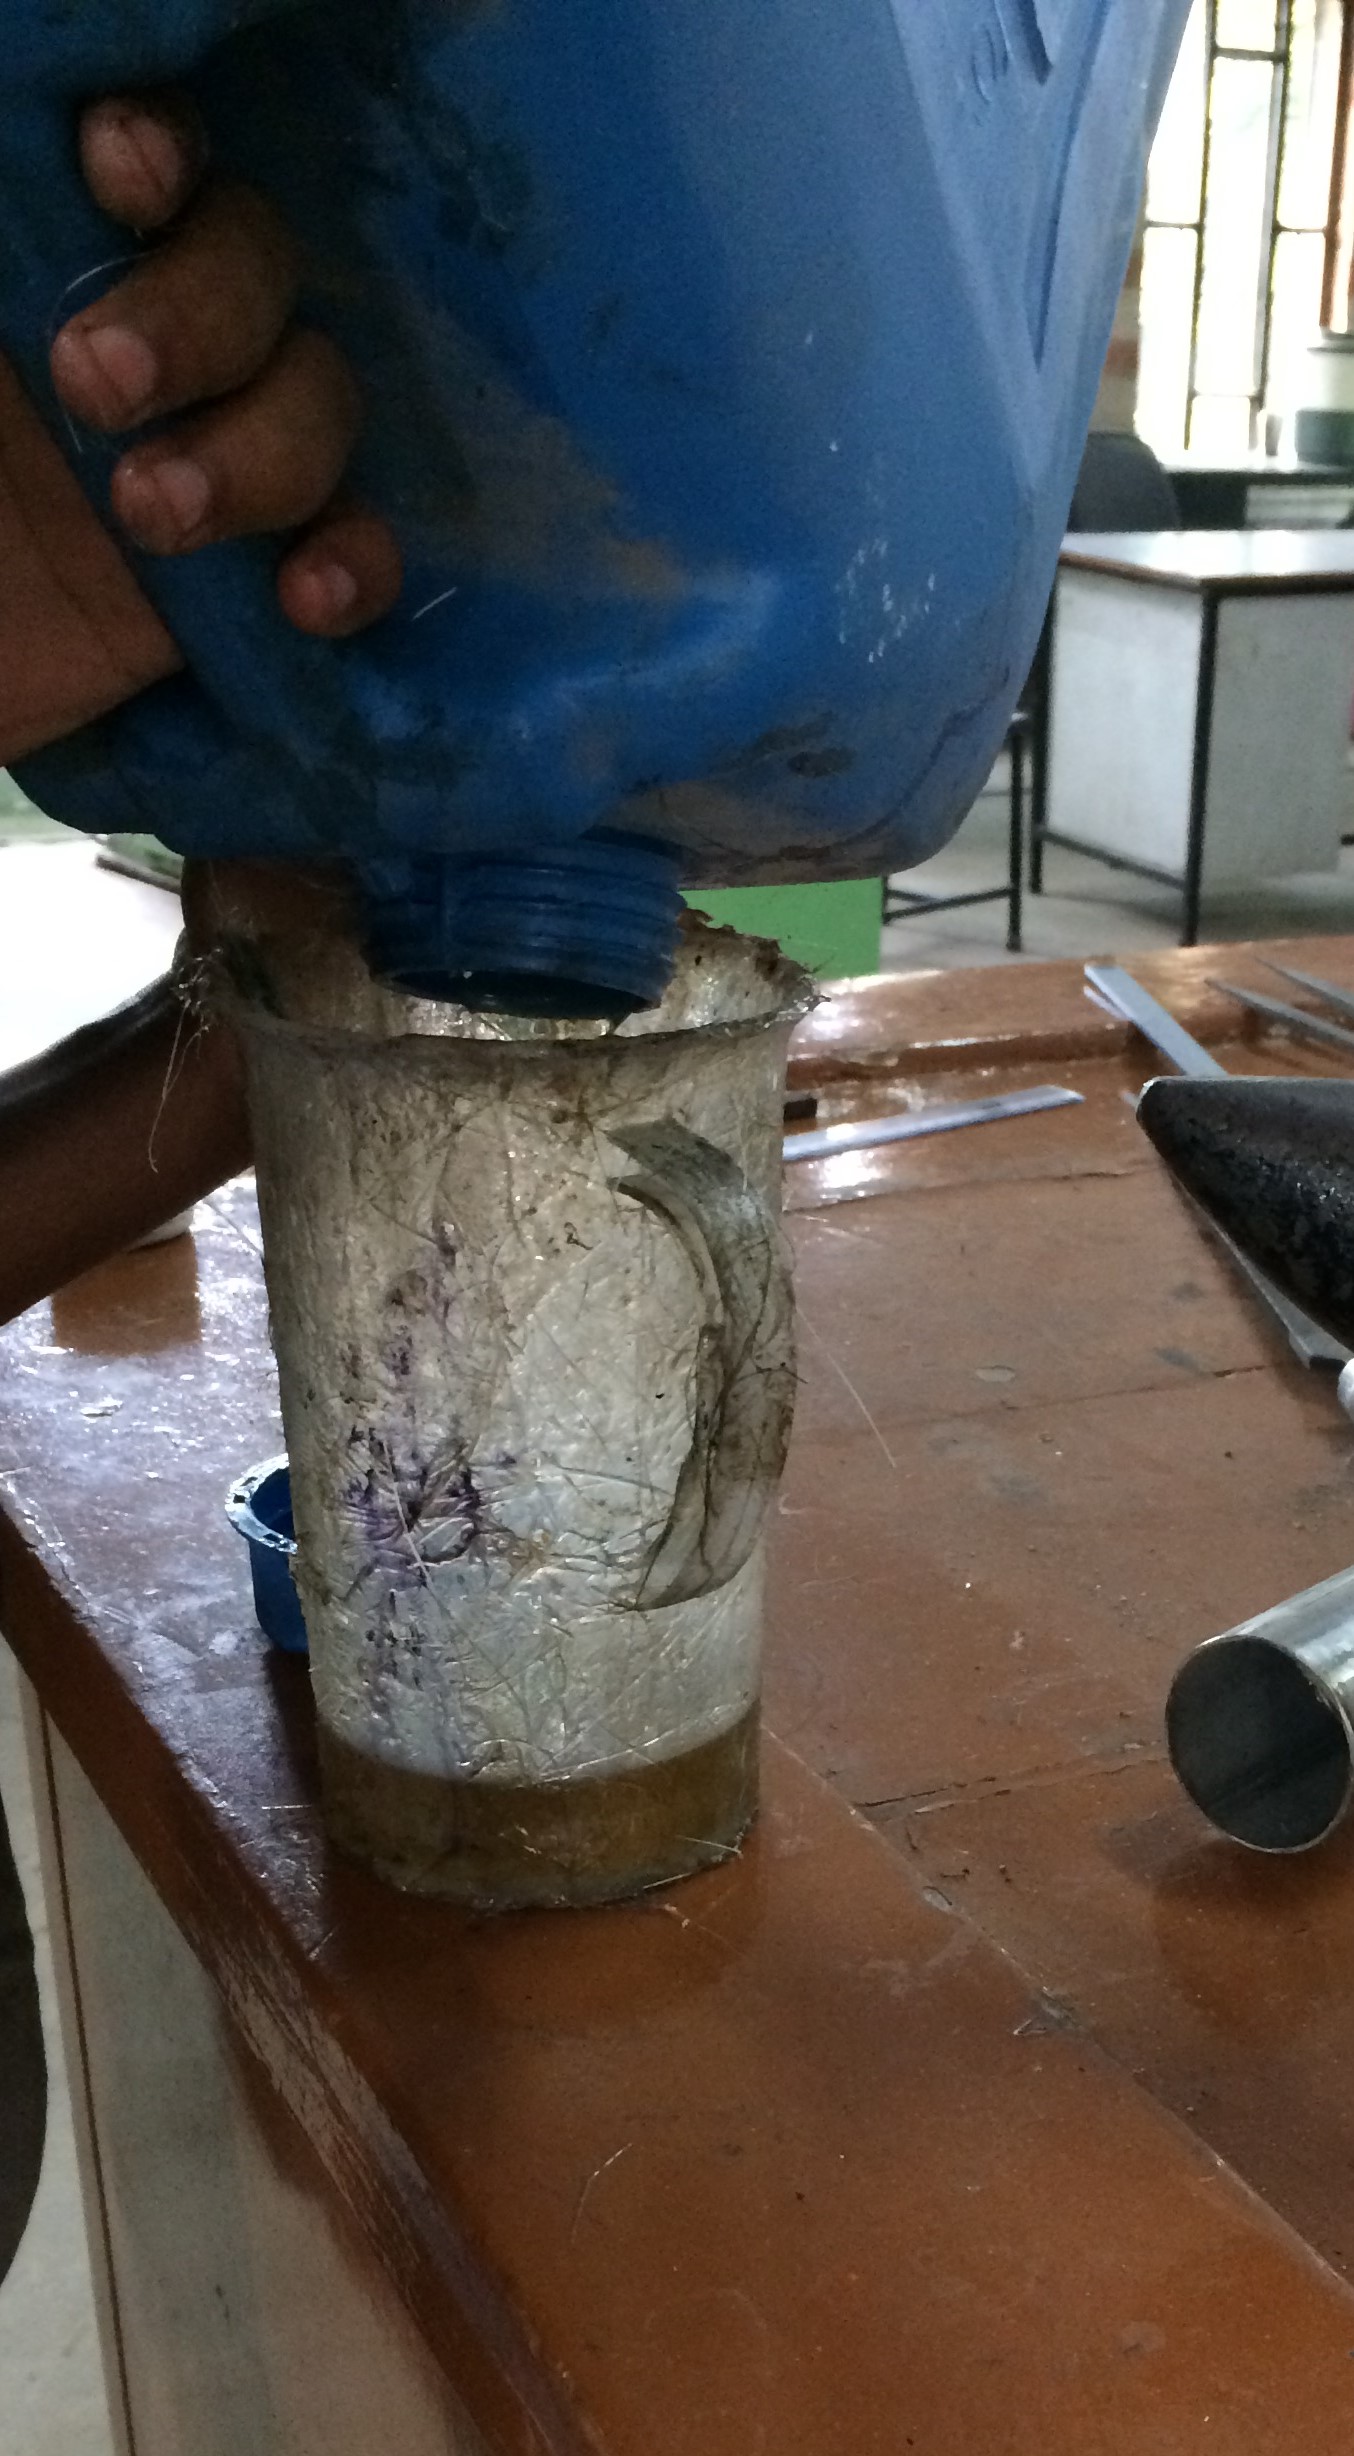
Mixture of Part A (Resin; Polyester thermosetting plastic) and Part B (Catalyst; Methyl Ethly keton paraoxide) is made in the ratio of 1:0.75% (i.e. 200 ml of resin is taken and then 1.5 ml of binder is added, the mixture is mixed properly after adding 2 drops of cobalt also). Cobalt act as an accelerater, and is used to start the chemical reaction at room temperature.
Step 5
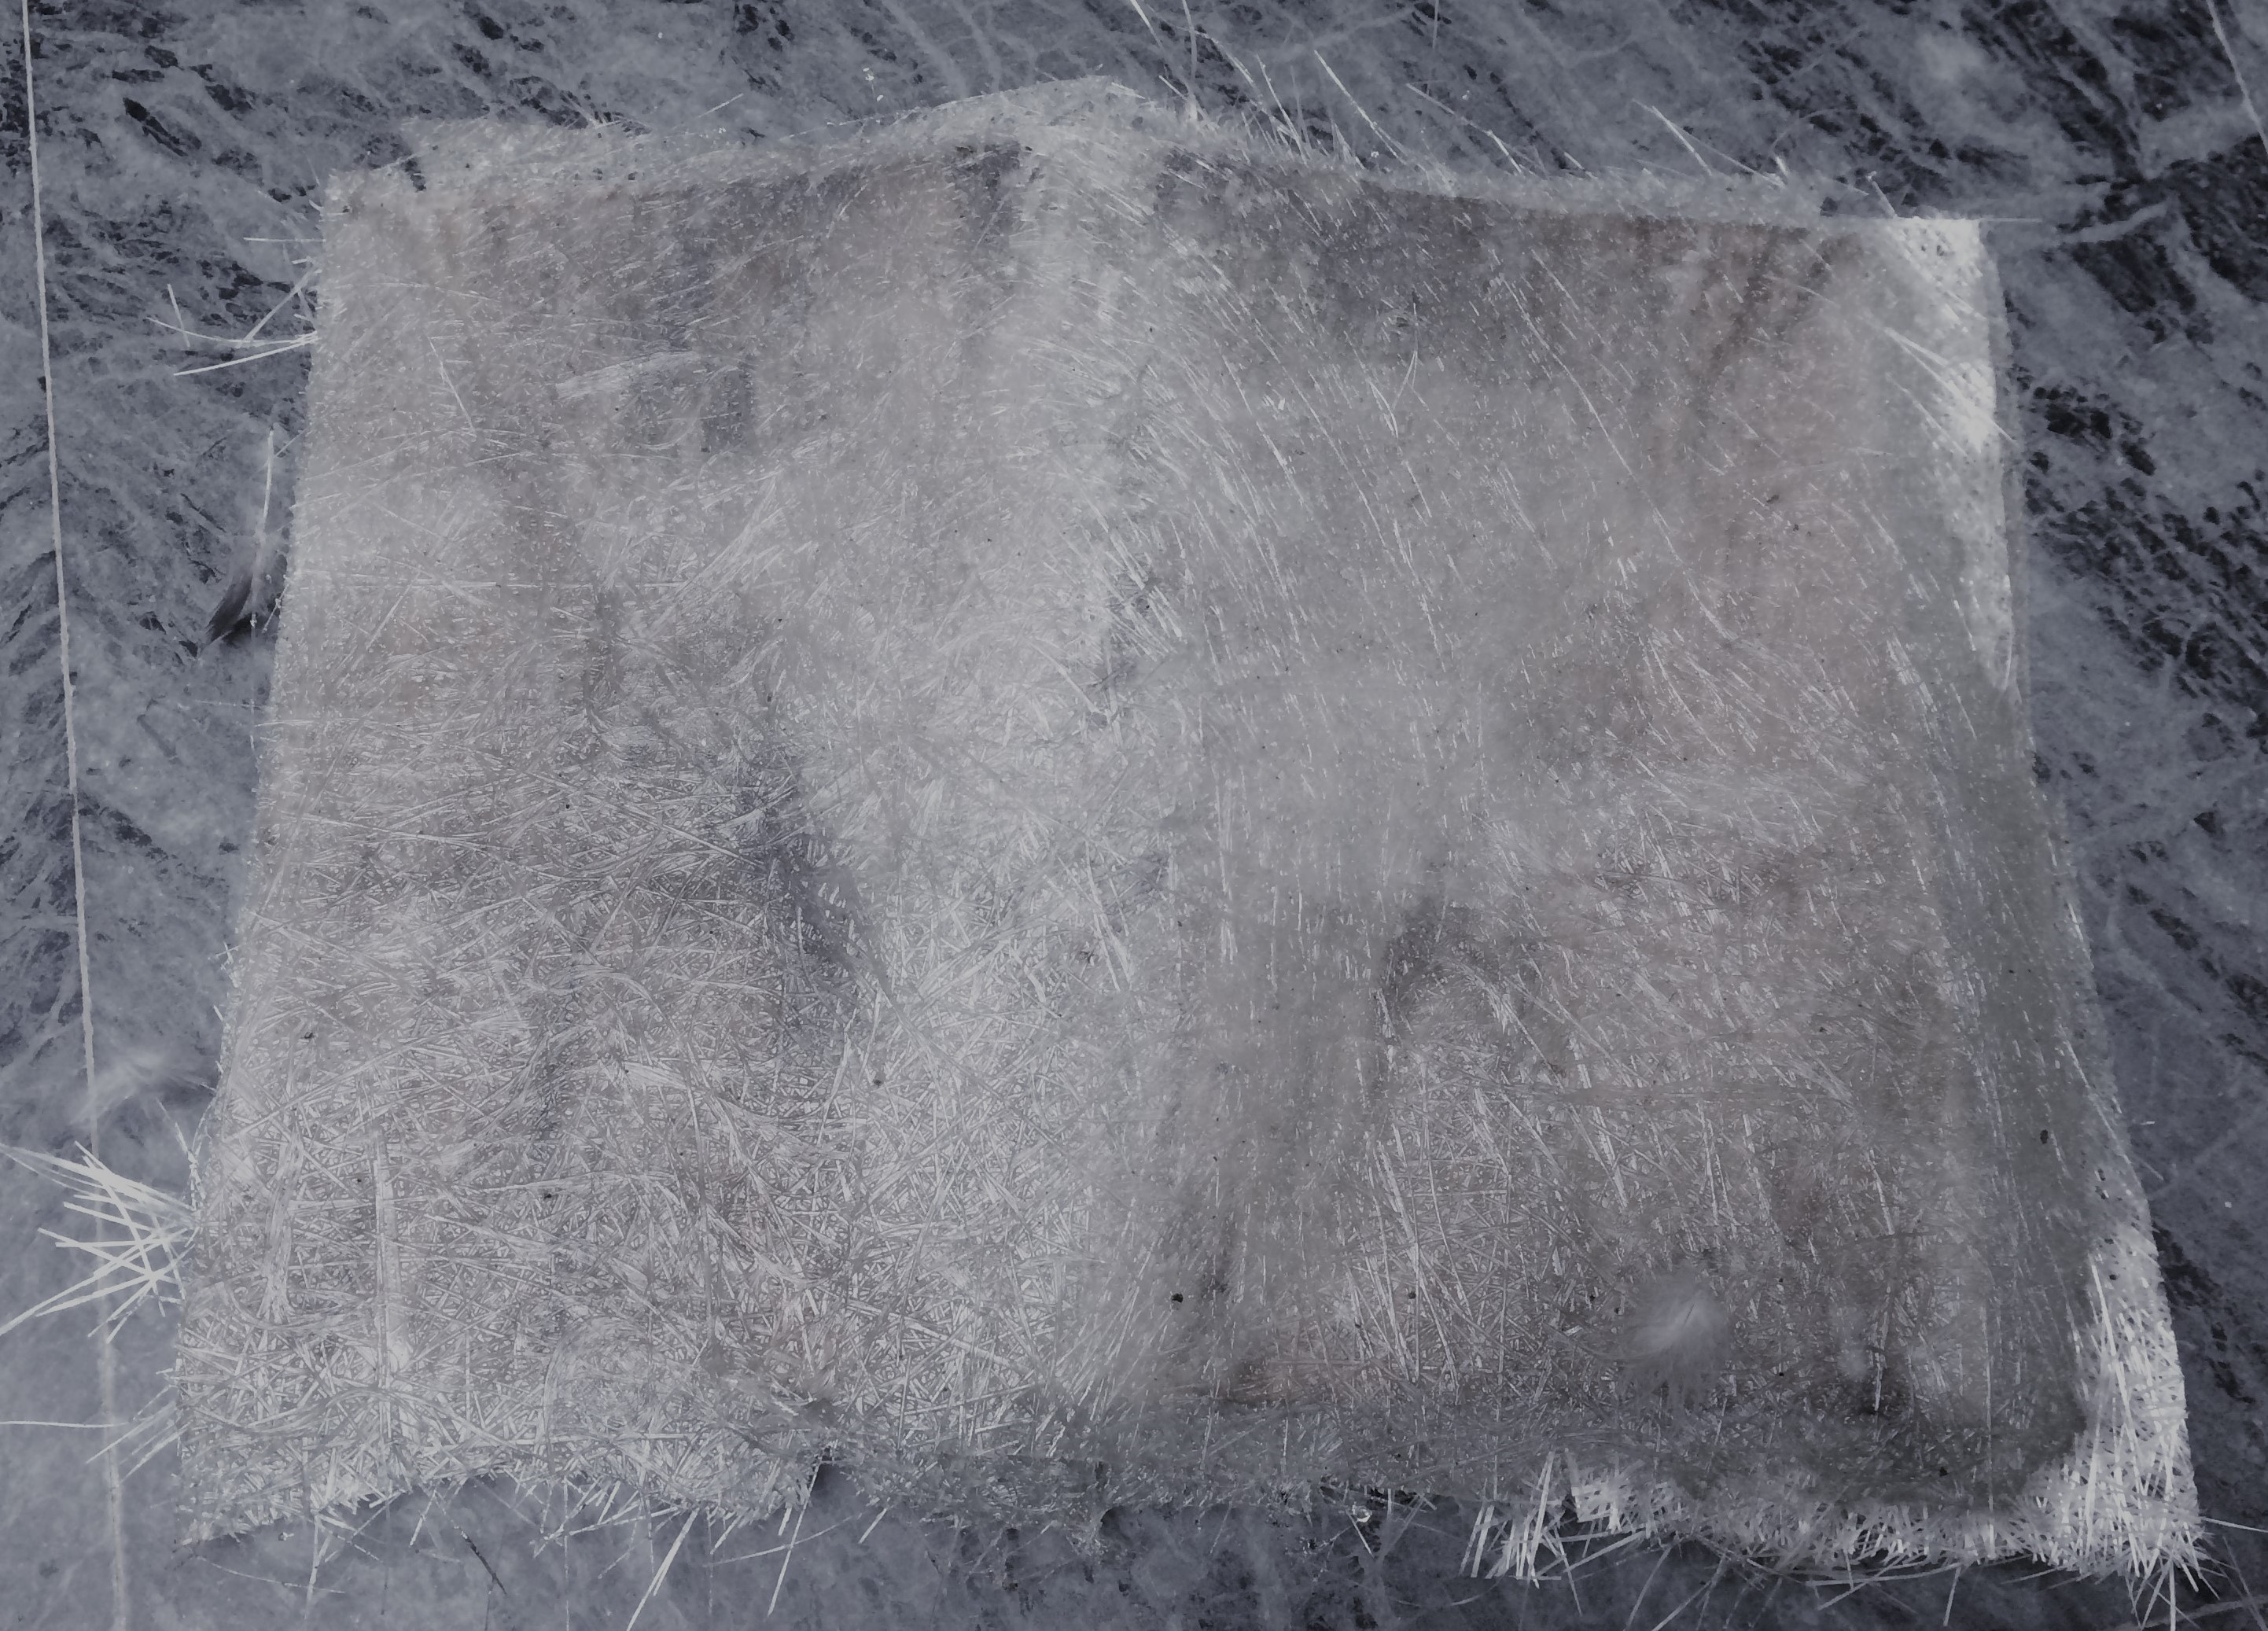
After creating the mixture, First a layer of glass fiber is put and prepared mixture is pasted over it. This process can be repeated after putting the next layer of the flass fibre. I created 2 layer composite.
Step 6
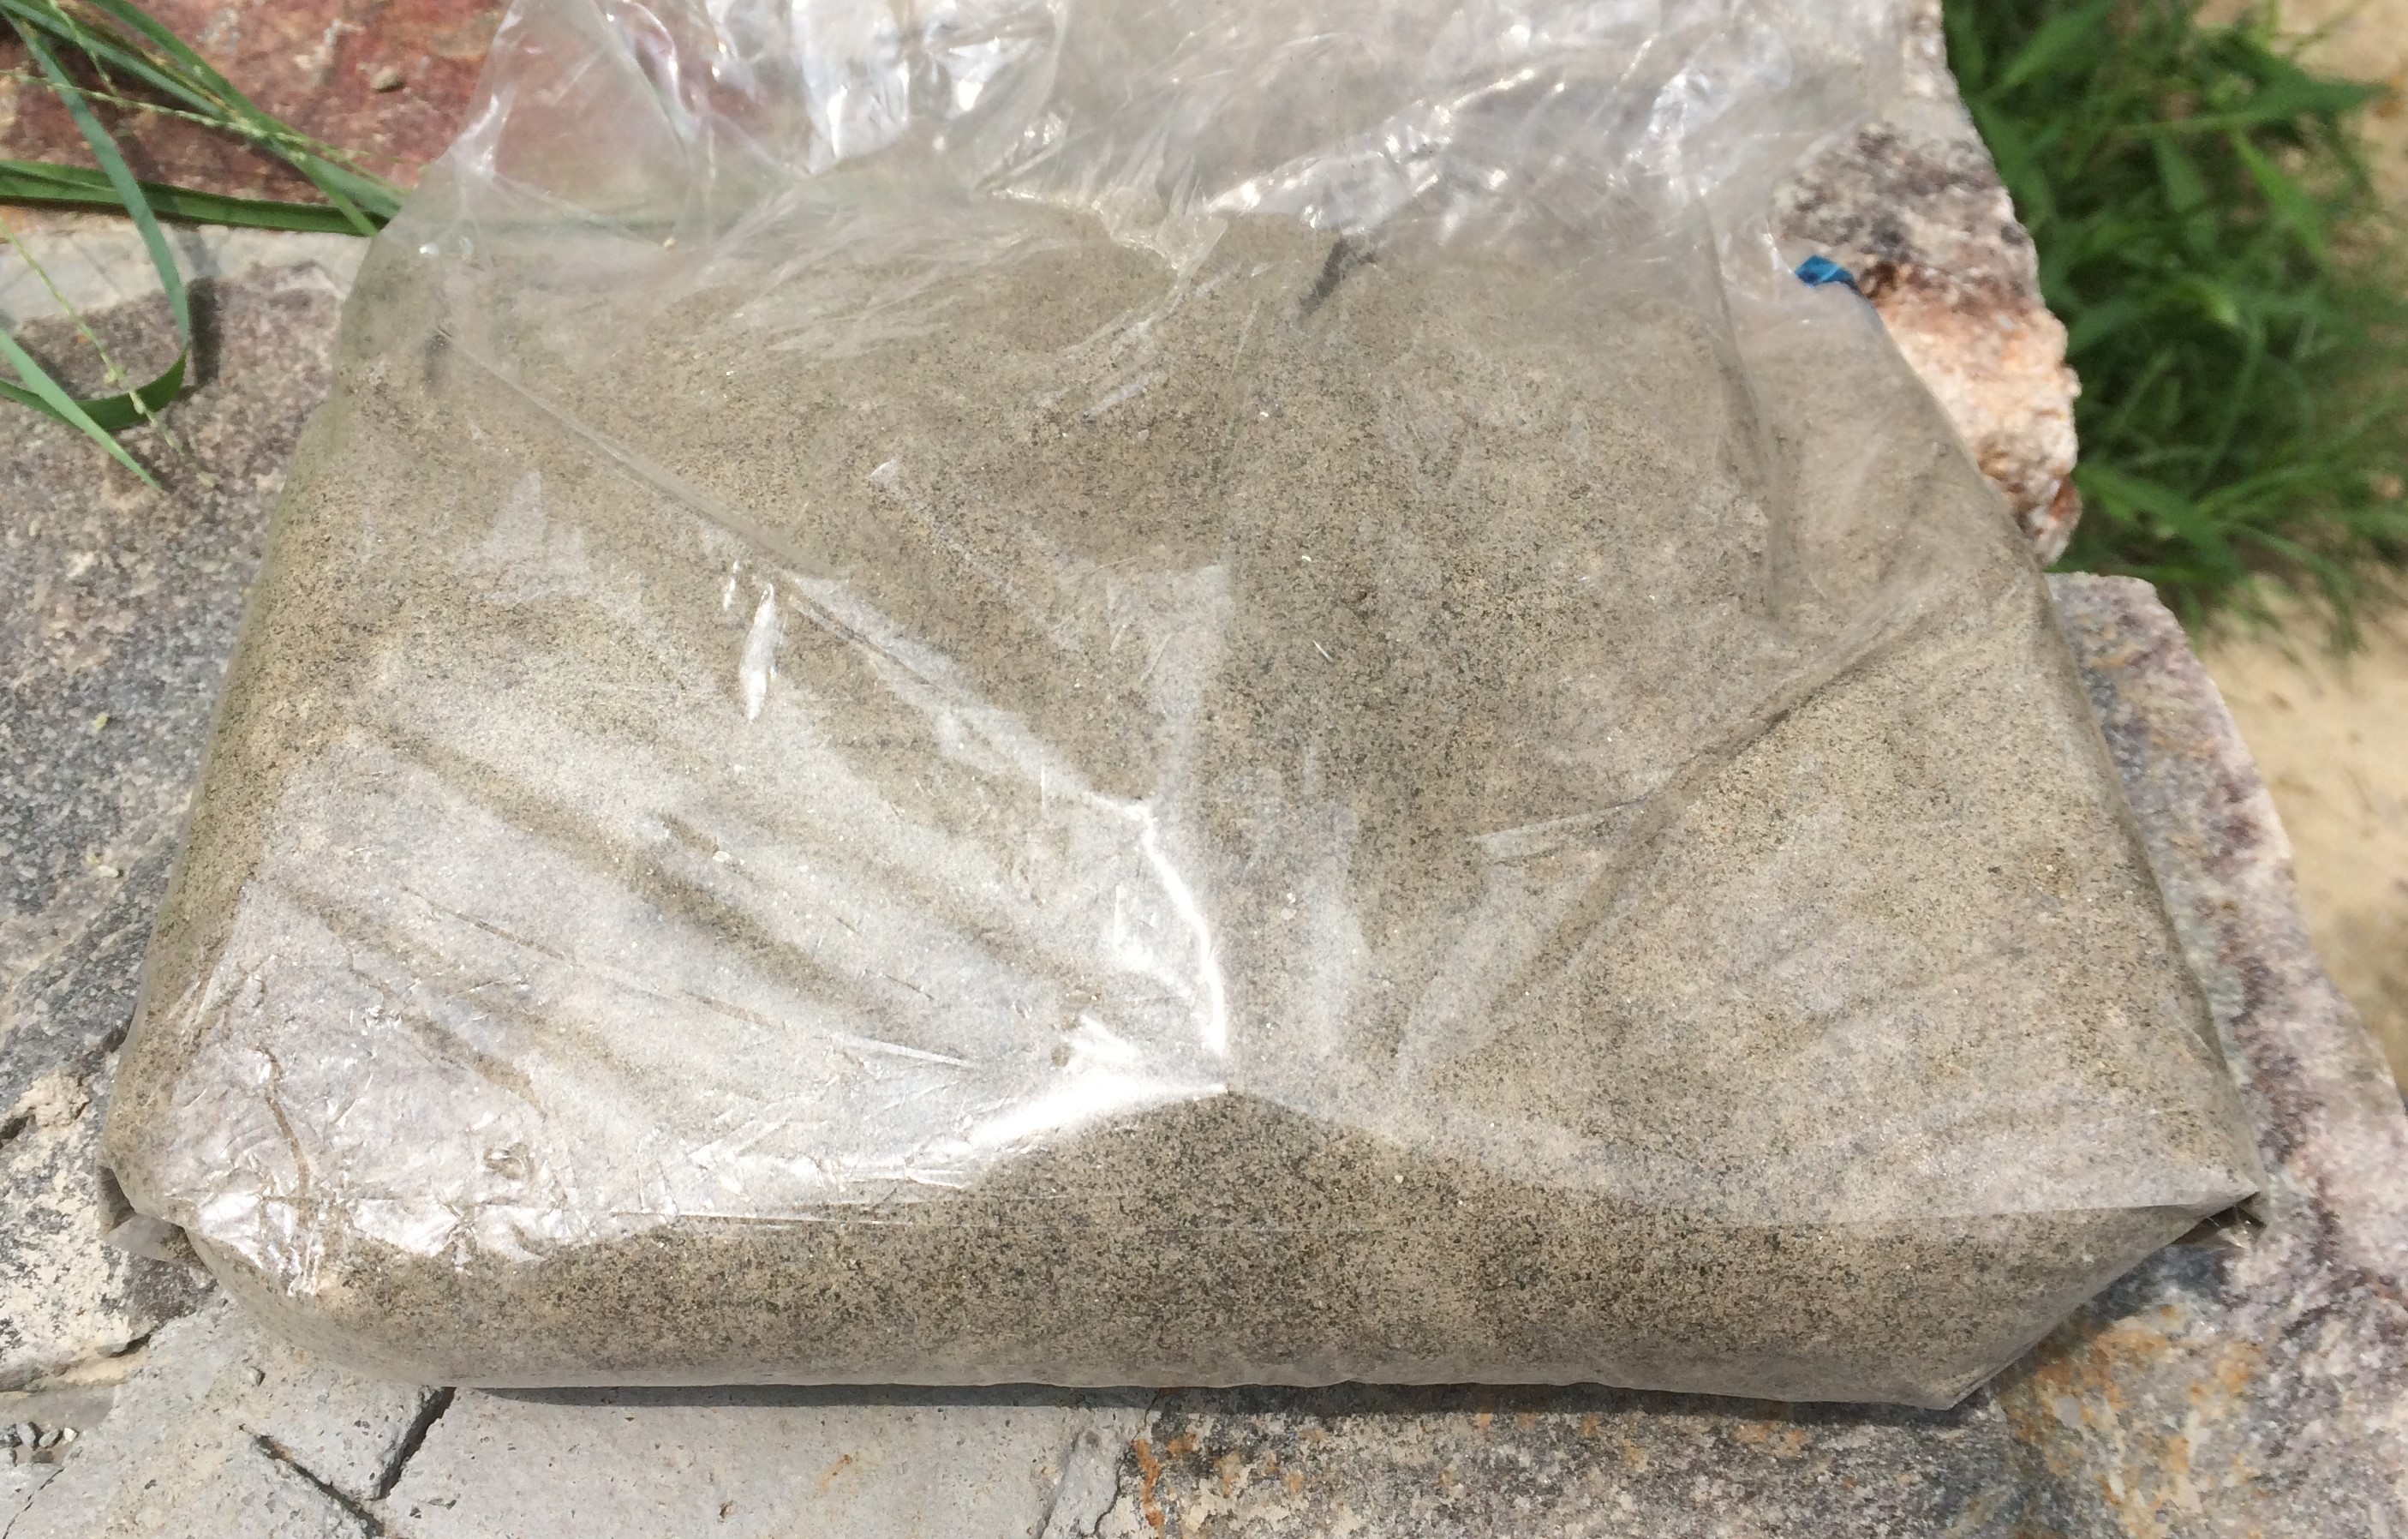
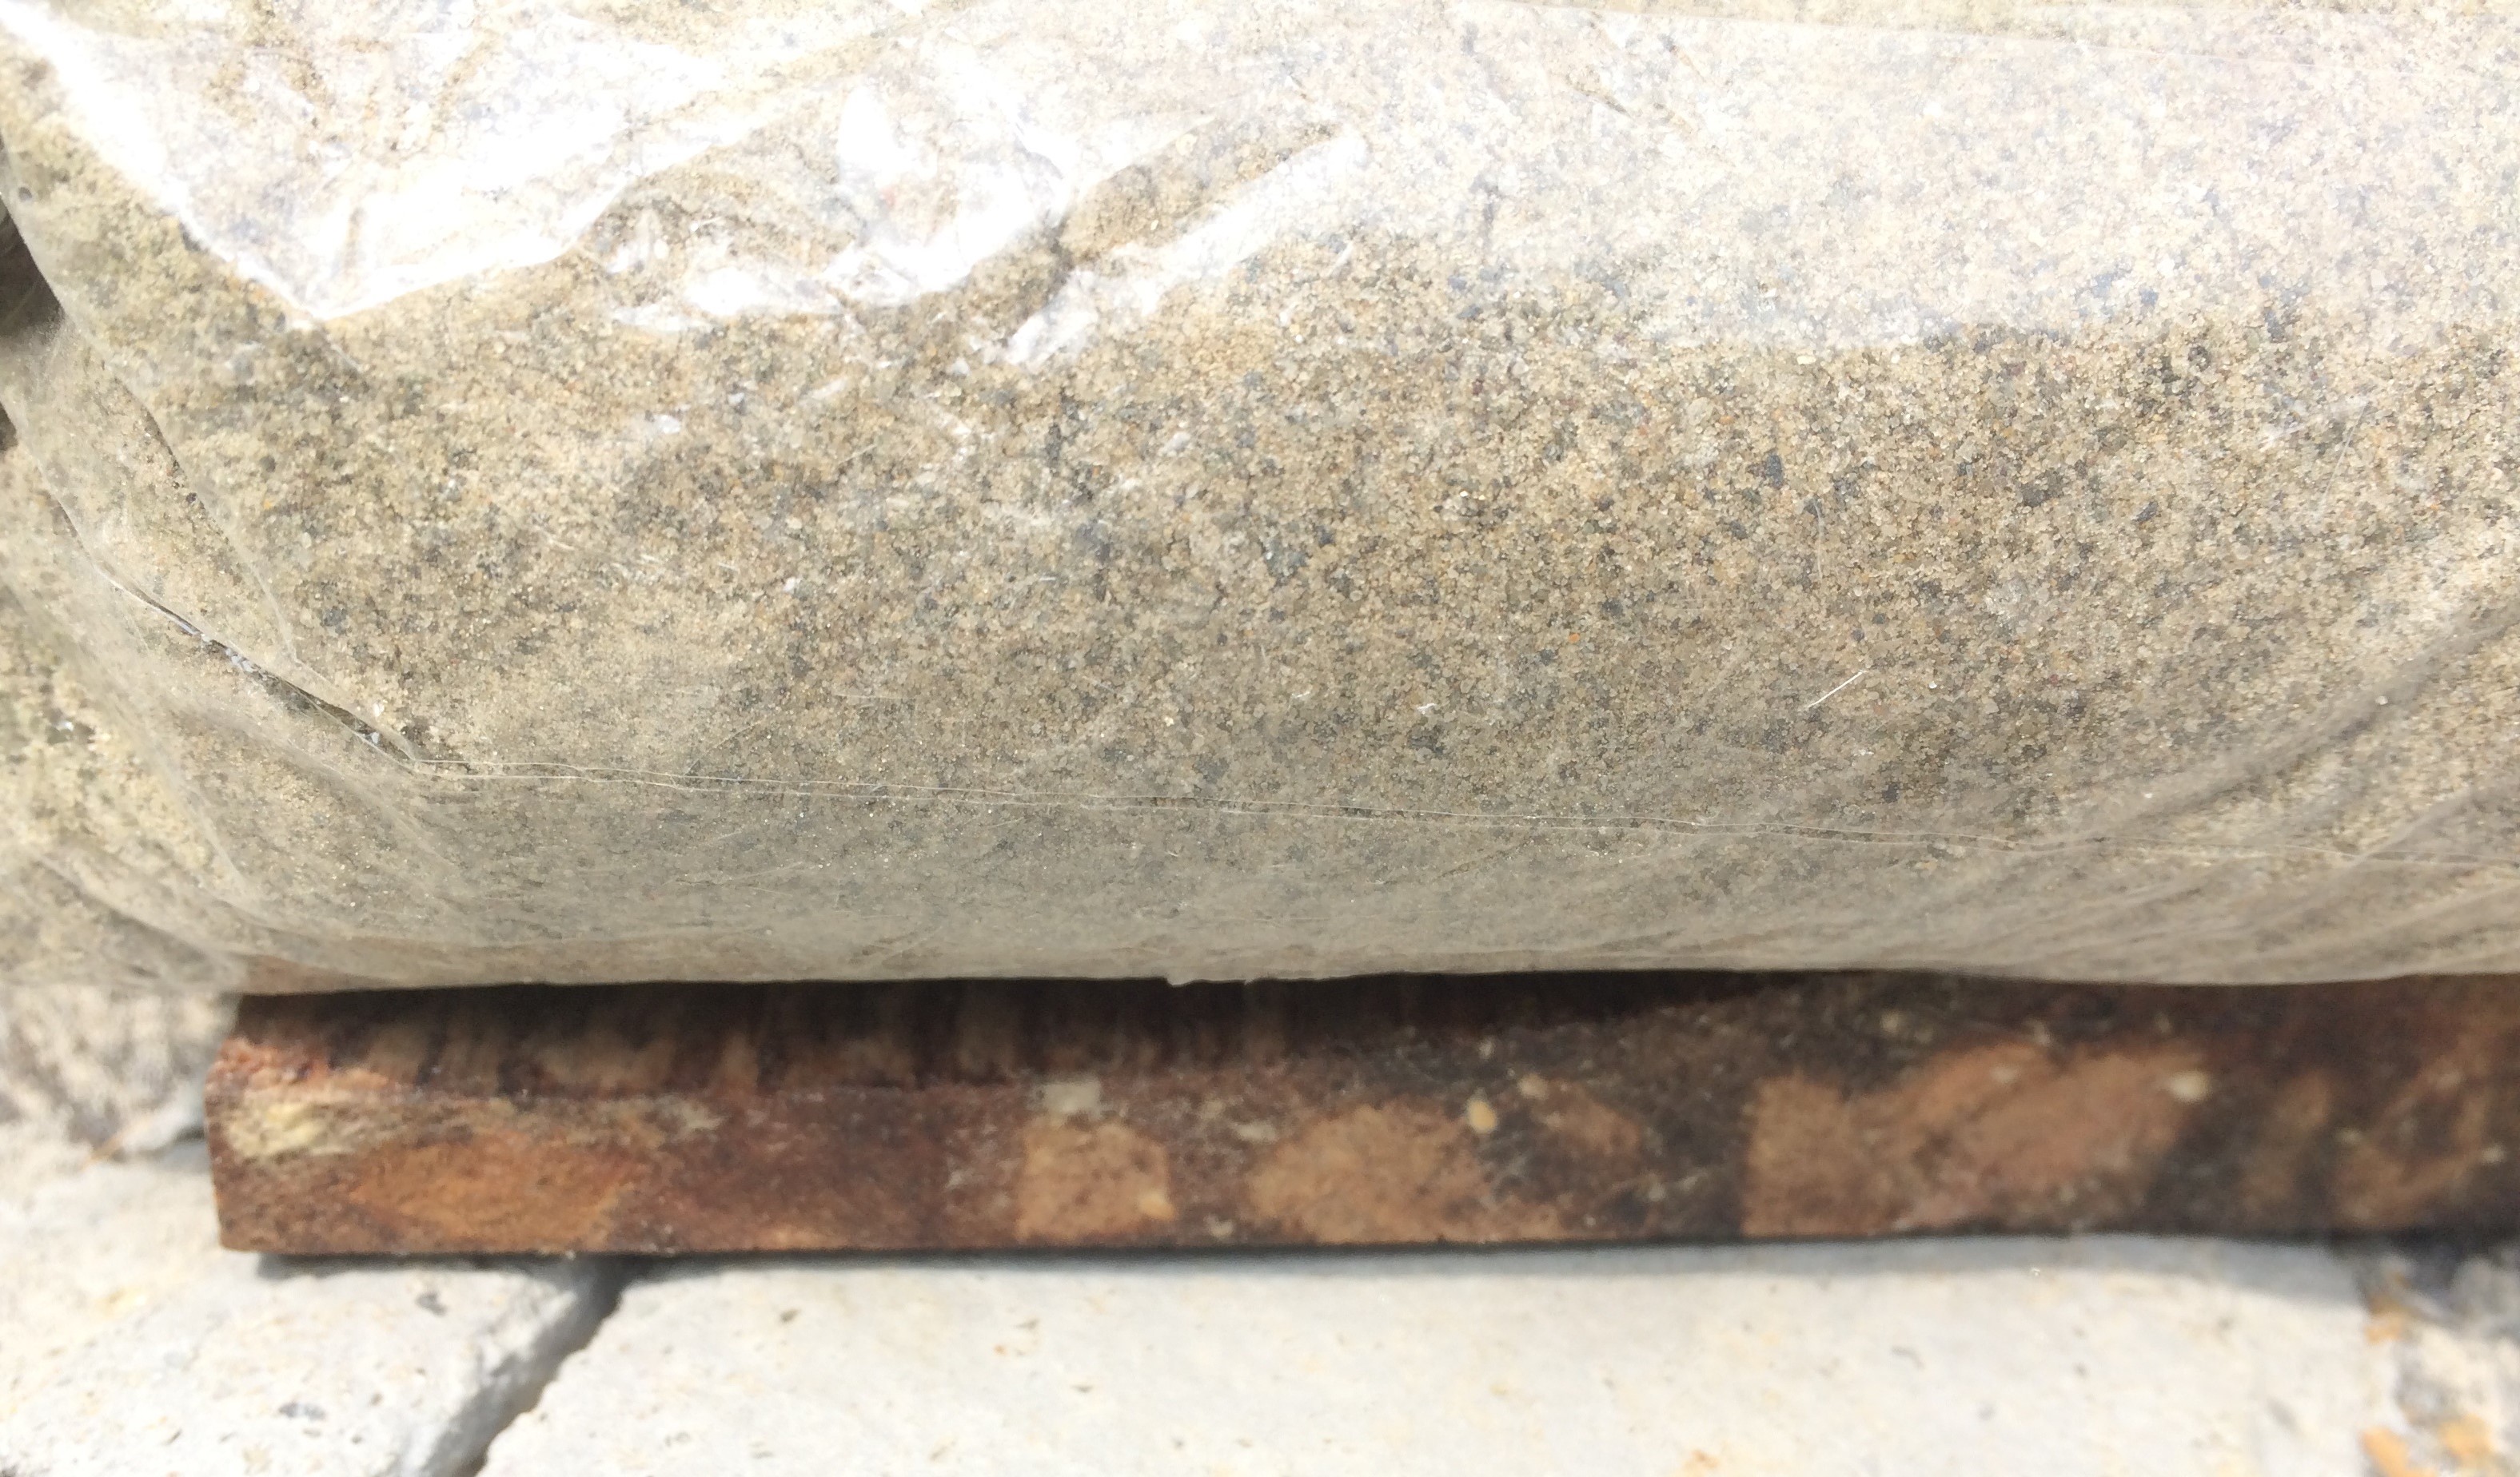
For compacting the mixture. I layed out a polythene sheet on the layup and then placed a big plastic bag with little sand in it over the composite. This way the weight of the sand compresses the composite allowing extra resin to seep out.
Step 7
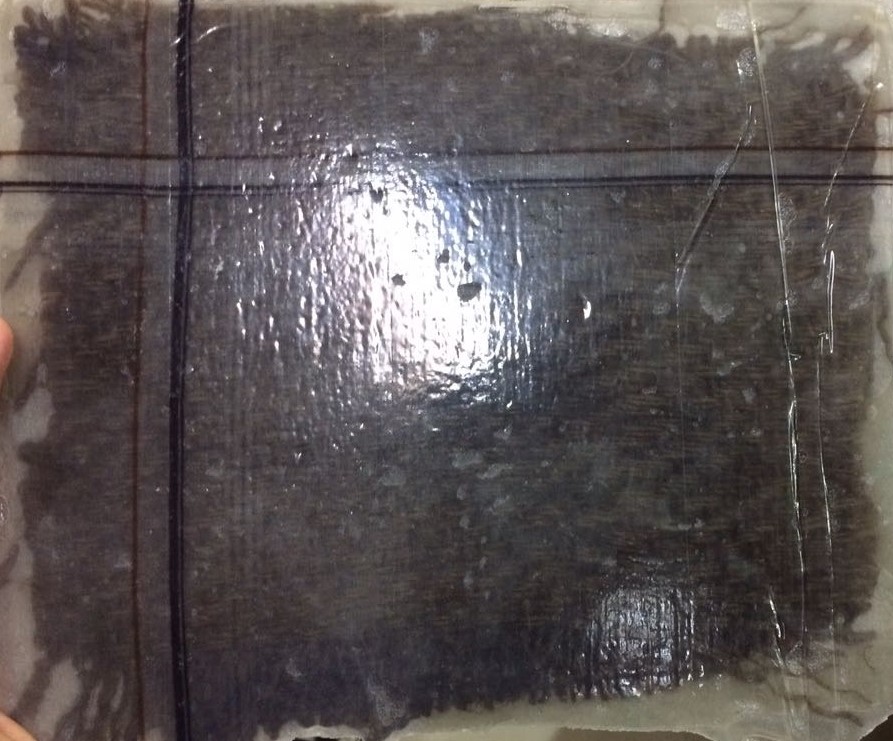
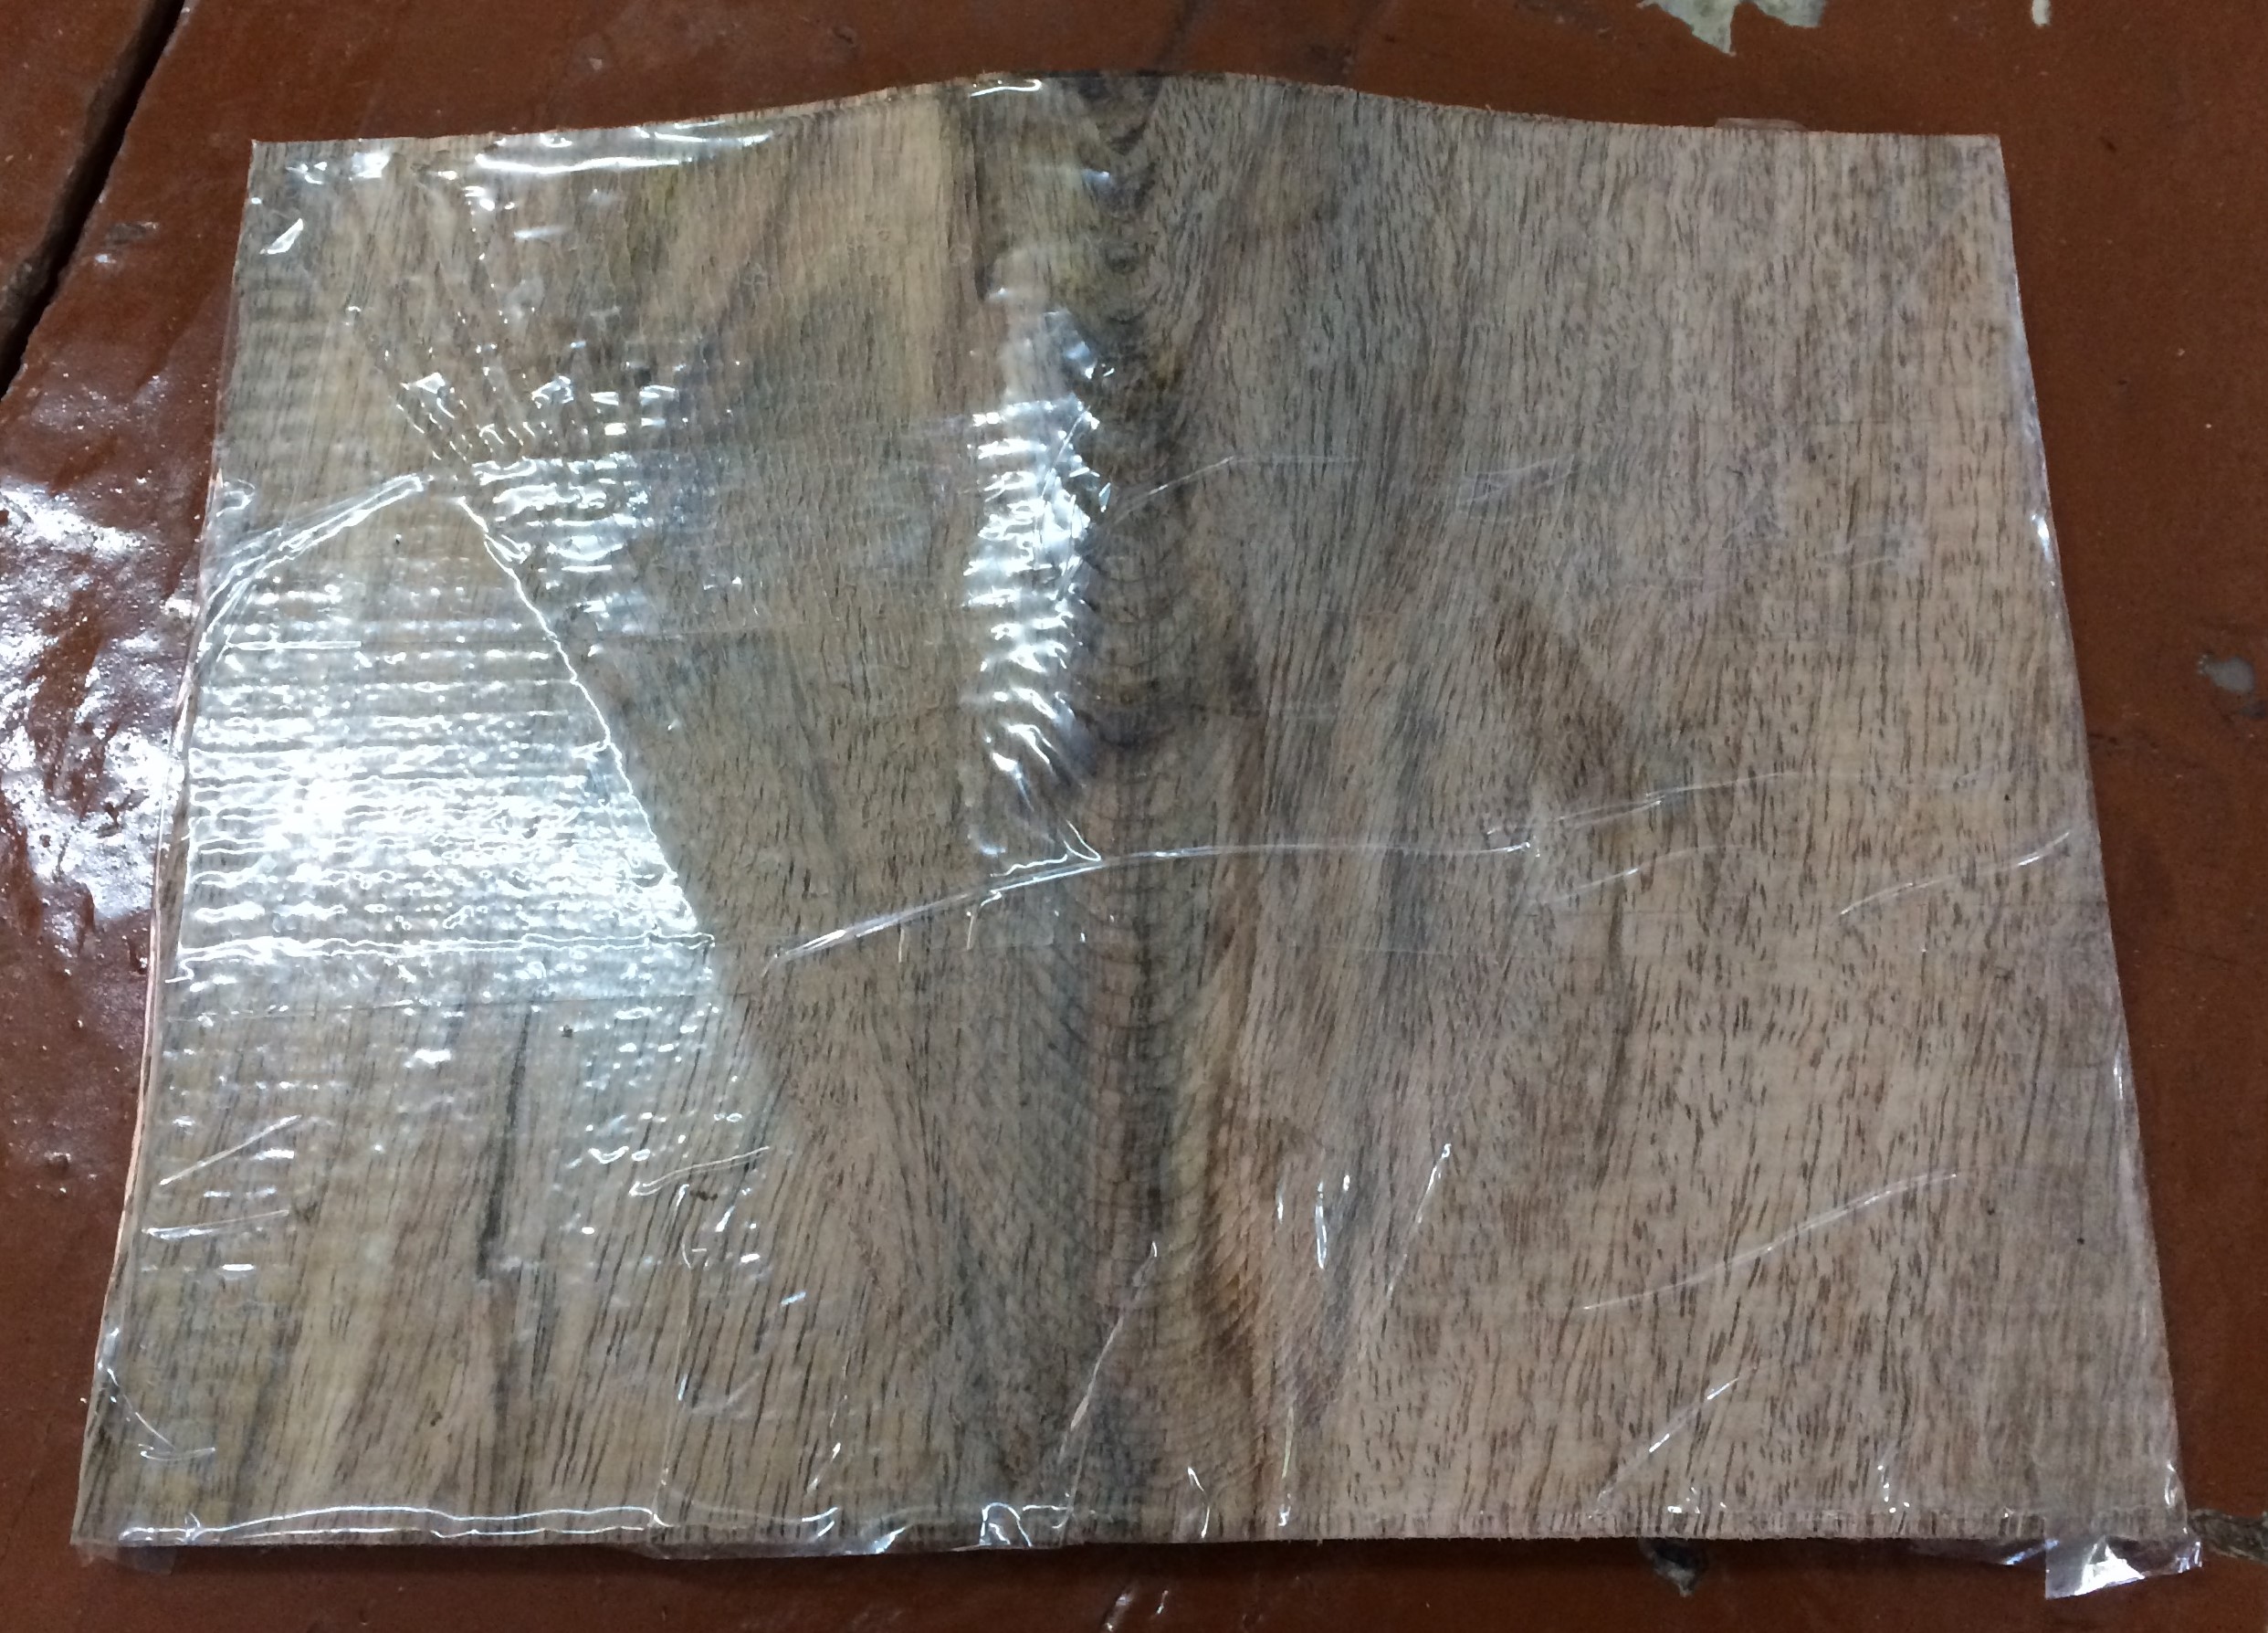
Final part developed Lamp cover developed is as follow:
 |
Observations
- The composite came pretty good with exceptional toughness.
- Surface finish was poor.
- Took 4-5 days to dry up completely, that's because it was not kept in sun.
Safety
While working with the chemicals, safety should be the utmost important factor kept in mind. Therefore, before actually working with the chemicals, I have undergoen the following safety and technical datasheets of the chemical used.
- Safety instruction for Polyester resin.
- Technical Datasheet for Polyester resin.
Explanation for compaction
After getting some feedback from my global evaluator, again I have gone through the entire process of composites for better understanding of compaction.
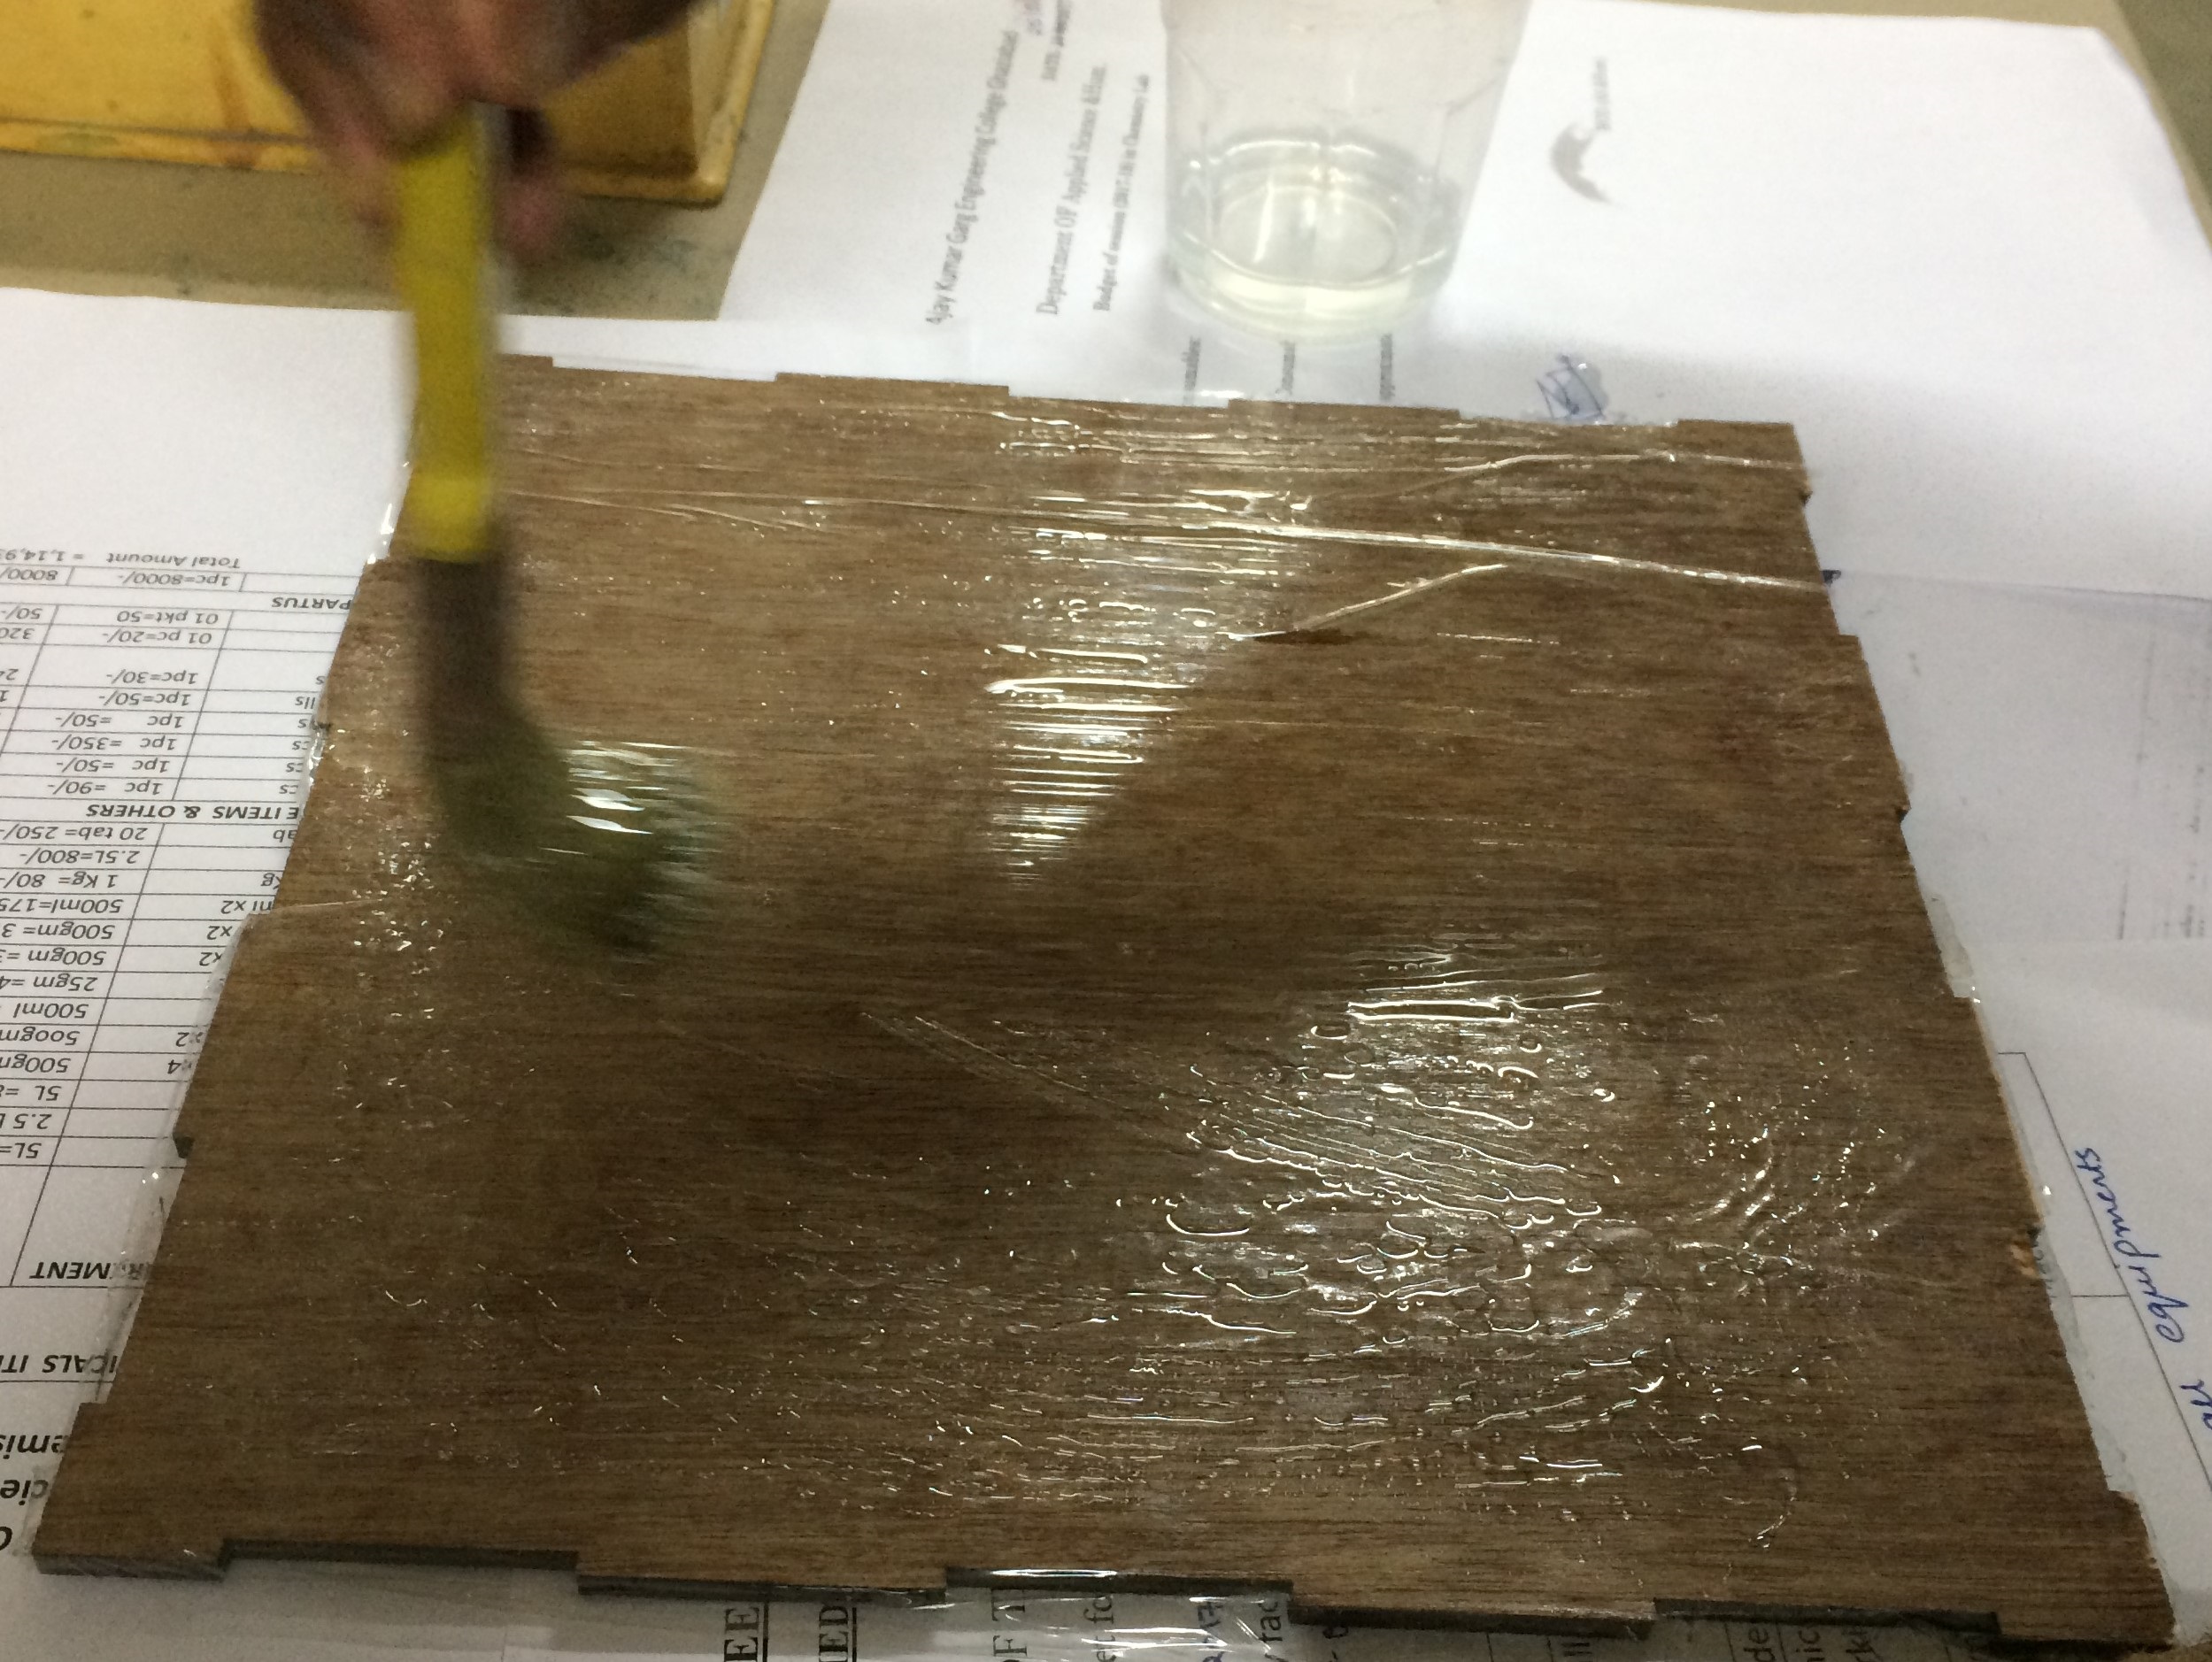
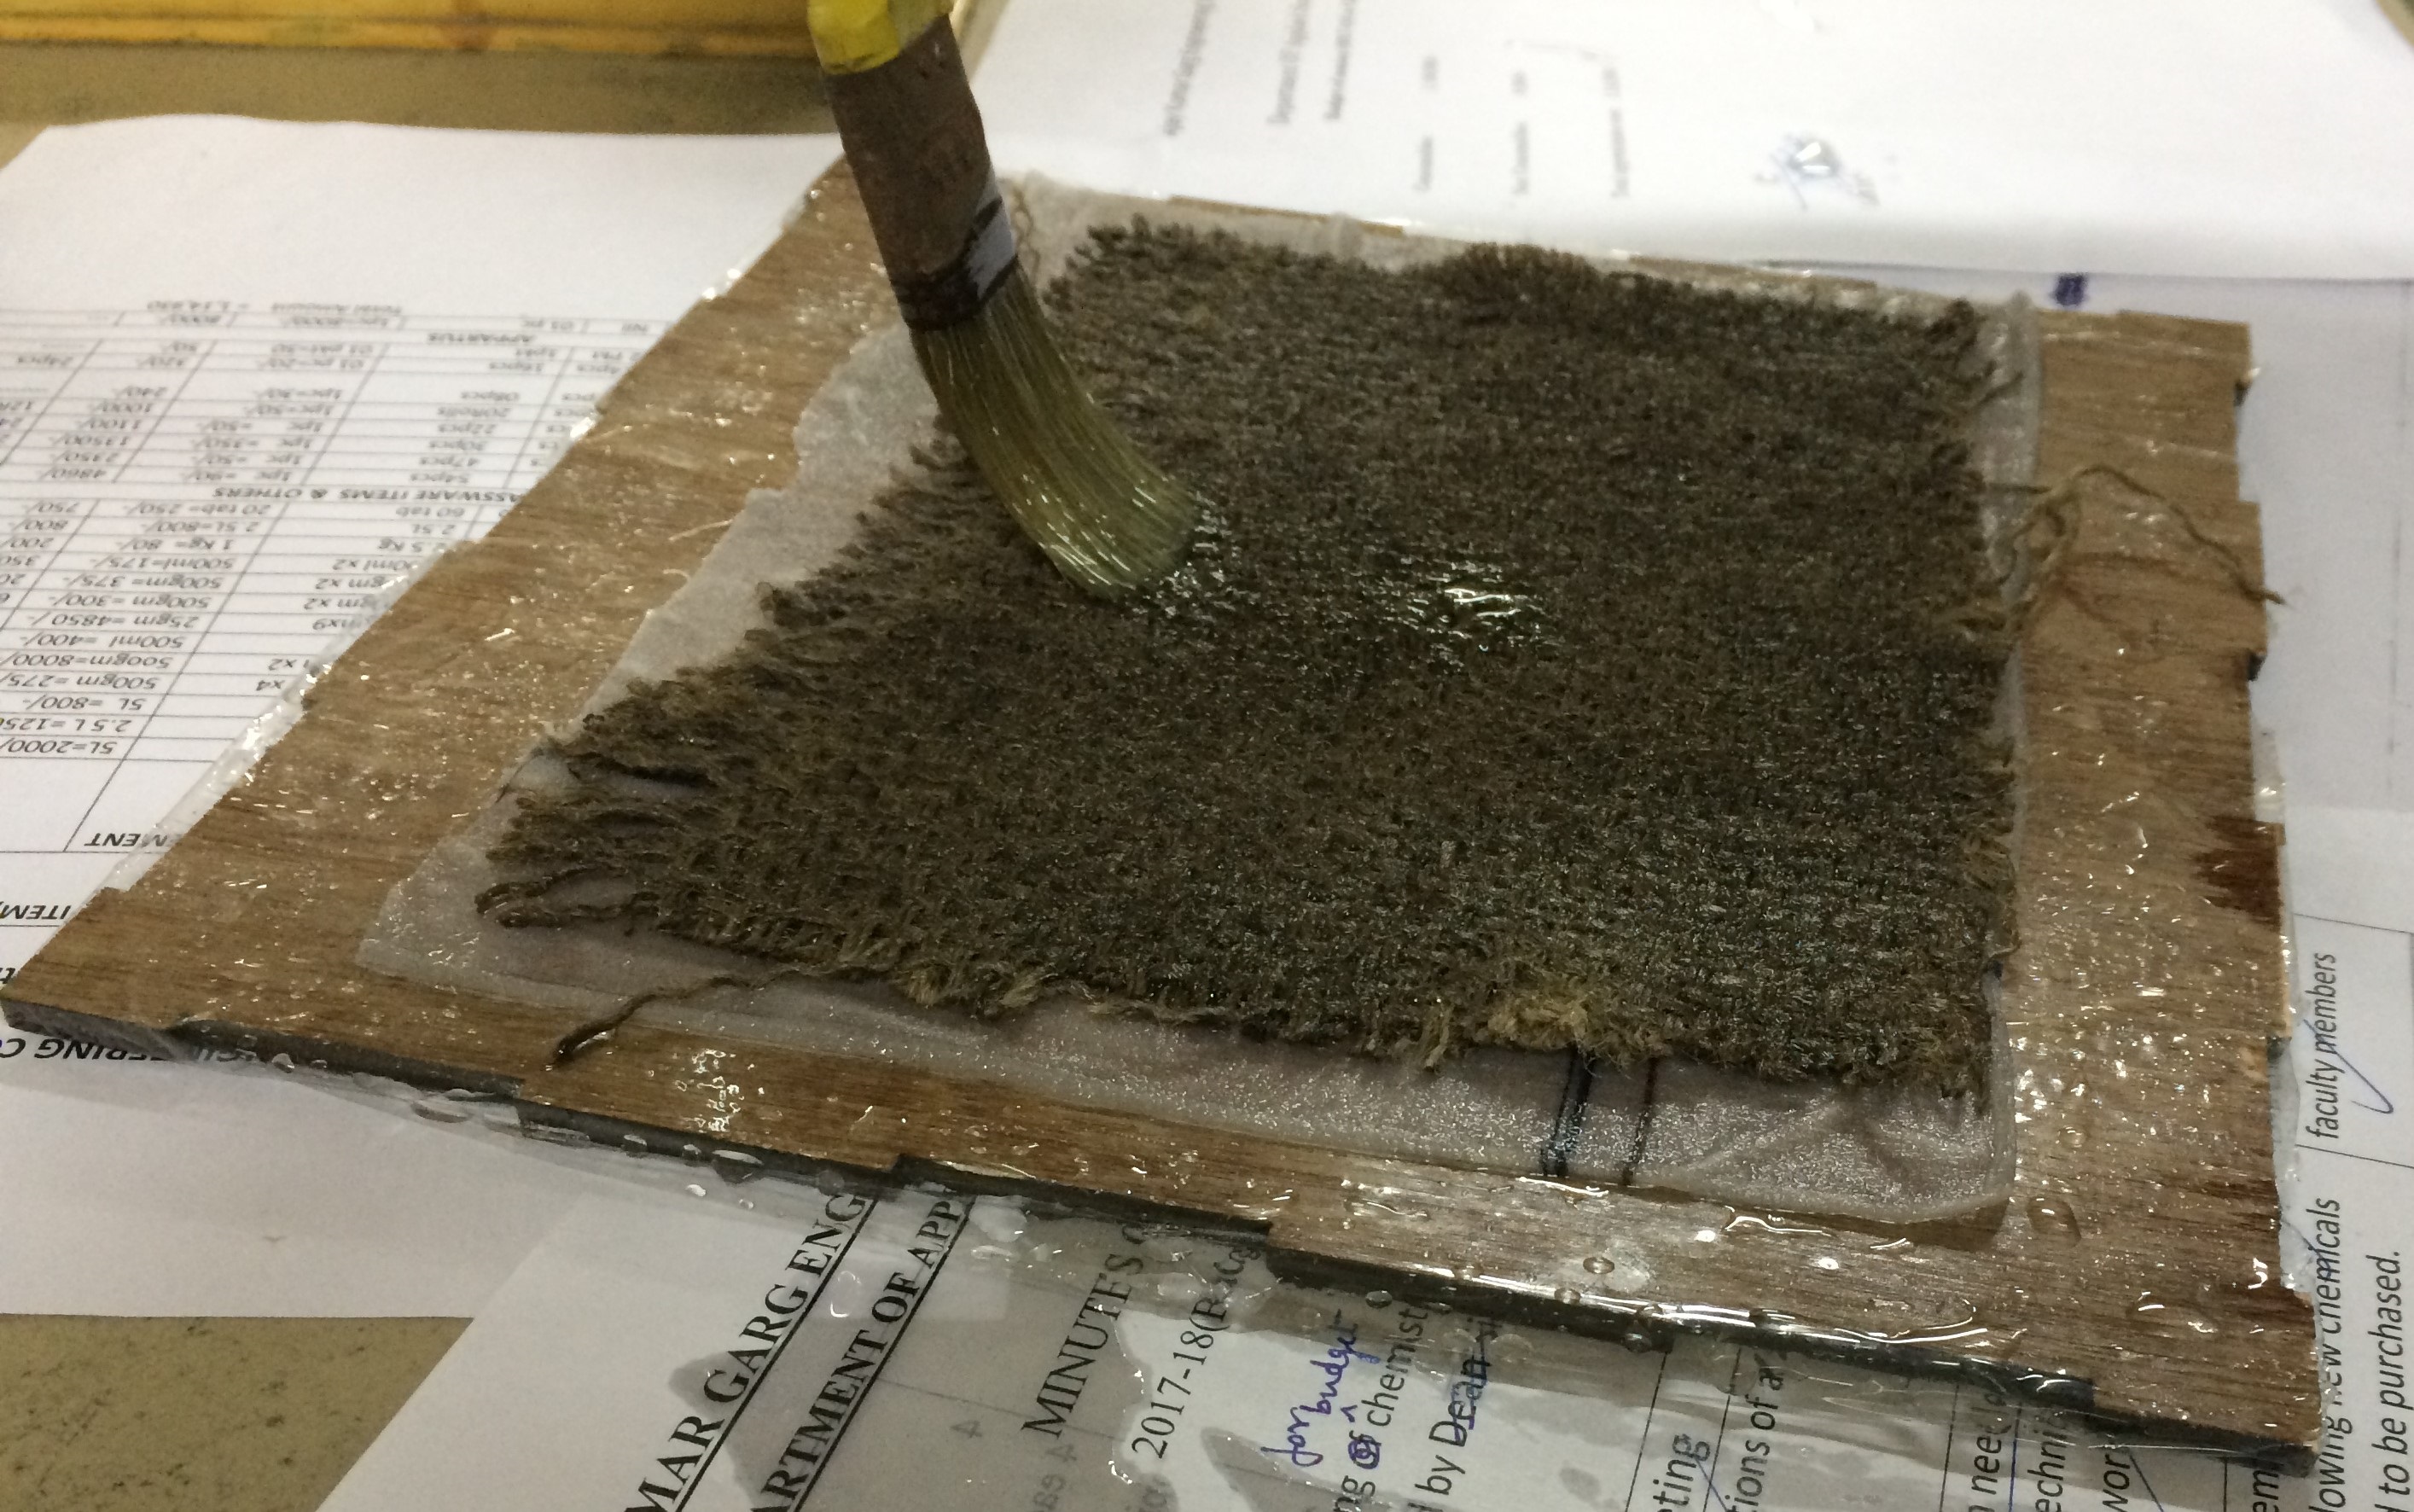
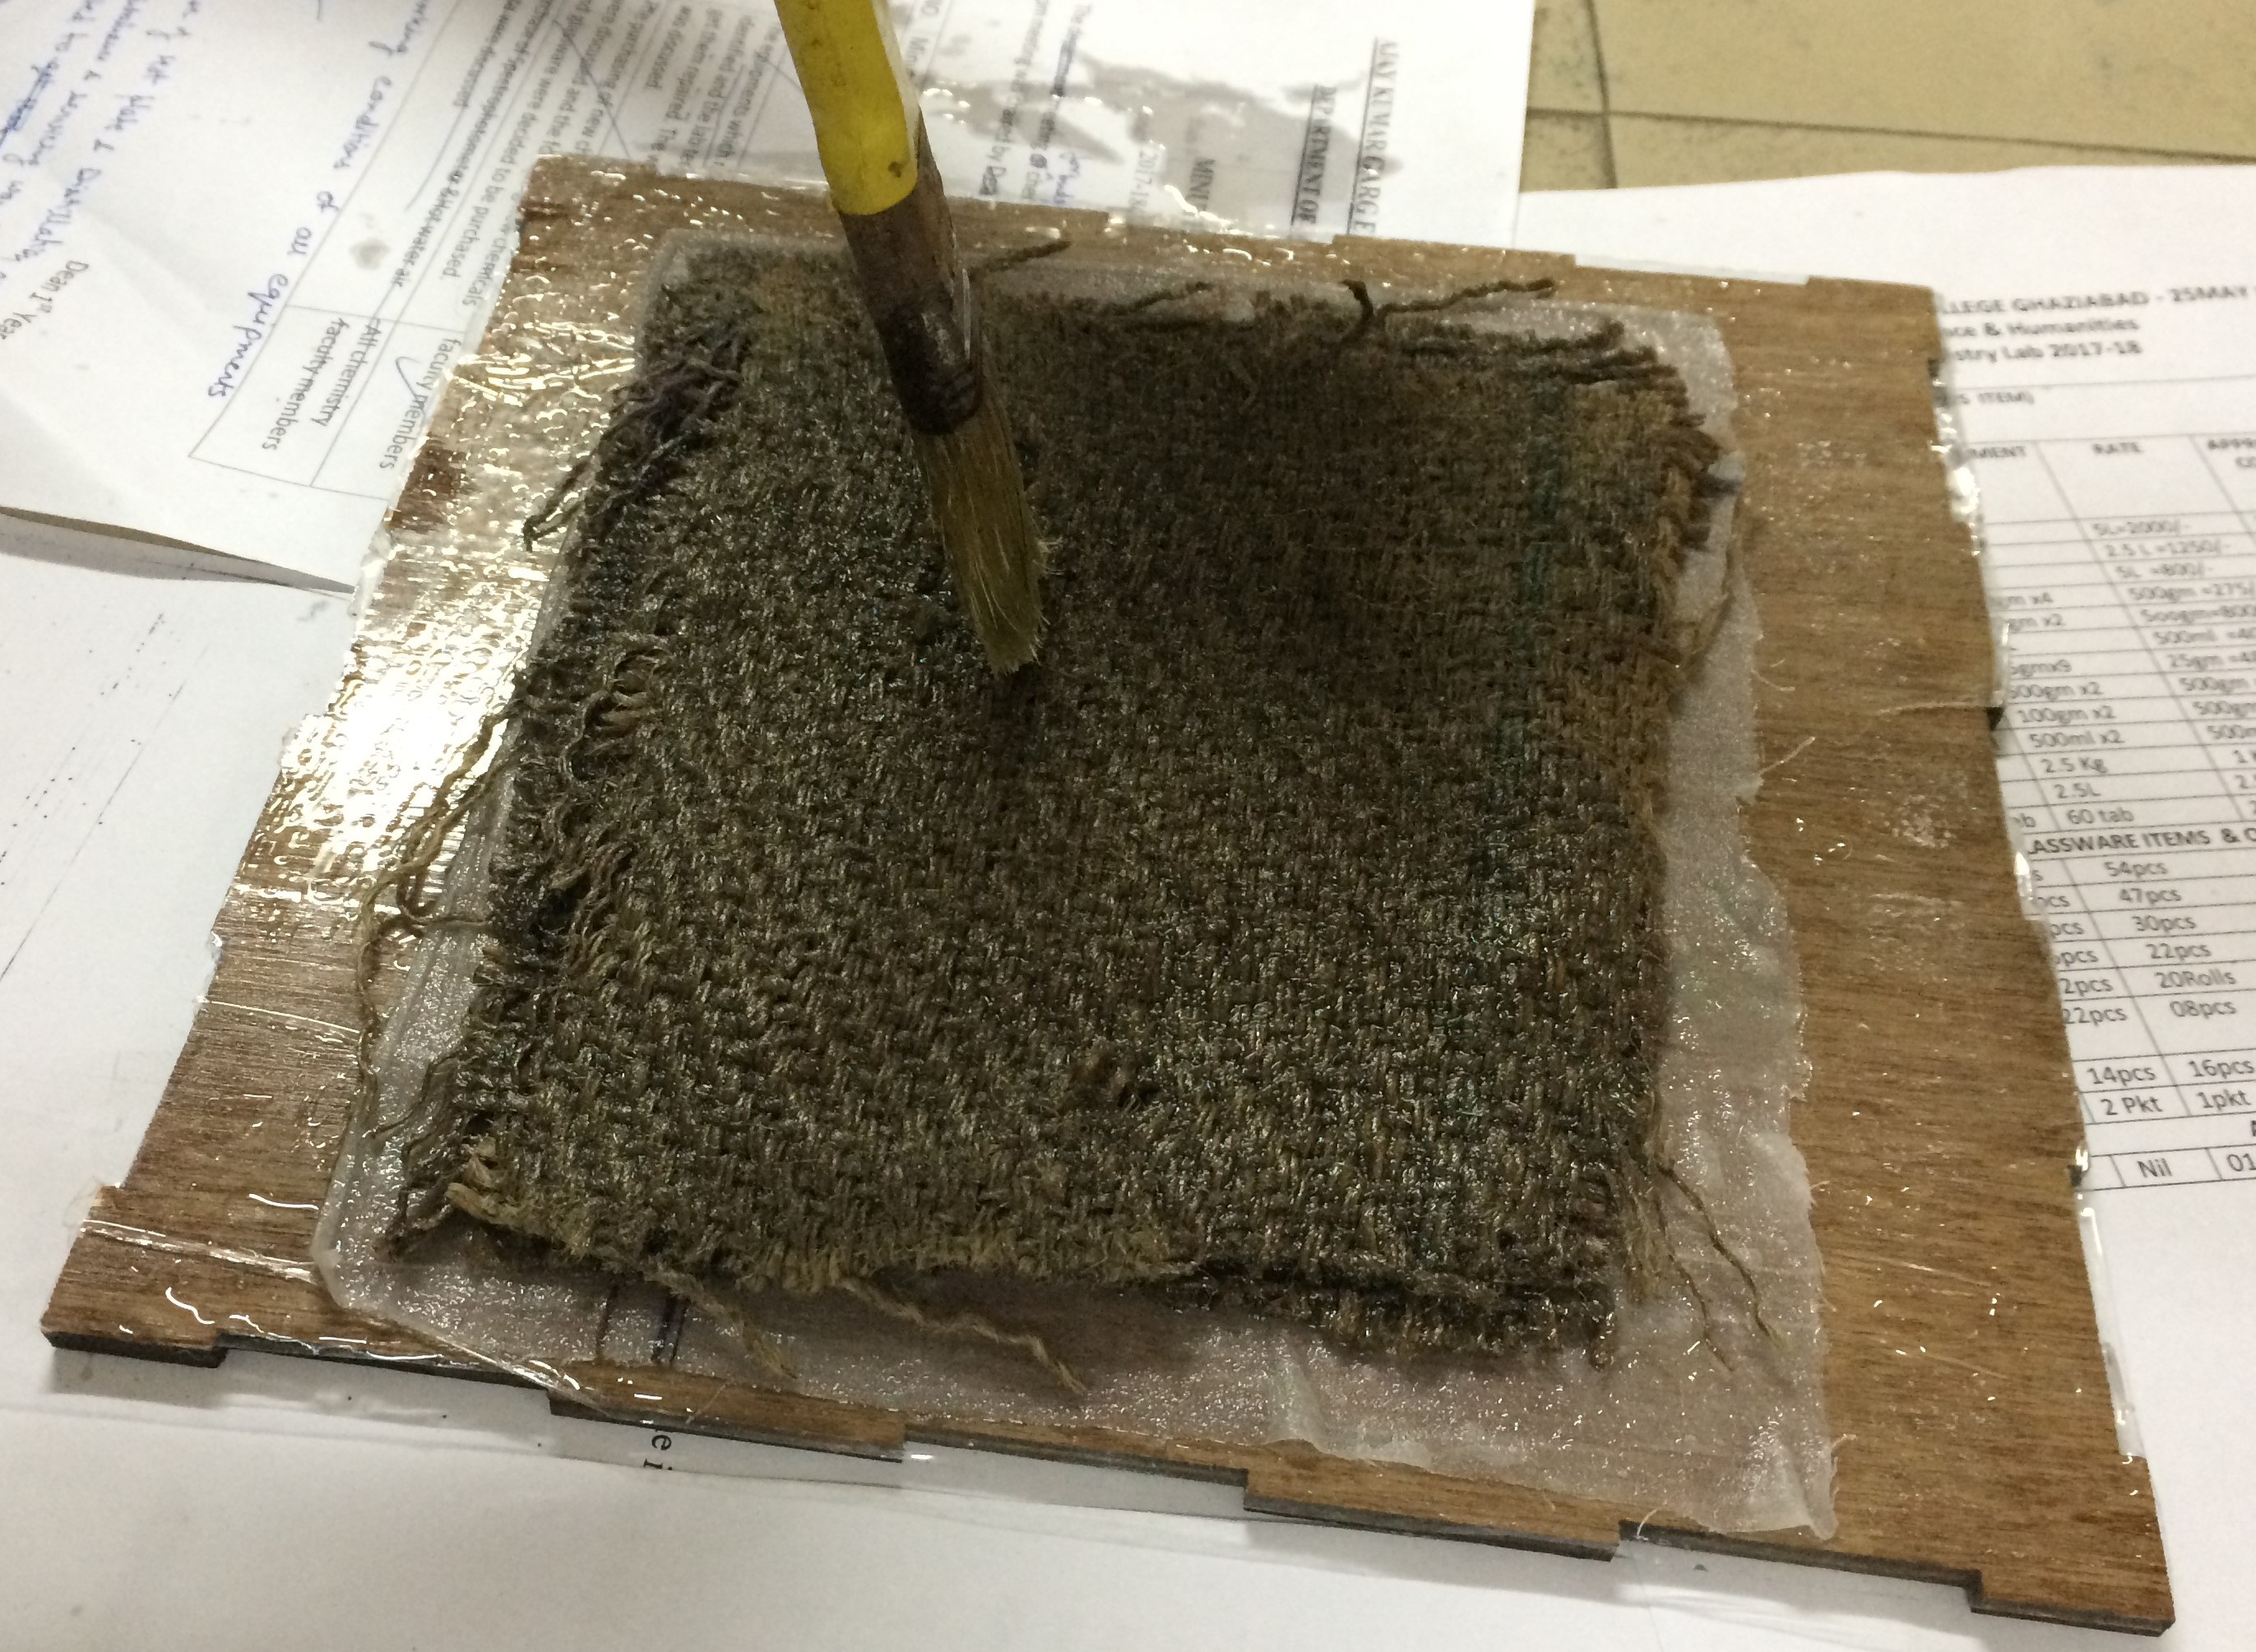
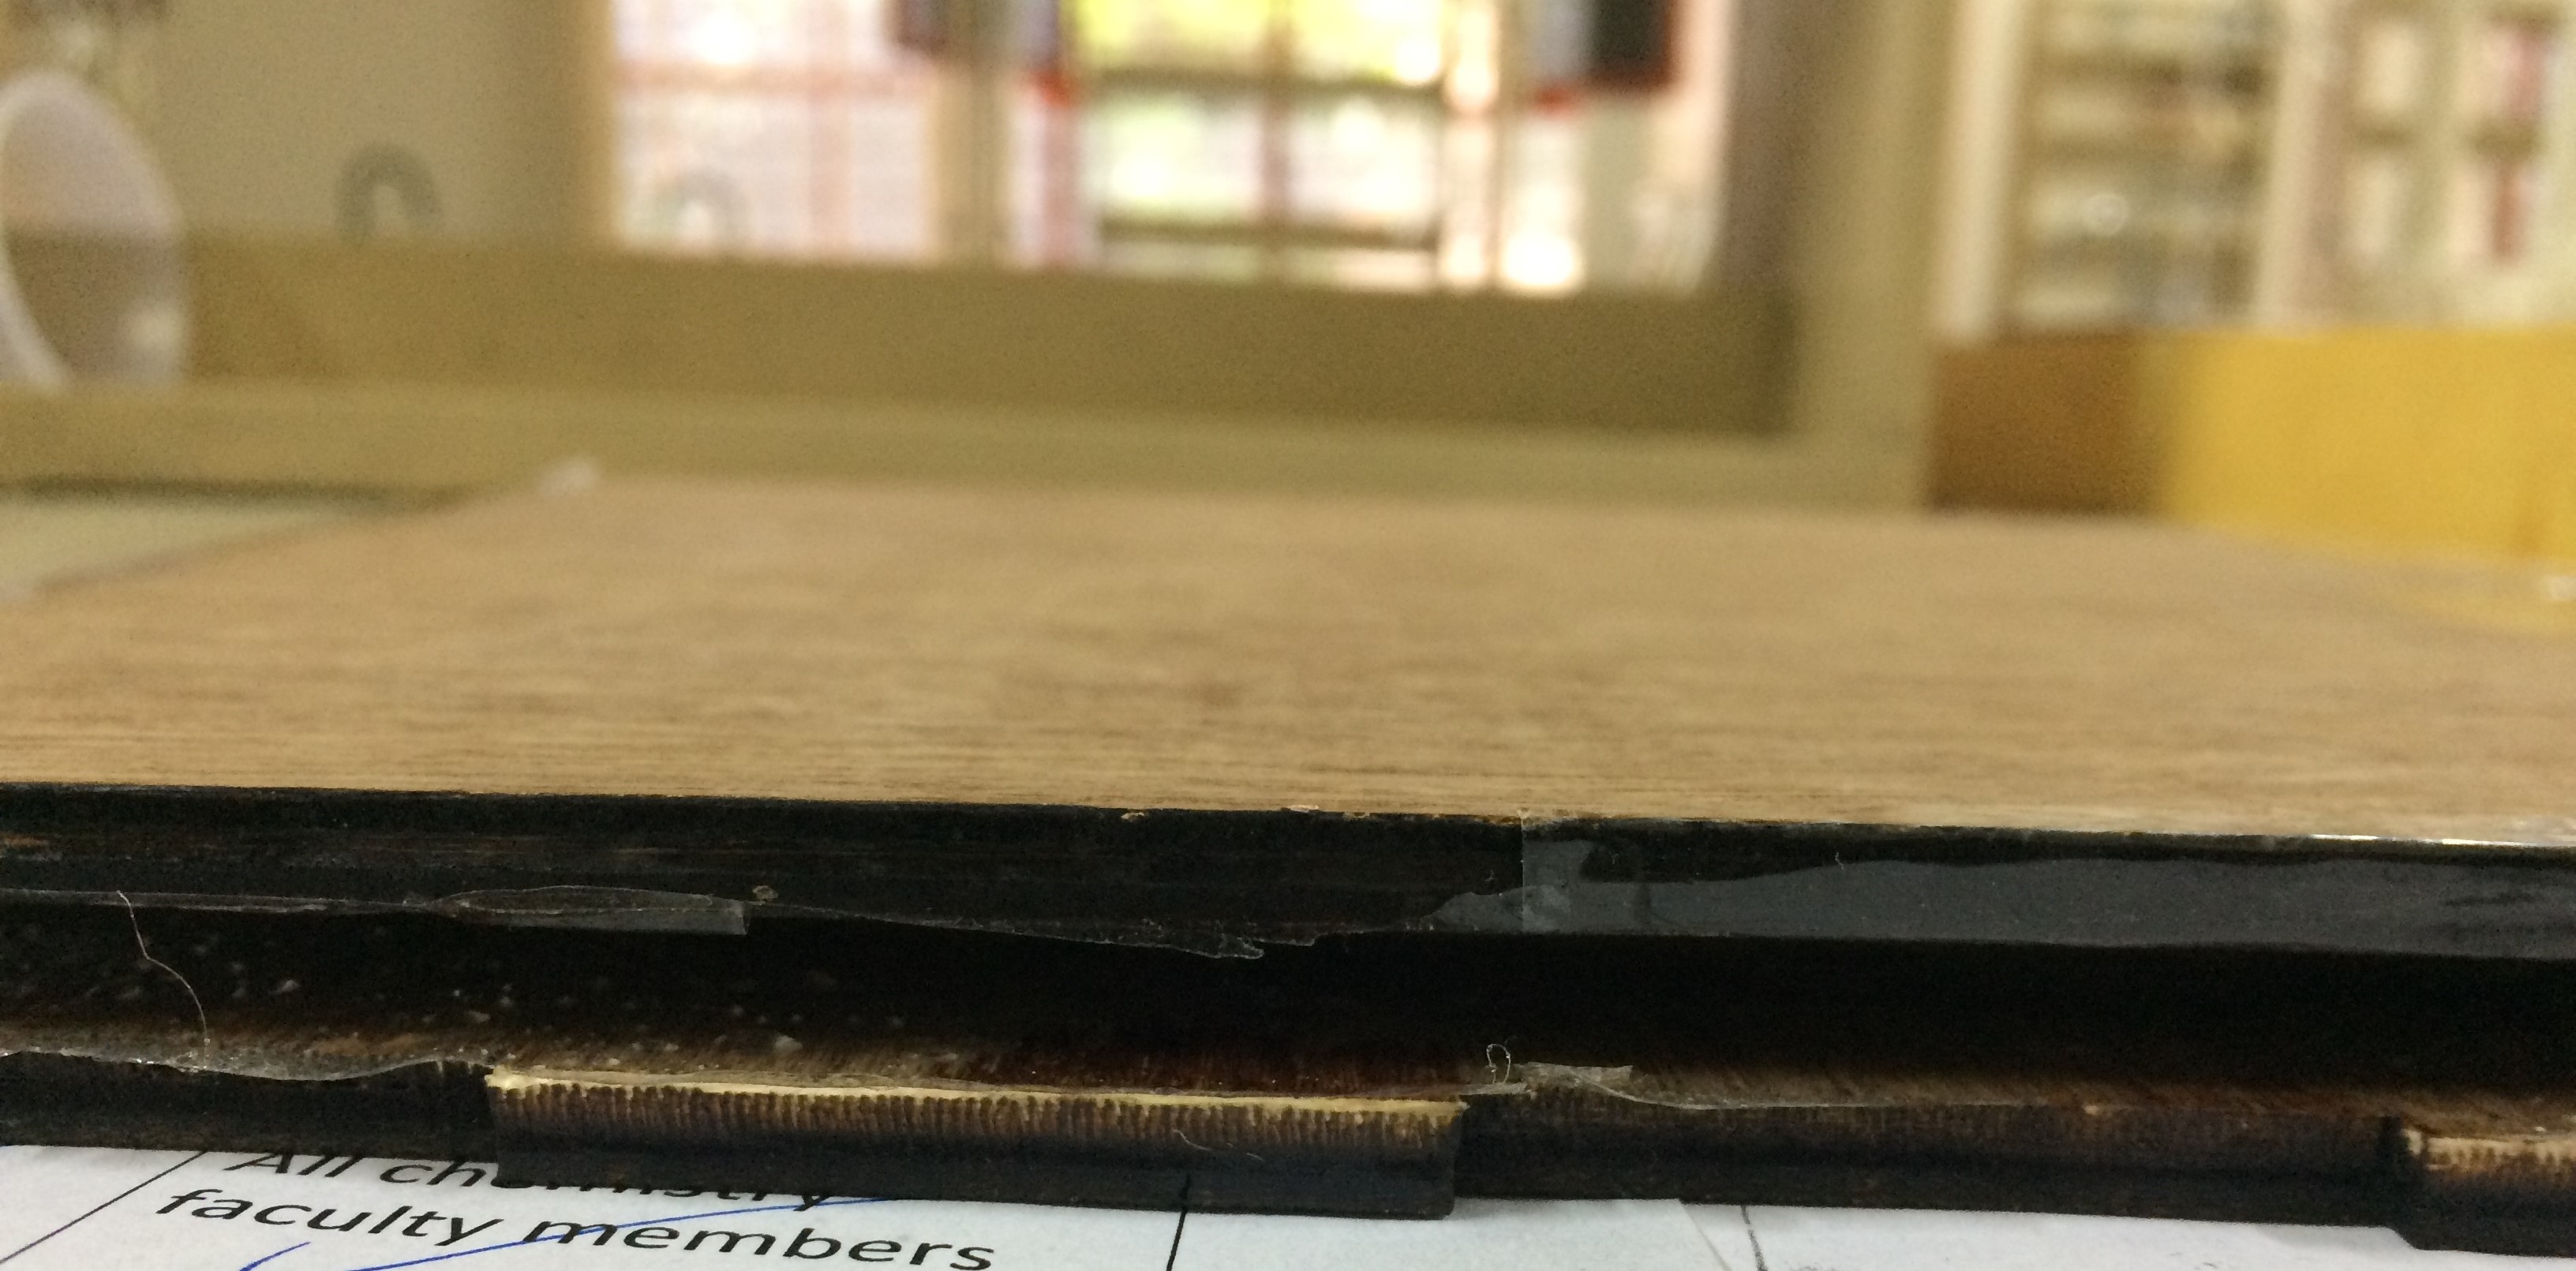
- Initially I arranged two pieces of jute and cotton cloth of dimension 15x15 cms and two plyboard of 23X23 cms.
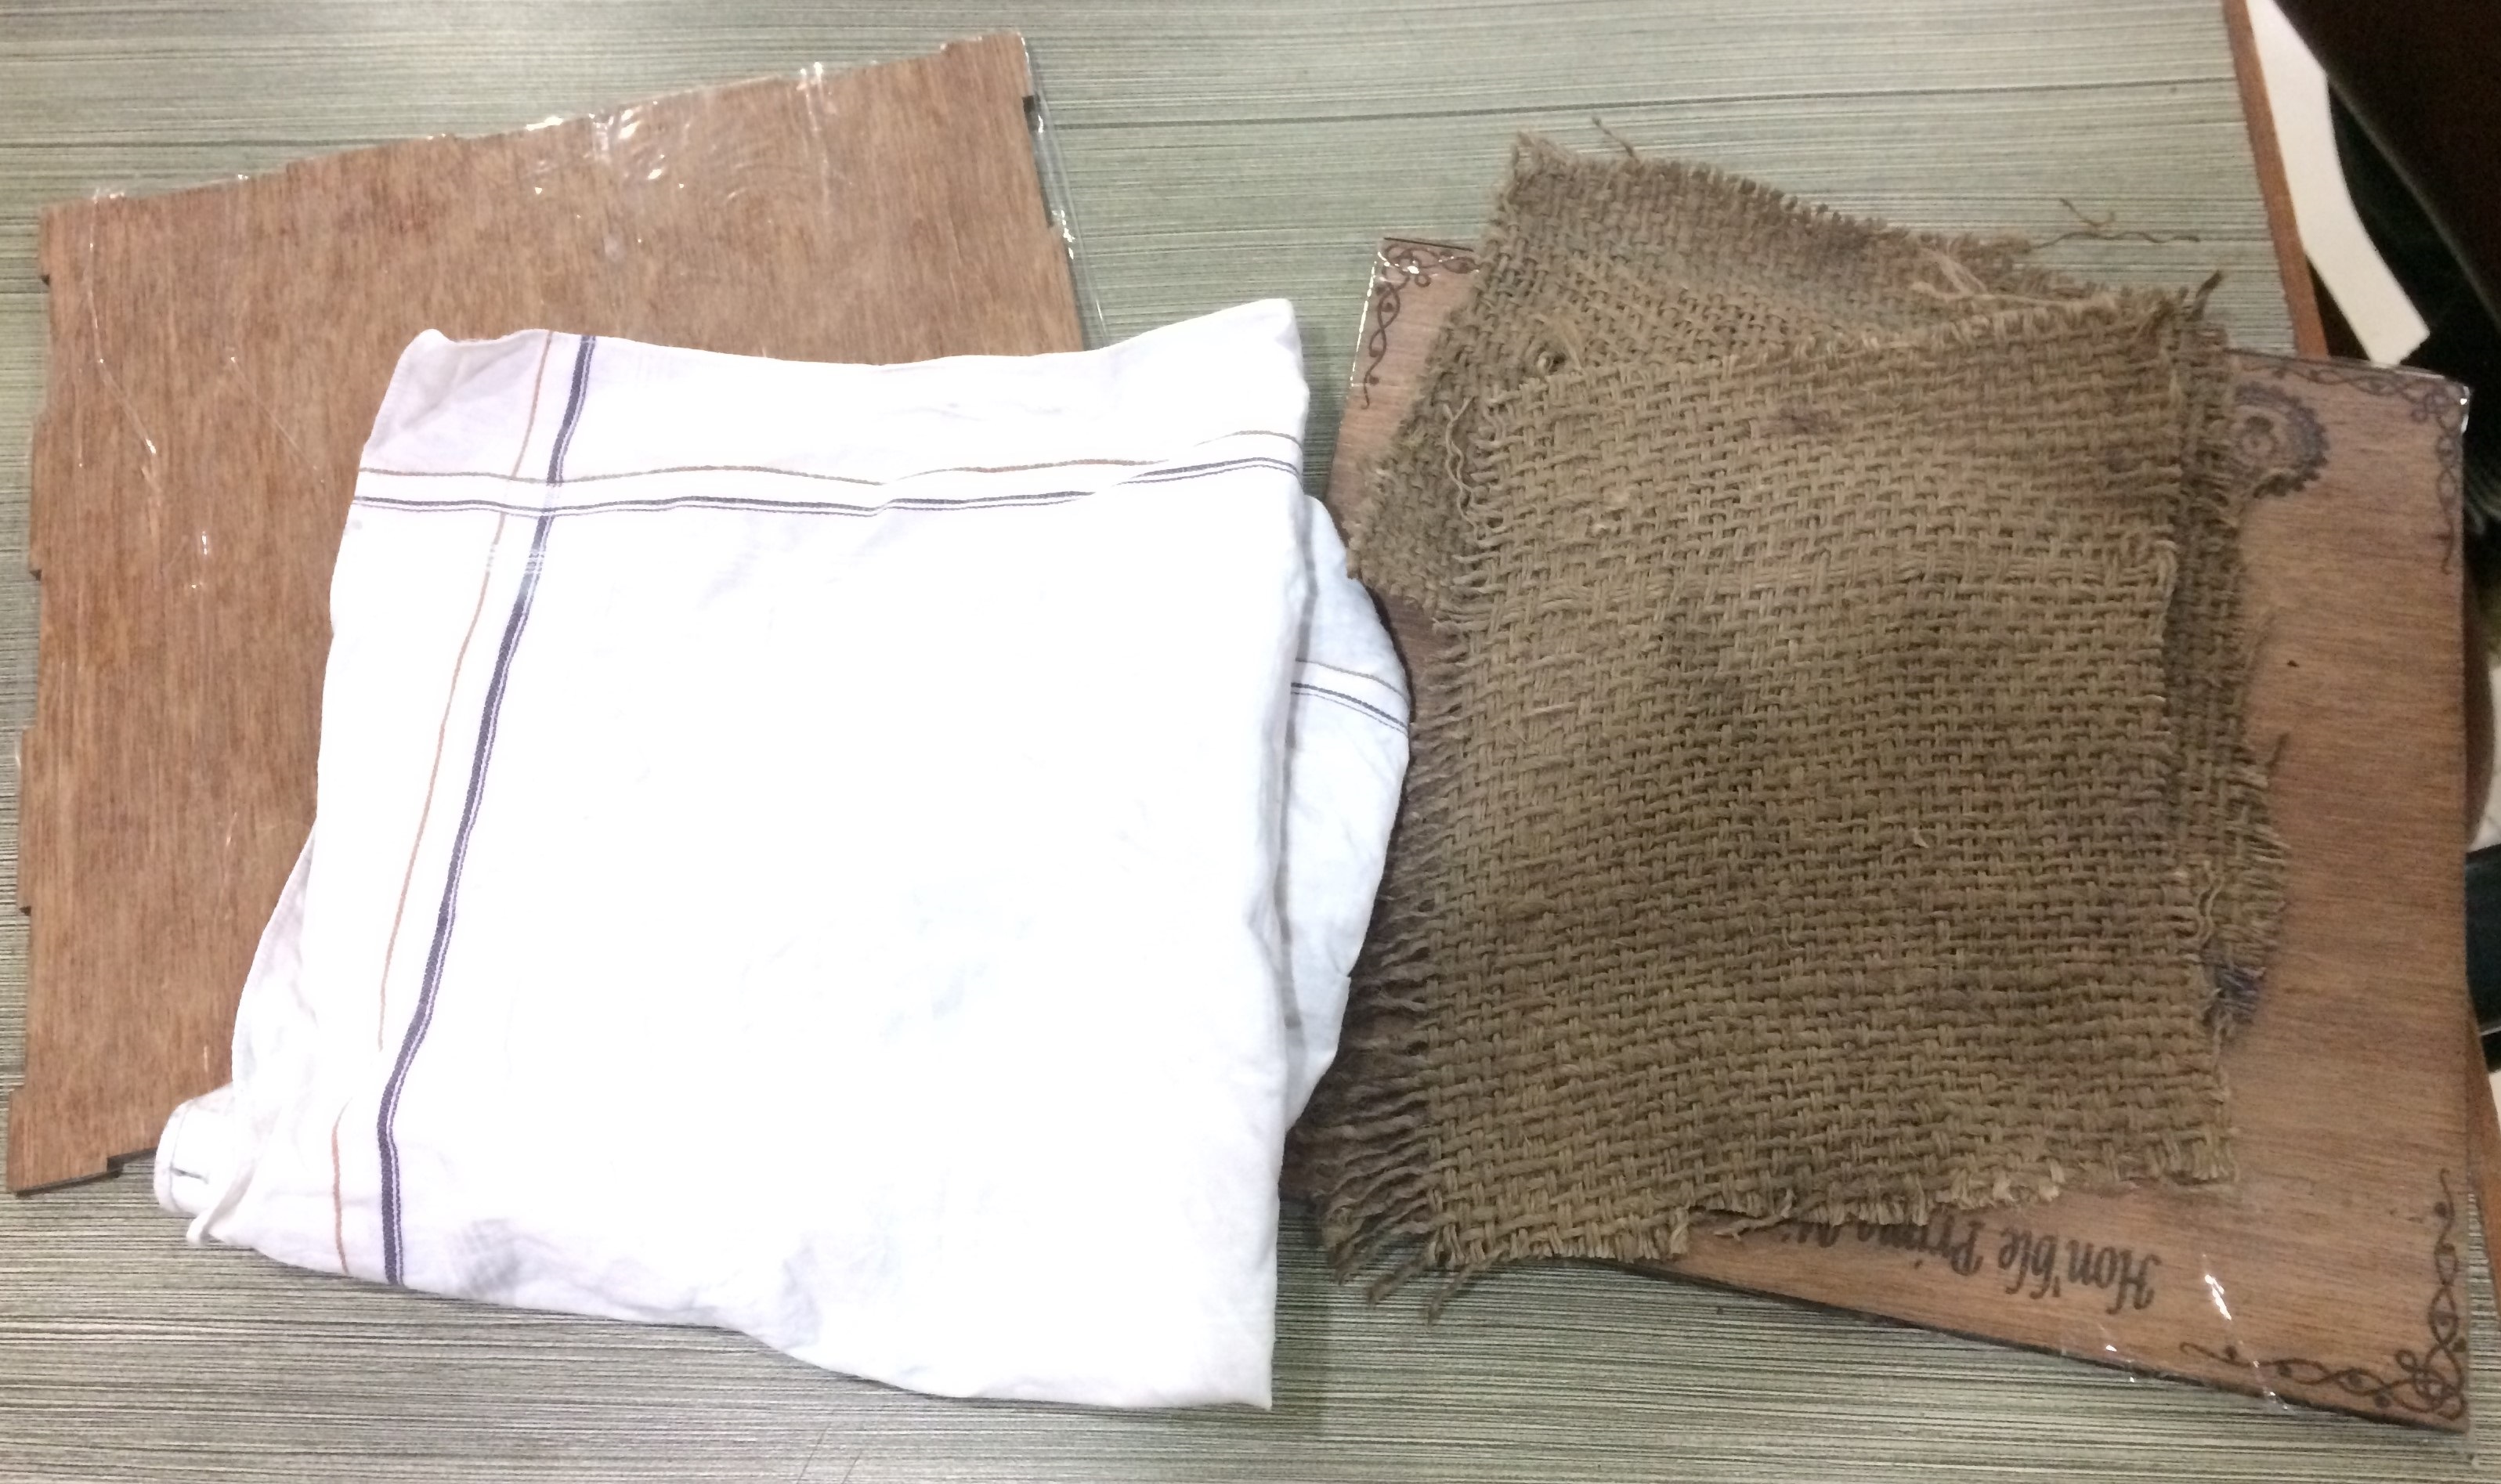
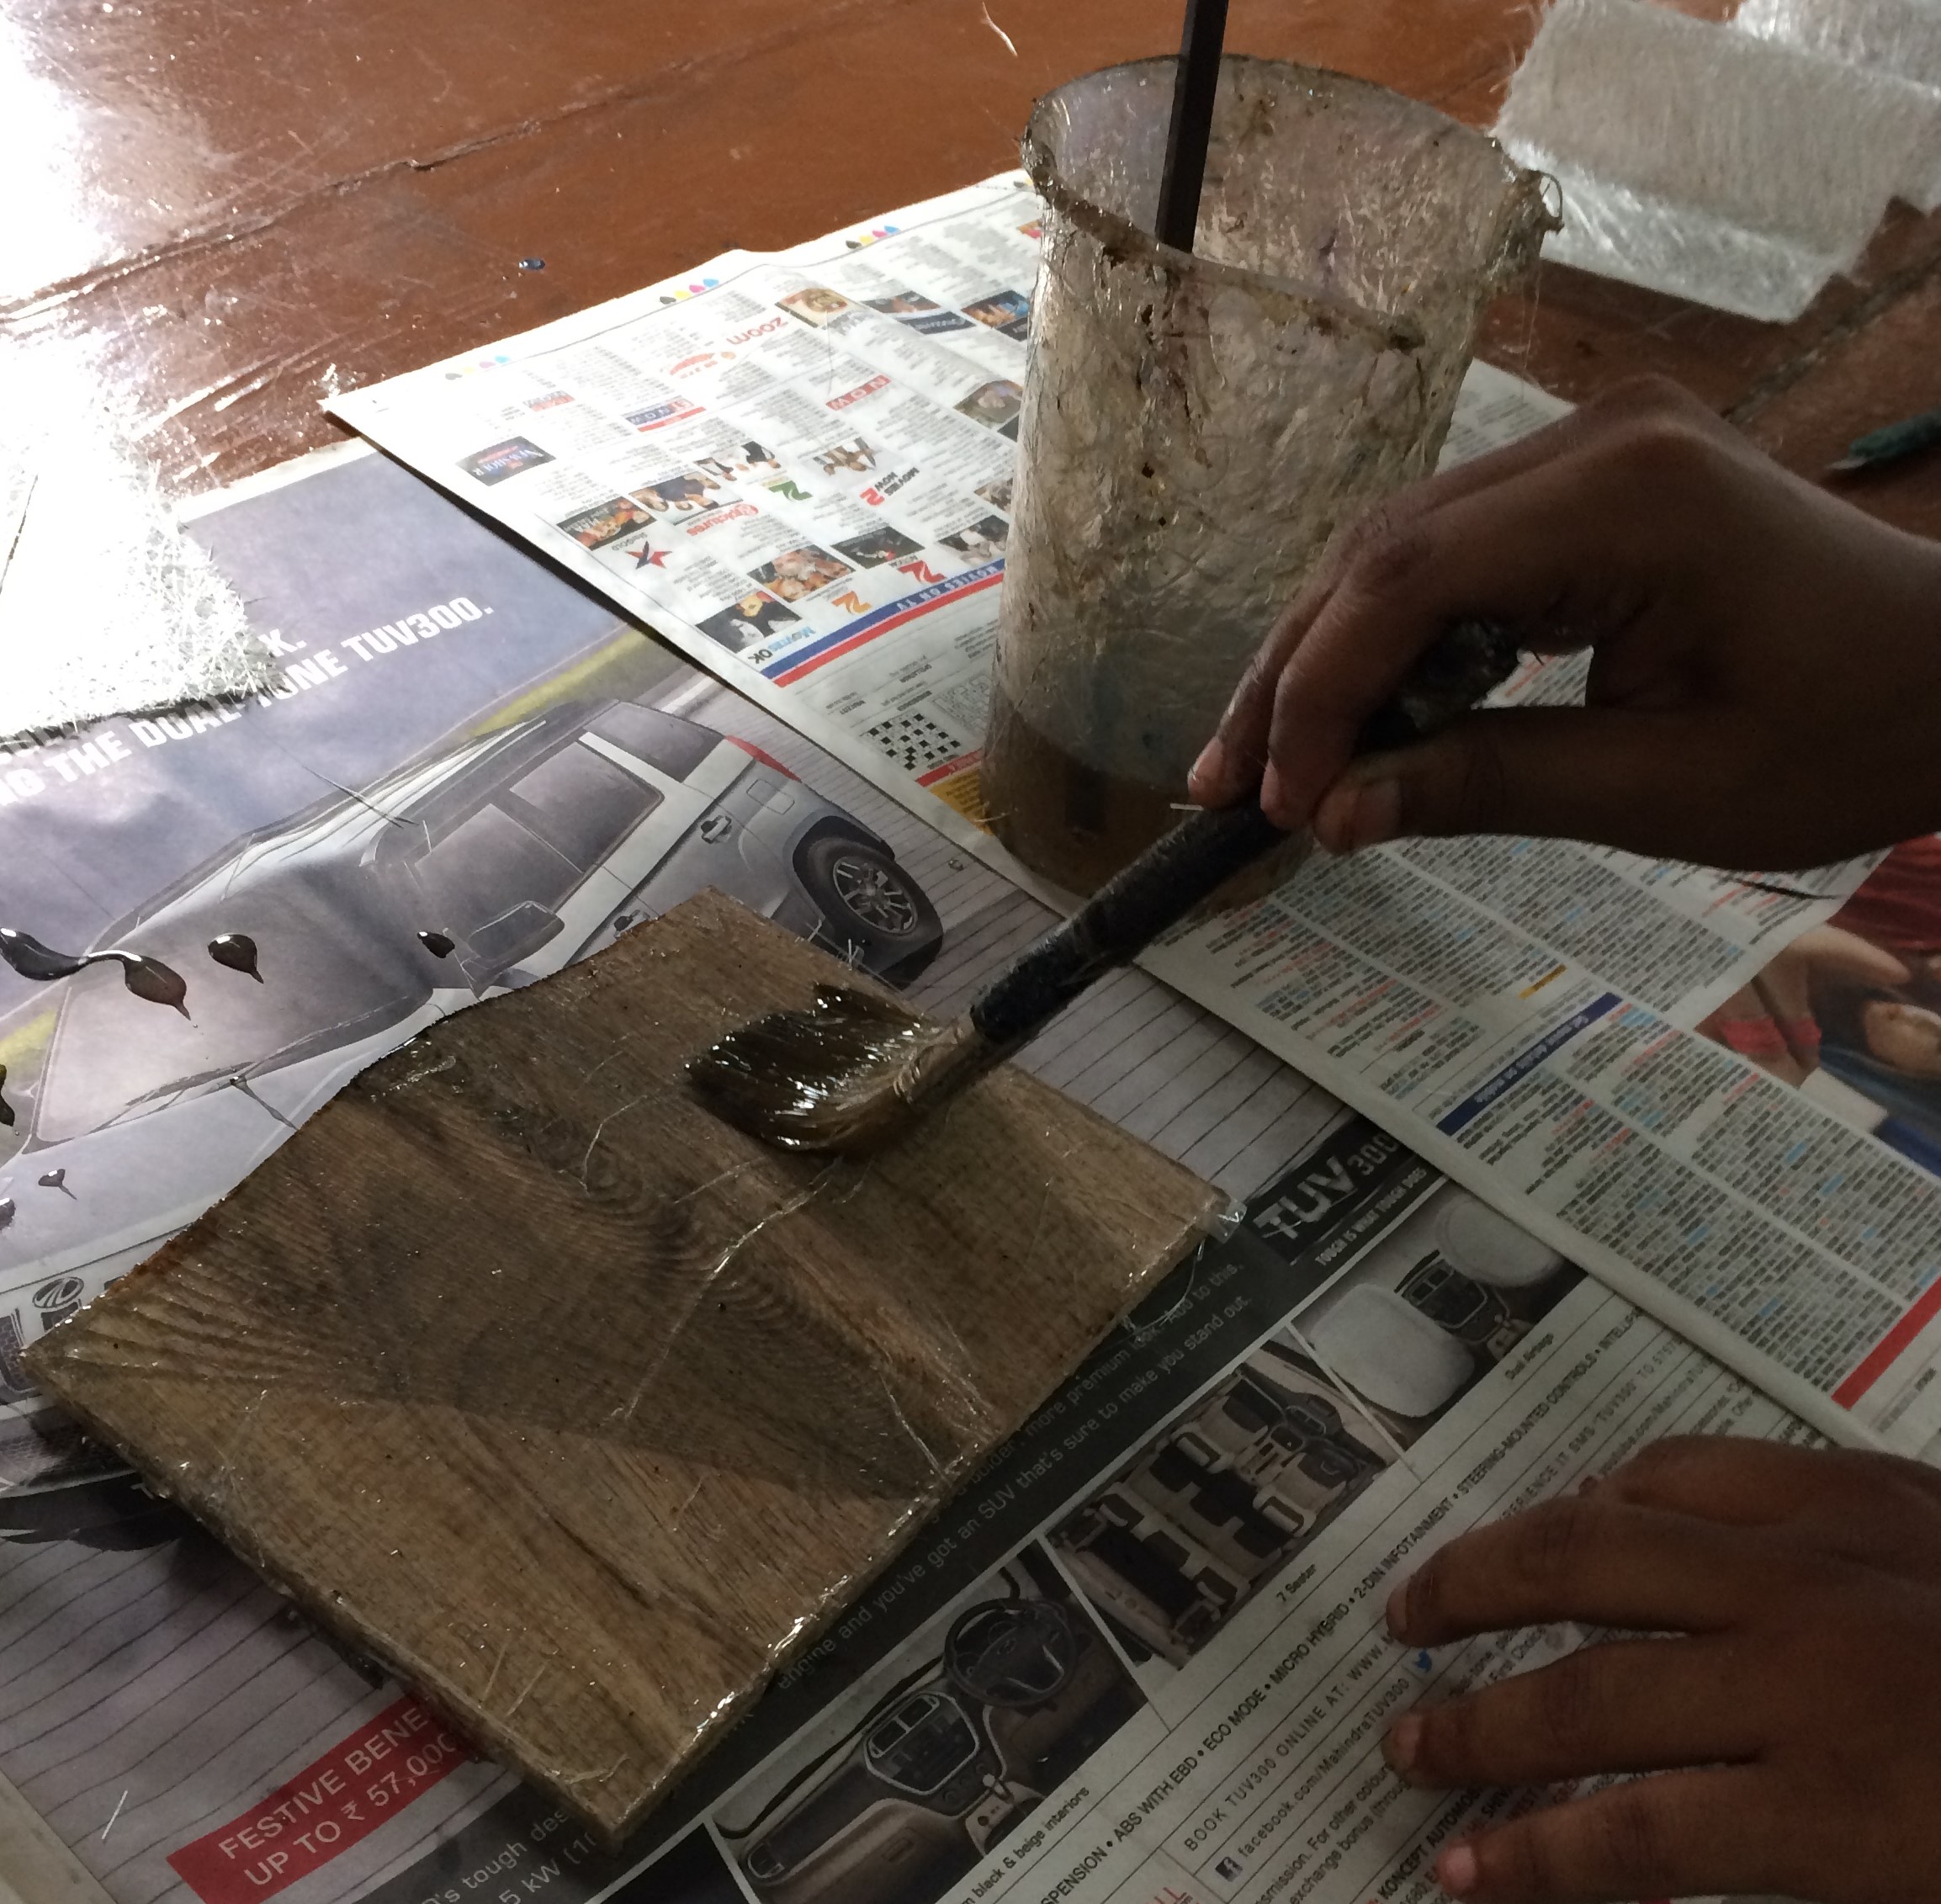
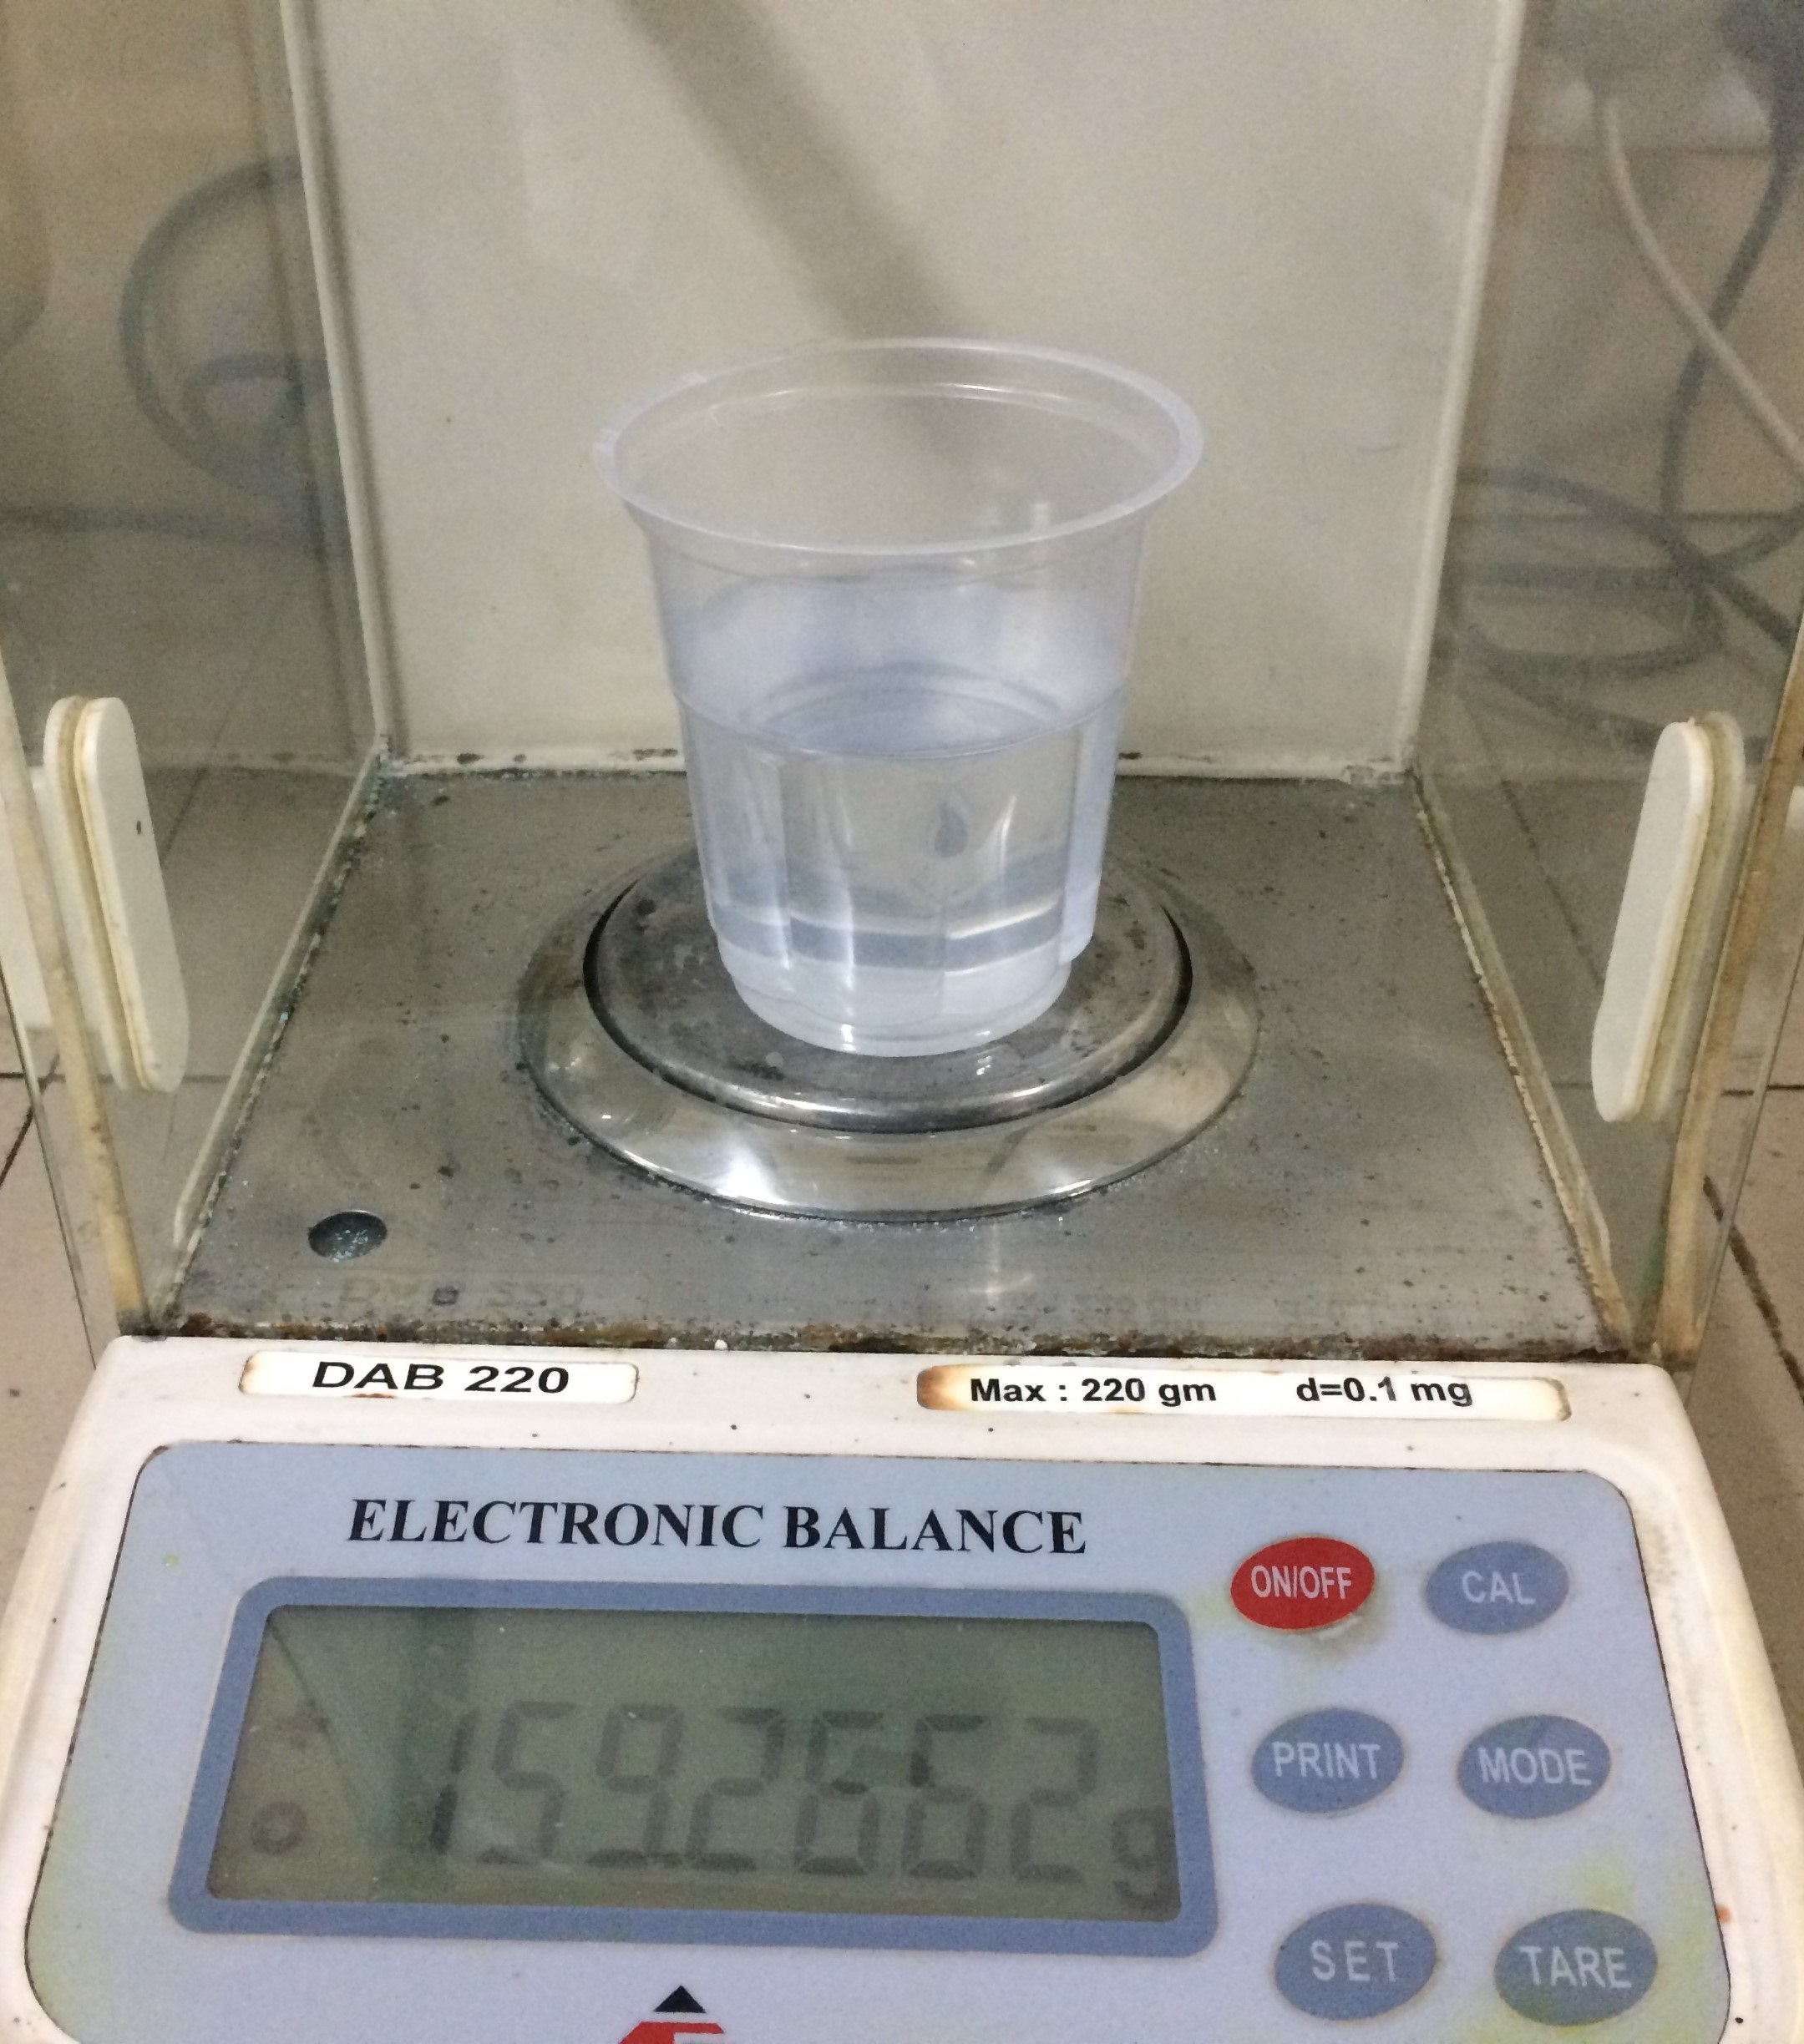
- I applied cello tapes on the surfaces of the plywood, so that the composite can be removed easily. Now, part A is taken (159.6226 grams) and 80 grams of Part B (50% of Part A)is added and both of them are mixed properly.
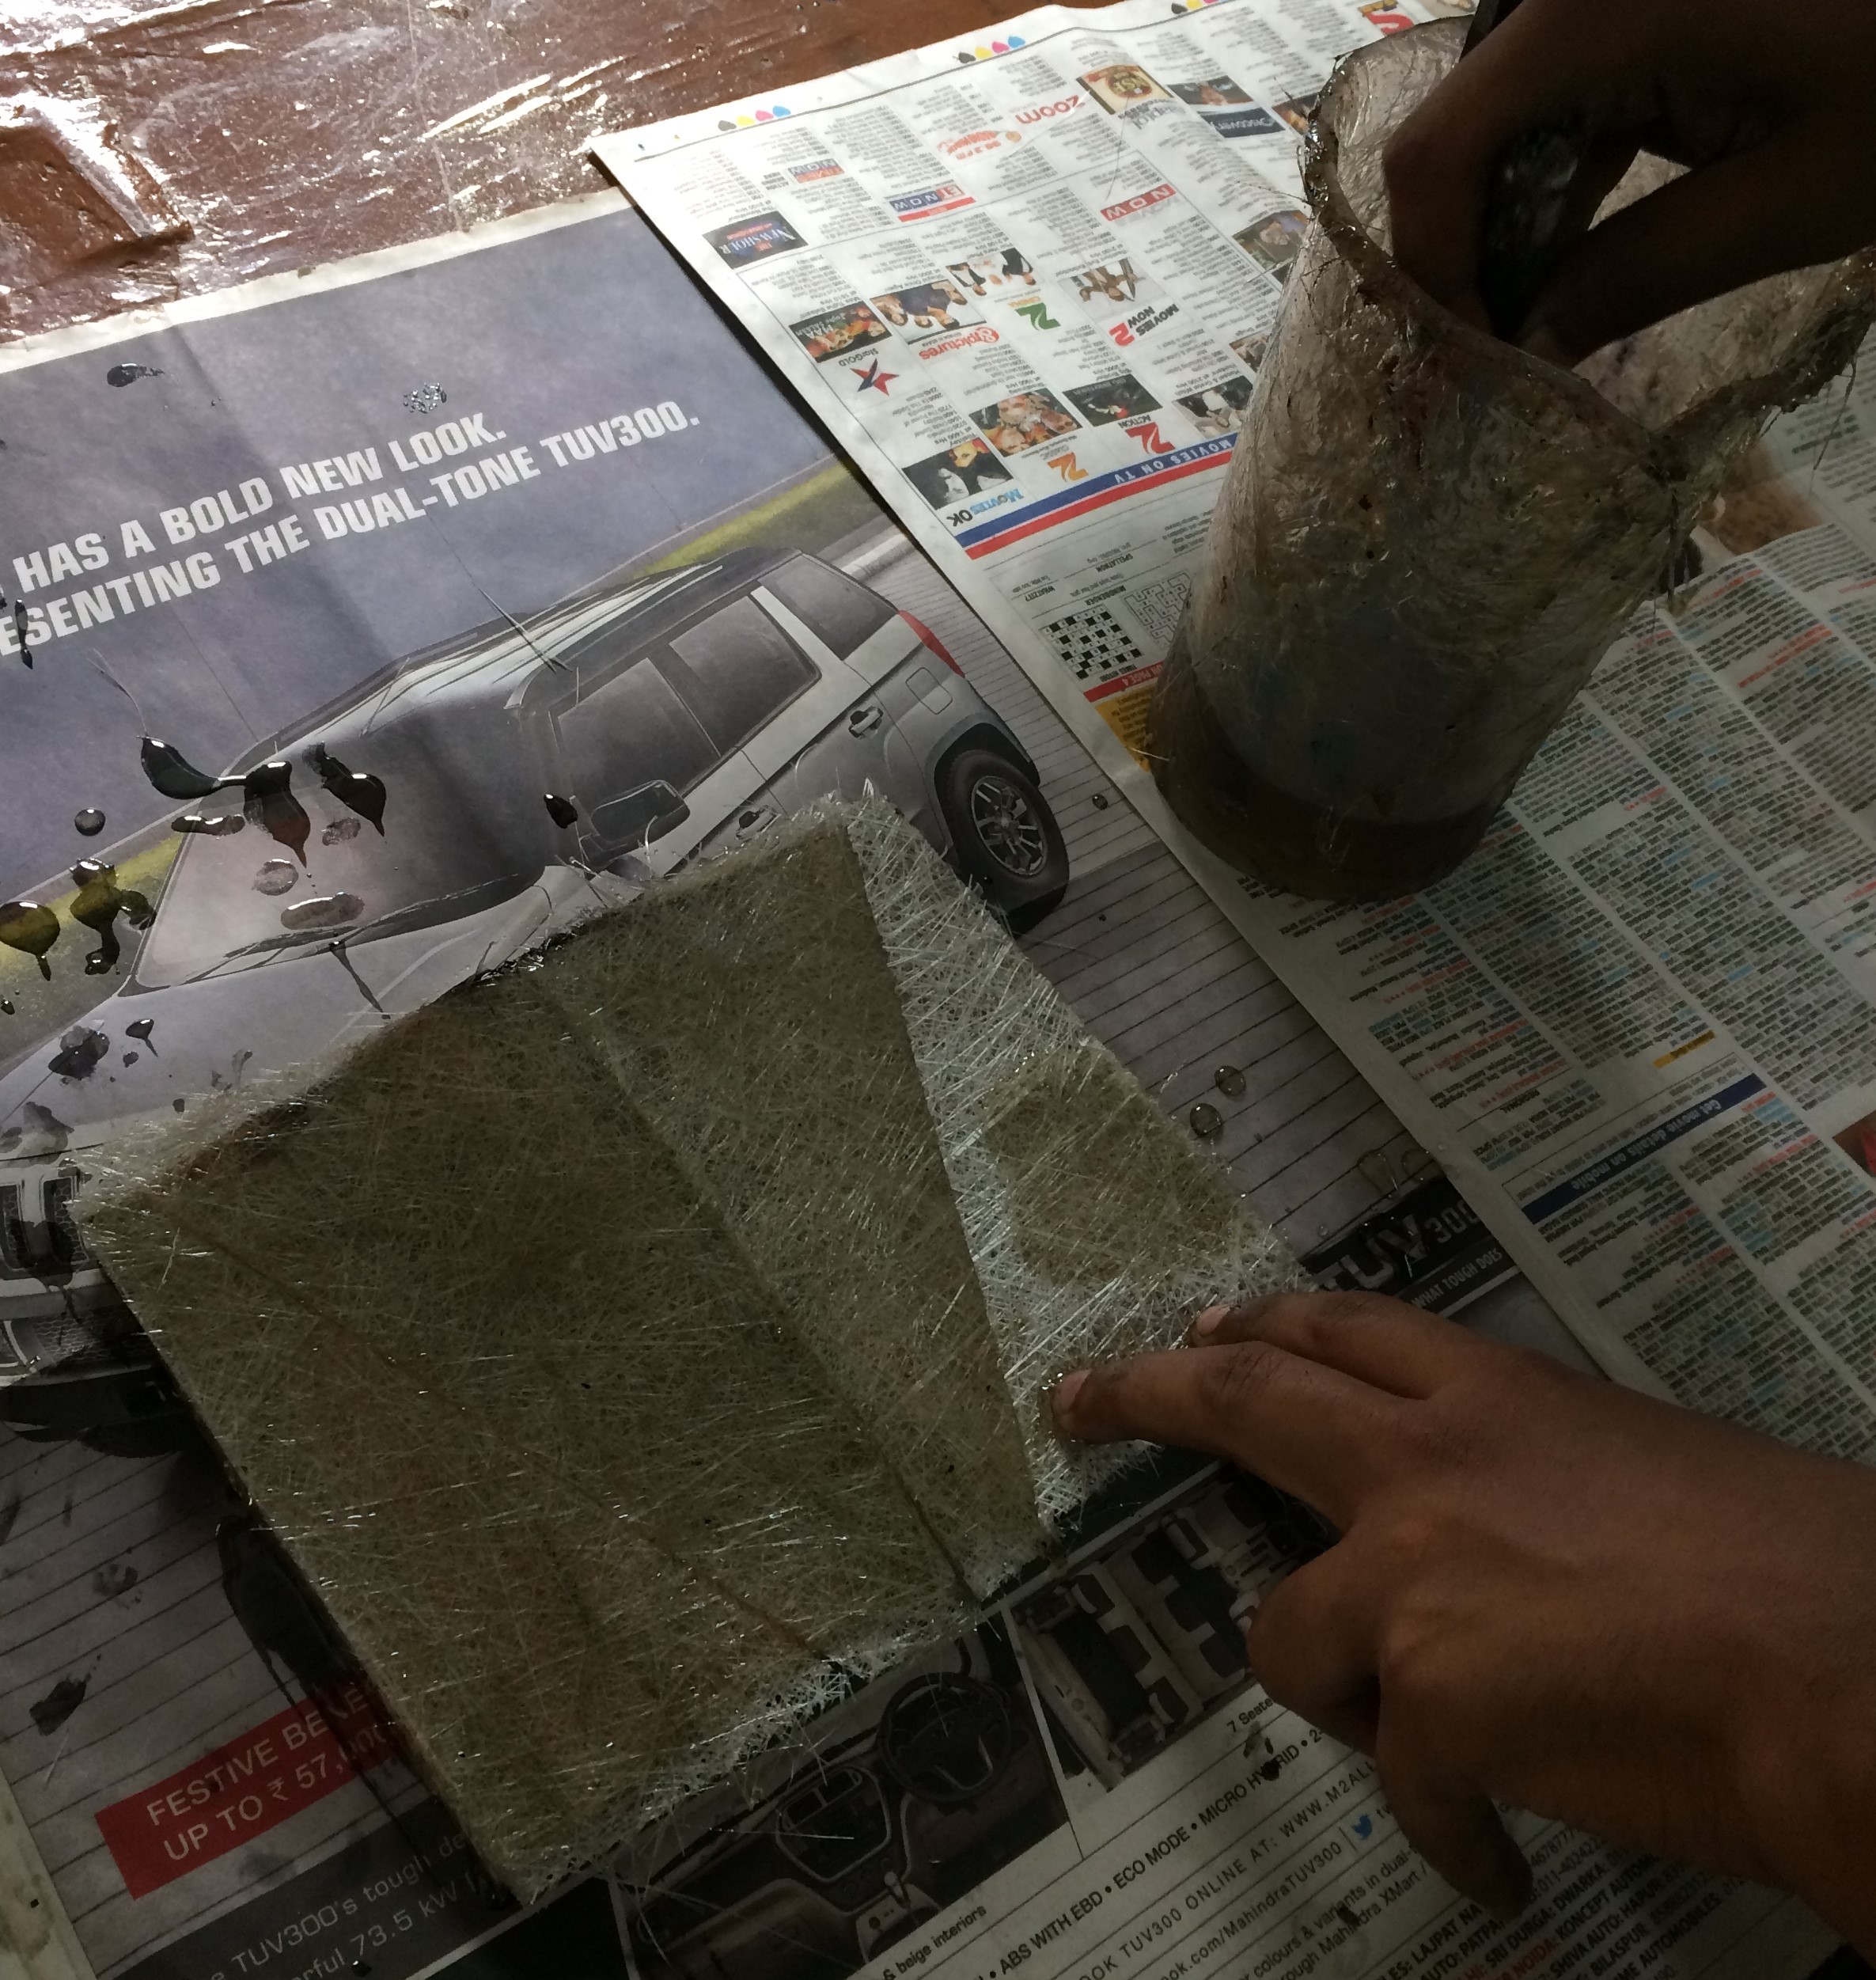
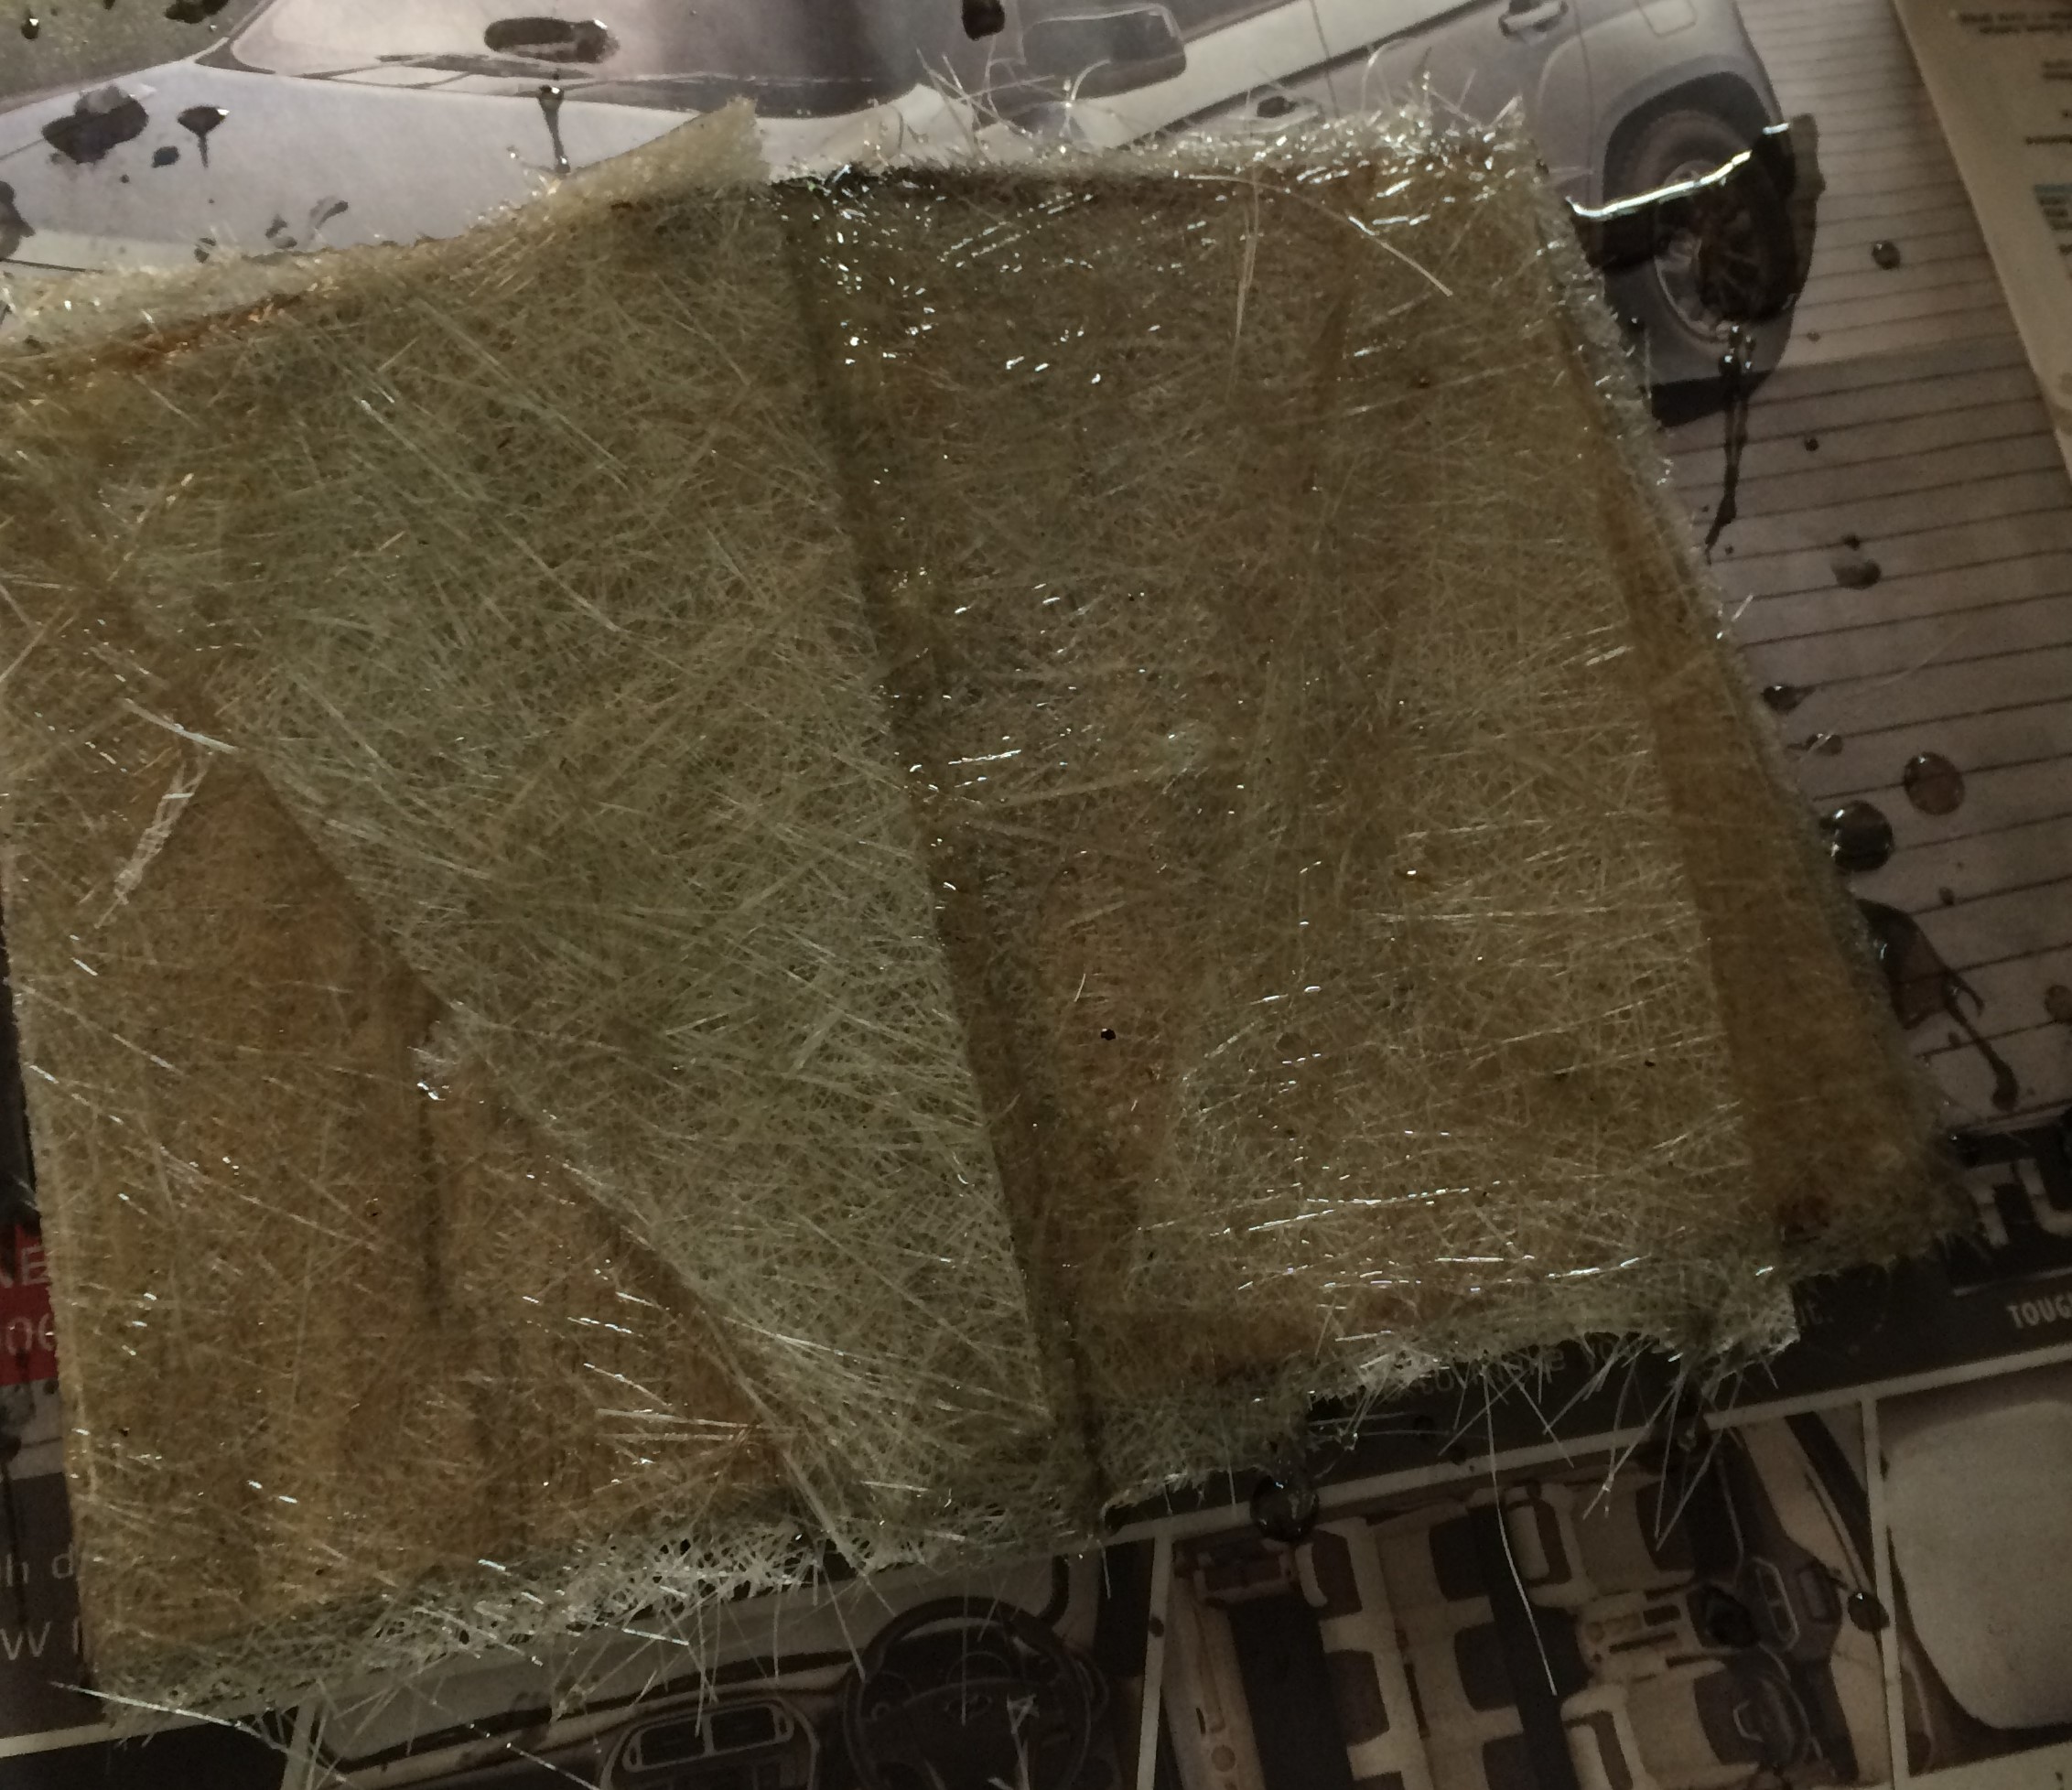
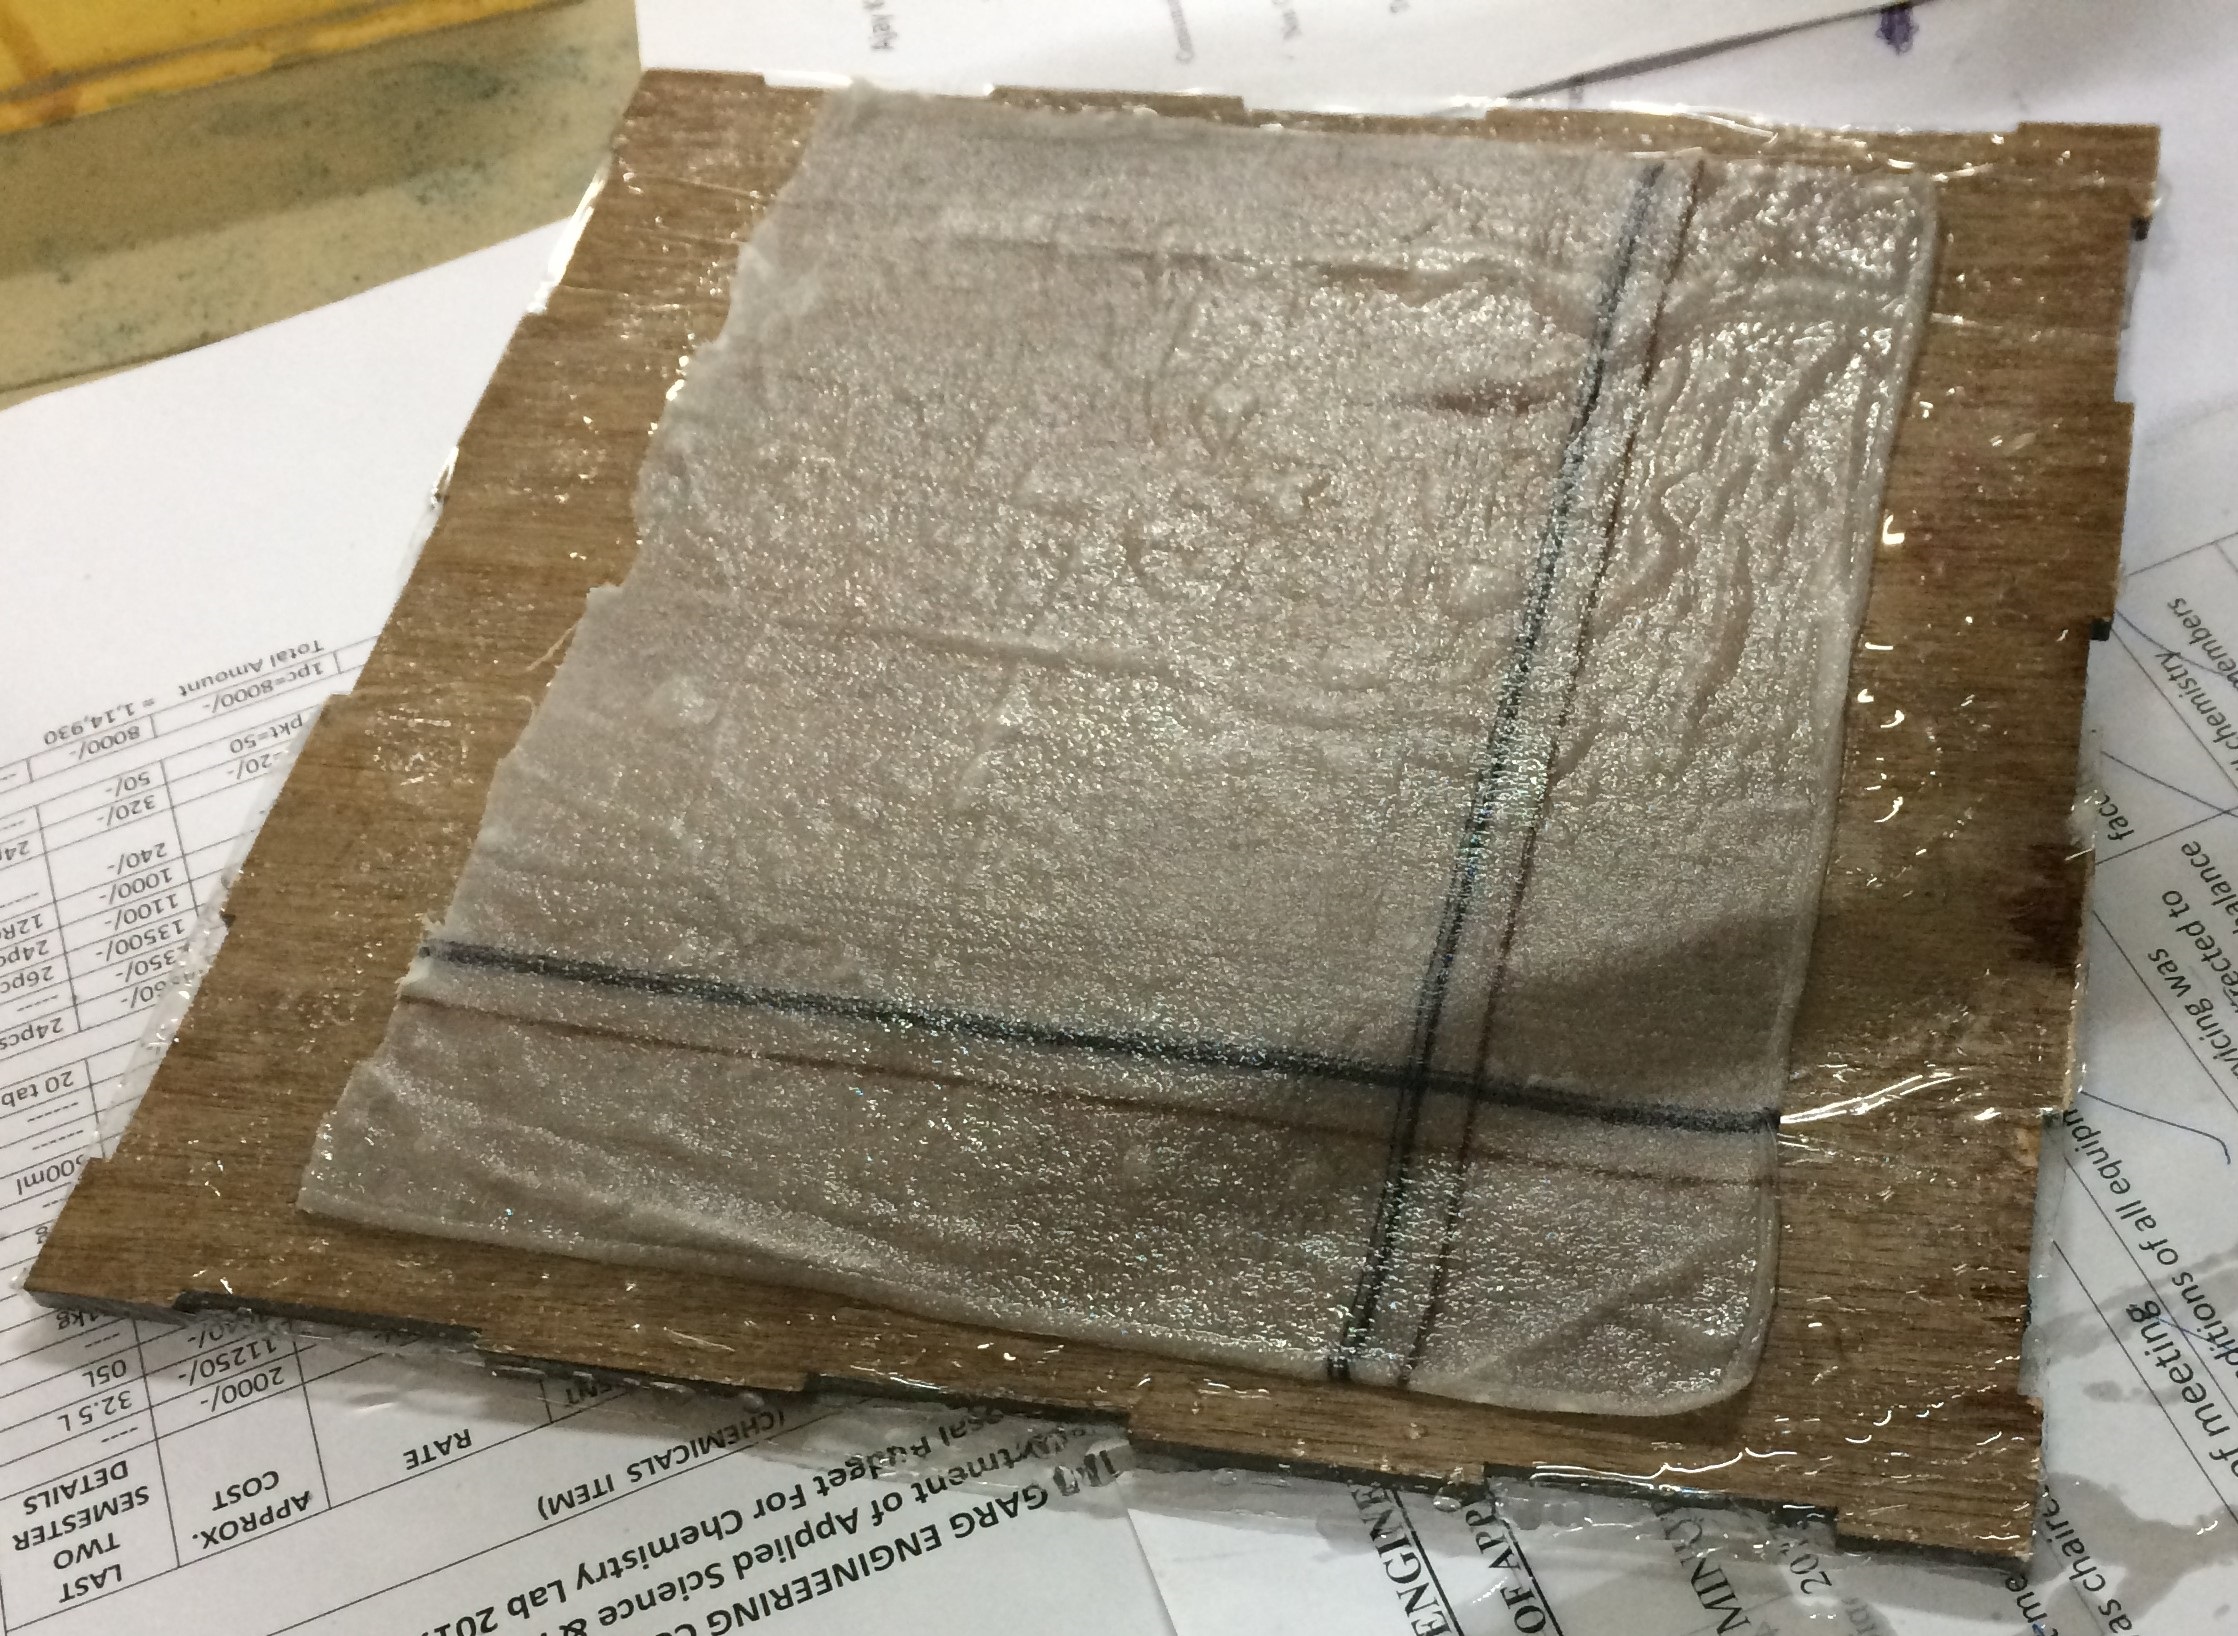
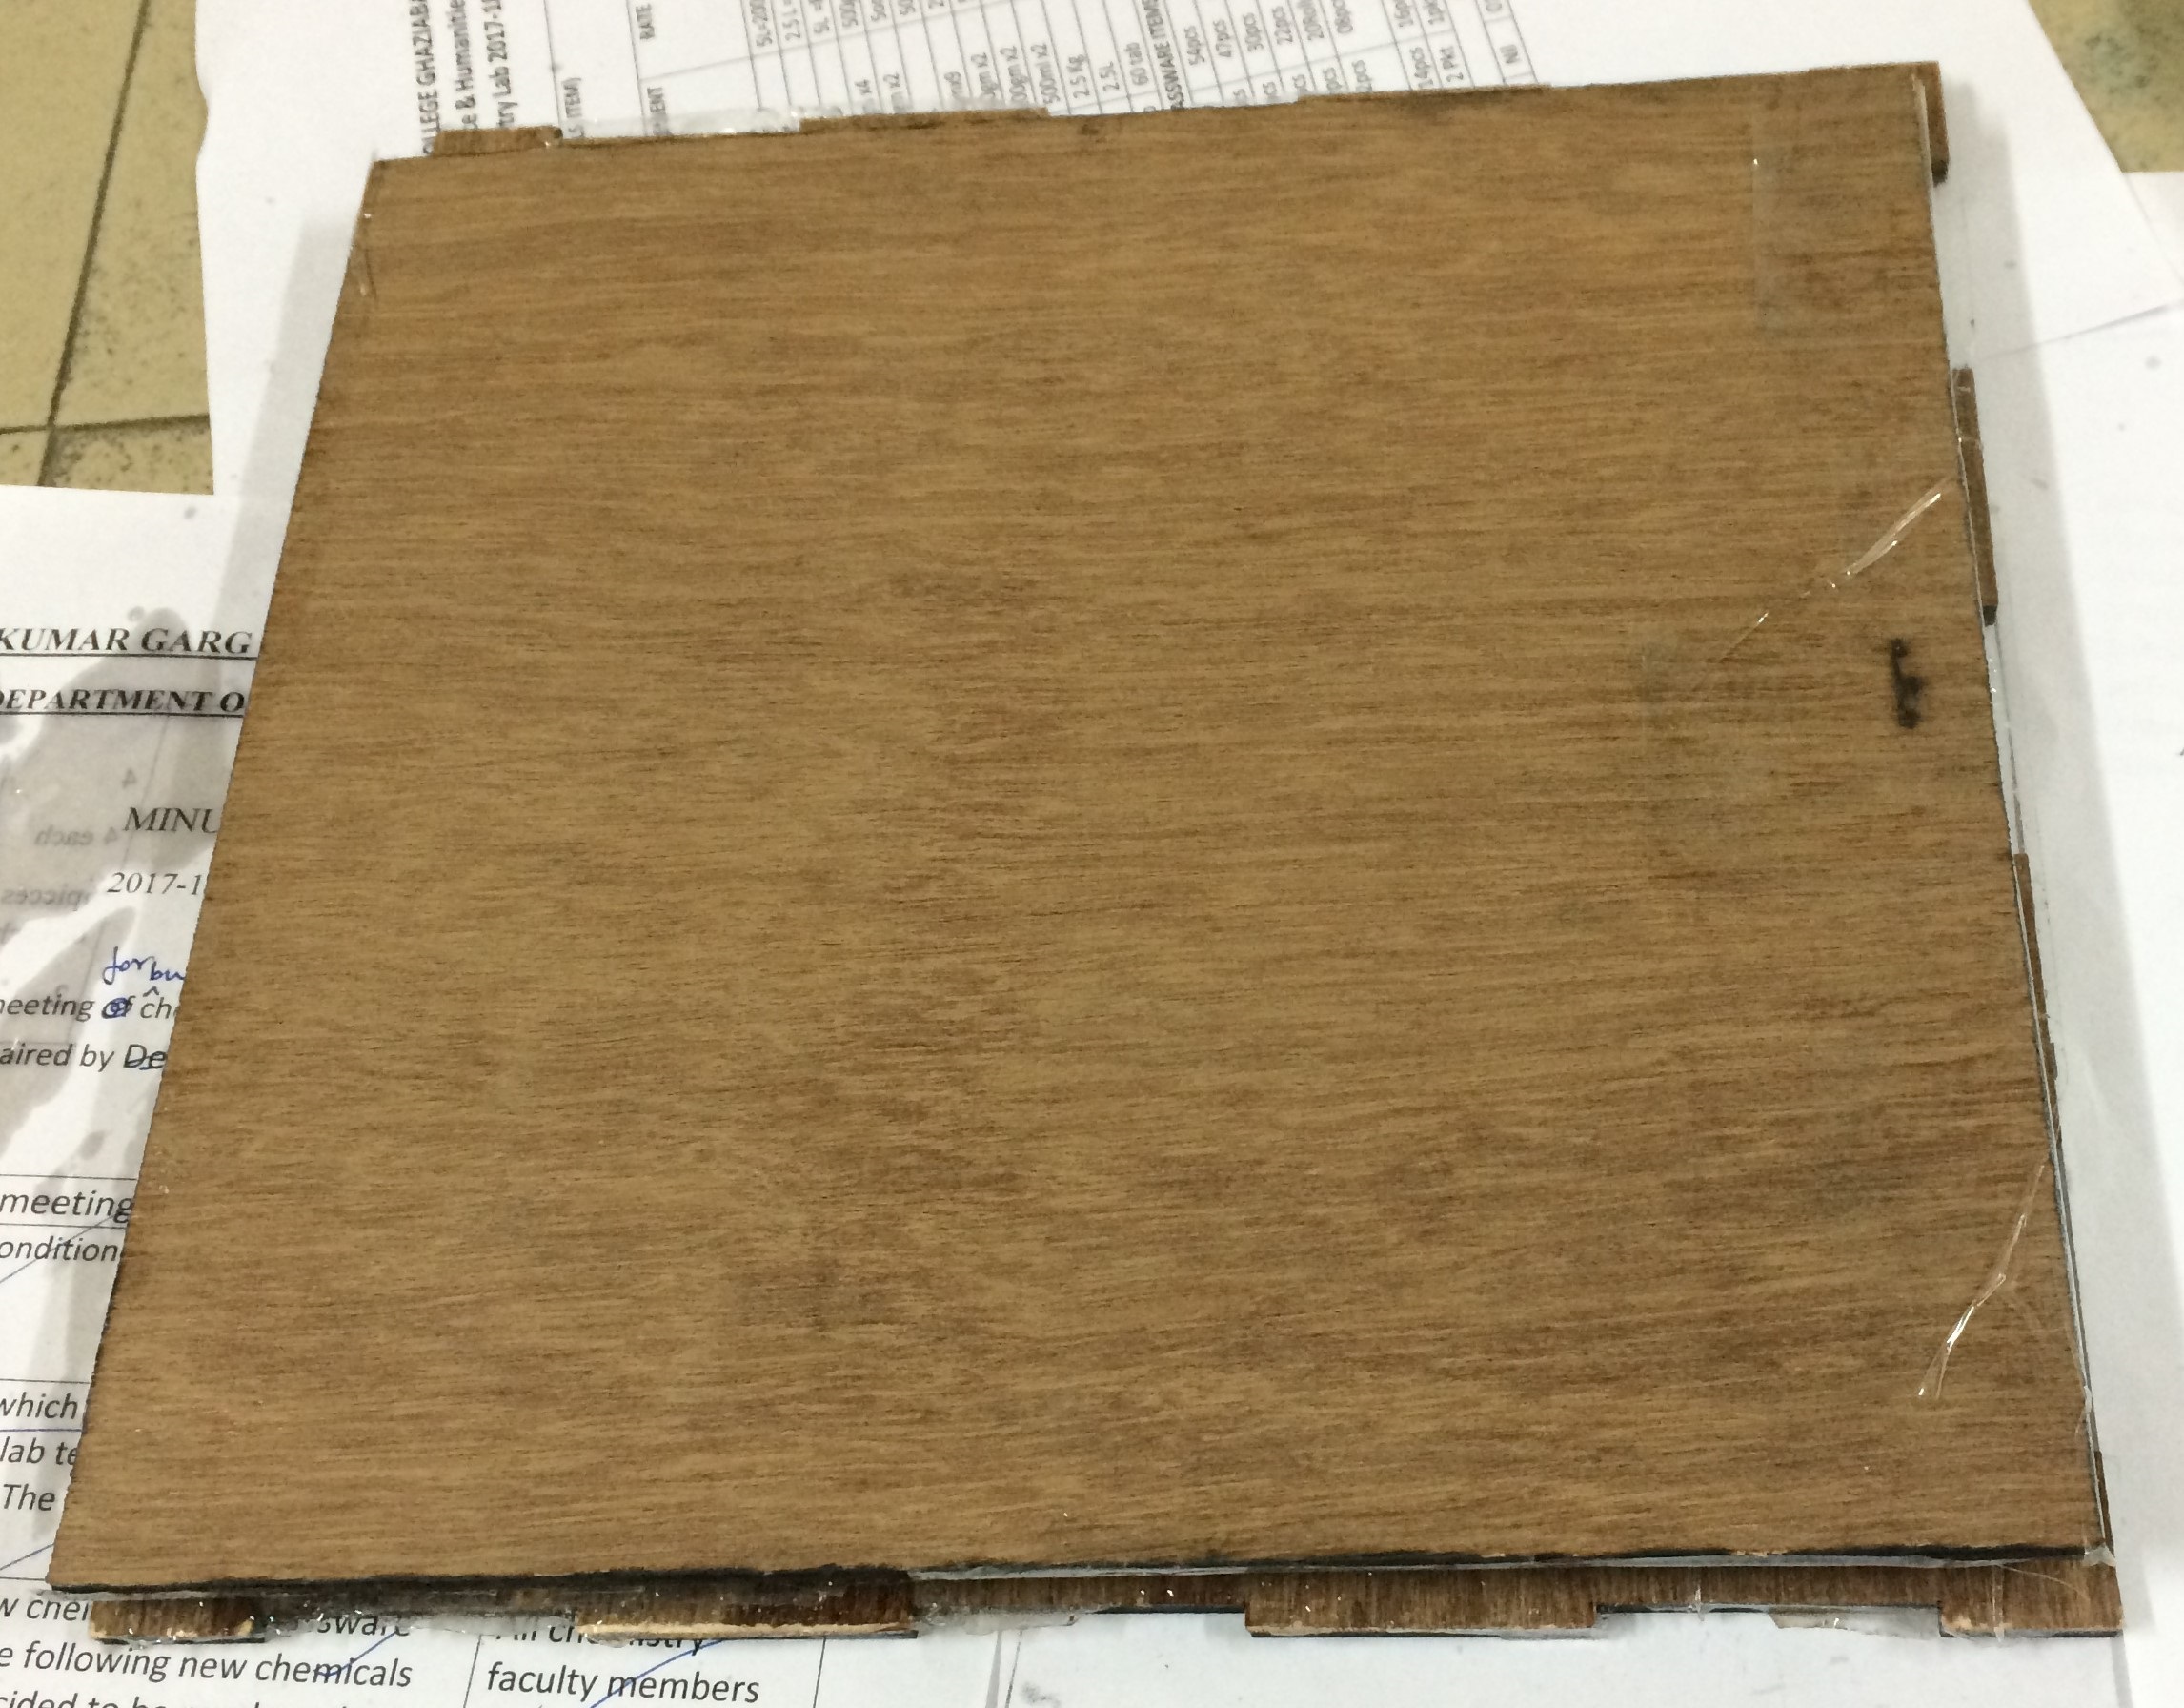
- A layer of mixed resins is layed on the plyboard and then layers of cotton and jute pieces are put on it after soaking it properly into the resin, as shown below. Afterwards on top the other plyboard it put and pushed a bit to squeeze the extra resin out.
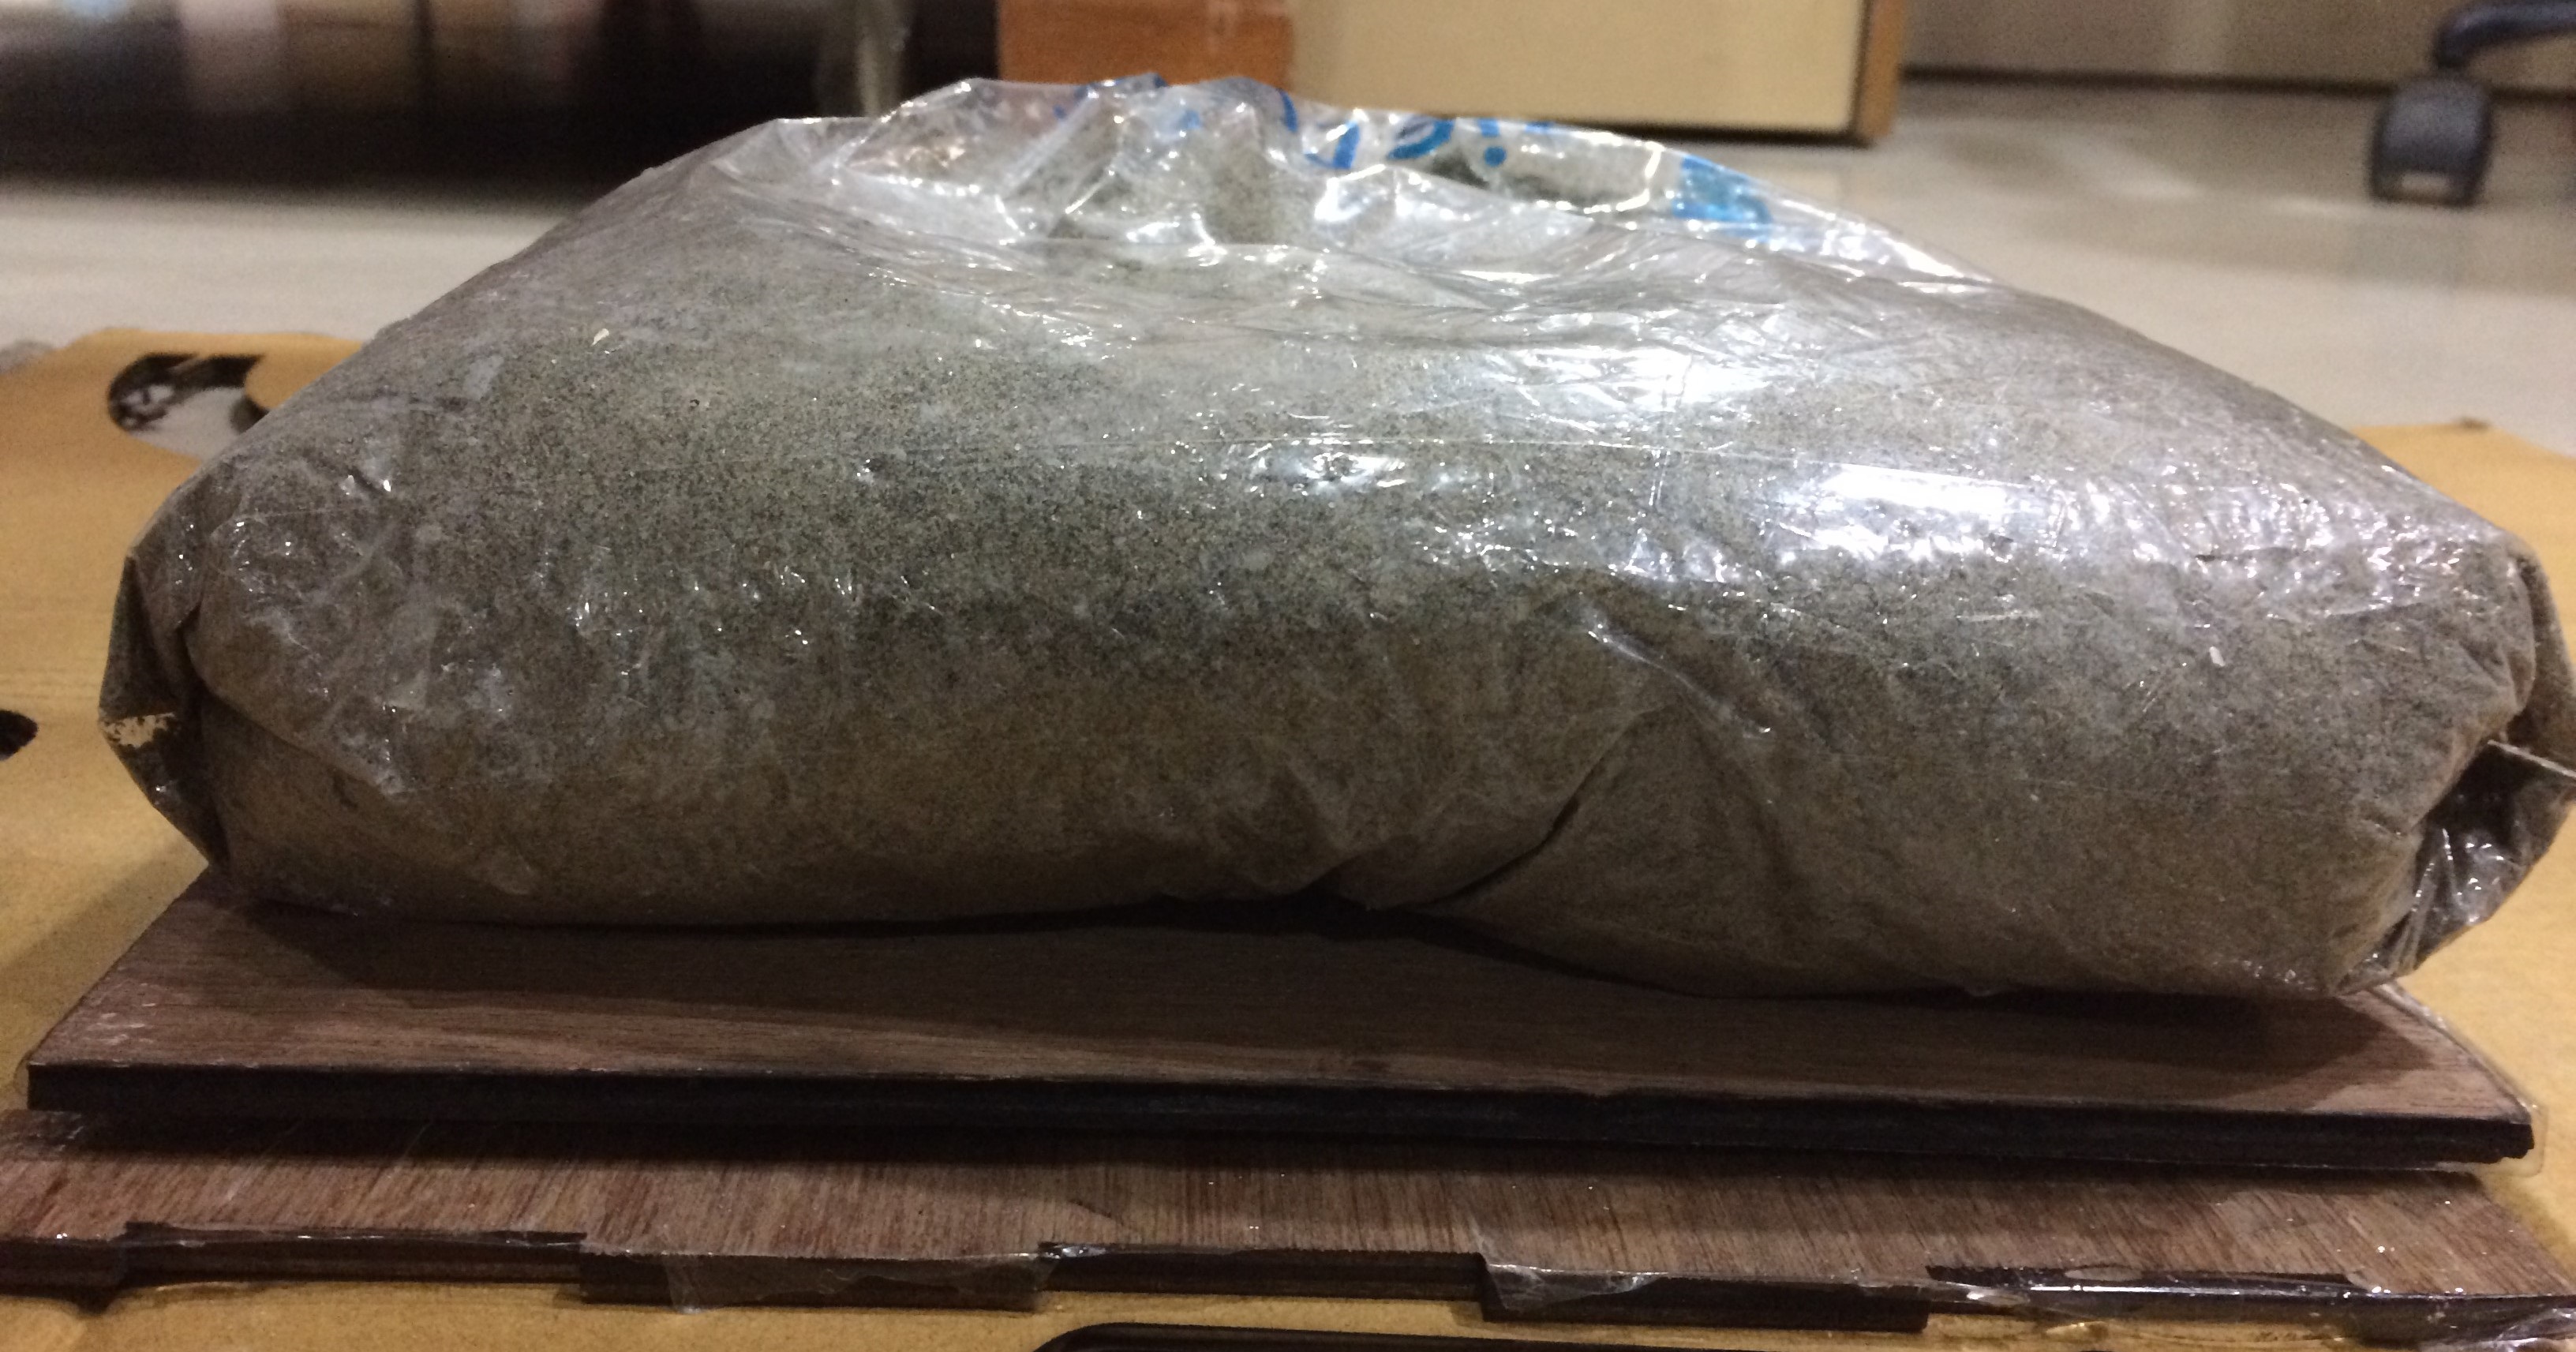
- Now, for compacting the mixture. I layed out a big plastic bag with little sand in it over the composite. This way the weight of the sand compresses the composite allowing extra resin to seep out, as shown below.
- Final Product