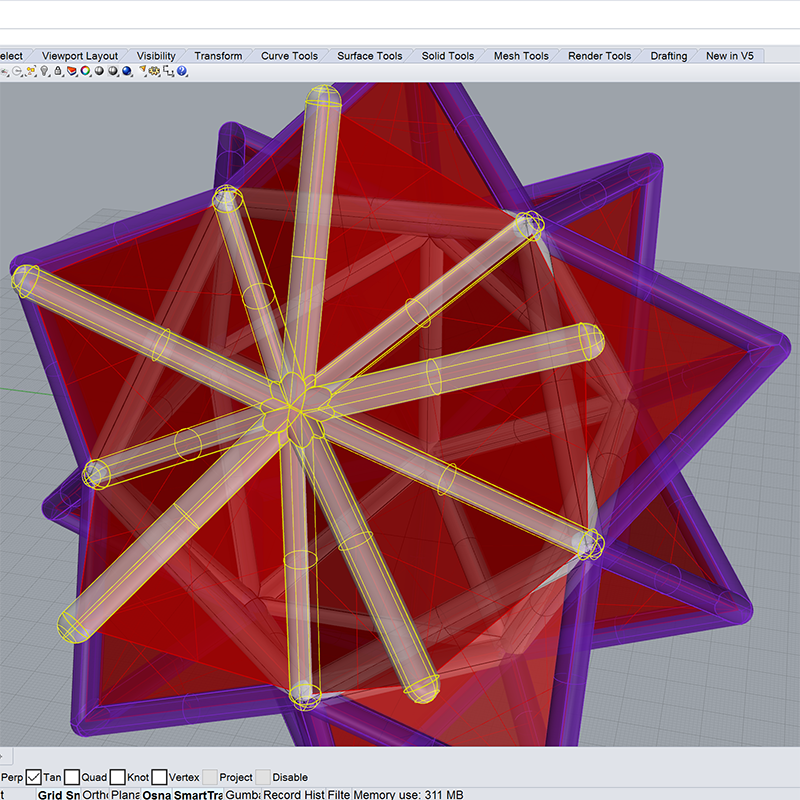
The first step was designing in Rhinoceros the geometry for the 3D printing. I decided to go for the structure joint of the final project lamp.
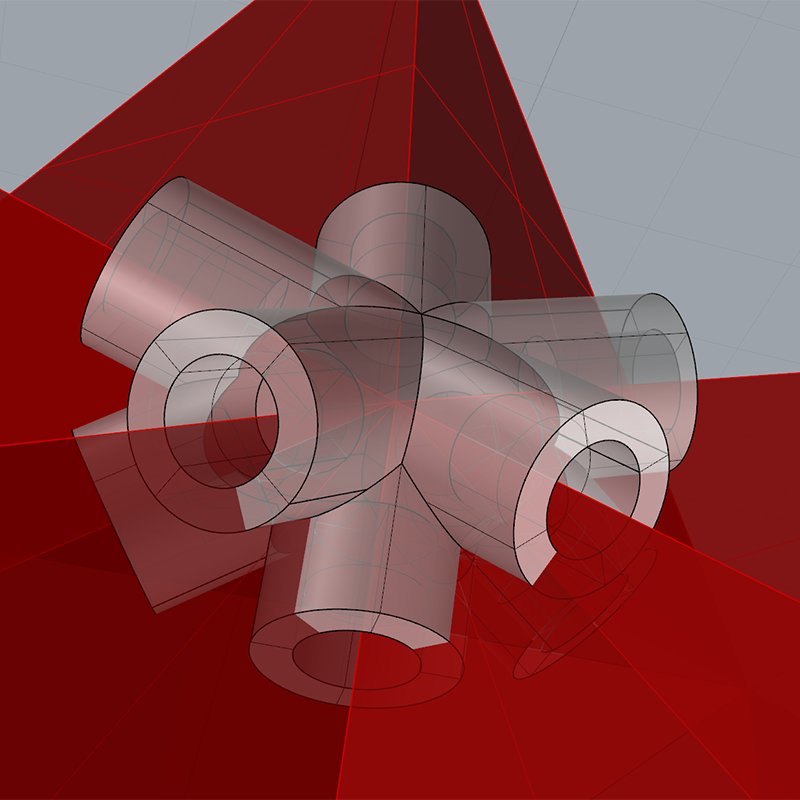
I cutted out straight parts and isolated just the joint, I than created holes for links.
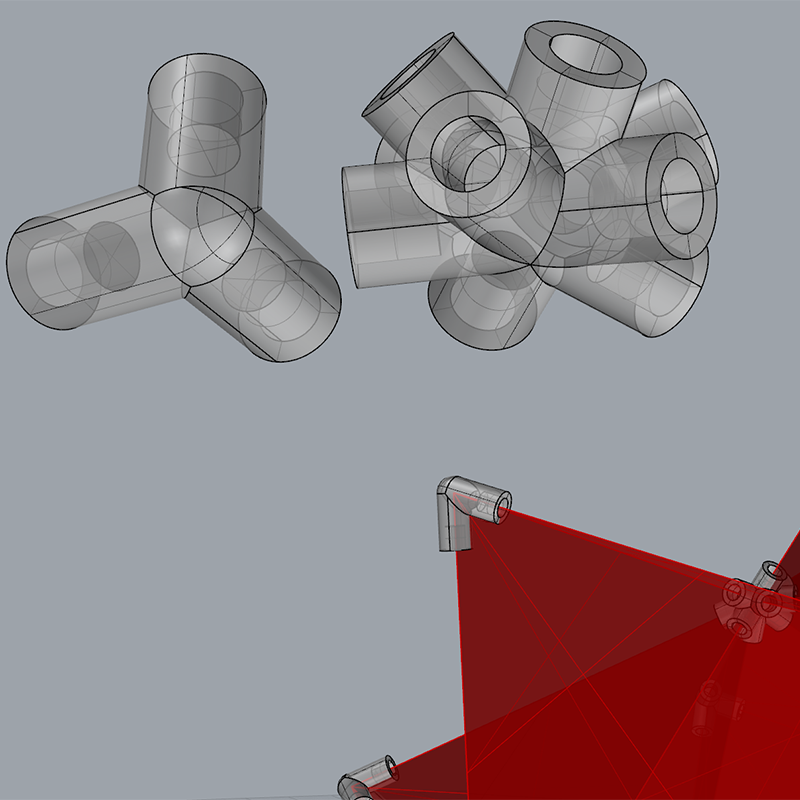
Geometries are shaped for 2 kind of joints:tips and crosses.

Makerbot V.5 is the software I used to manage the .stl file
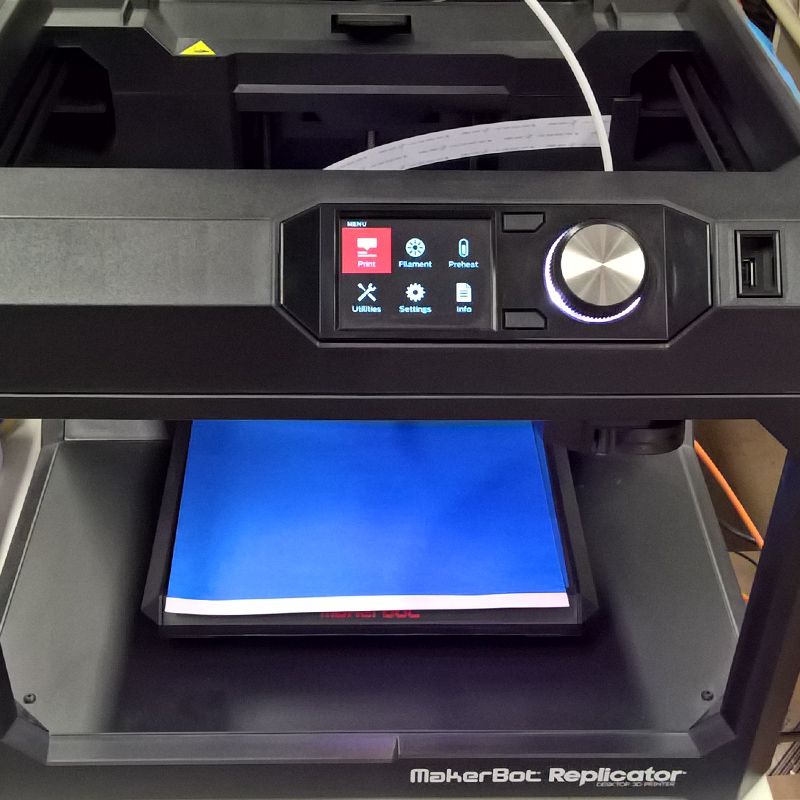
Here is the interface of the Makerbot. Before starting I changed the color of the nylon material
The machine proceeded with head cleaning and got ready to 3D print black objects.
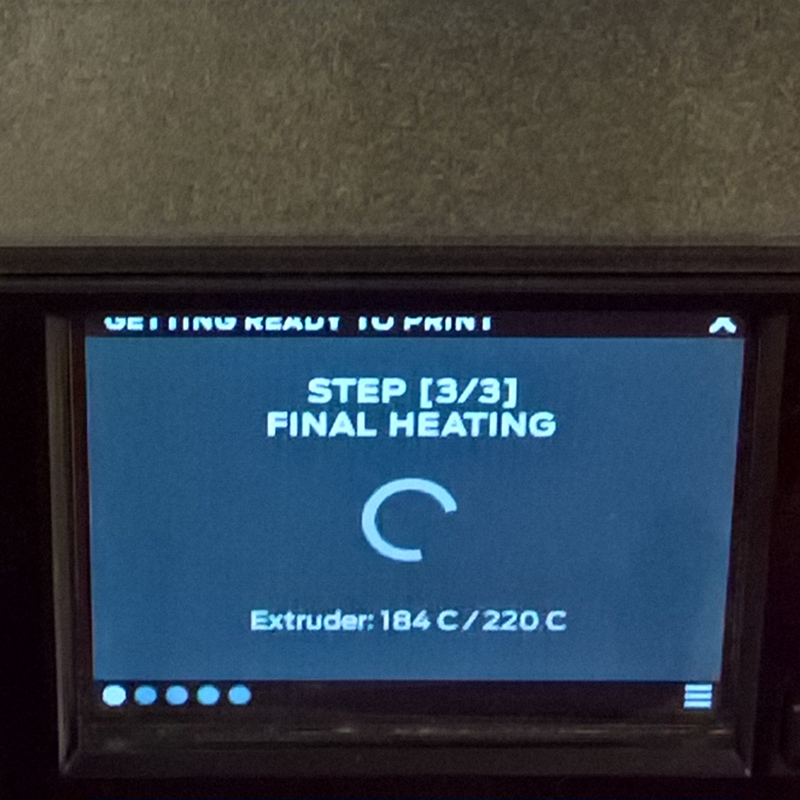
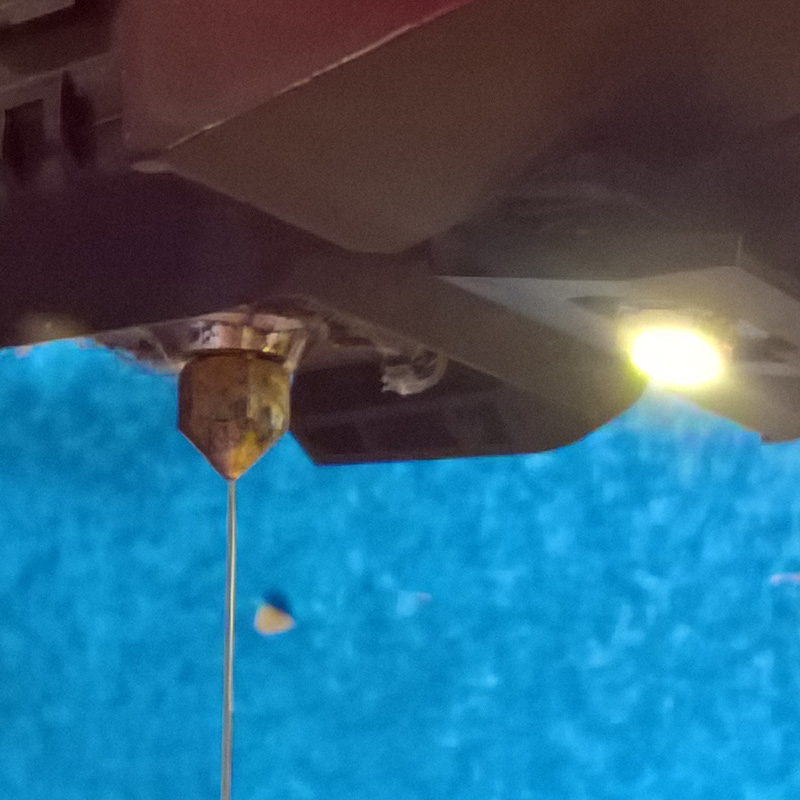
Just few more seconds while the head is reaching temperature for extrusion...
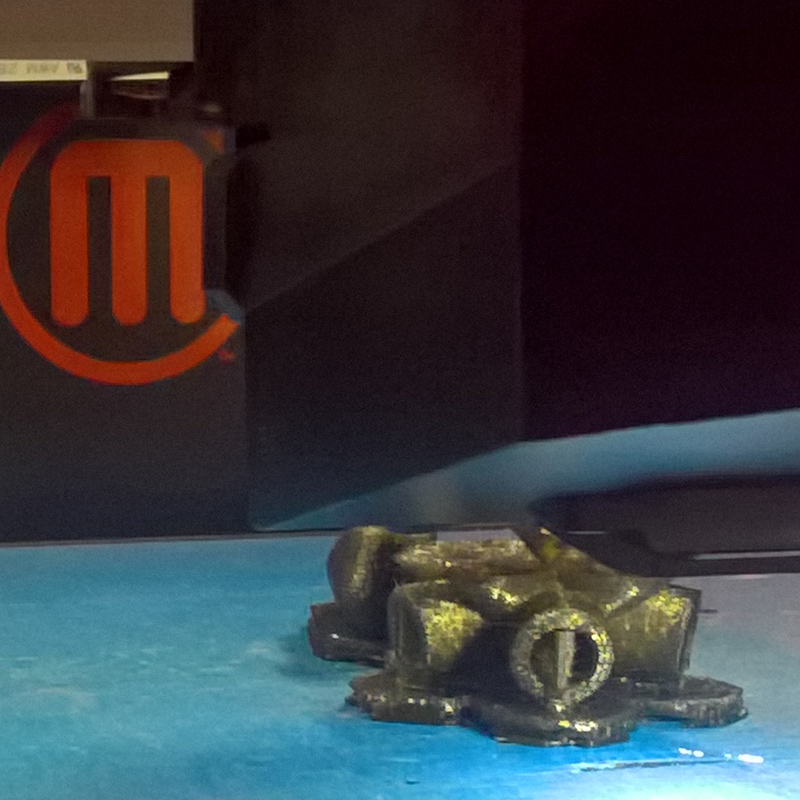
...than pieces are printed. Thanks to the orientation of the objects slight use of supporting material is needed.
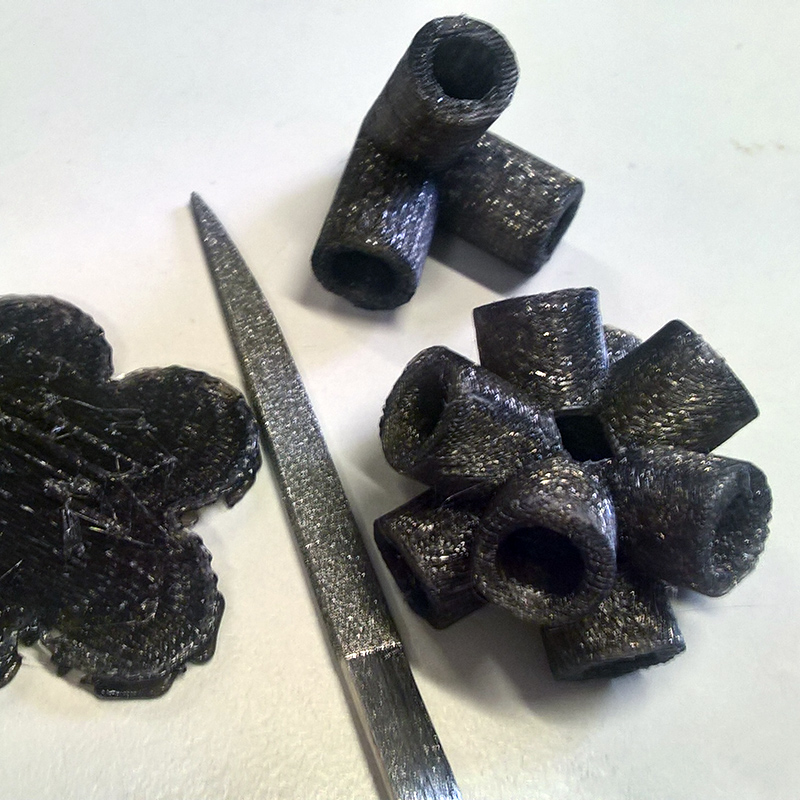
After printing I cleaned the pieces and detached them from supports. The 3D printing is done!
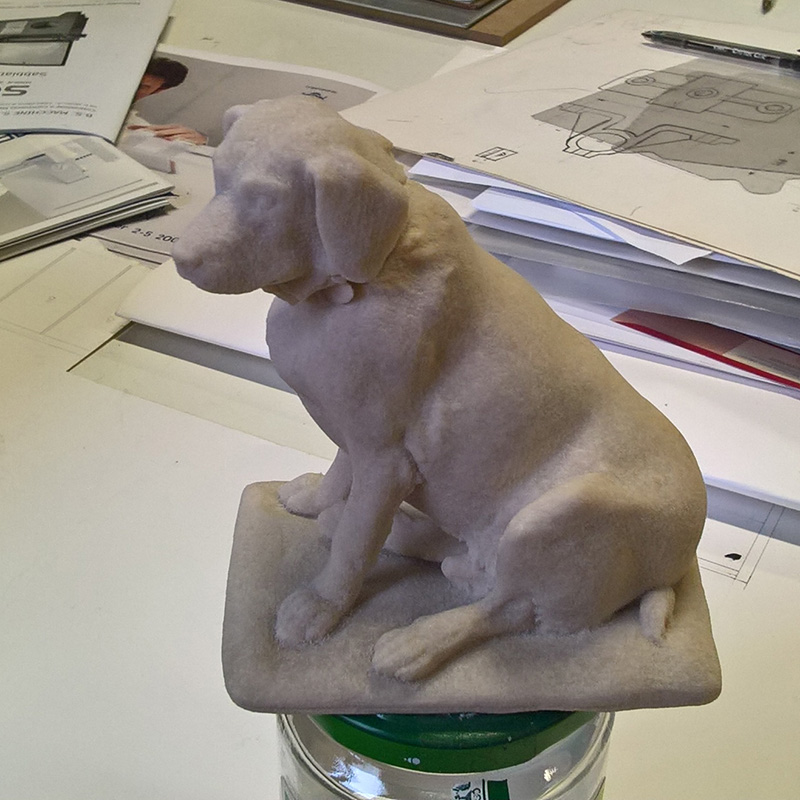
The second exercise was more difficult. I chose a small 3D printed labrador as subject for the 3D scanning.
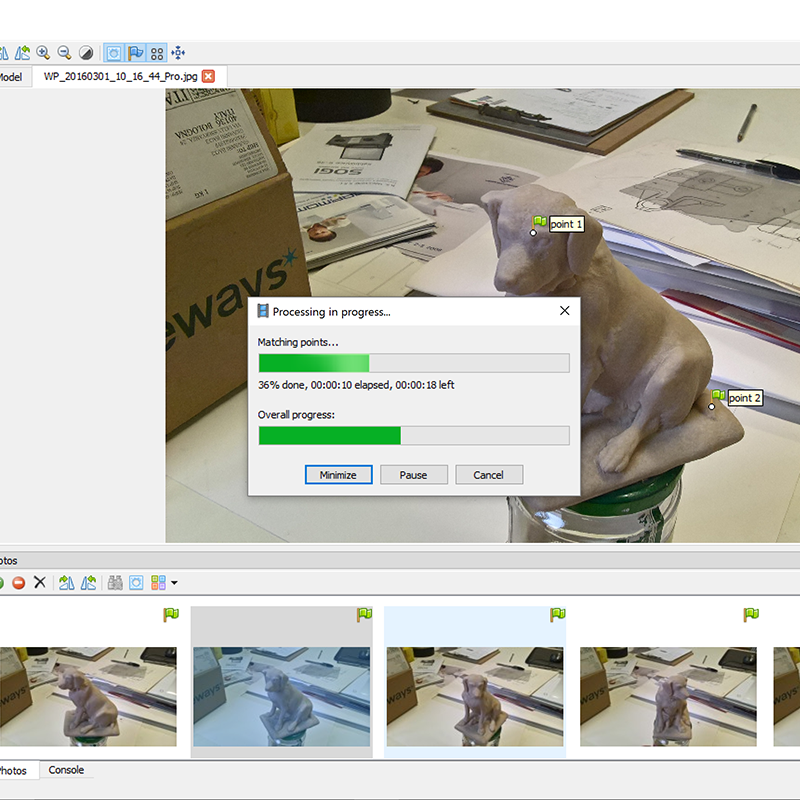
In the first try I took 23 shots, rotating the object slightly in between. This was a bad idea since the environment helps the software in building geometries. I than used Photoscan to obtain the mesh but with no result.
In the second try I kept moving around the object while shooting and positioned some stuff near it to facilitate the rebilding phase.
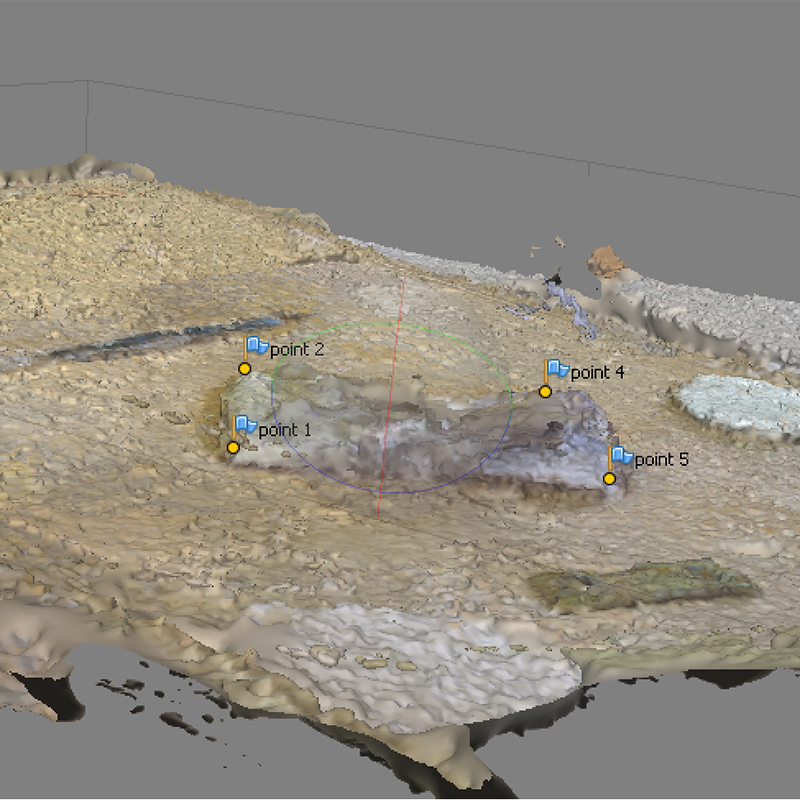
result was still awful. In the meanwhile I tried 123D Catch with my cellphone, uploading shots and waiting for results.

The final mesh was great. I'm still wondering how they can manage this delicate phase so fast and successfully!
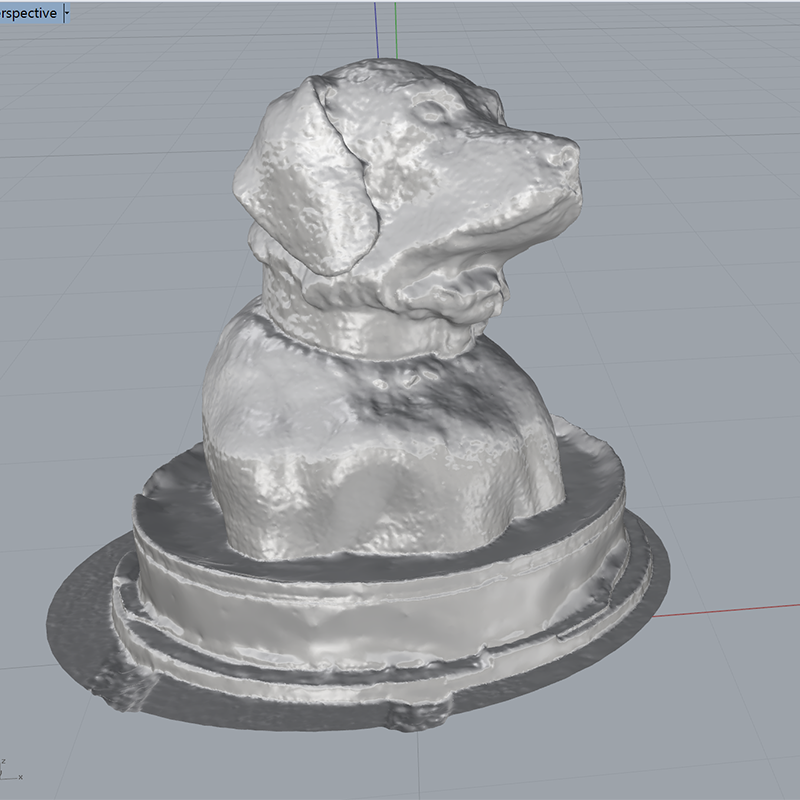
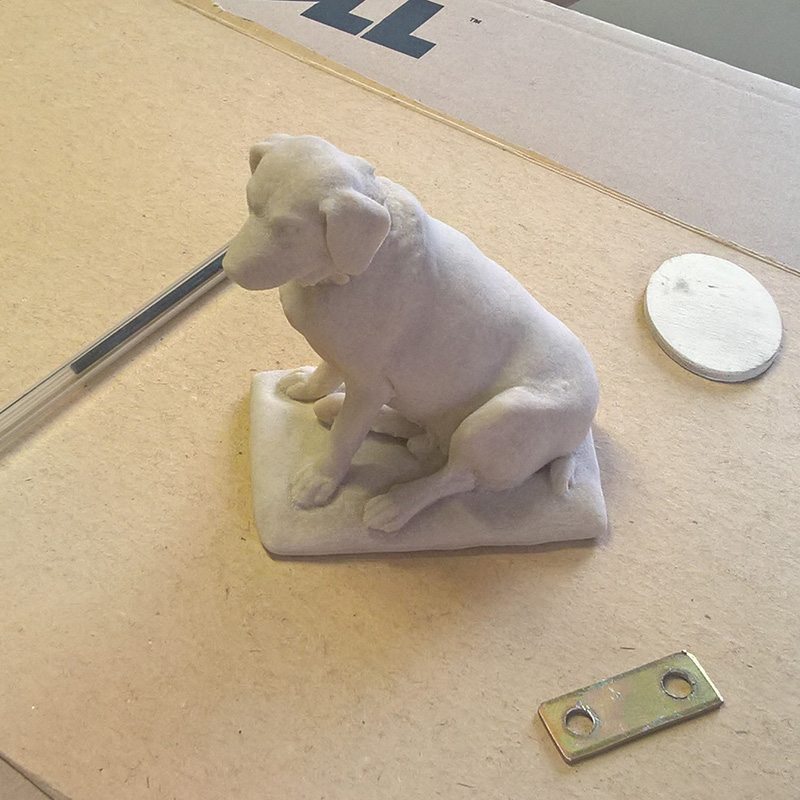
I than imported the .stl file in Rhinoceros environment to clean it from background noise
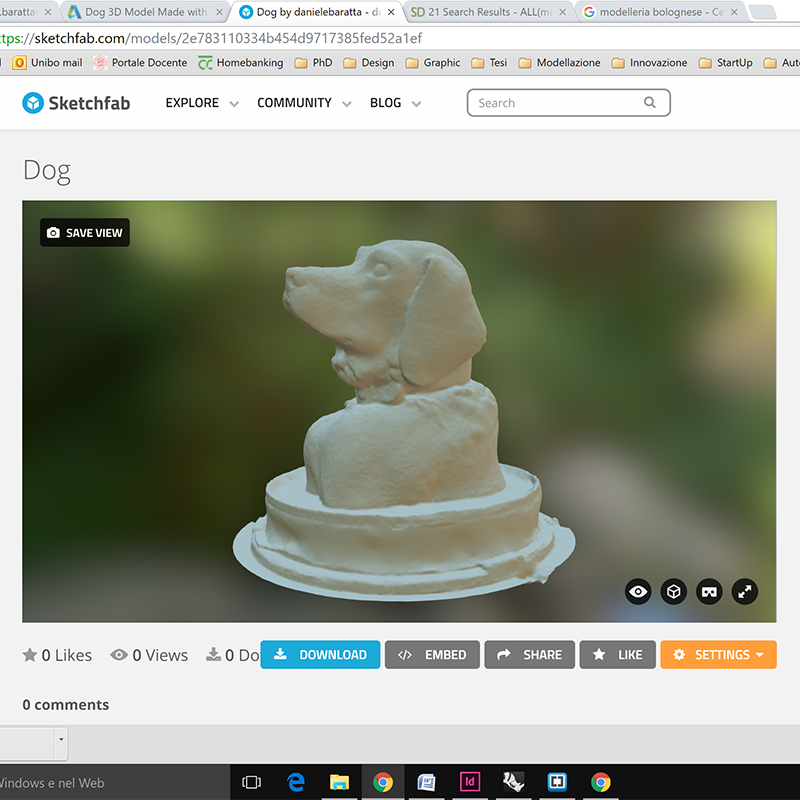
The final 3D scan is now available on Sketchfab for download.
Dog by danielebaratta on Sketchfab