
For this week assignment I want to produce a part for the final project. It's the tip of the lighting spore and is supposed to link 3 alluminum estrusion bars.
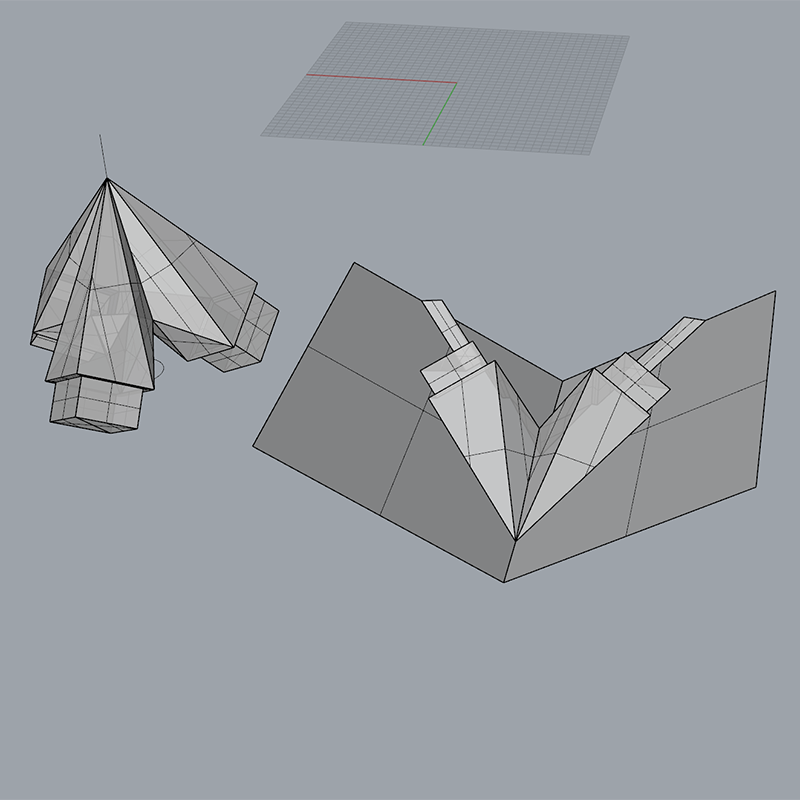
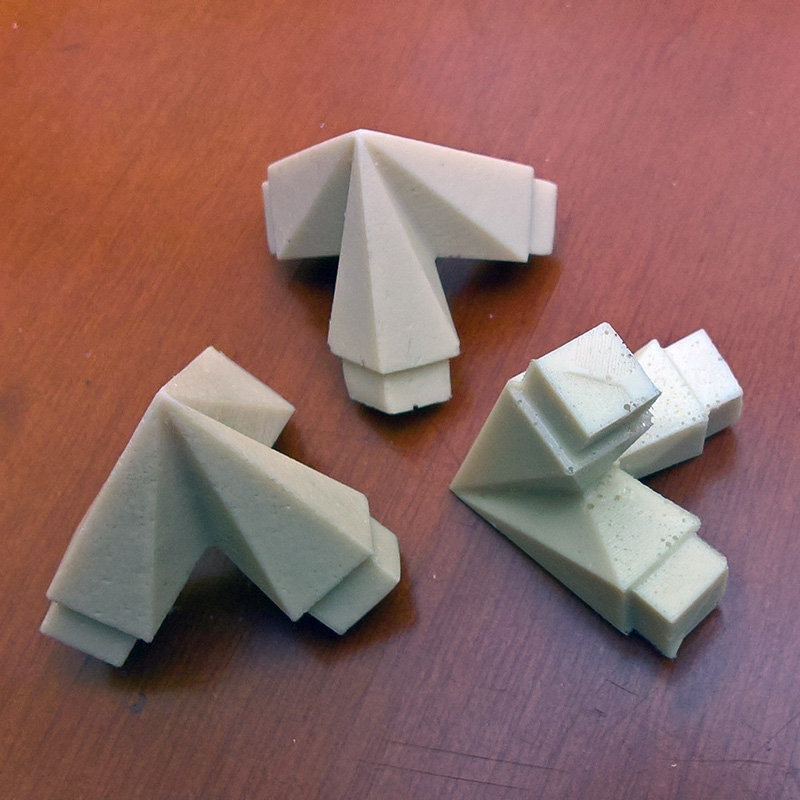
The first step was to redesign the part since in the first version of the spore the section of these bars were circular. As You can see it has now a square section. Starting from this I designed the mold that is composed of three identical parts.
These are the parts and how these molds will join togather. Here are visible the 3 casting pipes on the top. I hope this way to fill the mold properly with no bubbles.

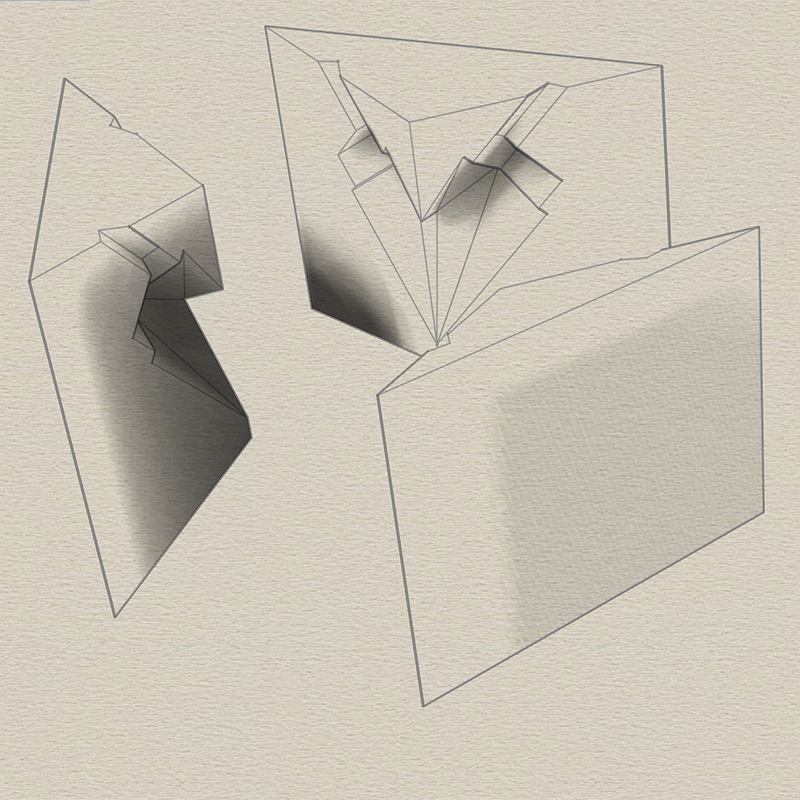
These are the 3d design of the mold ready to be machined. I eventually produced yhe shape to mold the mold of the mold since this could be usefull futher if i decide to use different materials.
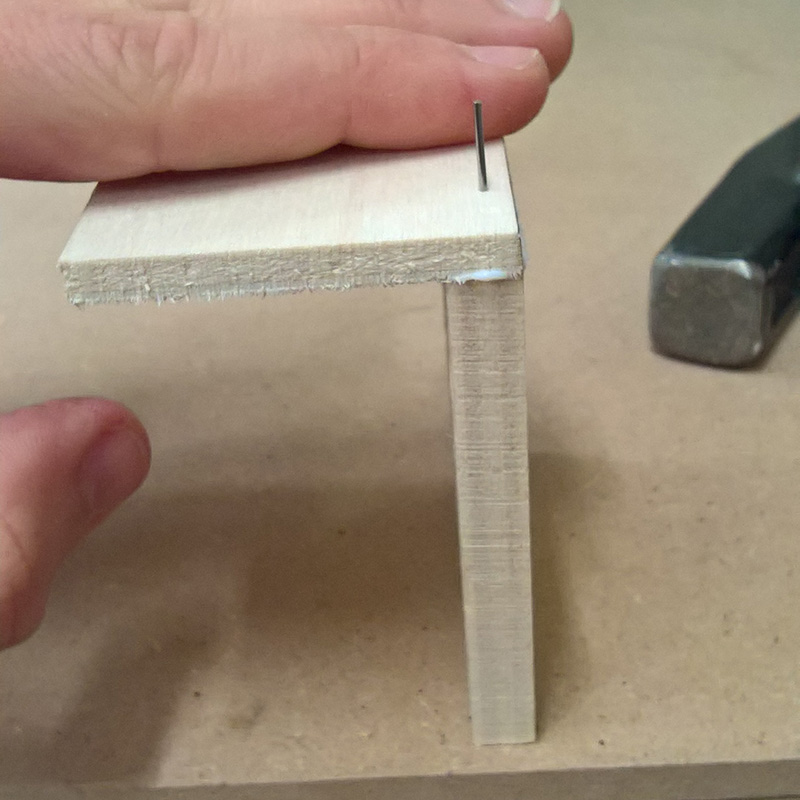
Since I decided to use dental wax as material for molding the molds I prepared a wooden box as container.
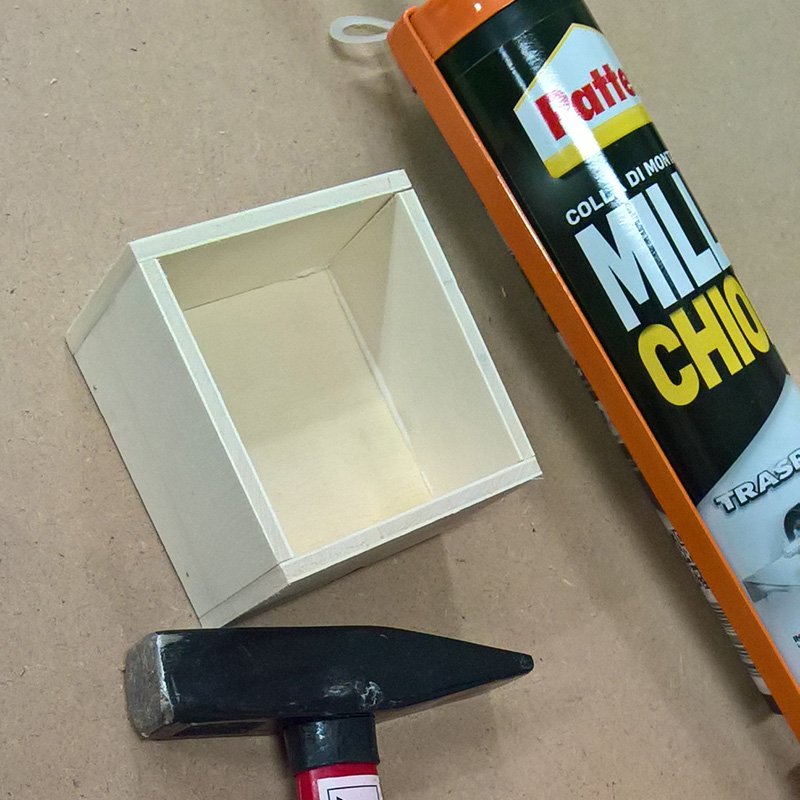
I used few nails in the bottom part of the box and a bit of glue on borders.
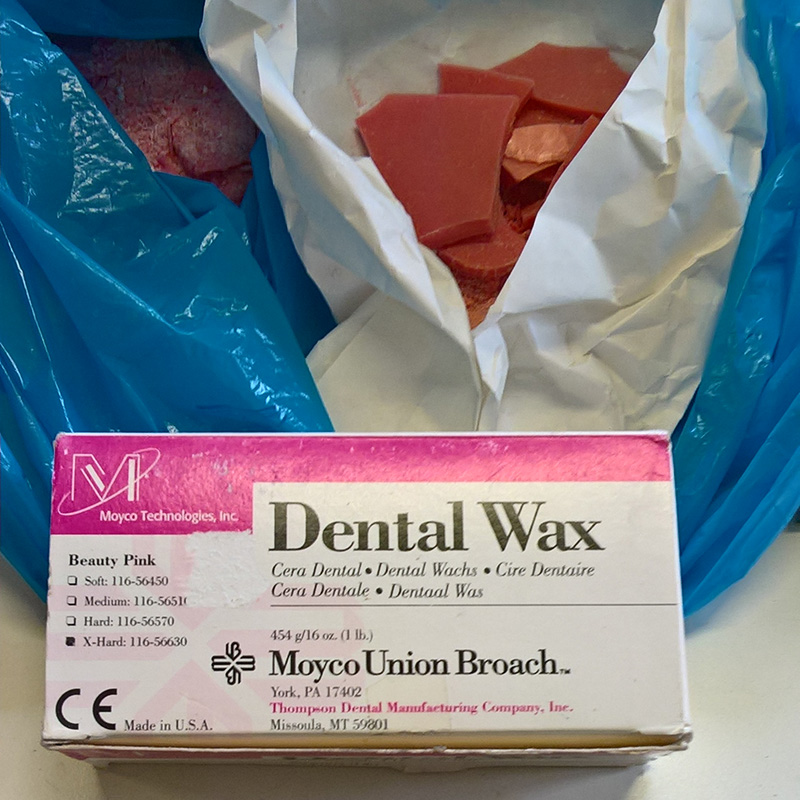
This is the low temp melting wax. I reused some of it from a previous work and some new.
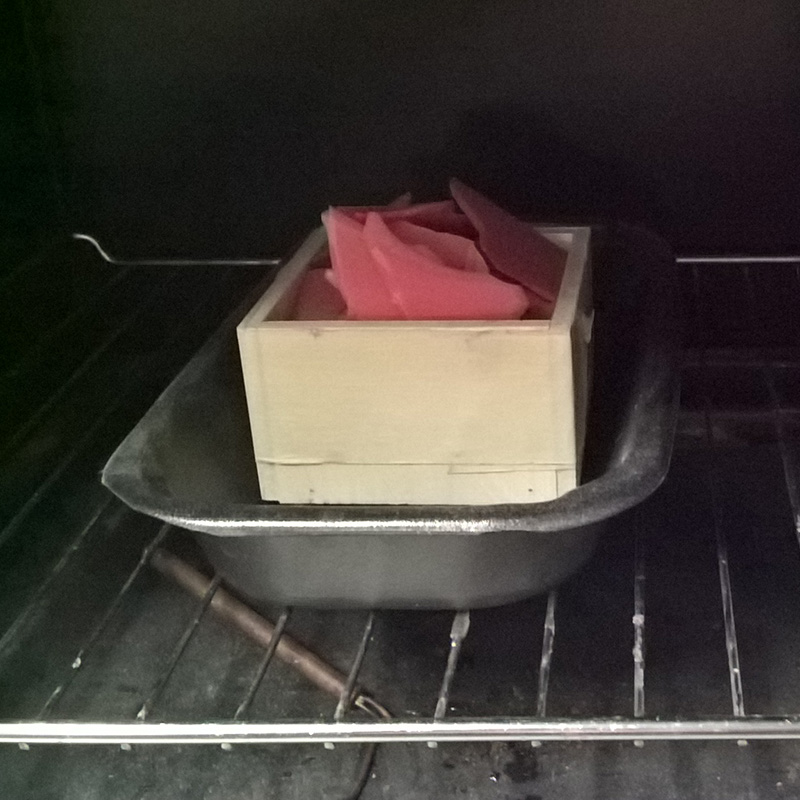
I melted it in the hooven at 60°C for 1 hour and let it cool down for few hours.
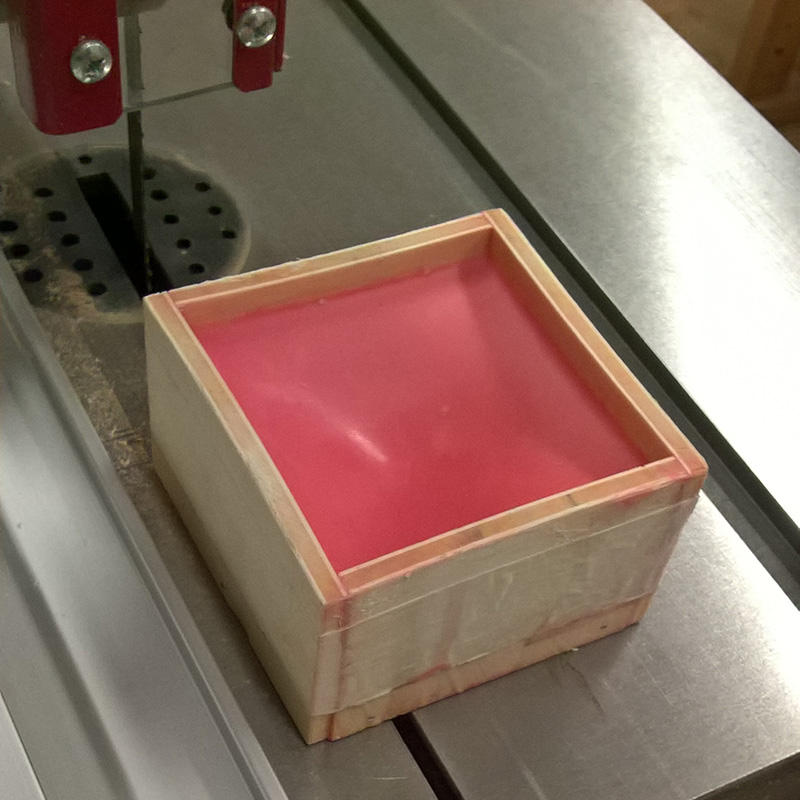
The wax retreat a bit during this process so i cut out border to obtain a good surface to start from.
This is the result with 2 slices cutted off from the piece. As you can see there is still a depression in the center but this will not be a problem since I will mill the wax there.
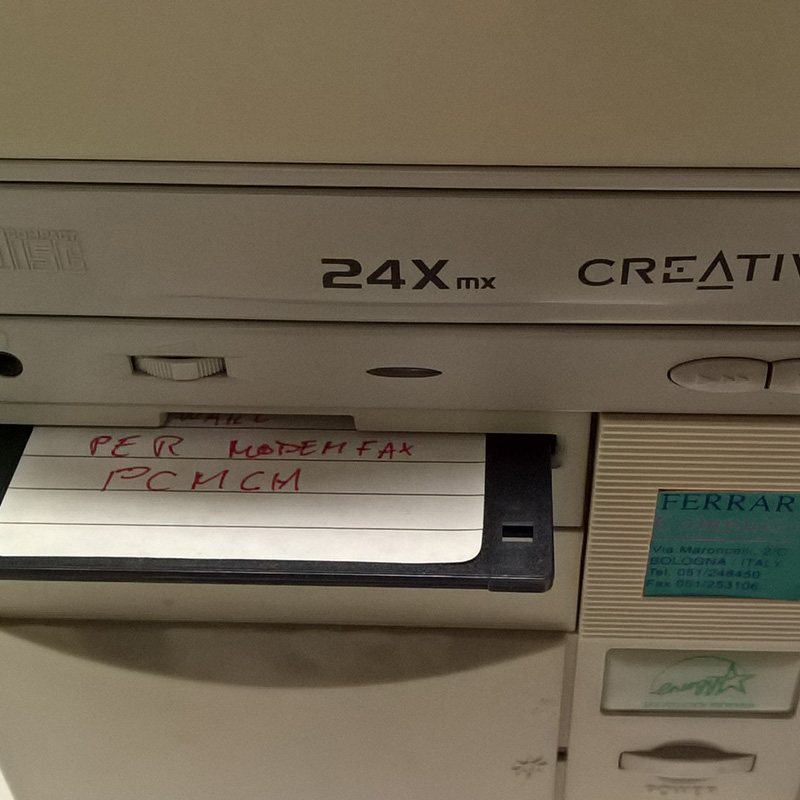
I than imported the milling file into a Win95 PC via floppy. Yes we have amazing technologies here in my University lab!
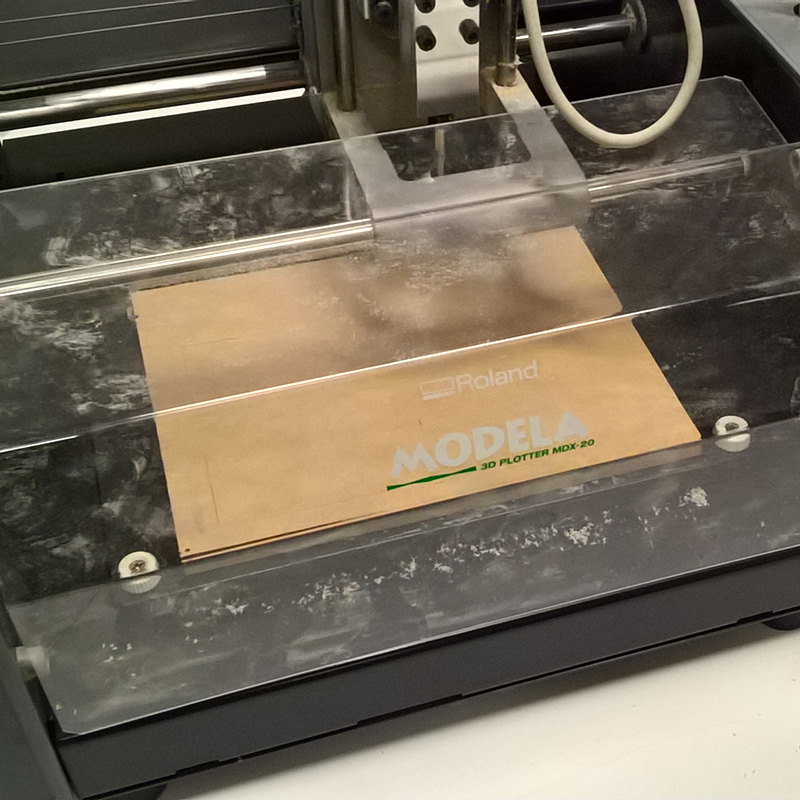
An old win95 system is the only one still supporting drivers and software for this old Roland Modela MDX20.
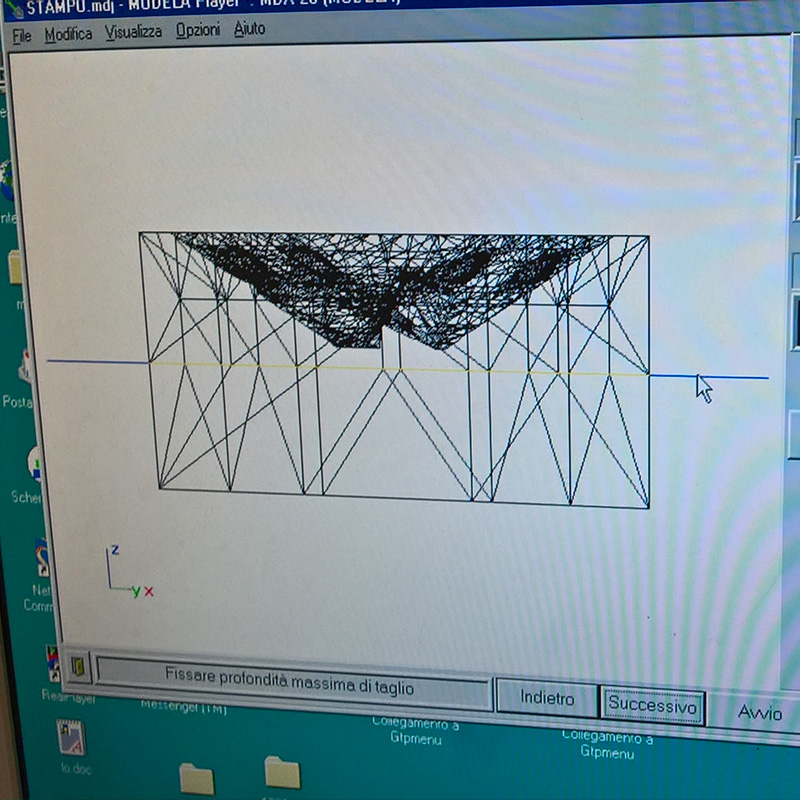
Here is the ModelaPlayer interface, the software used to menage the milling process. I set the working area larger than my piece, this way the machine will cut no borders. I than set the depth of the work to 18 mm.
I set manually the Z axis using buttons on the machine. This way I tell the machine were to start with the levelling.

The process takes really a loooooong time. After 20 hours working the model is ready for the finishing milling. The finishing will take more or less 20 hours more... I have completely underestimated the milling time, I will need one day more to complete the assignment.
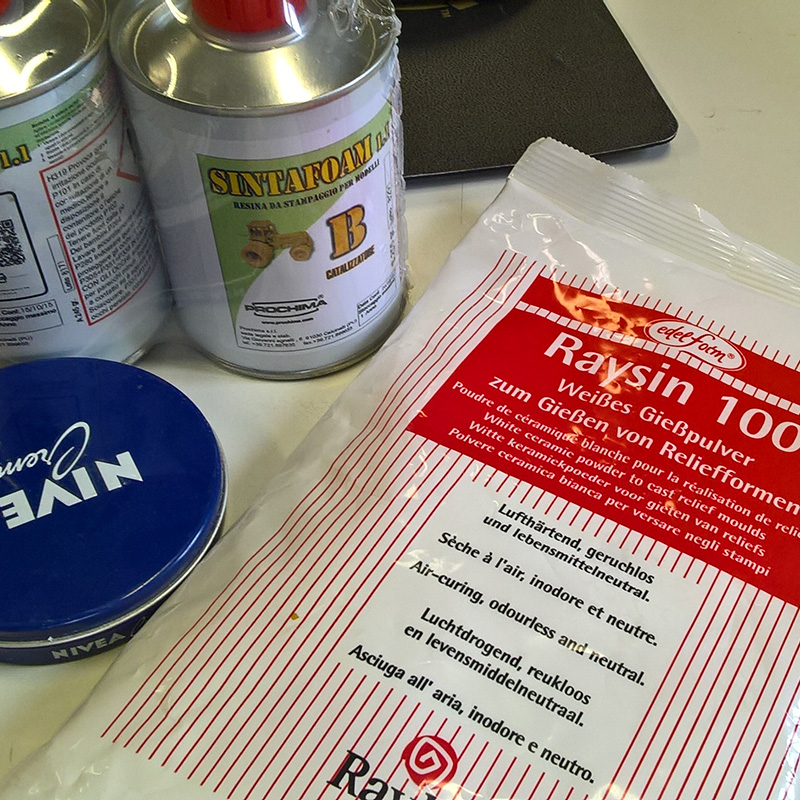
These are the material I collected to produce the mold and than the pieces. Gesso (Raysin 100 by Edelform) for the mold and casting resin (Sintafoam 1.1 by Prochima) for pieces. A bit of glycerin based cream to better detach pieces.
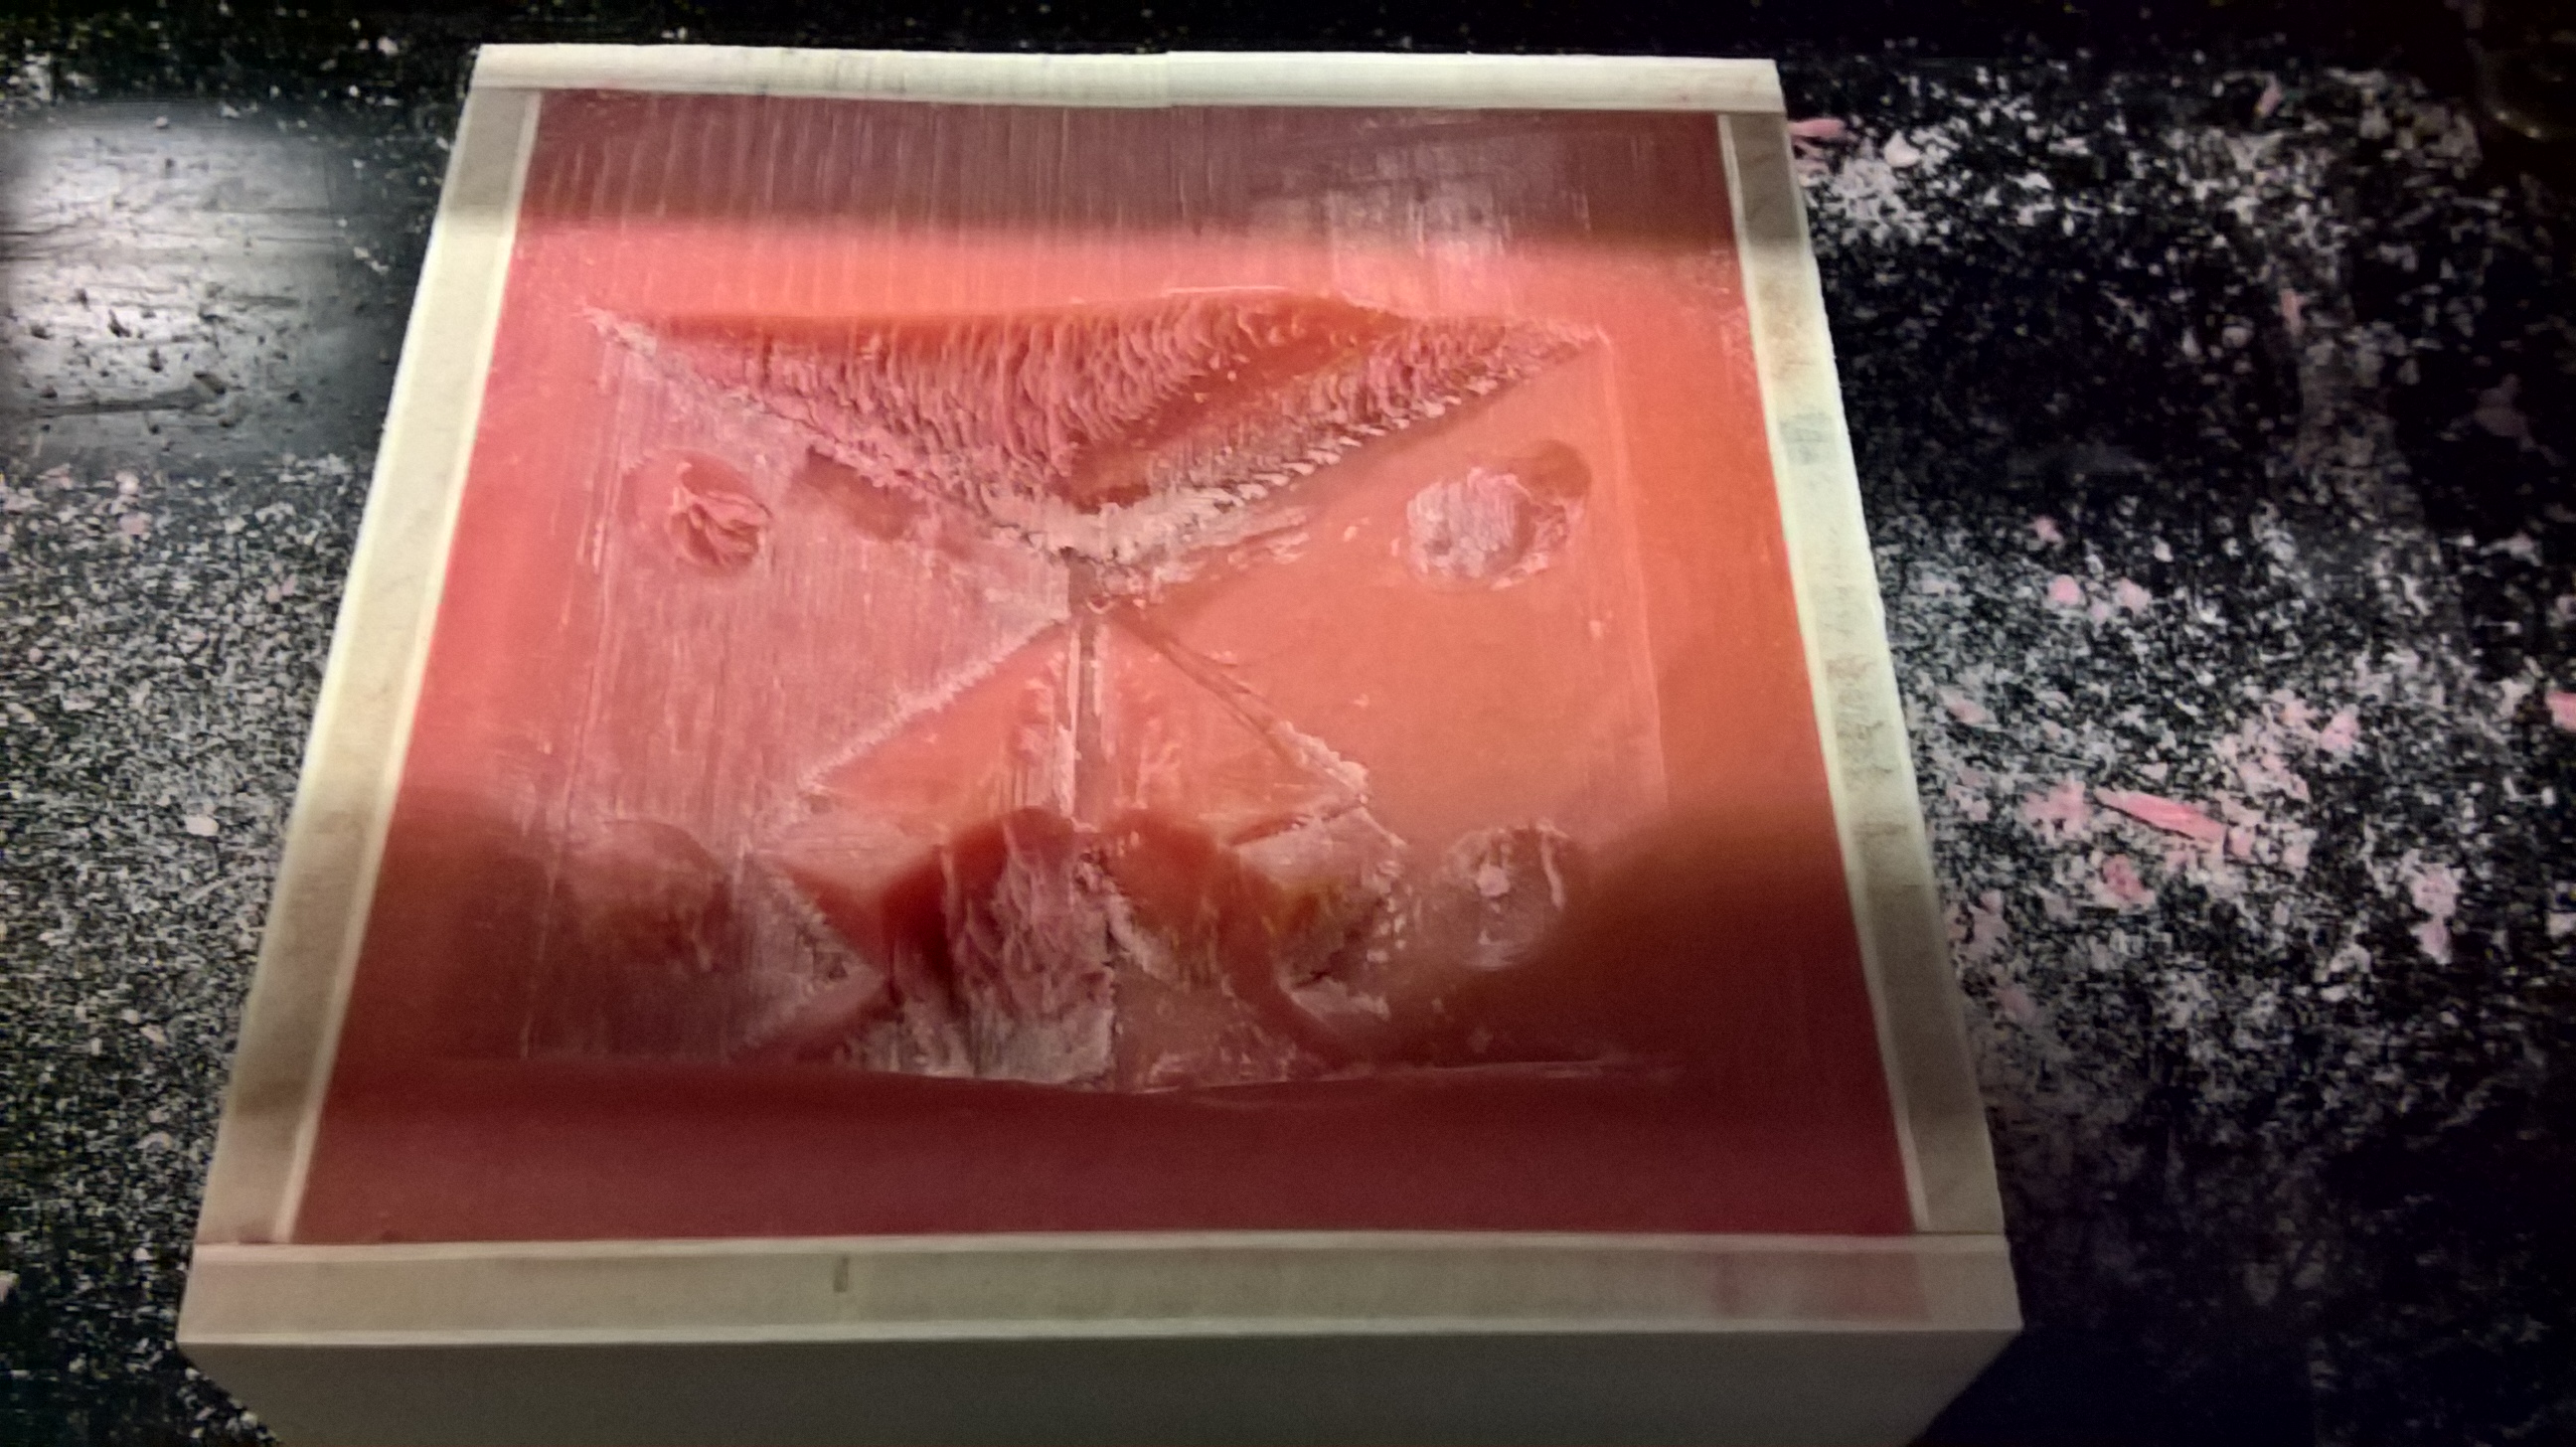
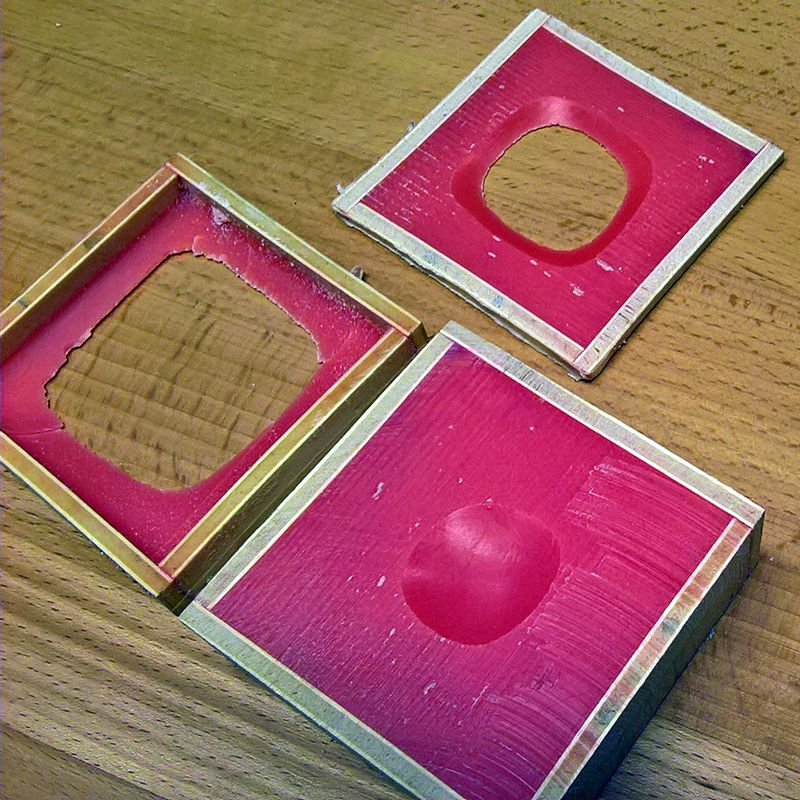
After 3 days of patience the old modela rewarded me with this result...The mold is ruined in details and fragile parts.
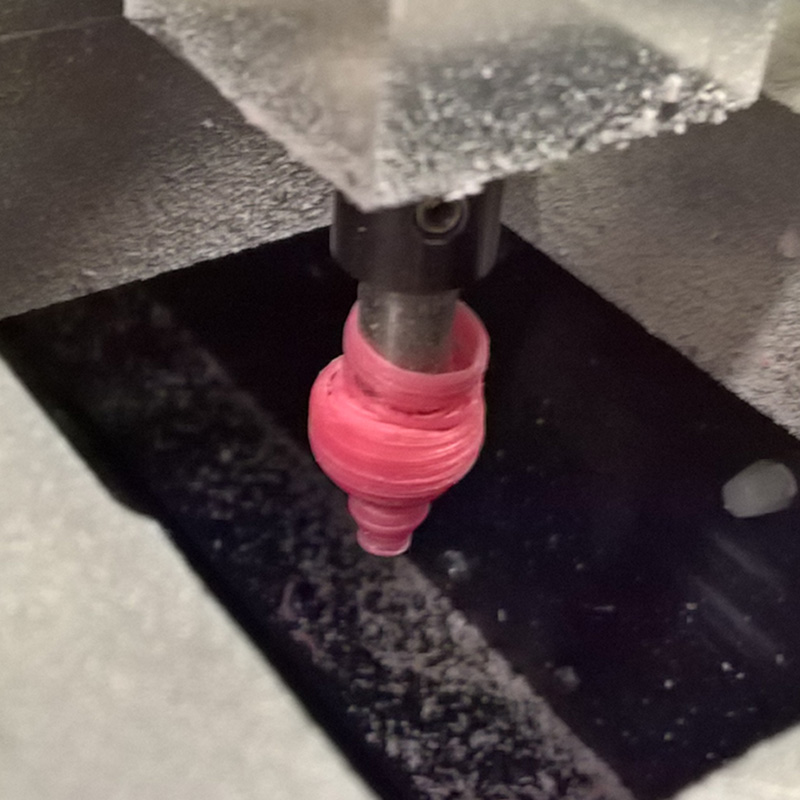
The problem was that the wax sticked to the tip pushed and deformed everything close to it while turning.
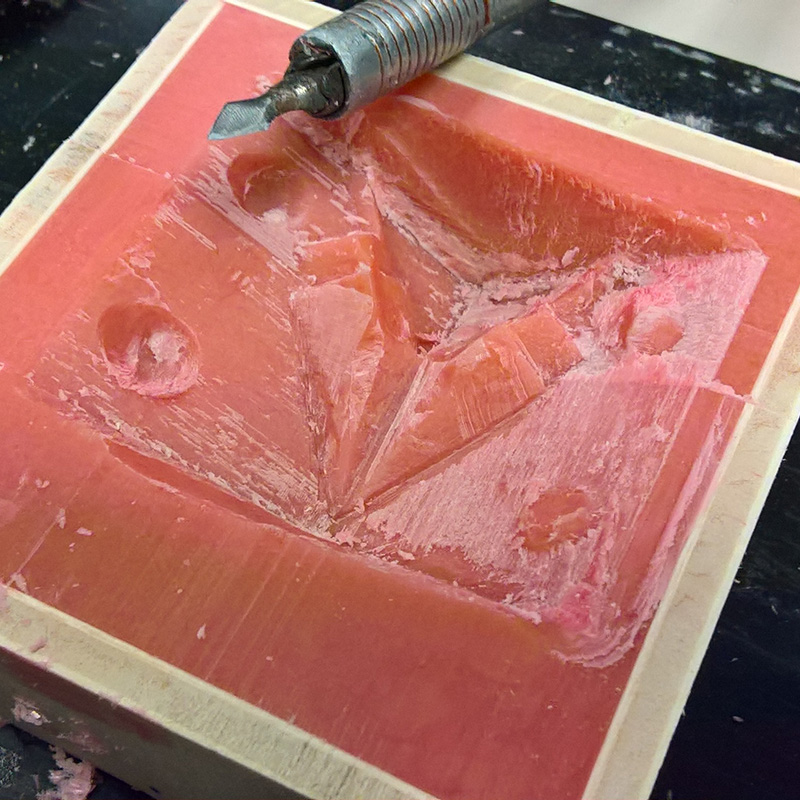
Cleaning the mould wasn't enought to recover the work.

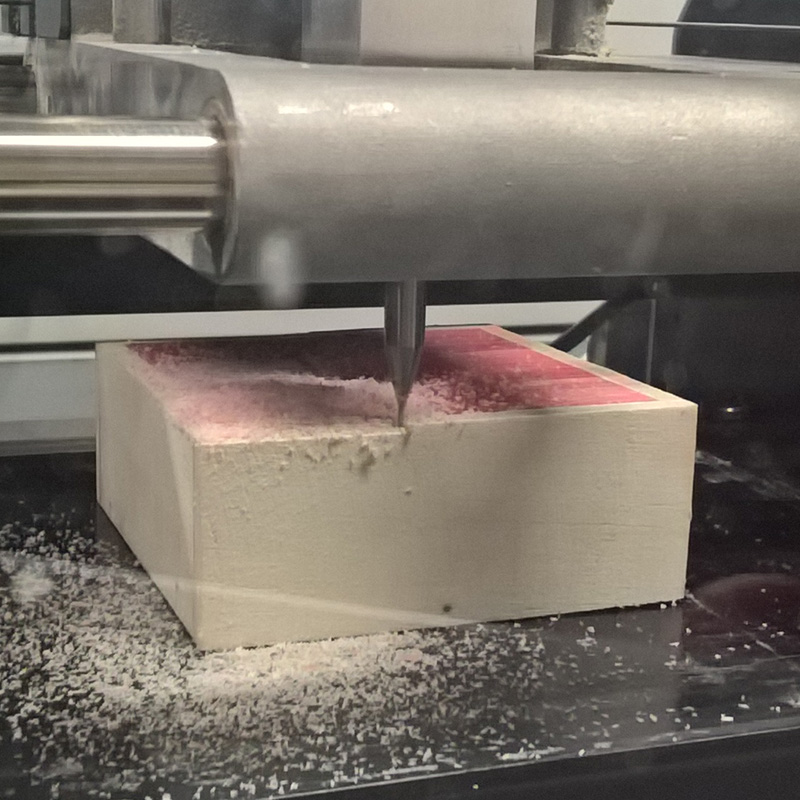
I than decided to try the same milling path on gesso. So I produced a Little brick of gesso.
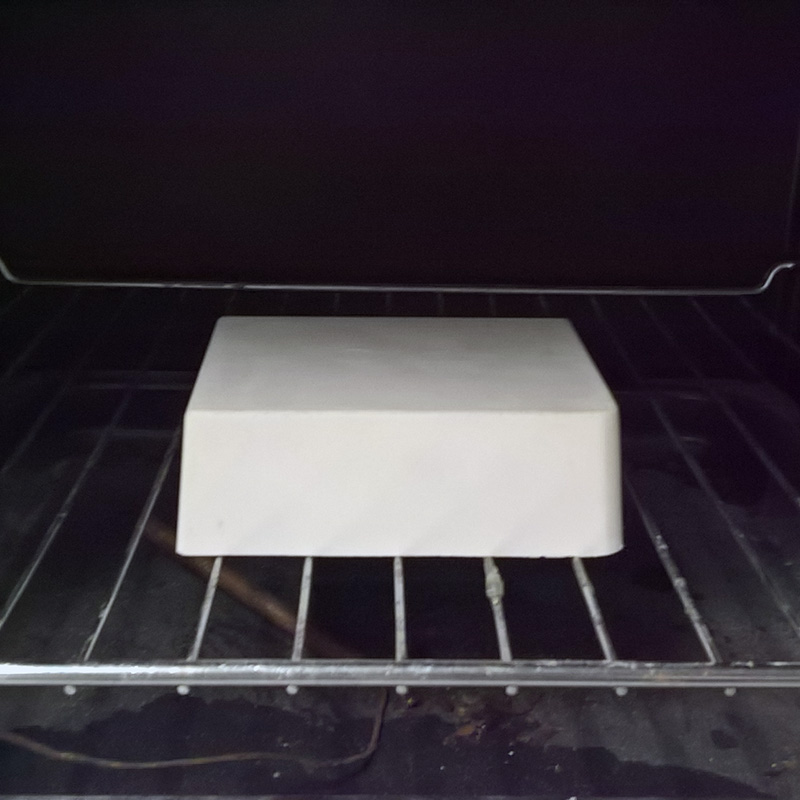
Waited 2 days for it to dry up and put it in hoven just before the milling for another hour.
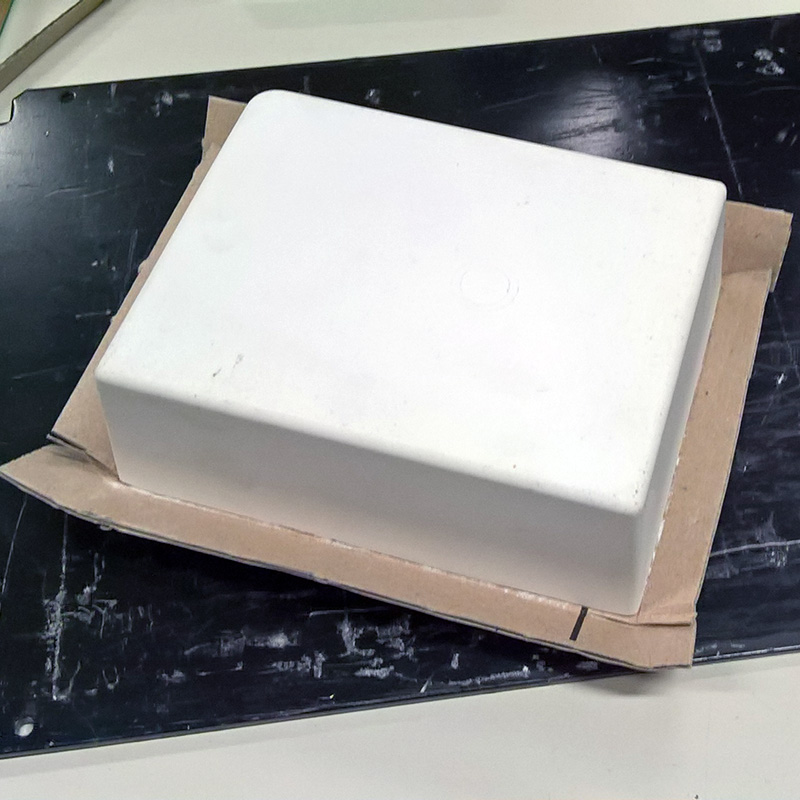
Than i provided the brick with a cardboard base. This is necessary since it's not possible to stick it with tape directly, tape doesn't work on gesso. I than restarted the milling process with fingers crossed...and waited 3 days more to see the result.
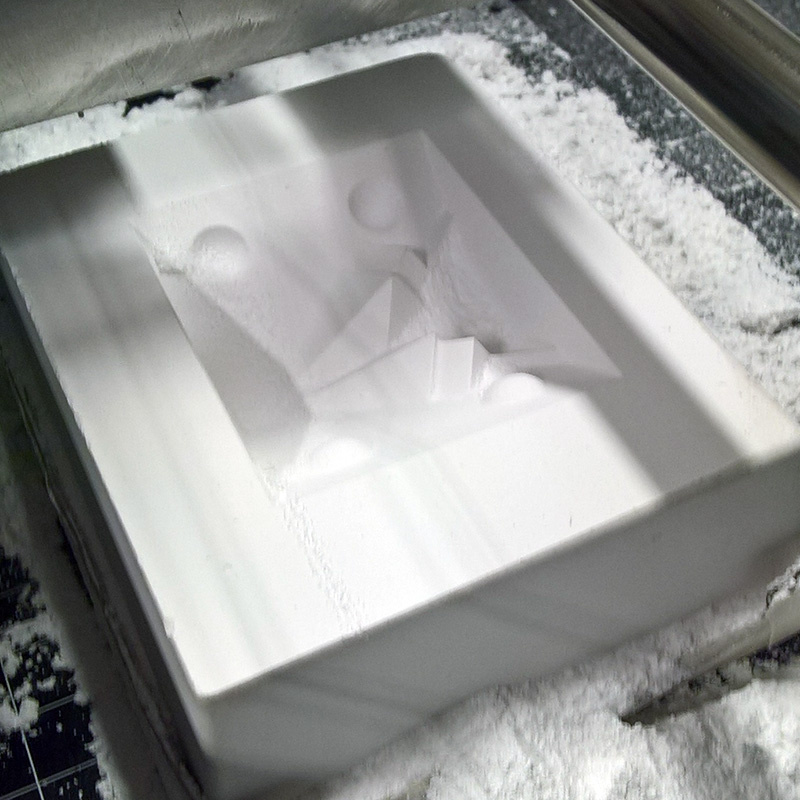
After 2 days of milling the piece is almost finished....
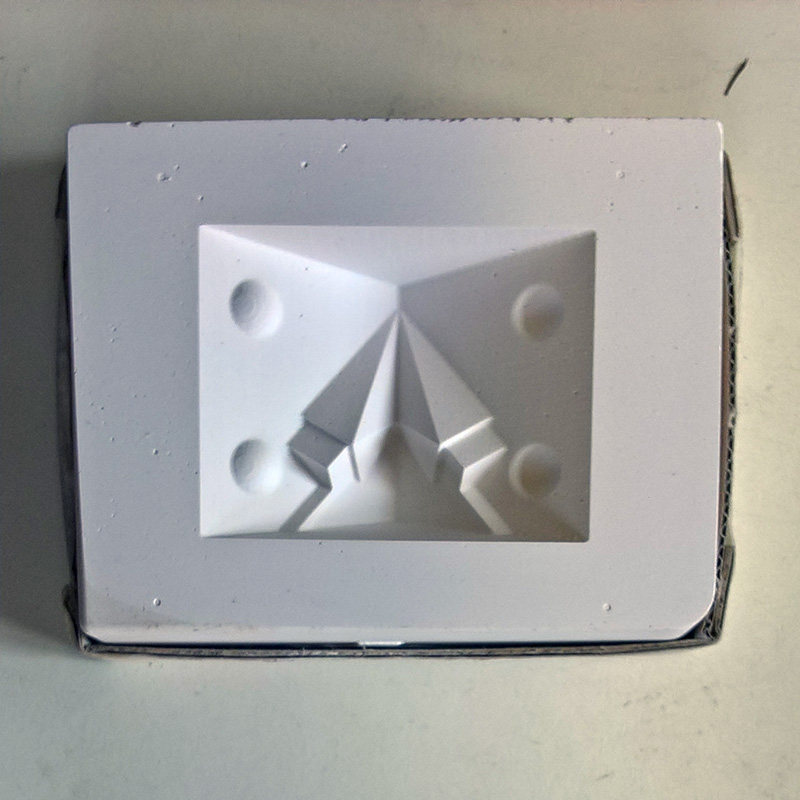
the third day I obtained a perfect result.
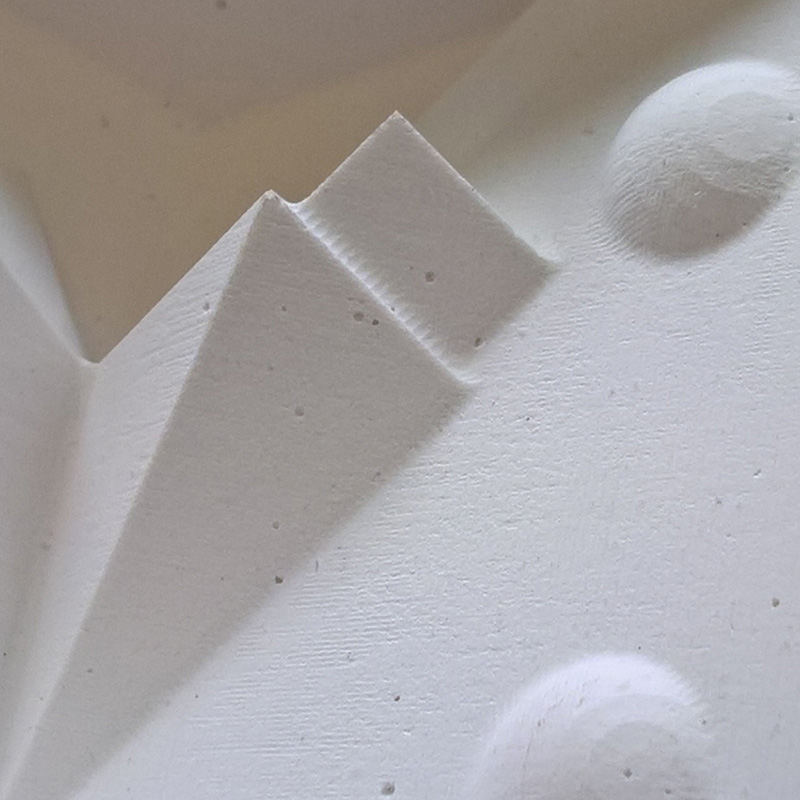
There are just few micro bubbles but I don't think this is will be a problem.

The produce the moulds I decided to use silicon rubber GLS-50 from Prochima.
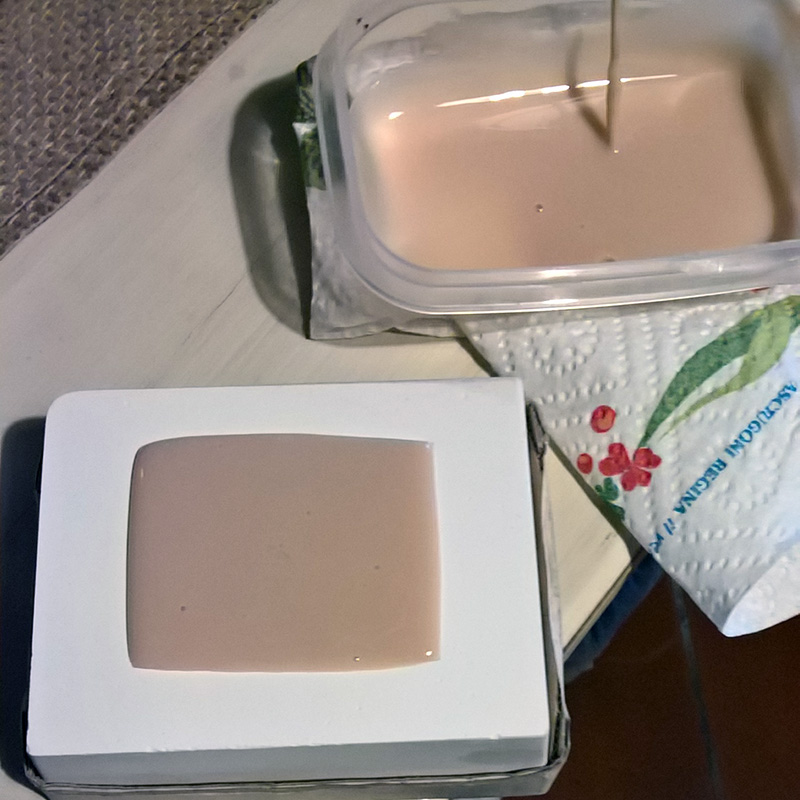
I prepared it carefully and poured it in the mold.
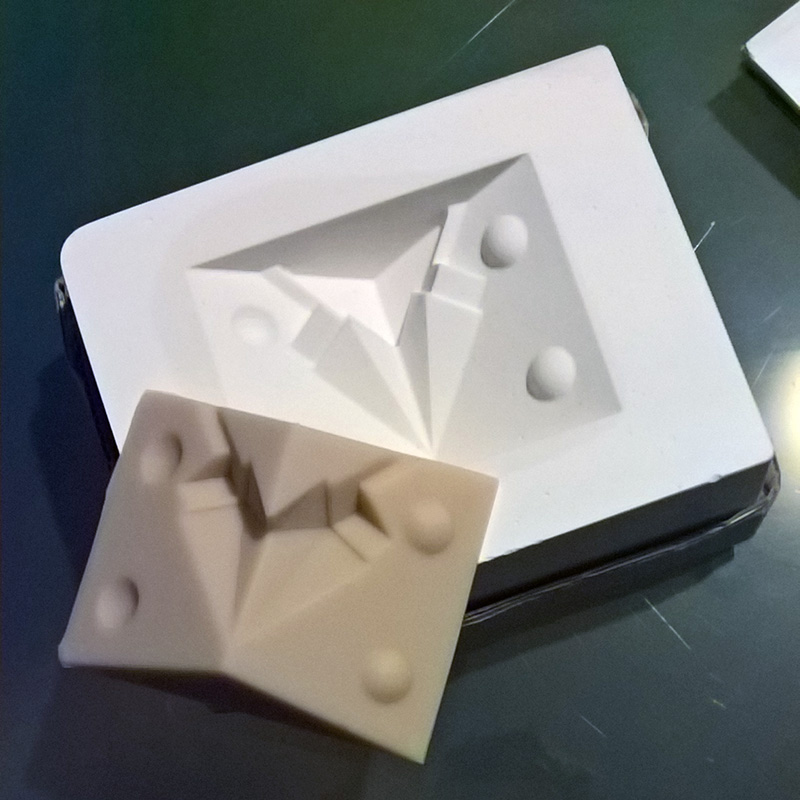
The smooth finish helped in pulling out the mold.The result is very satisfying!
I than made three of them, and each one came out pretty well.
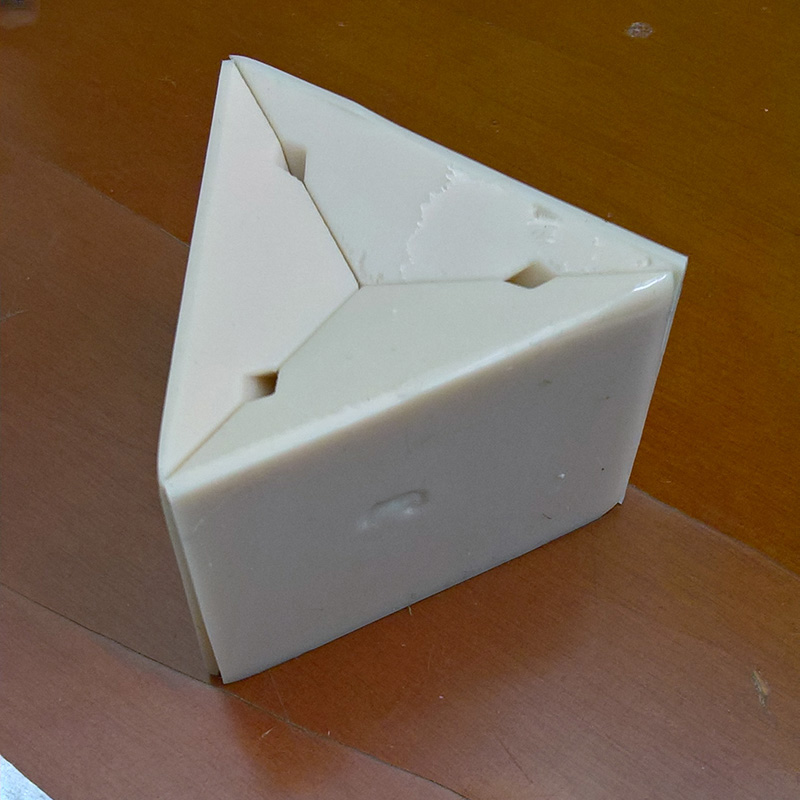
Each piece fit perfectly. As you can see theese are the holes through wich the resin will be poured.
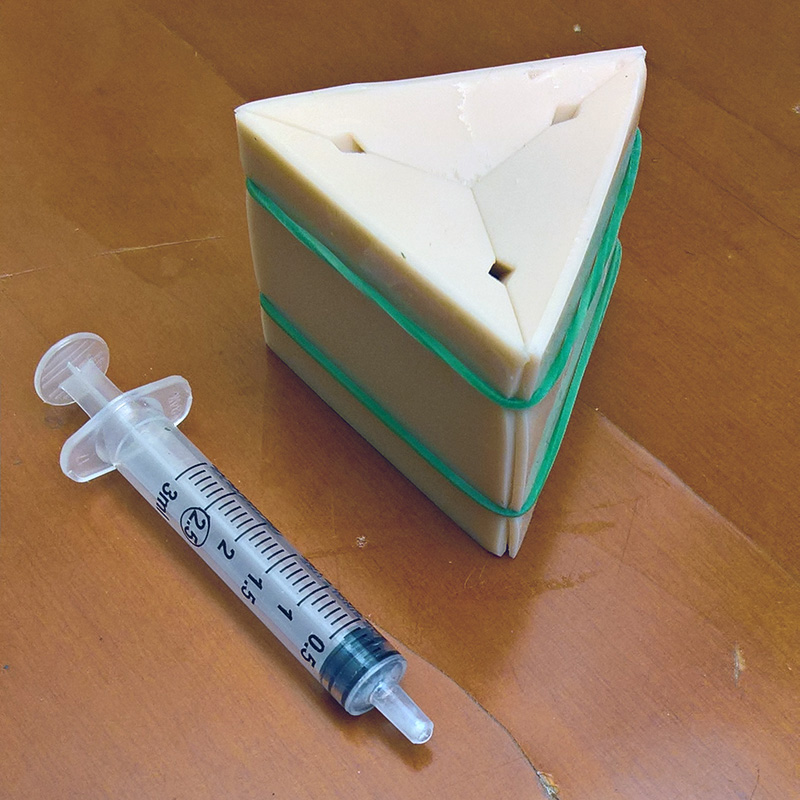
Two elastics where enought to keep everything solidly attached.
Once the two reagents (1:1) where carefully mixed I poured them into the mold. In this phase you should be carefull not to make too much bubbles
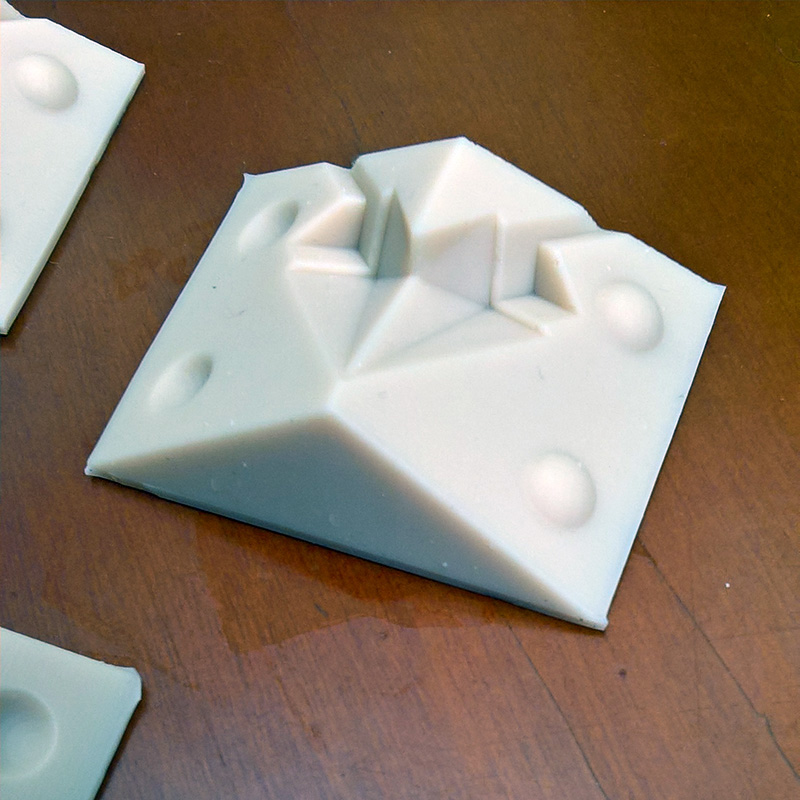
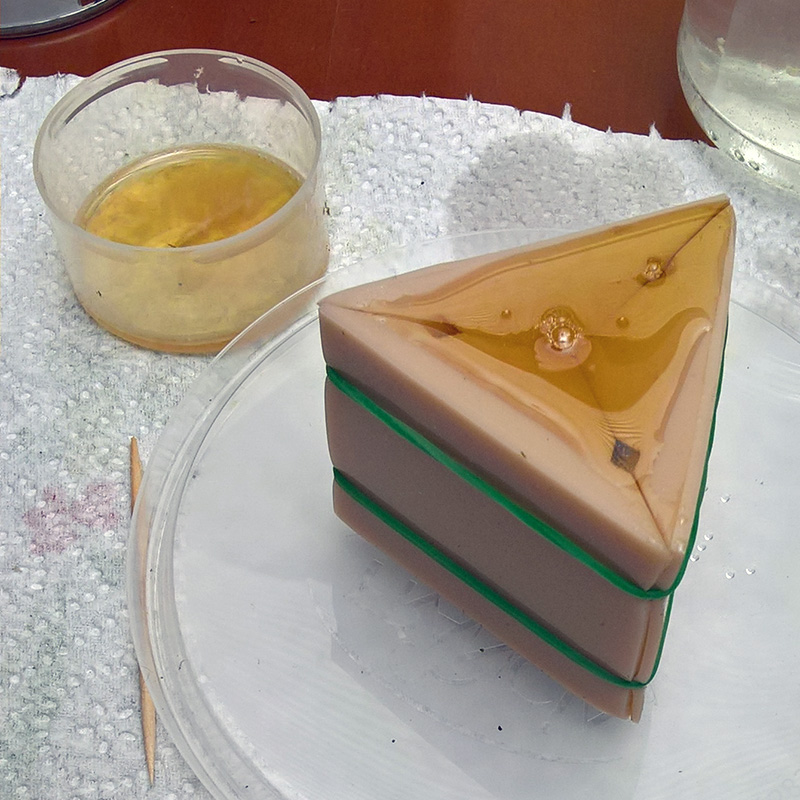
This is the result of the moulding. The piece is pretty smooth and well finished. I'm so happy for the quality!
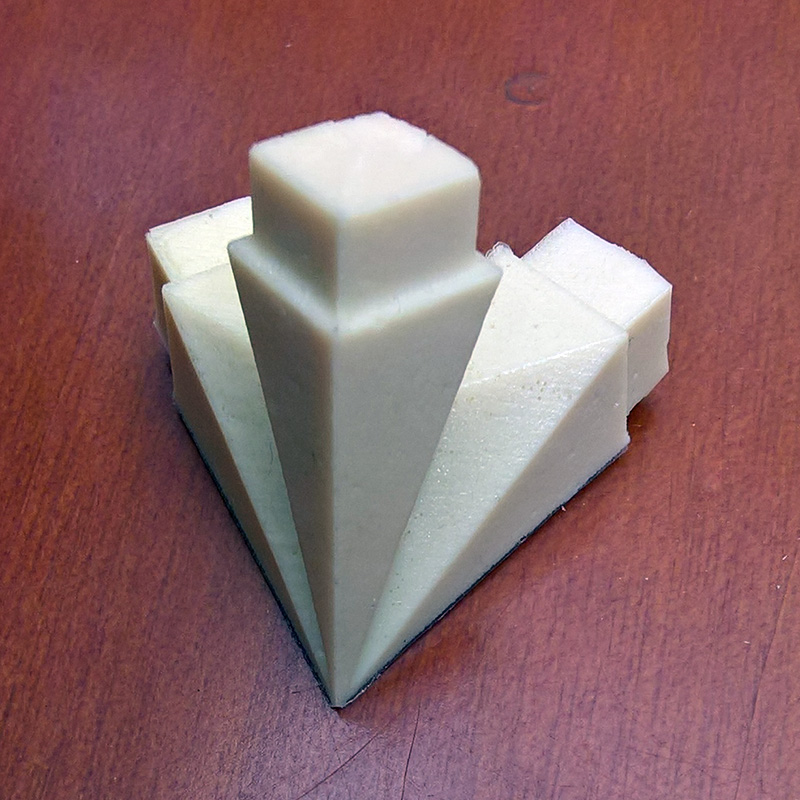
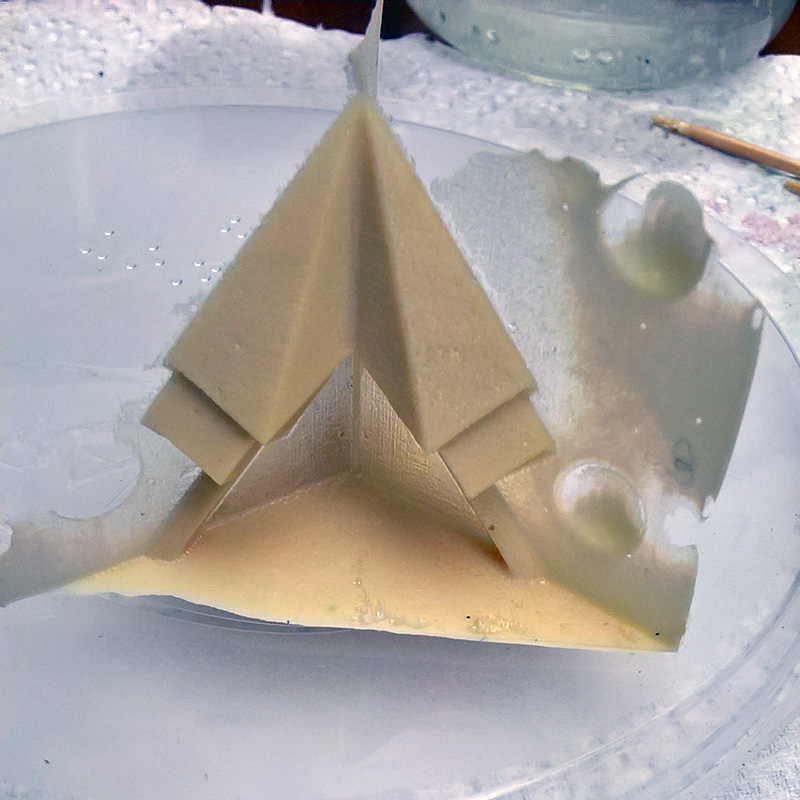
Once cleaned the tip has a clean and high quality finish.
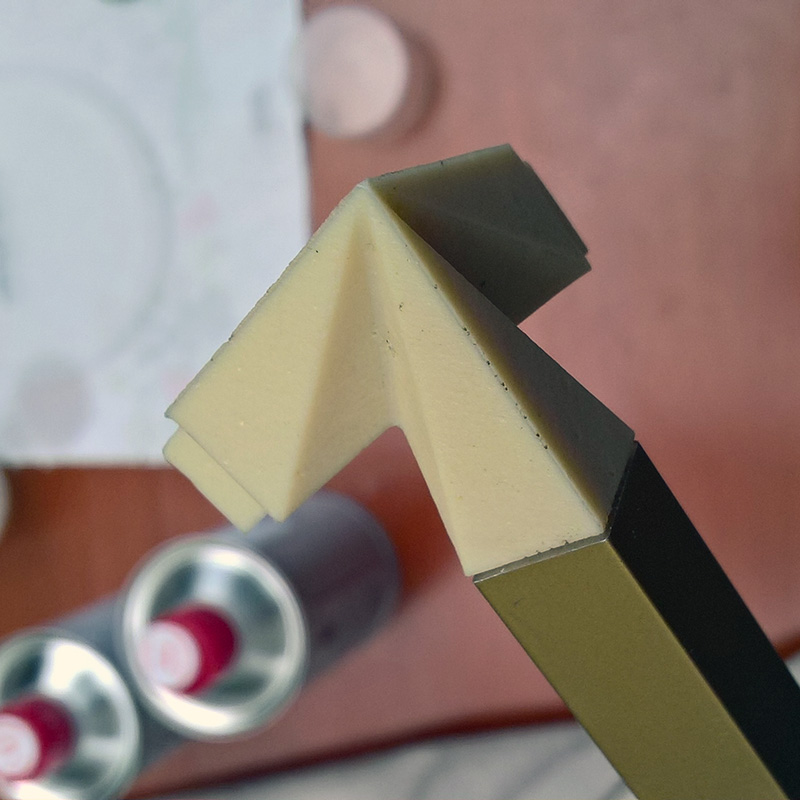
And it fit perfectly into the squared section aluminium bar.
Now the production begin!.
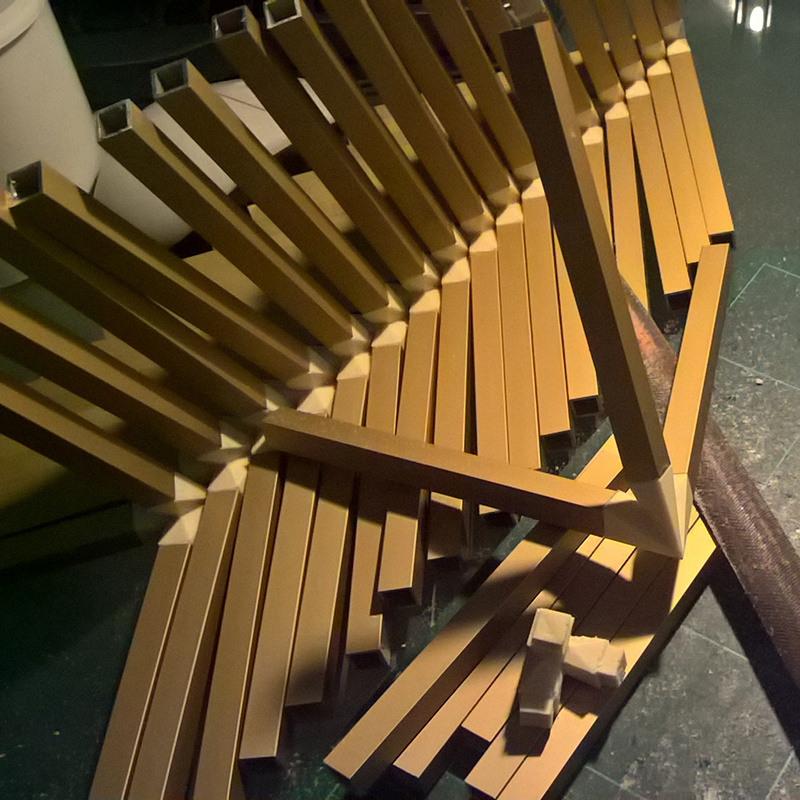
Here all the batch is complete.