This week I continued designing the structure of one of the two machines we are developing here at opendot. While Silvio designed the two box structures for X and Y movement I designed the sistem to fix them togather to the machine structure.
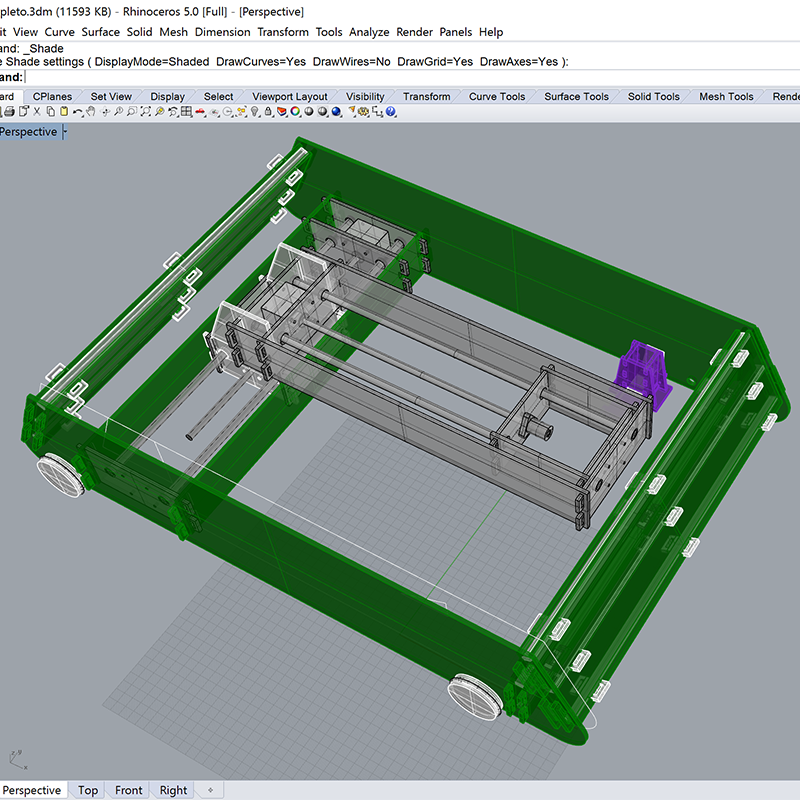
The machine is provided with the tile dispenser (in purple) and 4 wheels. I designed obliqe septums to get a robust frame that could sustain strongly X and Y modules.
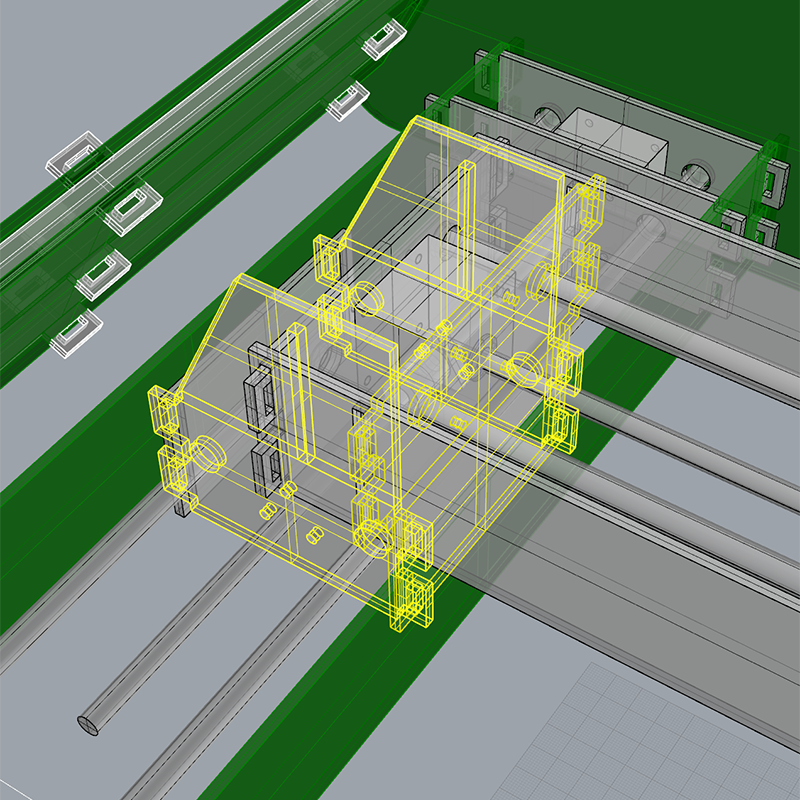
These 3D assemblies were essential to understand how every piece fits to the next one. It was our proof to had a correct design before producing parts.
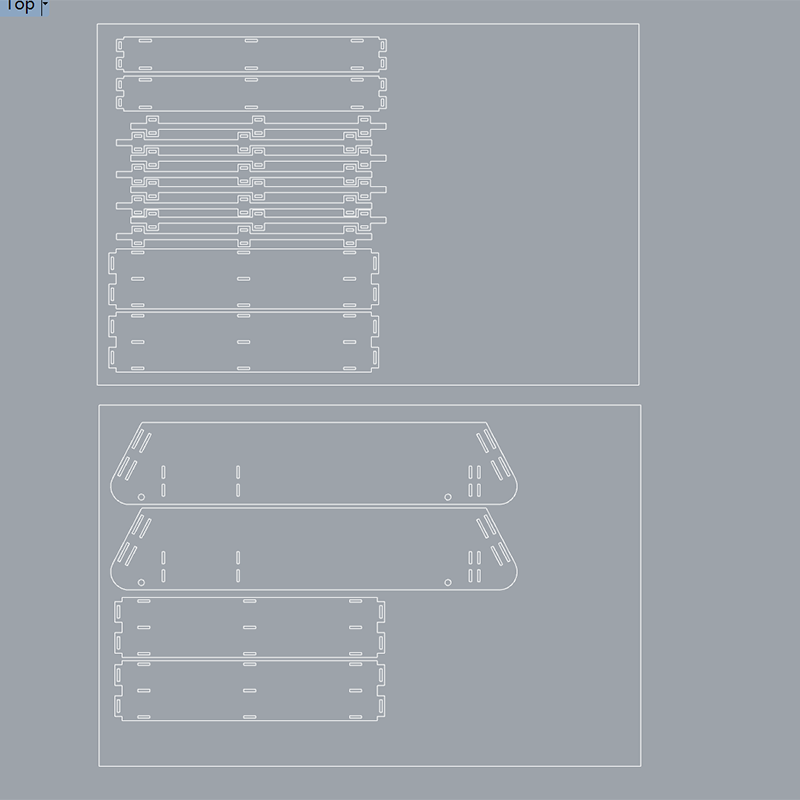
When everything was settled i started producing cut traces for the frame. I placed all the pieces needed in two 90x60 4 mm thick plywood boards.
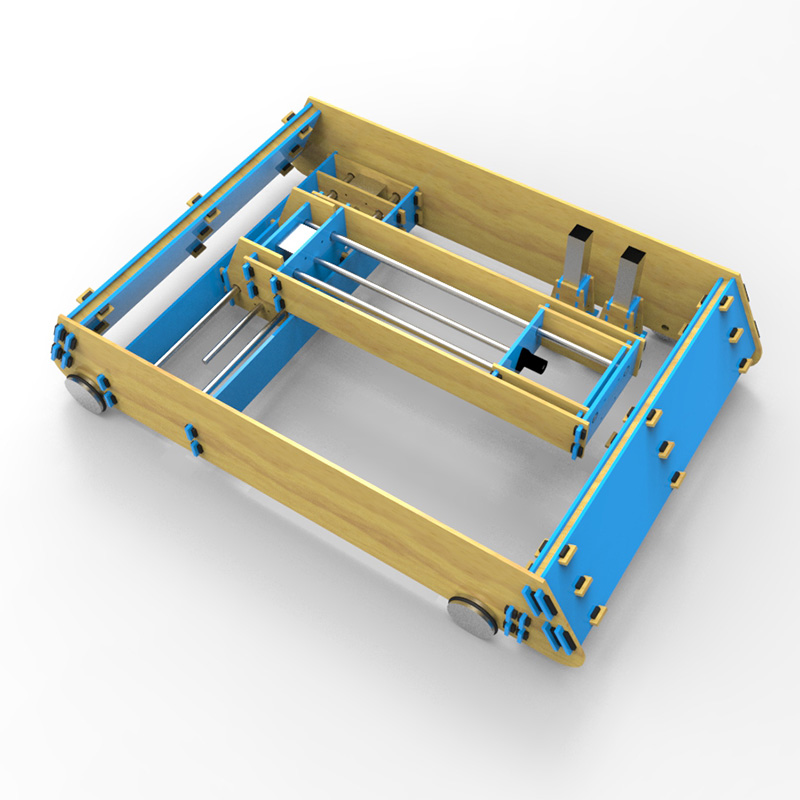
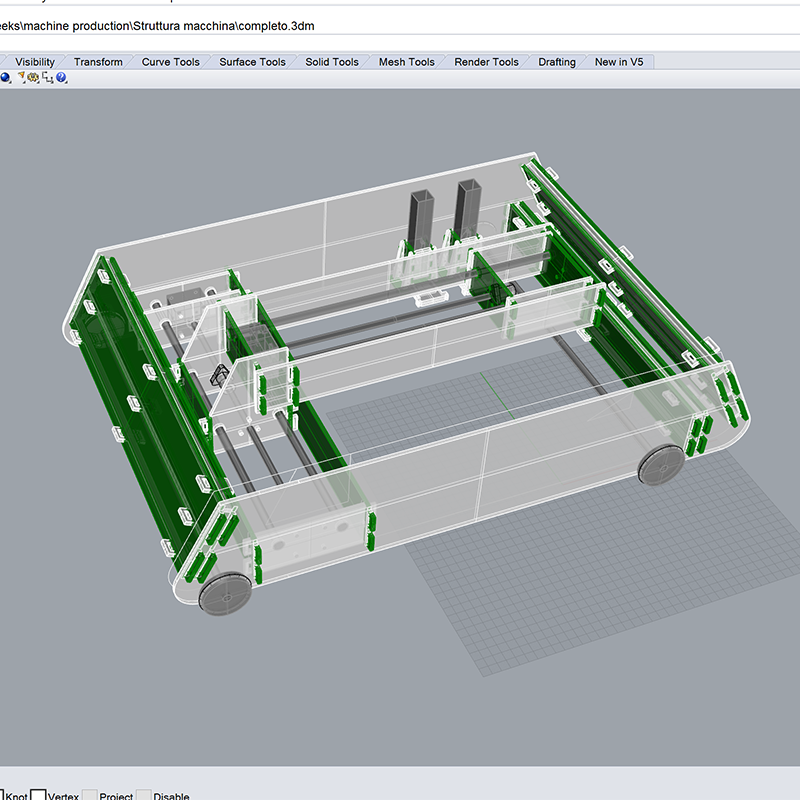
Some renderings were made too to get a clear view of the assembly.
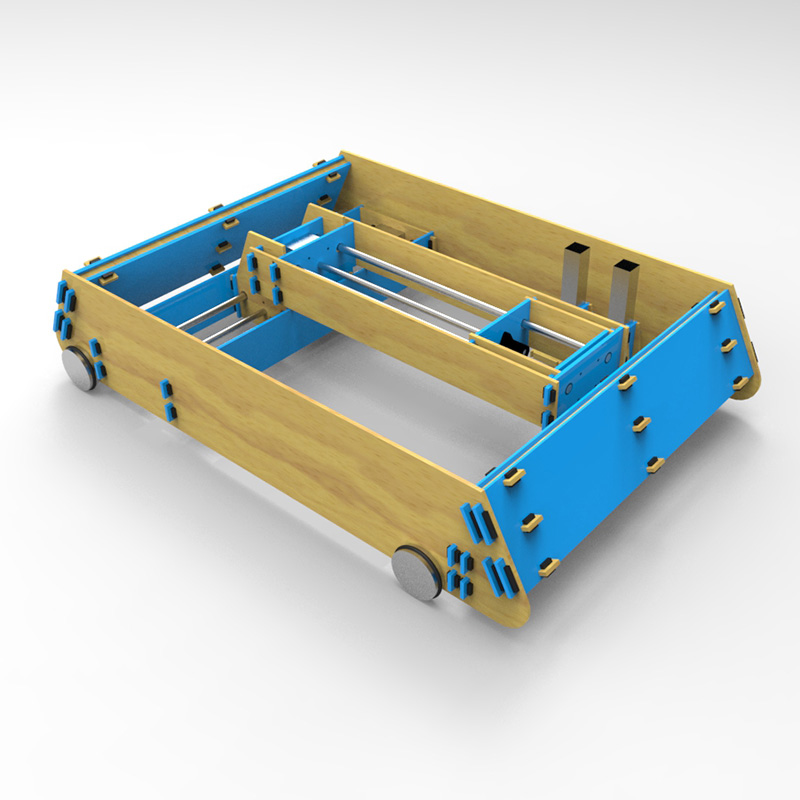
Here is a second one.
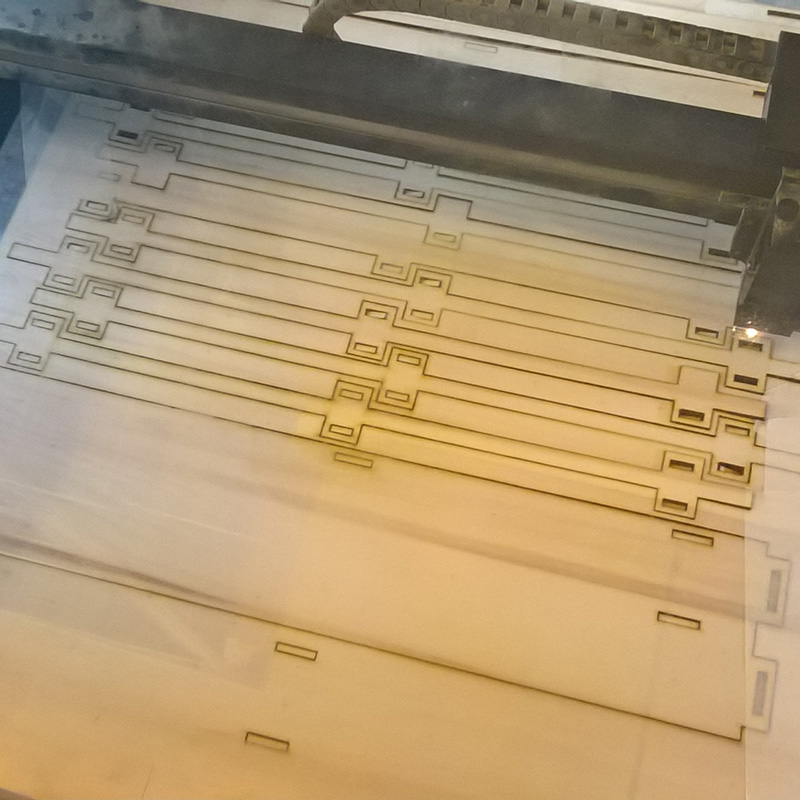
I than started to cut all the pieces. I forgot to check for the "inside out" cutting methods so some holes were cutted after pieces. Since the plywood was slightly bended some of them were not cutted properly. I had to stop the work, tape the wood and start again. At the end everithing was fine.

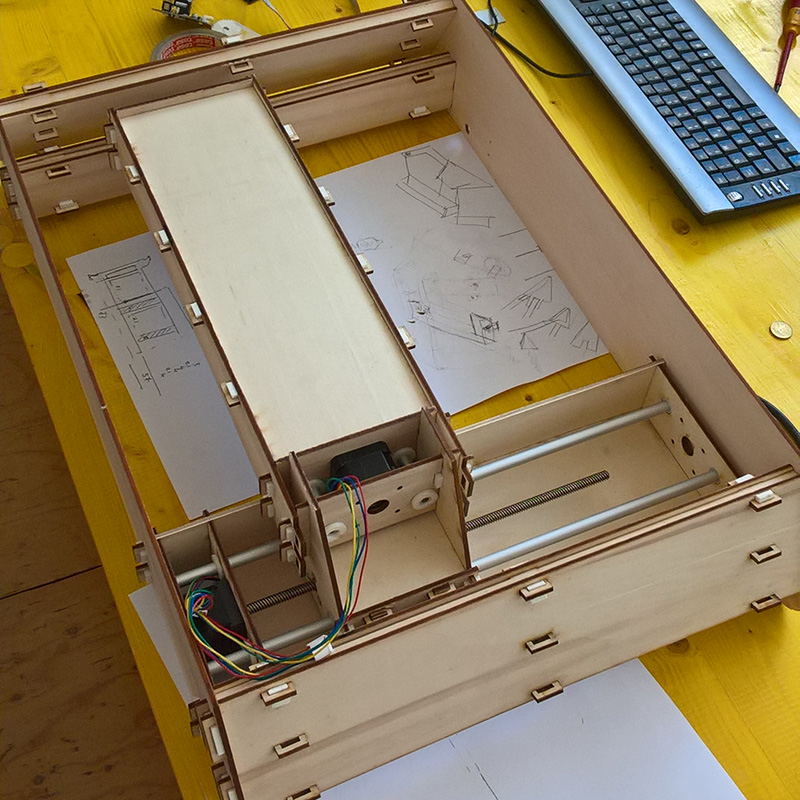
When Silvio finished to prpare his files we produced his pieces too and start to build the machine. This is the first axis assembled.
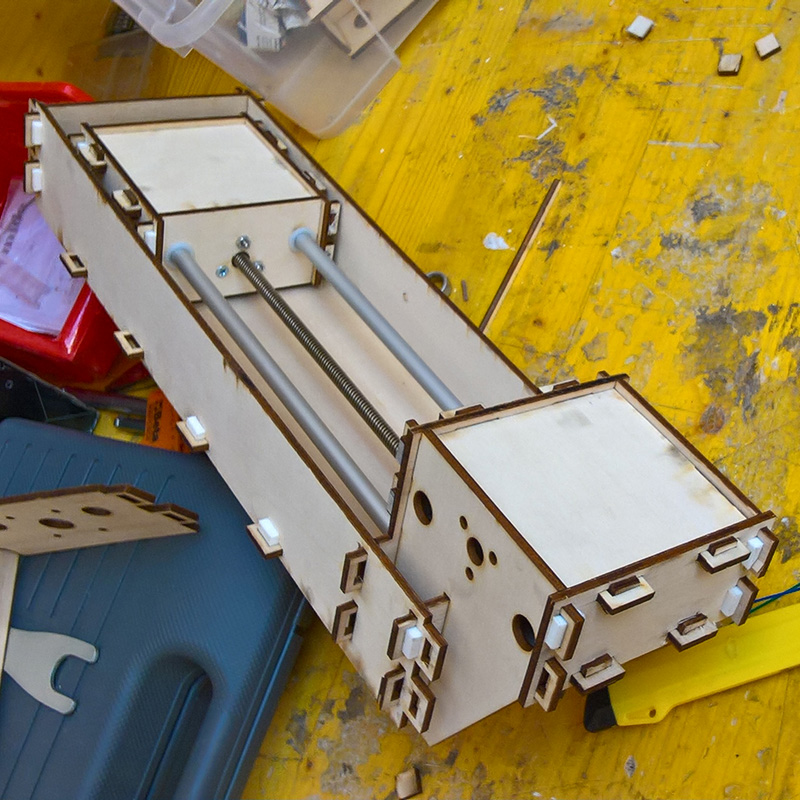
As you can see the structure of the axis was designed to attach directly to the other axis module. This produces a much more fixed build.
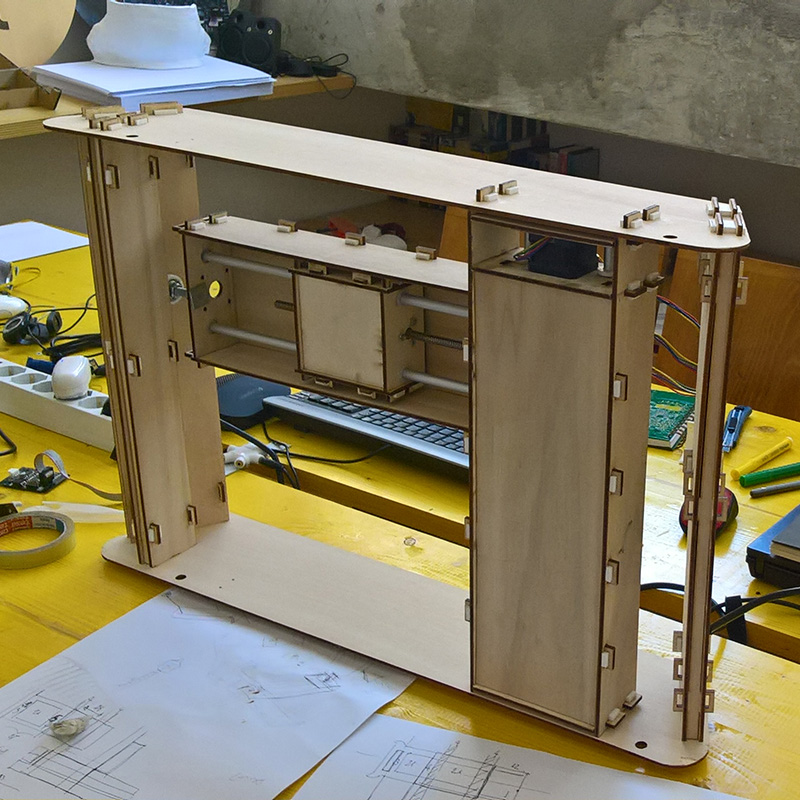
Than the frame structure was added to the assembly.

Here is the top view of the machine.

Everithing was assembled togather via squared fastners. These allow us to open and close the structure when needed.This was a good idea since we than need to open and close the frame several times to fit everithing.
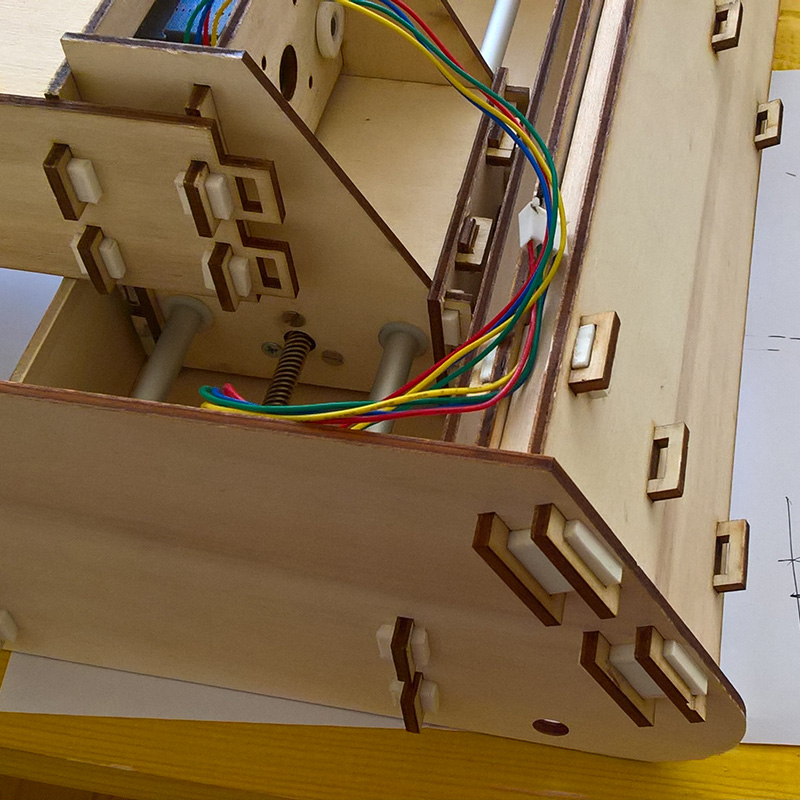
Probably we placed even too much fasteners since the structure was already robust with half of them.
This is a bottom view of the machine.
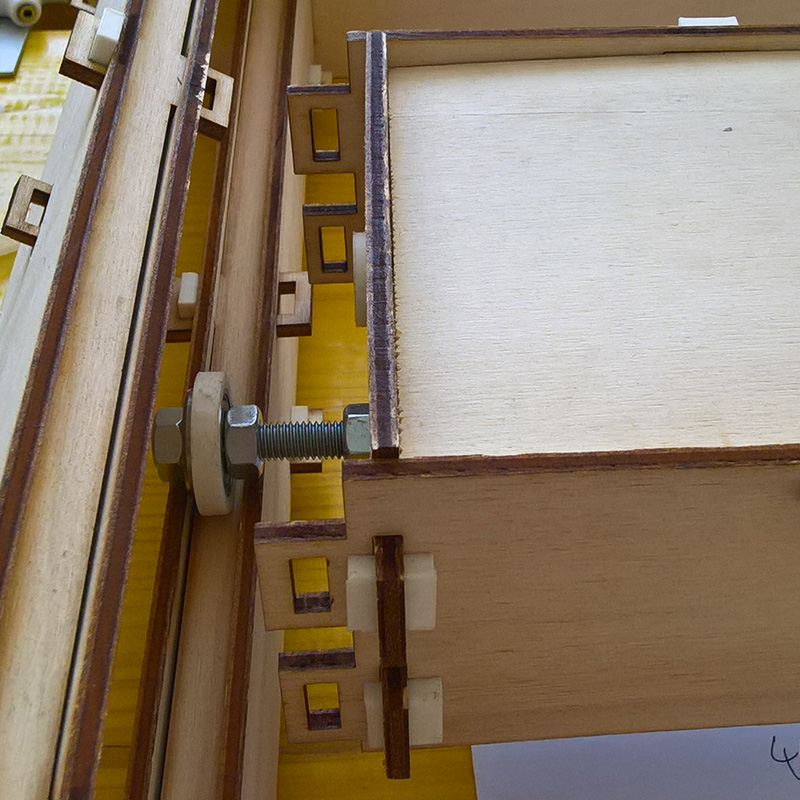
X axis overhang on Y axis so we placed a wheel on a rail to get a smoother movement. This was a very good solution.

Than i re-designed the tile dispenser to obtain a smoother movement and more rtorage space for tiles.
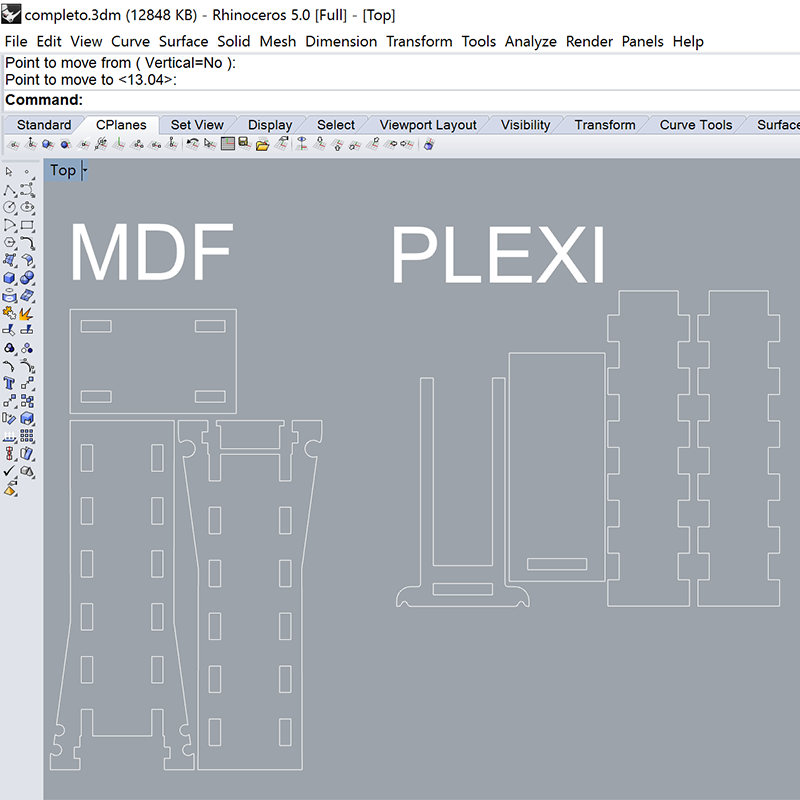
I sent to Matteo cut traces and he produced it.
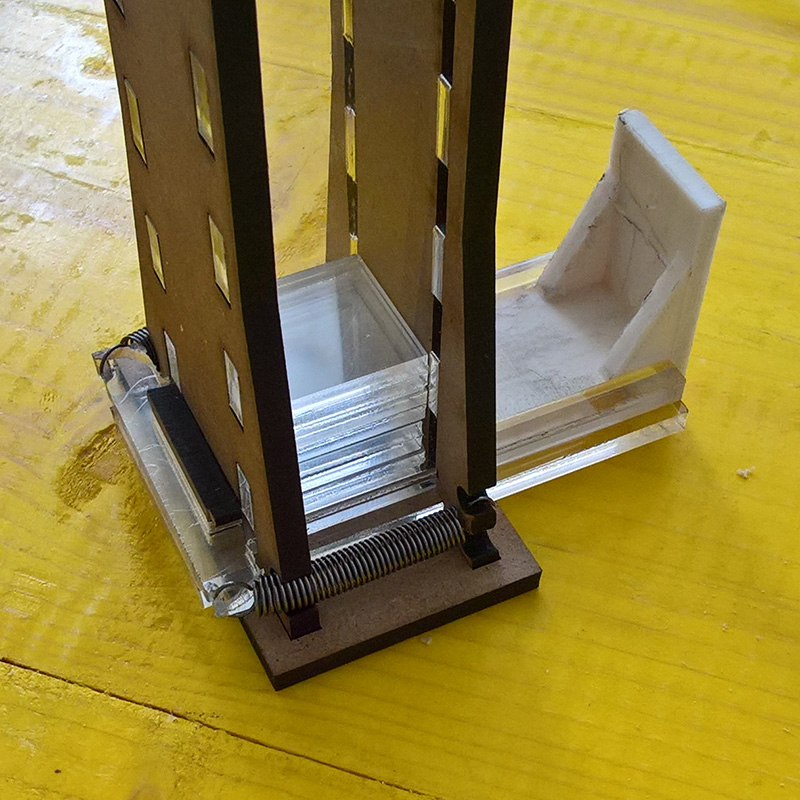
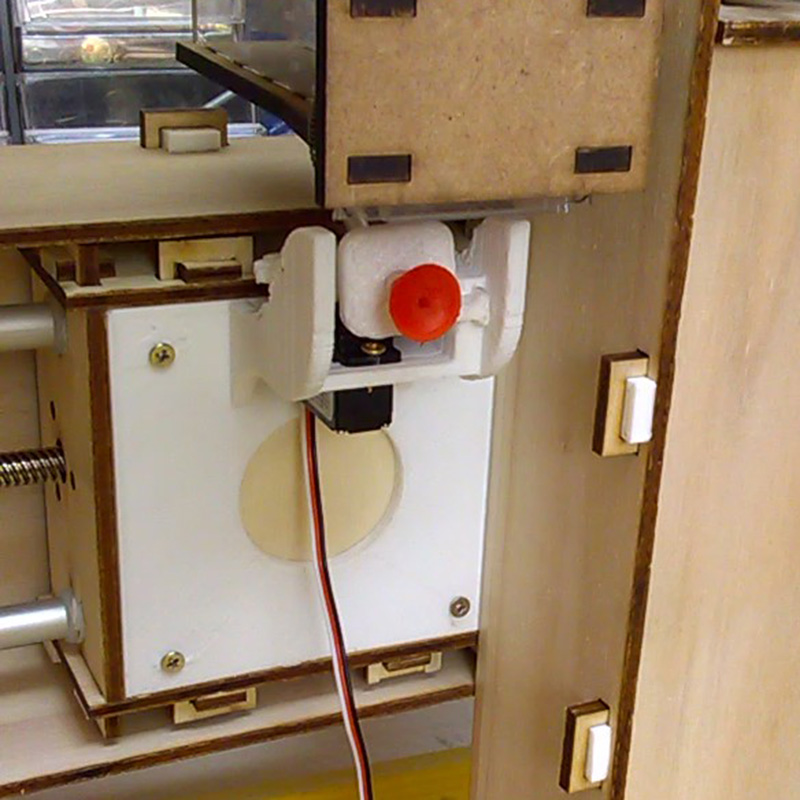
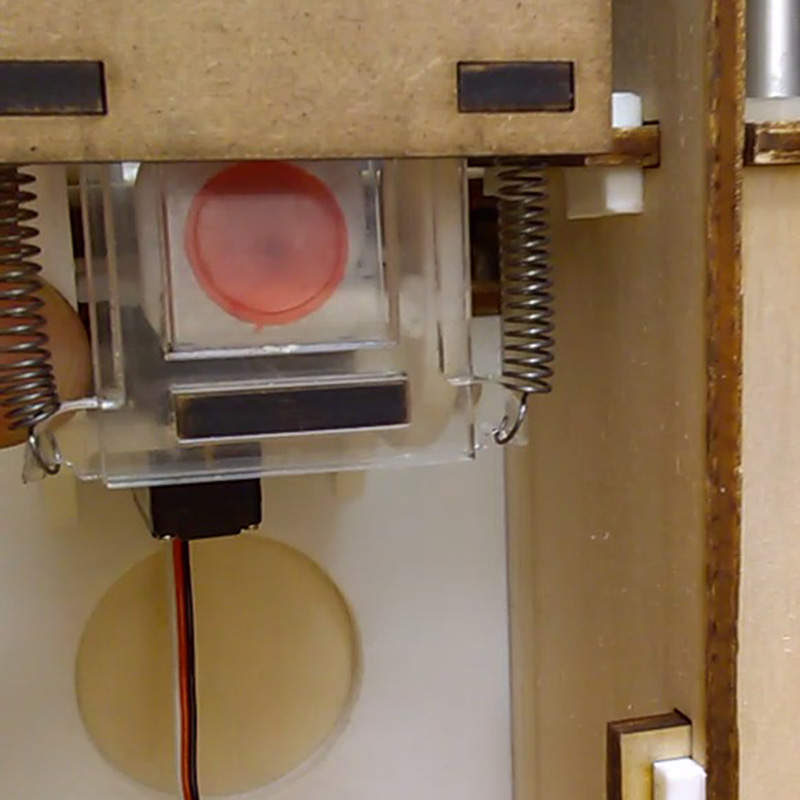
Now the tile dispenser is working better using springs, has much more storage space for tiles hand has transparents side to see when it's out of tiles.
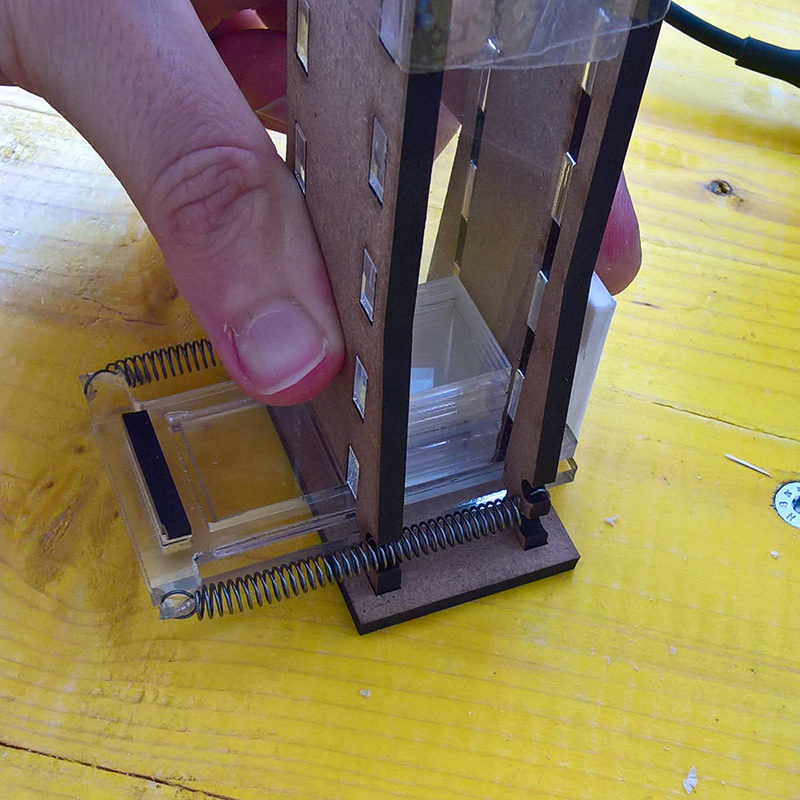
Here I'm testing the functional movement of "serving" tiles. The spring force is well balanced.
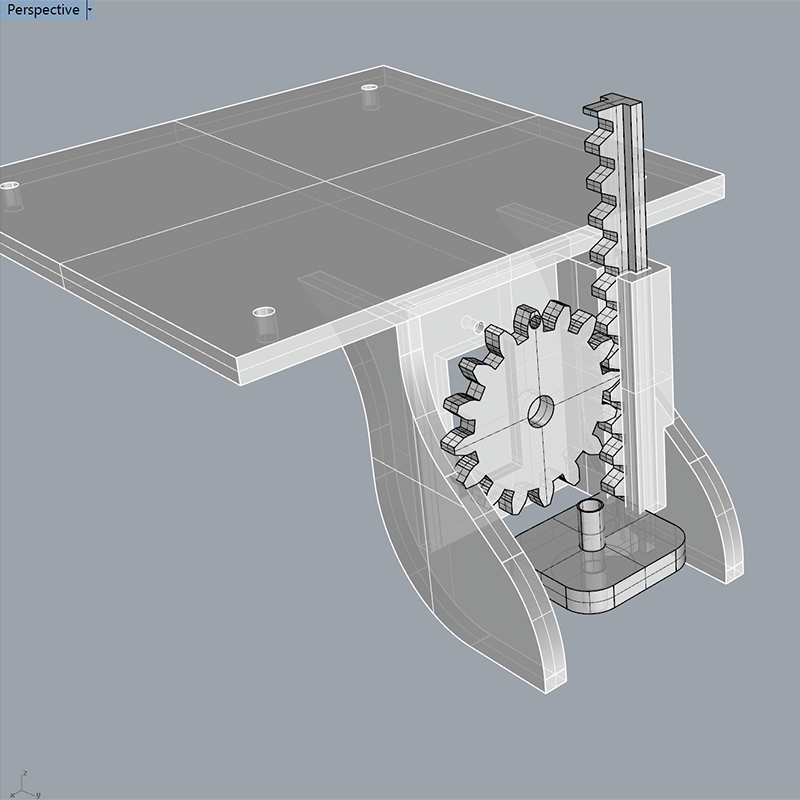
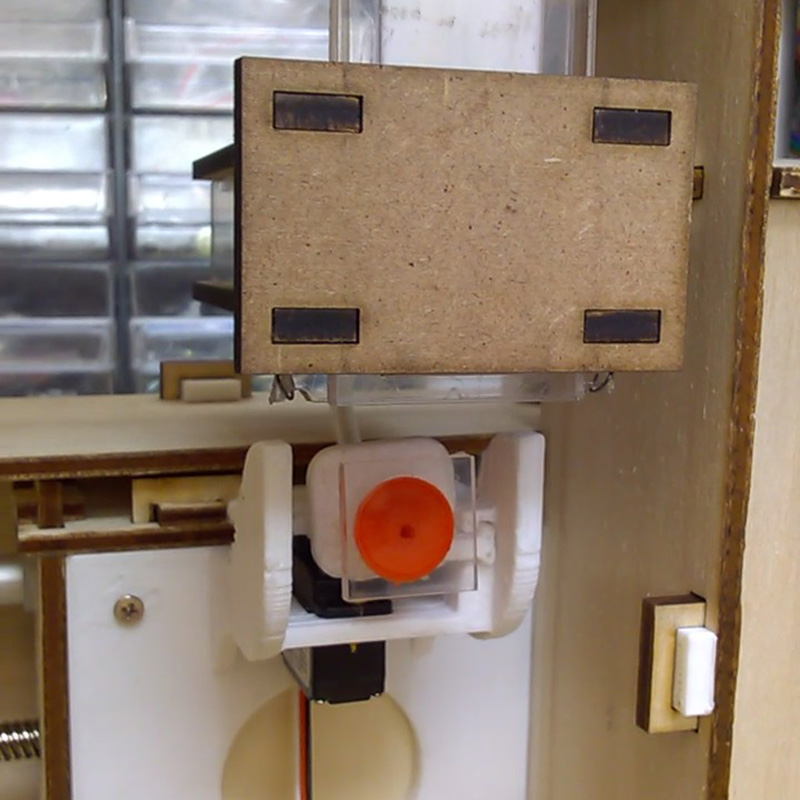
Than I designed the component to place on the moving head that will permit Z movement to the pick and place. Basically is a servo motor attached to a structure
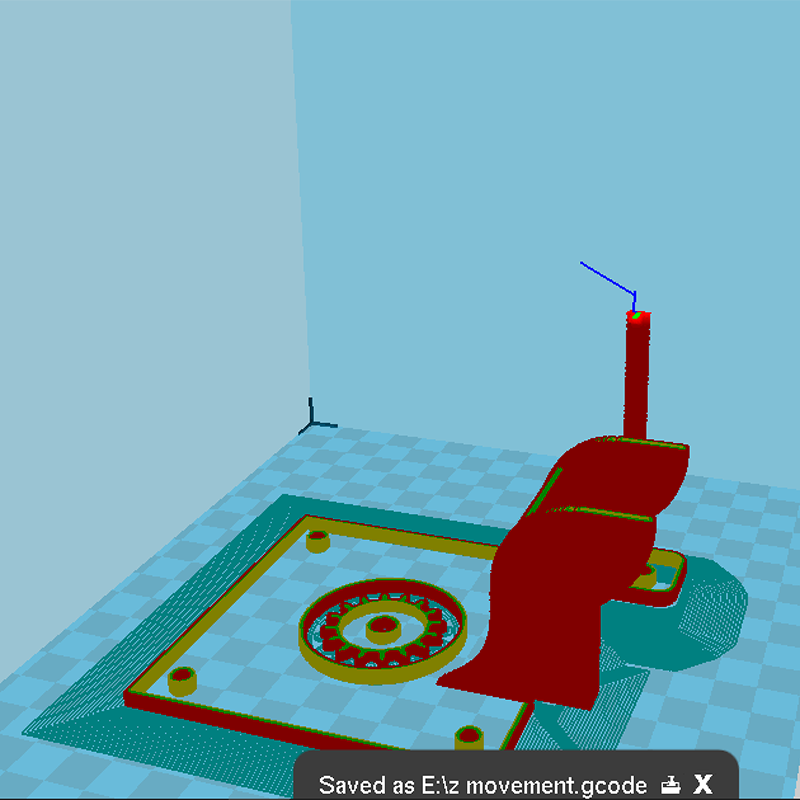
I managed the printing file via Cura and printed the piece with a Prusa.
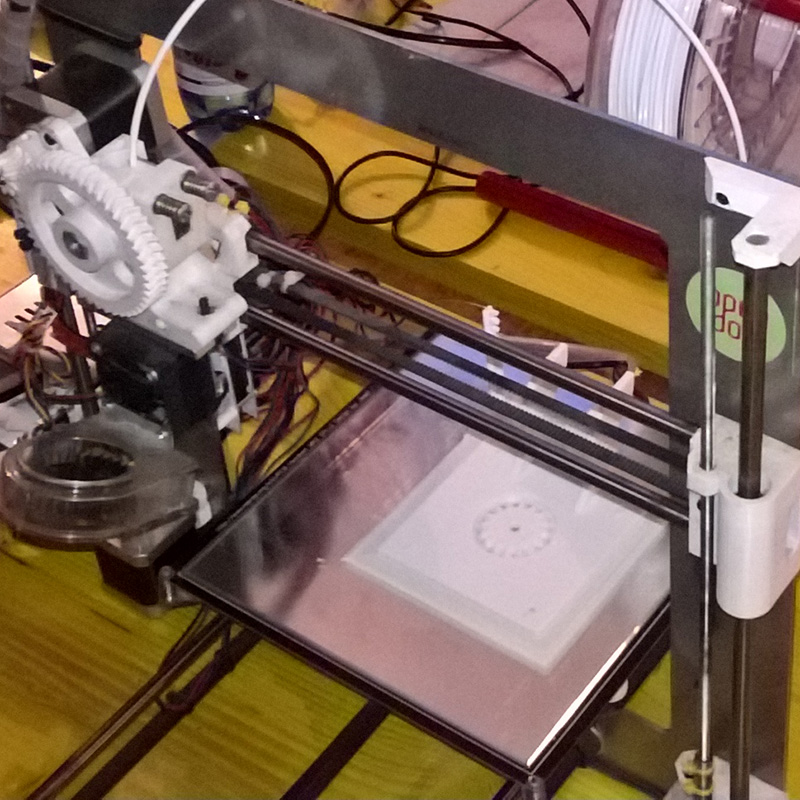
I needed some trials to get the right printing settings. The extrusion head was setted to 235°C and the bed was 70°C.The piece was finally printed with the prusa in ABS trying to save more material possible.
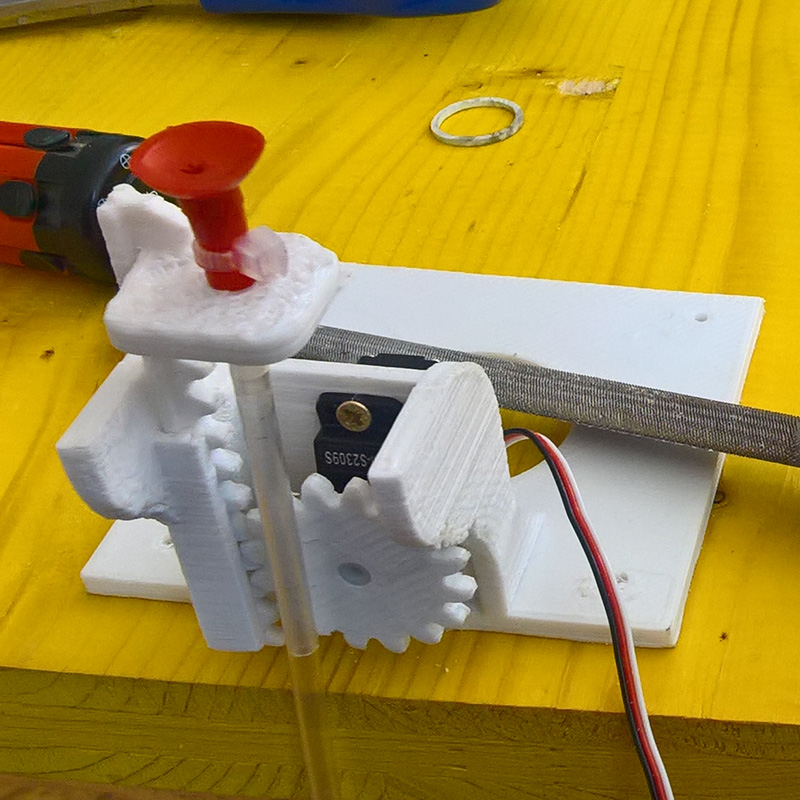
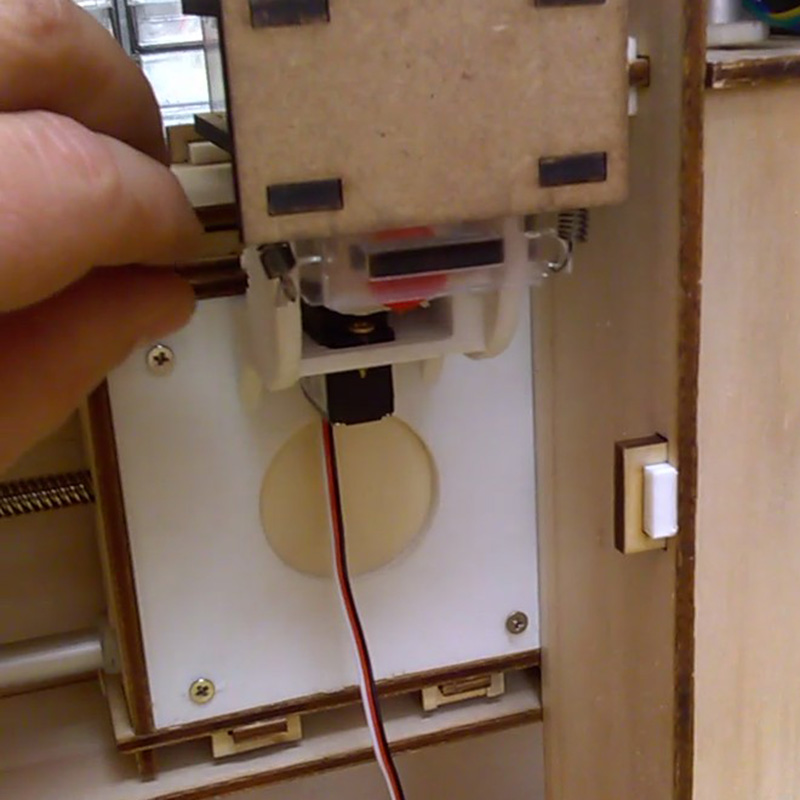
After the printing it took me a long time to clean pieces and to fit everything togather. Than I added suction and vacuum straw
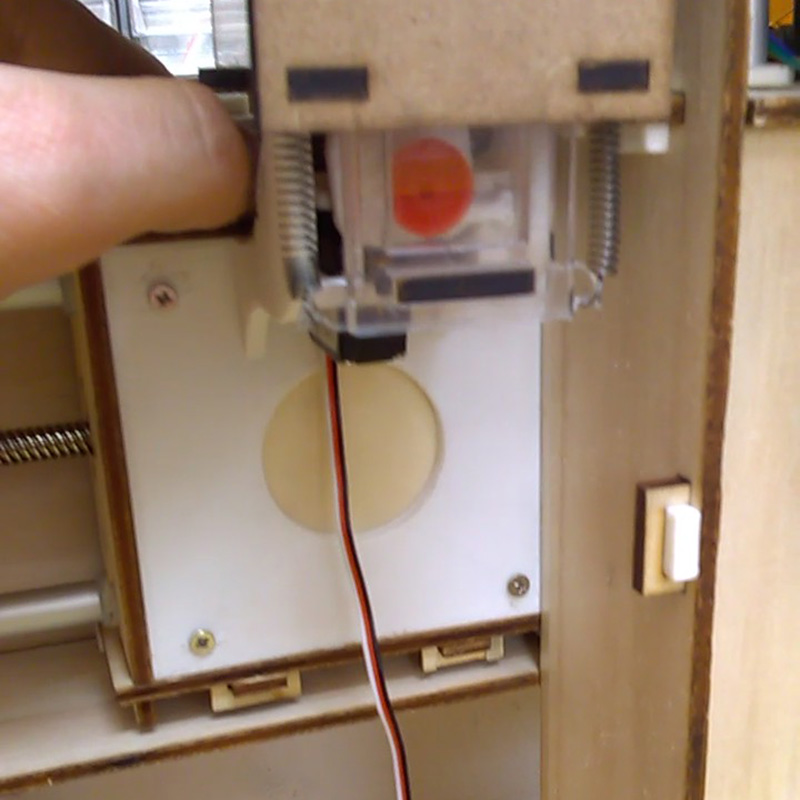
As you can see the piece is designed with two "pushers" that push the tile dispenser to free a tile.
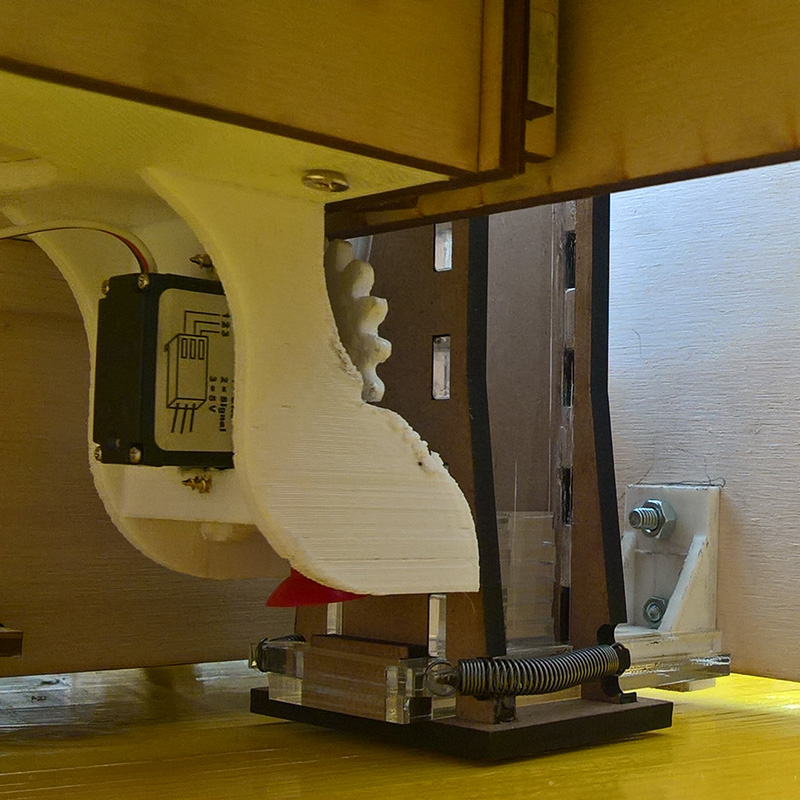
Tep1:the head get close to the tile dispenser and start to push it.
Step2: the suction overcome the tile dispenser and reach the right position to take 1 tile
Step3: the servo push the suction over the tile and the vacuum is made.
Step4: the servo lift the suction with the tile attached to it.
Step5: the tile is ready to be placed!