3d Scanning with Photogrammetry
Agisoft Photoscan
Photoscan is an agisoft software that can reconstruct a 3d mesh from pictures taken by a camera (Photogrammetry). The process is very simple: take pictures all around the object then give them to the software and he will do the tricky part. In order to have a better quality there are some precautions:
- - Use a reflex
- - Shoot in manual mode
- - Keep the ISO as low as you can to reduce noise problems
- - Use the same focal length for all the photos
- - White balance NOT in auto
- - Keep the subject on focus
- - Reflective surfaces will confuse the software
- - Turn off the flash
Download
Photoscan software1. Preparing for shooting
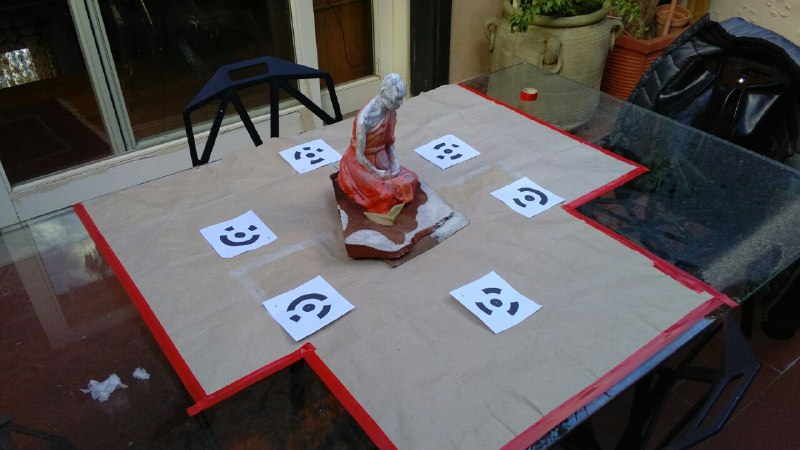
I decided to shoot outside, so i could have a good enlighted scene. In Photoscan reflective surfaces will probably give problems in reconstructing the mesh, so i decided to cover the glass table with some paper. I printed six photoscan's markers following this tutorial; those will give to the software some reference points that will help reconstructing the 3d scene.
- This was my camera equipment and settings:
- Camera: Canon EOS 5D Mark II
- Lens: Canon EF 50mm f/1.8
- Exposure: 1/21 sec, f/11, ISO 125
- Focus: manual
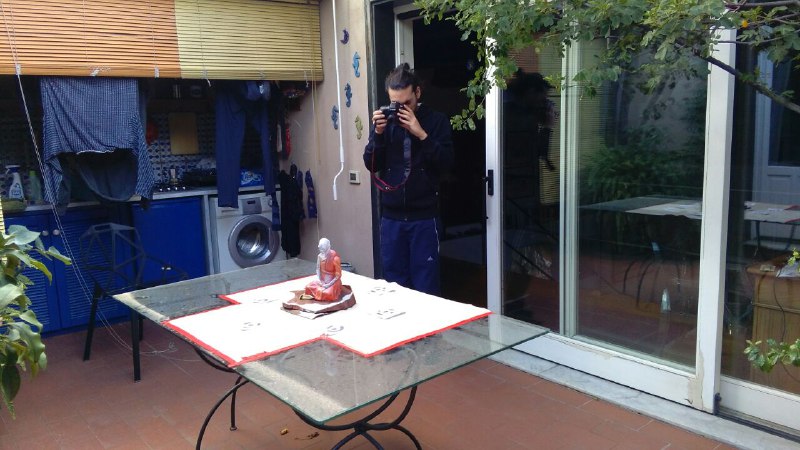
2. Shooting
I've taken 23 pictures moving around the object (more or less each picture was shooted moving around of 15°).
For further tips check this guides:
- Useful Tips on Image Capture:
How to Get an Image Dataset that Meets PhotoScan
Requirements?
- Technical Guide and
Productions Tips For Agisoft Photoscan.
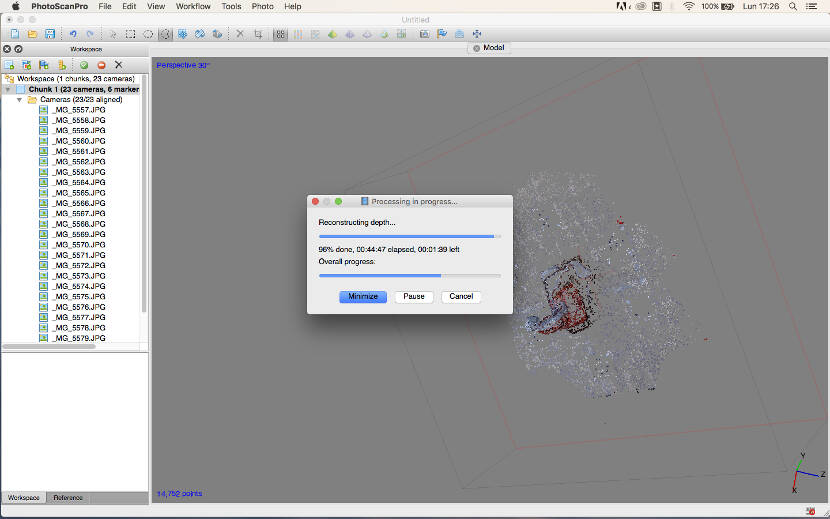
3. Photoscan
Step by step
- 1 – Open the software
- 2 – Right click on workspace > add new Chunk
- 3 – Right click on Chunk > add Photos (check if the number of photos matches with the number of cameras)
- 4 – Tools (topbar) > markers > detect markers
- 5 – Right click on Chunk > Process > Align Photos (resize the handles of the cube visible in the 3d view to fit it with the area of your object)
- 6 – Right click on Chunk > Process > Build dense cloud
- 7 – Right click on Chunk > Process > Build Mesh
- 8 – Right click on Chunk > Export > Export model
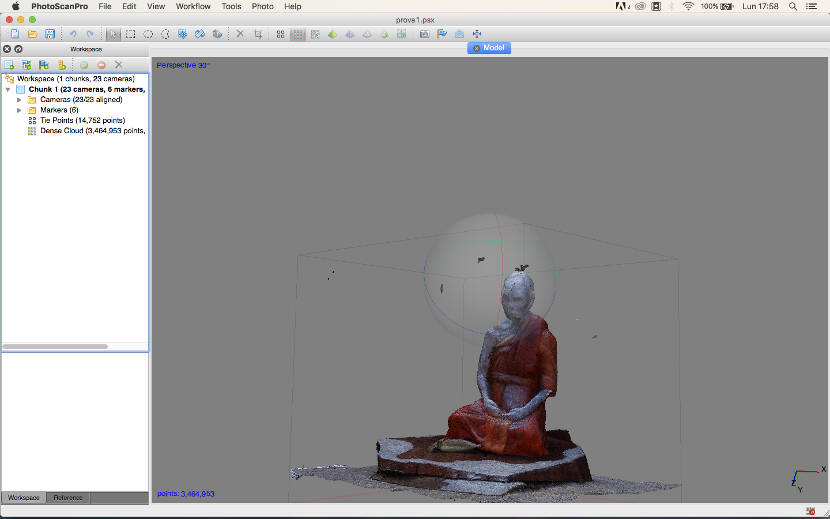
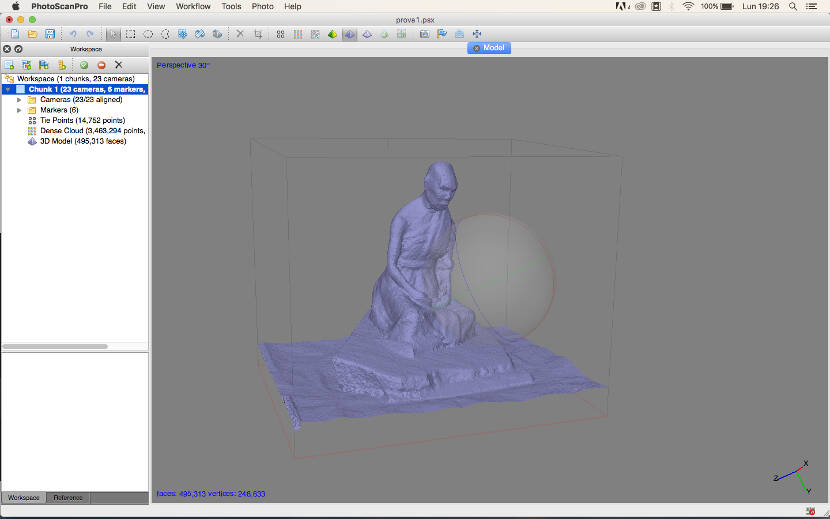
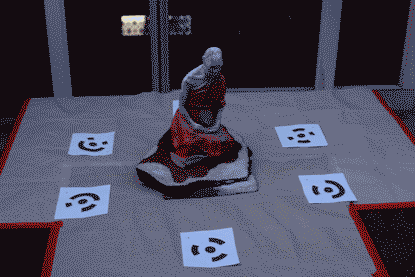
The Result
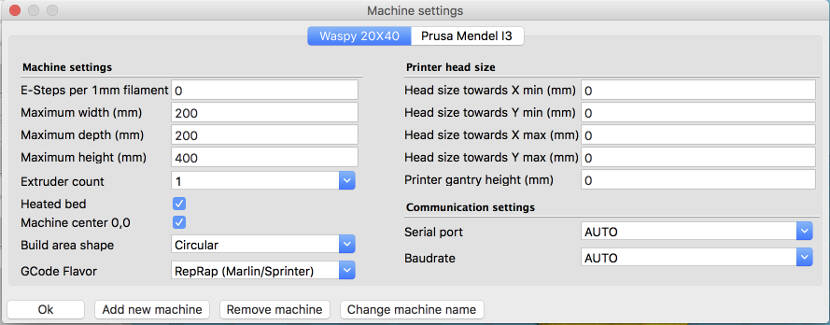
4. 3d printing
For the 3d printing I've used the wasp machine we have here in Opendot; as material I used PLA. First of all I've prepared the mesh for printing, I've cleaned the unwanted parts directly on Photoscan using the selection tool; the shape was closed and pretty good – the time was running out – so I haven't done other elaboration on it (i've tried some adjustment using meshlab that i will add to the documentation after i print this version). After that i've set the configuration for the Wasp machine in Cura:
Then i've imported the model and set up the configuration for printing:
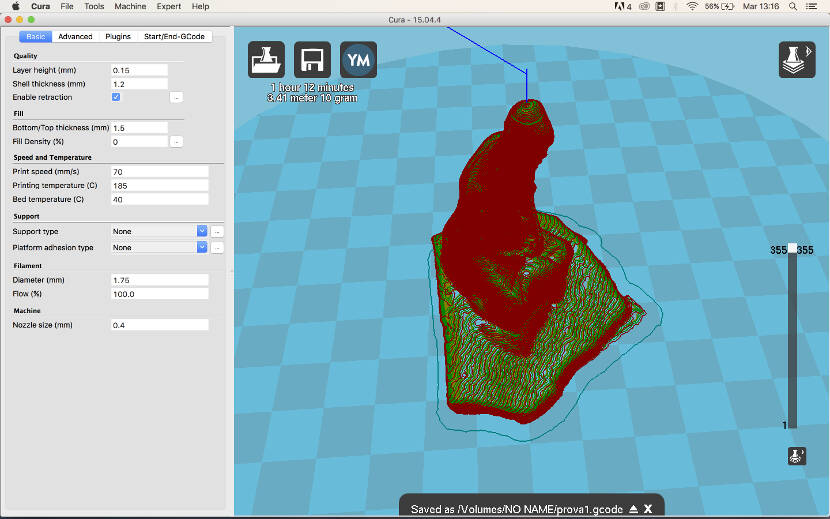
After exporting the gcode on the sd card, I printed it. (It took more or less 40 minutes)