1. Intro
During this week I wrote a simple processing application that visualize data sent from the serial port of a satshakit. The satshakit communicate with the the board I made during the week 11 as shown here. I coded an interface to show the data sent by capacitive pads and help me during the improvement of the firmware. .
2. The firmware
The receiver takes the bytes sent by the transmitter, stores it in one array and send these to Processing through the Serial.write function. The values are separated by commas and ends with a line, these are informations that helps to parse the data in processing
Receiver Arduino Sketch
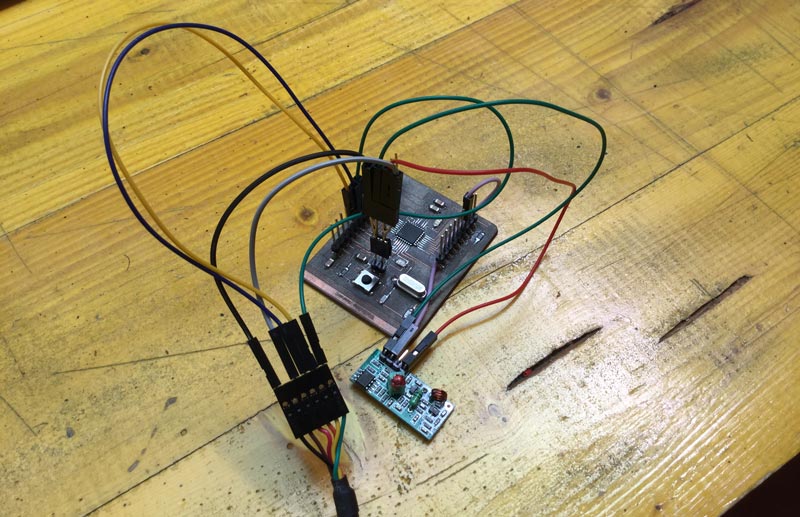 The receiver module is connected to Pin 11, GND and VCC
2. Send data to Processing
In processing first of all is imported the serial library in order to communicate with the board through the serial port.

Inside the setup is selected the port, in my case the first one Serial.list()[1]
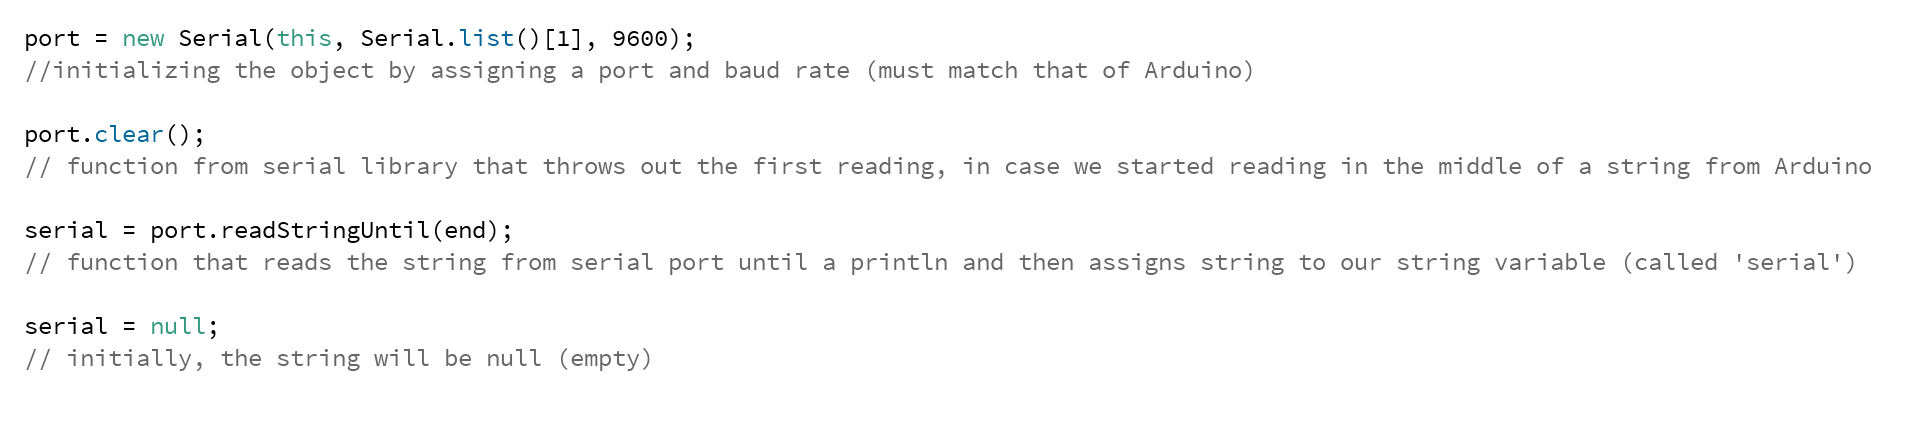
Then in function that will be called inside the draw the incoming values are read, parsed and stored inside the values[] array, declarated at the beginning

Processing Sketch
3. Visualize the data
I used the values stored inside the values[] array to assign the height to 6 rectangles
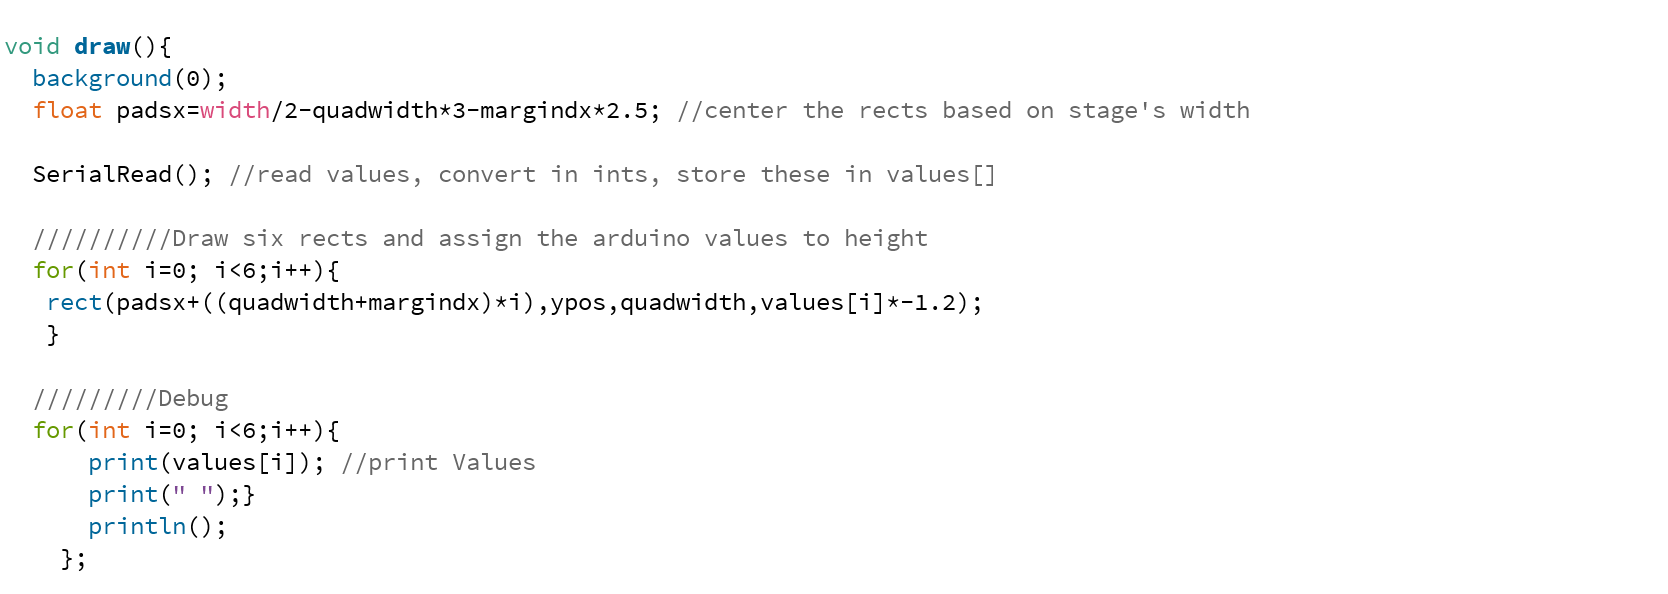
Processing Sketch
Go back in Home