Object design
This assignment gives me the opportunity to build a manual prototype of the final project pot stand. I opted for Fusion 360 as a CAD tool.
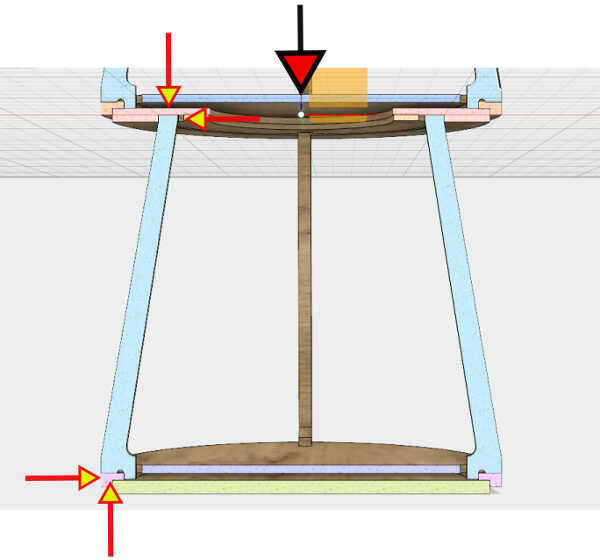
I designed the joints considering the static equilibrium of the structure and such as to avoid the use of glues or mechanical fasteners:
I extensively used several functionalities to improve my work:
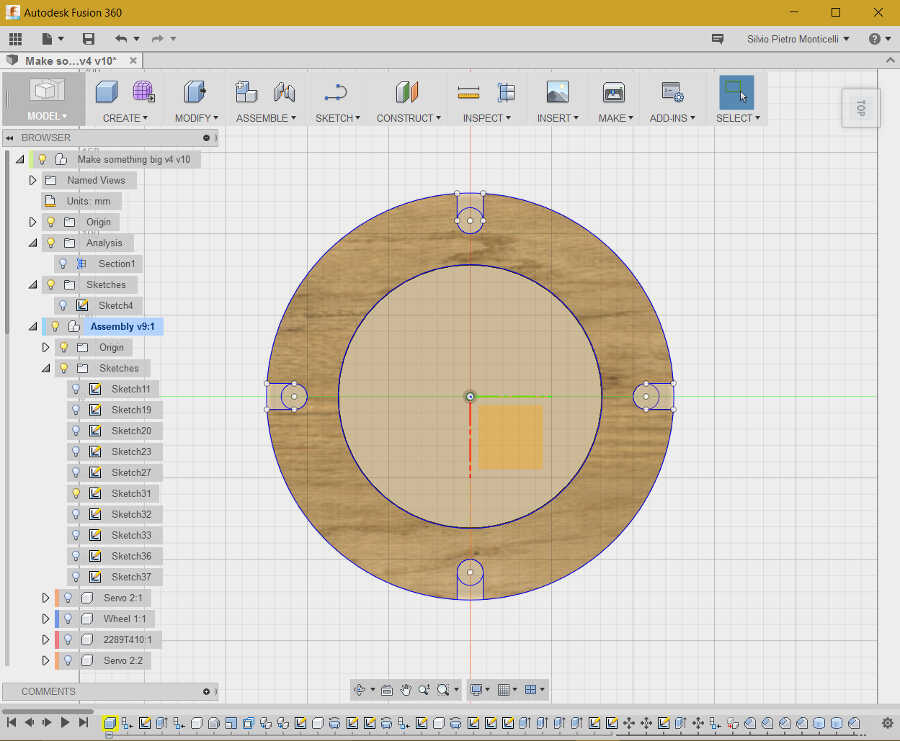
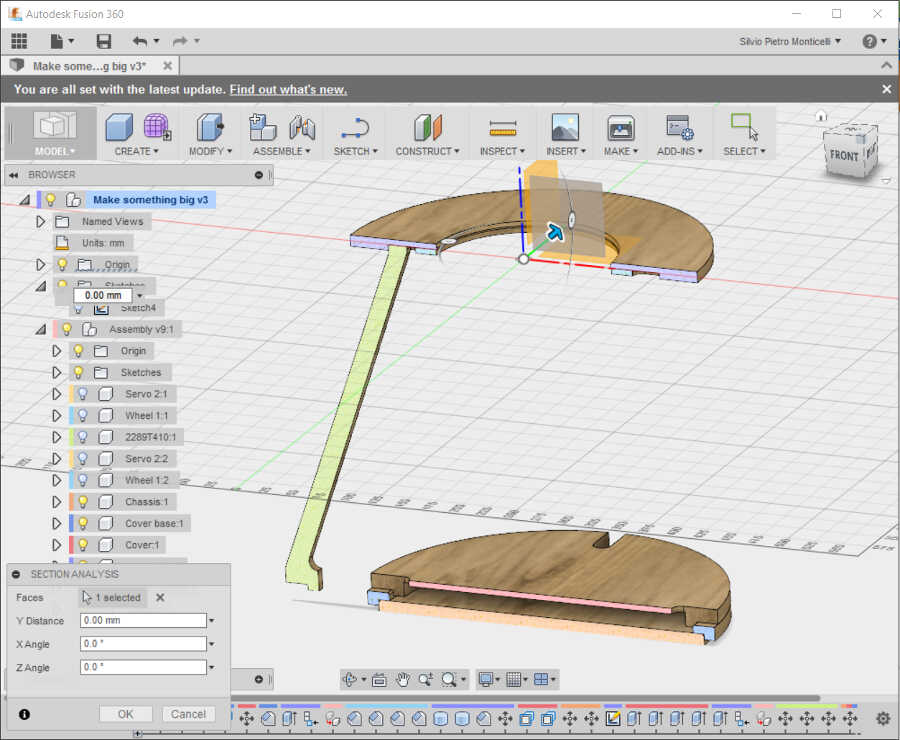
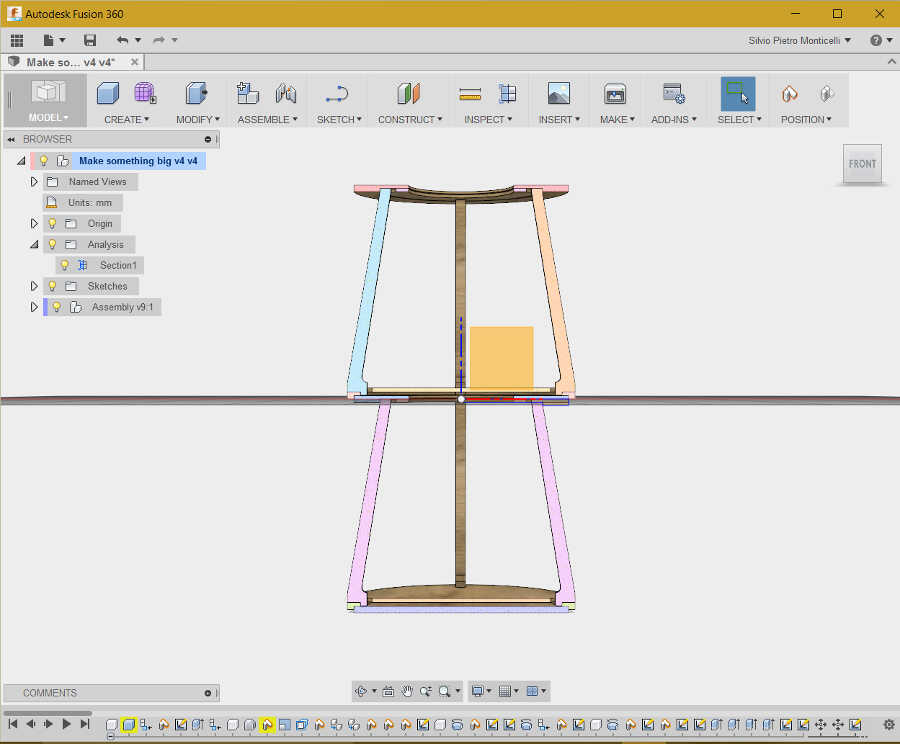
- Section analysis functionality to help visualize the assembly;
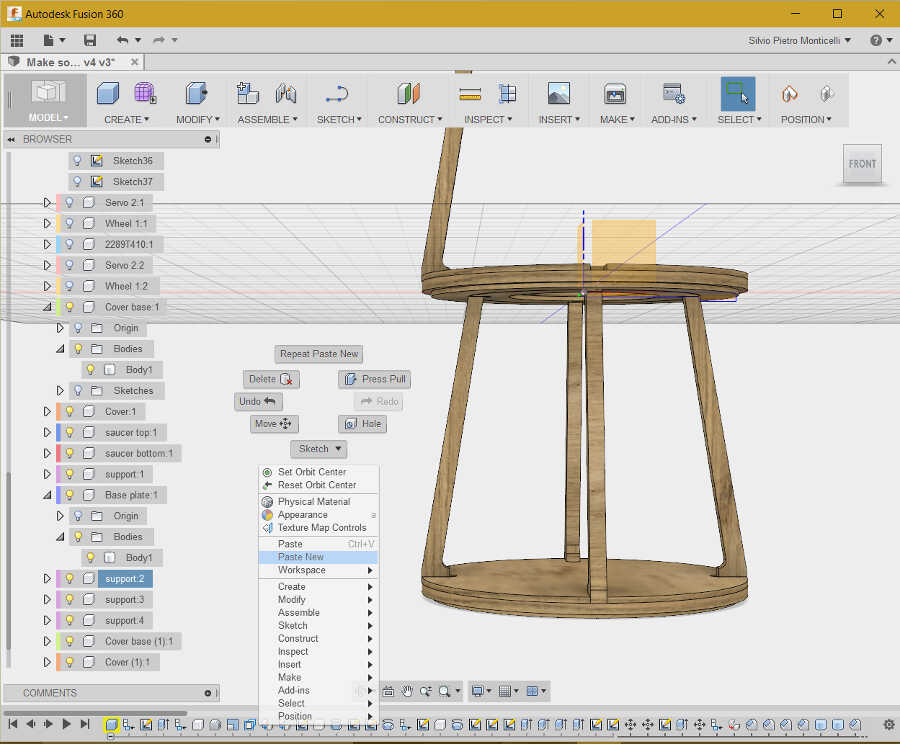
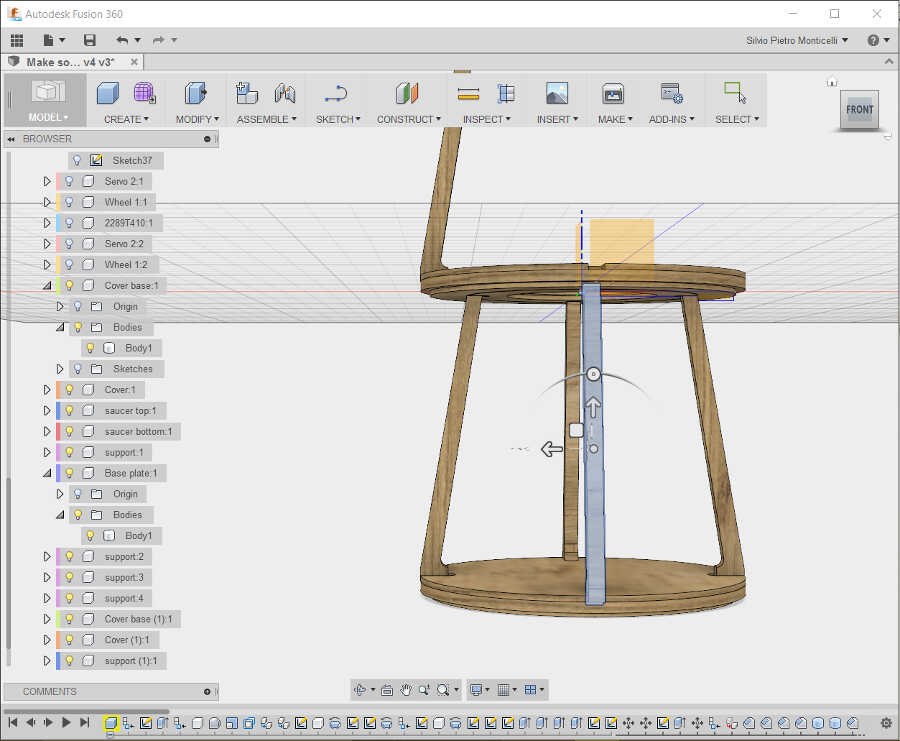
- Copy and Paste new and Move of bodies and components to draw similar objects;
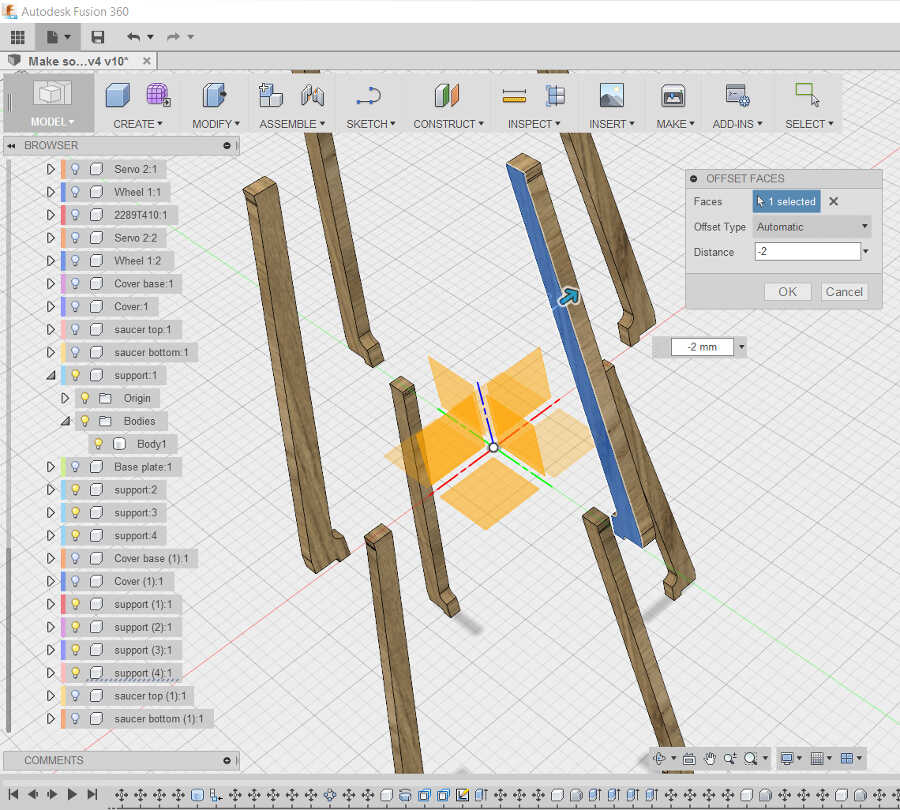
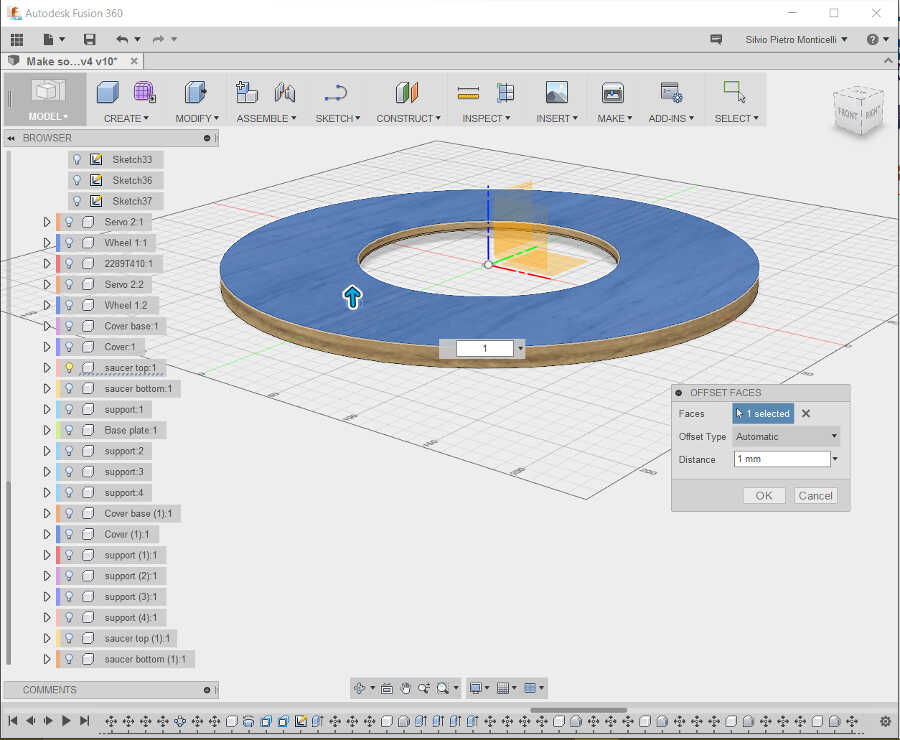
- Offset faces to change the thickness of components (I had made an initial drawing with thicknesses greater than the 12 mm later supplied for the assignment).
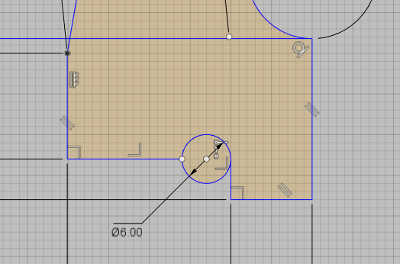
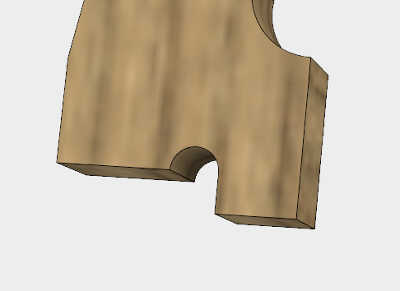
- Use sketches and Press-pull functionality to create body details;
In some of the parts, like the plates supports, I had to enlarge the fillets to grant face-to-face contacts:
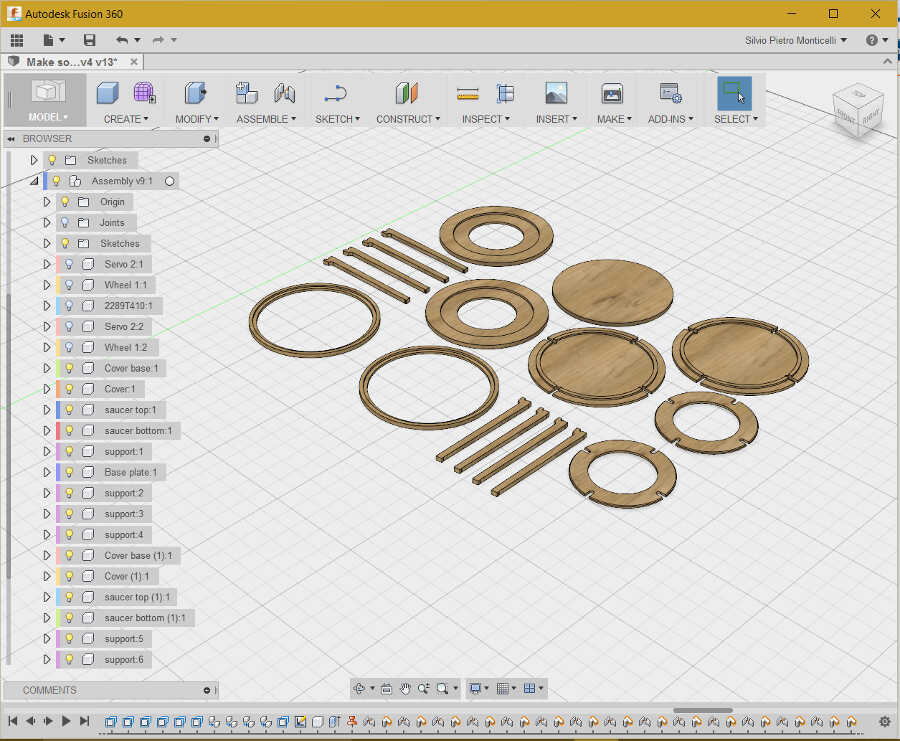
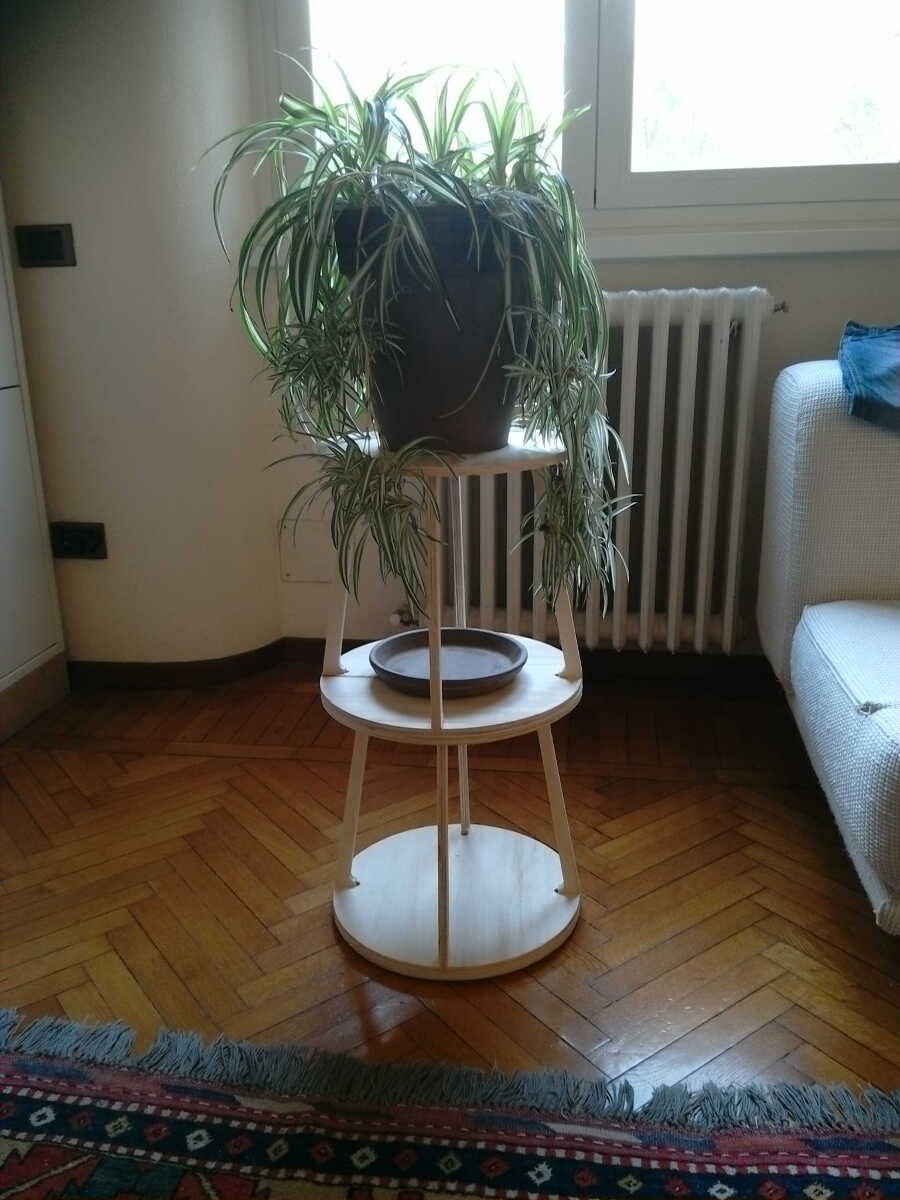
This is the final assembly:
Milling layout
Now comes the setting up of the milling layout. These are the steps I followed:
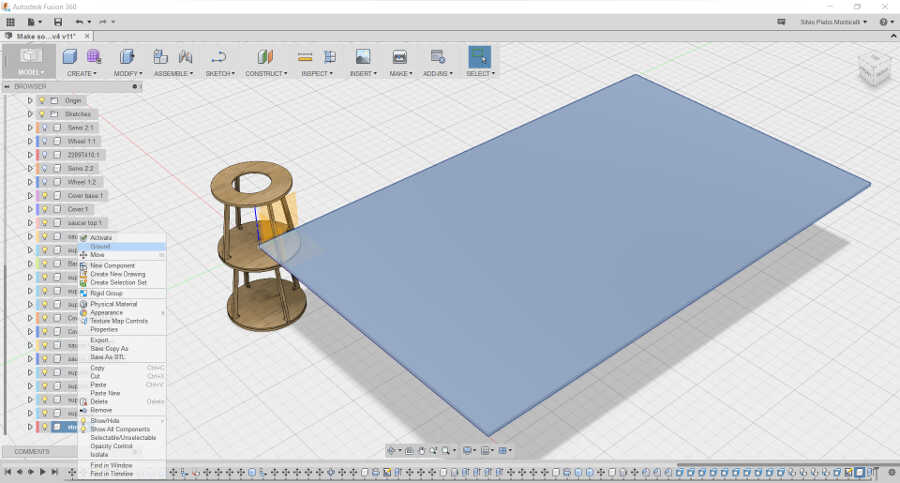
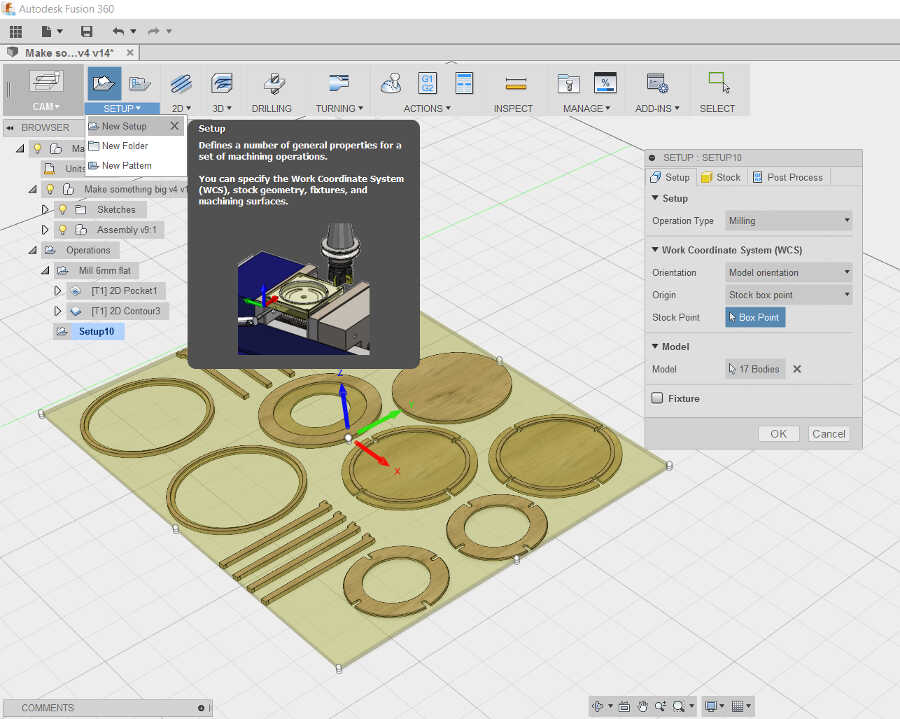
- Draw a plate with the size and thickness of the real board to be machined.
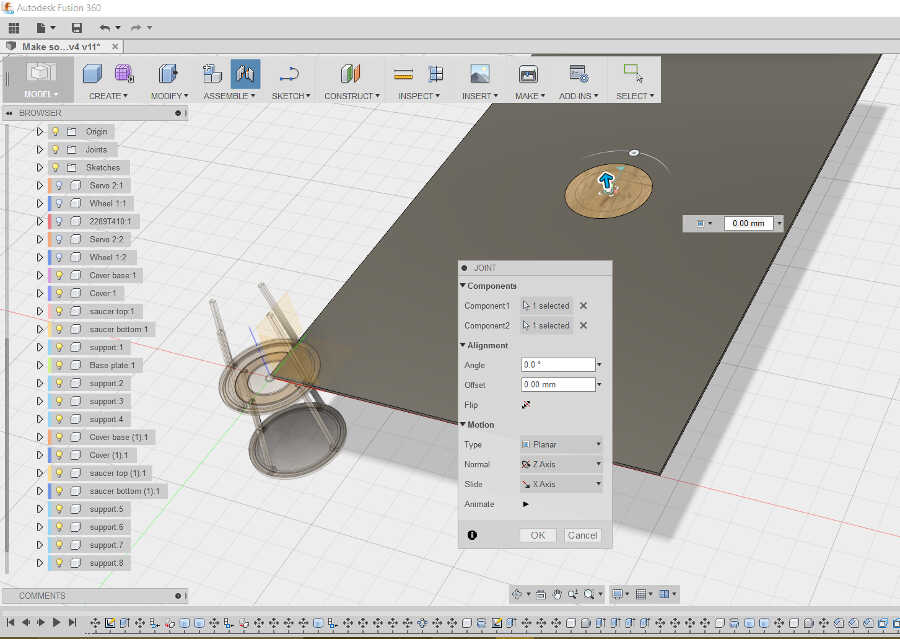
- Drag the different components with the Joint command so that the components lay flat within the thickness of the board.
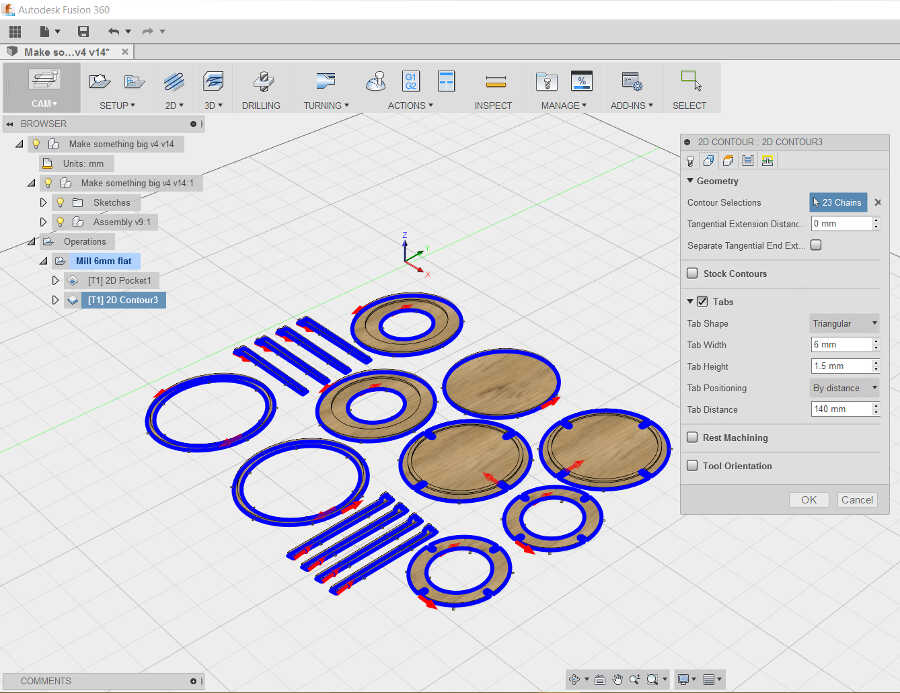
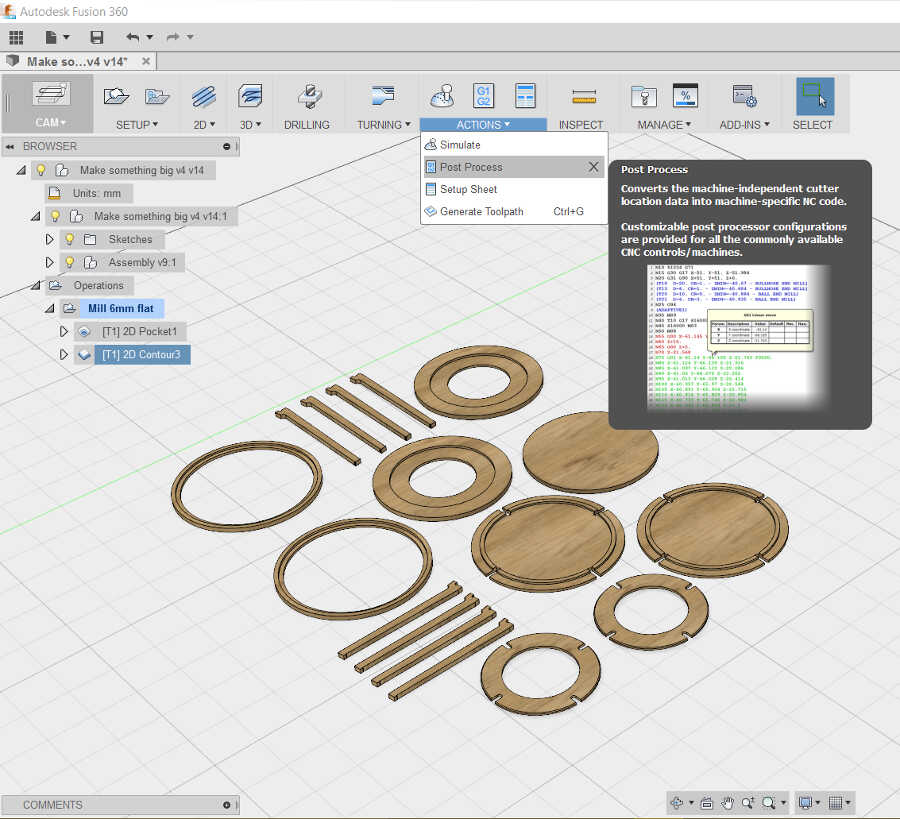
- Once all the components are placed on the board, select the “CAM” workspace and start setting up the parameters of the machining operation.
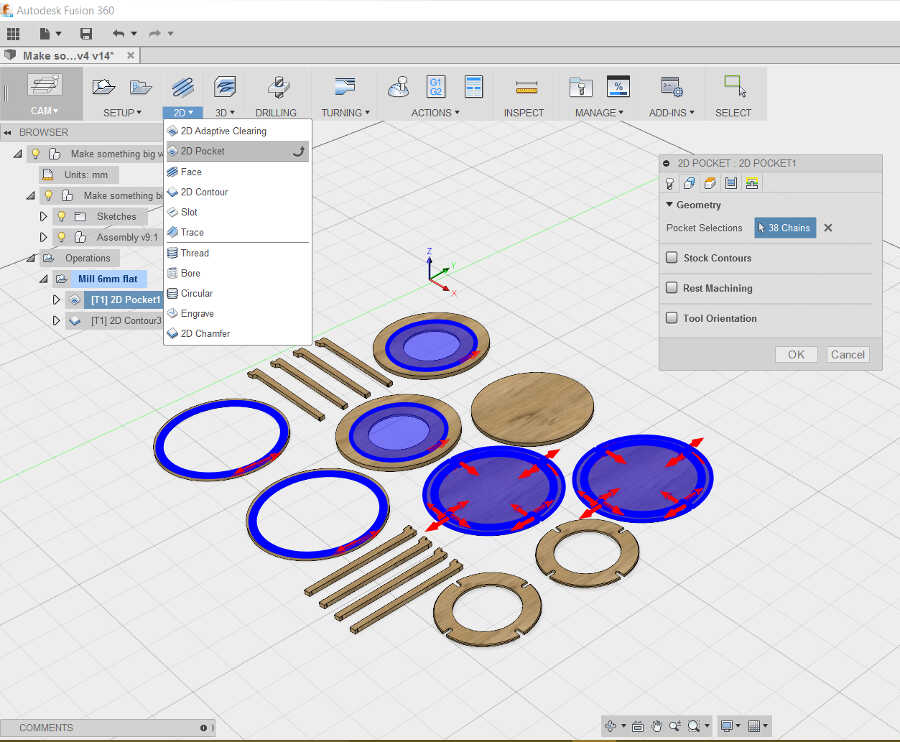
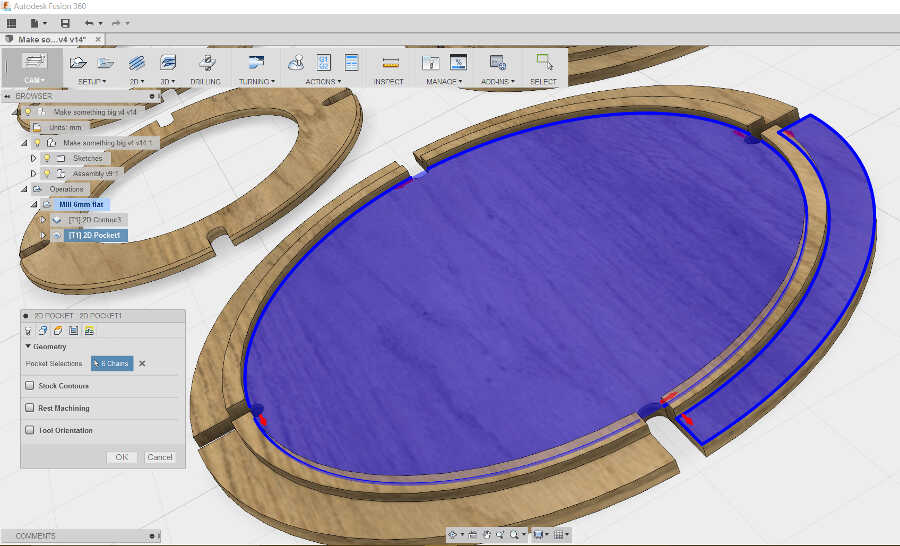
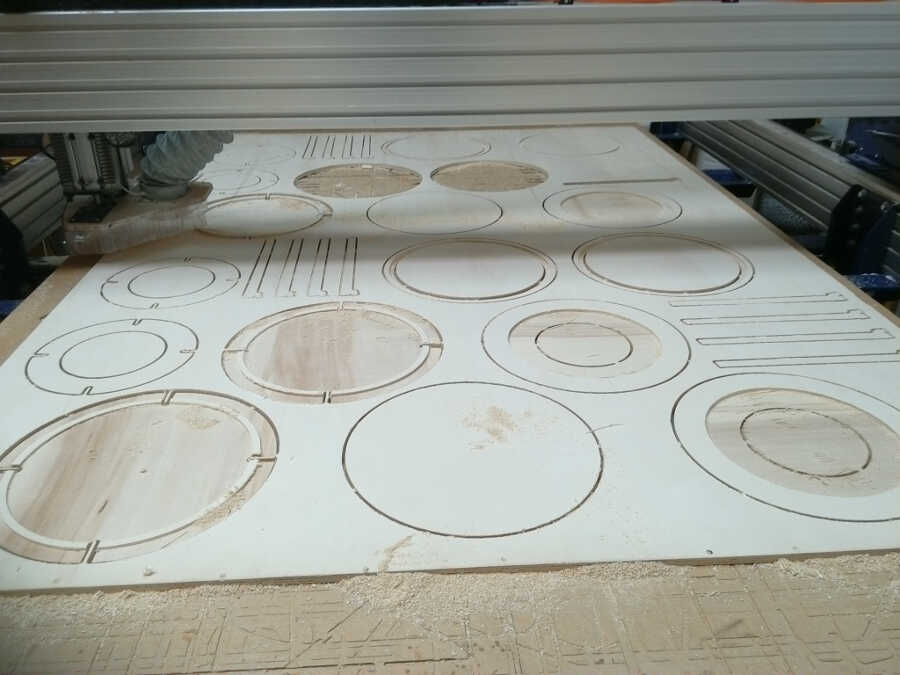
- Create two operations using the 2D menu. One for the pockets and one for the contour.
Make sure the cutting path is on the correct side of each element.
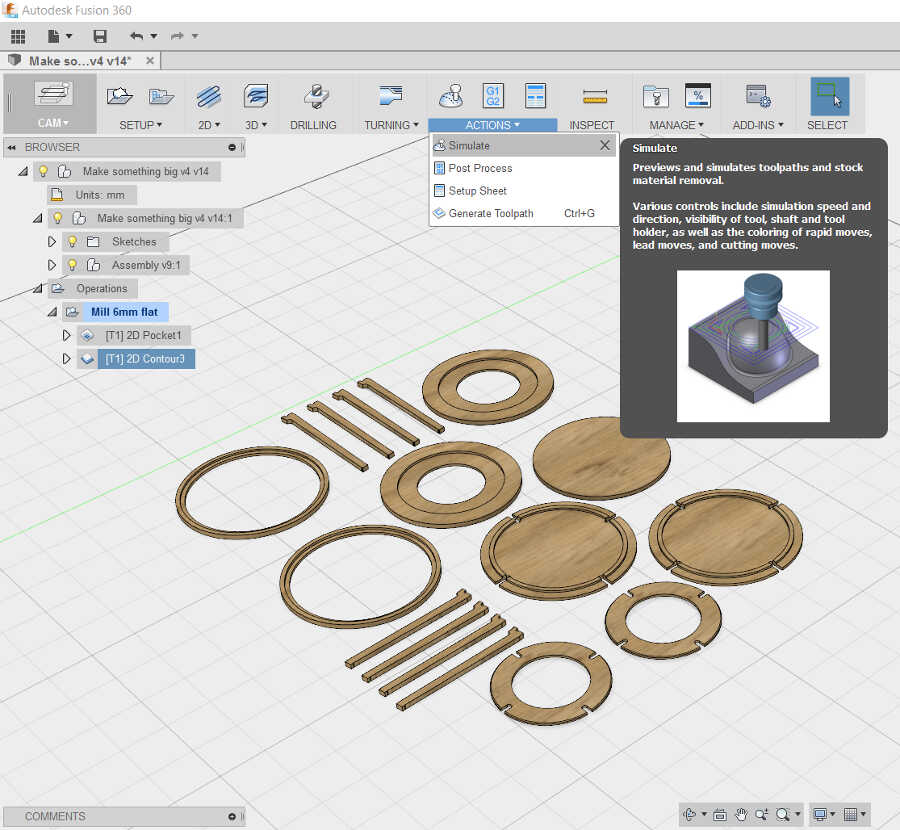
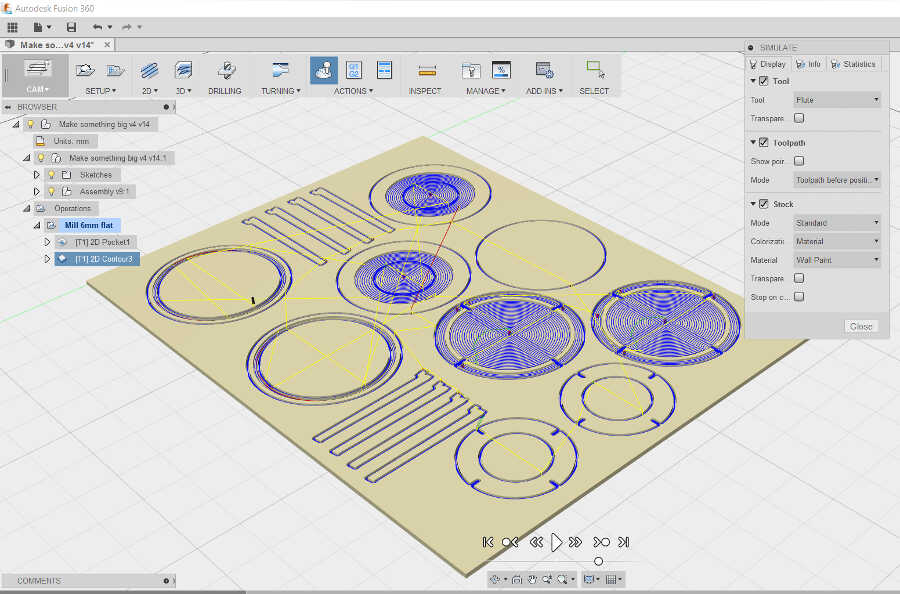
- Simulate the cutting path using the Actions menu/Simulate command.
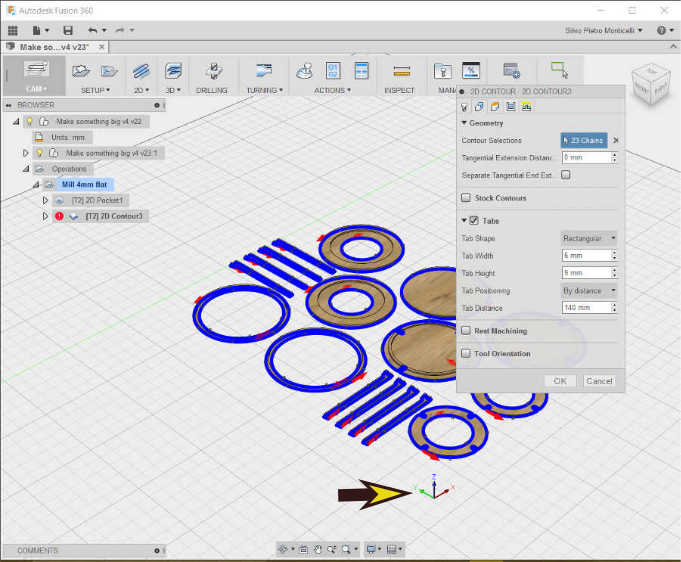
Note. We should be given to tabs size and position. In fact, during my first attempt, I underestimated the correct tab size and they broke off during milling leaving the part free to move while the mill was cutting.
It is also important to set correctly the origin of the path, considering the axis orientation on the machine.
- Create the G code for the entire operation using the Actions/Post process command.
I uploaded the code on a USB key and opened it up with the Shopbot program on a computer linked to the machine.
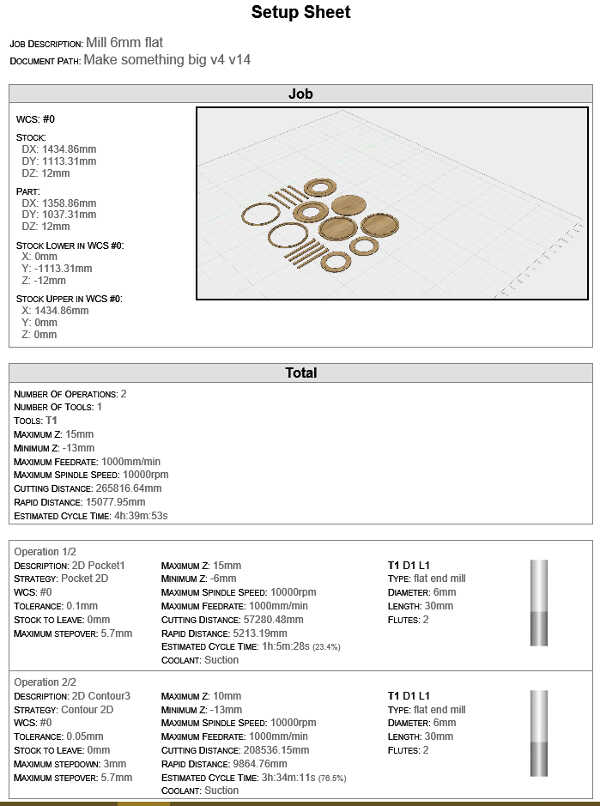
- Eventually, it is possible to create a summary of the operation using the Actions/Set up sheet command.
Here's the link to the Autodesk A360 page (e-mail needed for download): Make something big.
The file can also be downloaded at this link (no e-mail needed): Make something big .step
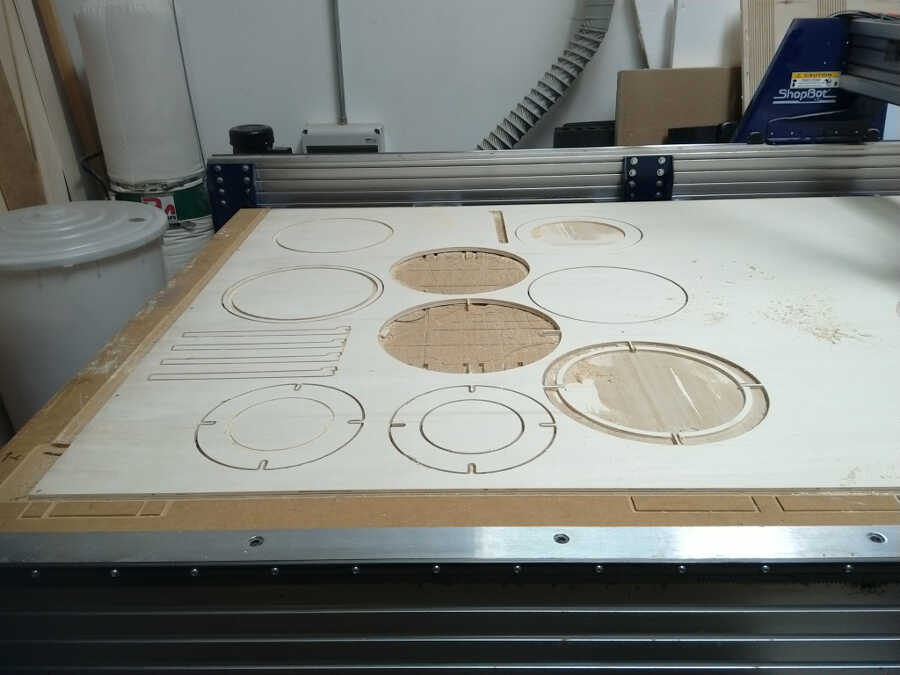
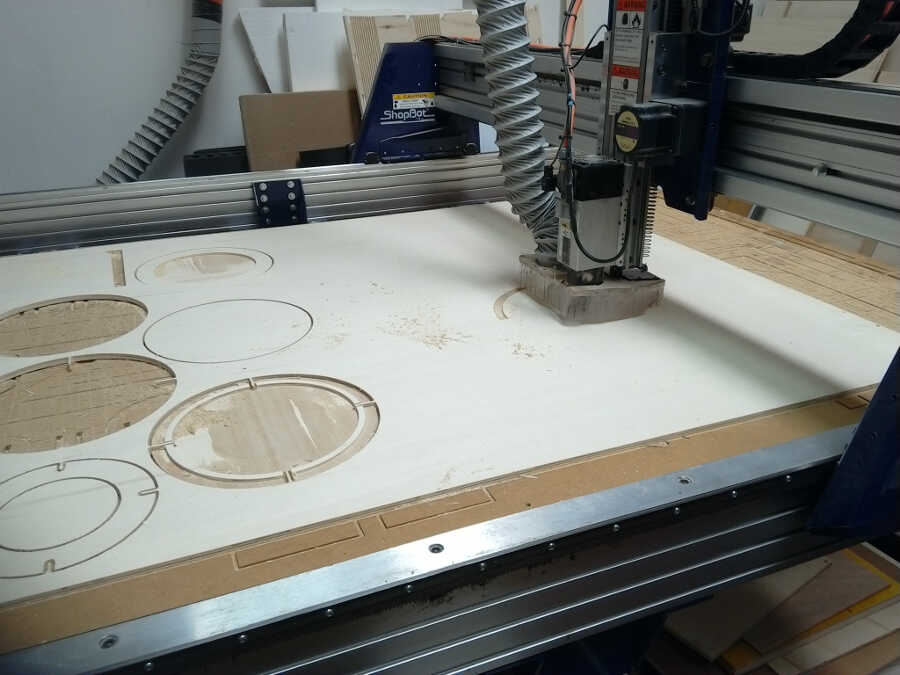
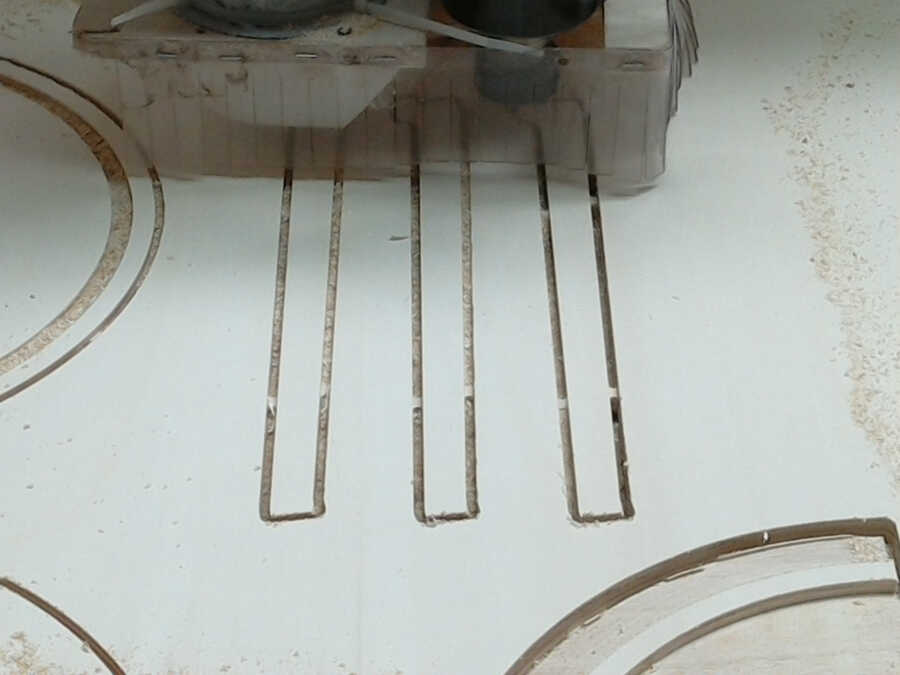
Milling
Here we go now to the milling operation.
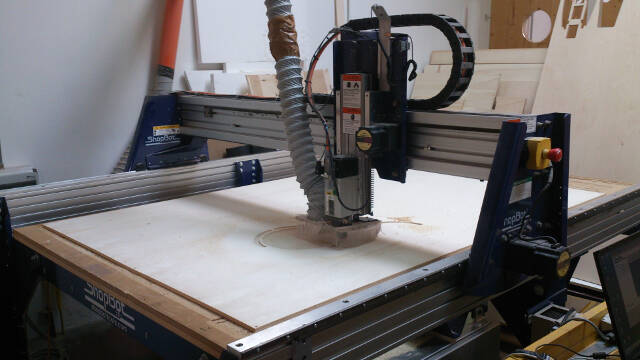
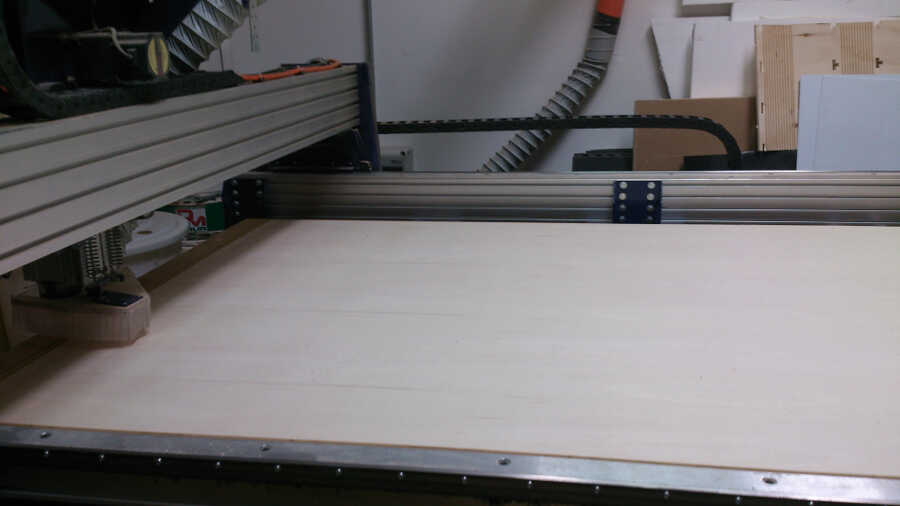
The machine available at Opendot is a Shopbot PRSalpha 96-60.
I used a 4 mm bit, single fluted.
The stock was screwed down to the base plate and the bit zeroed to the origin.
The cutting parameters were set at 10.000 rpm for the mandril and 2’’/second for the cutting feed.
Let’s start!