Raster, vector, 2D
I have been using raster and vector design tools in setting up the personal web site.
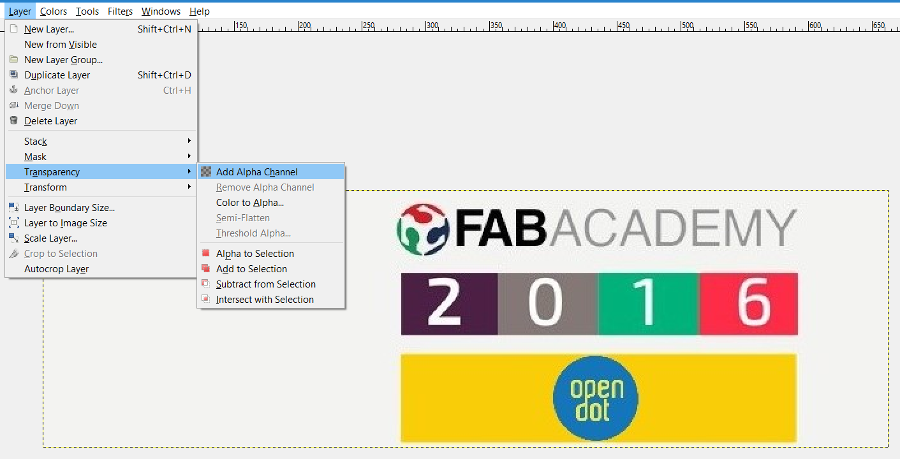
I have been using GIMPI to resize images and add borders. I have also played around with the layer concepts, adding an alpha layer for transparency and making transparent some parts of a picture:
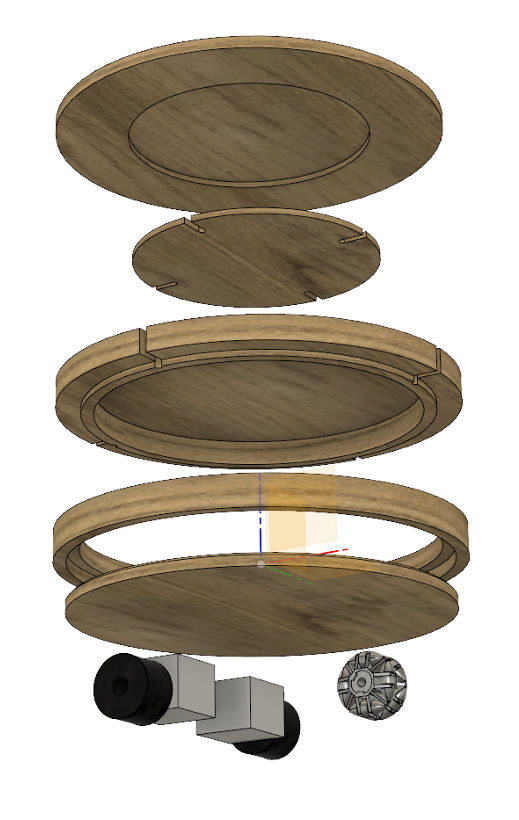
I have made sketches of the possible final project (check the project section) using Open Office Draw, which is identical to LibreCAD. Here's the link to both the .gdraw and .svg files: Grass sketch .gdraw; Grass sketch .svg; Grass stand exploded view .gdraw; Grass stand exploded view .svg
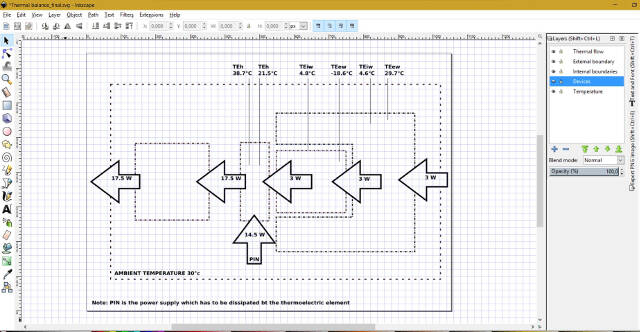
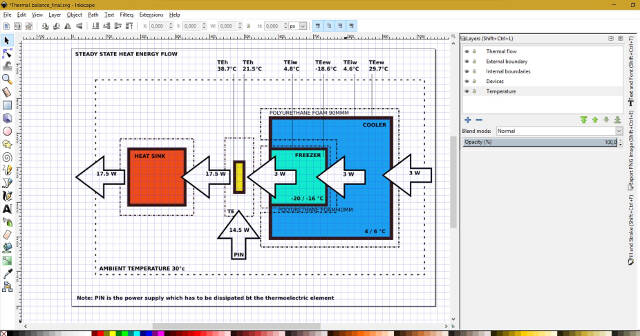
Besides quick sketches, I find 2D Vector software particularly useful for drawing process flow diagrams. This is an example I made using Inkscape for the final project: Thermal balance _final .svg
Inkscape overview
I focused on Inkscape and its functionalities in order to be able to, besides making sketches and drawing flowcharts, easily make any type of remark on images, which is essential when you are documenting your work.
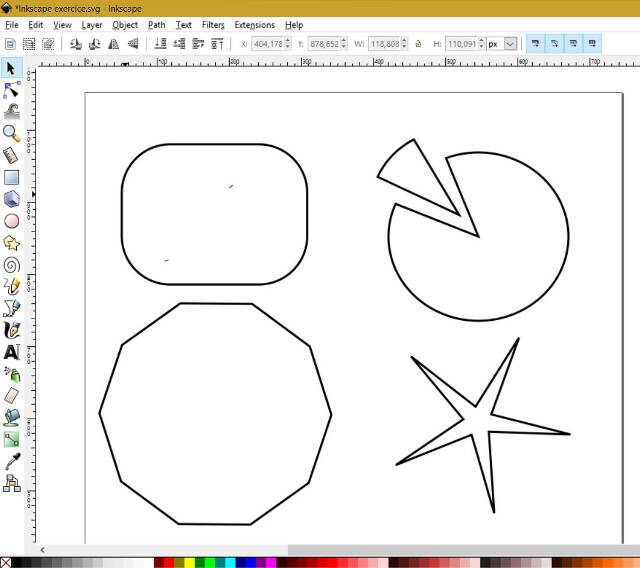
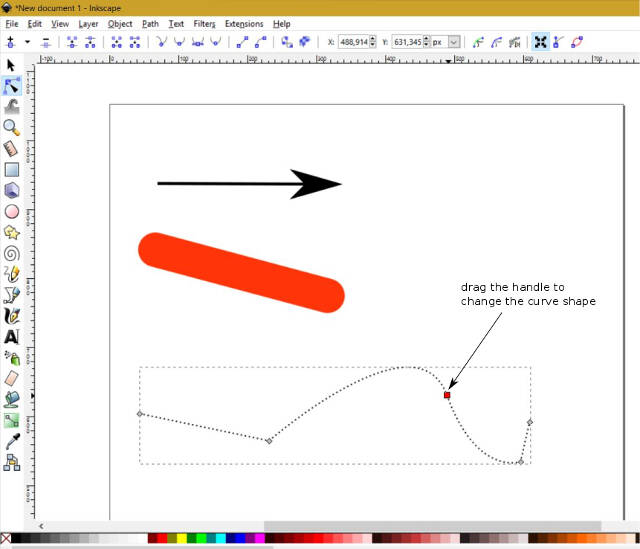
Drawing objects
Inkscape let’s you easily modify the size, shapes, corners of objects like squares, circles, polygons, lines by moving handles. You can also quickly draw pie-chart sections.
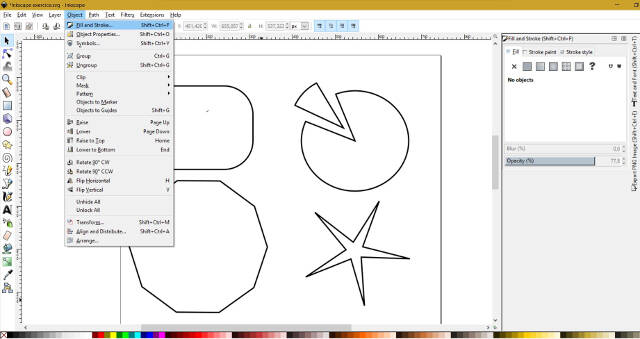
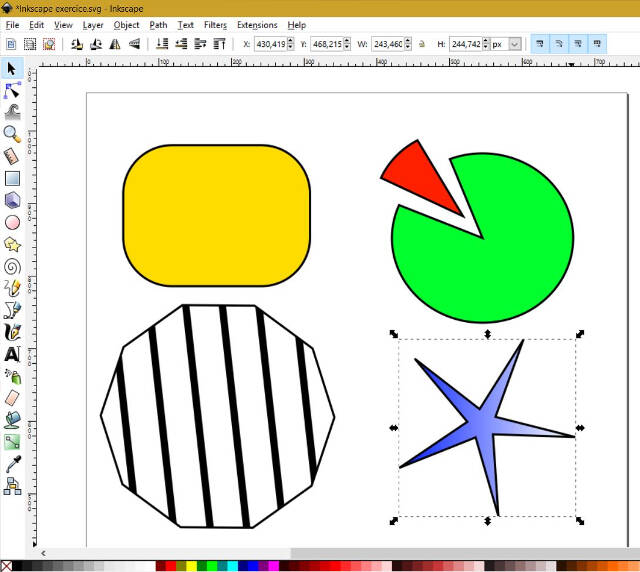
Formatting
The Fill and Stroke tool lets you easily format the object: fill and stroke color and pattern.
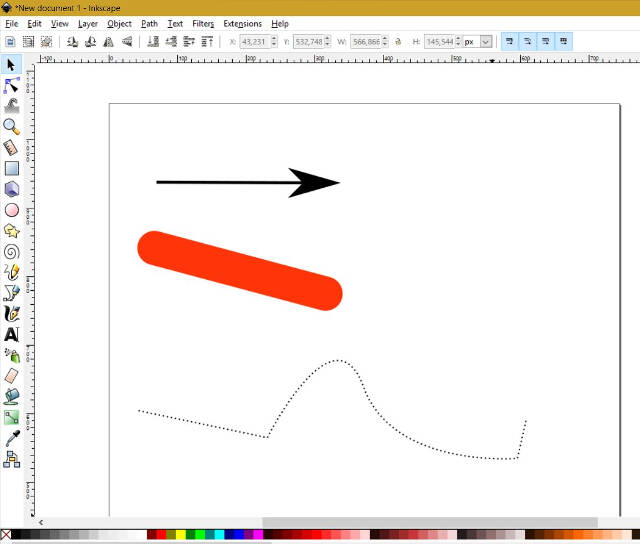
Lines
The ability to draw lines of different shapes and formatting is particularly useful if you need to highlight parts of an image.
Text
A wide range of functionalities are also available to write and format text: family, style, size, alignment, direction and all the fill and strike functionalities.
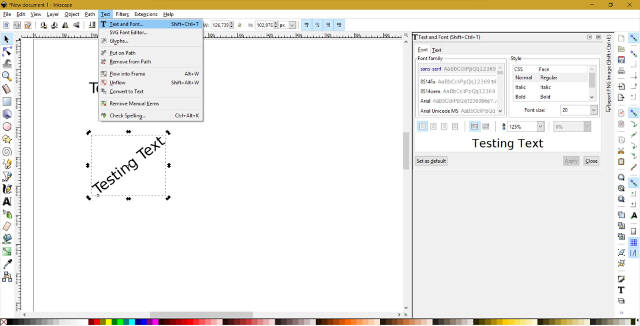
An example of remarks over an image.
Layers
Inkscape lets you place objects in layers so that you can work with group of objects. For example, in the Thermal balance flowchart above, I placed shapes in different layers according to the concepts I needed to illustrate: thermal flow, external boudary, internal boudary, devices, temperature. This helped me conceptualize the drawing layout.
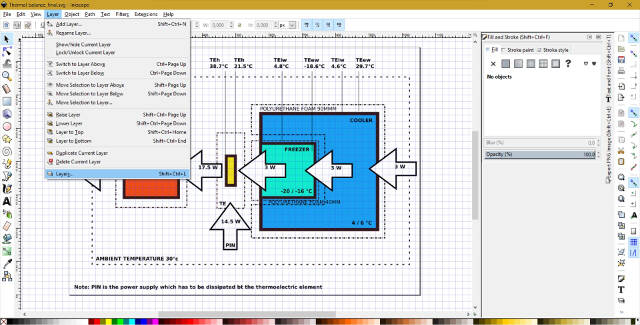
Hiding devices.