Electronic Design
- Index
- Getting started with Kokopelli
- Making of Attiny 45 using Kokopelli
- Process Outline
- Download original files
Getting started with Kokopelli
Installing Kokopelli
To install Kokopelli I used the following tutorial to setup Kokopelli on my BOX.
Getting exposed to Kokopelli
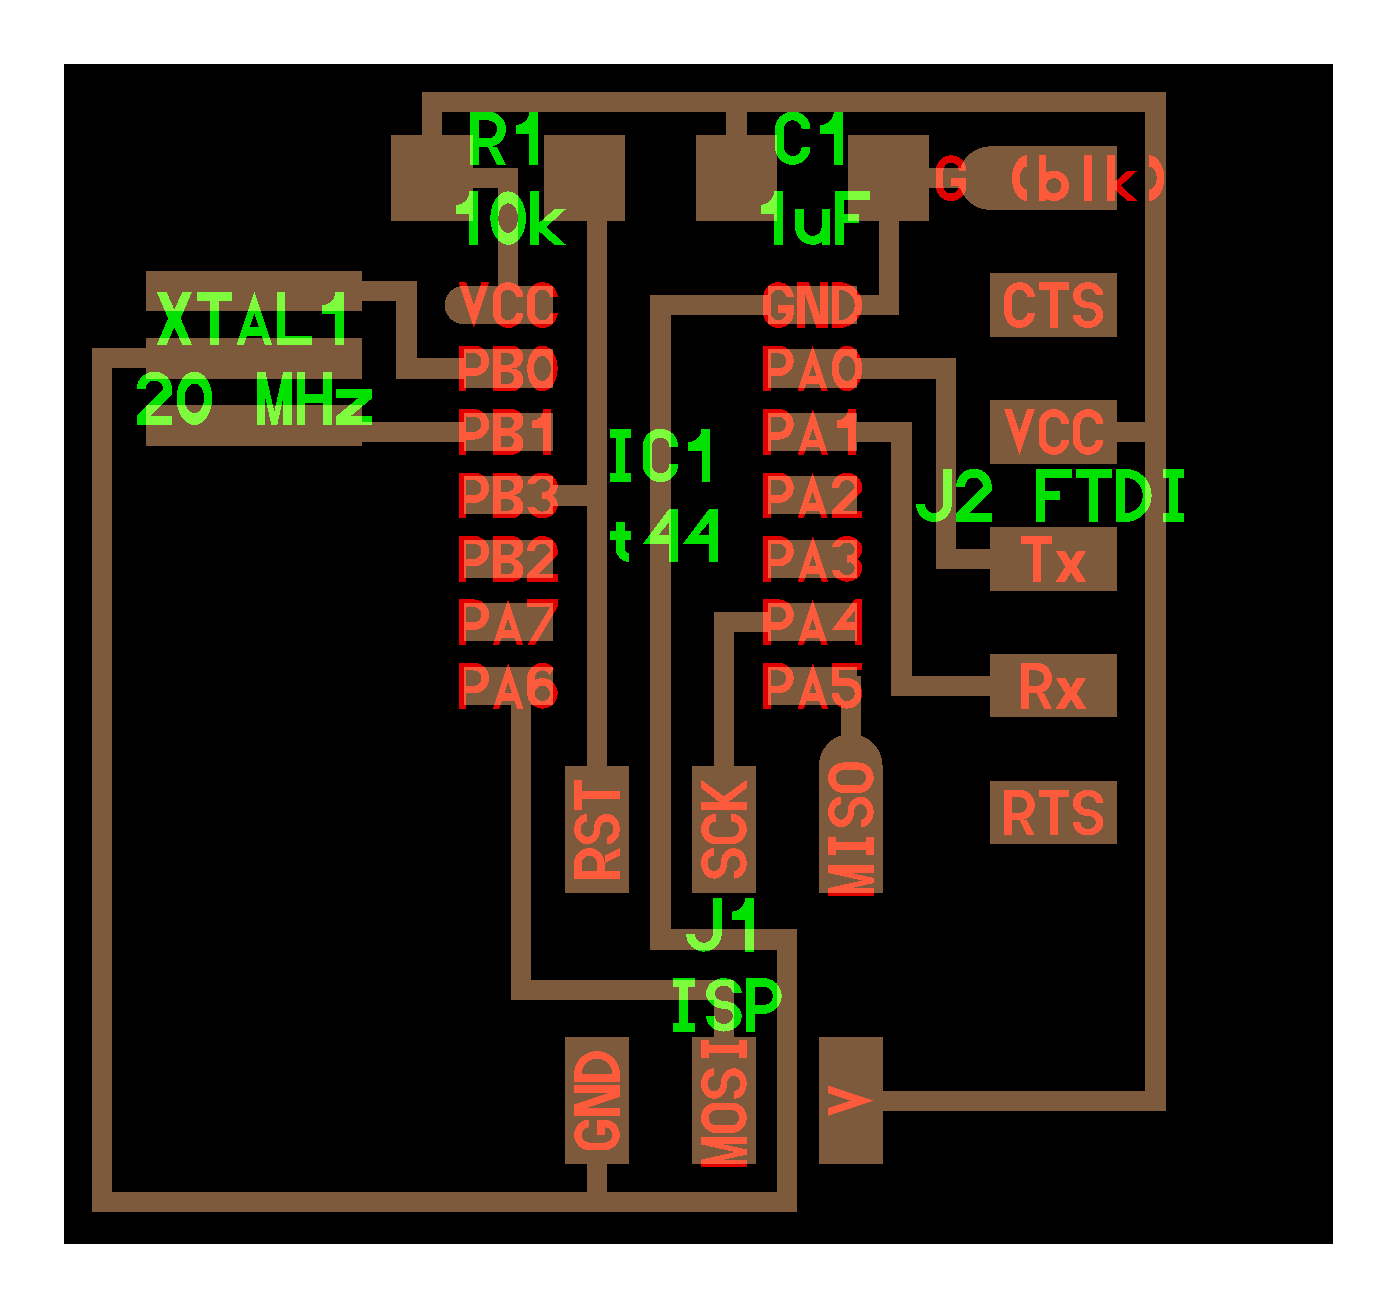
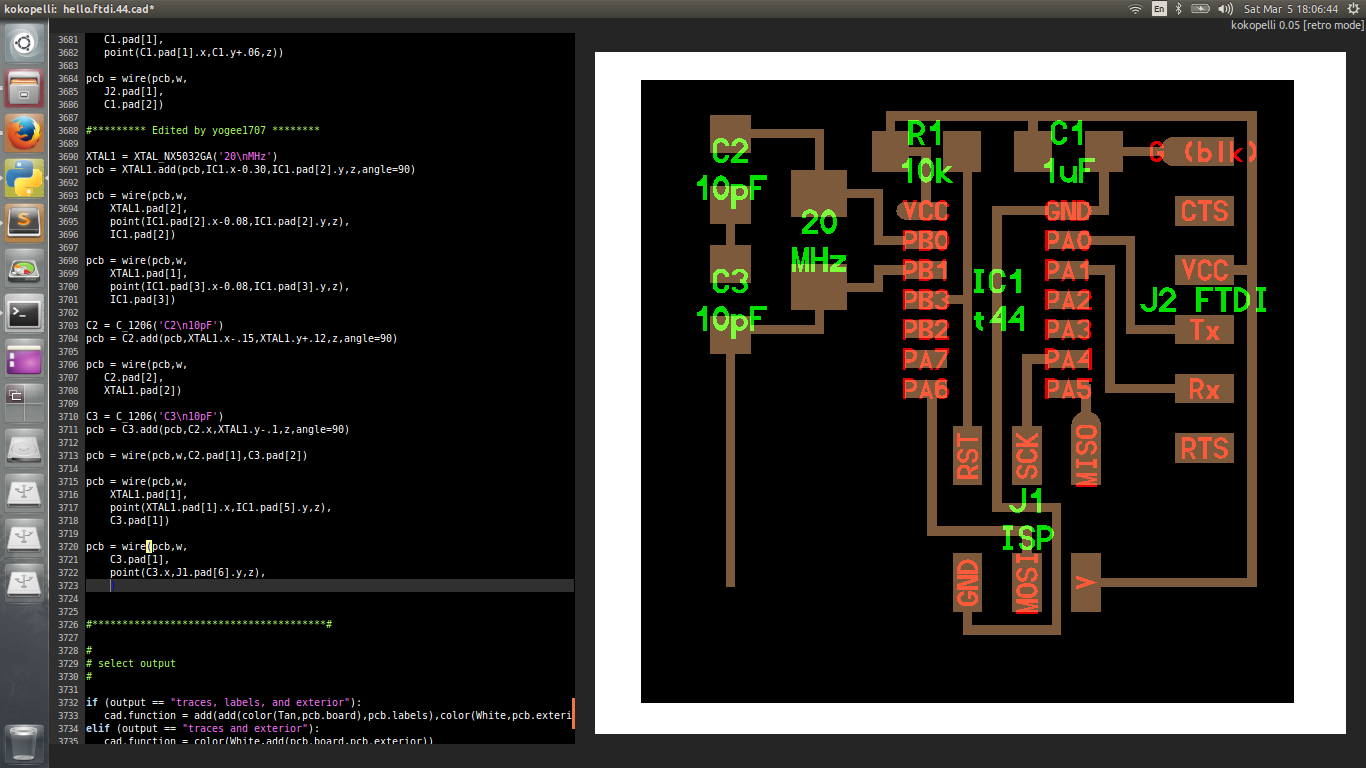
To get families with Kokopelli I've used the board Which I got from class page of this week! hello.ftdi.44.cad
The board look like this!
As our supplies for resonators are short we decided to change the resonators with the crystal oscillator. Which demands for the two extra capacitors and crystal itself.
My efforts
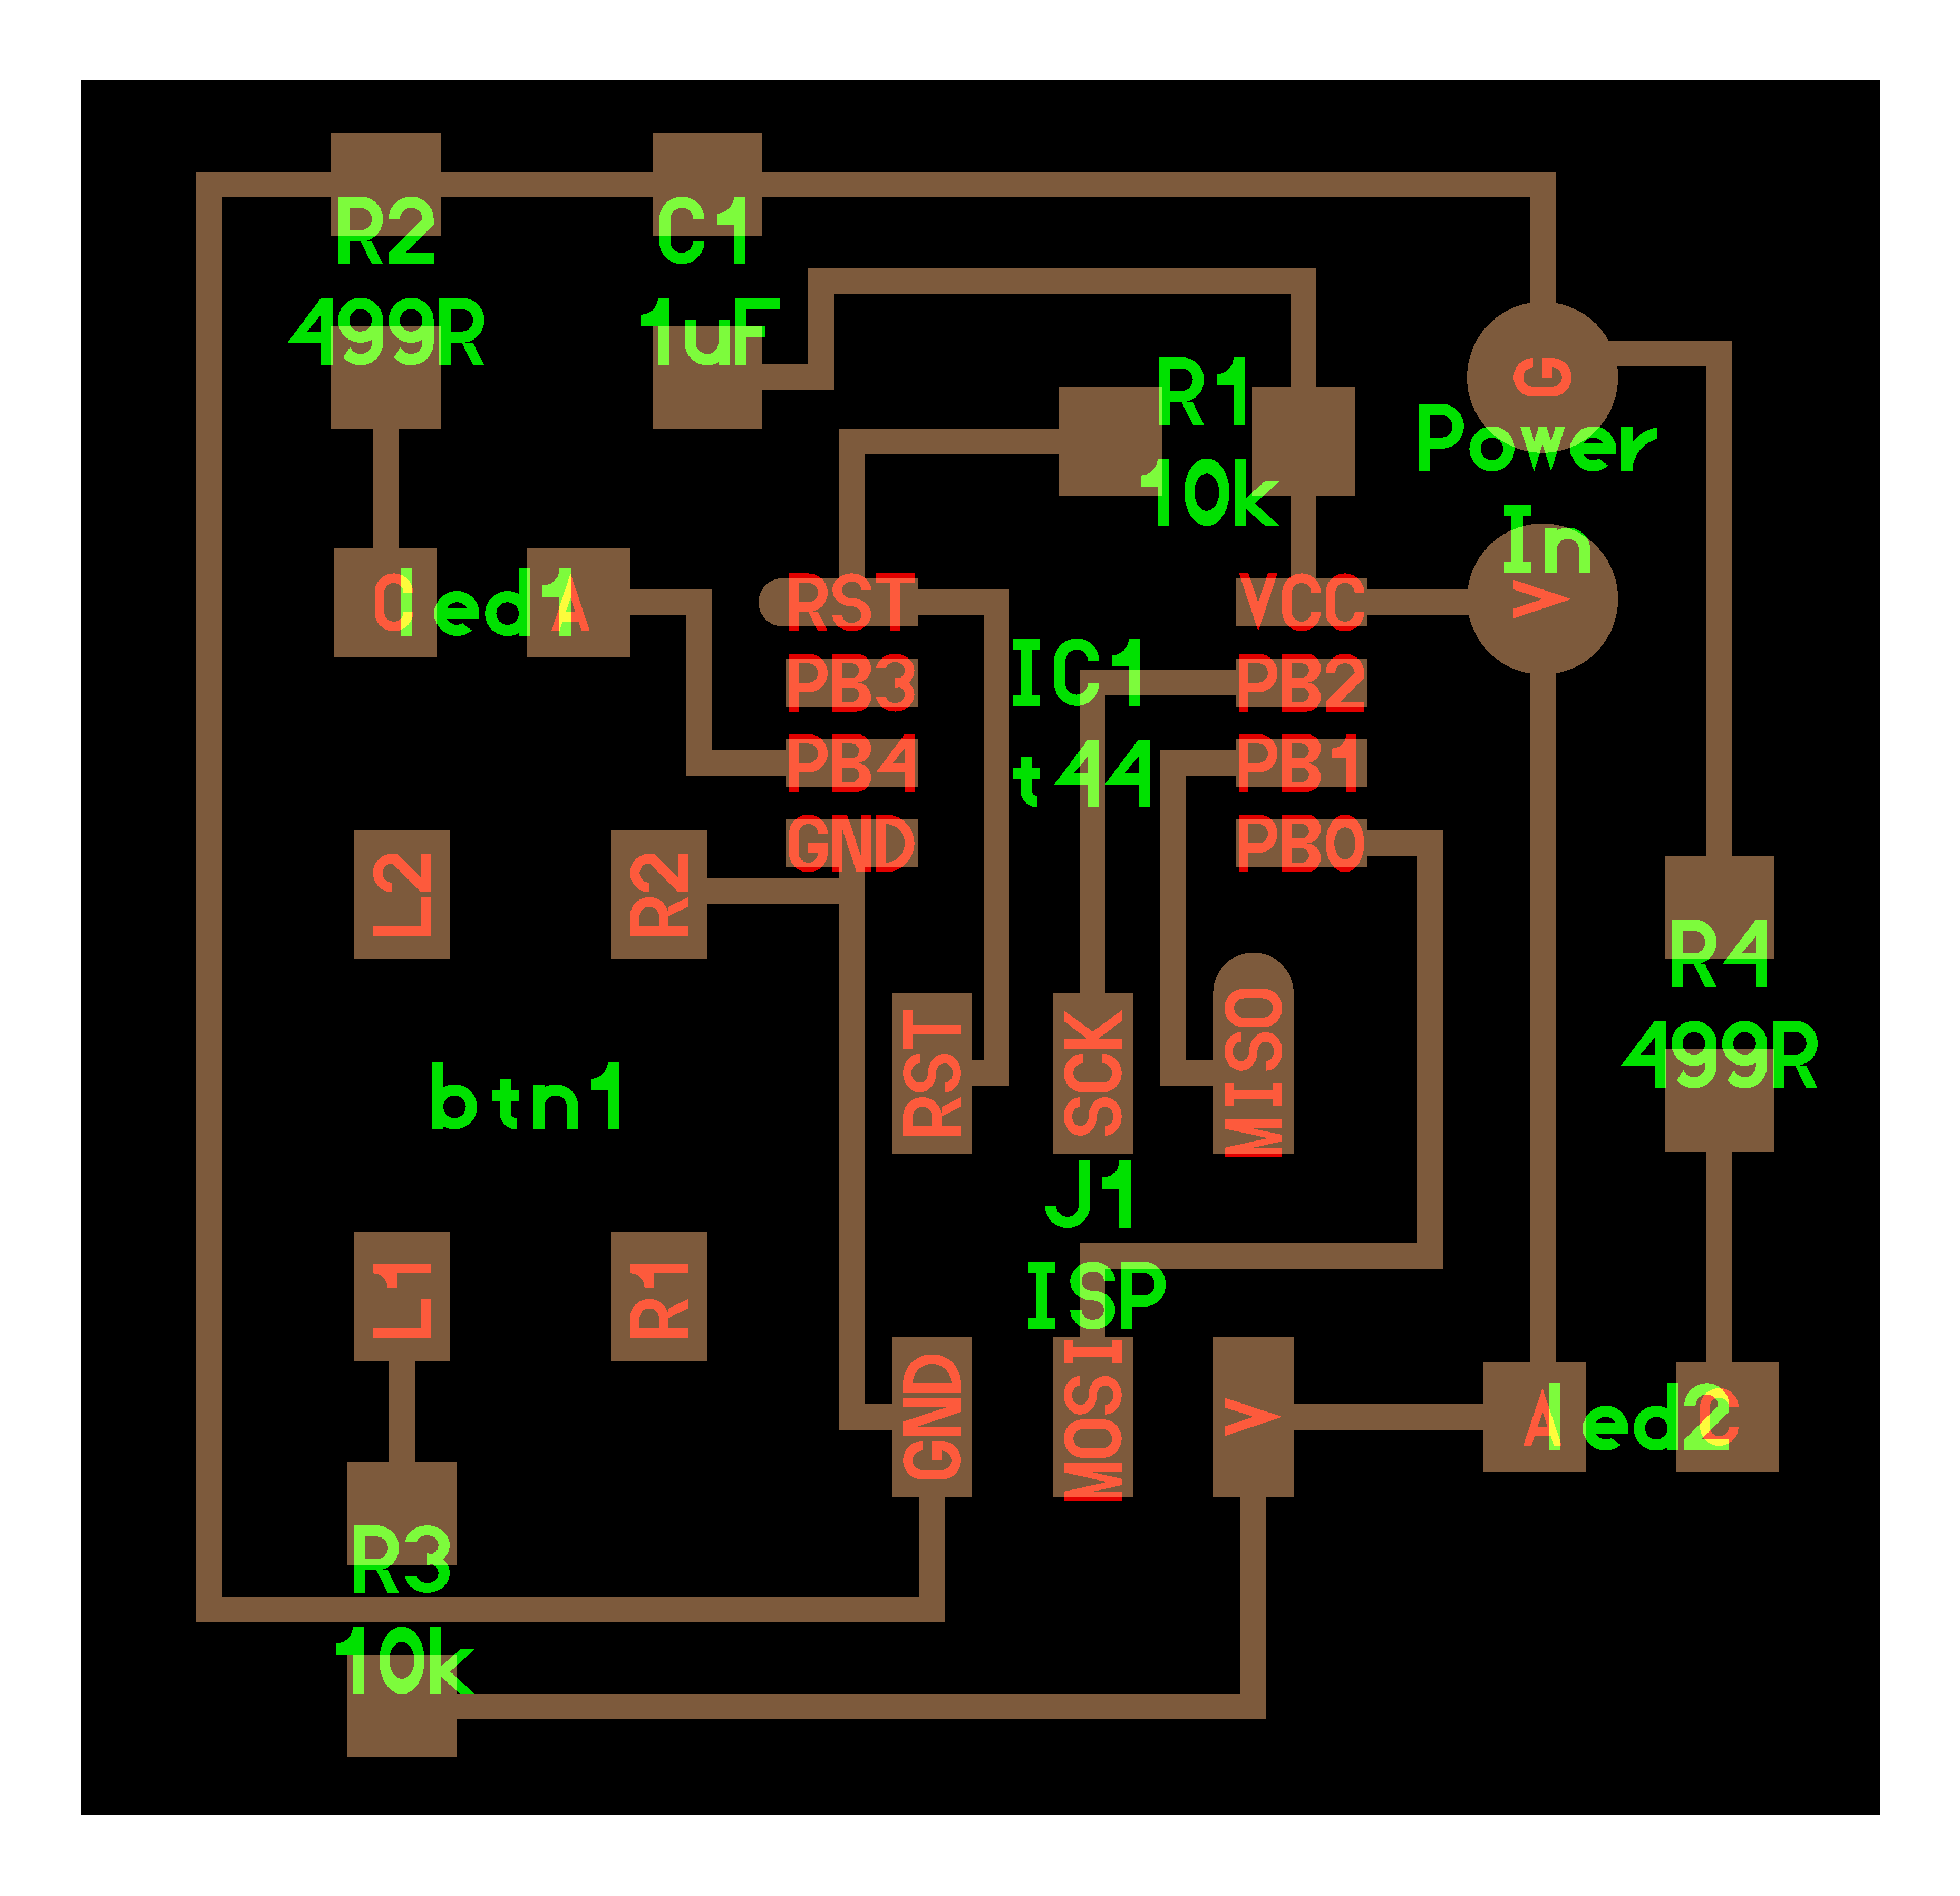
To learn about Kokopelli I thought of modifying the existing board. Modifications
- Replaced resonator with crystal
- Added one LED for power indication
- Added extra LED for debugging purpose
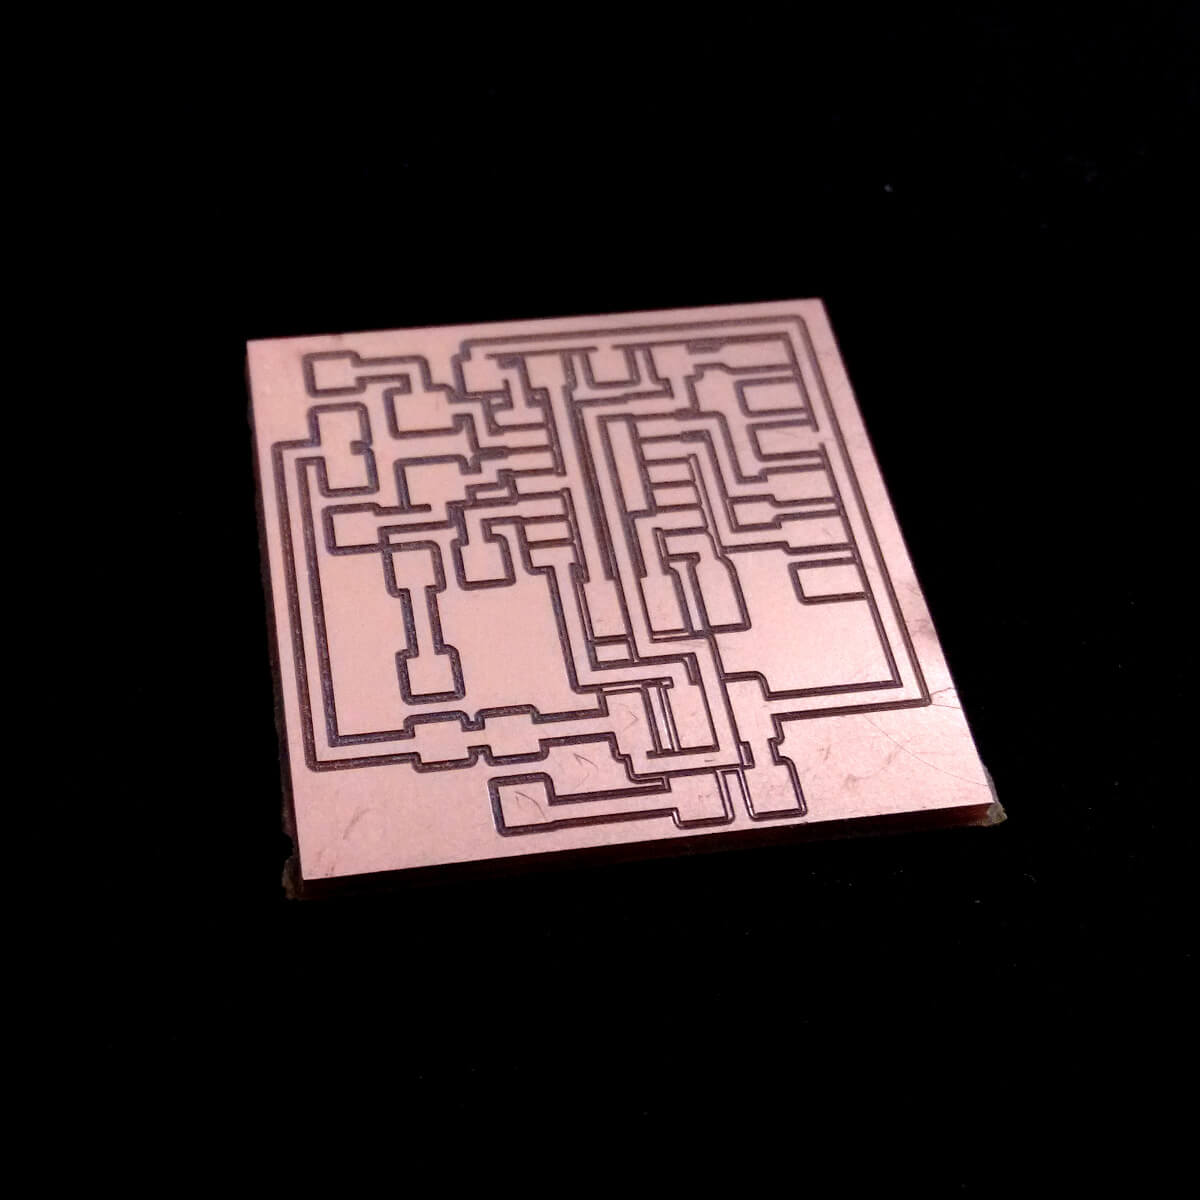
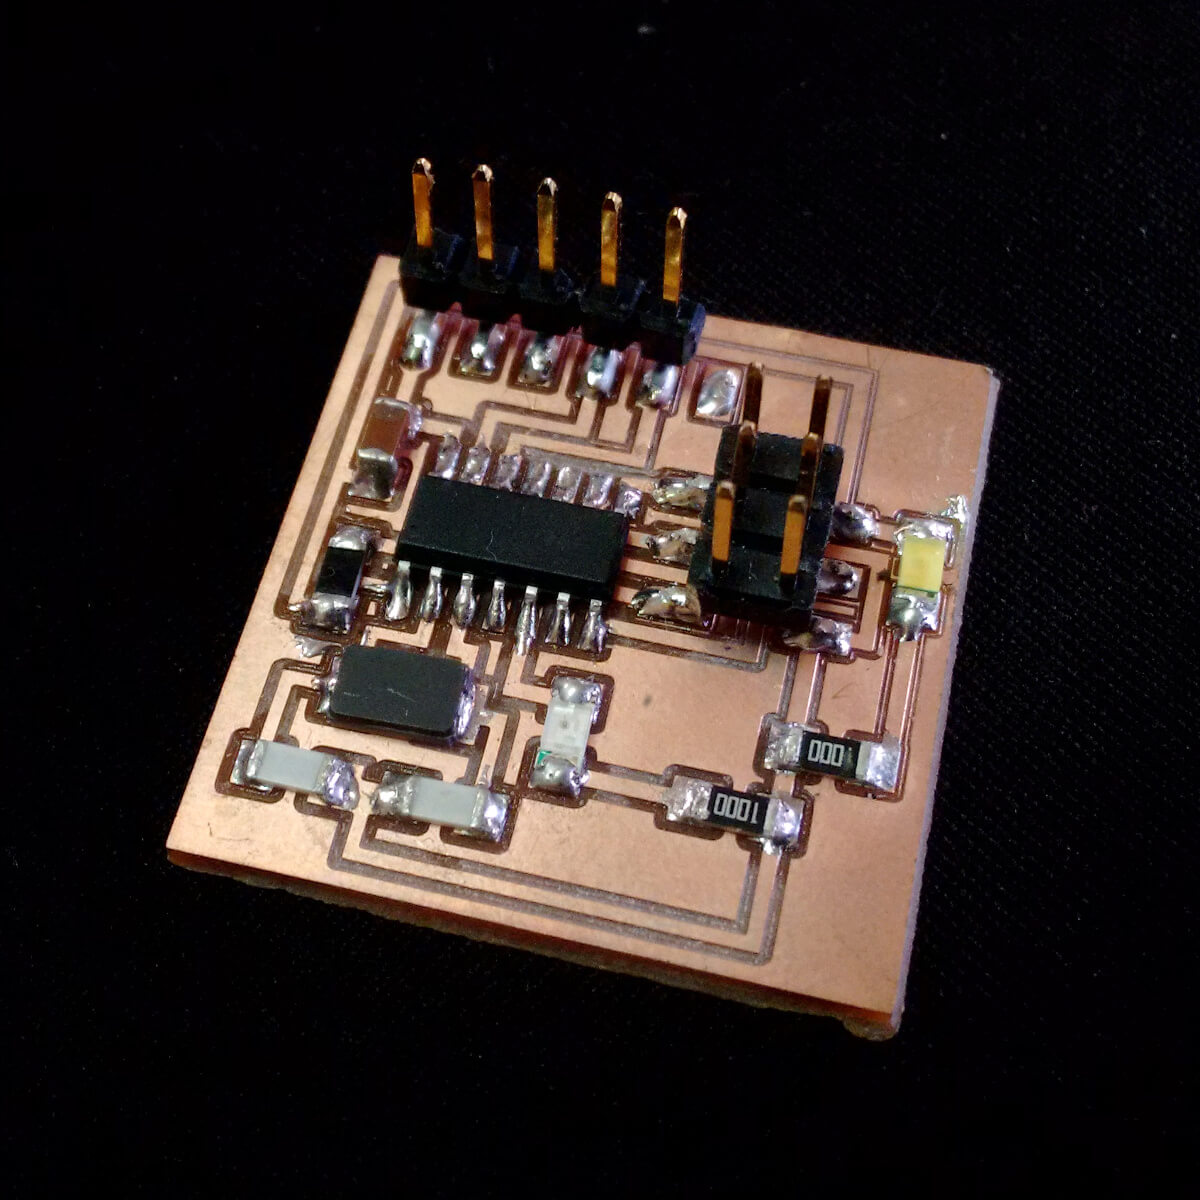
My board looks like this

I milled the board using Modella-MDX20
Making of Attiny 45 using Kokopelli
The purpose of designing the board with the Attiny45 is to have basic interaction with Kokopelli. As this tiny has got 8 pins only. So, the learning curve will get less steep.
Process Outline
- First I've decided to have components
- Micro-controller (i voted for Attiny45)
- LED
- Switch
- Reading data-sheet for Attiny45 and listing out minimal components needed.
- I opened up new file in 123D circuit to help me visualize the position of each of component.
- Primary placement I did exactly like 123D Circuit and later if needed I tweaked them in Kokopelli as and when required.
Routing with Kokopelli
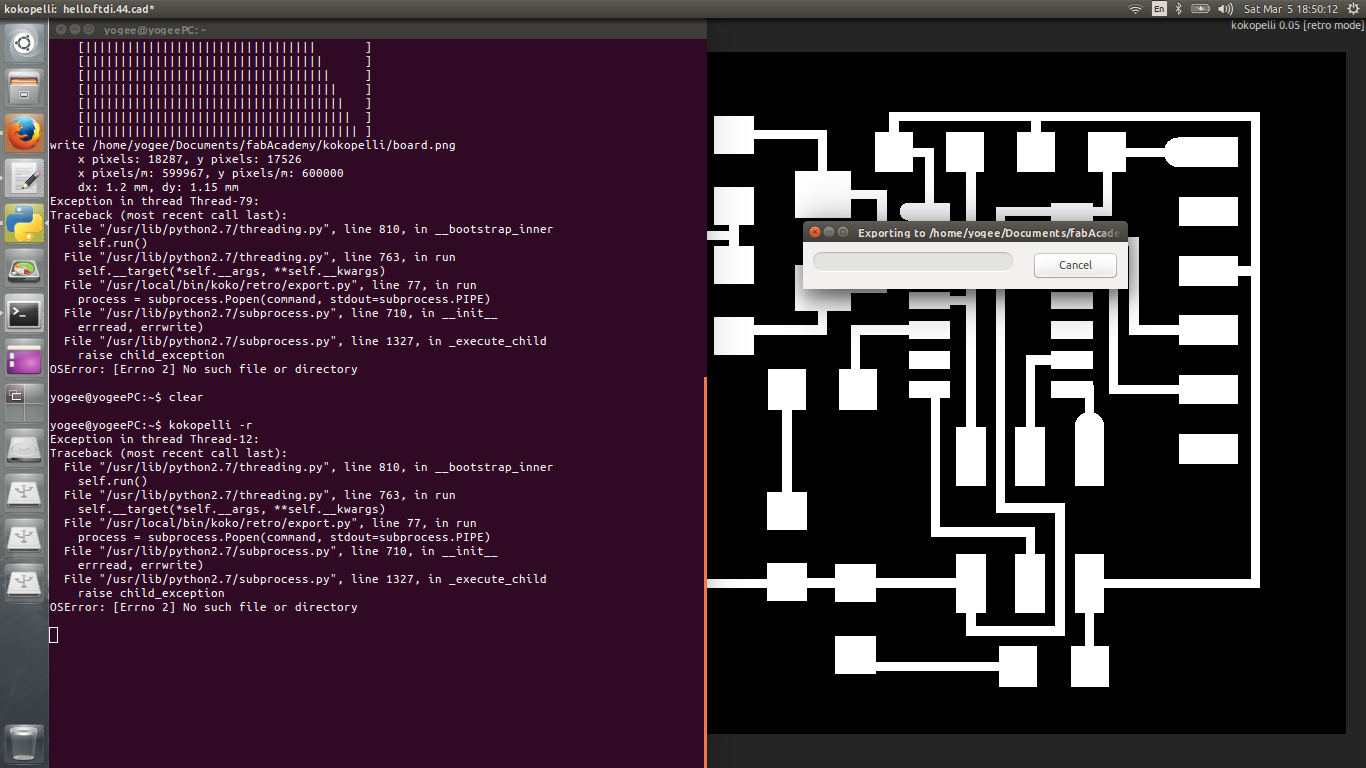
Errors and Troubleshooting
Download original files
hello.btn.45.cad || hello.ftdi.44.cad || my.hello.ftdi.44.cad