LASER Cutter
This assignment is the later step after towards the actually making the things once you finish with the designing part. When you actually do the things on computer you can make them look as real world object as well you can animate them or simulate them by running them through the series of codes. After the computer simulation once you happy with the results it's time to make the real world objects and for the same you'll need the Fab tools.
In this assignment I'll be doing the designing of the mobile stand using Inkscape and I'll fabricated them using the LASER cutter with using MDF as raw material.
Choice of Material
As looking at making the prototype and testing it into real world, the option I have is to use Acrylic which is available in ample amount. As compared to acrylic which is costlier as easy to alter if the anything goes wrong it's easy to grab another or can be glued together using chloroform .
Designing
You can go back the check out the steps for the installation of the Inkscape if you don't have installed it previously.
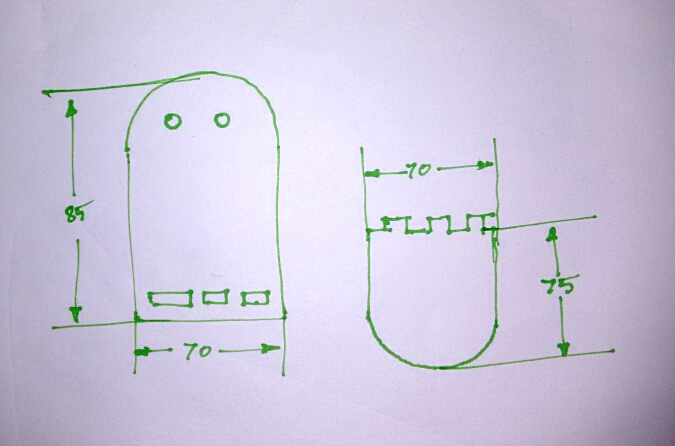
Step 1: Rough Sketching
When you imagine the object that you want to make. It's always the first step to draw them on paper. Now we have the sketch ready with us with all the external dimensions.
Step 2: Opening Inkscape and get started
Following commands I've used to design the mobile stand, i've written a separate page where I've documented how to use some of important functions of the Inkscape such as union, difference, exclusion etc. click on the command name to know how to used it.
- Union
- Difference
- Circle
- Rectangle
Info: This page contains GIF image, which may take time toVinyl cutting and pasting on the target surface upload depending upon your connection speed.
Settings
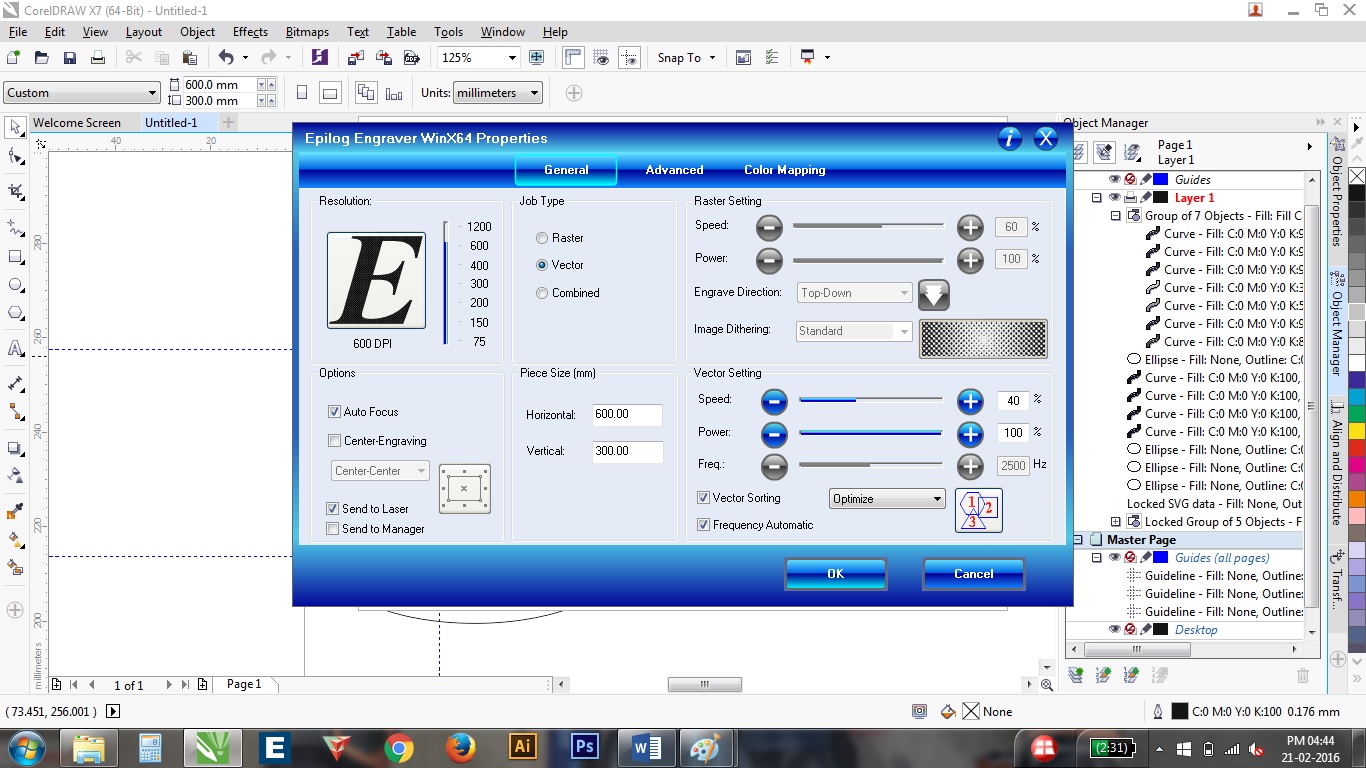
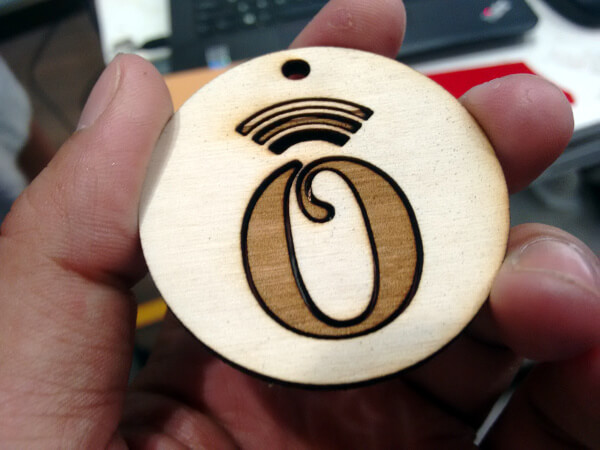
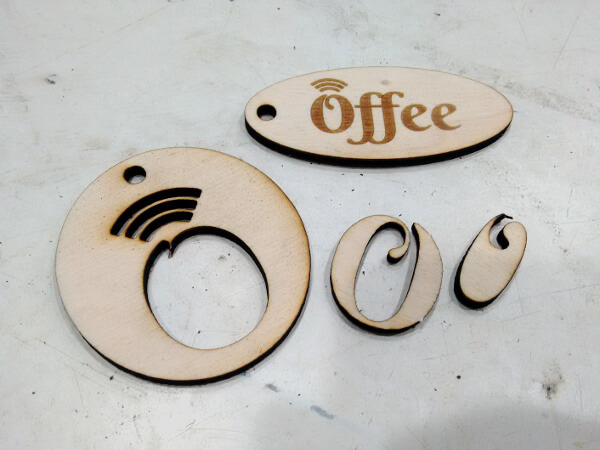
In the pictures you can see the different gray scales used in the Offee logo. The different level of blacks defines the depth of engrave.
The combination of the power and speed defines the sharpness of the cut. When power is above the required, then there are chances of catching fire as well as cutting will add the tolerance as the extra acrylic will be etched by the heat generated by the interaction. So, where the spacing tolerance is very crucial I do prefer to keep the power and speed high and cutting multiple times to go full depth of the acrylic or wood.
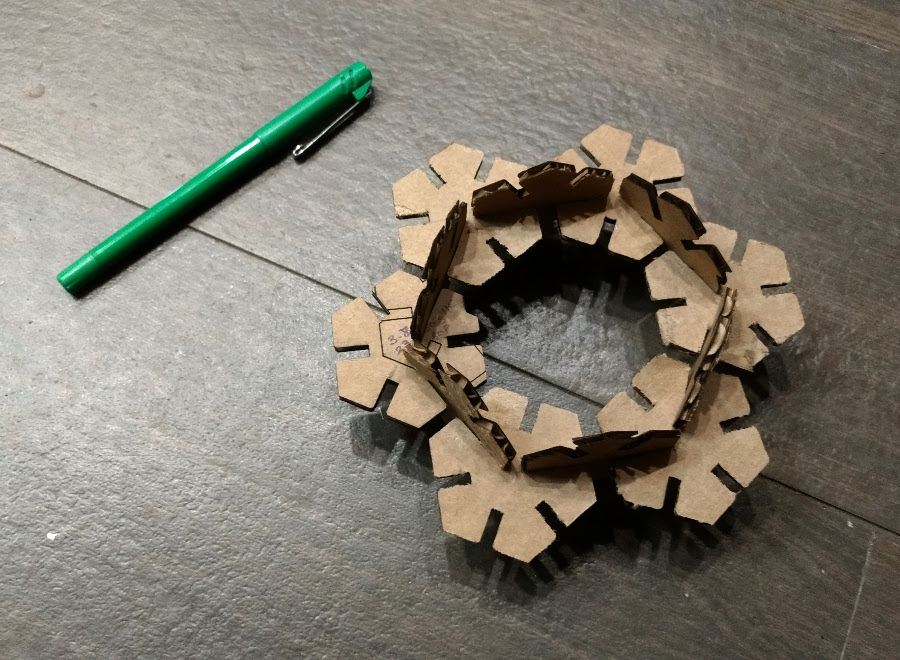
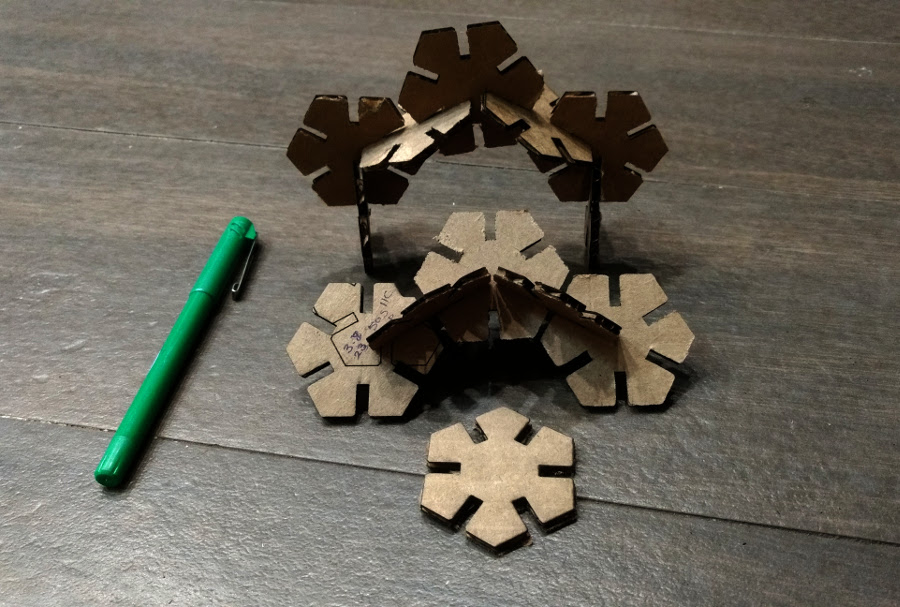
In case of paper, balsa wood and cardboard it is very crucial because they can catch fire very easily compared to acrylic. As well as ash is created near the edges as LASER burns the material to cut. So, again to cut these kind of material to cut low power, high speed and multiple passes if very good practice. For making the snapfit kit using the card-board I took 17 passes with which I got best possible result and very sharp cut without dust/ashes.
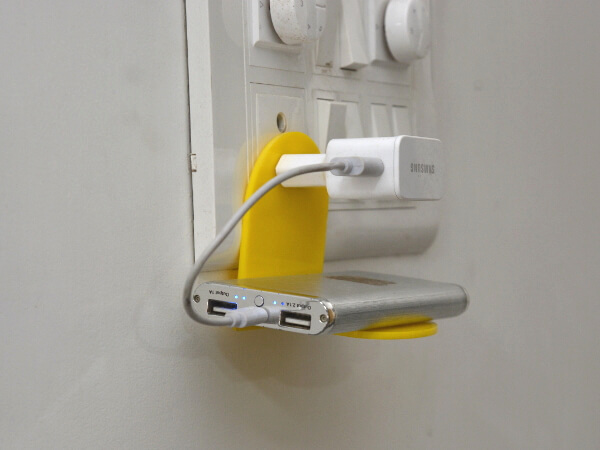
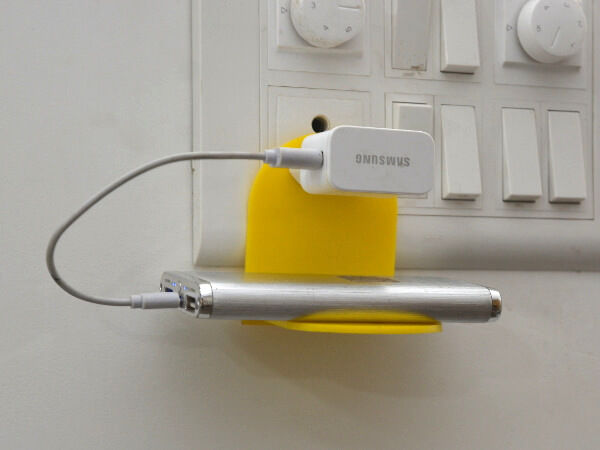
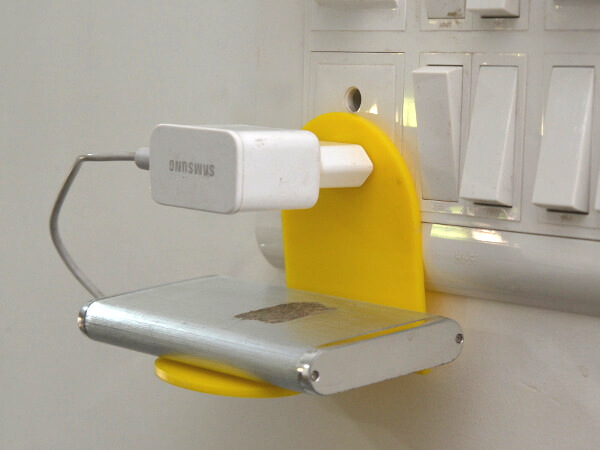
Final Result
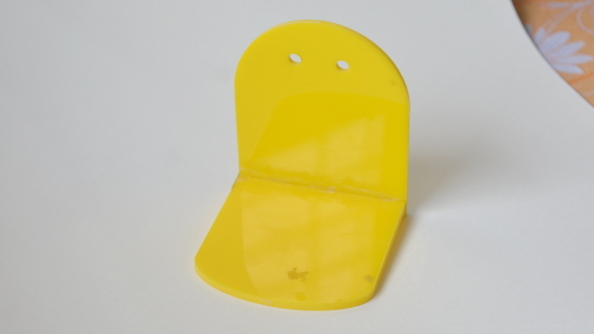
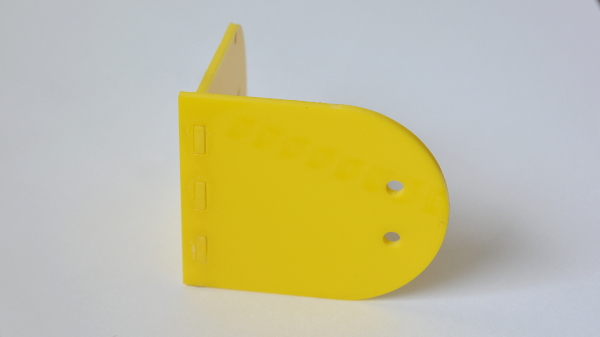
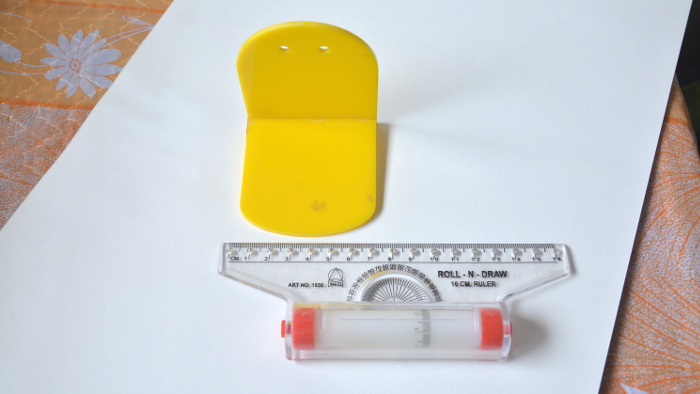
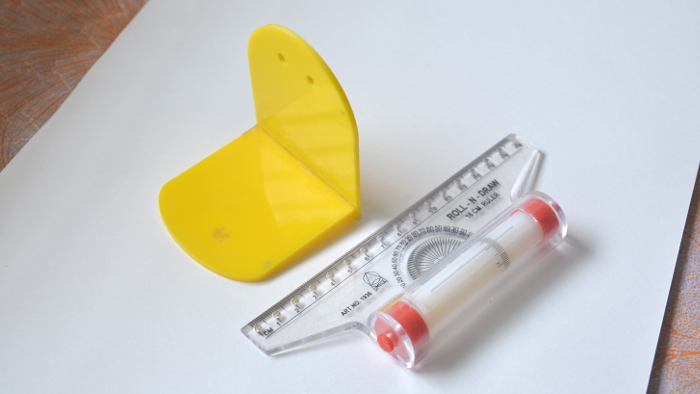
Charging power bank with the mobile charger holder
Snap fit kit using LASER cutter
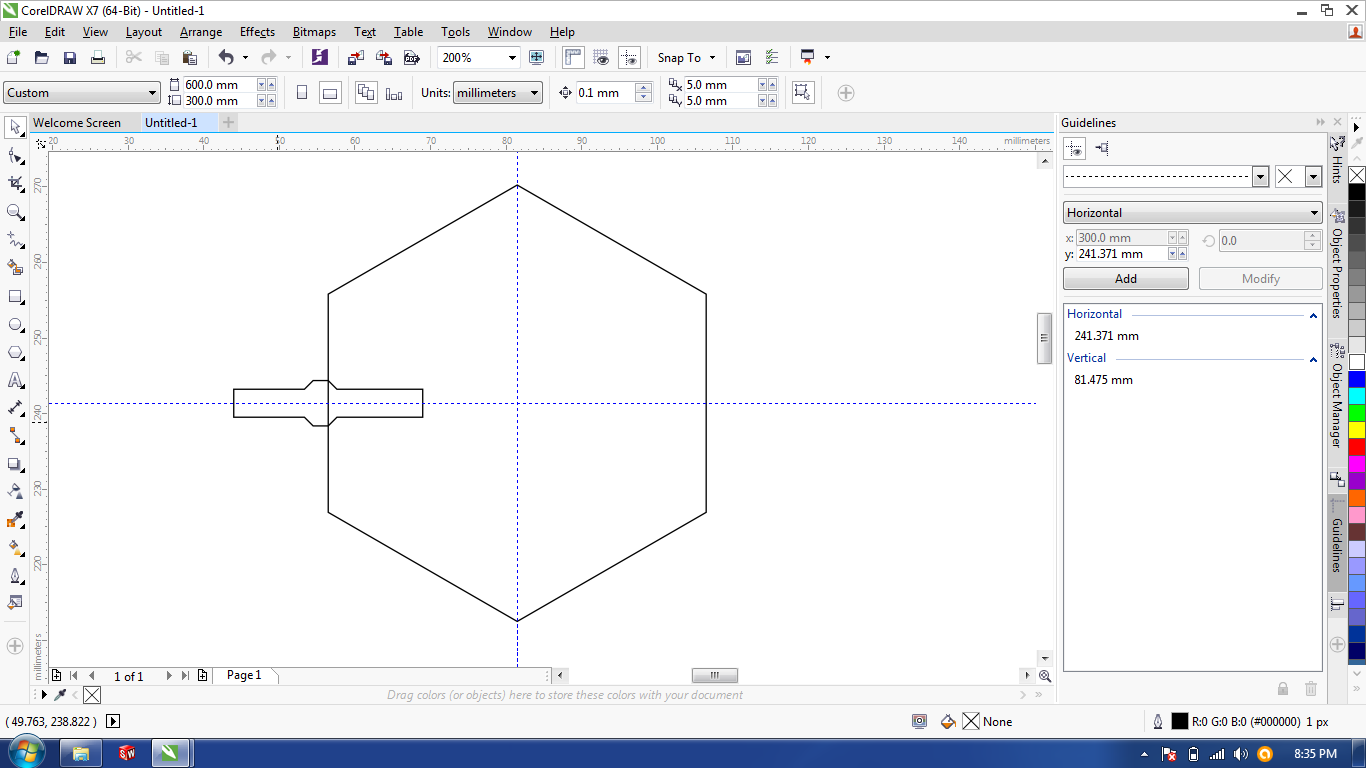
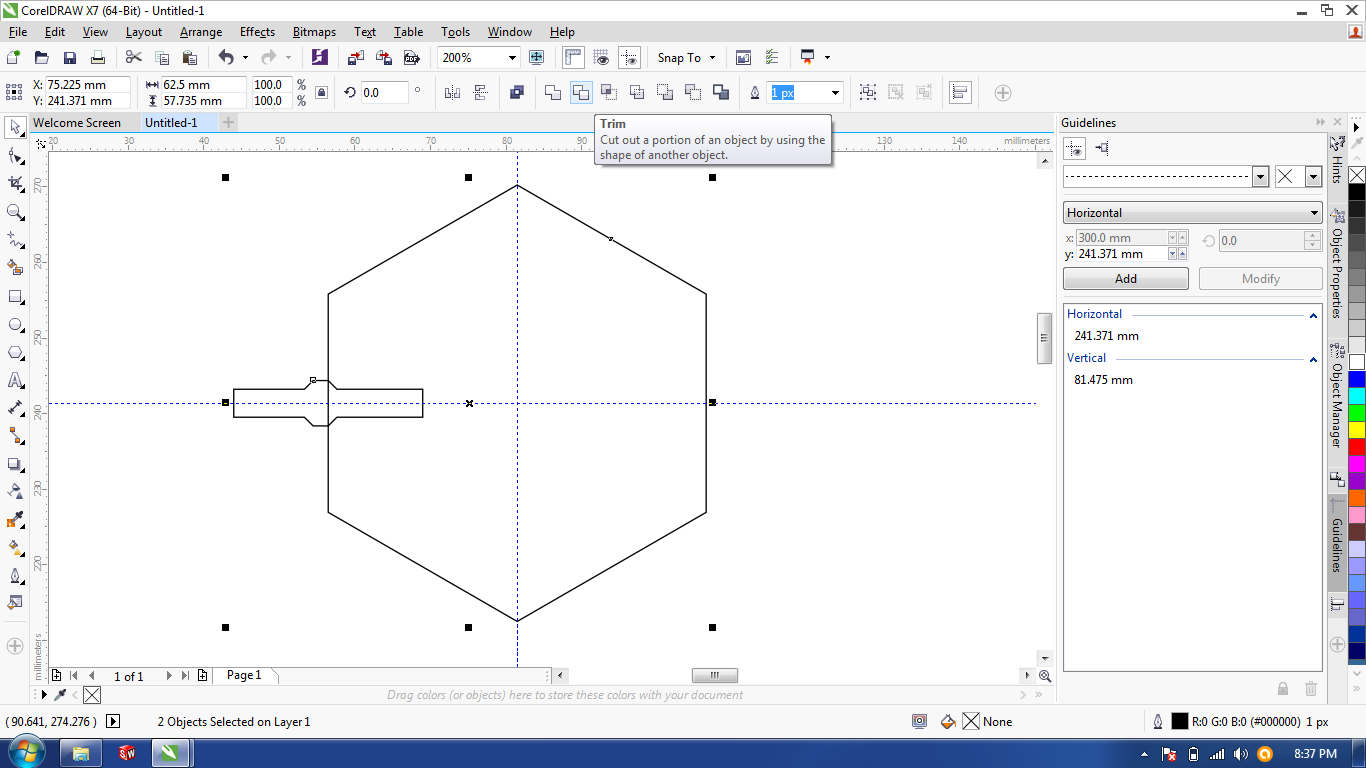
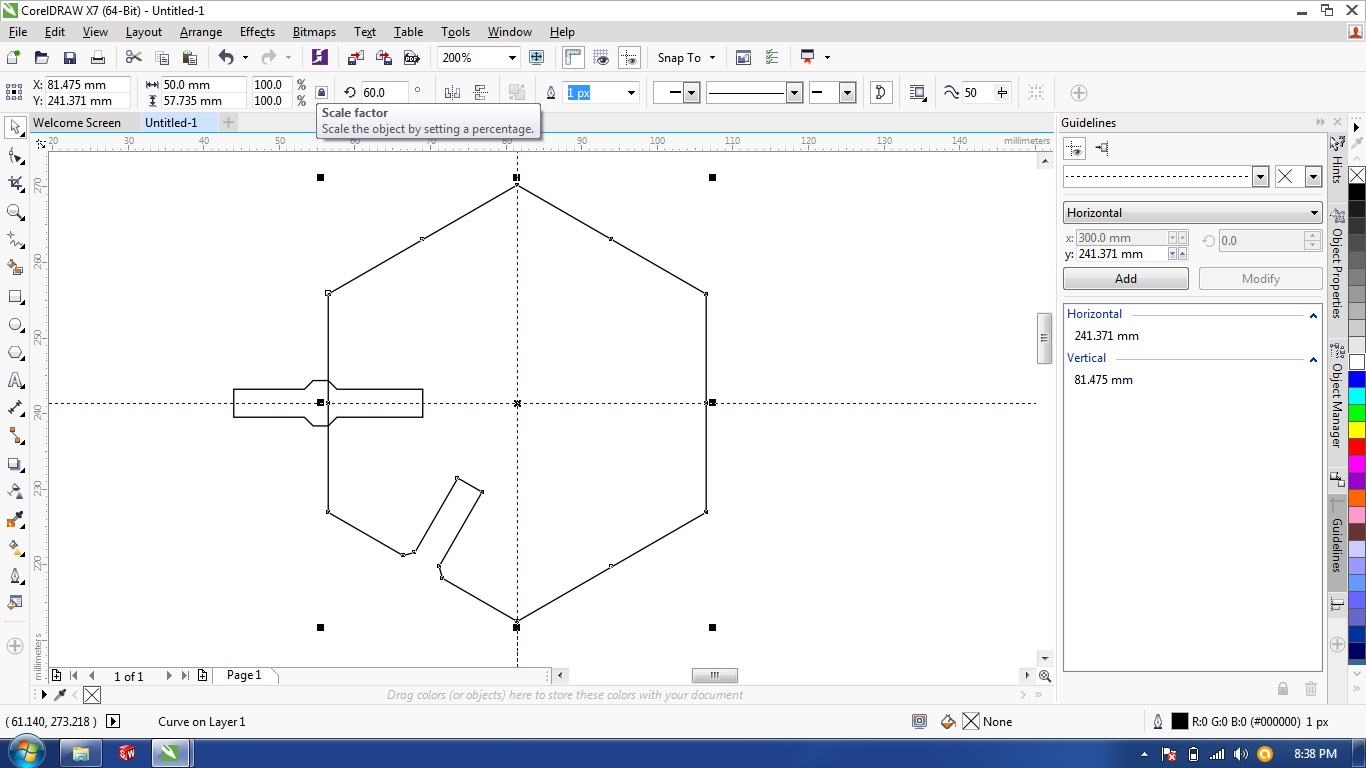
Designing with Corel


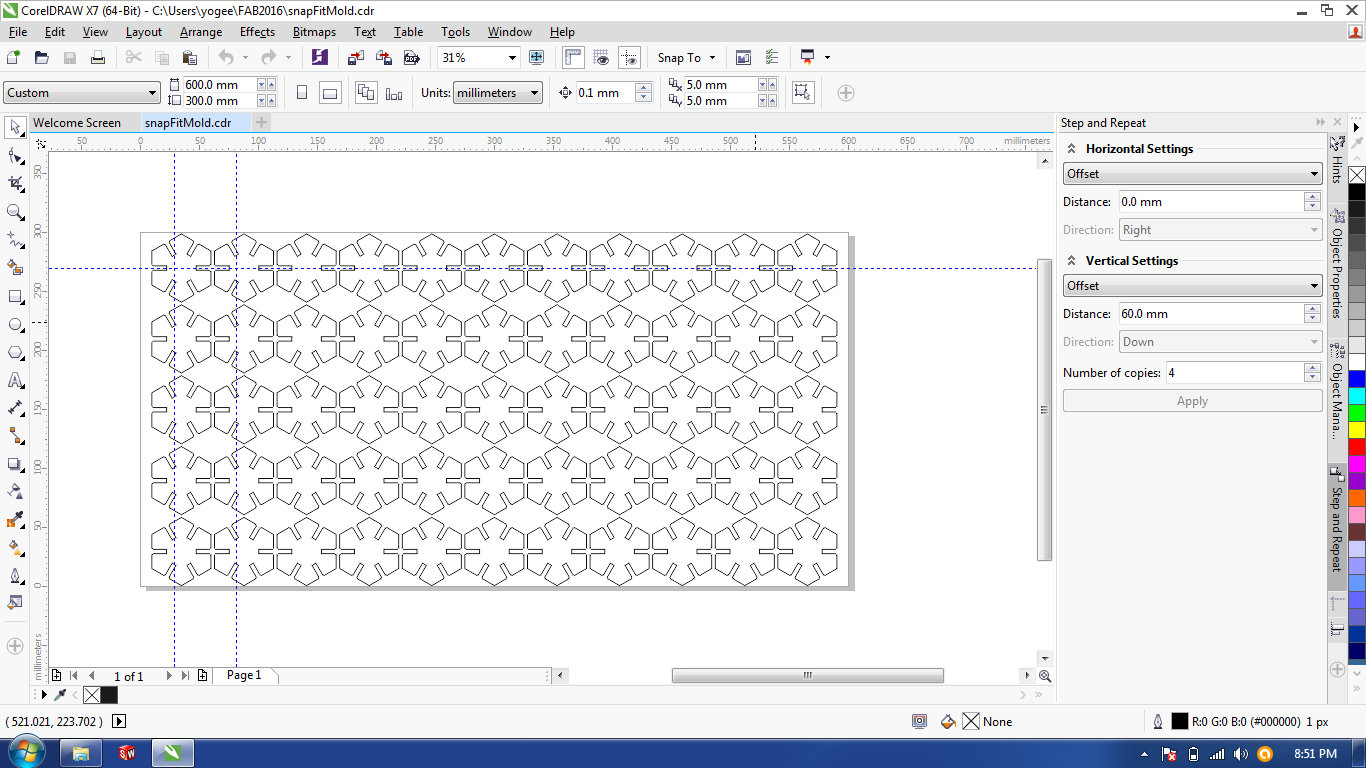
When It's ready
Few other LASER cutter jobs
Vinyl Cutter
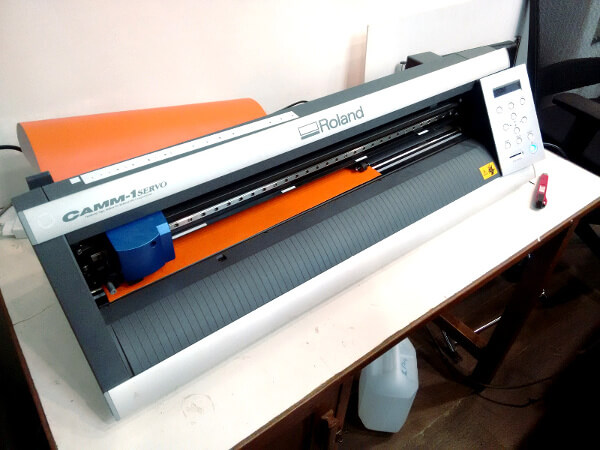
This is one of the discontinued products by the Roland. GX-24 series vinyl cutter is desktop vinyl cutter with the ability to work with 700mm of wide vinyl. According to website CAMM-1 vinyl cutters have been recognized worldwide as the industry's most cost-effective and reliable tools. This machine is powered by a digitally controlled servo motor for speed, precision and reliability, Roland CAMM-1 technology.
Test-cut function allows you to verify the machine's down force before you begin your job.
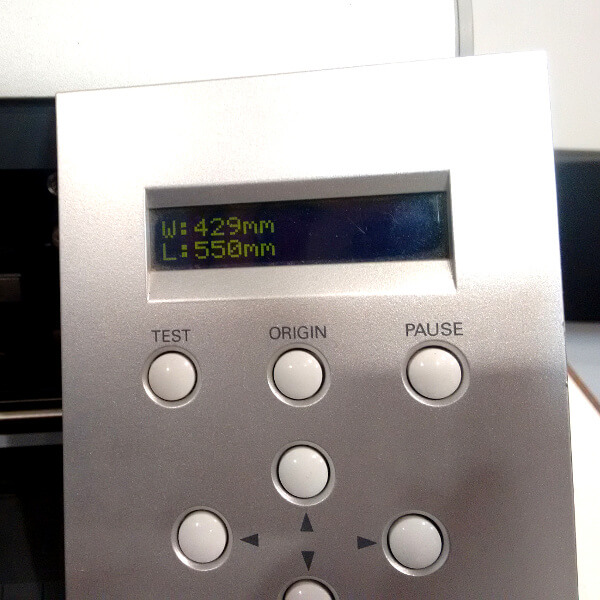
The main important point of starting the whole process is the measuring the size of the material which will be working on. Entering proper size of the Vinyl is necessary to align the designed graphics properly on the available/usable vinyl area to reduce the wastage.
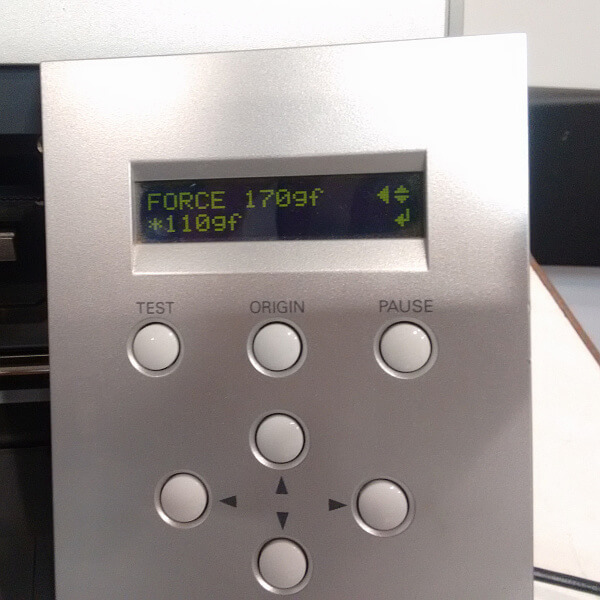
Setting up the cutting force if the process to ensure that the cutting depth will enough to cut the loaded material no the protective material which is protecting the glued back of the vinyl sheet. If you happen to exceed the force the protective sheet will tear-off and the results in scrambled and sometimes not properly cut graphics.
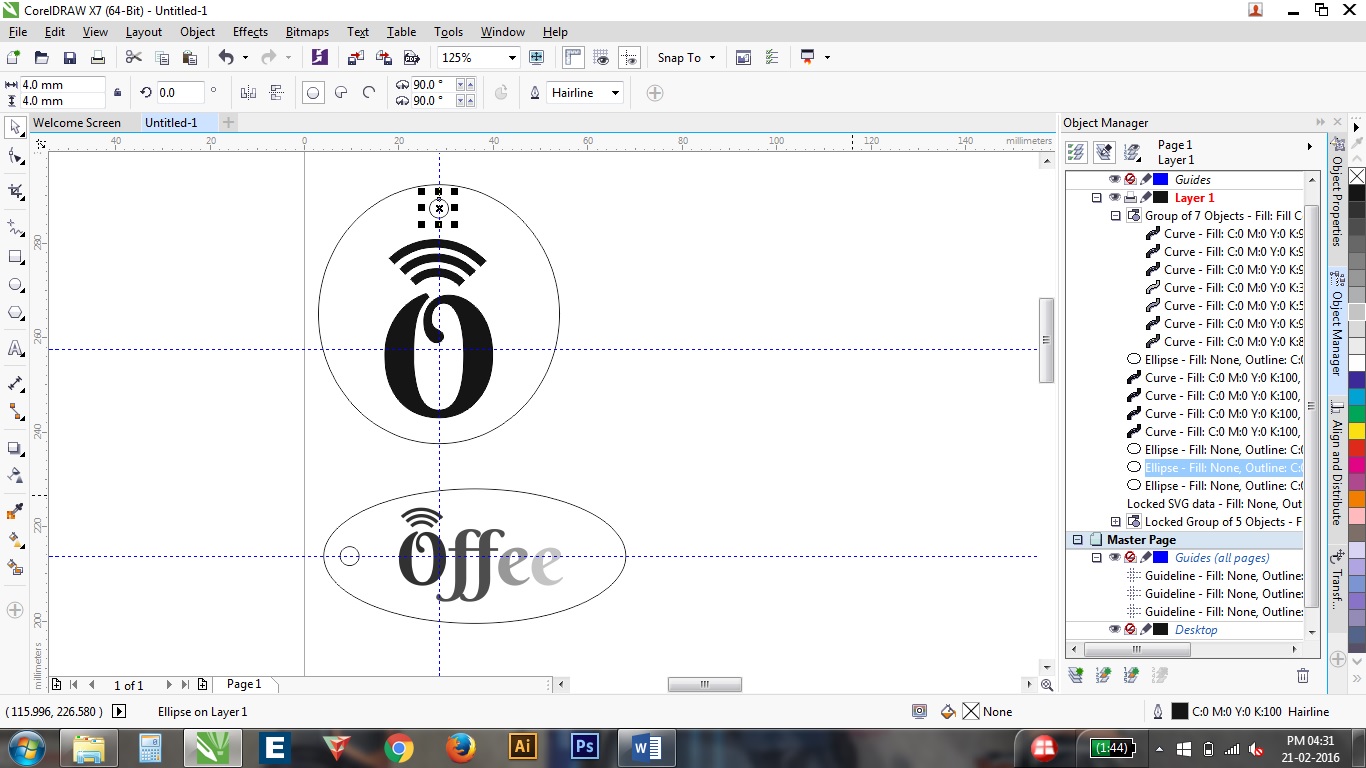
How I drew this file
For this design I've added the logo which I've designed previously for my venture, imported that logo in corel software. Then I traced .png file with Power Trace Tool to get the curves and these curves I can tweak the way I want.
Commands Used in Corel:
- Power Trace
- Convert to curves for Text I've added in design file
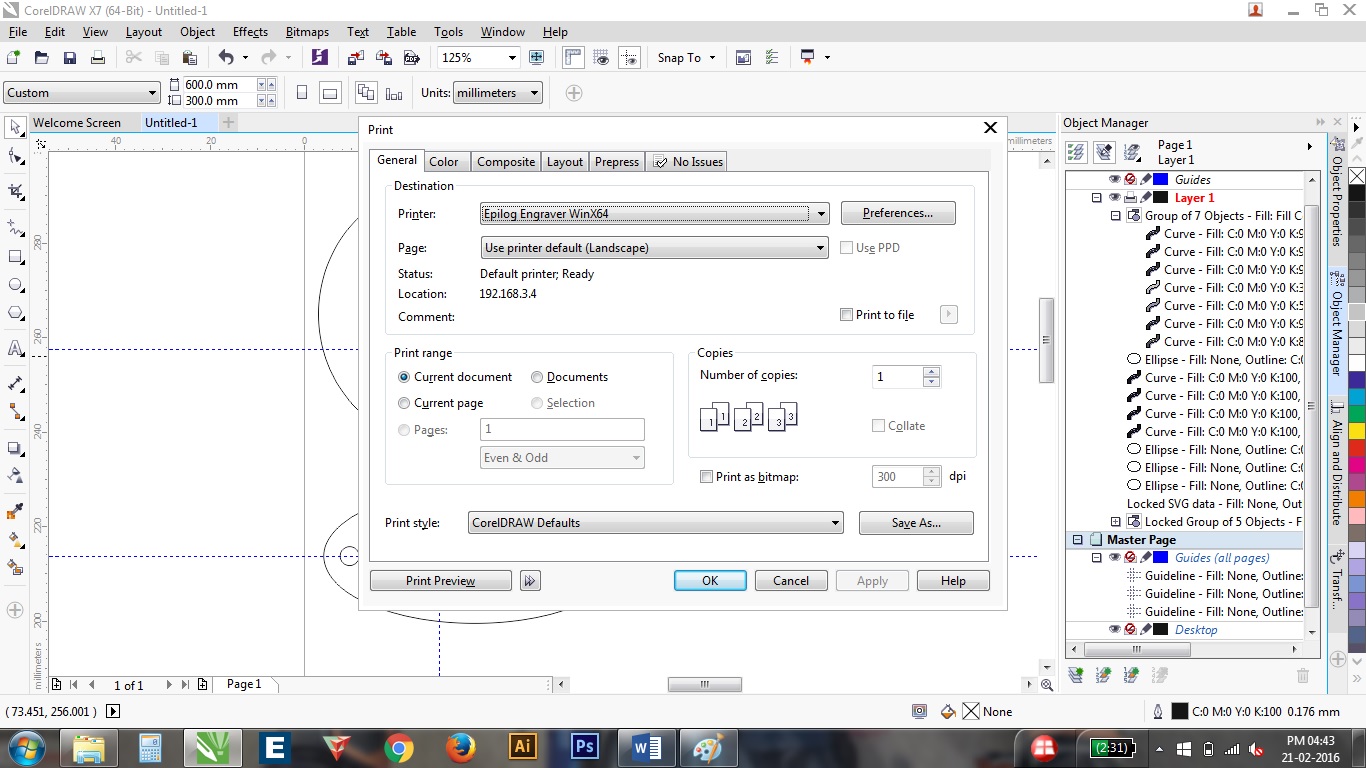
Vinyl cutting and pasting on the target surface

When you done with the designing the graphics next process is toss the design files towards machine. This can be done via print command.
After issuing the print ctrl + p in the dialogue box presented select the vinyl cutter from the list and edit the preferences according to sizing of the vinyl sheet loaded there's one more option to read the size of the vinyl sheet directly from the GX-24 for the same Get from printer.
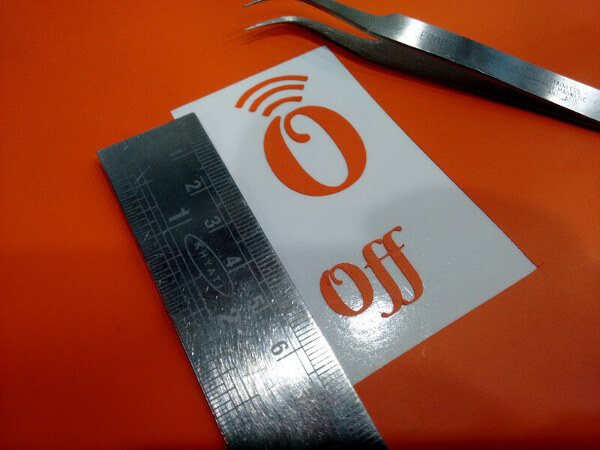
After cutting the job with GX-24 we'll be needing the few tools to prepare the graphics ready to pull off of the protecting case.
- Tweezer/Forceps
- Sharp blade (If the corners are not processed properly.)
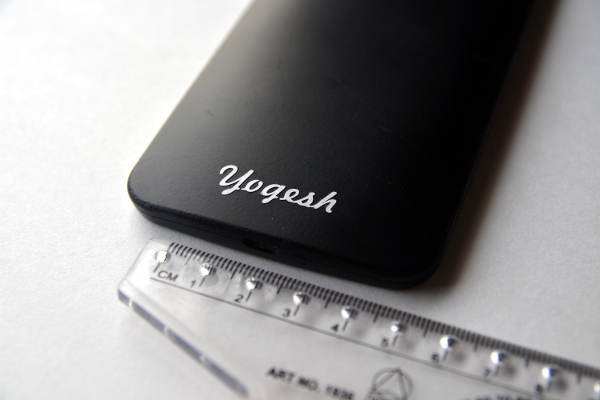
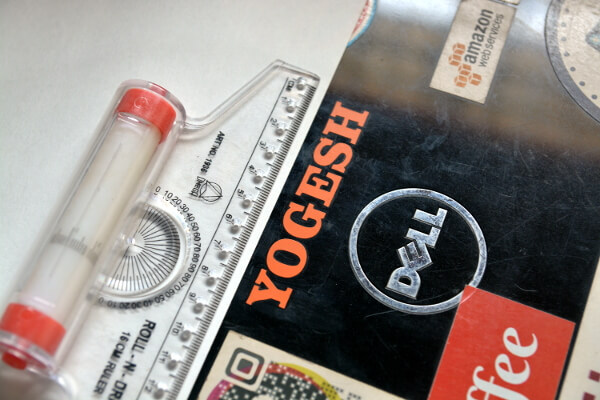
The above designs that I've created go messed up because of the not respecting the spacing and not setting the pen force of machine correctly. Hence, I created the two new stickers for the laptop and mobile. For designing I've used the GIMP and simply created a string of character of my name. One with italic font and other with the bold font.
The use of the think and italic font help me to have the knowledge about the with of the font which can be used with the vinyl cutter.
Vinyl Cutter Result