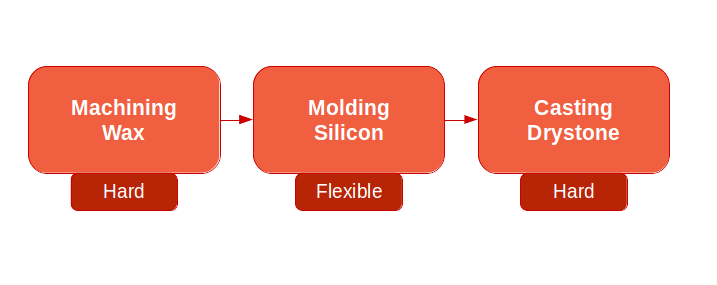
Modling and casting are the two process involved in many of the real world manufacturing process. Molding means the making the mold, which we can use to have the solid frame to make the cast the things. We can make the multiple things at a faster rate of we use molding and casting process rather than the rapid fabrication techniques like 3D printing and laser cutting. Modling and casting is very essential step for brining down the cost and lead time of the products.
Goal
This week's goal is to understand about the molding and casting processes. And how they can be useful for making the few things. Before this week the 3D scanning assignment my friend have scanned my portrait using the sense 3D scanner. Which I thought of casting it into the dry stone.
Lets now hear the story about the same.
How to make mold?
Step 1: Importing .STL file
My intention is to make the statue of me I've the 3D scanned portrait of me in .STL format. Which is actually a mesh. And we can import them into many of the 3D designing softwares to tweak it.
Primaryly I thought of opening that into the SolidWorks, but it was complete failure, as it was not offering me lot of tools to mold mesh file. Then it's time to Google, where I found out the MeshLab which is pretty small software in terms of size and also allowed me to import mesh file.
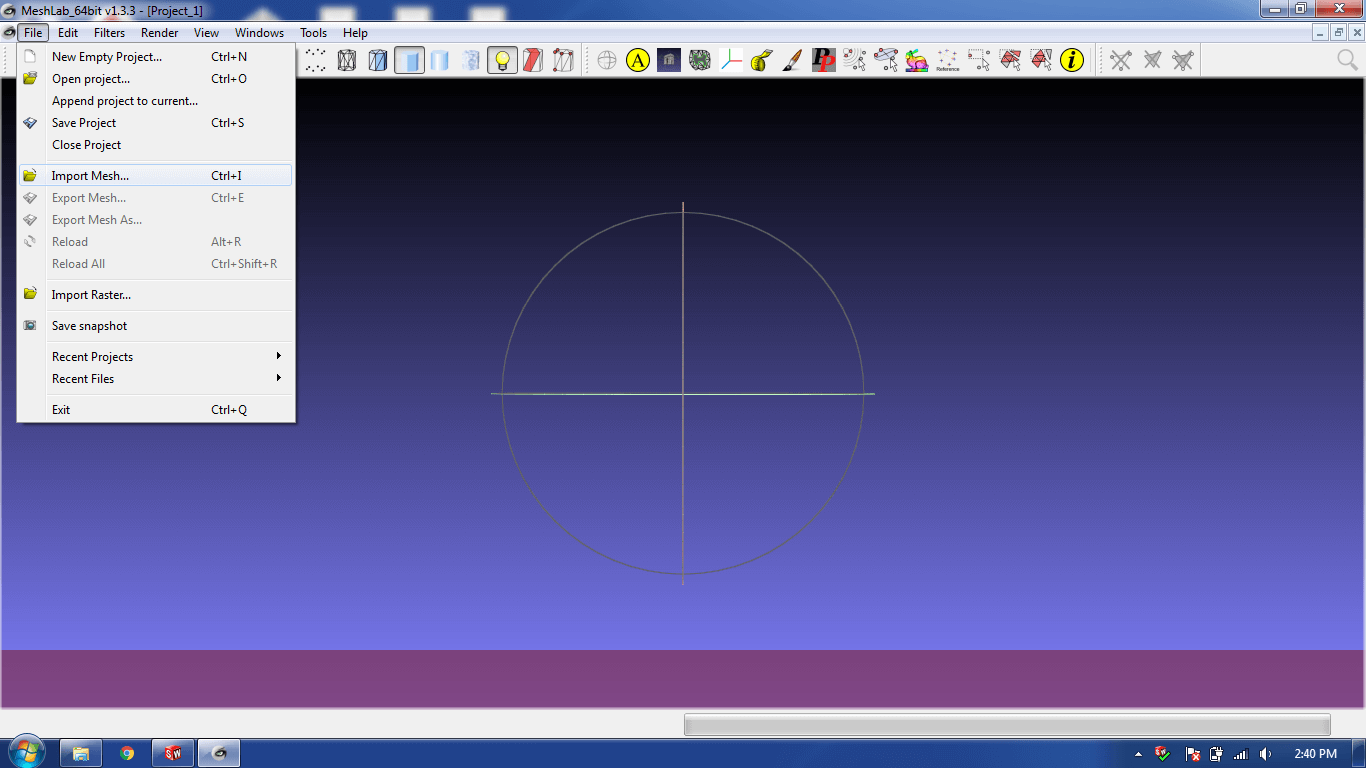
Mesh Lab is specially to edit the mesh data files and mold them as we want. Initially it took me a bit of time to learn more about the software environment but after with the help of few clicks and wiki(s) I managed to work with STLs using Meshlab.
To import the mesh you goto file and then click on import. Select .stl file that you have.
Step 2: Creating few parts in SolidWorks
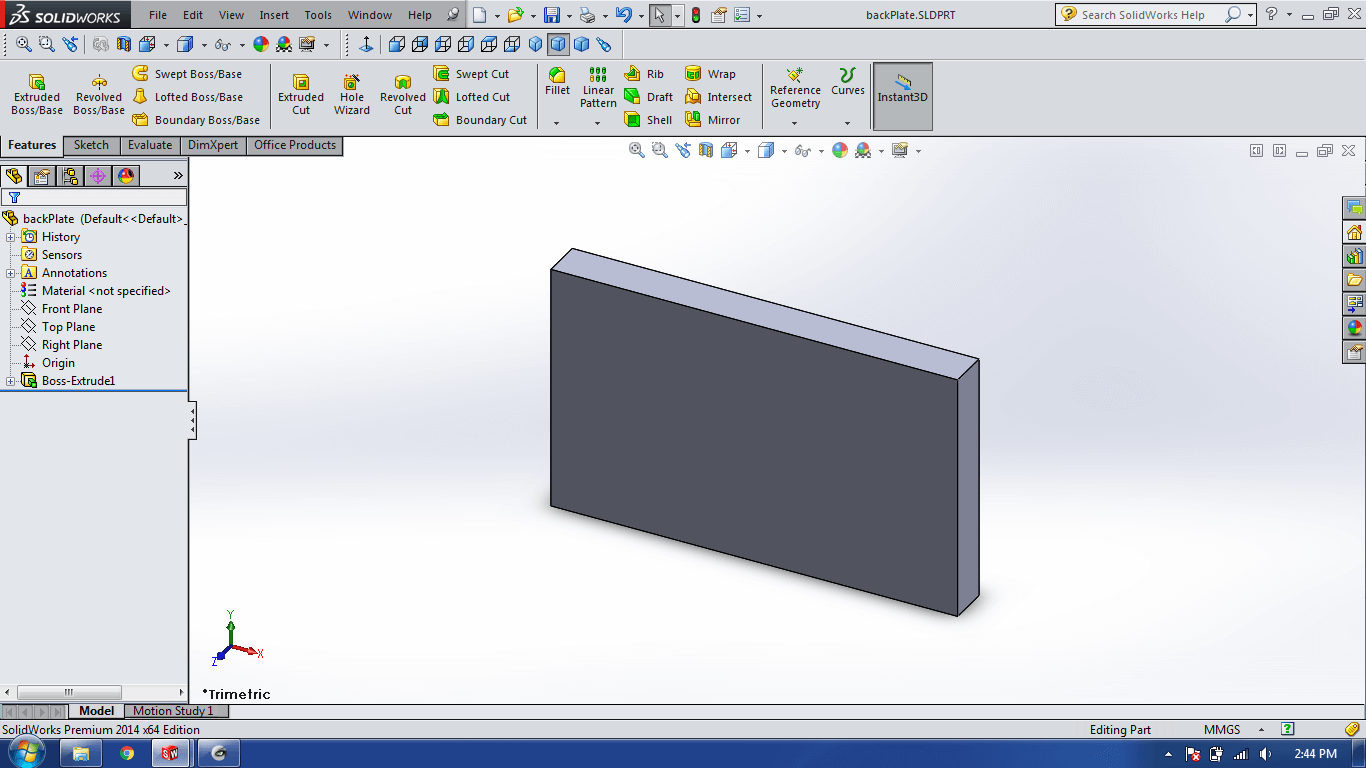
I actually wanted to have a slab right behind my back to have a nice title memorabilia which I can keep on table. The Meshlab doesn't allows to do that, the option is to open the SolidWorks and make the slab with the desired dimensions and export that slab again into the .stl format and then again importing into the Meshlab.
Step 3: Connecting the Dots!
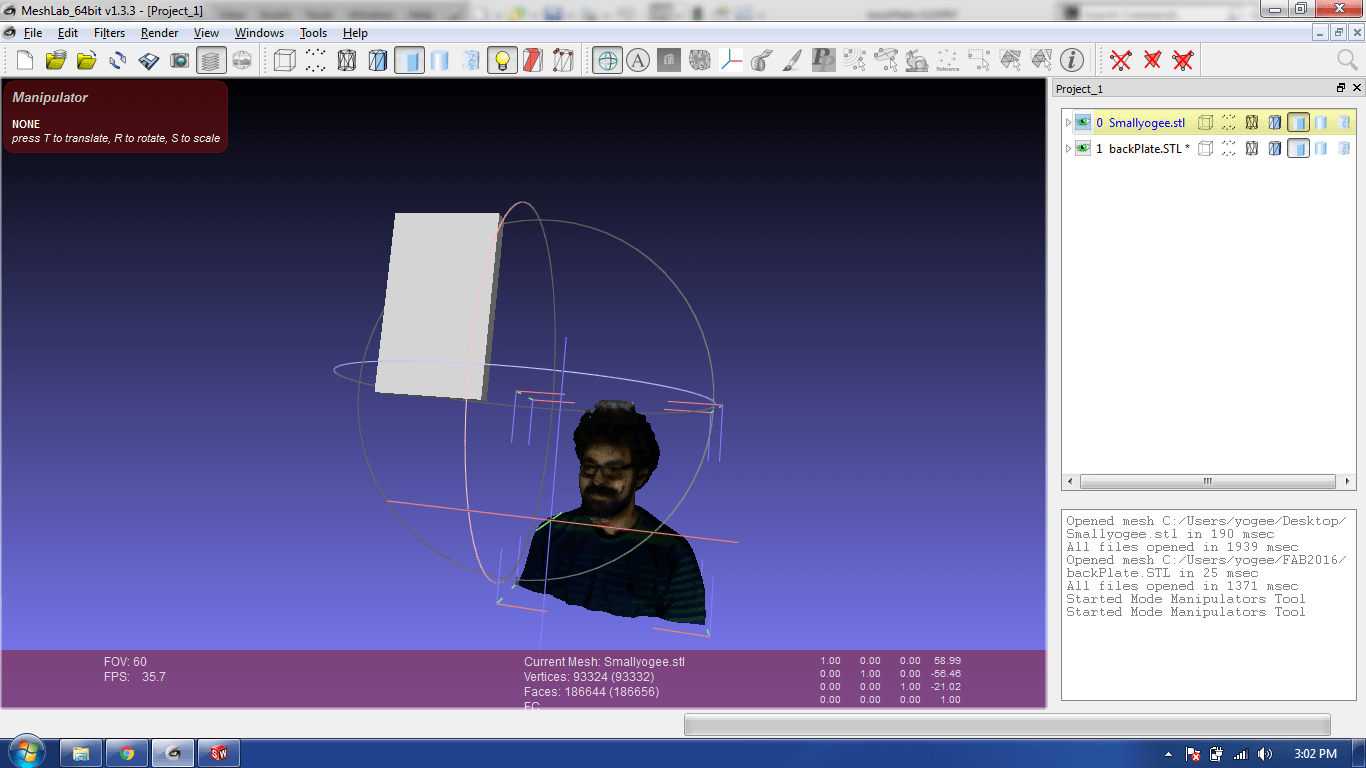

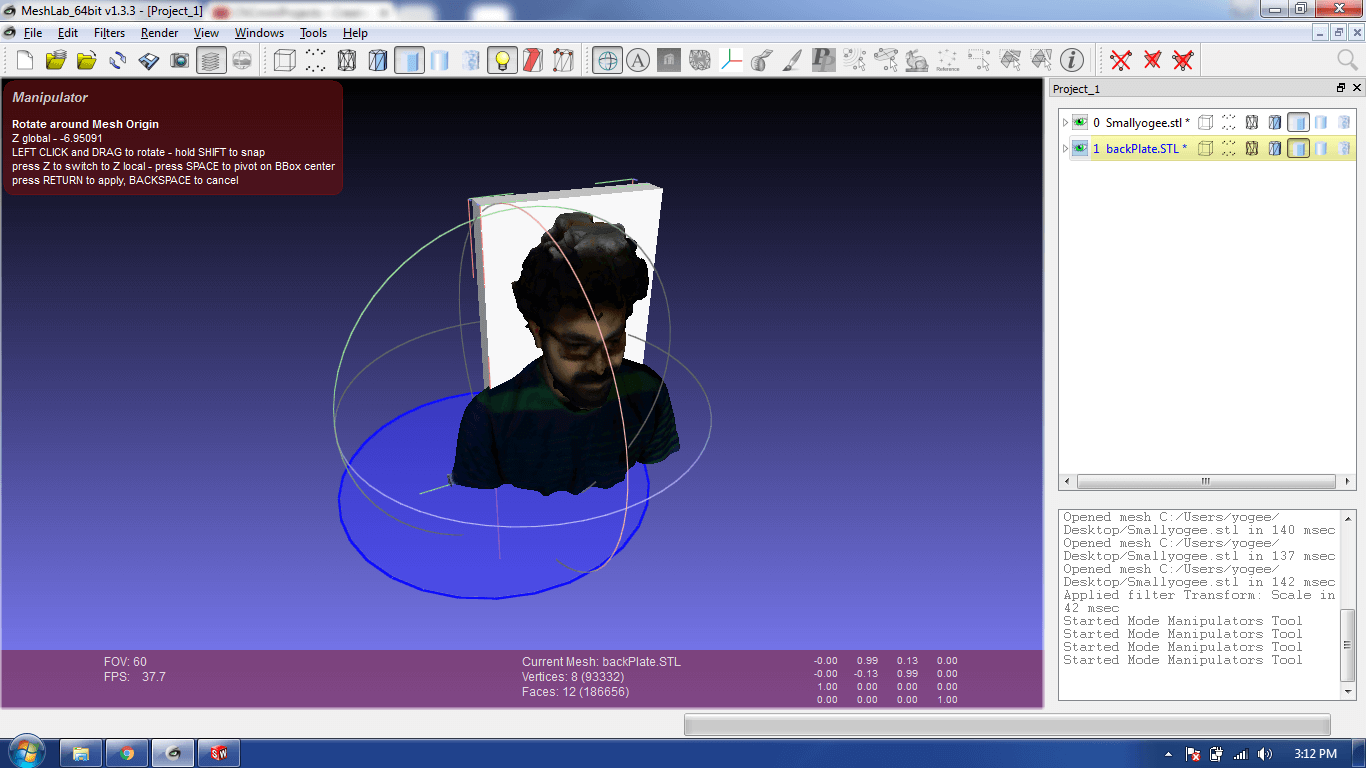
For arranging the entities imported into Meshlab there's one tool named Manipulator. It's one stop tool which can translate, rotate and scale the point cloud(mesh) that we have imported.
Like I did for the slab I made the text FAB2016 in SolidWorks and extruded it as I want and exported into the .stl file, in similar way using Manipulator I arranged them in position as I want.
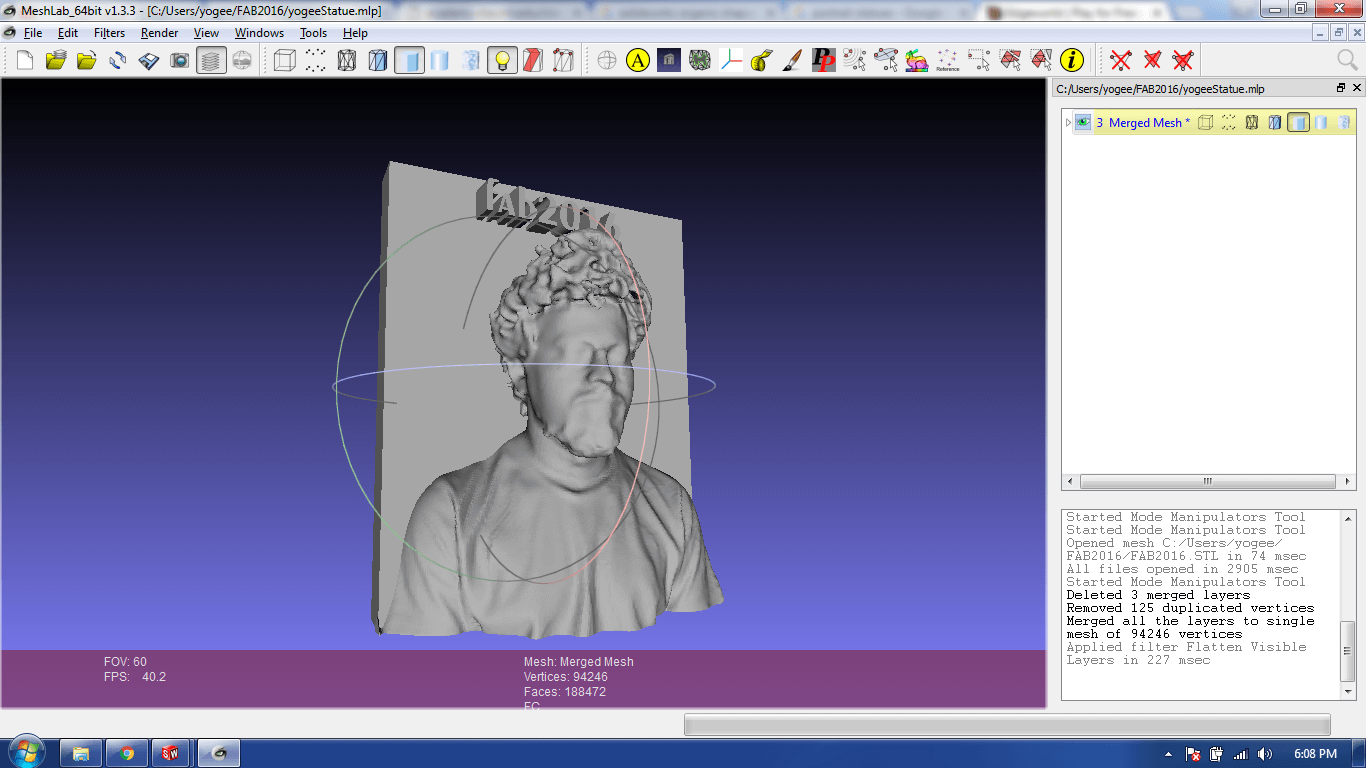
Step 4: Final output
Here I've attached the SketchFab files which you can rotate pan and view the features.

Problems with this mold
When you look at the final image, you can observe that there are very small features are present in my hairs. This kind of precision is not possible using the Modela MDX-20 as it is just 3-axis machine. For that kind of job to be handle one requires the 5-axis machine in which either the bed or tool should have the extra degree of freedom.

As well my statue is 50X22X53 mm of size, which is compatible with the but the some features are even less than 2 mm which is not possible to achieve with 1/8 inch milling bits.
In short I'm not able to make the mold out of this design with MDX-20. It's time to move on to other design.
Step 6: Making 2nd Mold

As with the failure of the previous mold design. I've to make something which is compatible with the machine. I thought of downloading 3D model from websites which is symmetrical in nature and make the mold using that. So, I donwloaded the frag. granede model which I can cut into two equal parts. To make the mold.
Here I've embedded the 3D file of the mold that I made using the grenade.
Problems with this mold
This mold is also not machinable because of the curvatures they it has got on it's exterior.
Step 7: Making 3rd Mold

In the picture above you can see the 3D design as well as completely milled mold in wax. There there's problem that the portion between the wall and the flower is not properly machined. As a result our soft mold that we want to make will be into two pieces and because of that we won't be able to cast in properly.
Step 8: Milling with Modela MDX-20
Now I have the design it's time to mill it.
We can directly import the .stl file in the fab modules and can be directly milled with 1/8 inch modela bit.
When I open the FAB Modules I saw that there are two types of the processes which are listed.
- Rough Cut => Using flat nose bit.
- Finish Cut => Using ball nose bit.
First we have to do the rough cut and then we should go for the Finish cut, The ball nose bit is made to provide finishing to the part and making the surfaces smoother.
Step 9: Making mold
I've milled my design but now I wanted to have my design in the solid material like dry stone or hydro stone. That means I can't directly pour my mixture of drystone in to the wax mold because if I do, there's no way with which I can pull it off. For the same I have convert my mold into the softer version as I wanted to have negative of my design as well to cast the part into the grenade.

To make the mold I've to mix the part A and part B of the desired material, and for that mixing ratio is very crucial. If one should put the material too less or too more the properties of the cured material will be too different or many times it won't even get cured.
Before that I have to measure what is the volume required to fill the cavity. To measure cavity I filled up with the water and measured the quantity. That indicated me how much material I should mix, and what's the correct amount of part A and B I should take.
My mold took almost 40ml of water to fill it completely, that means I have to take 20ml of part A and 20ml of part B which in total is 40ml.
note: always look out for the mixing ratio in the data-sheet of the product. Here in my case it was 1:1 so, I took 20ml each.
My choice of using the liquid plastic for the casting purpose if not suitable for the wax molds. As both the materials hard. I somehow managed to pull it out of the mold using tools like screw-driver and tweezers.
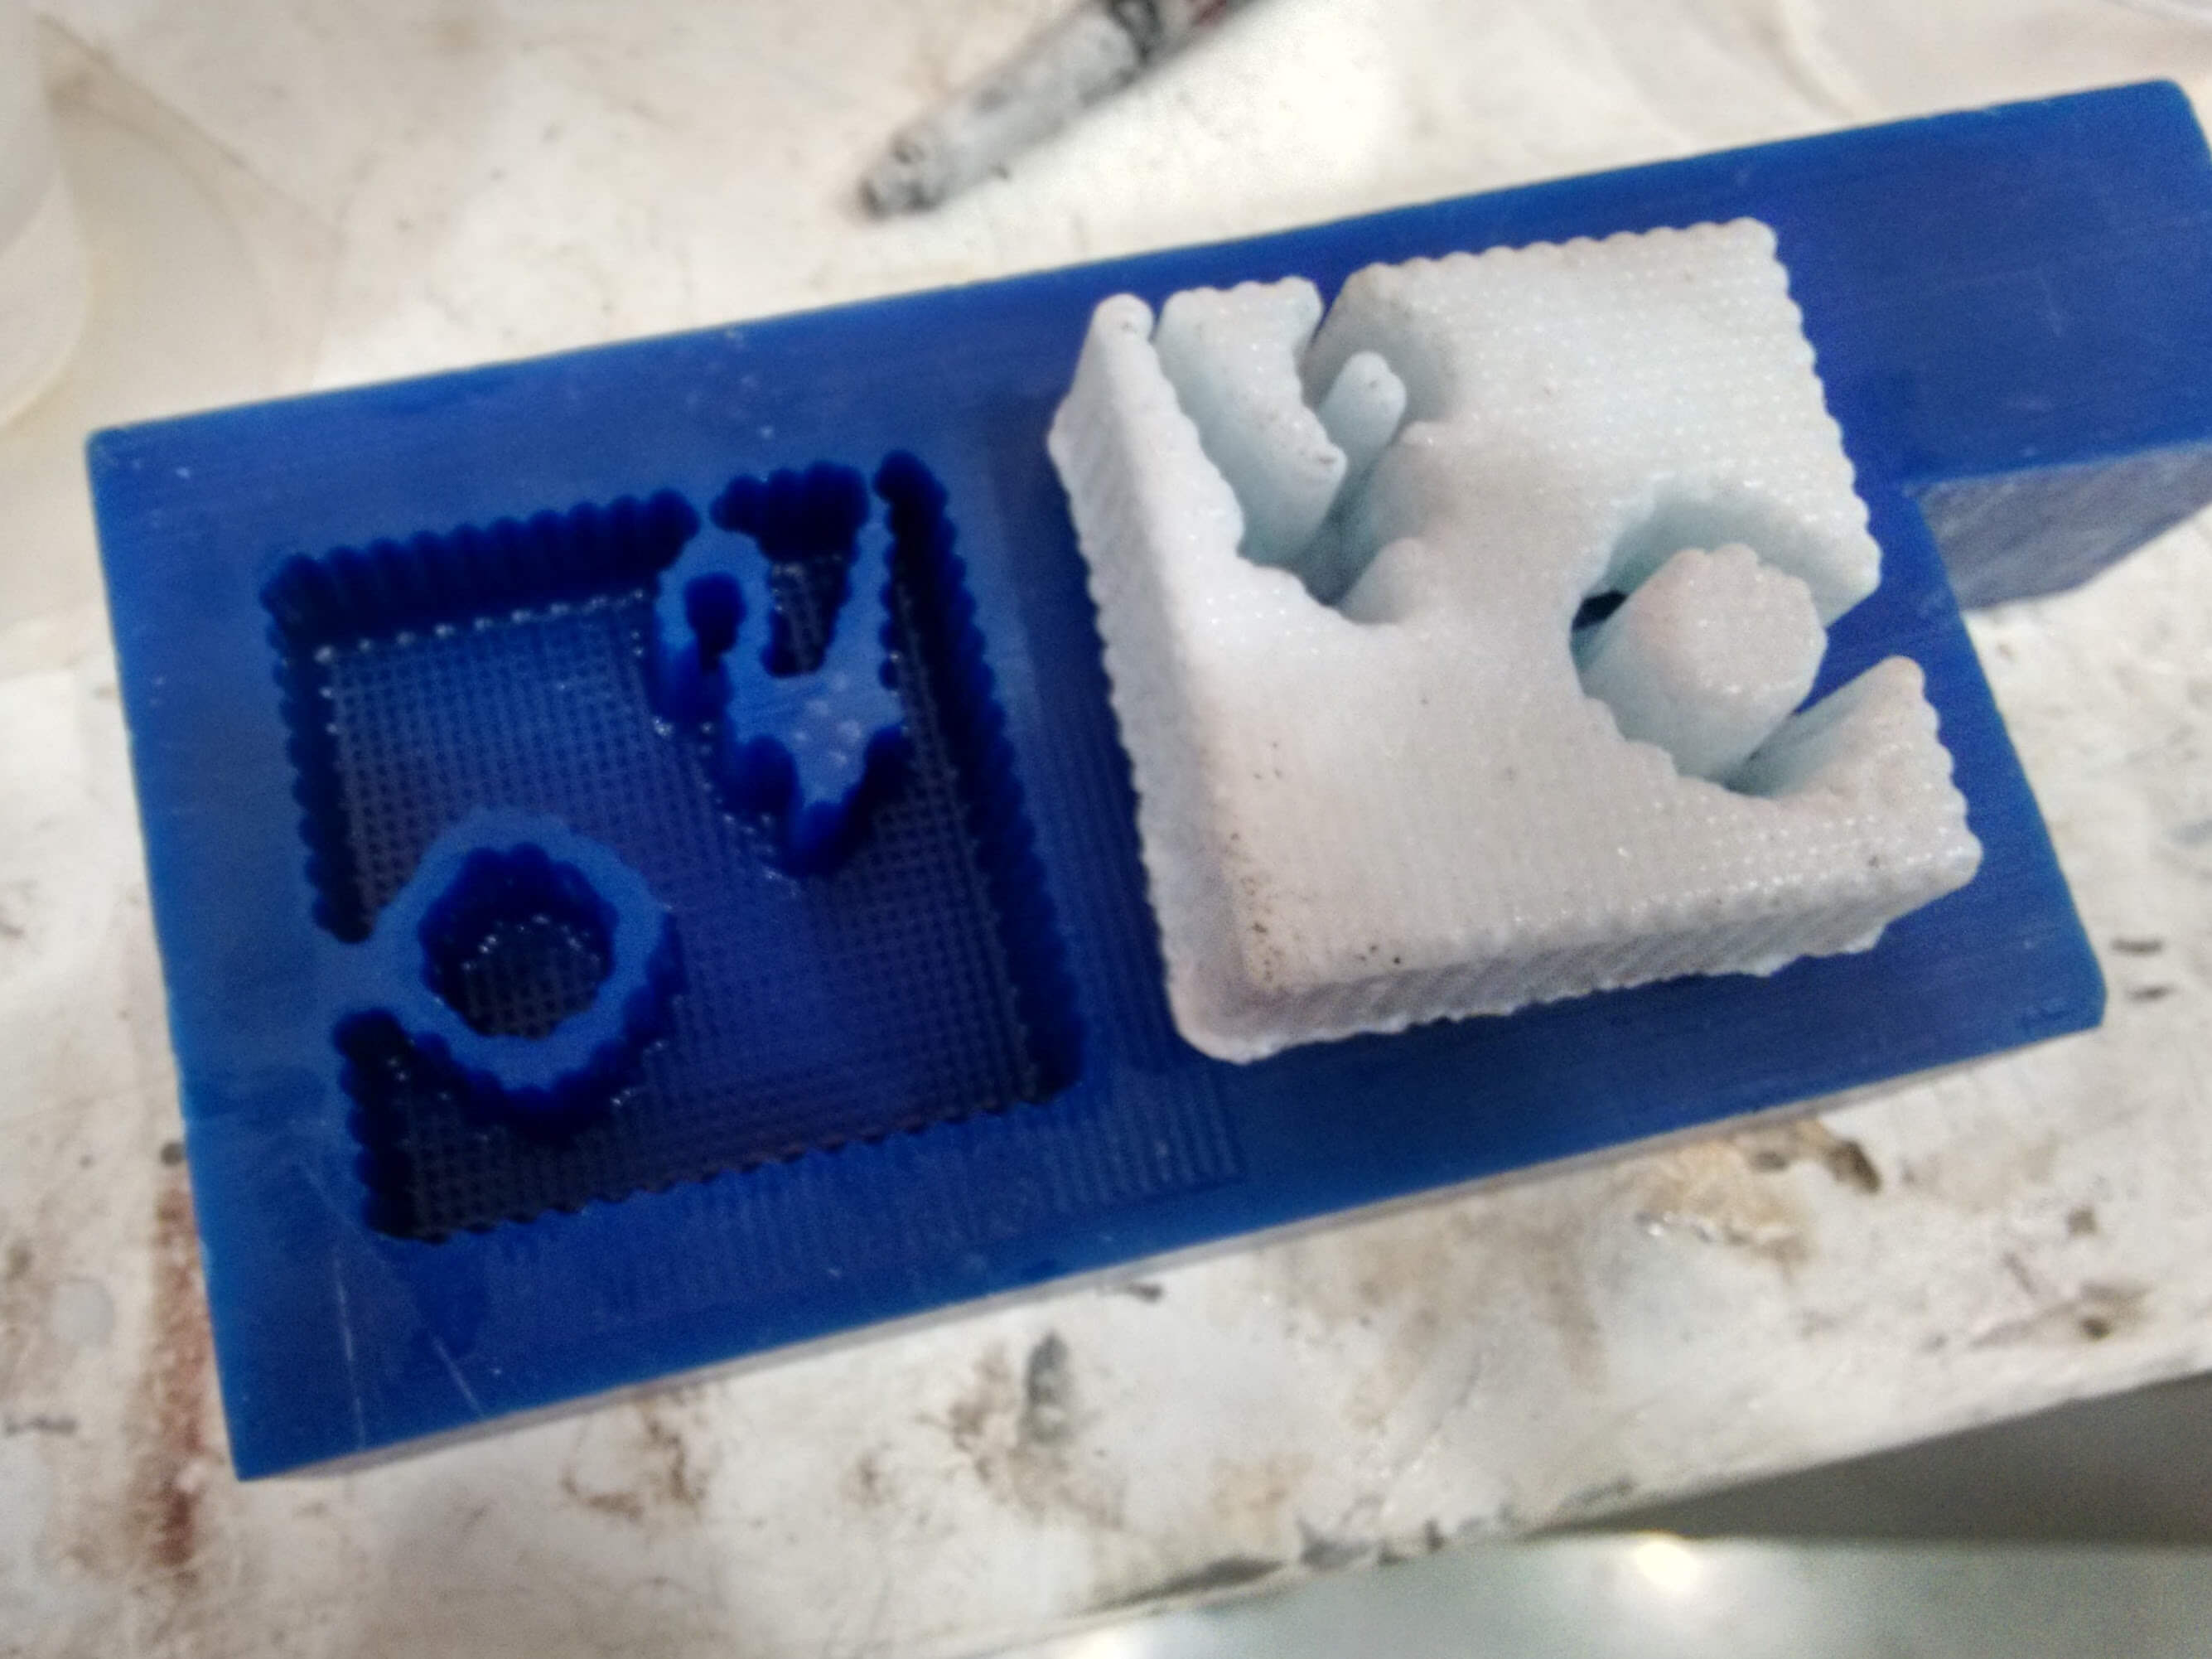
Step 10: 4th Mold - Final Mold
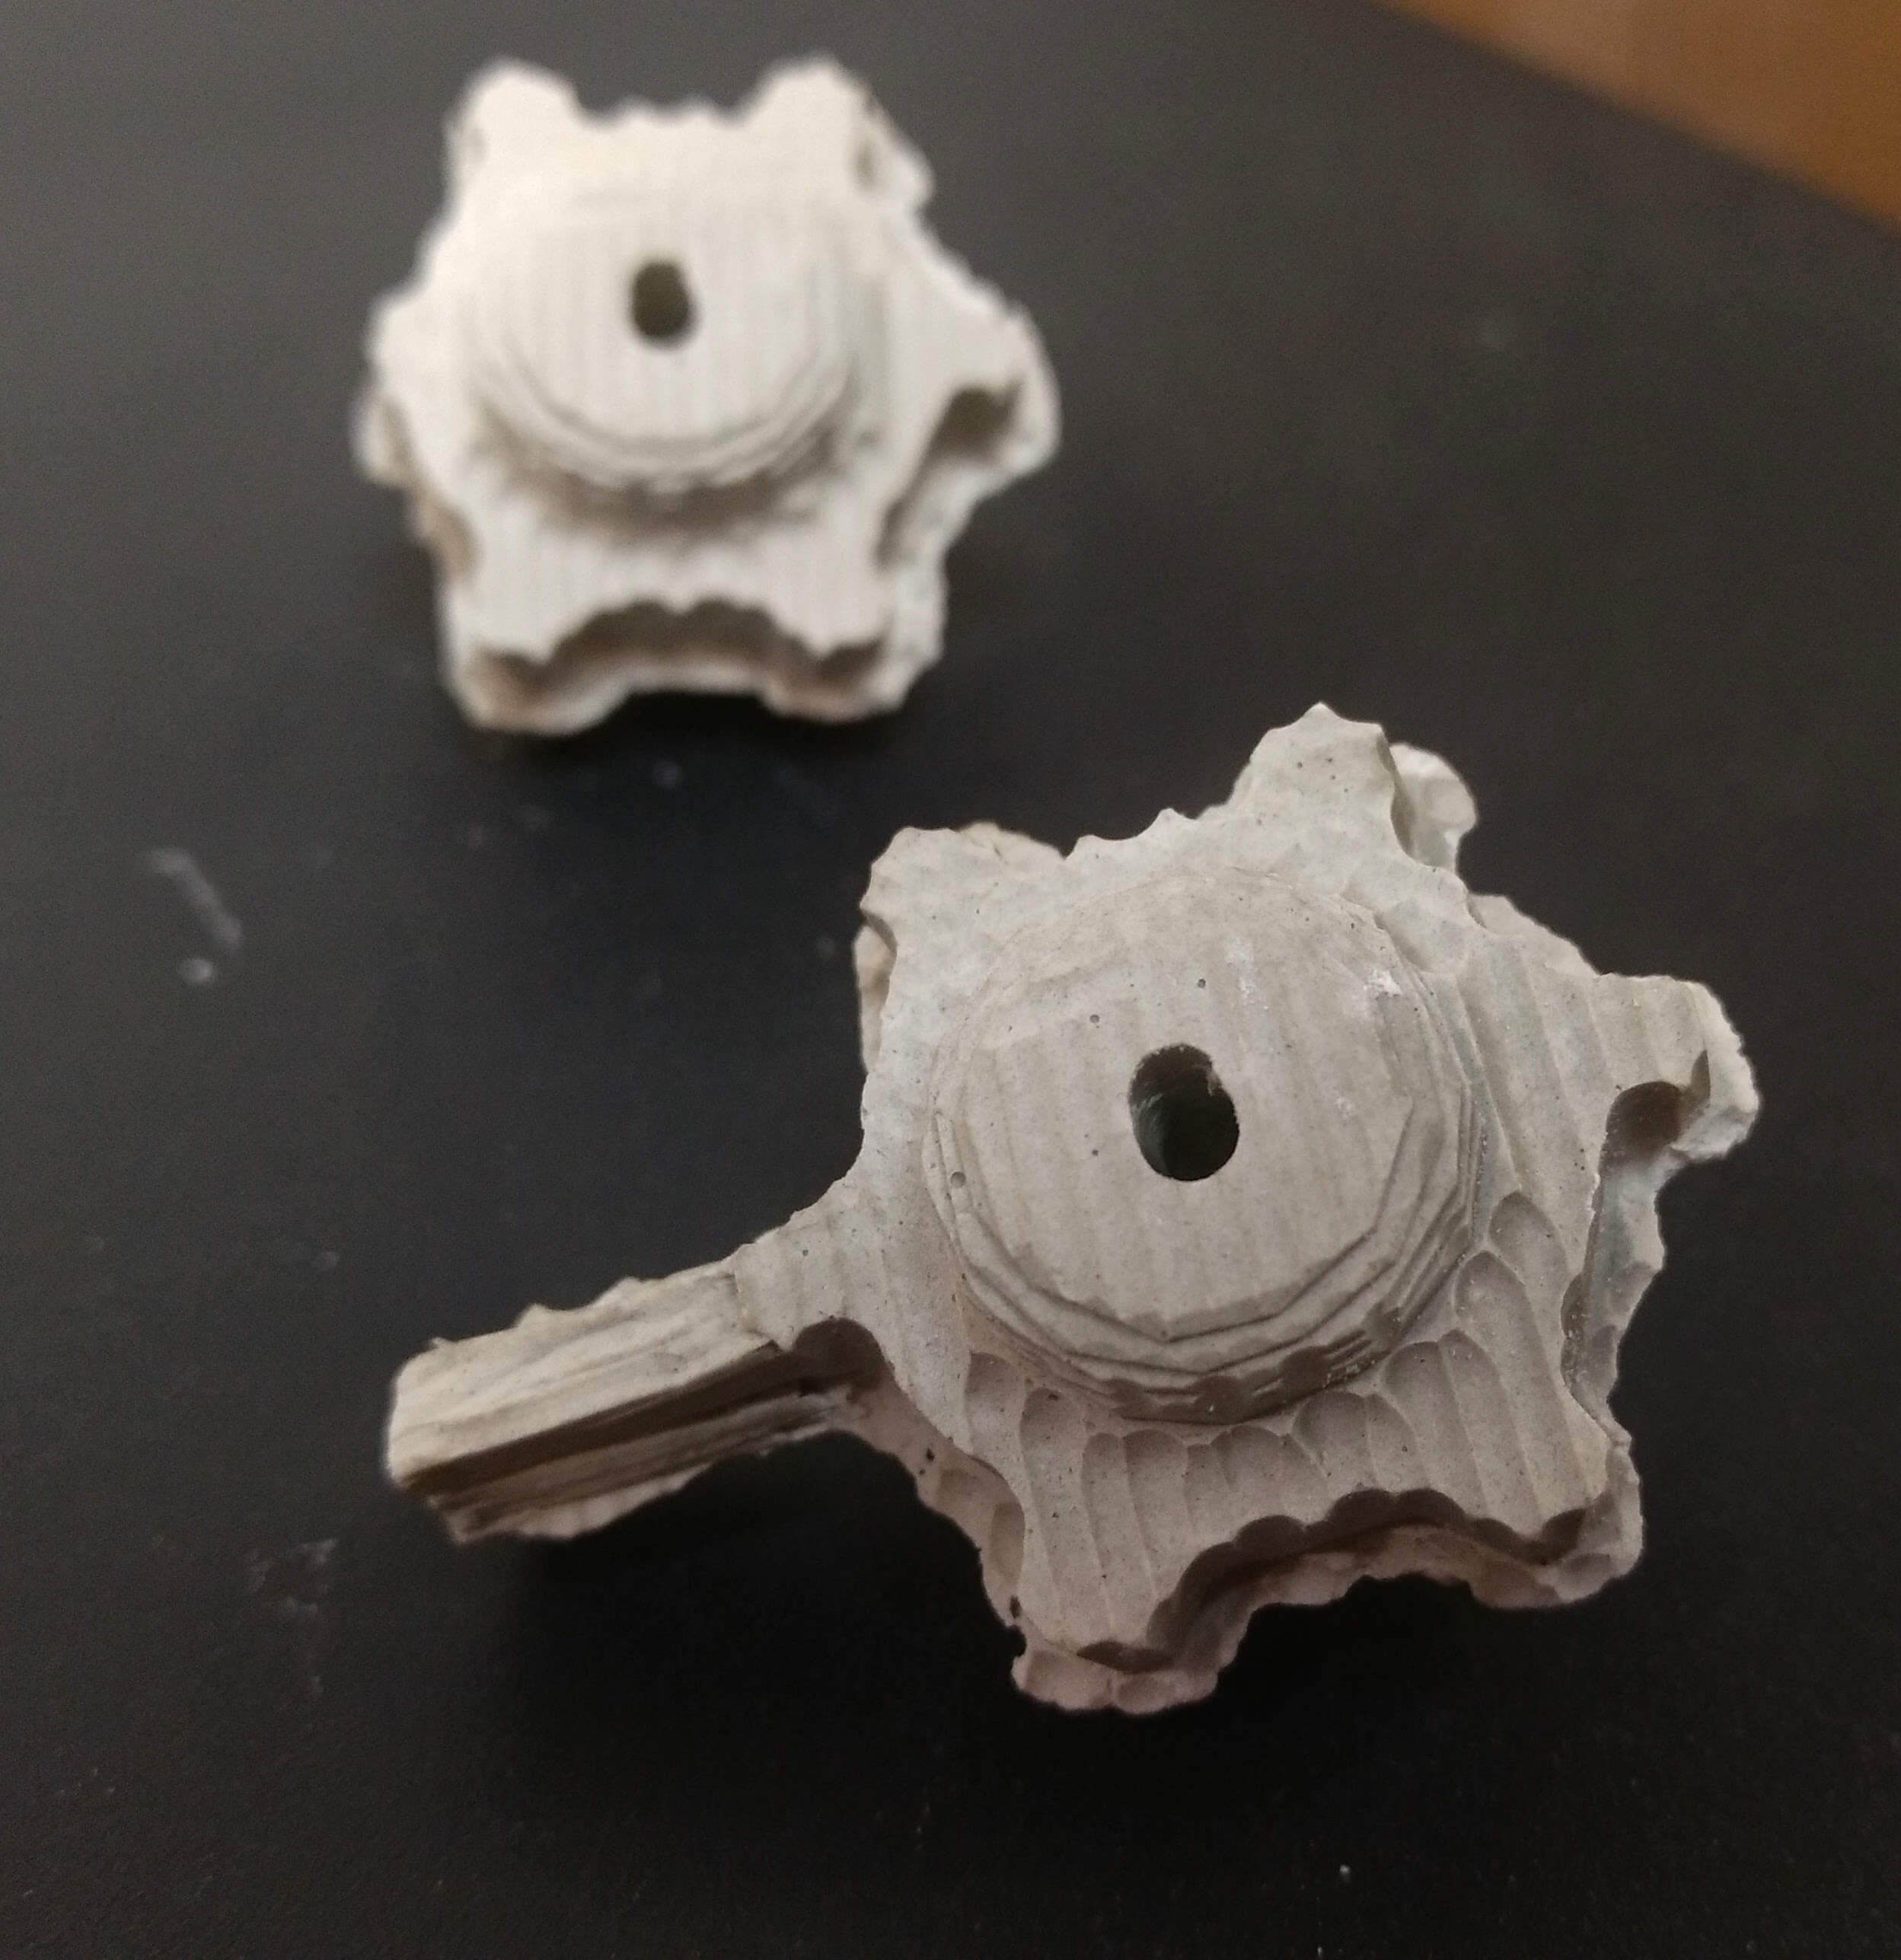
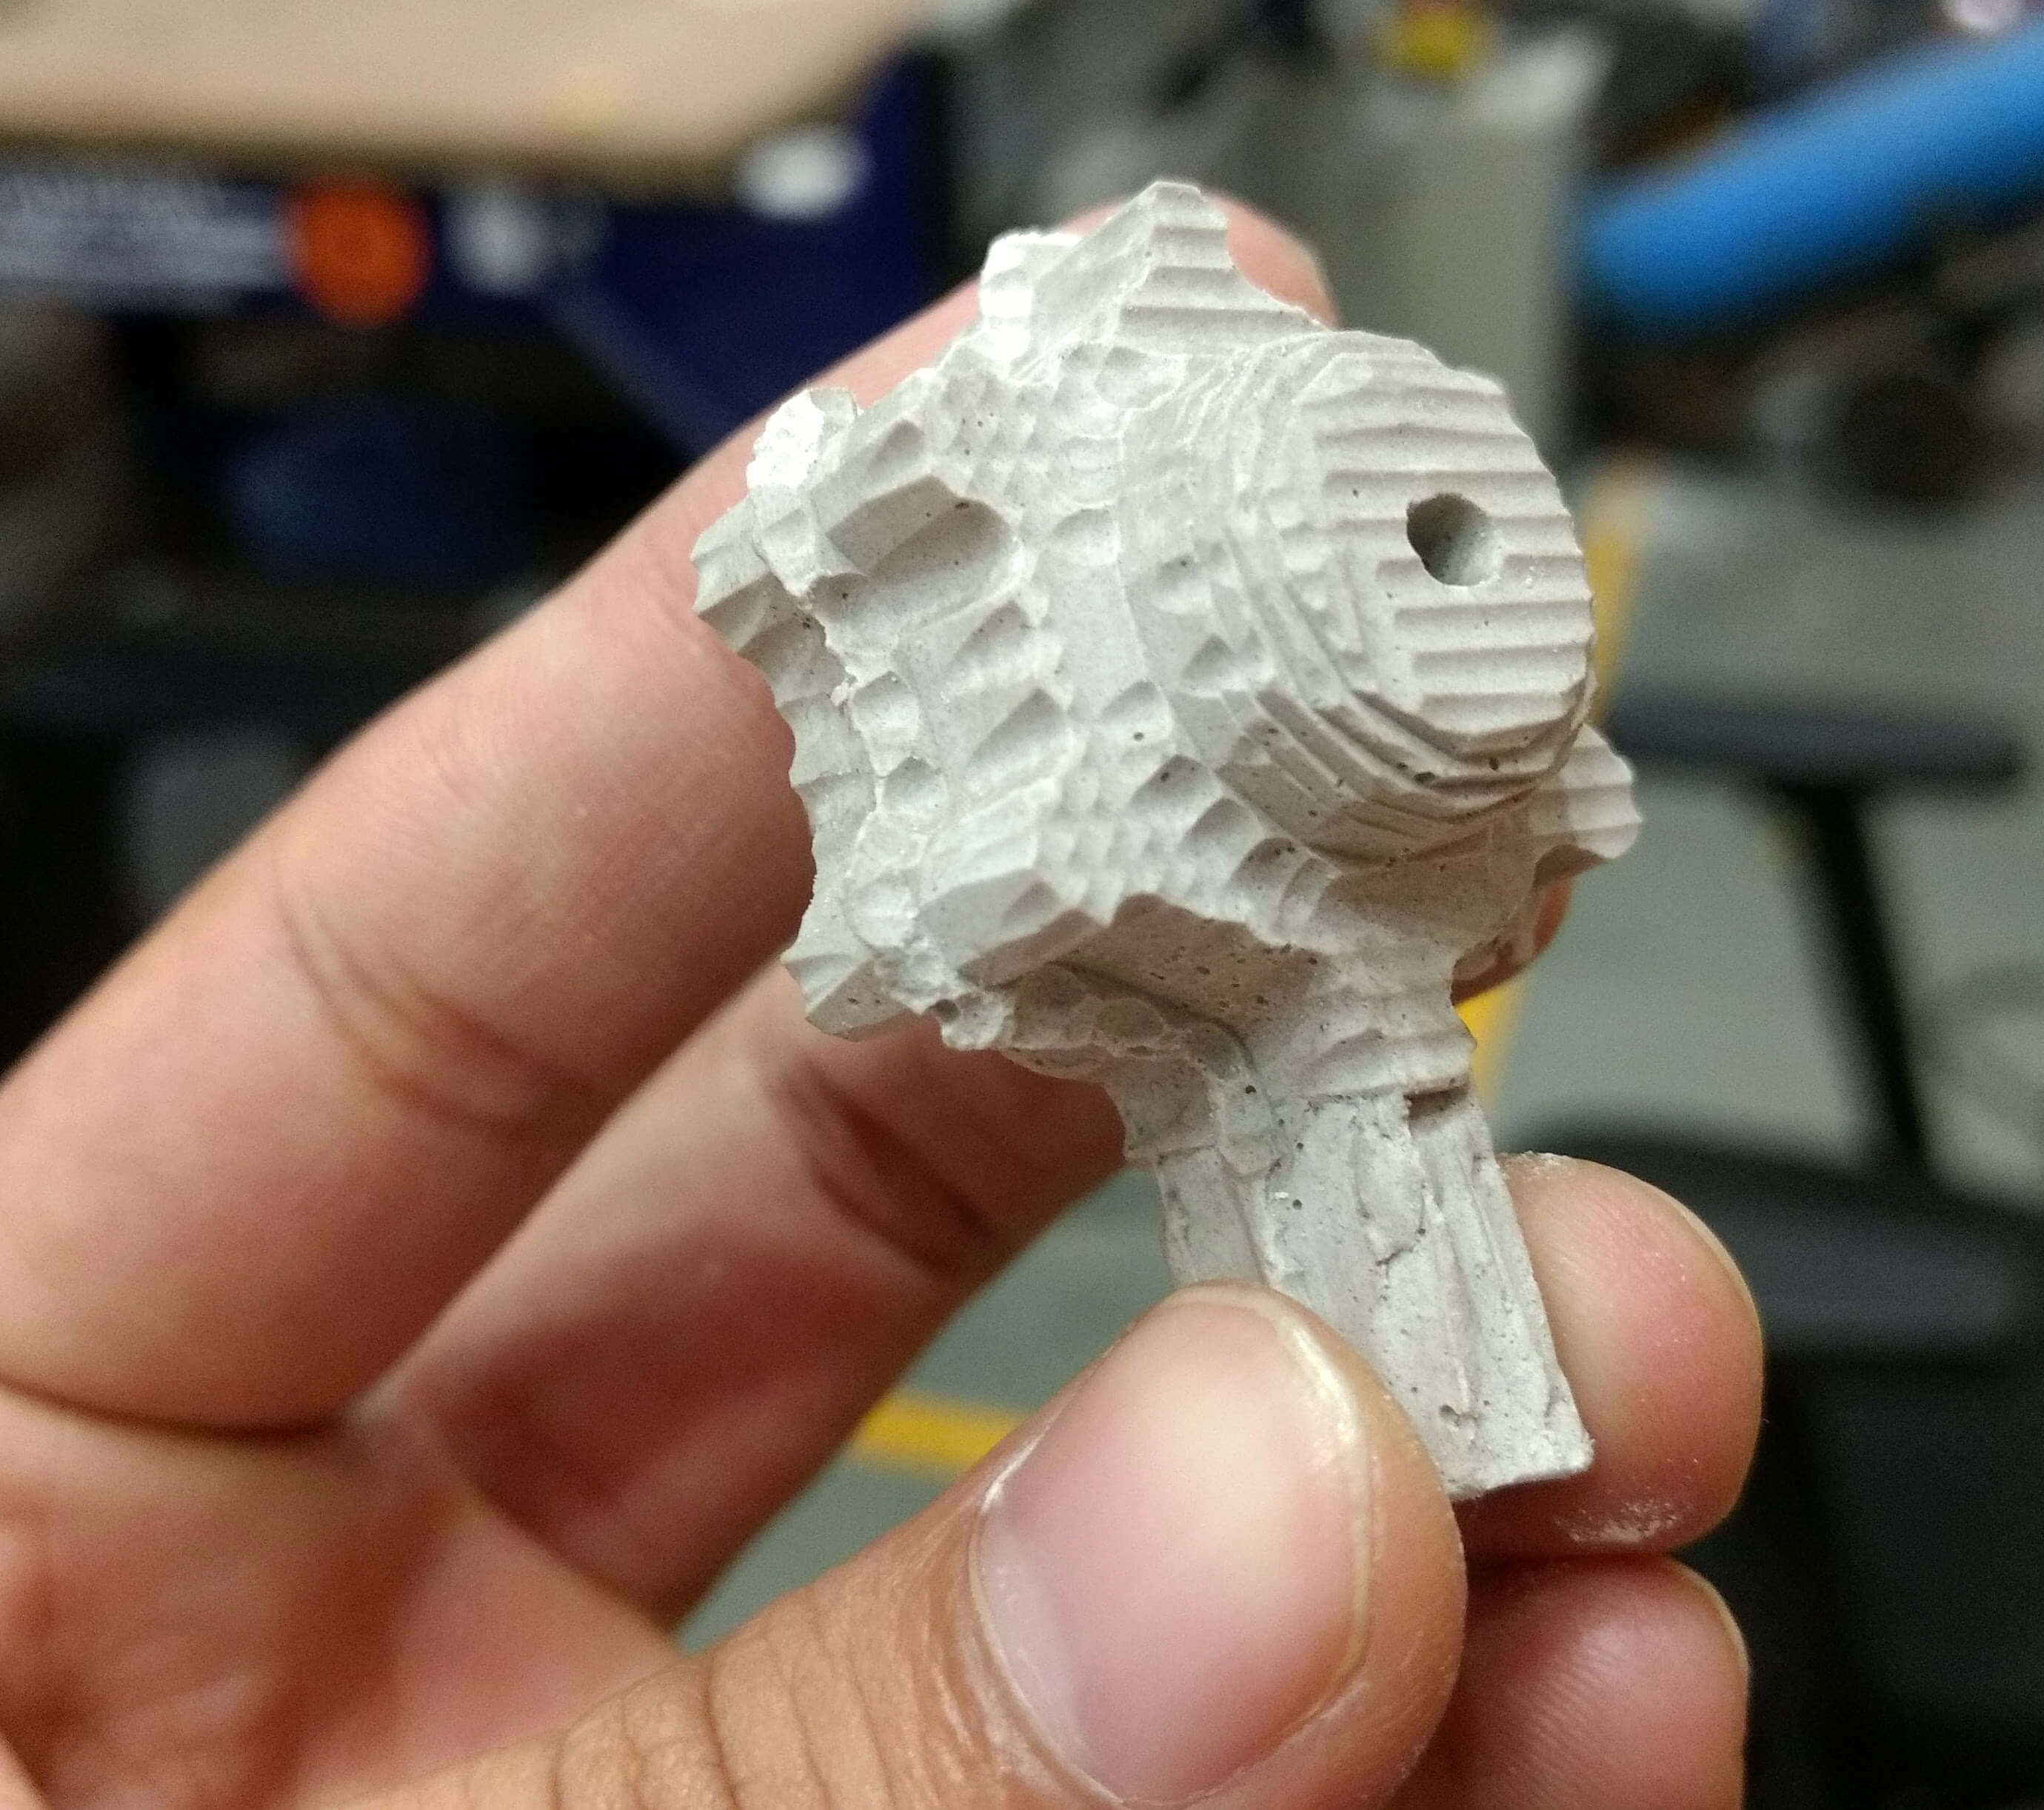
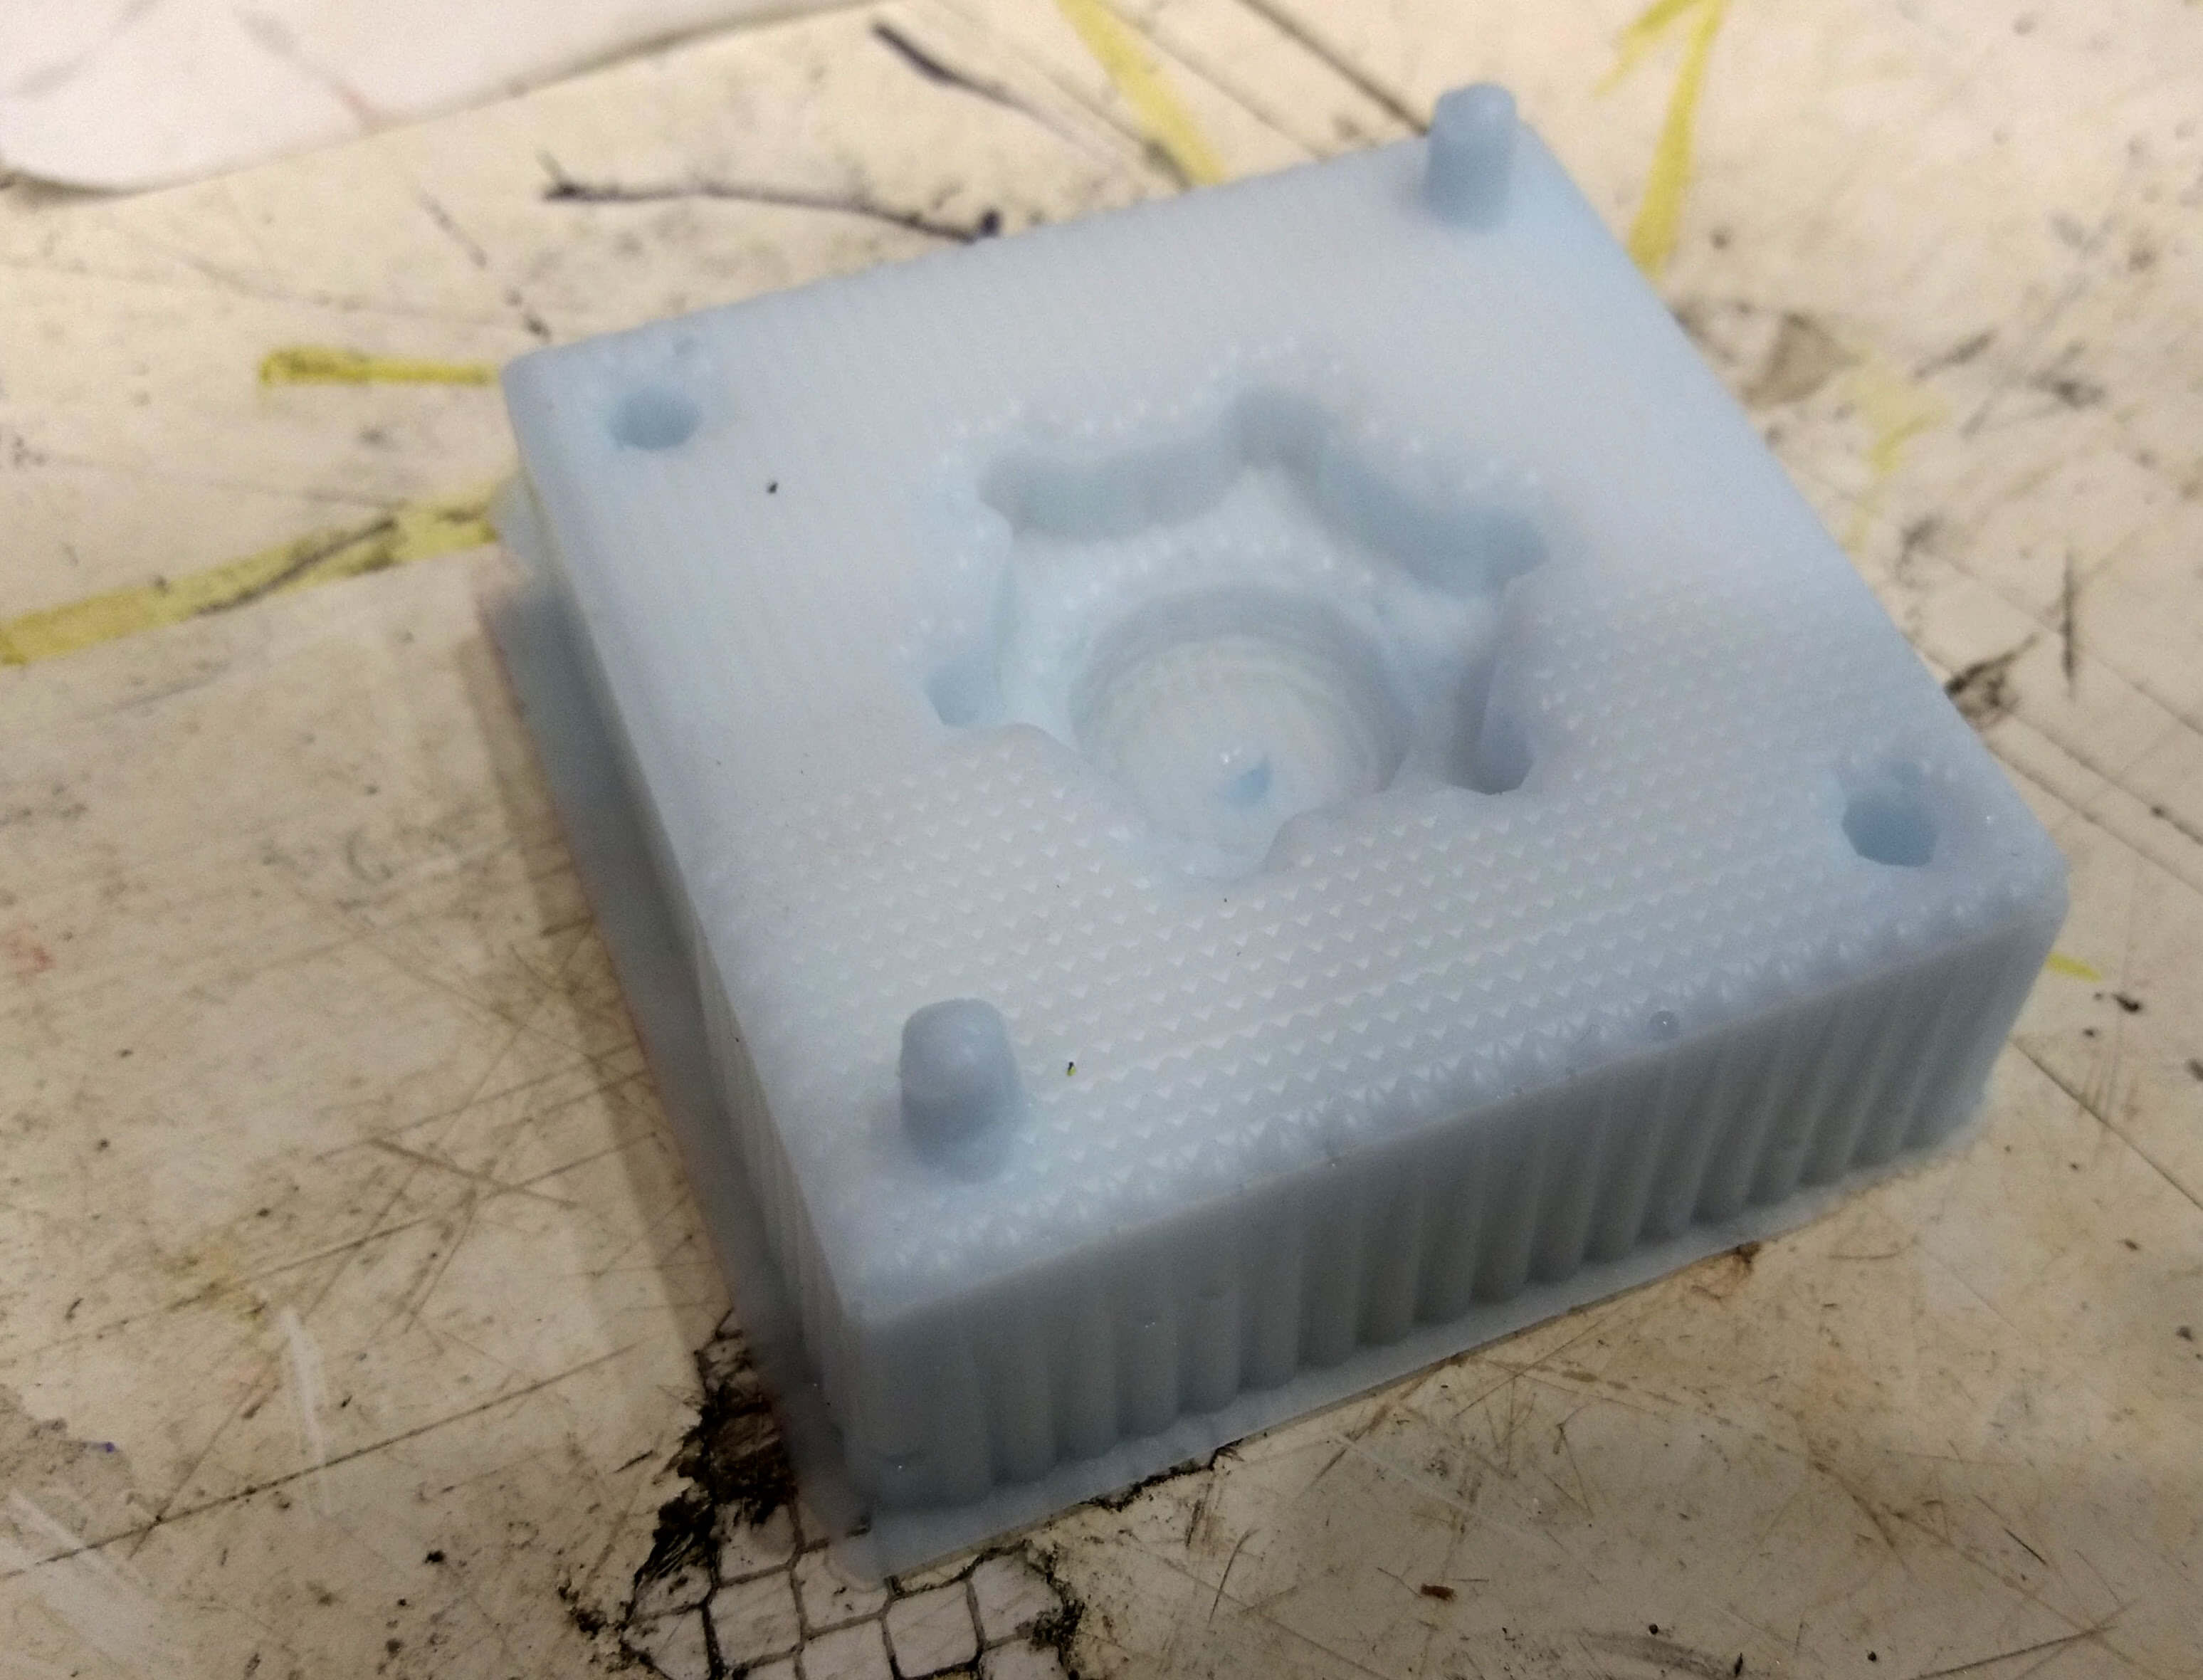
Finally I made a mold. I used the SolidWorks to make this mold. I tried to make a gear which has got the 6 teeth.
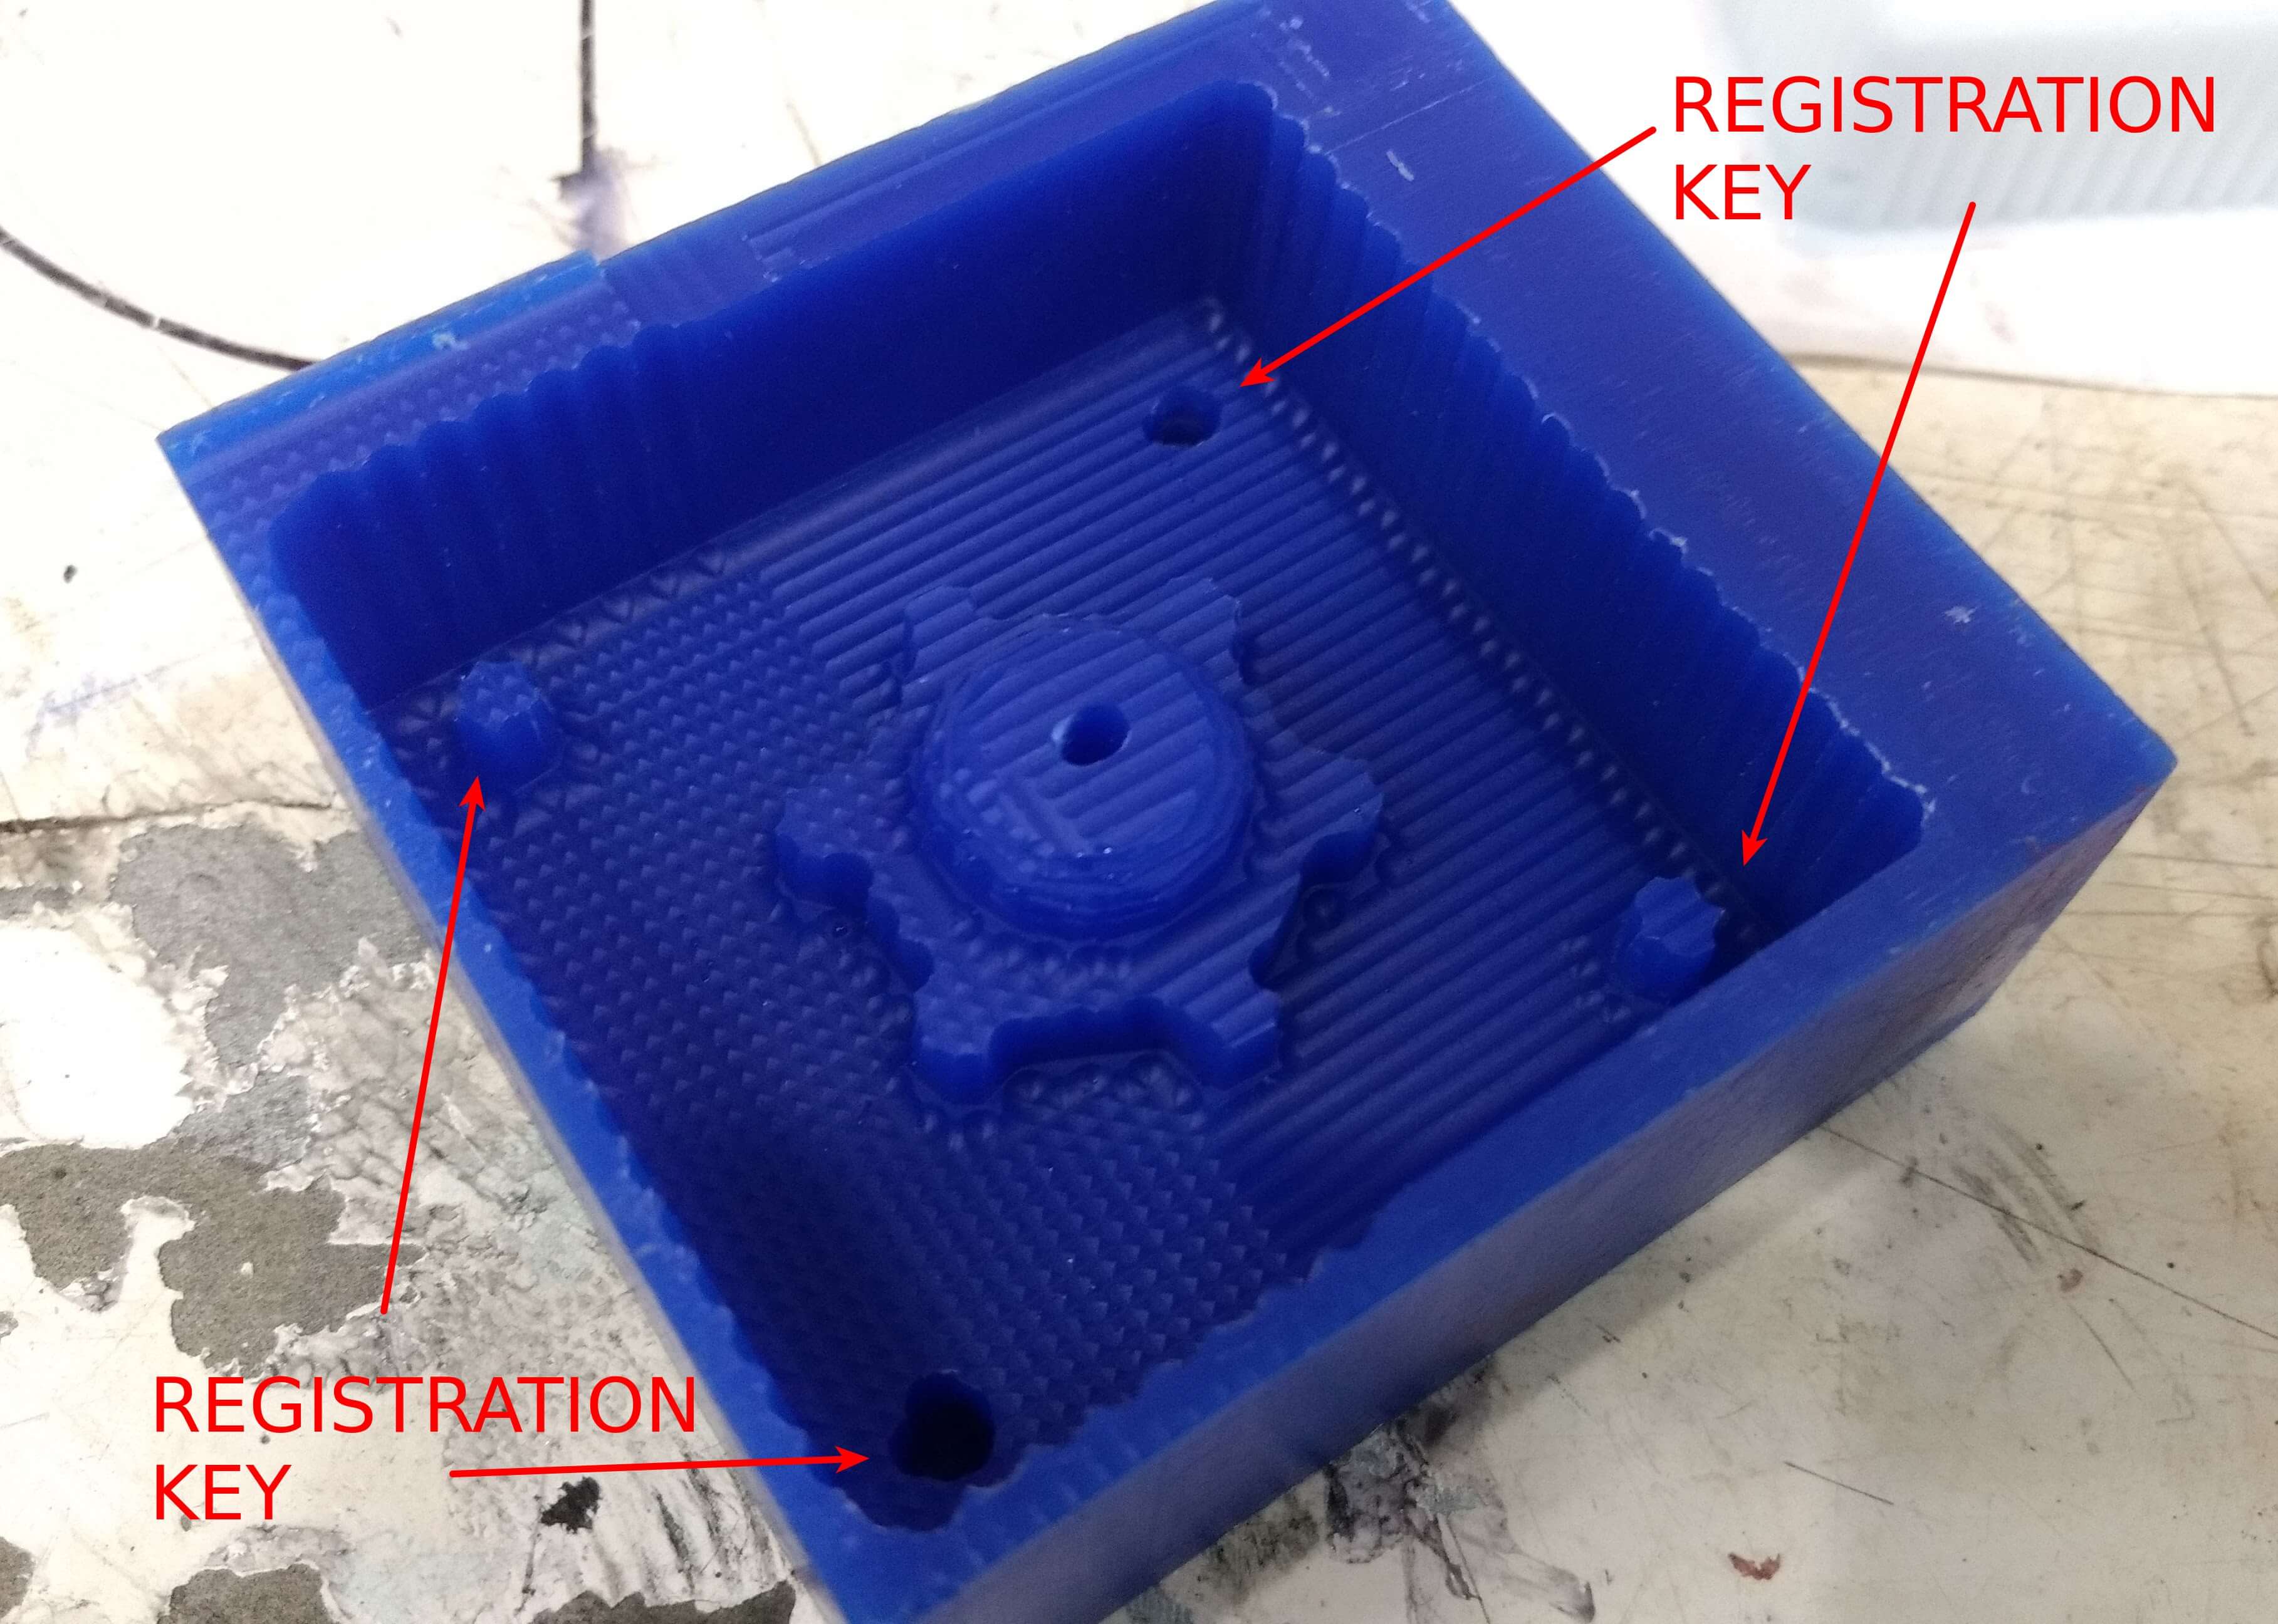
Registration key it is used for aligning the two halves of the object together. These works like lego blocks and prevents misalignment. If the part of the mold is misaligned then the object won't be casted properly and one can observe misalignment right on the edges of the finished object.
Step 11: Casting using drystone
This is the product that I got from Amazon. Which is quiet easily available and at very reasonable price.
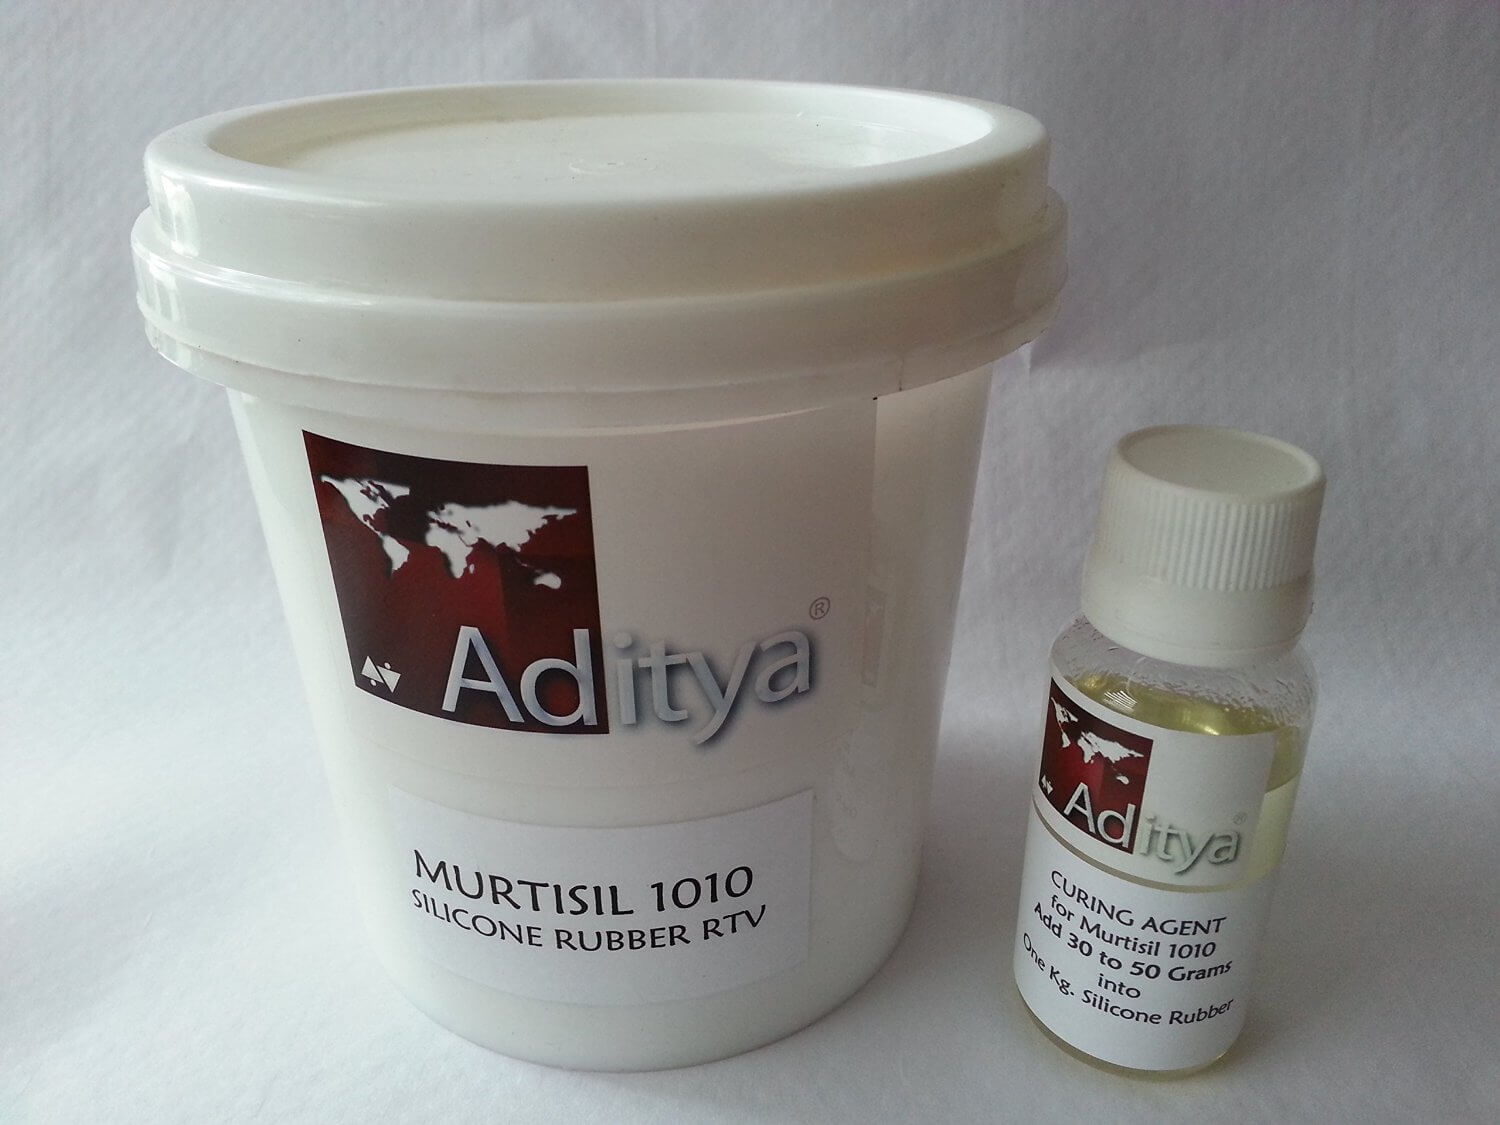
Here I'm building the silicon old with which I can able to make the casting of soling things. As discussed I took the mixture of 2 parts but in this case it is Silicon Rubber. Here in India obtaining Smooth-On silicon rubber is quite expensive, I made use of Aditya silicon rubber which is easy to get from Amazon. At Amazon website it is listed as MurtiSil 1010 - Silicone Rubber RTV the link from which you can order is mentioned in the references section.
Mixing Procedure:
- Take the required volume of the Rubber in the container
- Get the hardener in a syringe
- Pour the hardener from the syringe drop by drop and keep stirring
- Mixing ration if 100:3, i.e. 100 parts of rubber and 3 parts of hardener
- Cure time is 3 hours
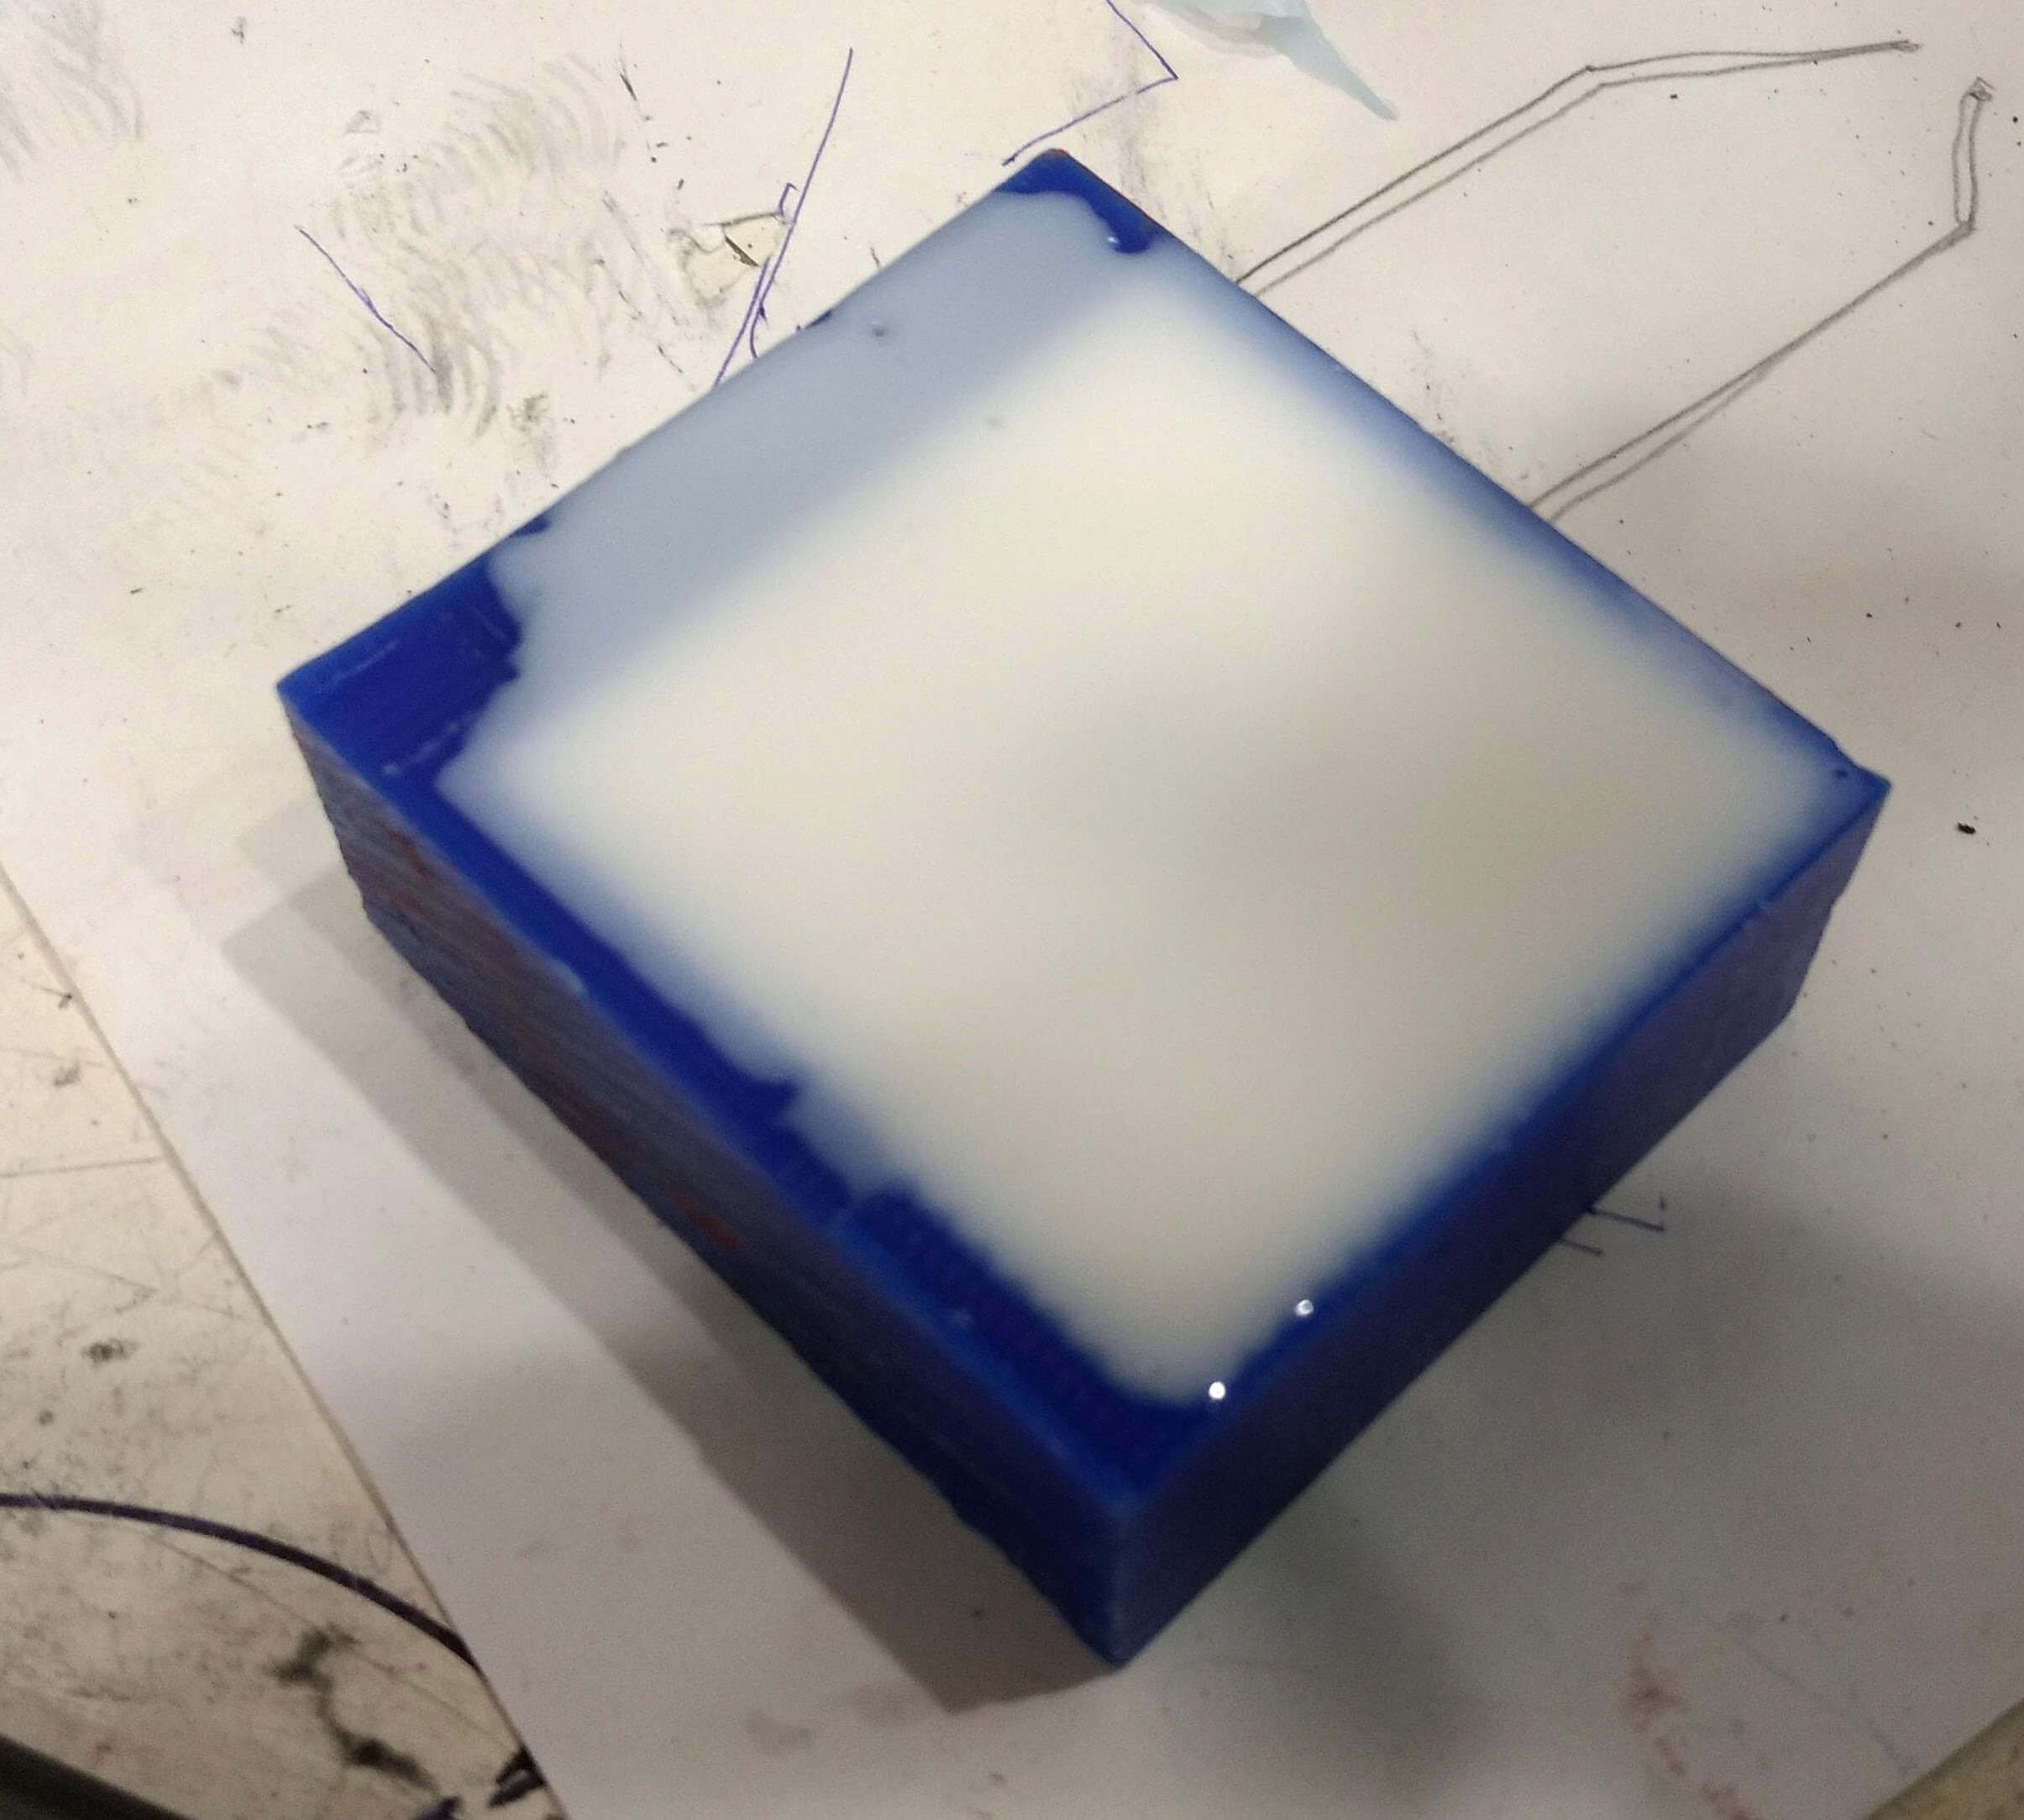
Once you mix this it is very easy to pour into mold while taking care of the bubbles.
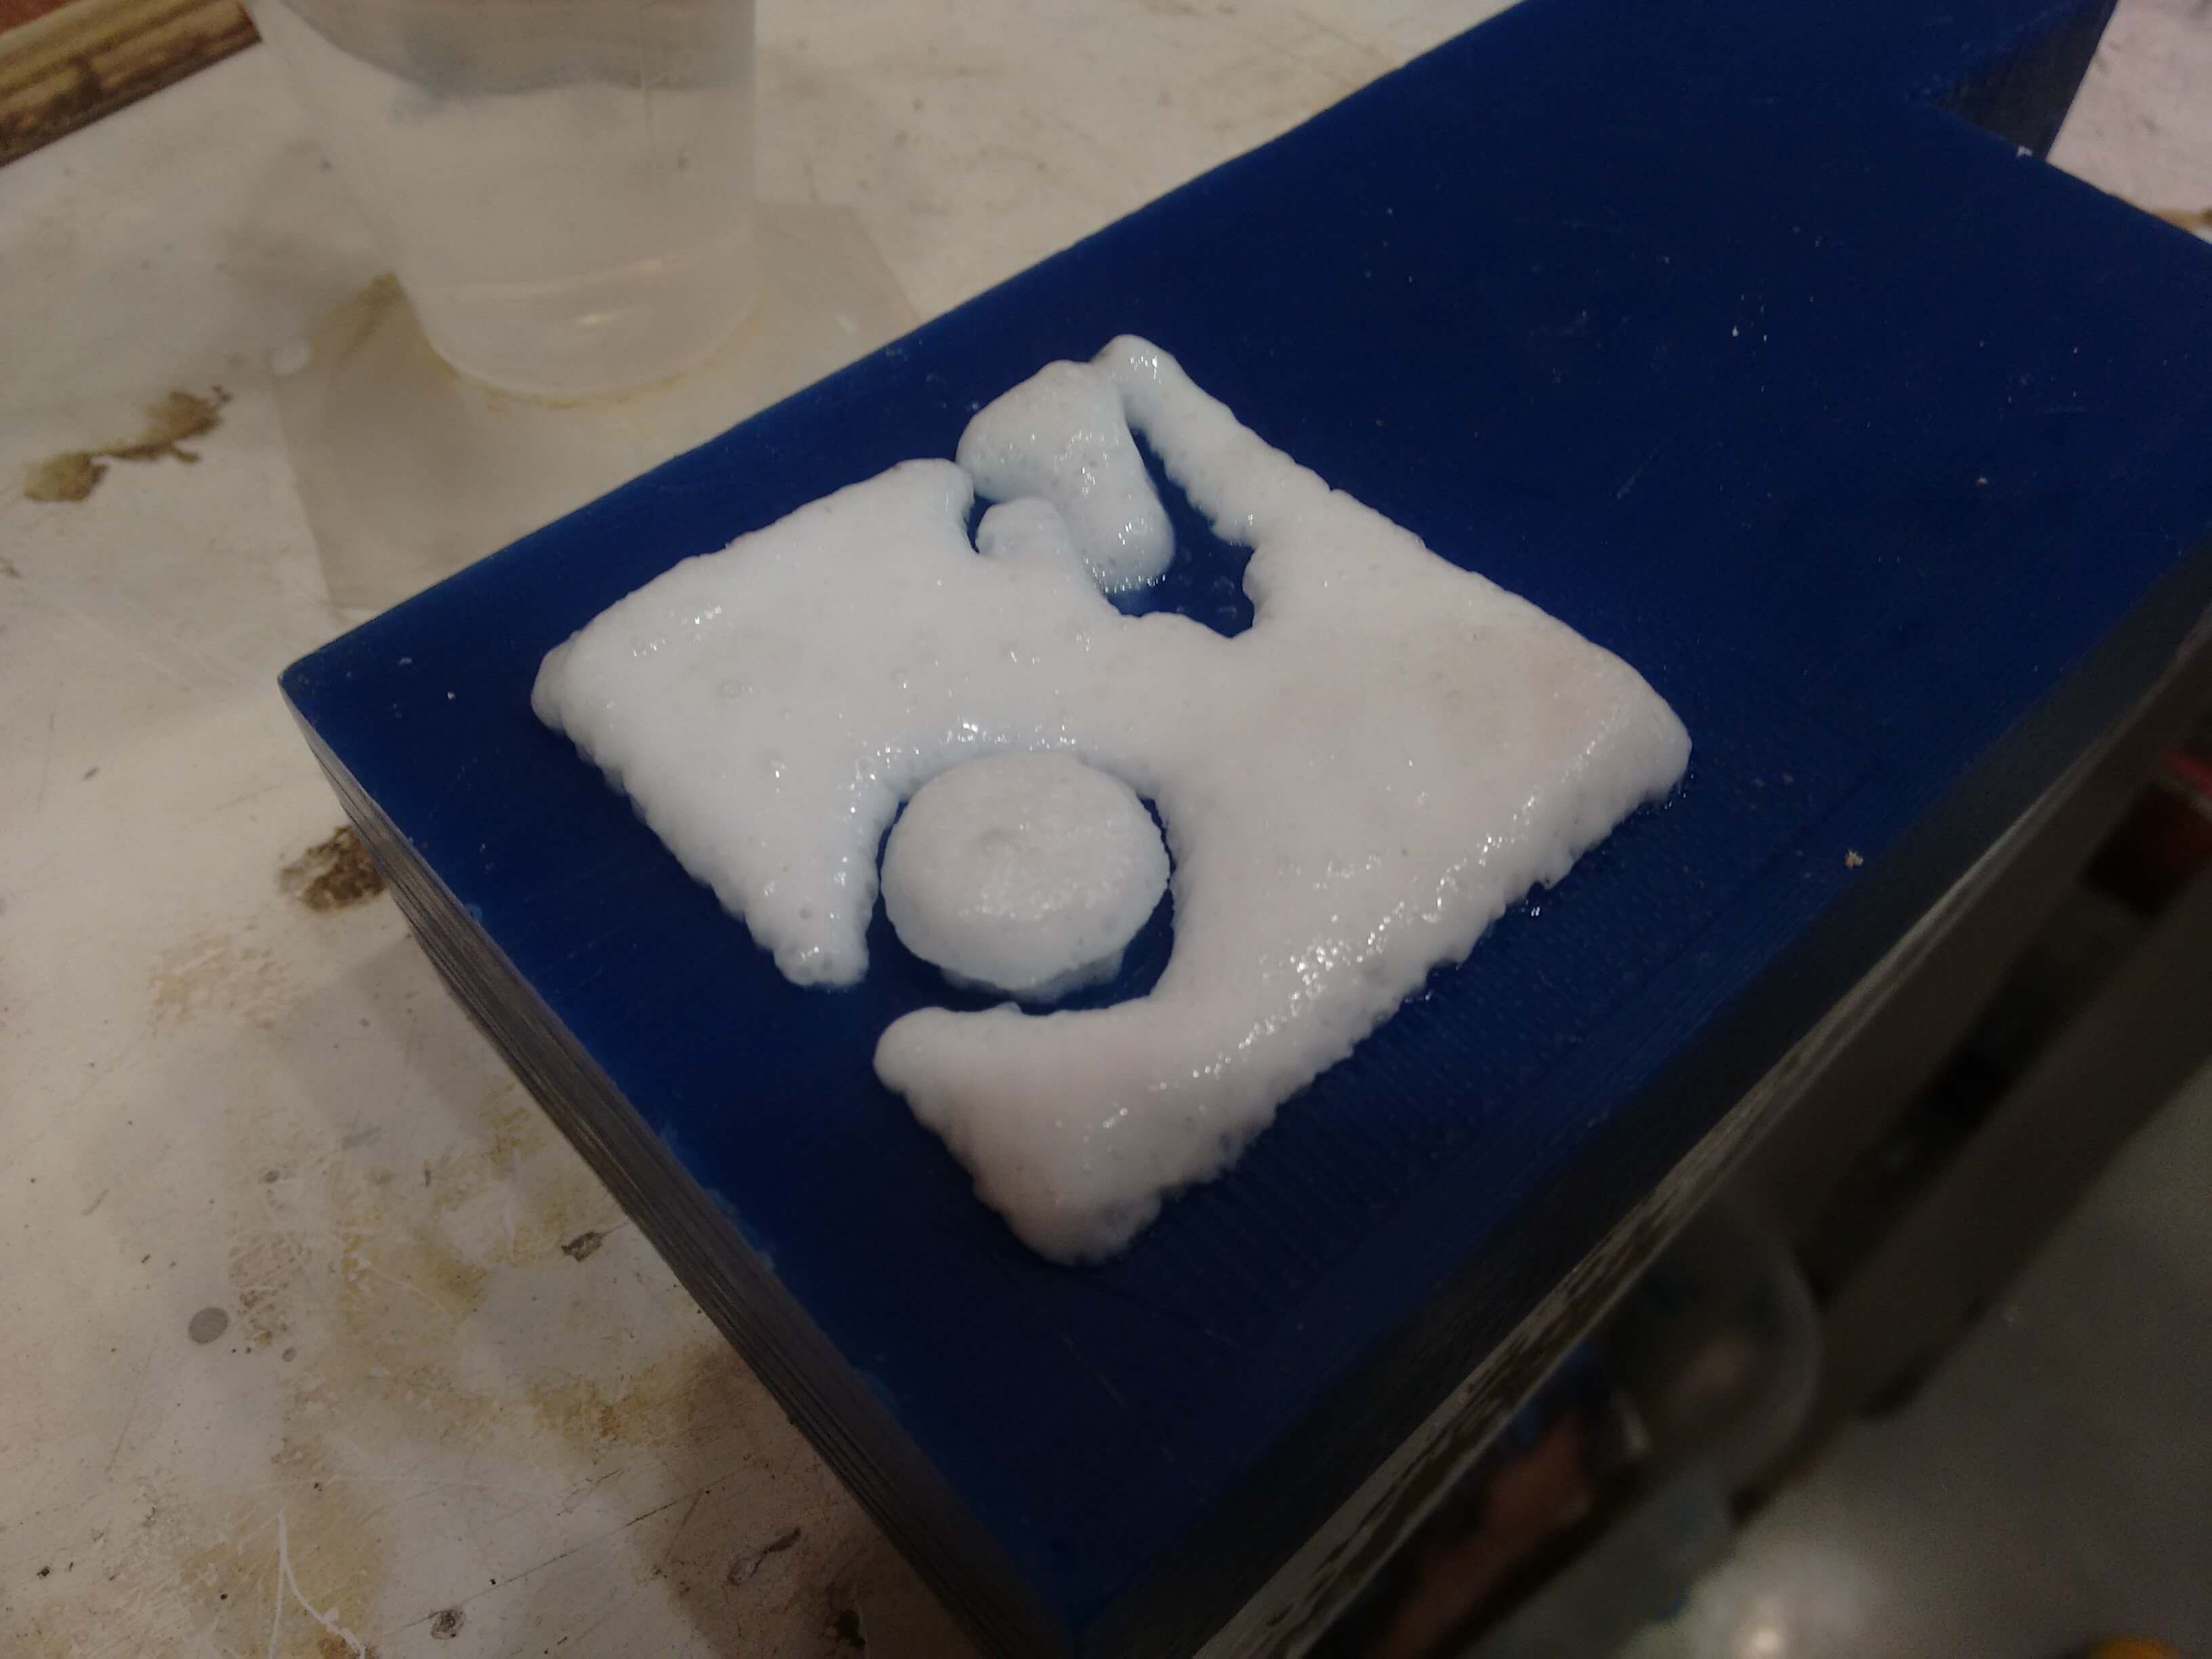
After 3 hours I got the silicon mold ready to cast the part. It's time to mix the drystone. It was easy to pull out the silicon mold because it silicon is soft-flexible where as rubber is rigid. So, silicon rubber allows temporary deformation of itself to come out of the narrow openings.
Mixing ratio of the drystone is 1:3, i.e. one part of the drystone powder and 3 parts of water.
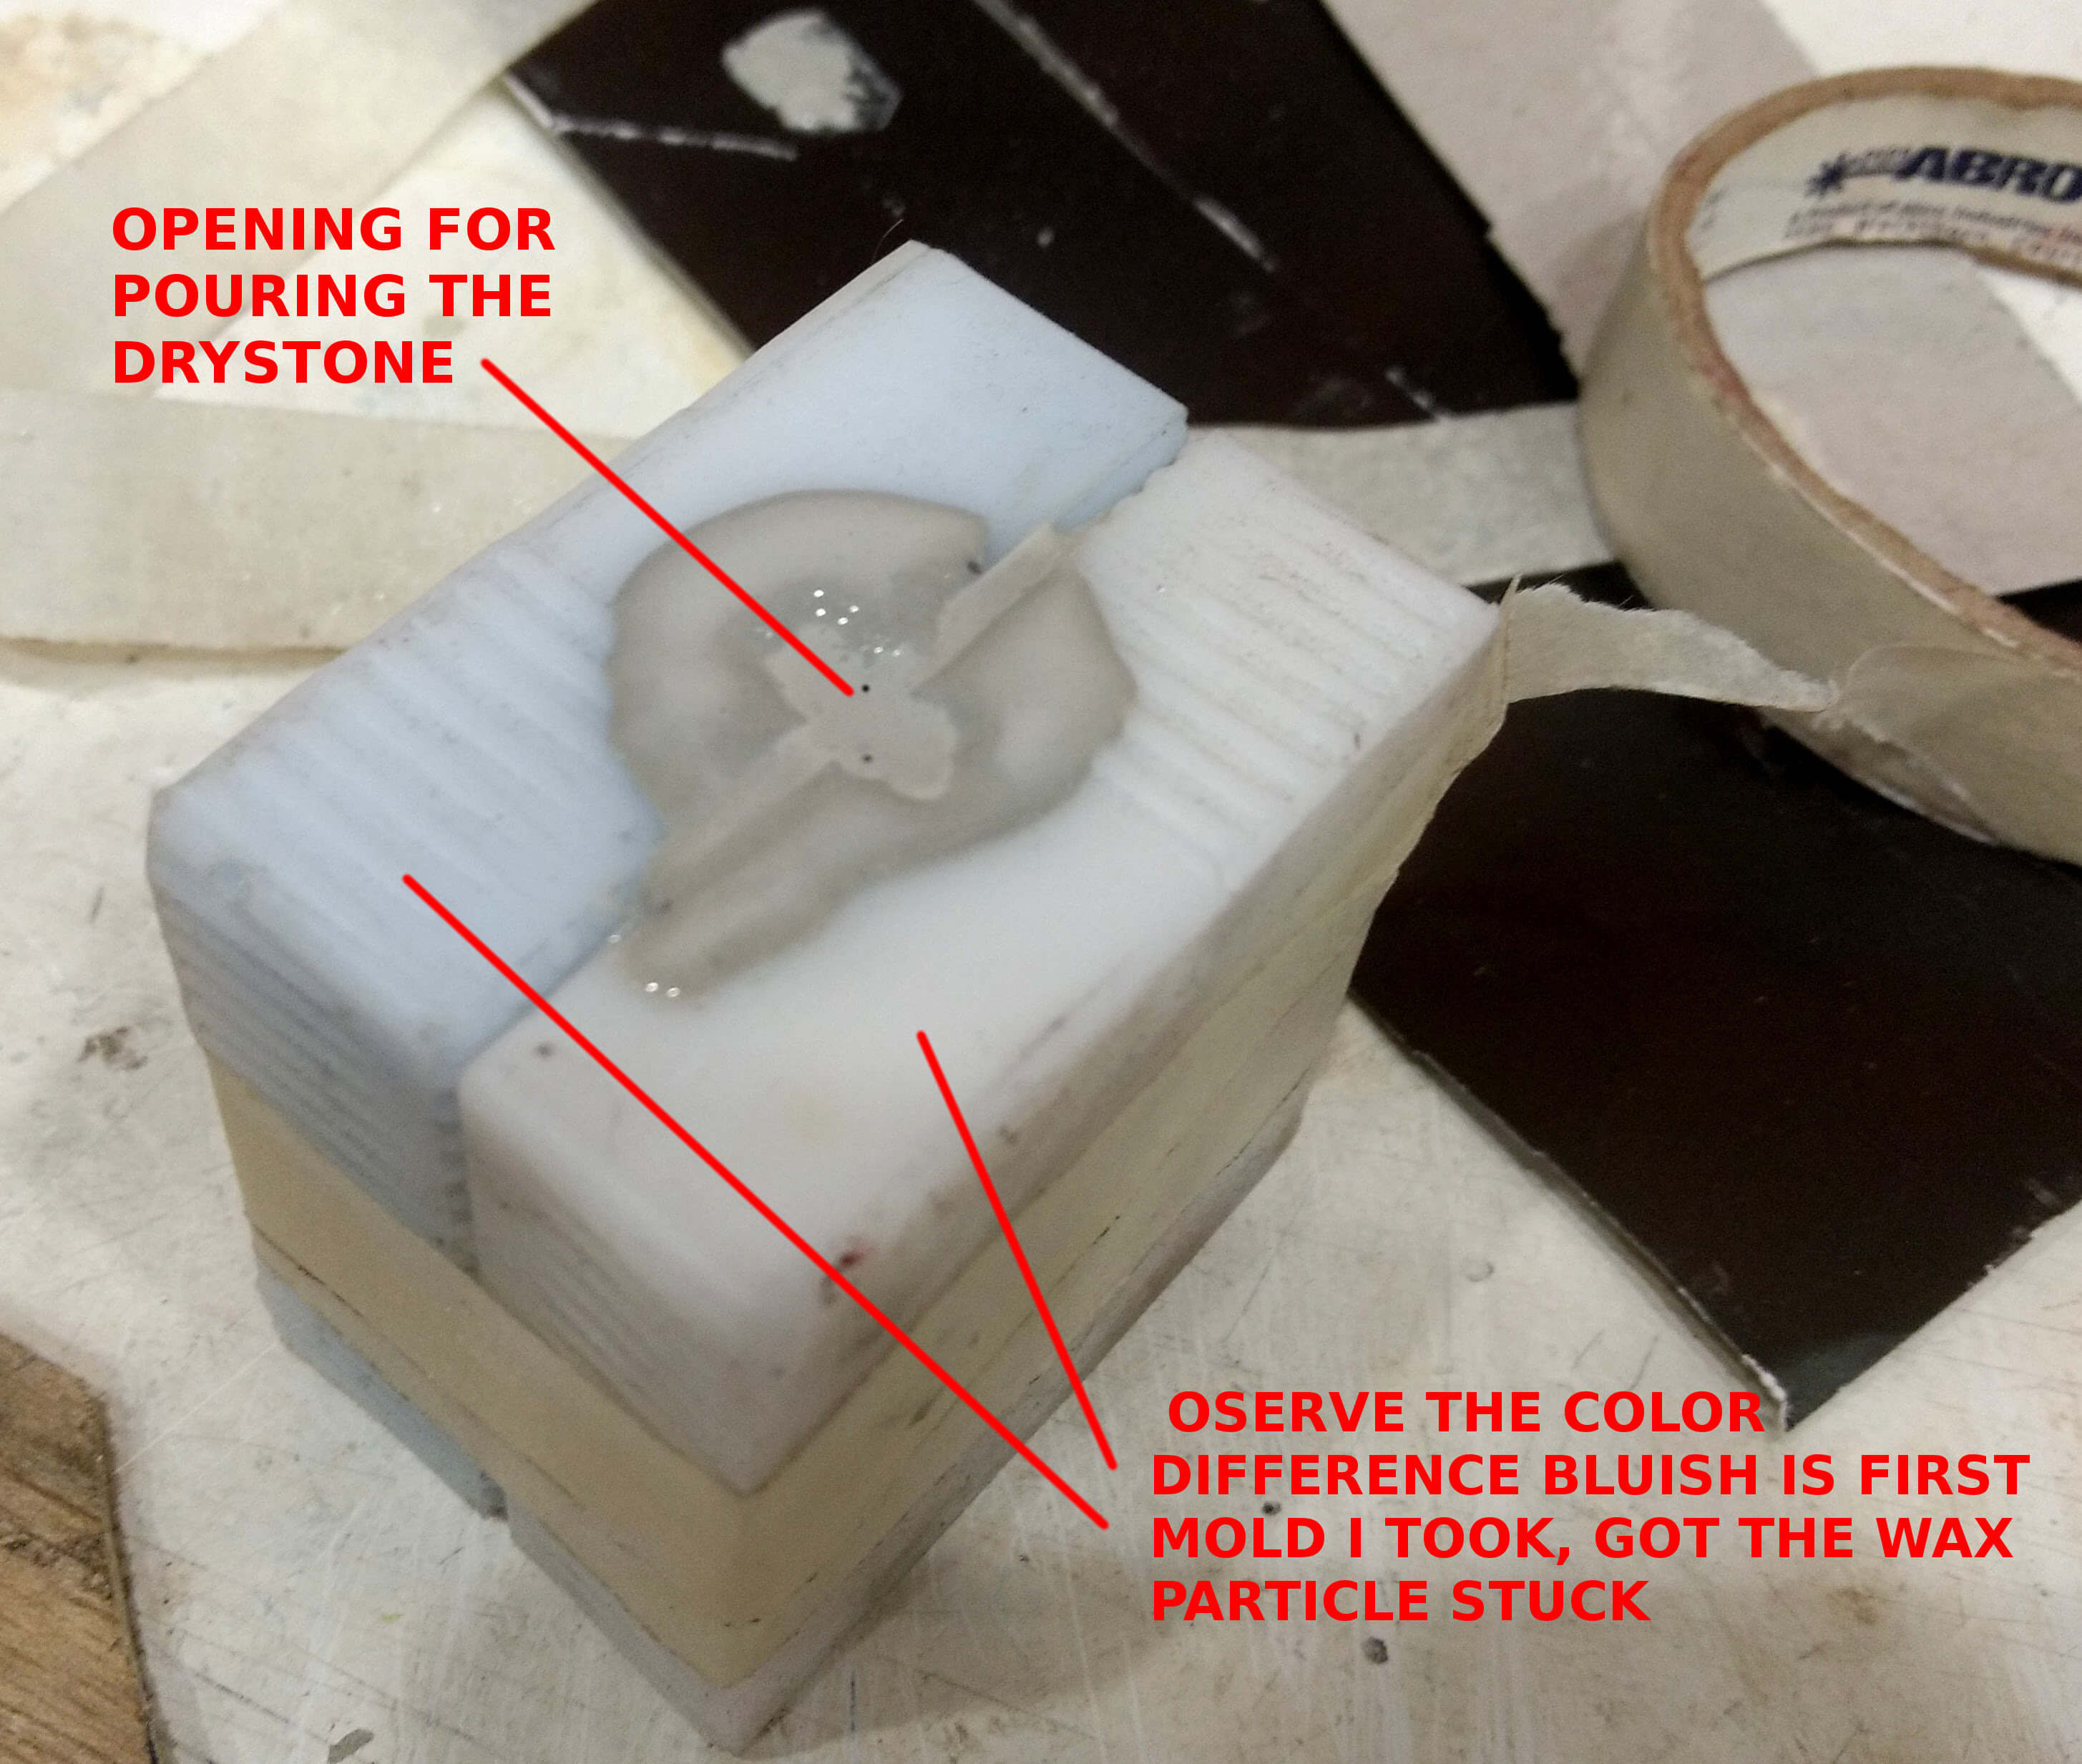
I've molded the two silicon molds using the wax mold, this is the time to cast it. To match the proper alignment registration keys played a big role. Now, Once I have matched the registration key, I secured the silicon molds using paper tape. And I cut the small opening to pour the drystone in. Observe it in the left side picture.
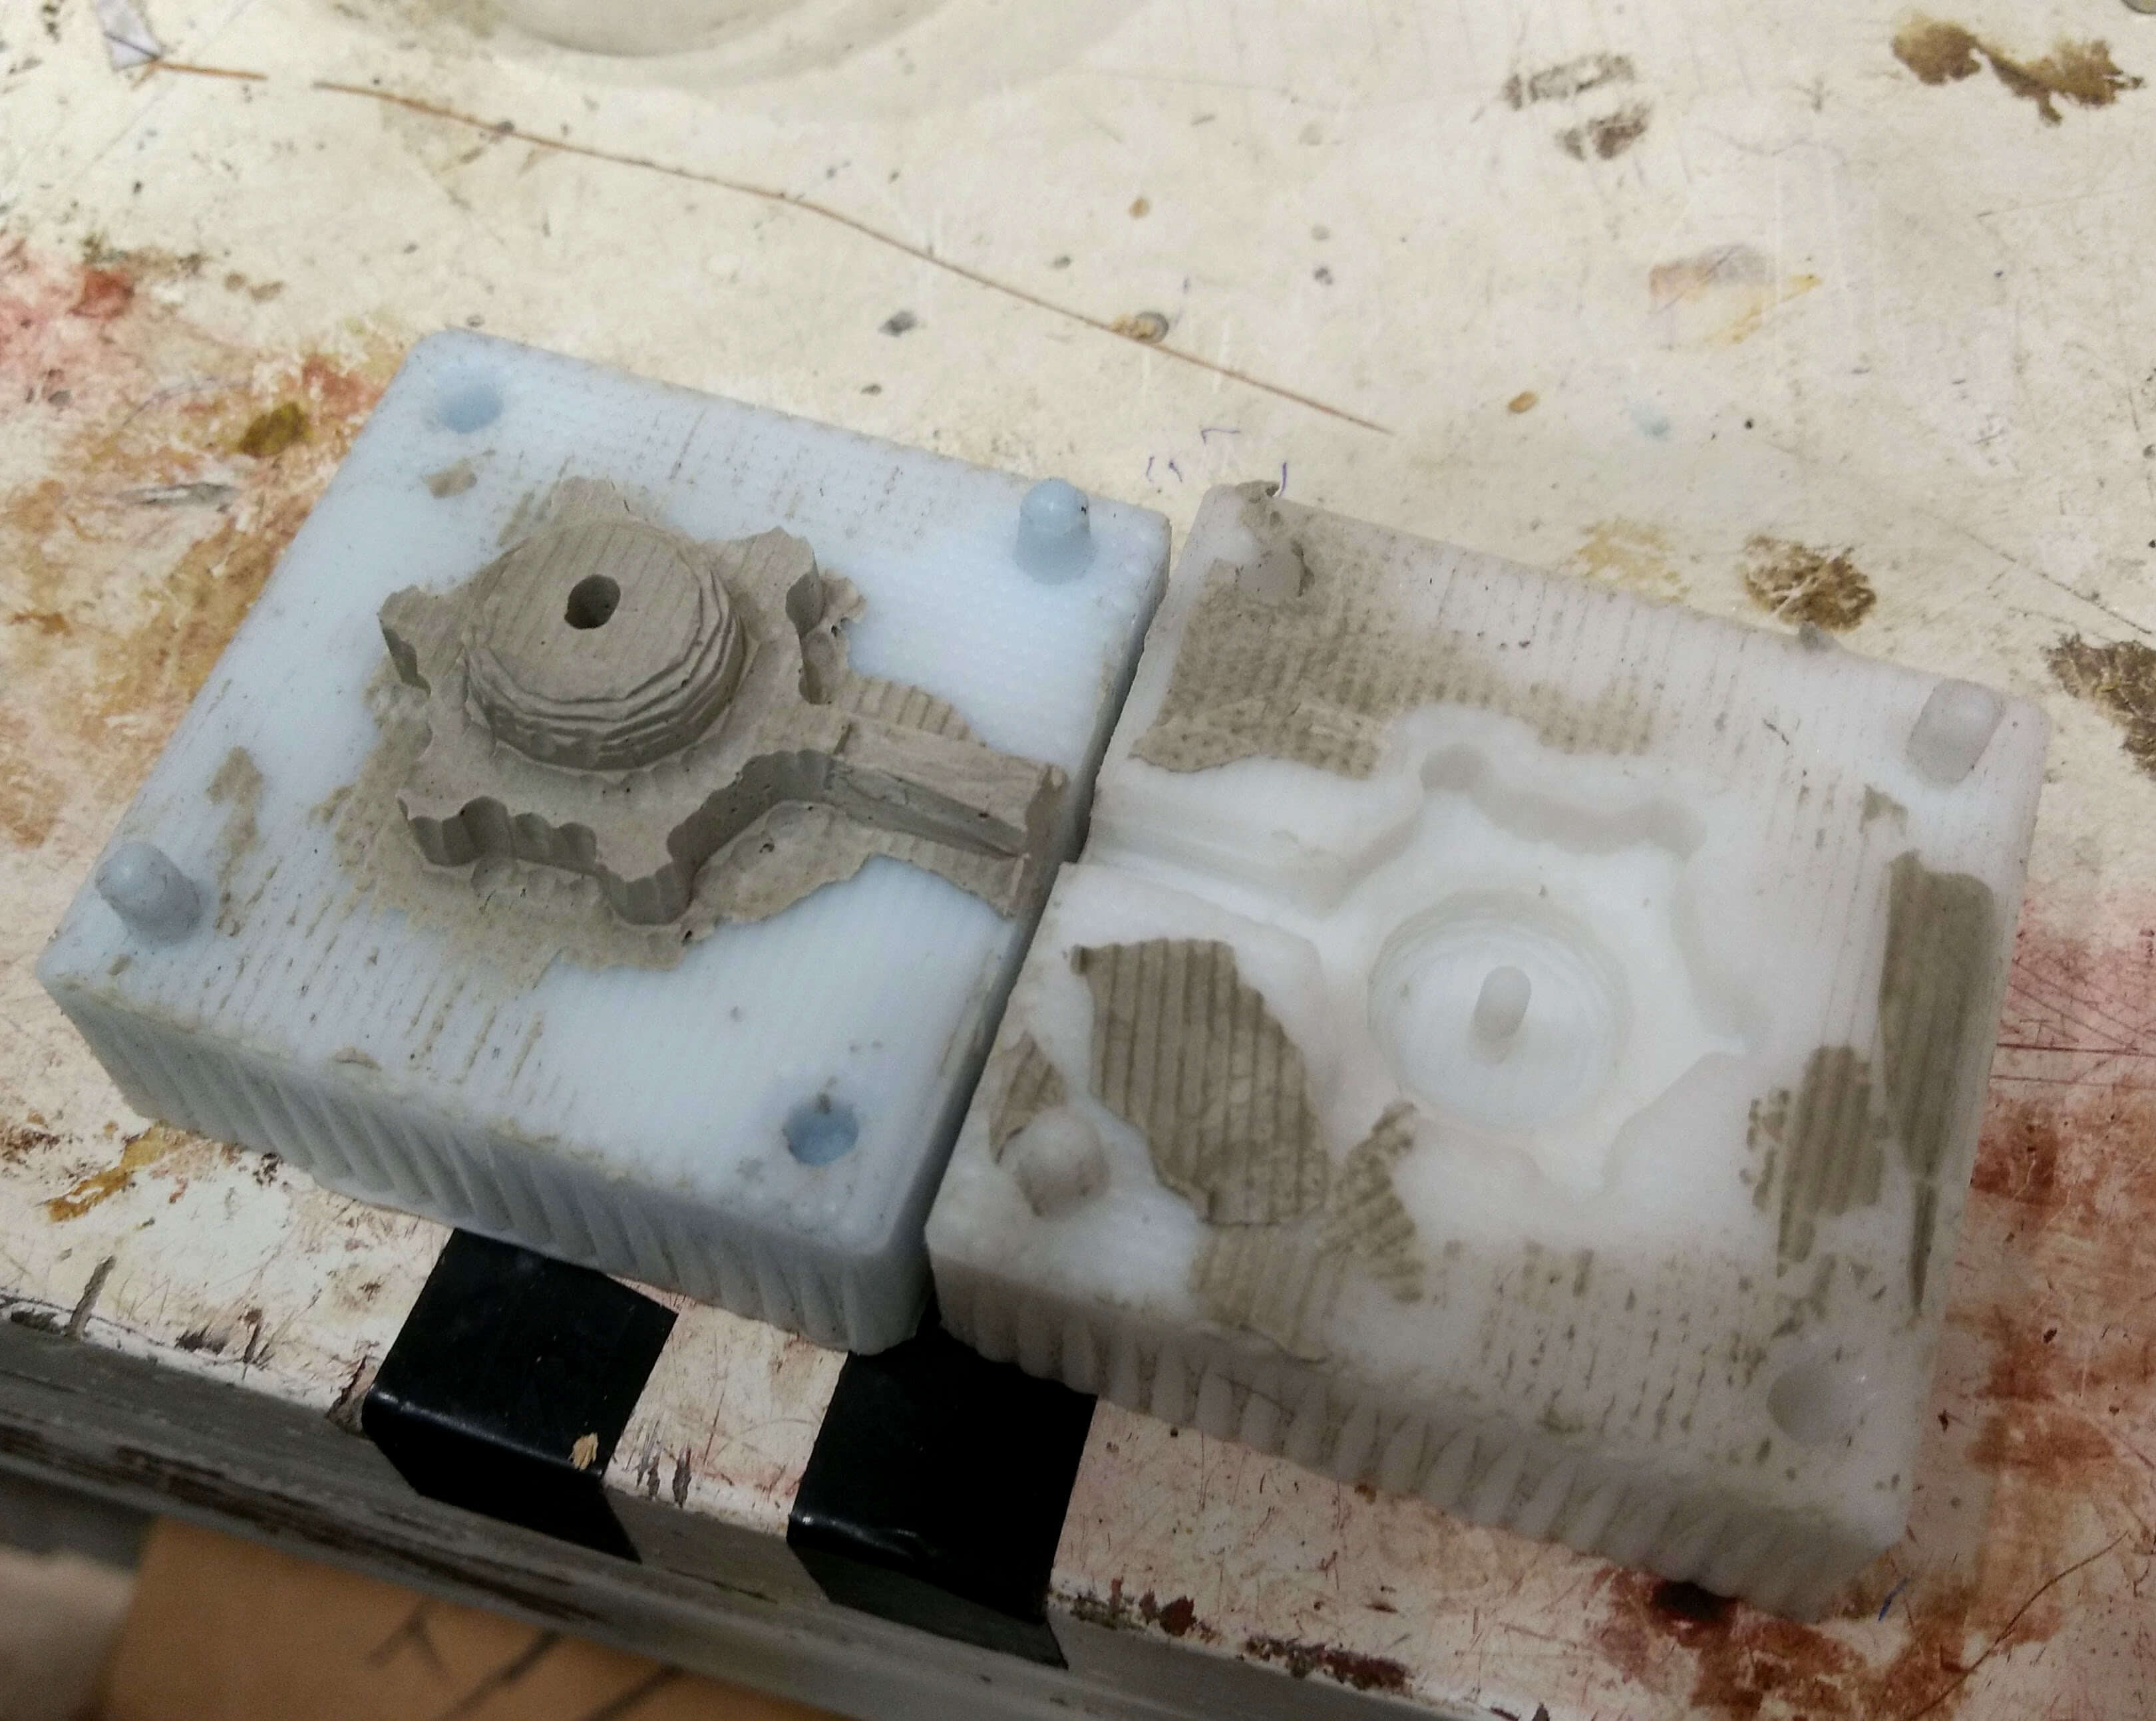
Then after 3 to 4 hours drystone got cured and I opened my mold. Observe this int the picture.
To avoid mis-calculation of time and error of premature opening of mold I have kept little amount of drystone mixture in another container. so, when I wanted to check about the curation of the drystone in mold, I first goto this cup and test whether the mold is cured or not.
Molding-Casting process flow what to do? and what not to?
- Don't try to cast hard thing into another hard mold. e.g. Plastic/Drystone in wax mold.
- Don't try to cast soft thing into another soft mold. e.g. silicon in silicon mold.
- Respect curing time.
- Respect temperature limits mentioned by manufacturers.
Heroshot