Week 7 Assignment: Make something BIG
Go back HOME
Week 7's lecture included understanding the nuances of the Fab Lab's Full Size ShopBot PRSalpha CNC High Precision Milling Machine:
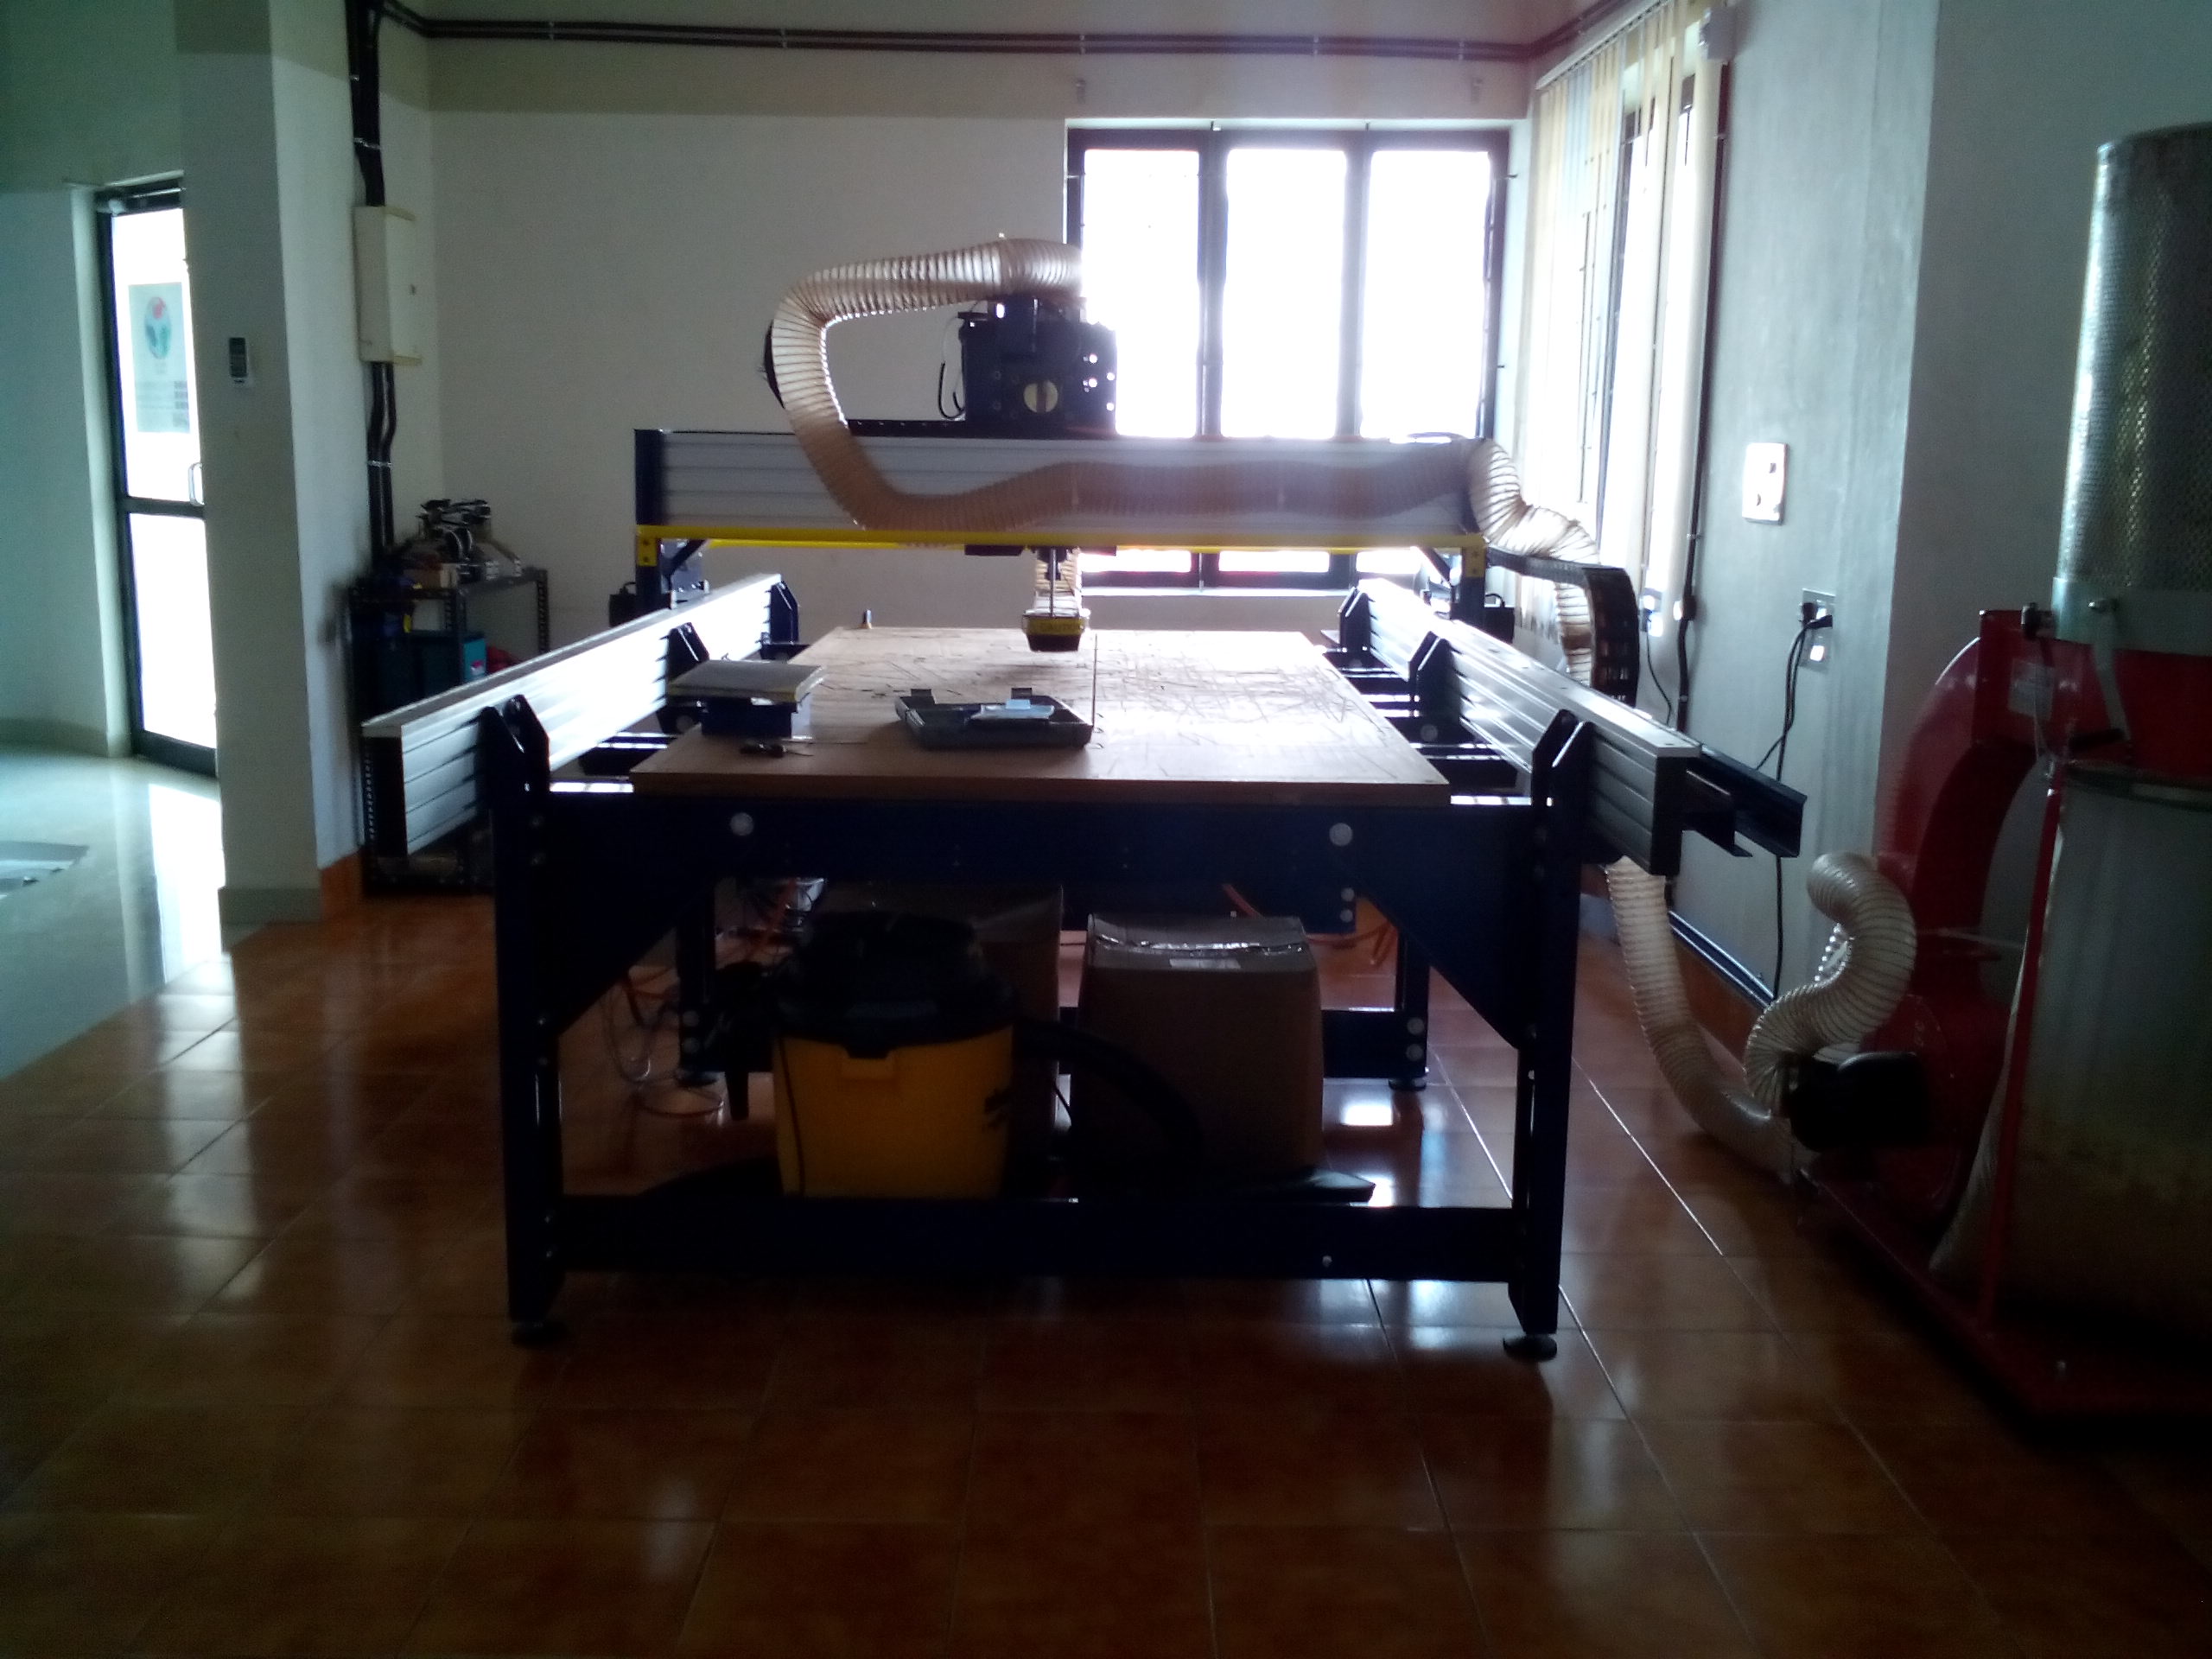
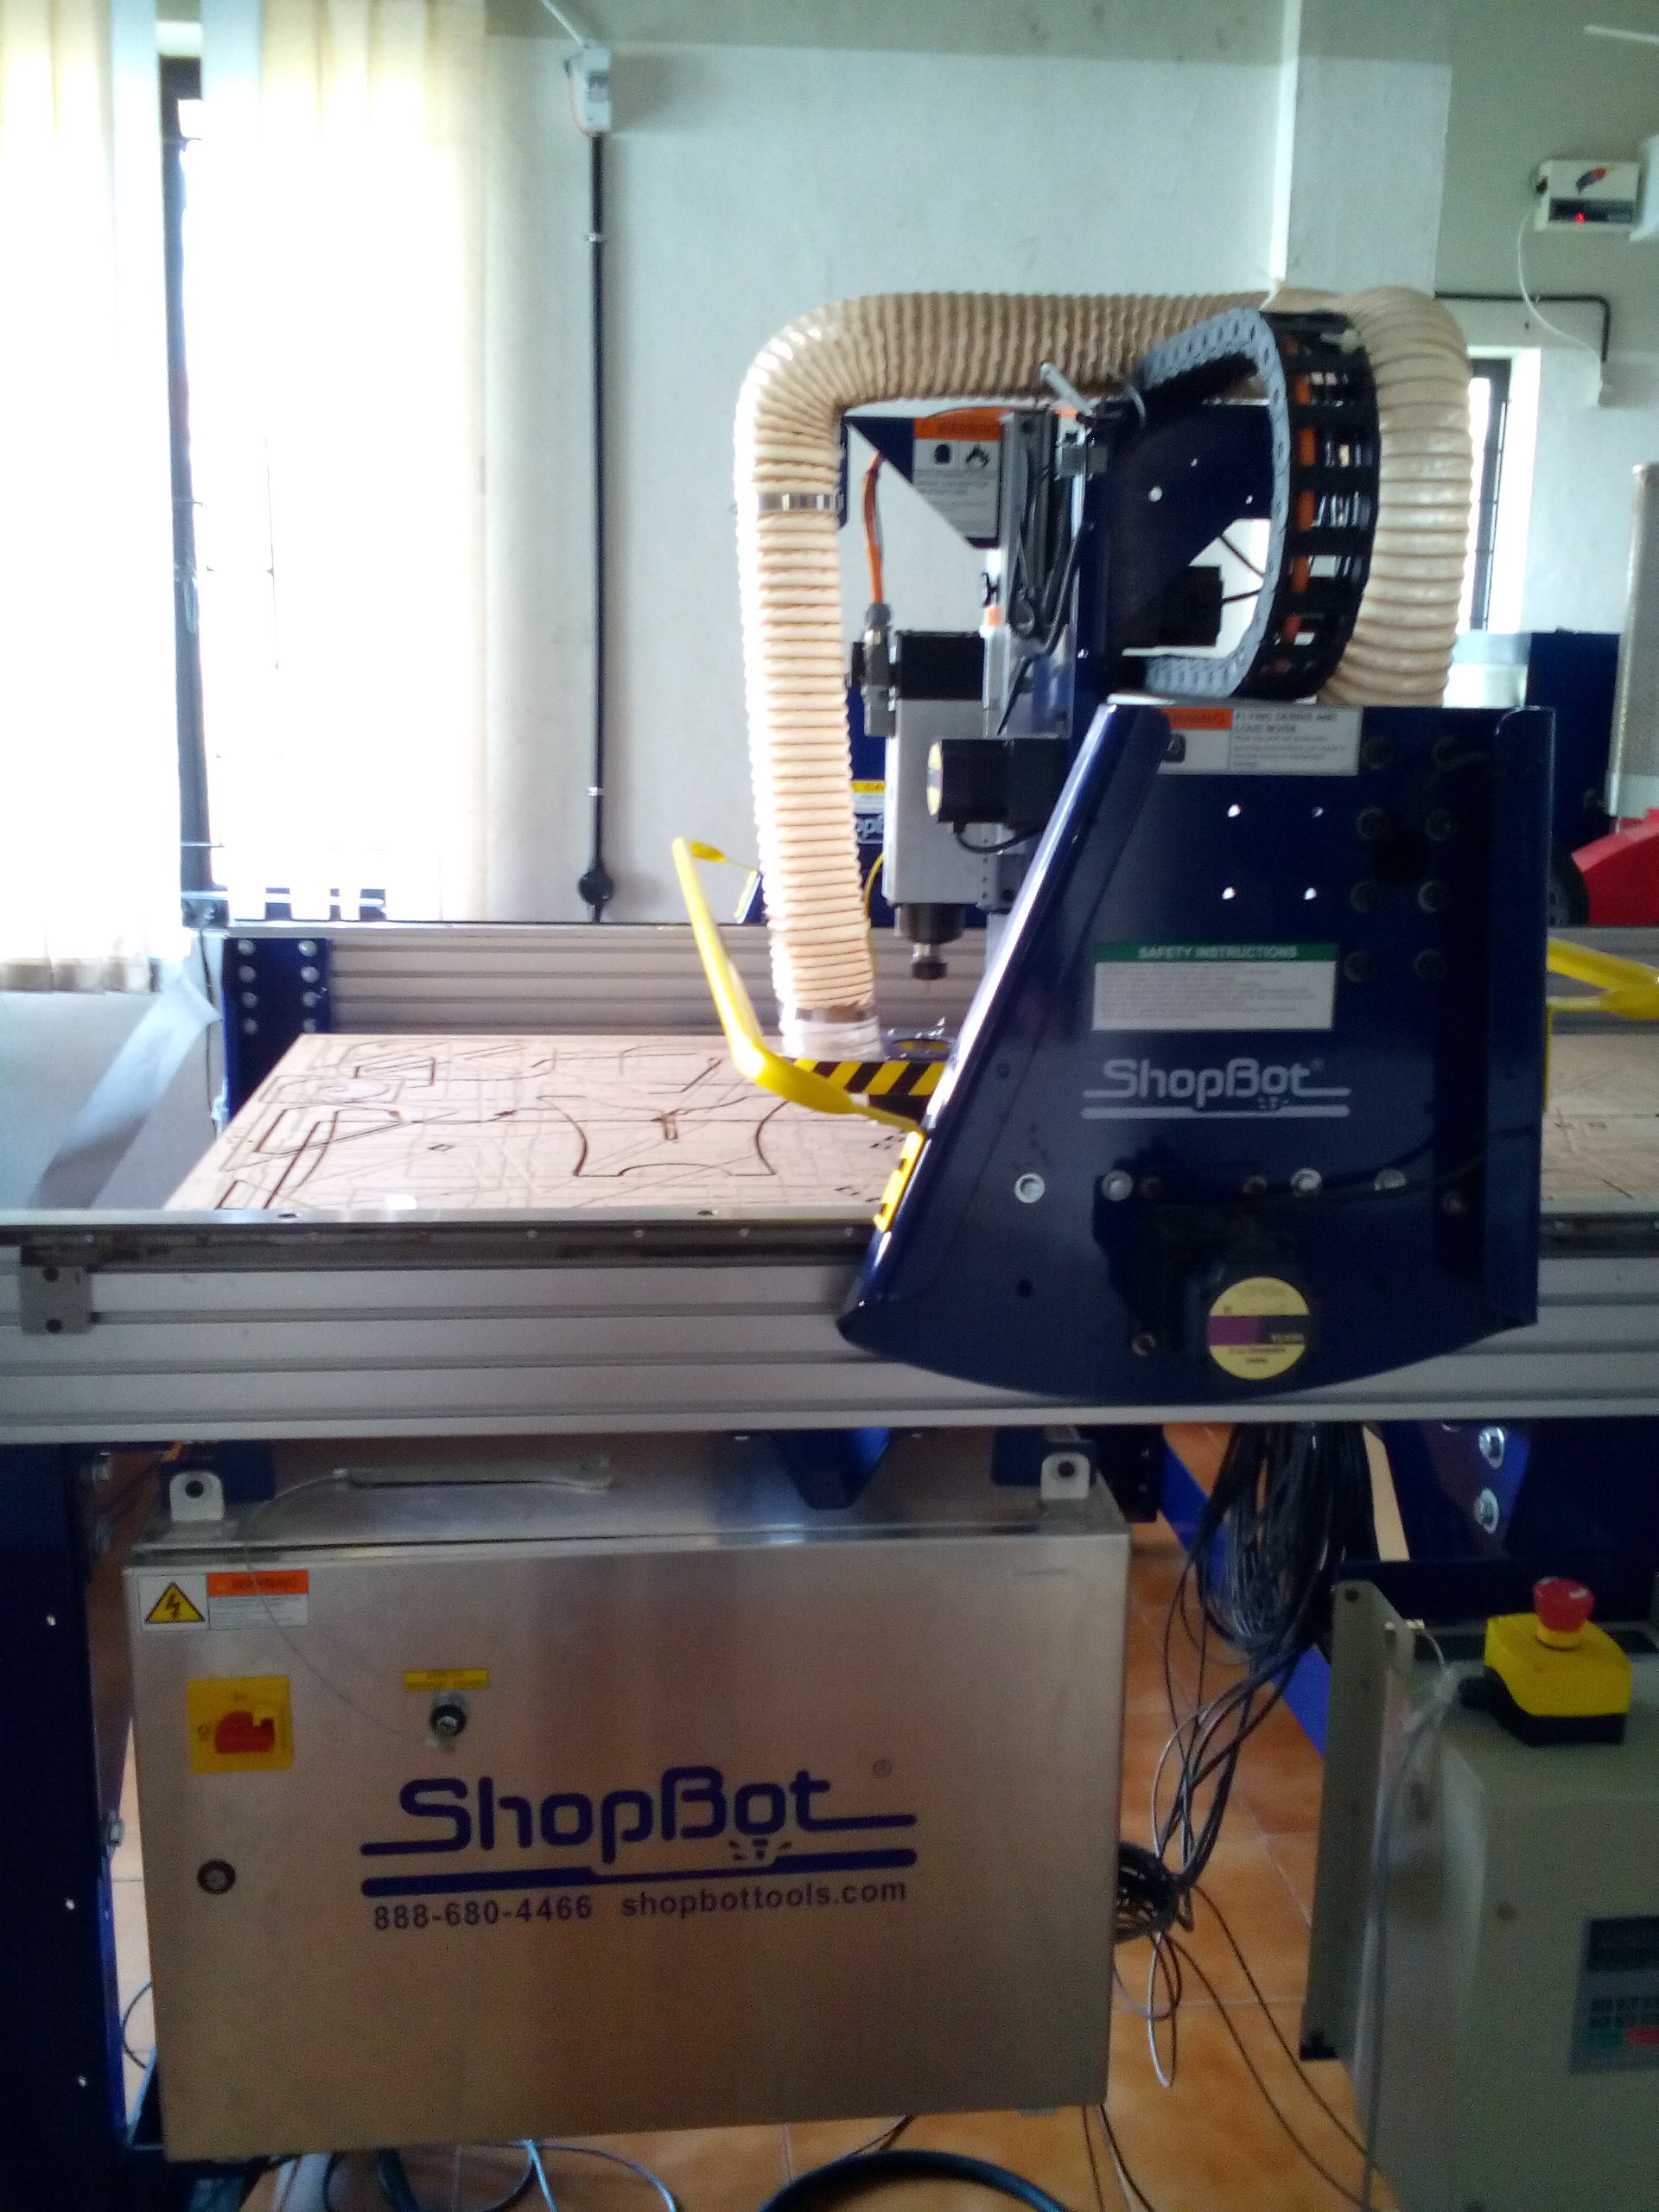
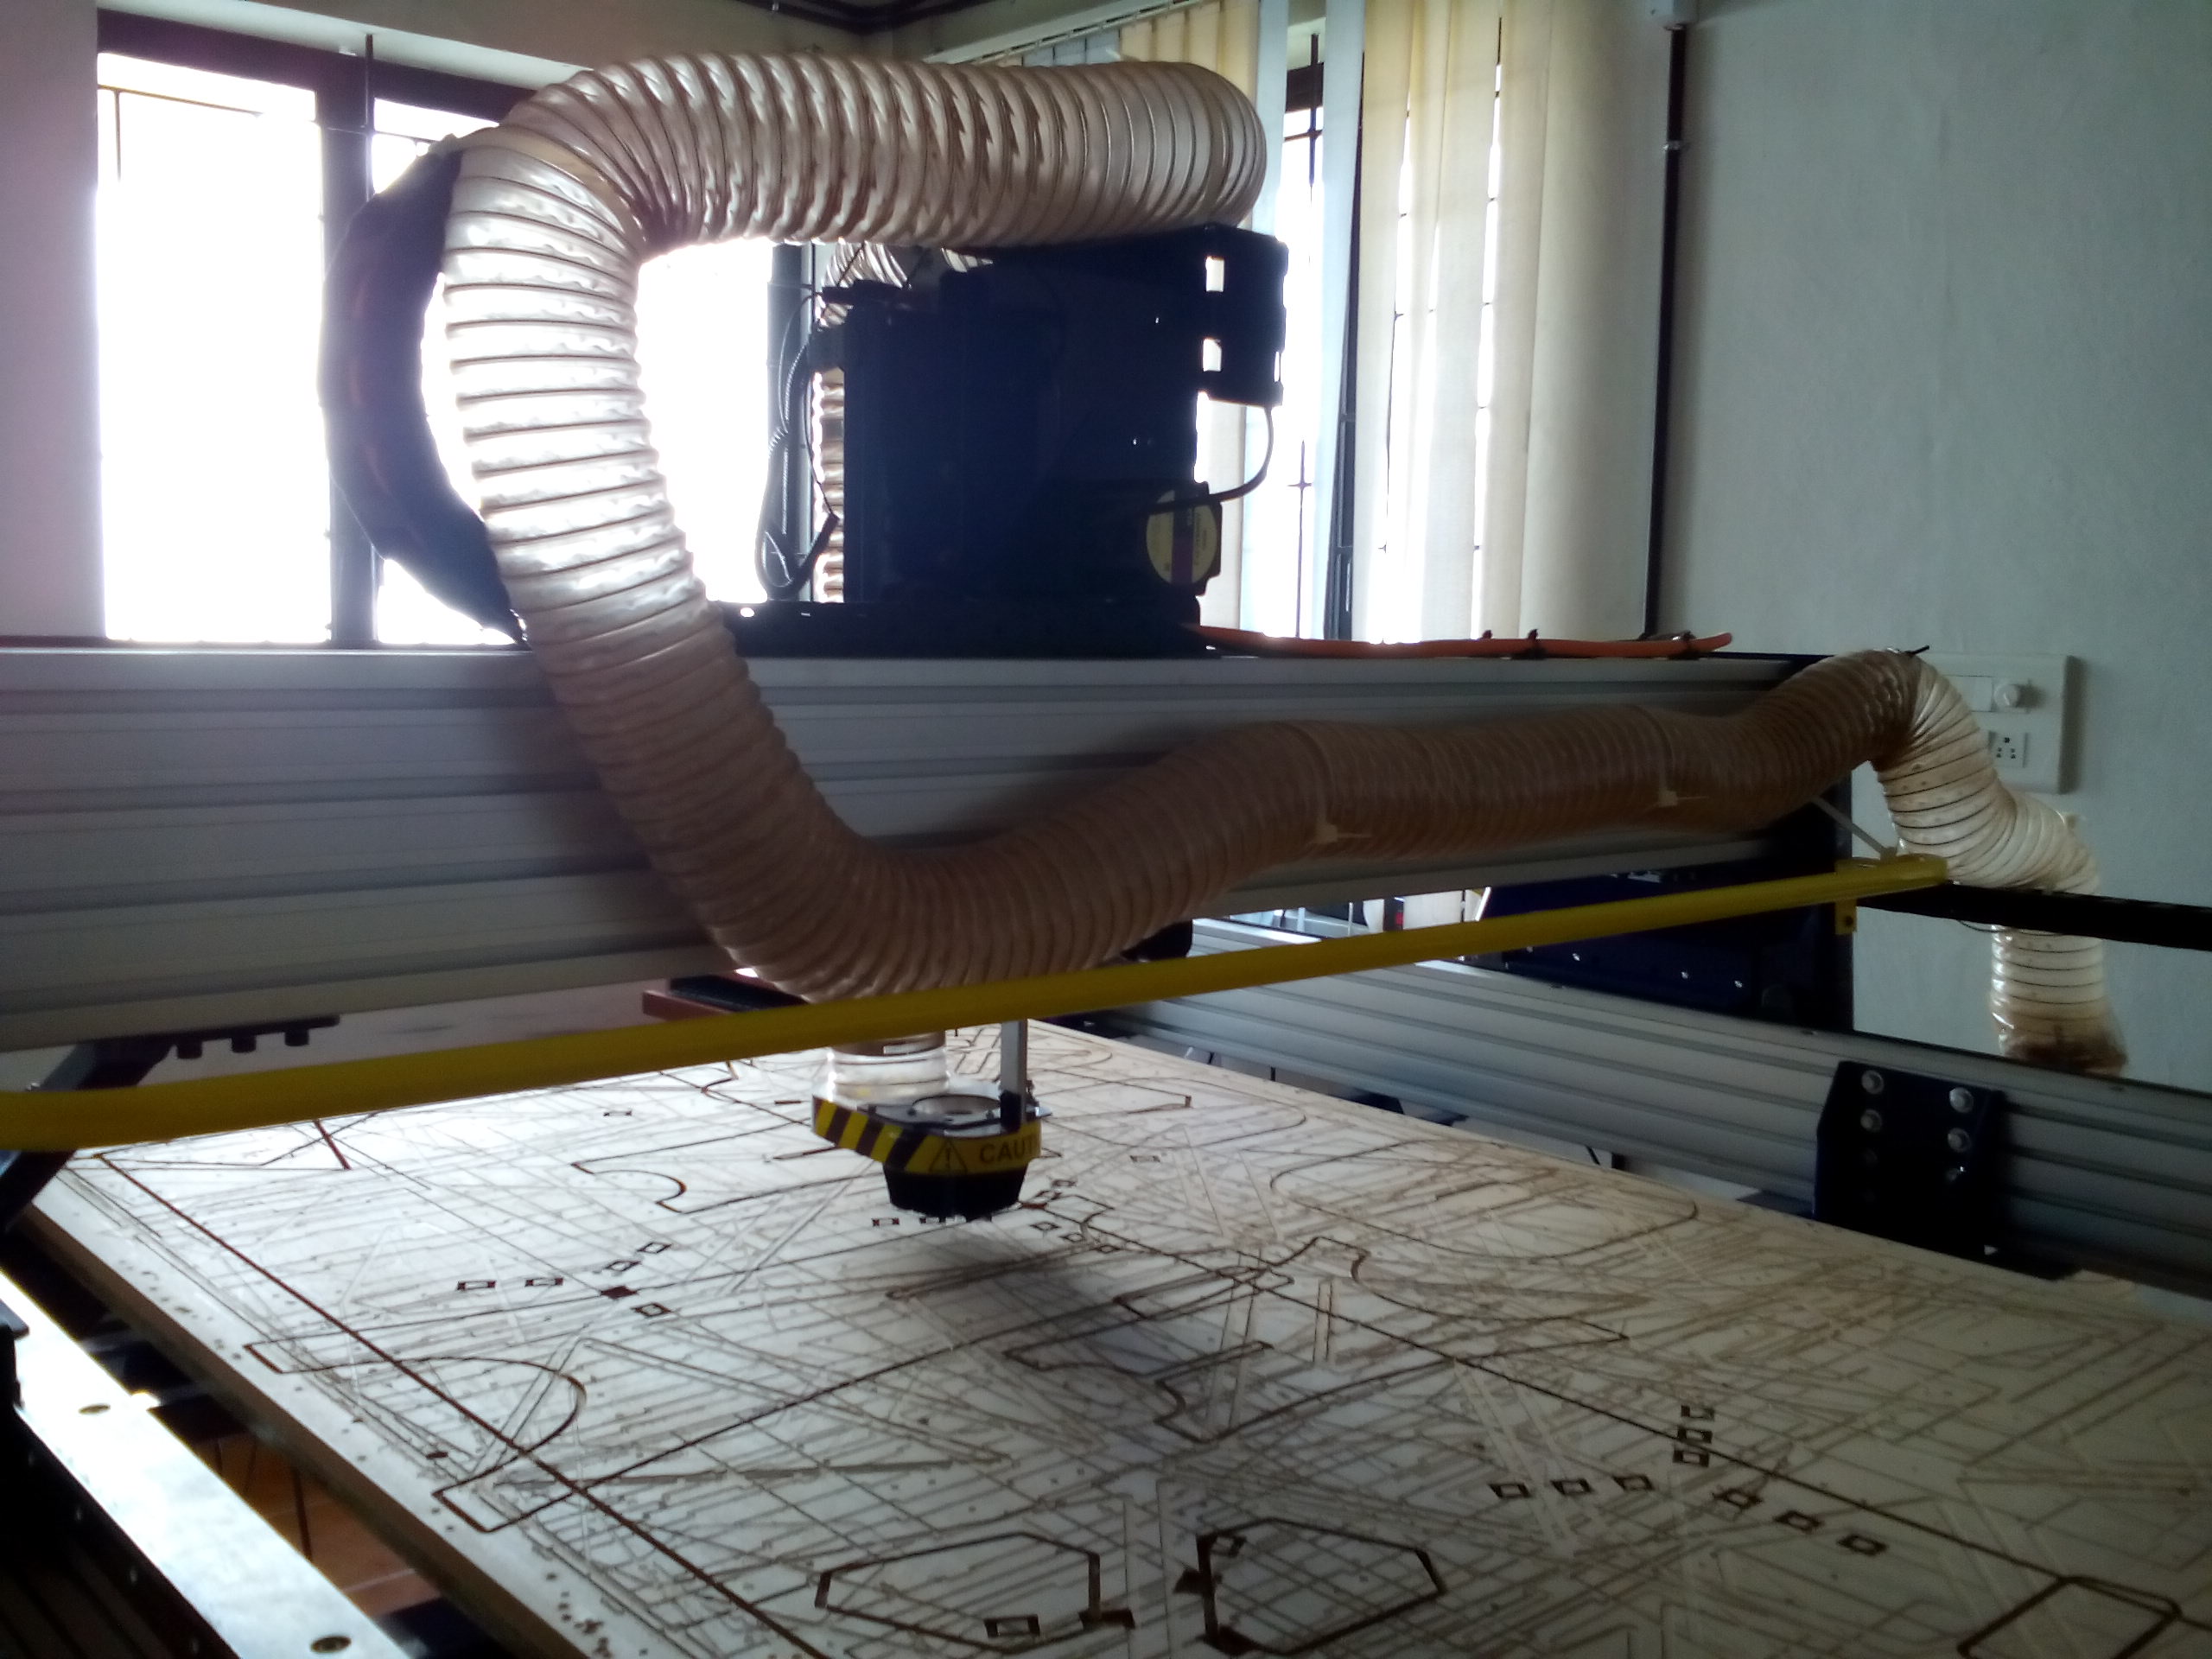
Pictures of the Full Size PRSalpha ShopBot @ Fab Lab Kerala
There were a plethora of amazing CNC designs to follow online, so I chose a relatively simple, but (in my opinion!) elegant "rocking stool" to fabricate on the ShopBot:
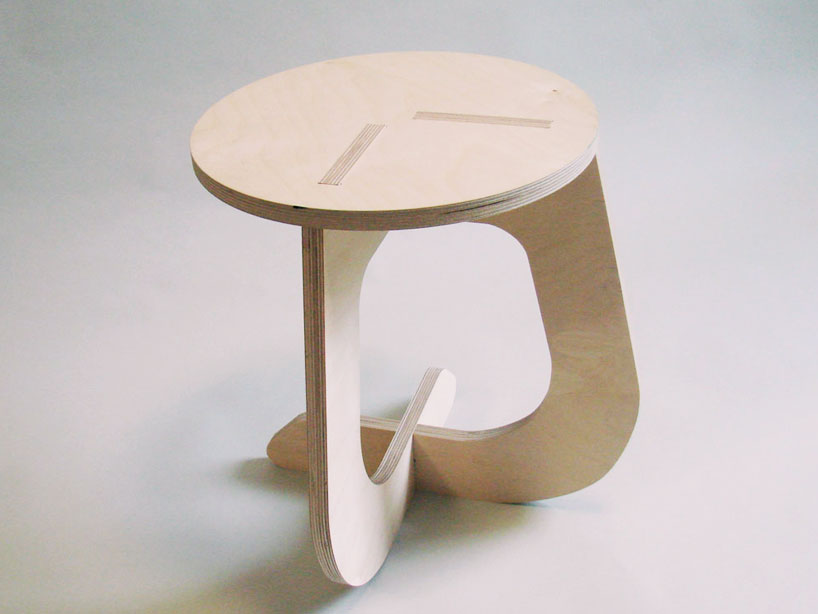
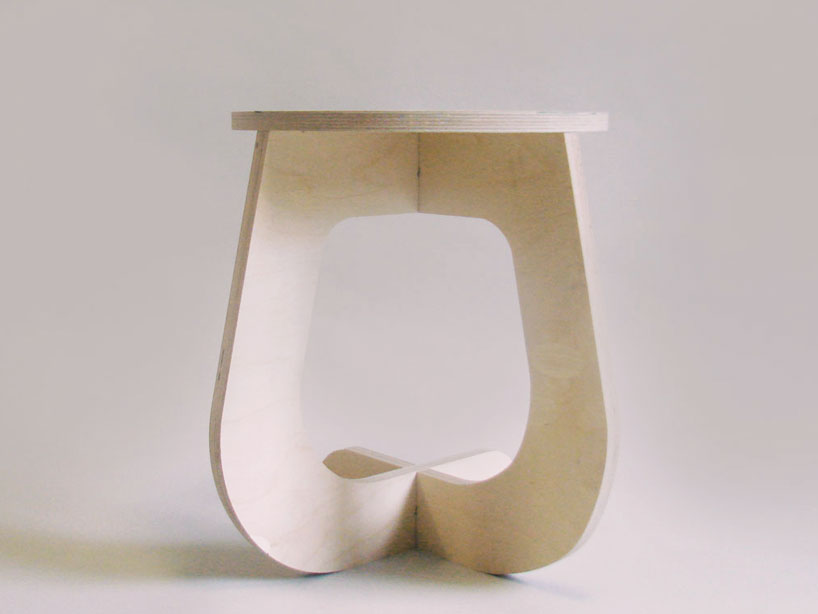
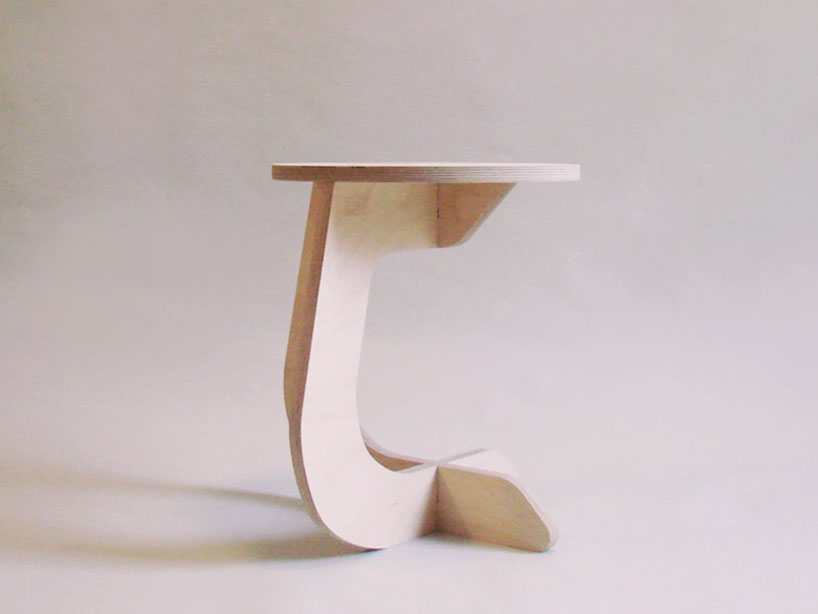
Picture Source: "Easy Rock Stool" as profiled on designboom.com
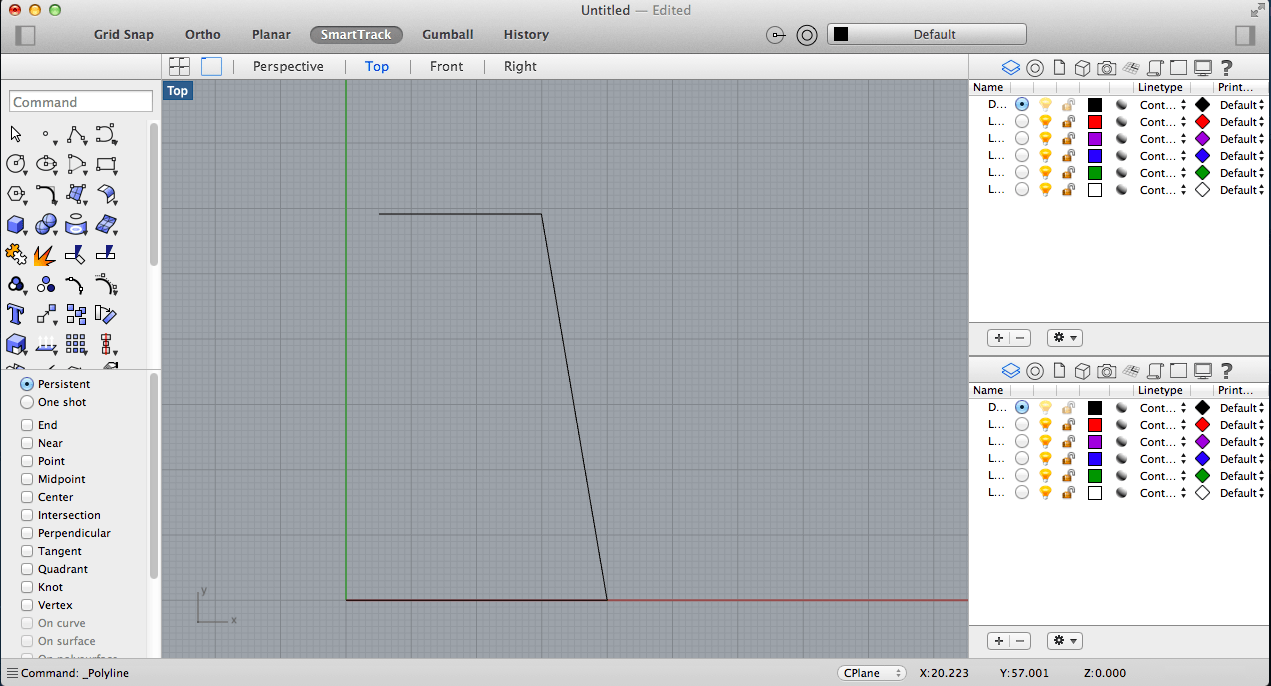
I used Rhino to emulate the stool design and followed this sequence of steps:
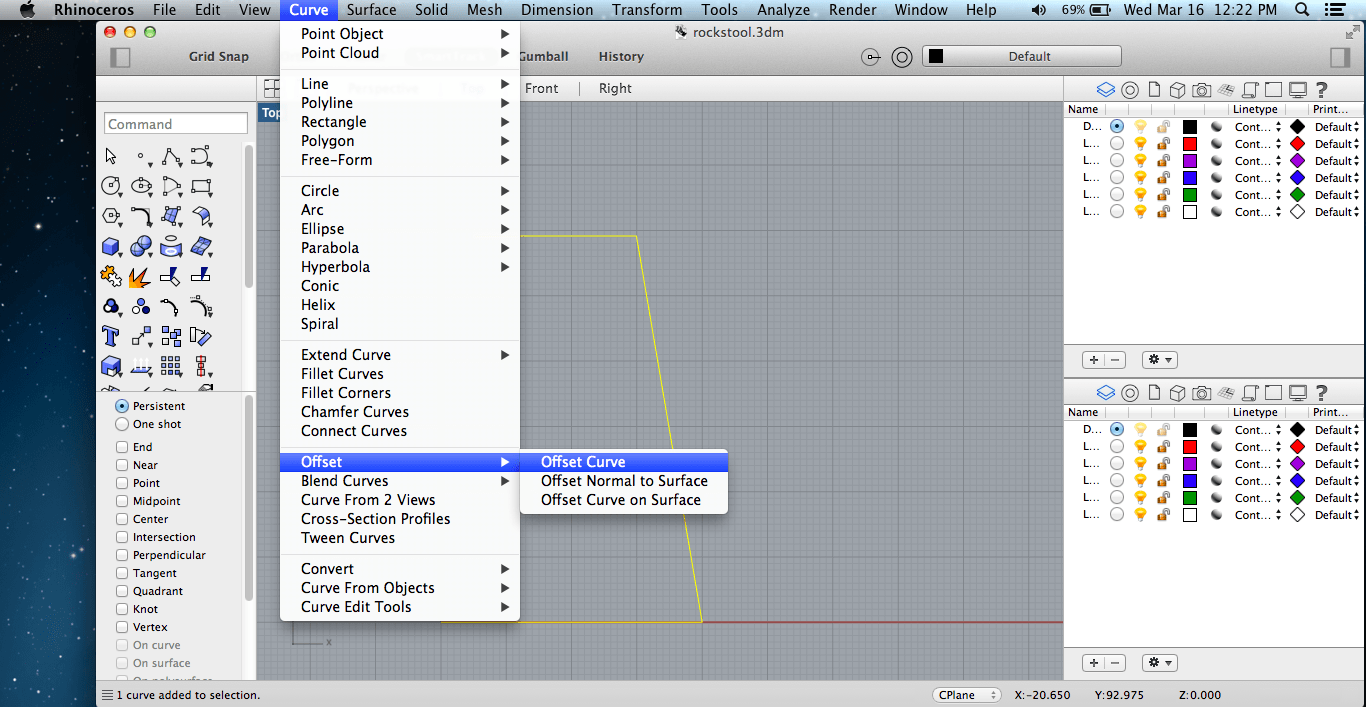
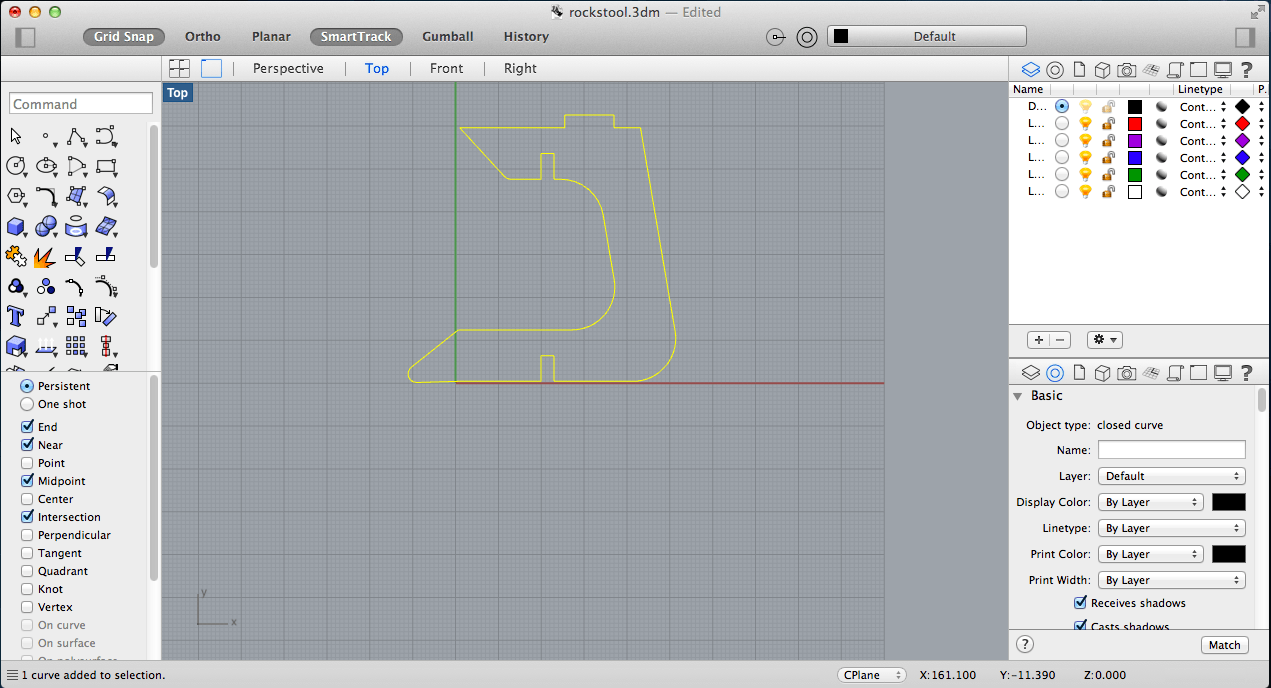
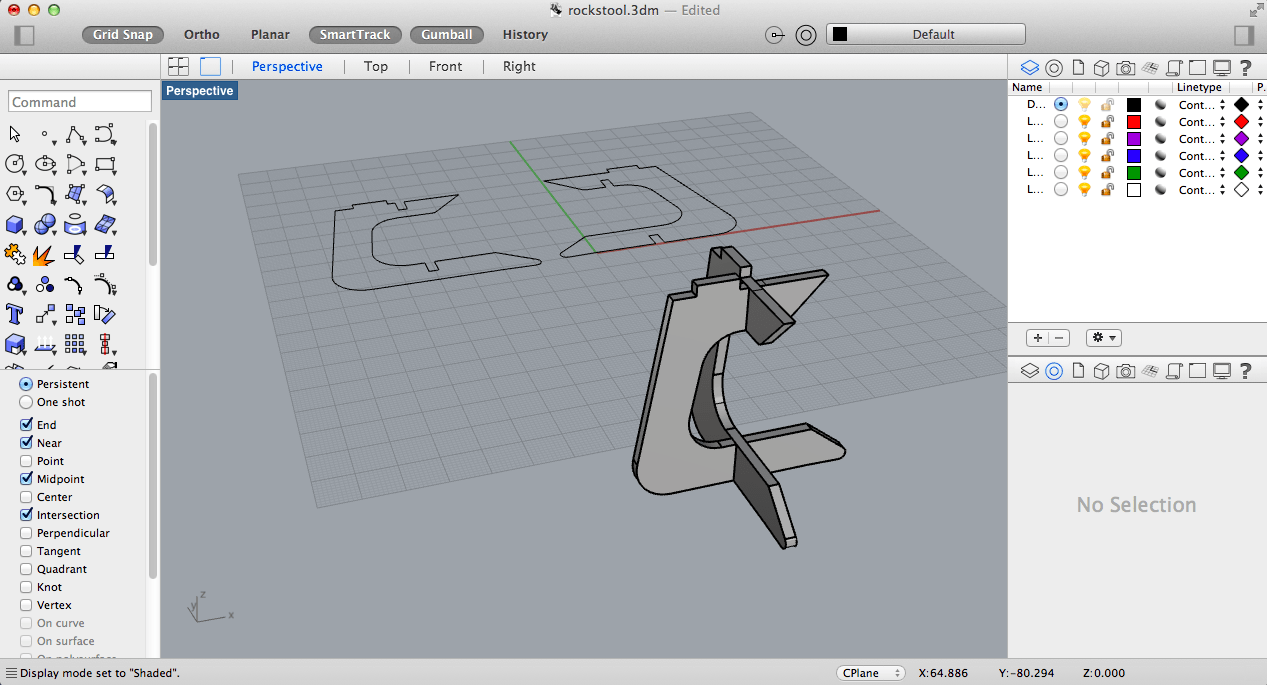
- Opened a new file, drew polylines and drew the profile of the stool's "legs":
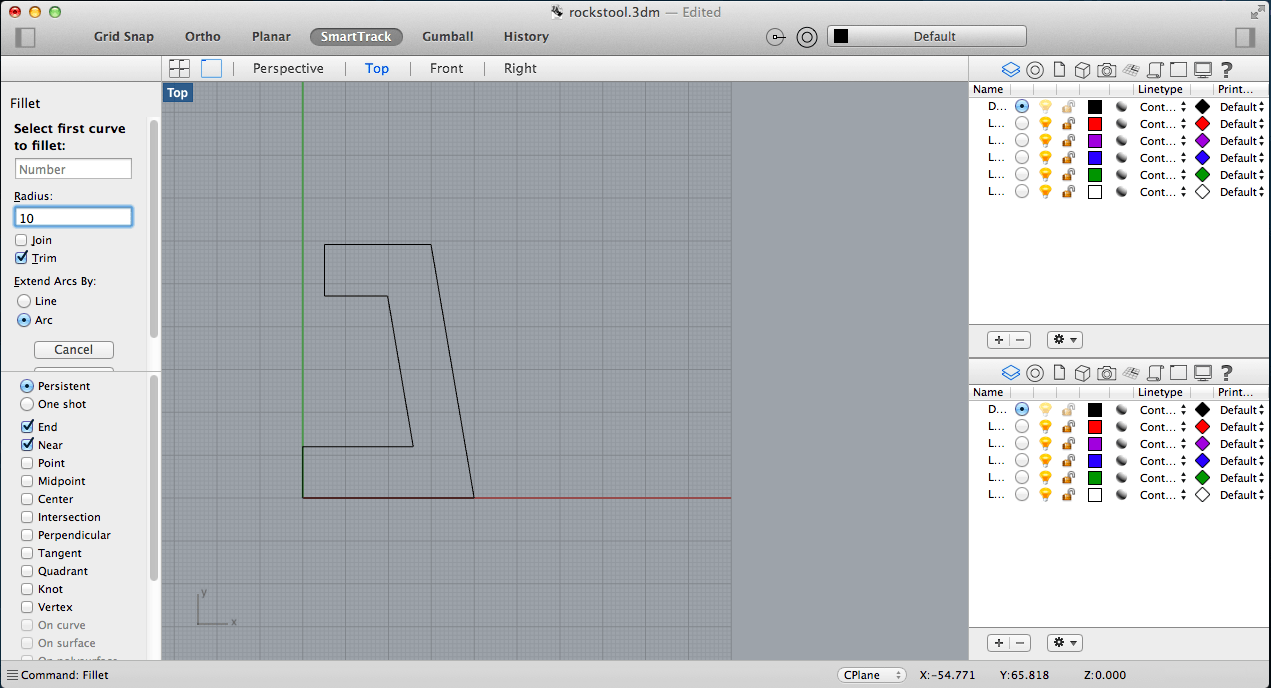

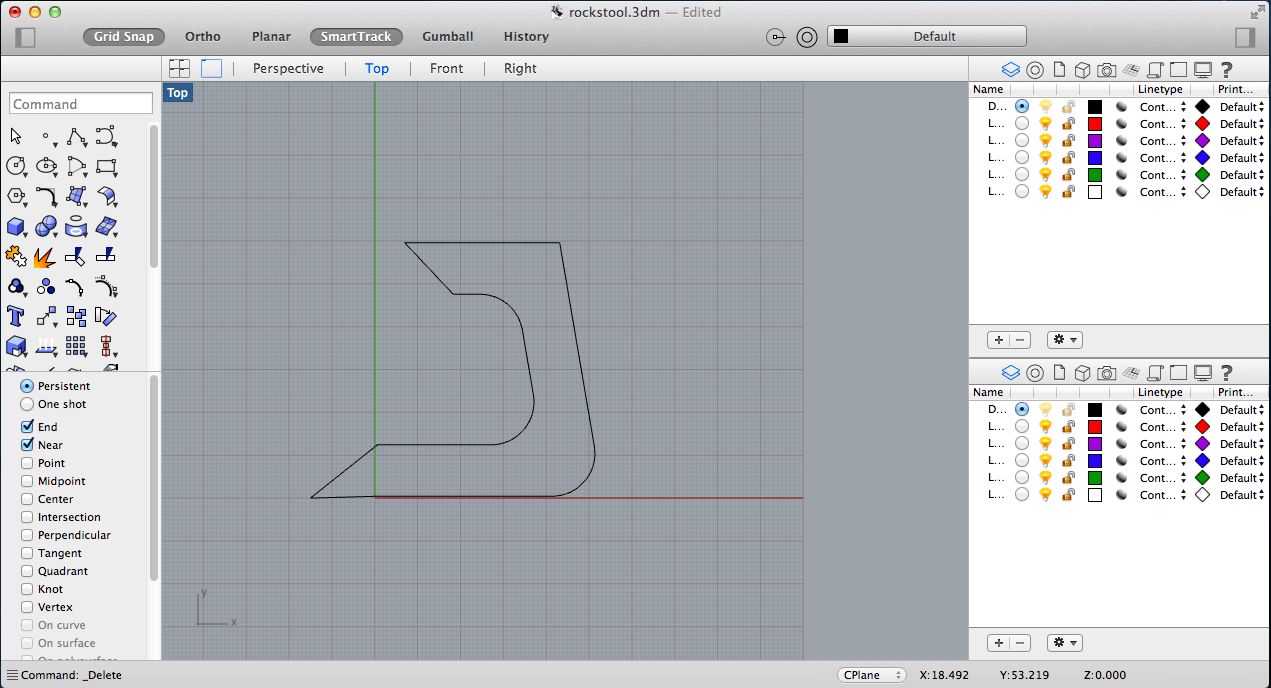
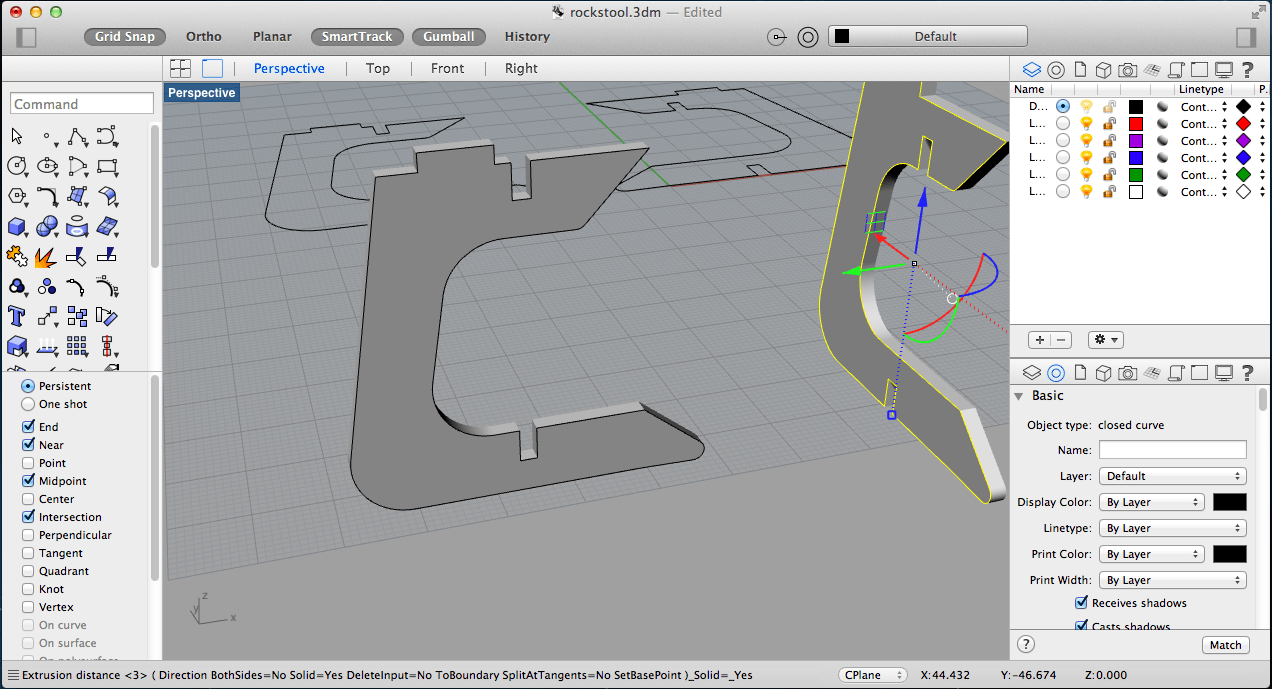
- Adjusting the offsets, filleting the corners of the stool's legs --> I proceeded to create the details of the featured illustration above by sizing the notches in the appropriate locations. I used the "Midpoint" and "Intersection" options in Rhino in order to center the notches, and then the "Trim" tool to cut-away the notch:
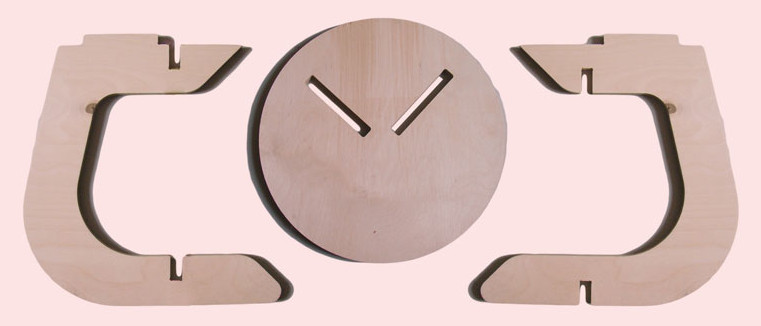
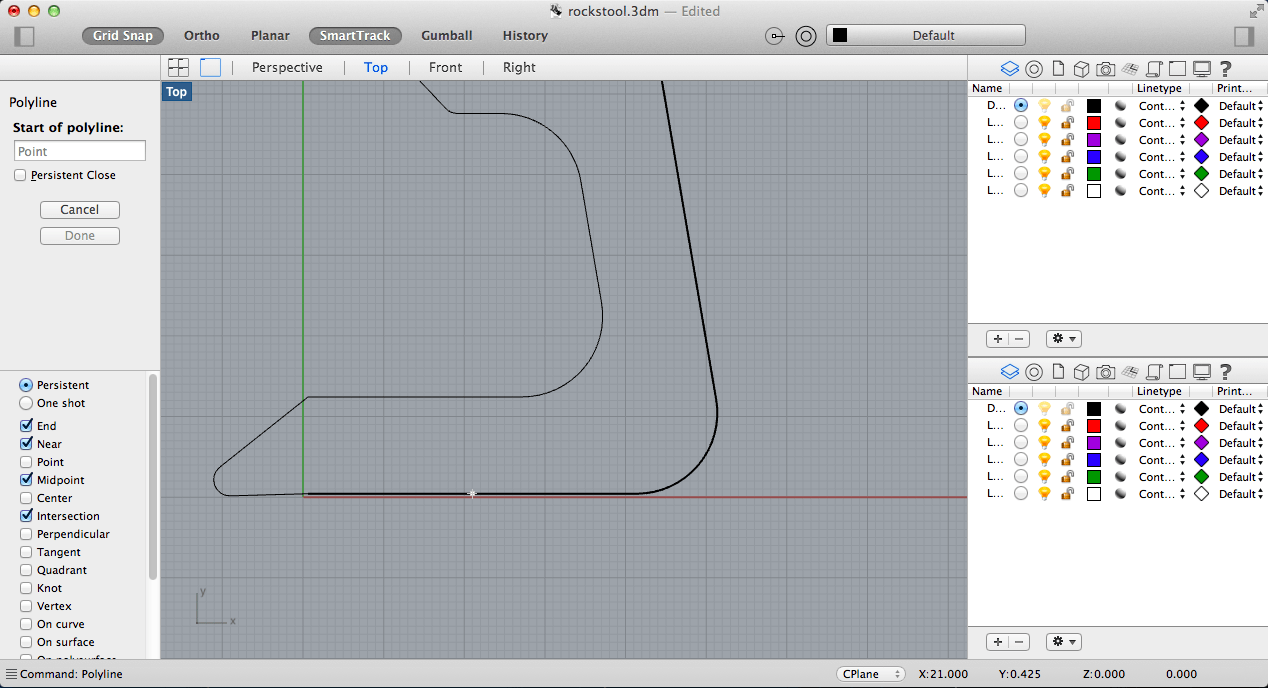
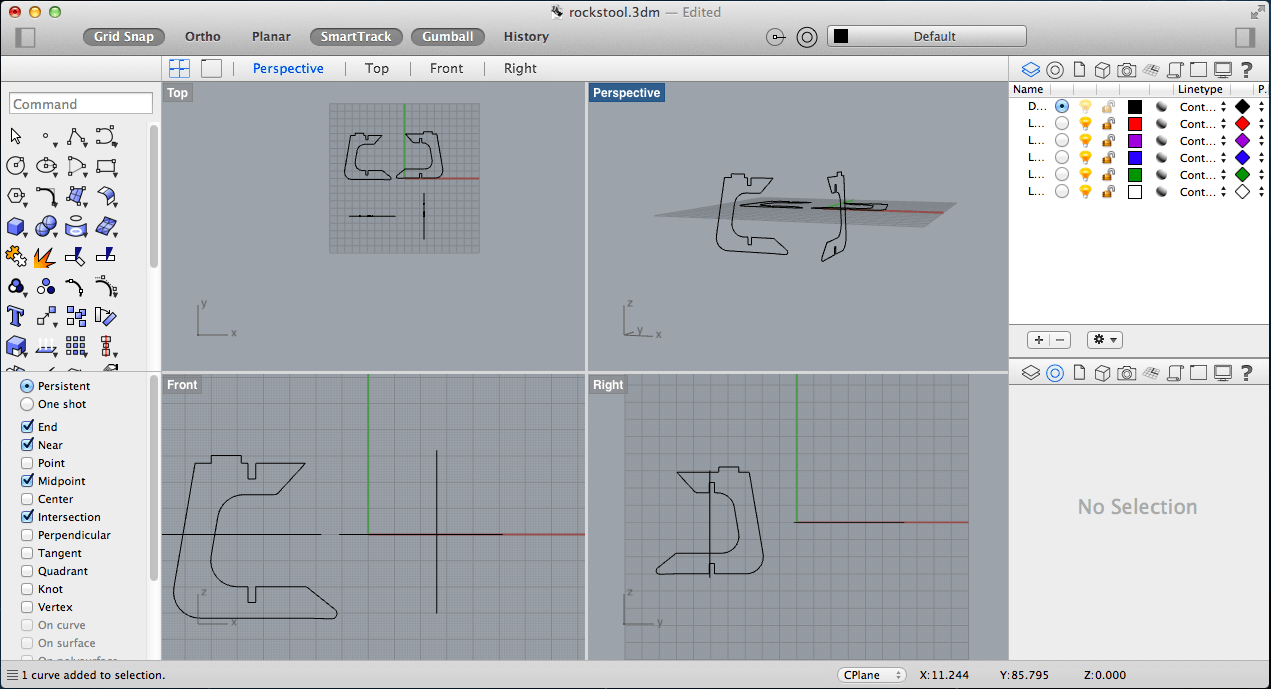
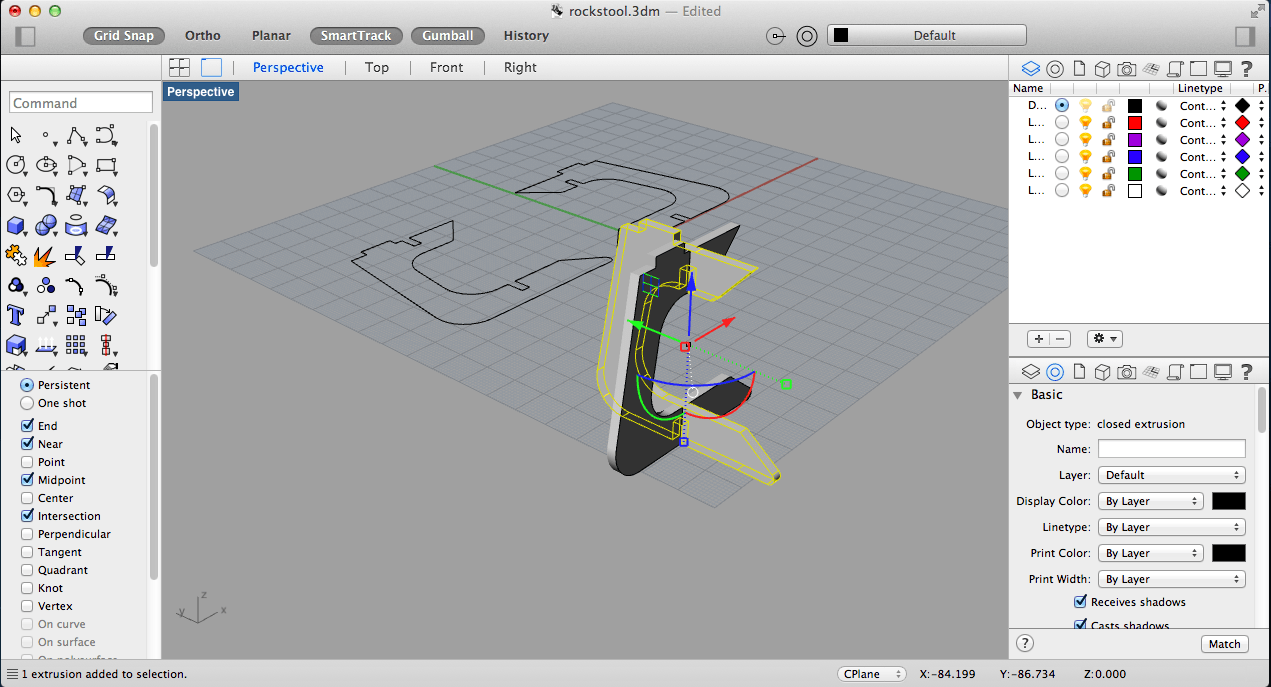
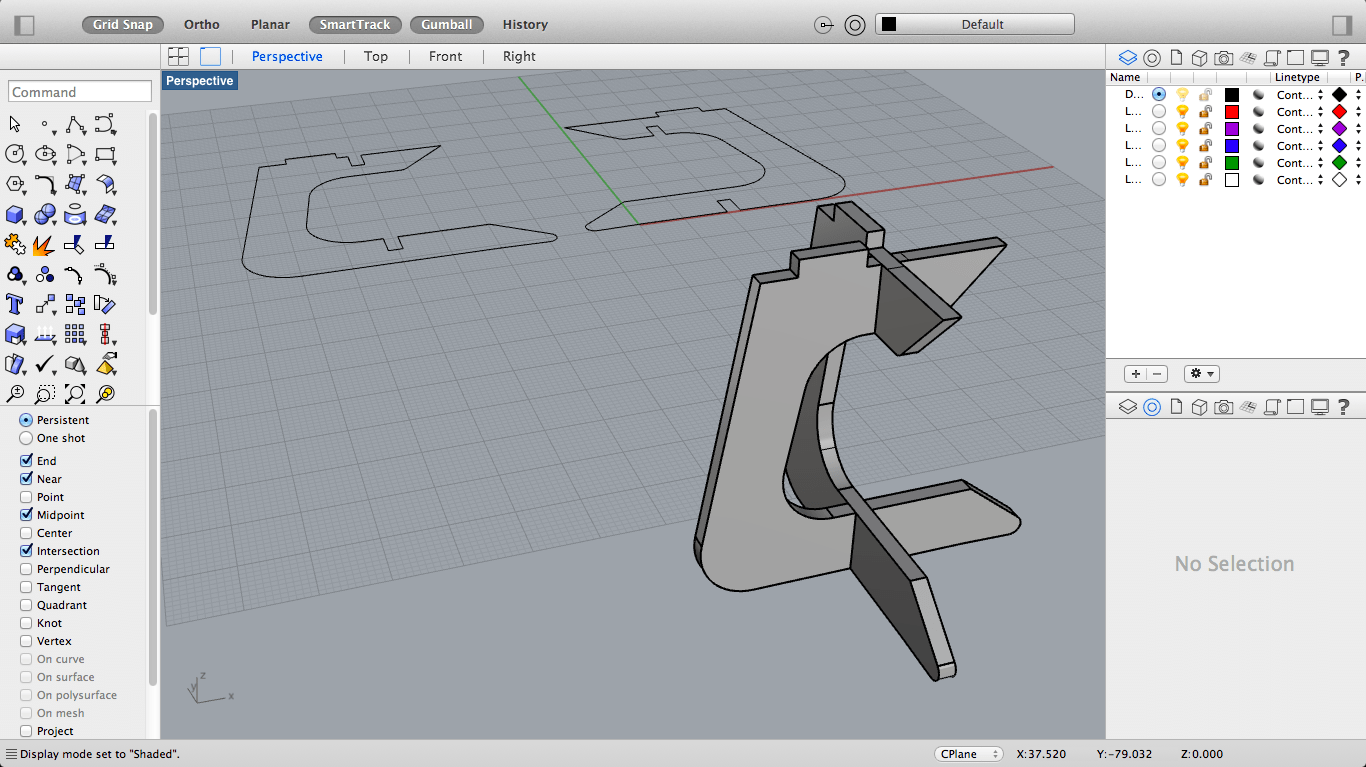
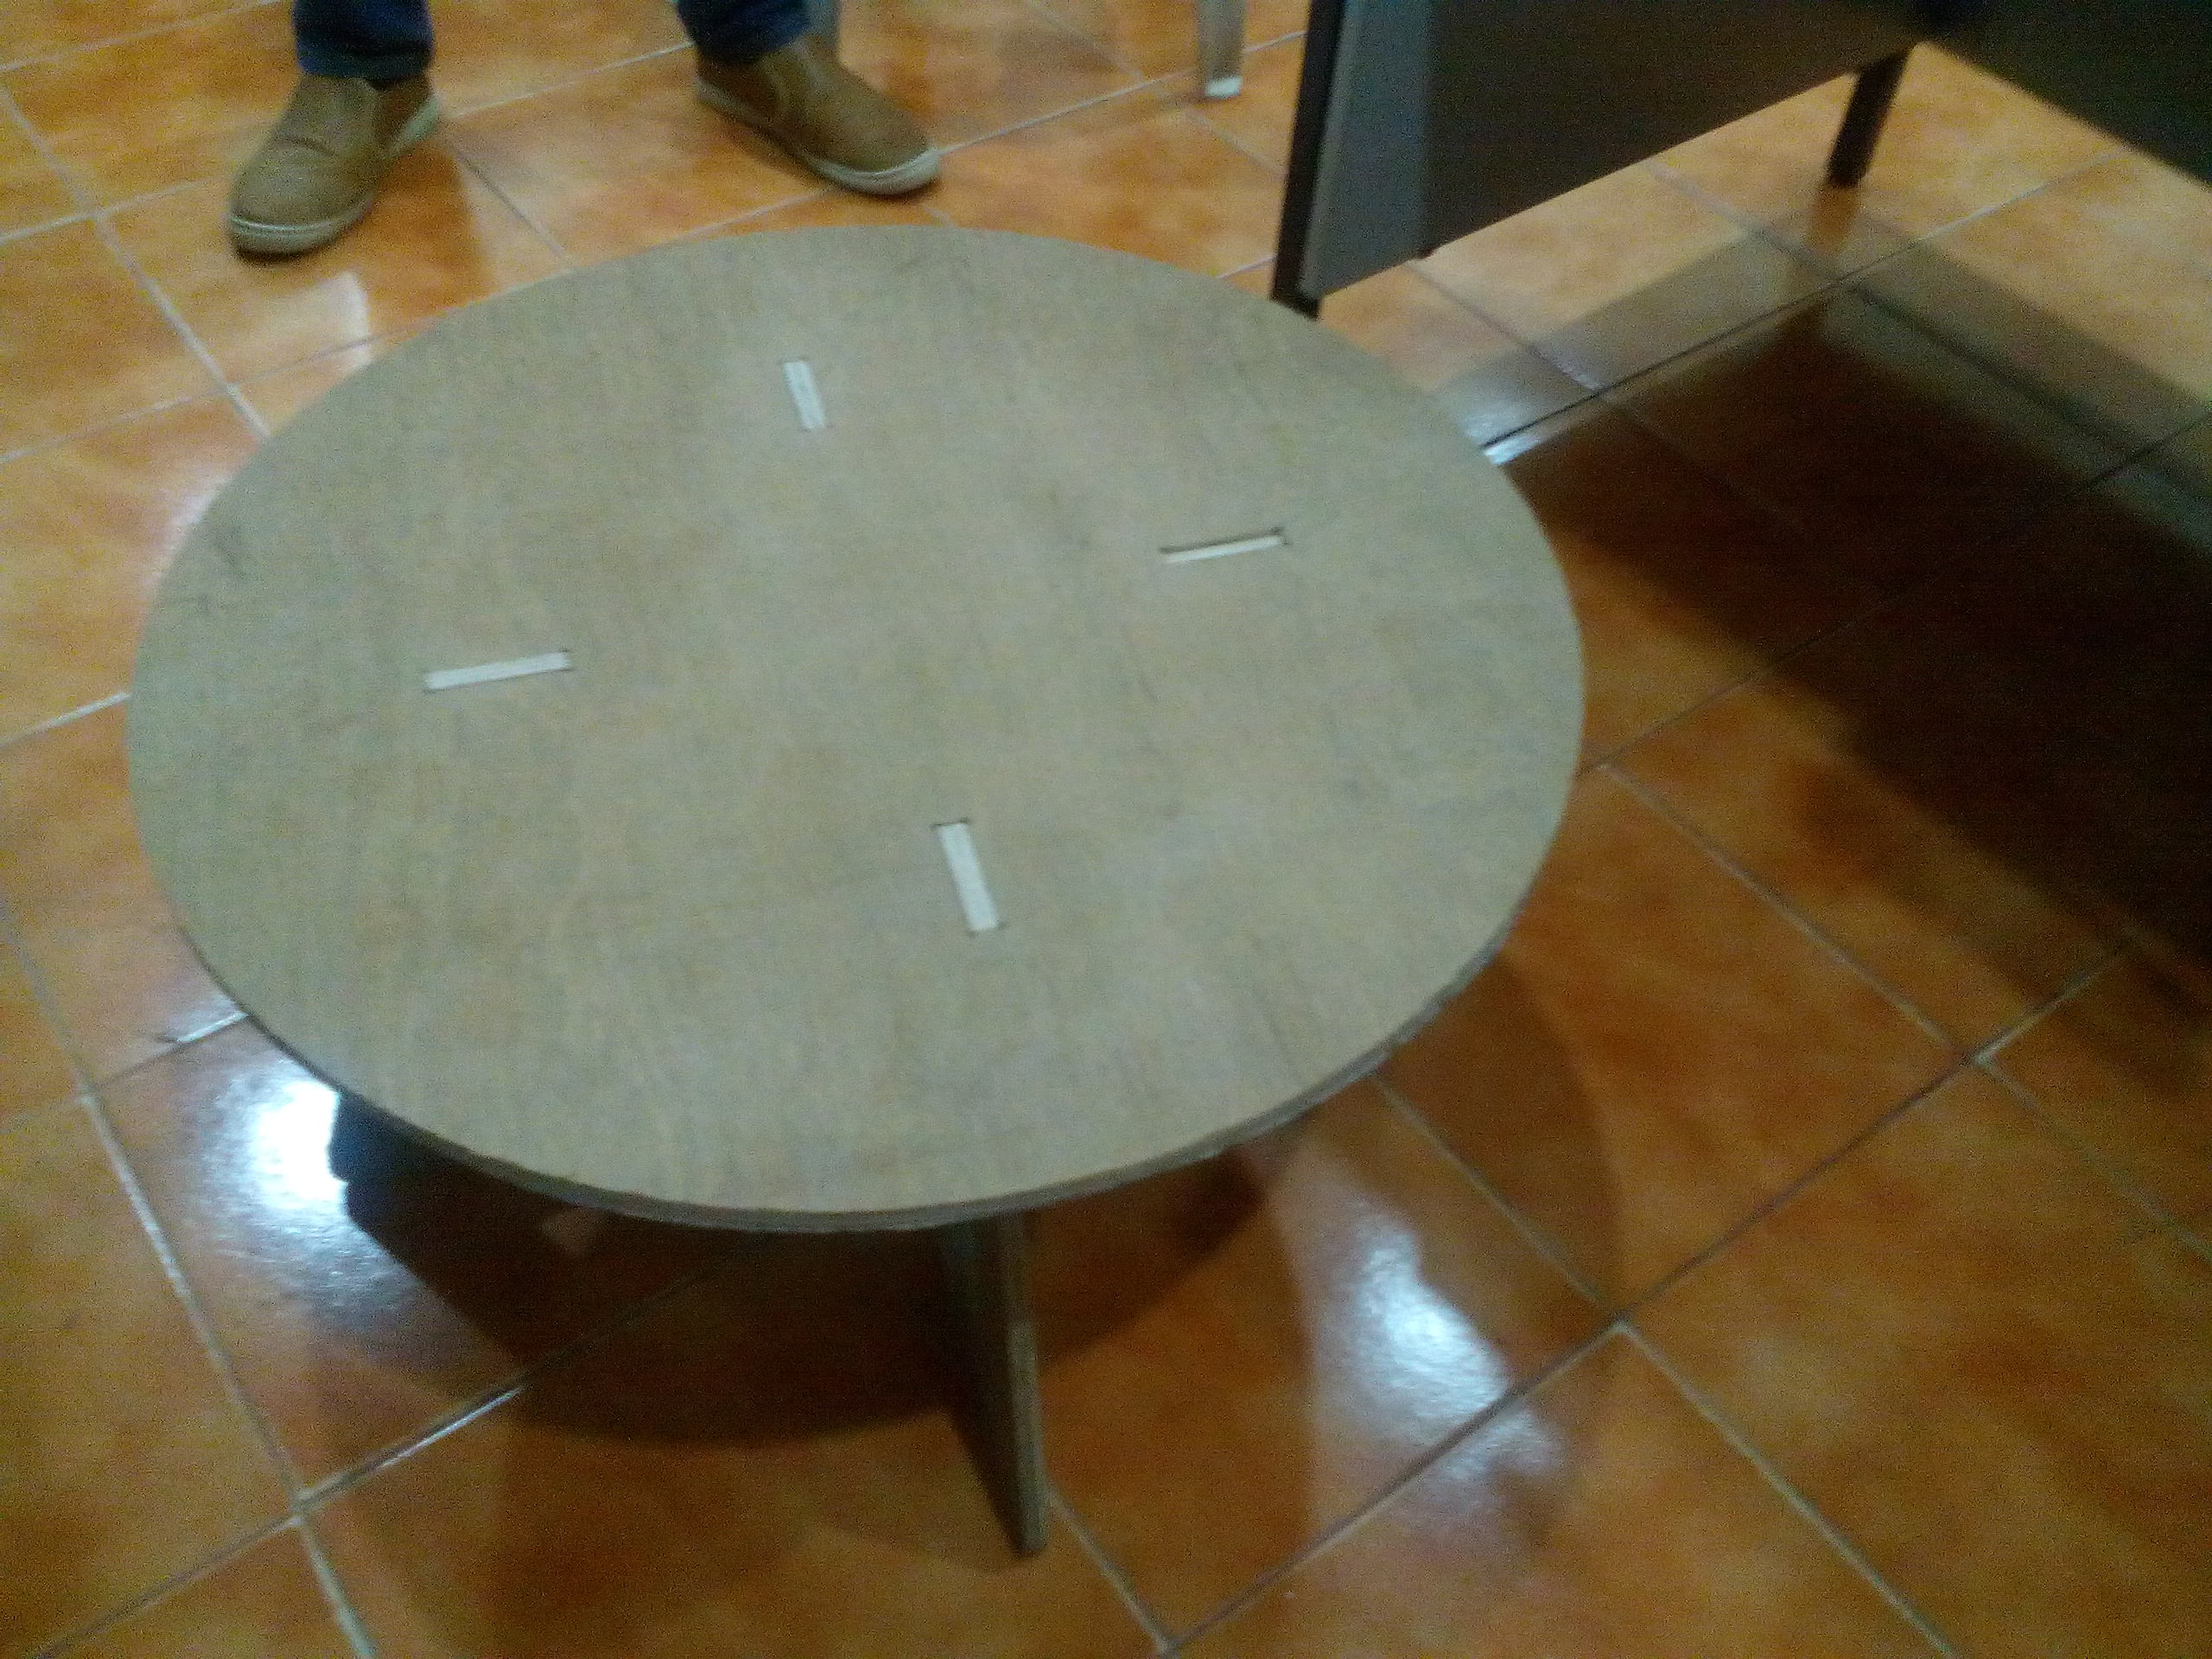
- Using the "Mirror" option and various transform functions, I wanted to understand how the stool's legs and surface would press-fit onto each other:

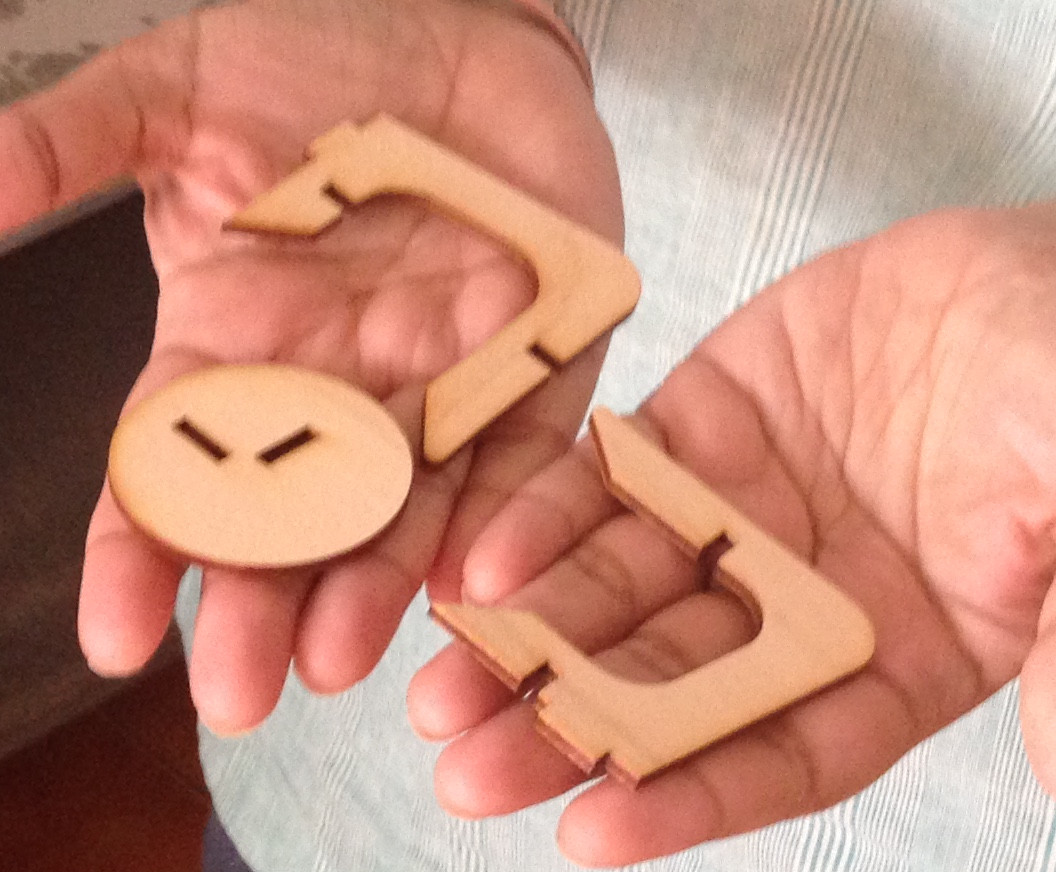
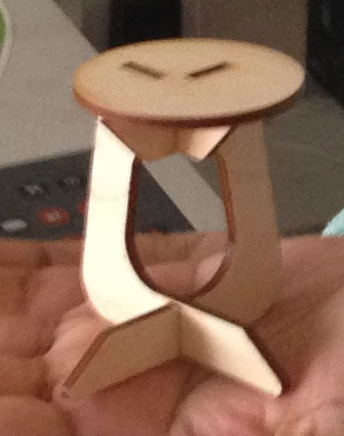
- After viewing the way the different sub-parts of the Rocking Stool would fit together, I made a laser cut craft wood model to visualize how the Rocking Stool would look in miniature:
Unfortunately our lab ran out of 12 mm plywood board; but it is in the process of being replenished, so I will be able to use the ShopBot to fabricate my Rocking Stool as soon as the new stock arrives! (which will not take more than a day or two, I've been promised!)
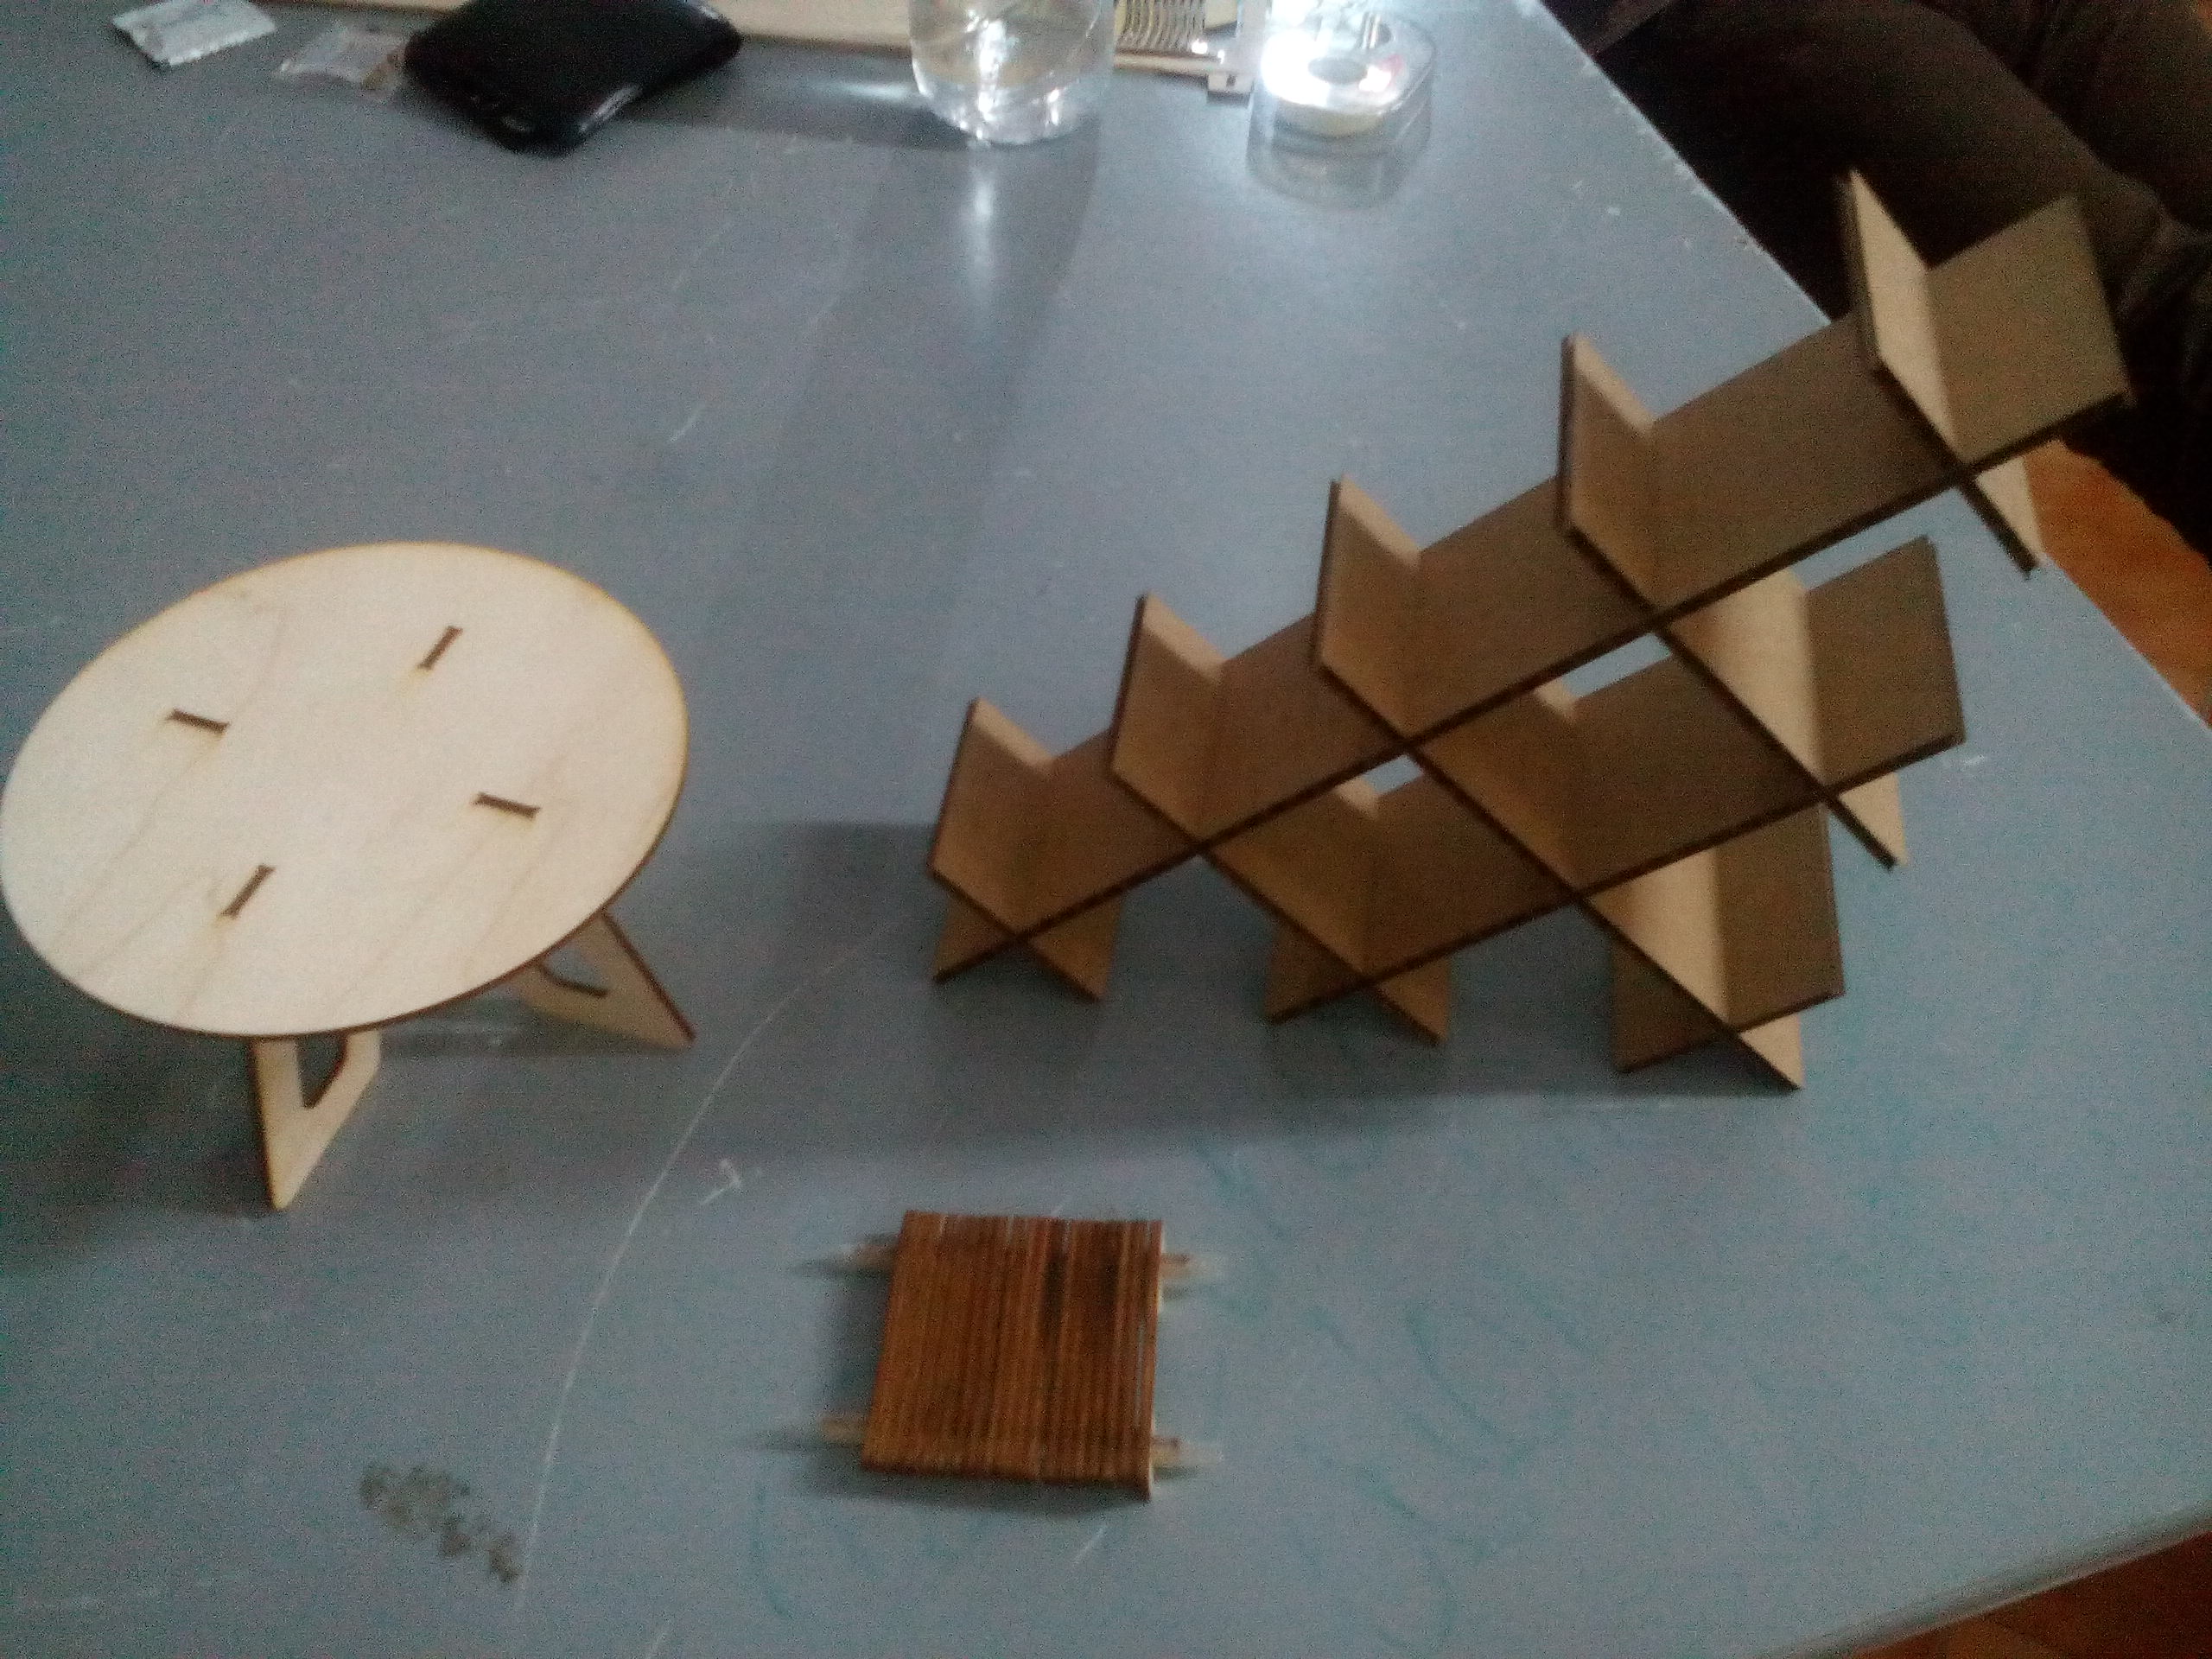
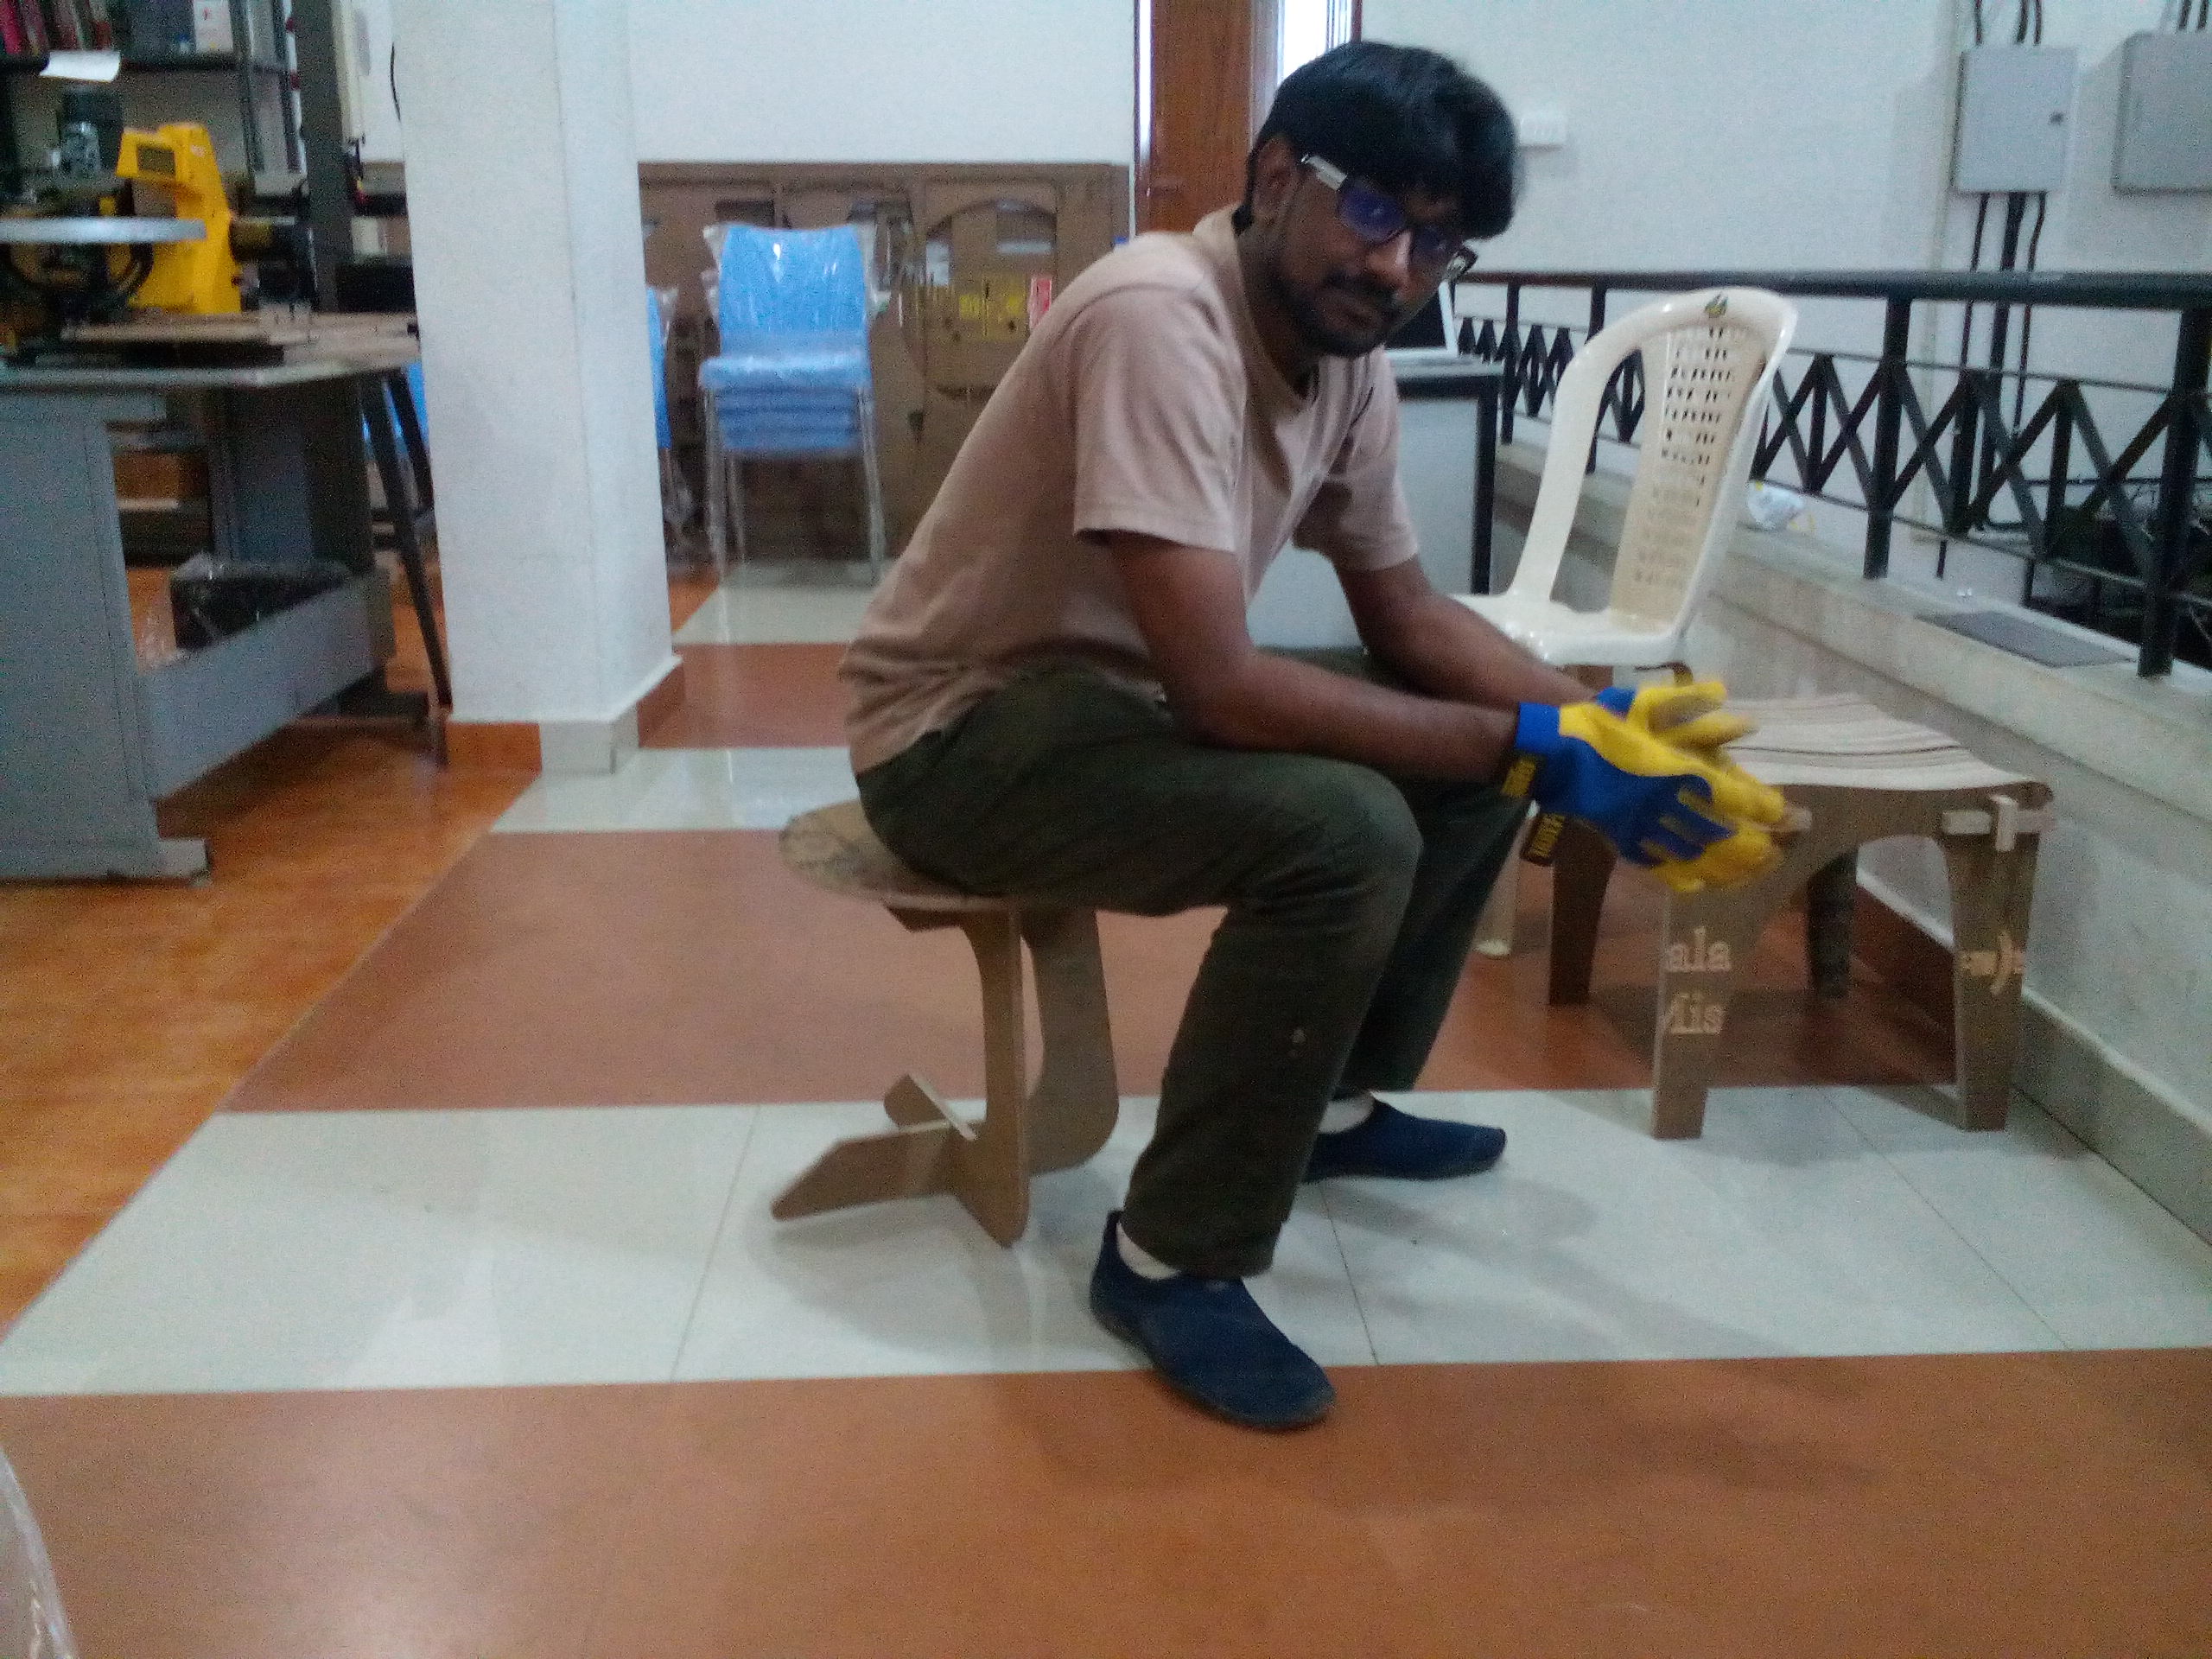
However, I did actively record the activities of my classmates and we had a lot of fun with this week's assignment! Please see pictures below:
Update: Thursday 17th March - Monday 21st March, 2016:
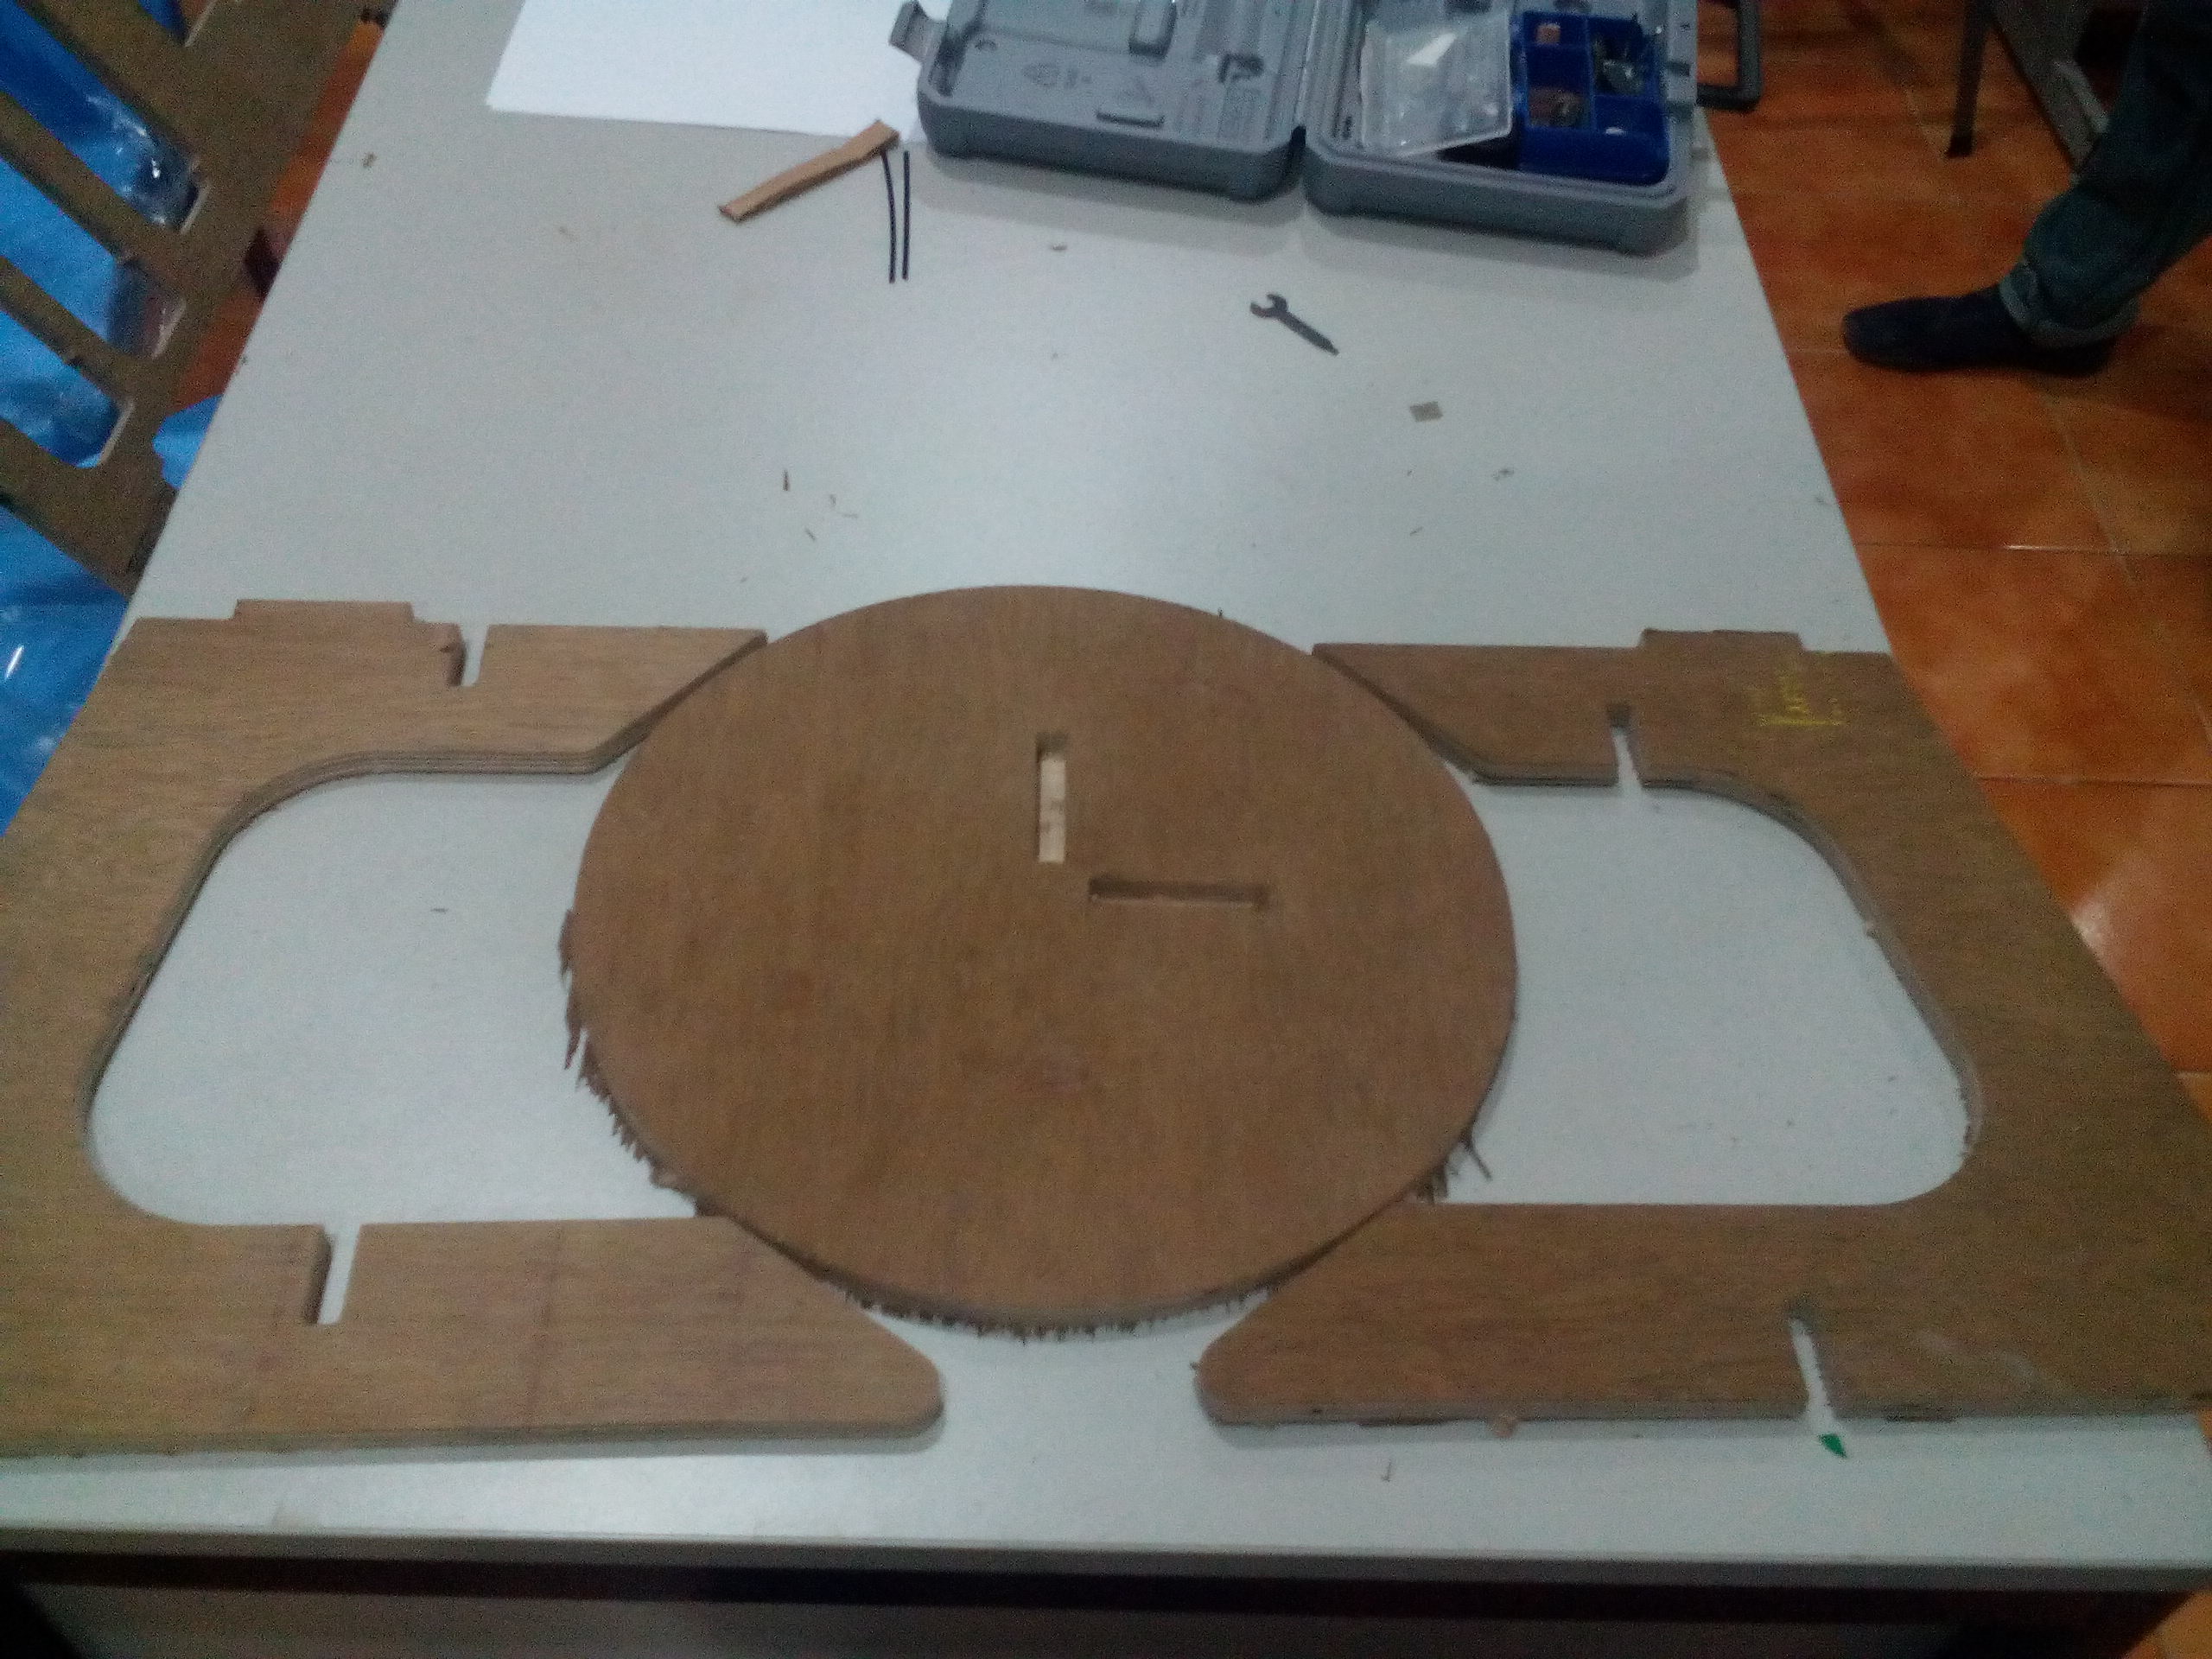
New plywood sheets with thickness 12mm finally came to our lab, so I was able to use the ShopBot to CNC my rocking stool
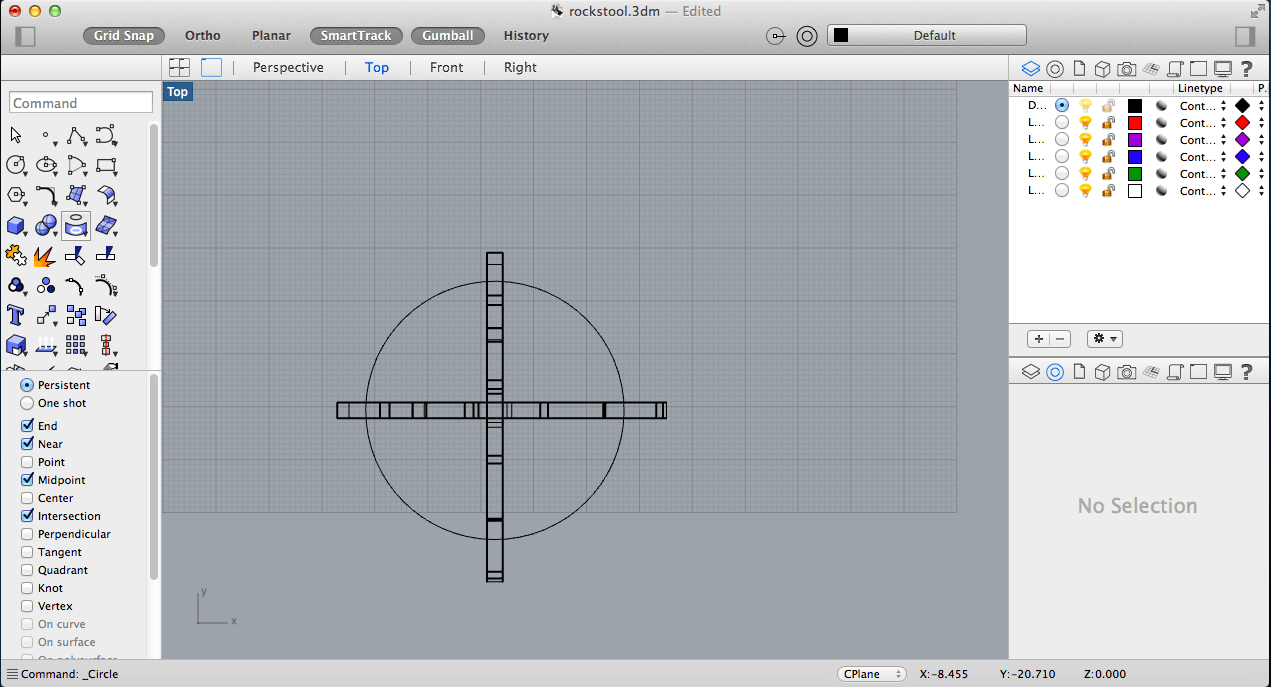
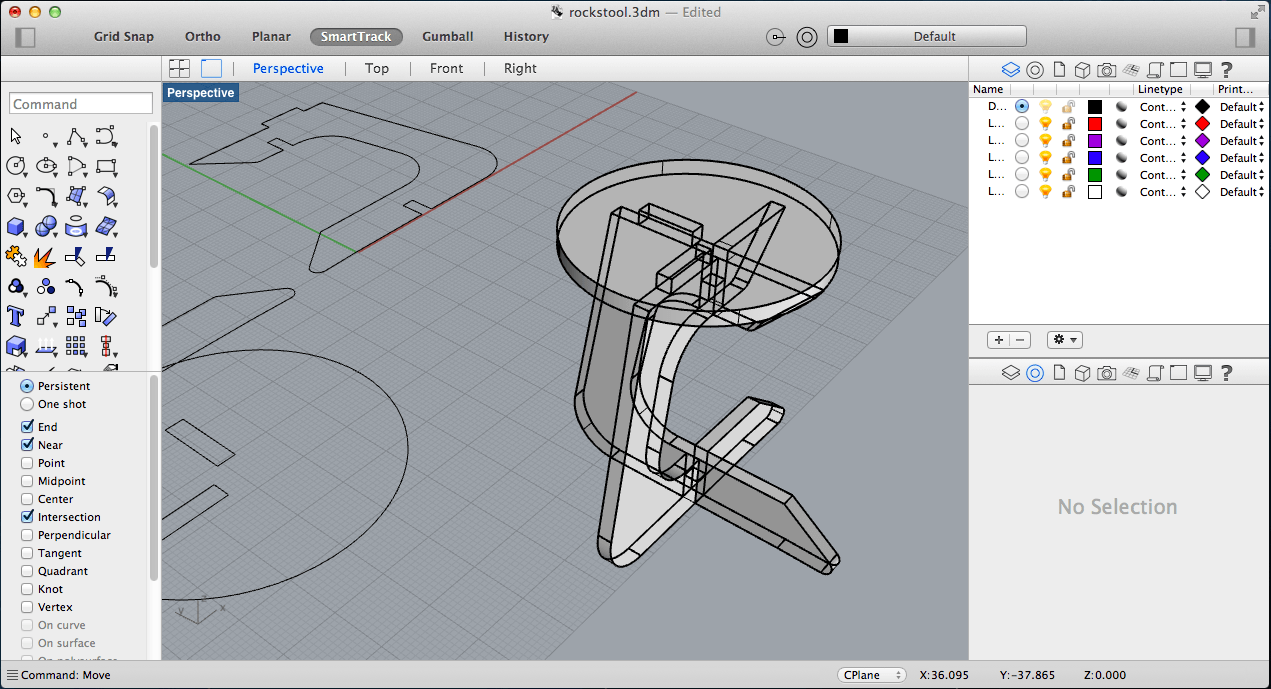
- I used the "Scale" command in Rhinoceros to auto-scale each of the constituent parts of my "something big" model. I made sure to set the notch depths to 12mm since the thickness of the plywood would factor significantly into the design.
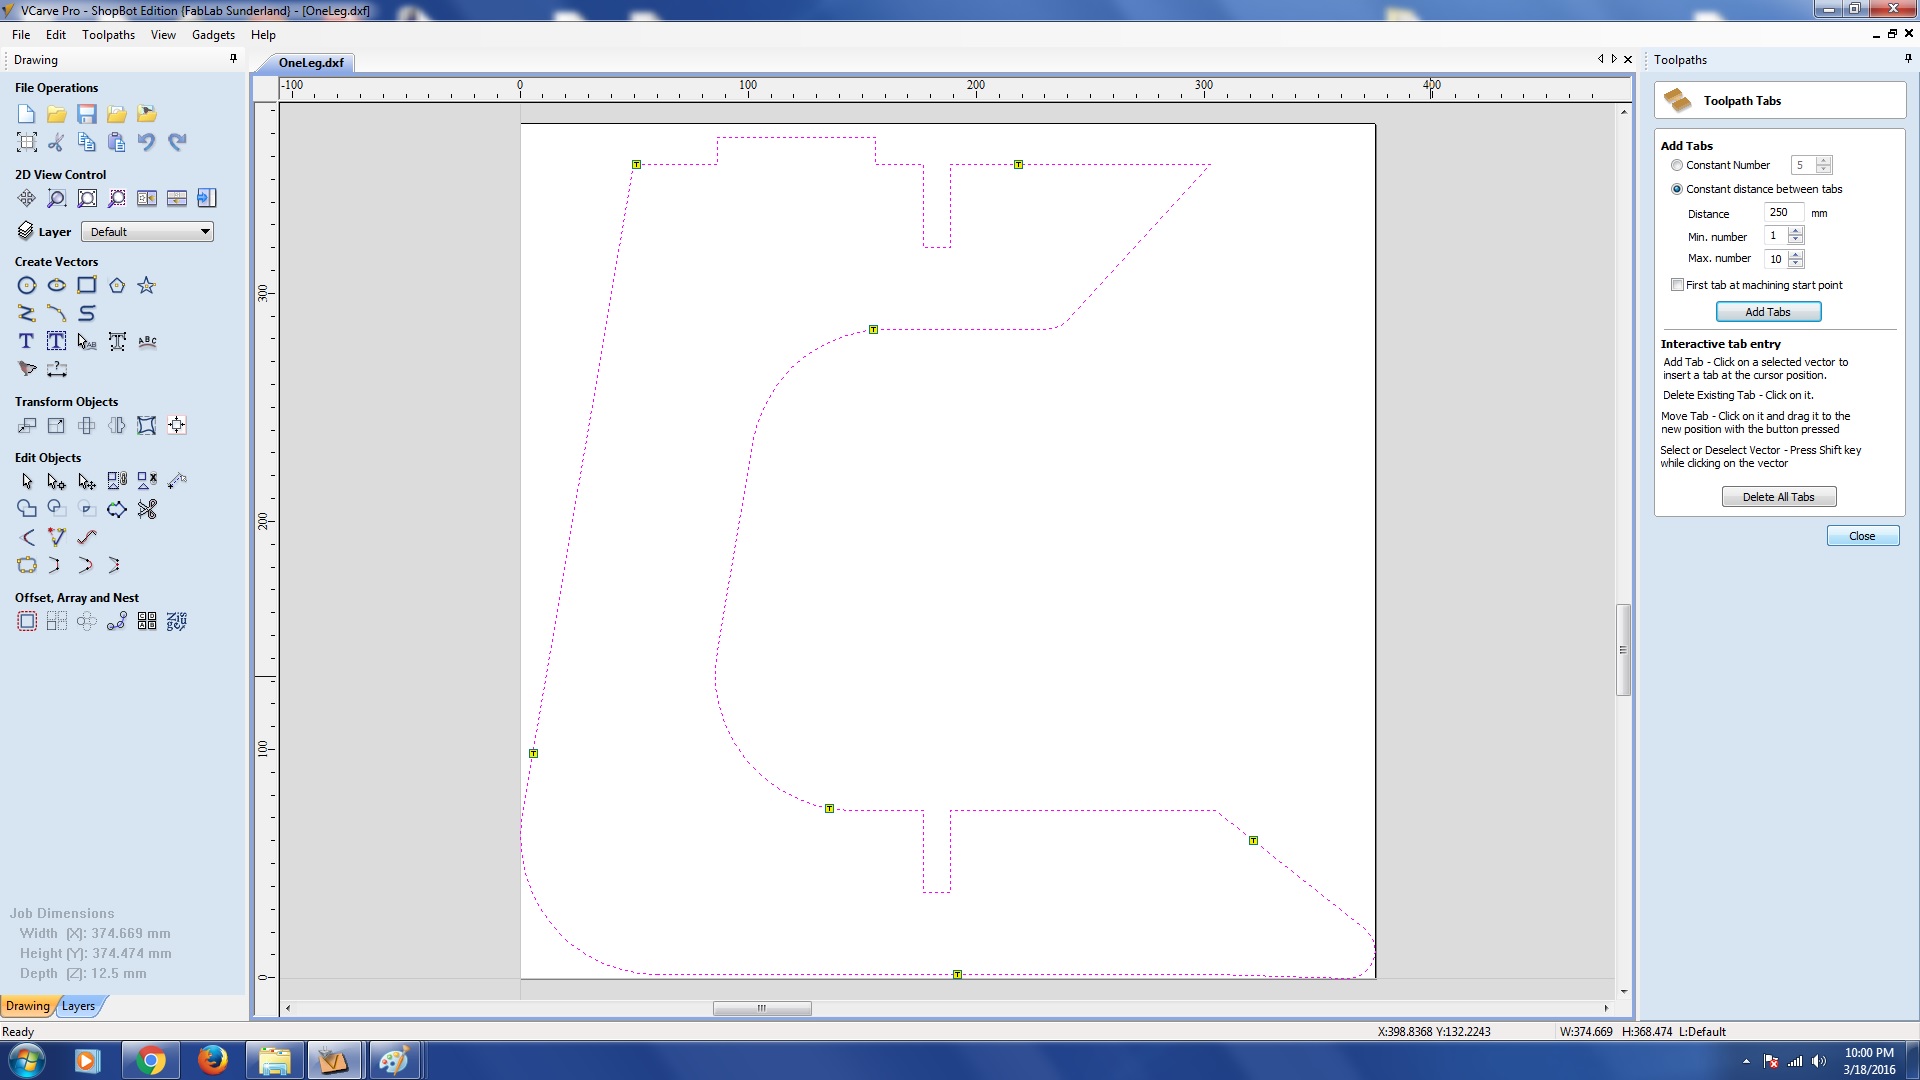
- In order to open the CAD part files in VCarve, I first made sure to export the Rhino .dfm files to the AutoCad Exchange Format (.dxf) so that the part file could be loaded onto the VCarve Software and have all toolpath information ready for me to configure
- Because we were asked to use the new plywood sheet conservatively, I had to divide up my CAD file into 3 seperate CAD files, each containing one part of the rocking stool to be cut. Here are the screenshots of one of the part files (OneLeg.dxf) as opened up in the VCarve program:

- I input the following settings within the 2D Profile Toolpath menu to generate the appropriate toolpath for each of the constituent parts of my model:
- Cut Depth = 13.0mm
- Tool = 1/4" down cut (57-910)
- No. of Passes = 4
- Machine Vectors = Inside/Left
- Direction = Climb
- Allowance Offset = -0.1mm
- Add Tabs to Toolpath --> Length = 6mm; Thickness = 5mm; Option Selected (ticked) = Create 3D Tabs
- Within the "Edit Tool" submenu, the following settings were entered:
- Spindle Speed = 15000 rpm
- Feed Rate = 60.0 mm/sec
- Plunge Rate = 10.0 mm/sec

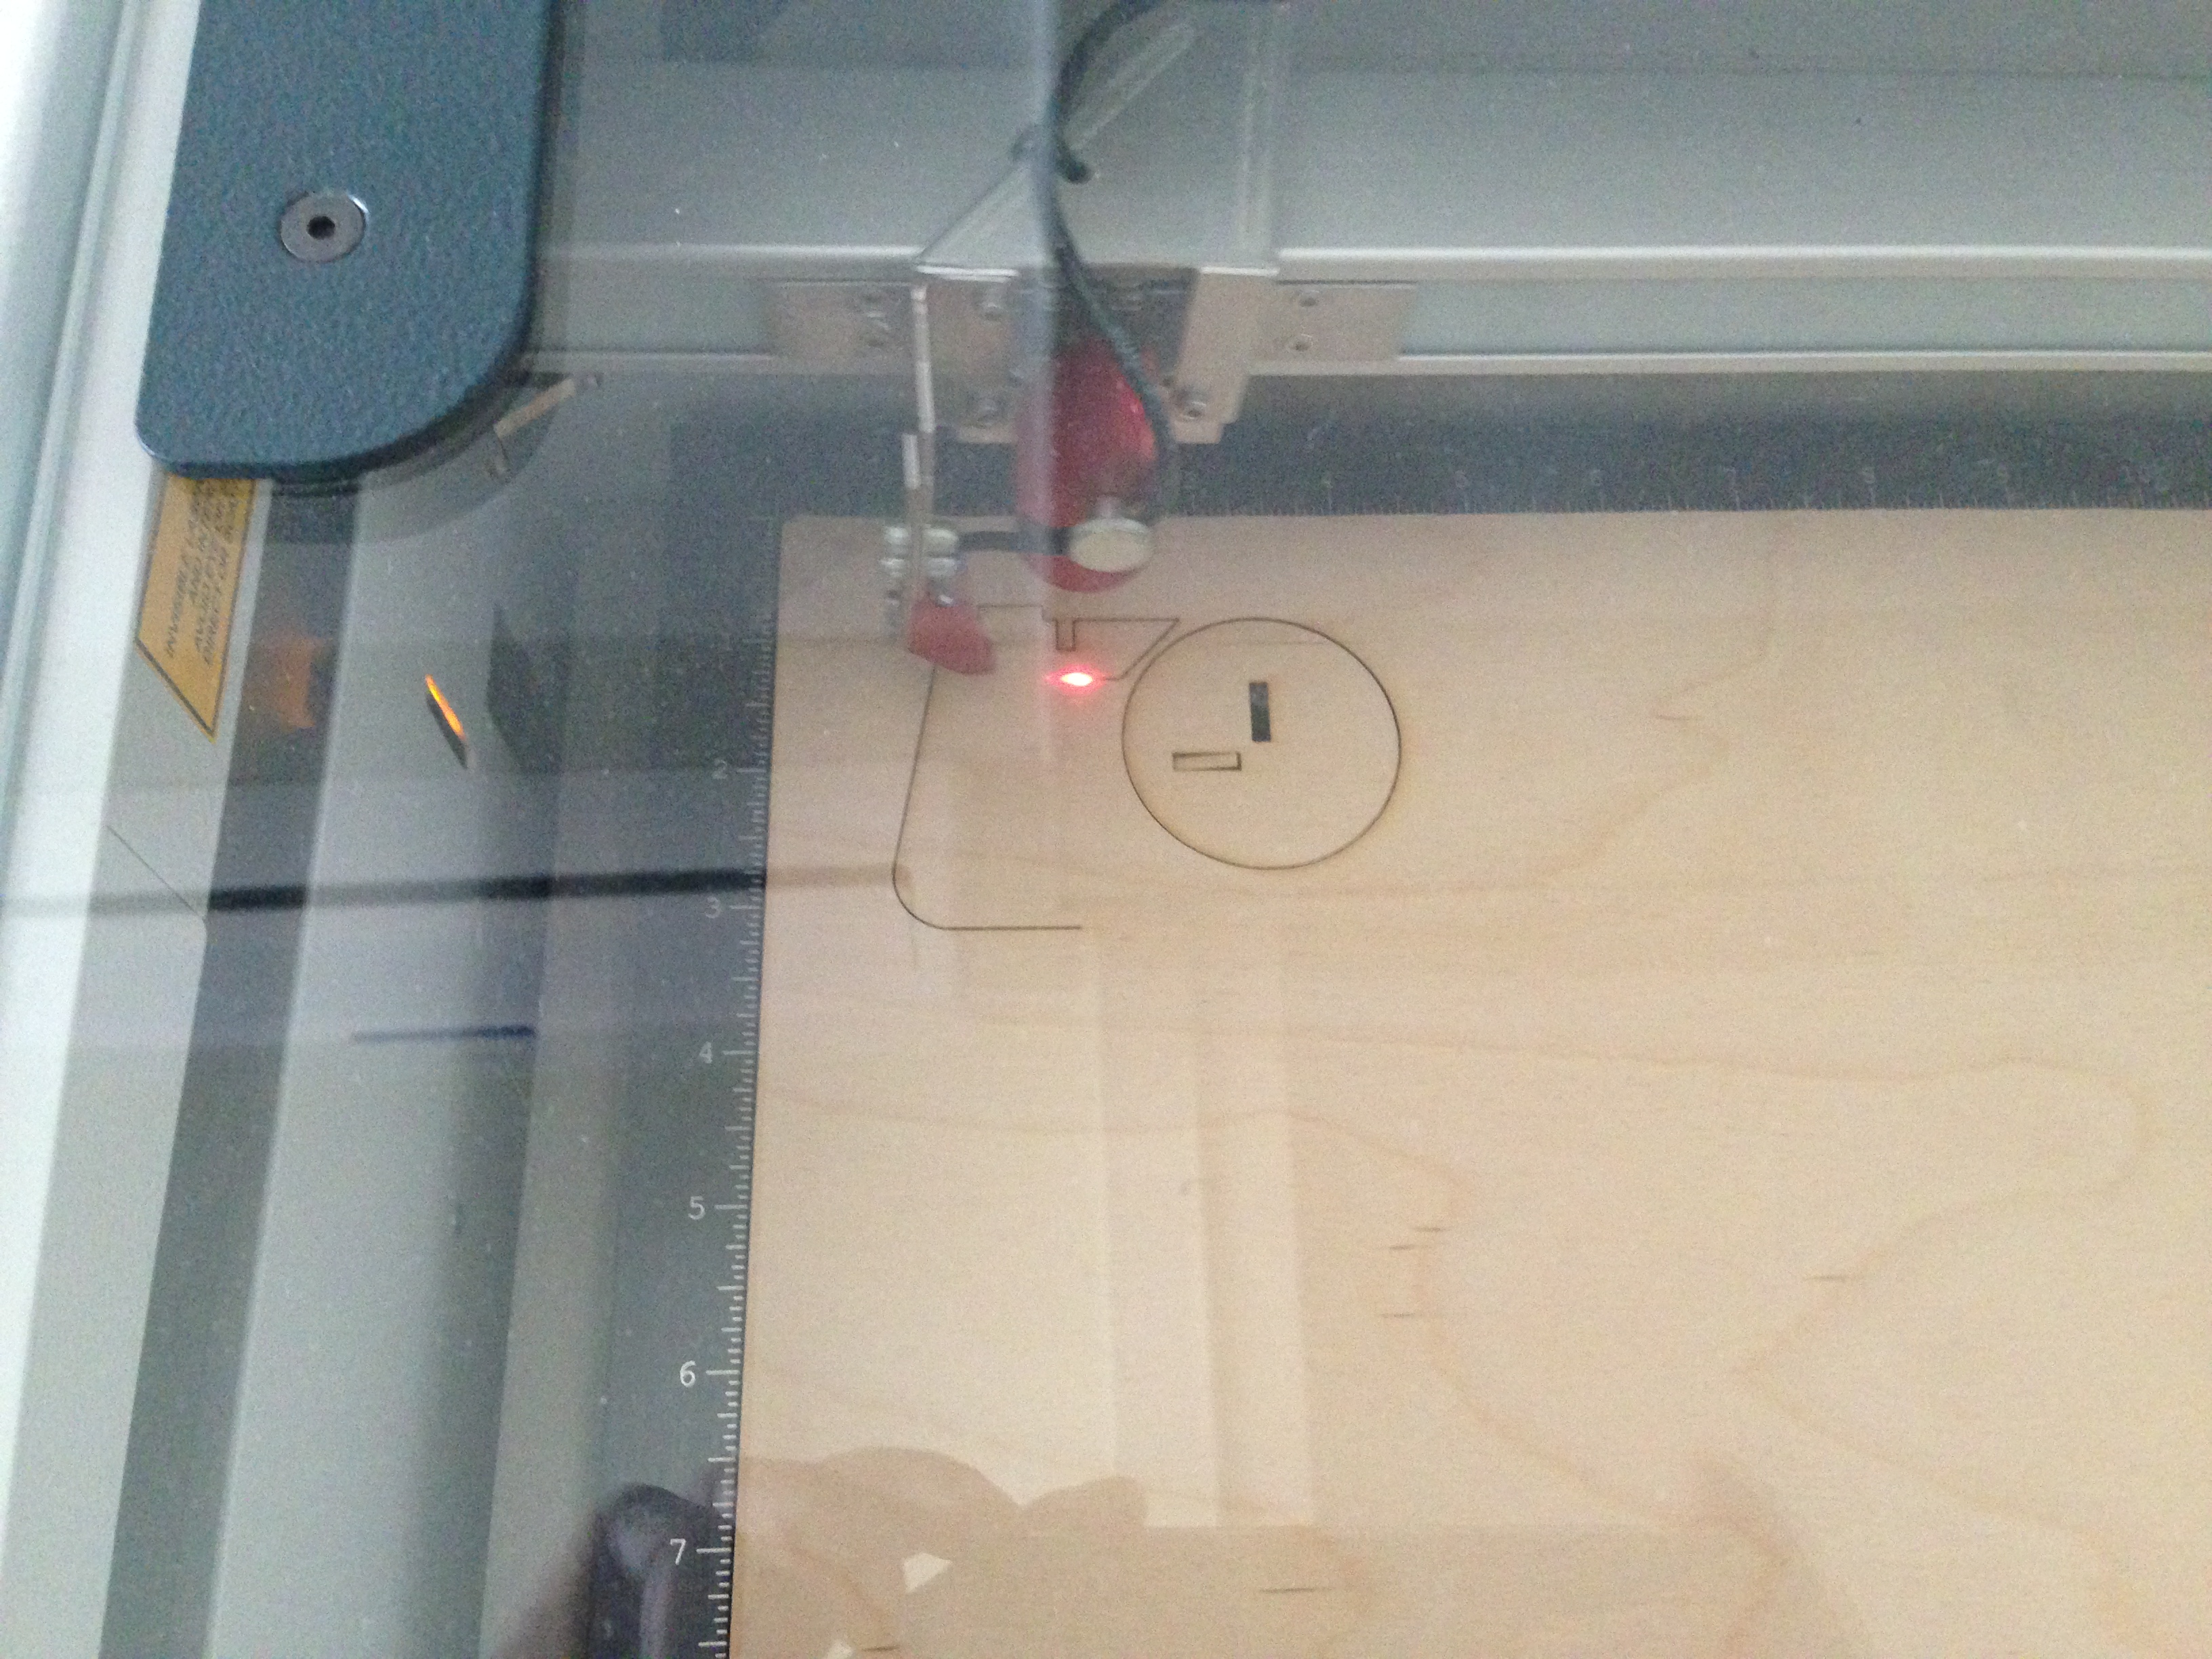
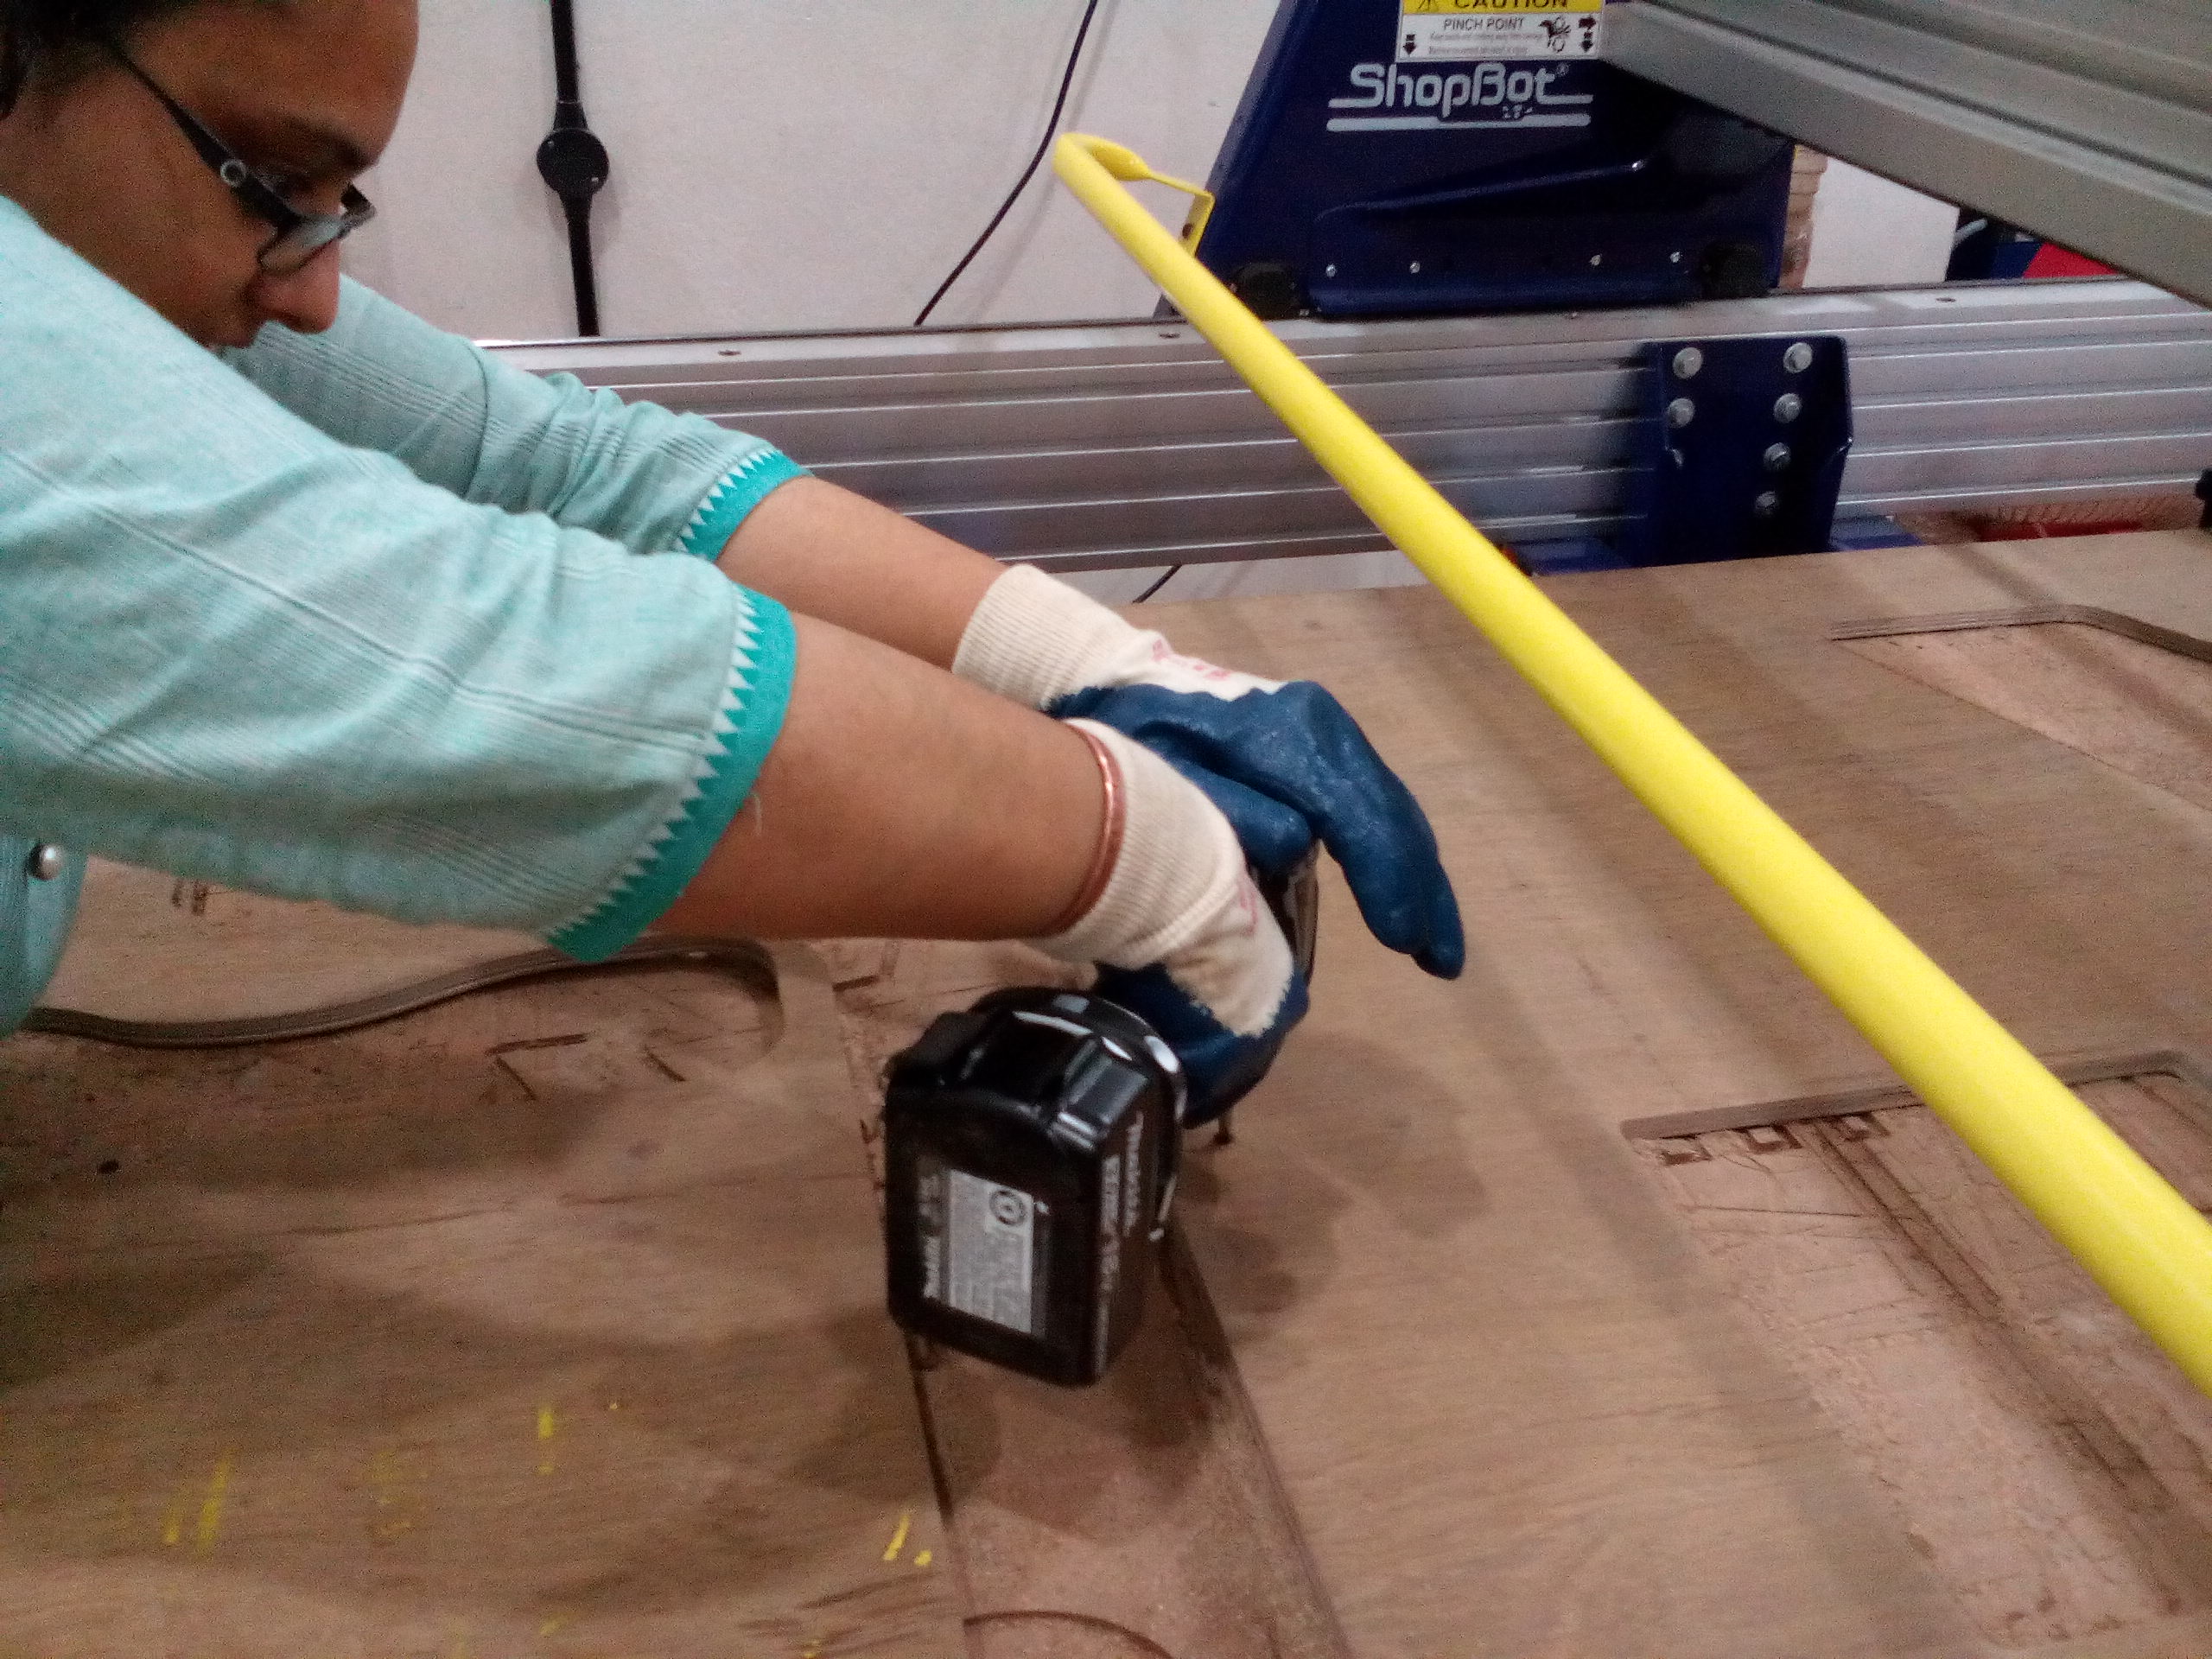
- Before setting up the ShopBot's software to direct the spindle to the appropriate location, I reinforced the plywood sheet on the bed of the CNC machine such that the pressure of the end effector cutting the plywood did not move the actual base platform. I did this using a power drill:
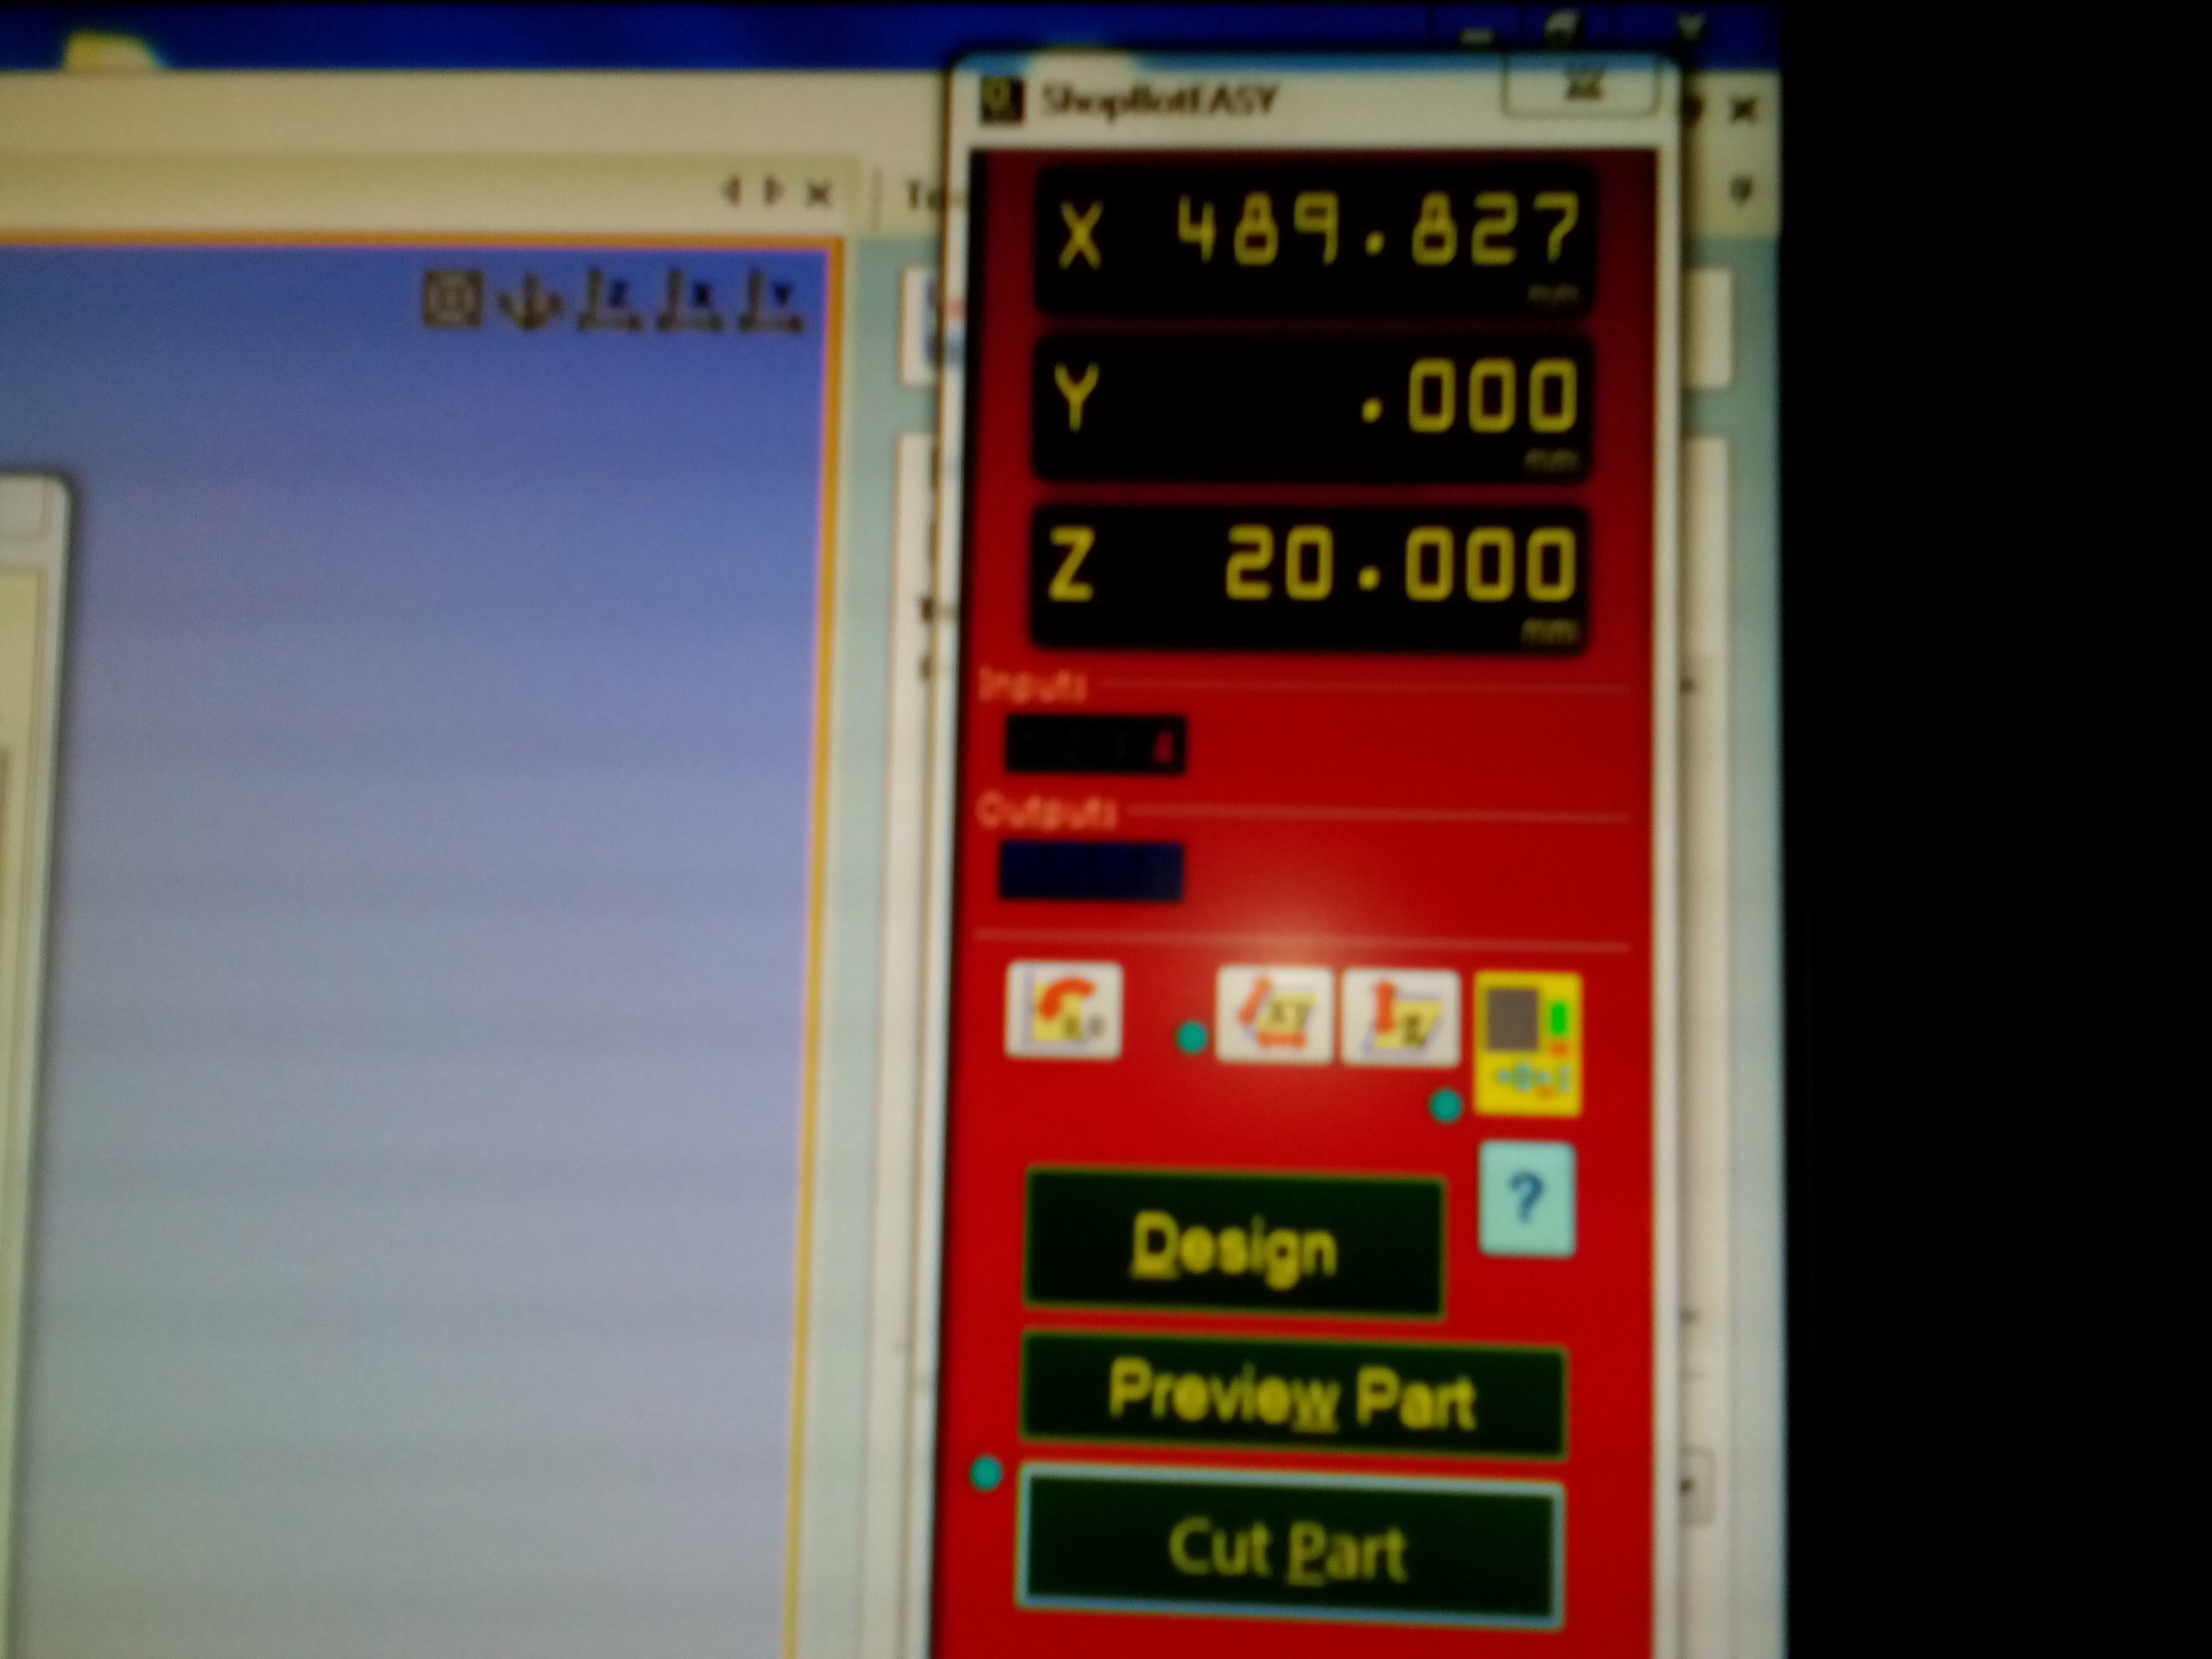
- Once toolpath information had been entered in Step 5; It was necessary to open ShopBot's own software to align the spindle in the correct position of the plywood sheet to begin cutting:
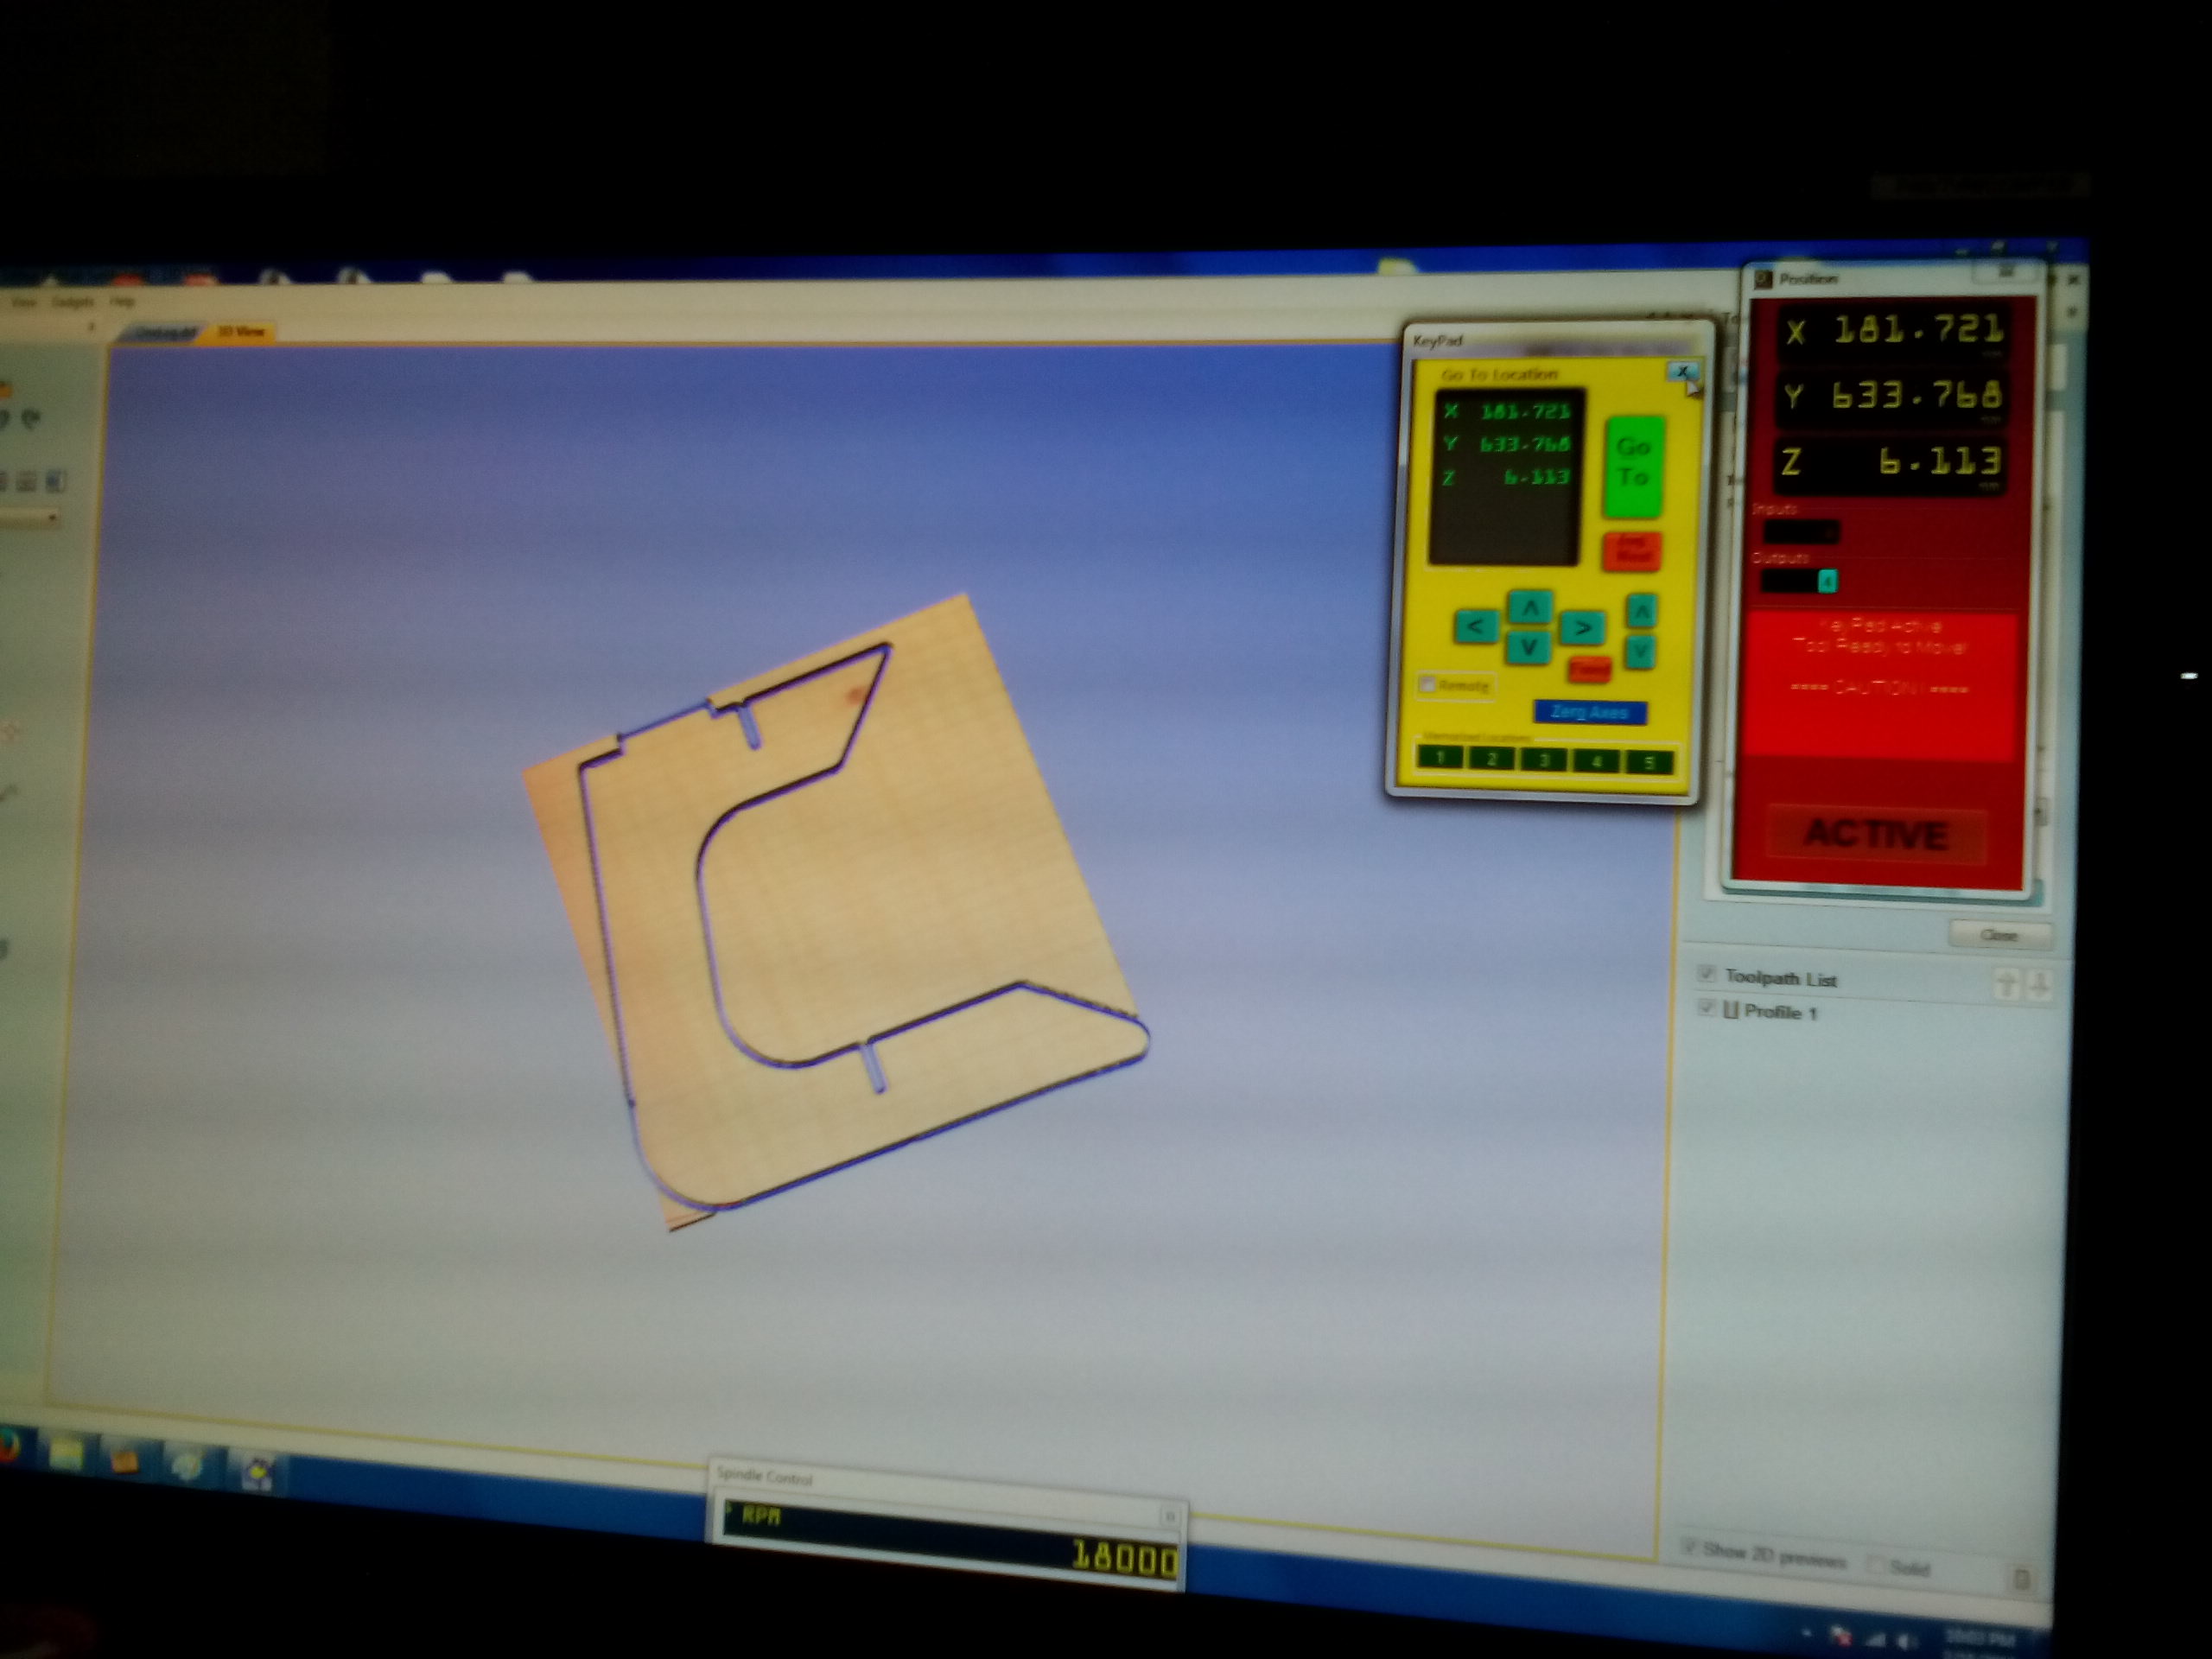
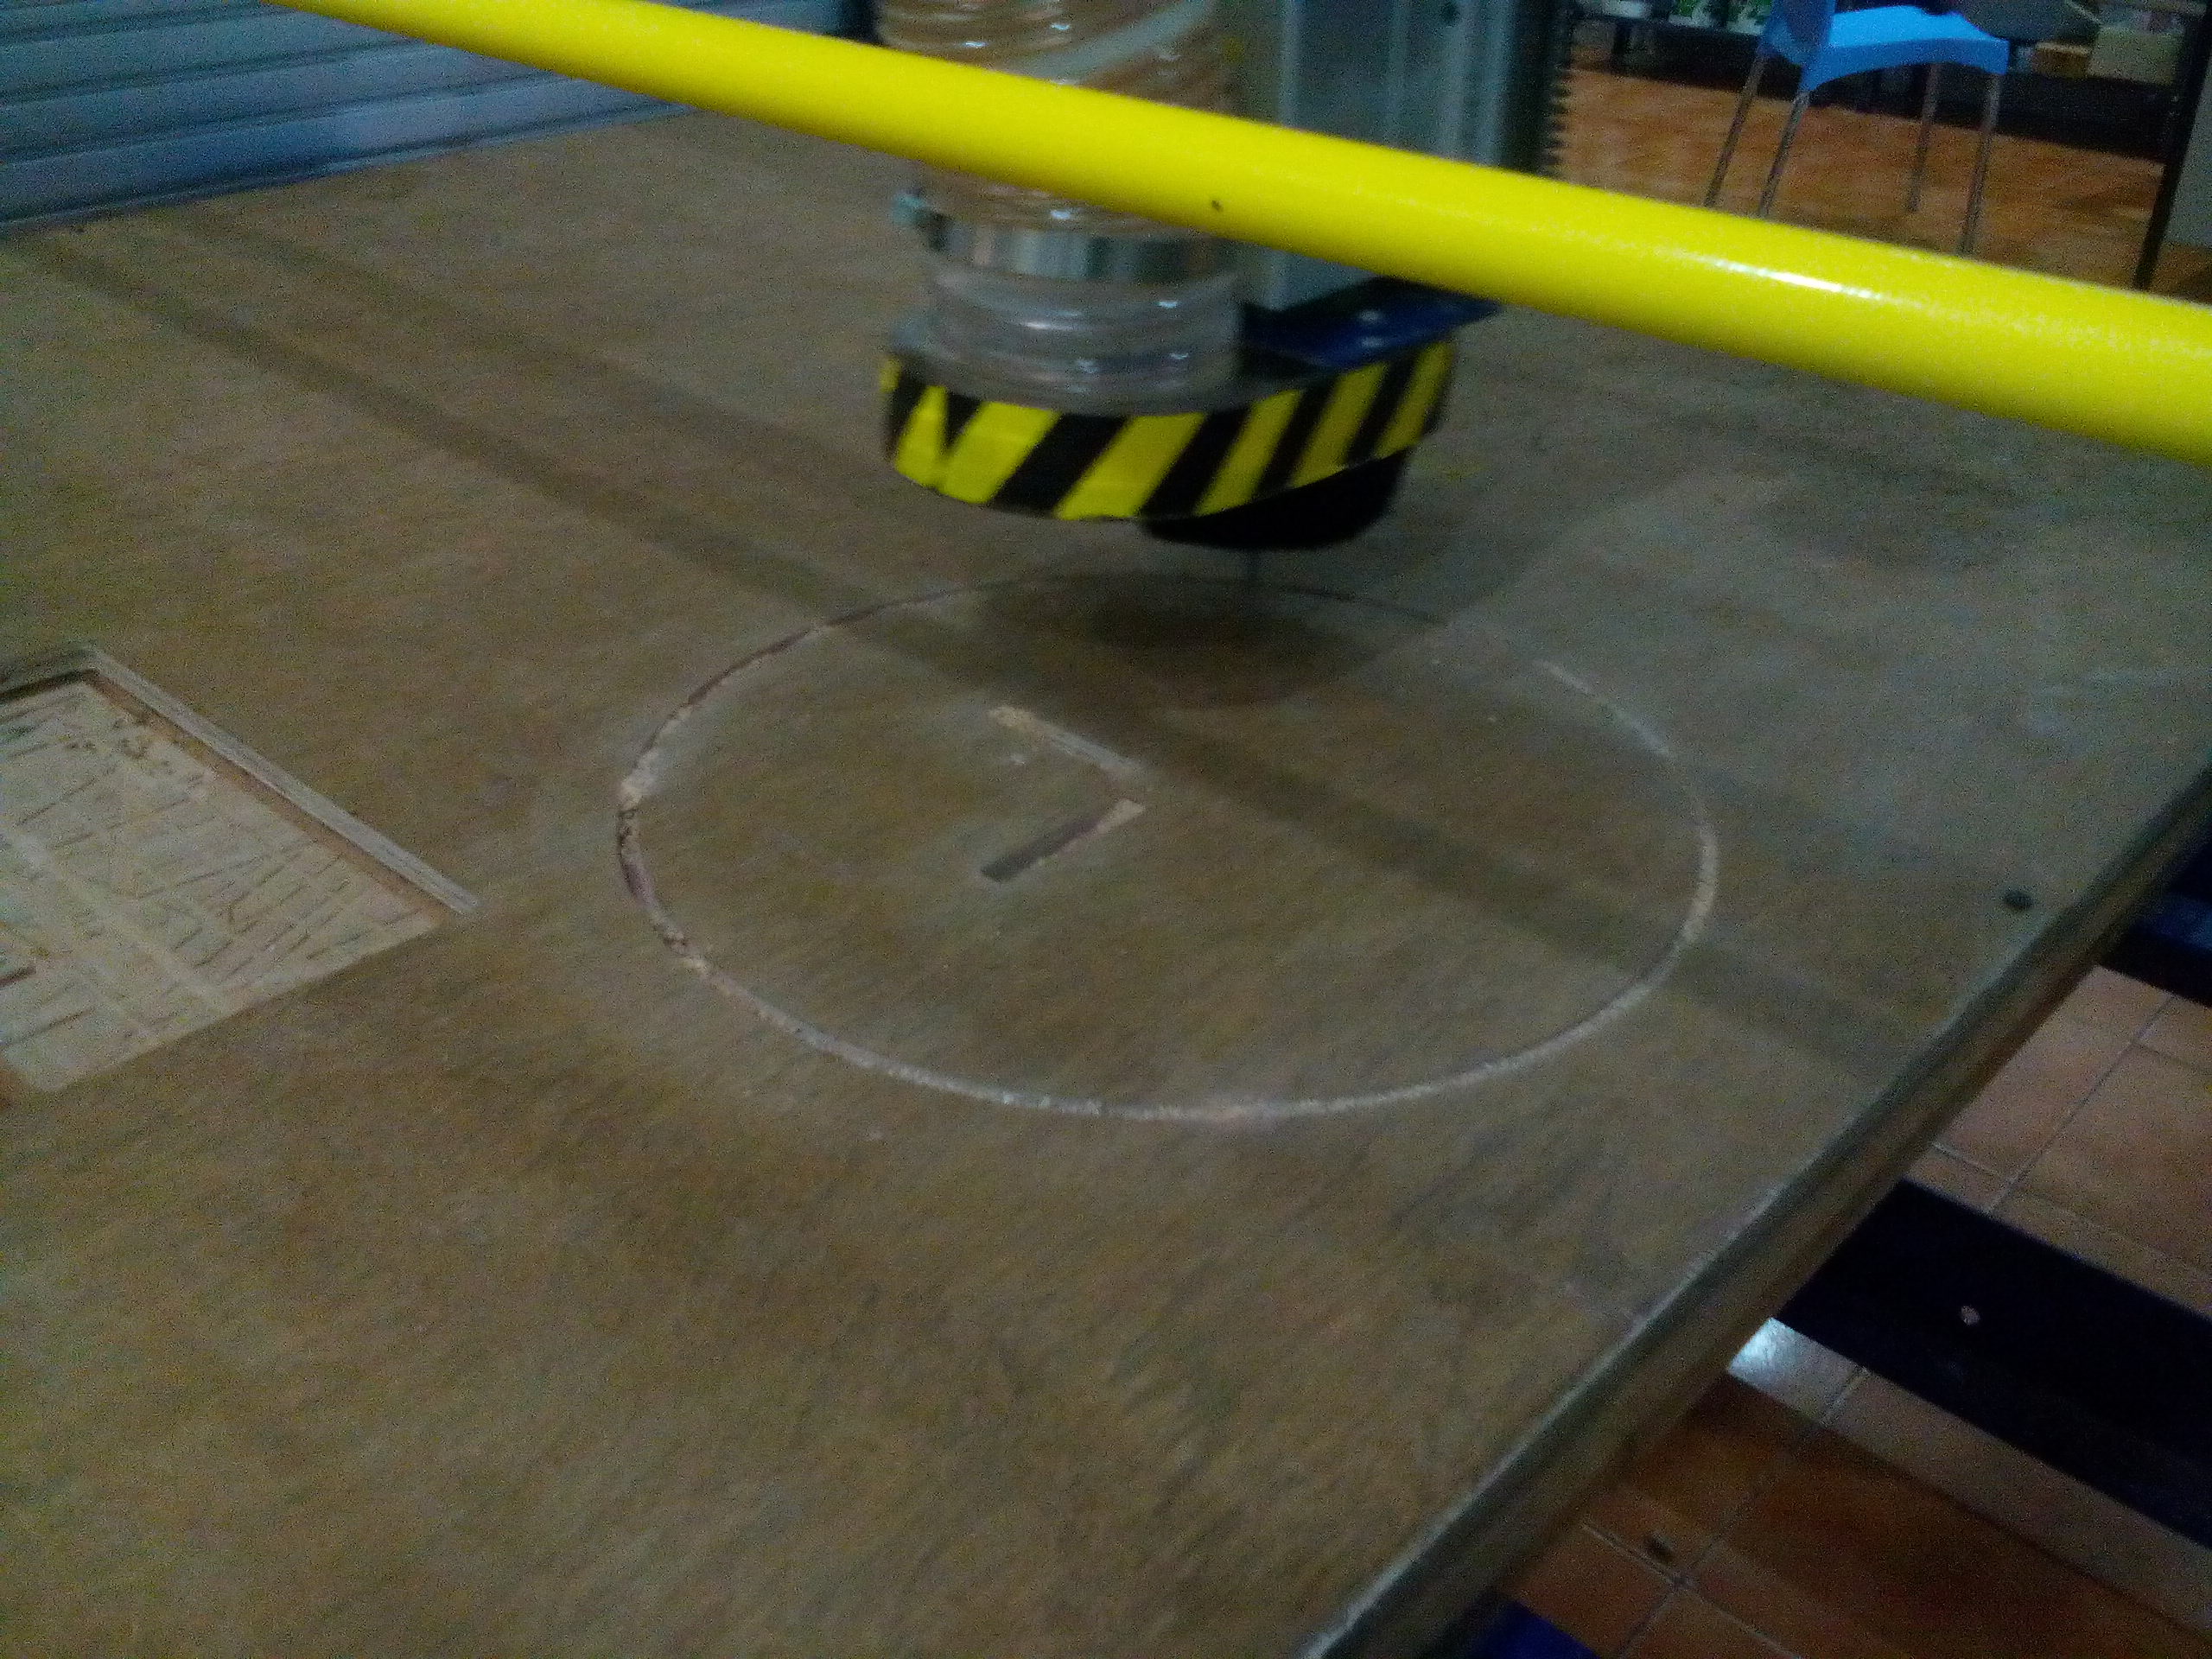
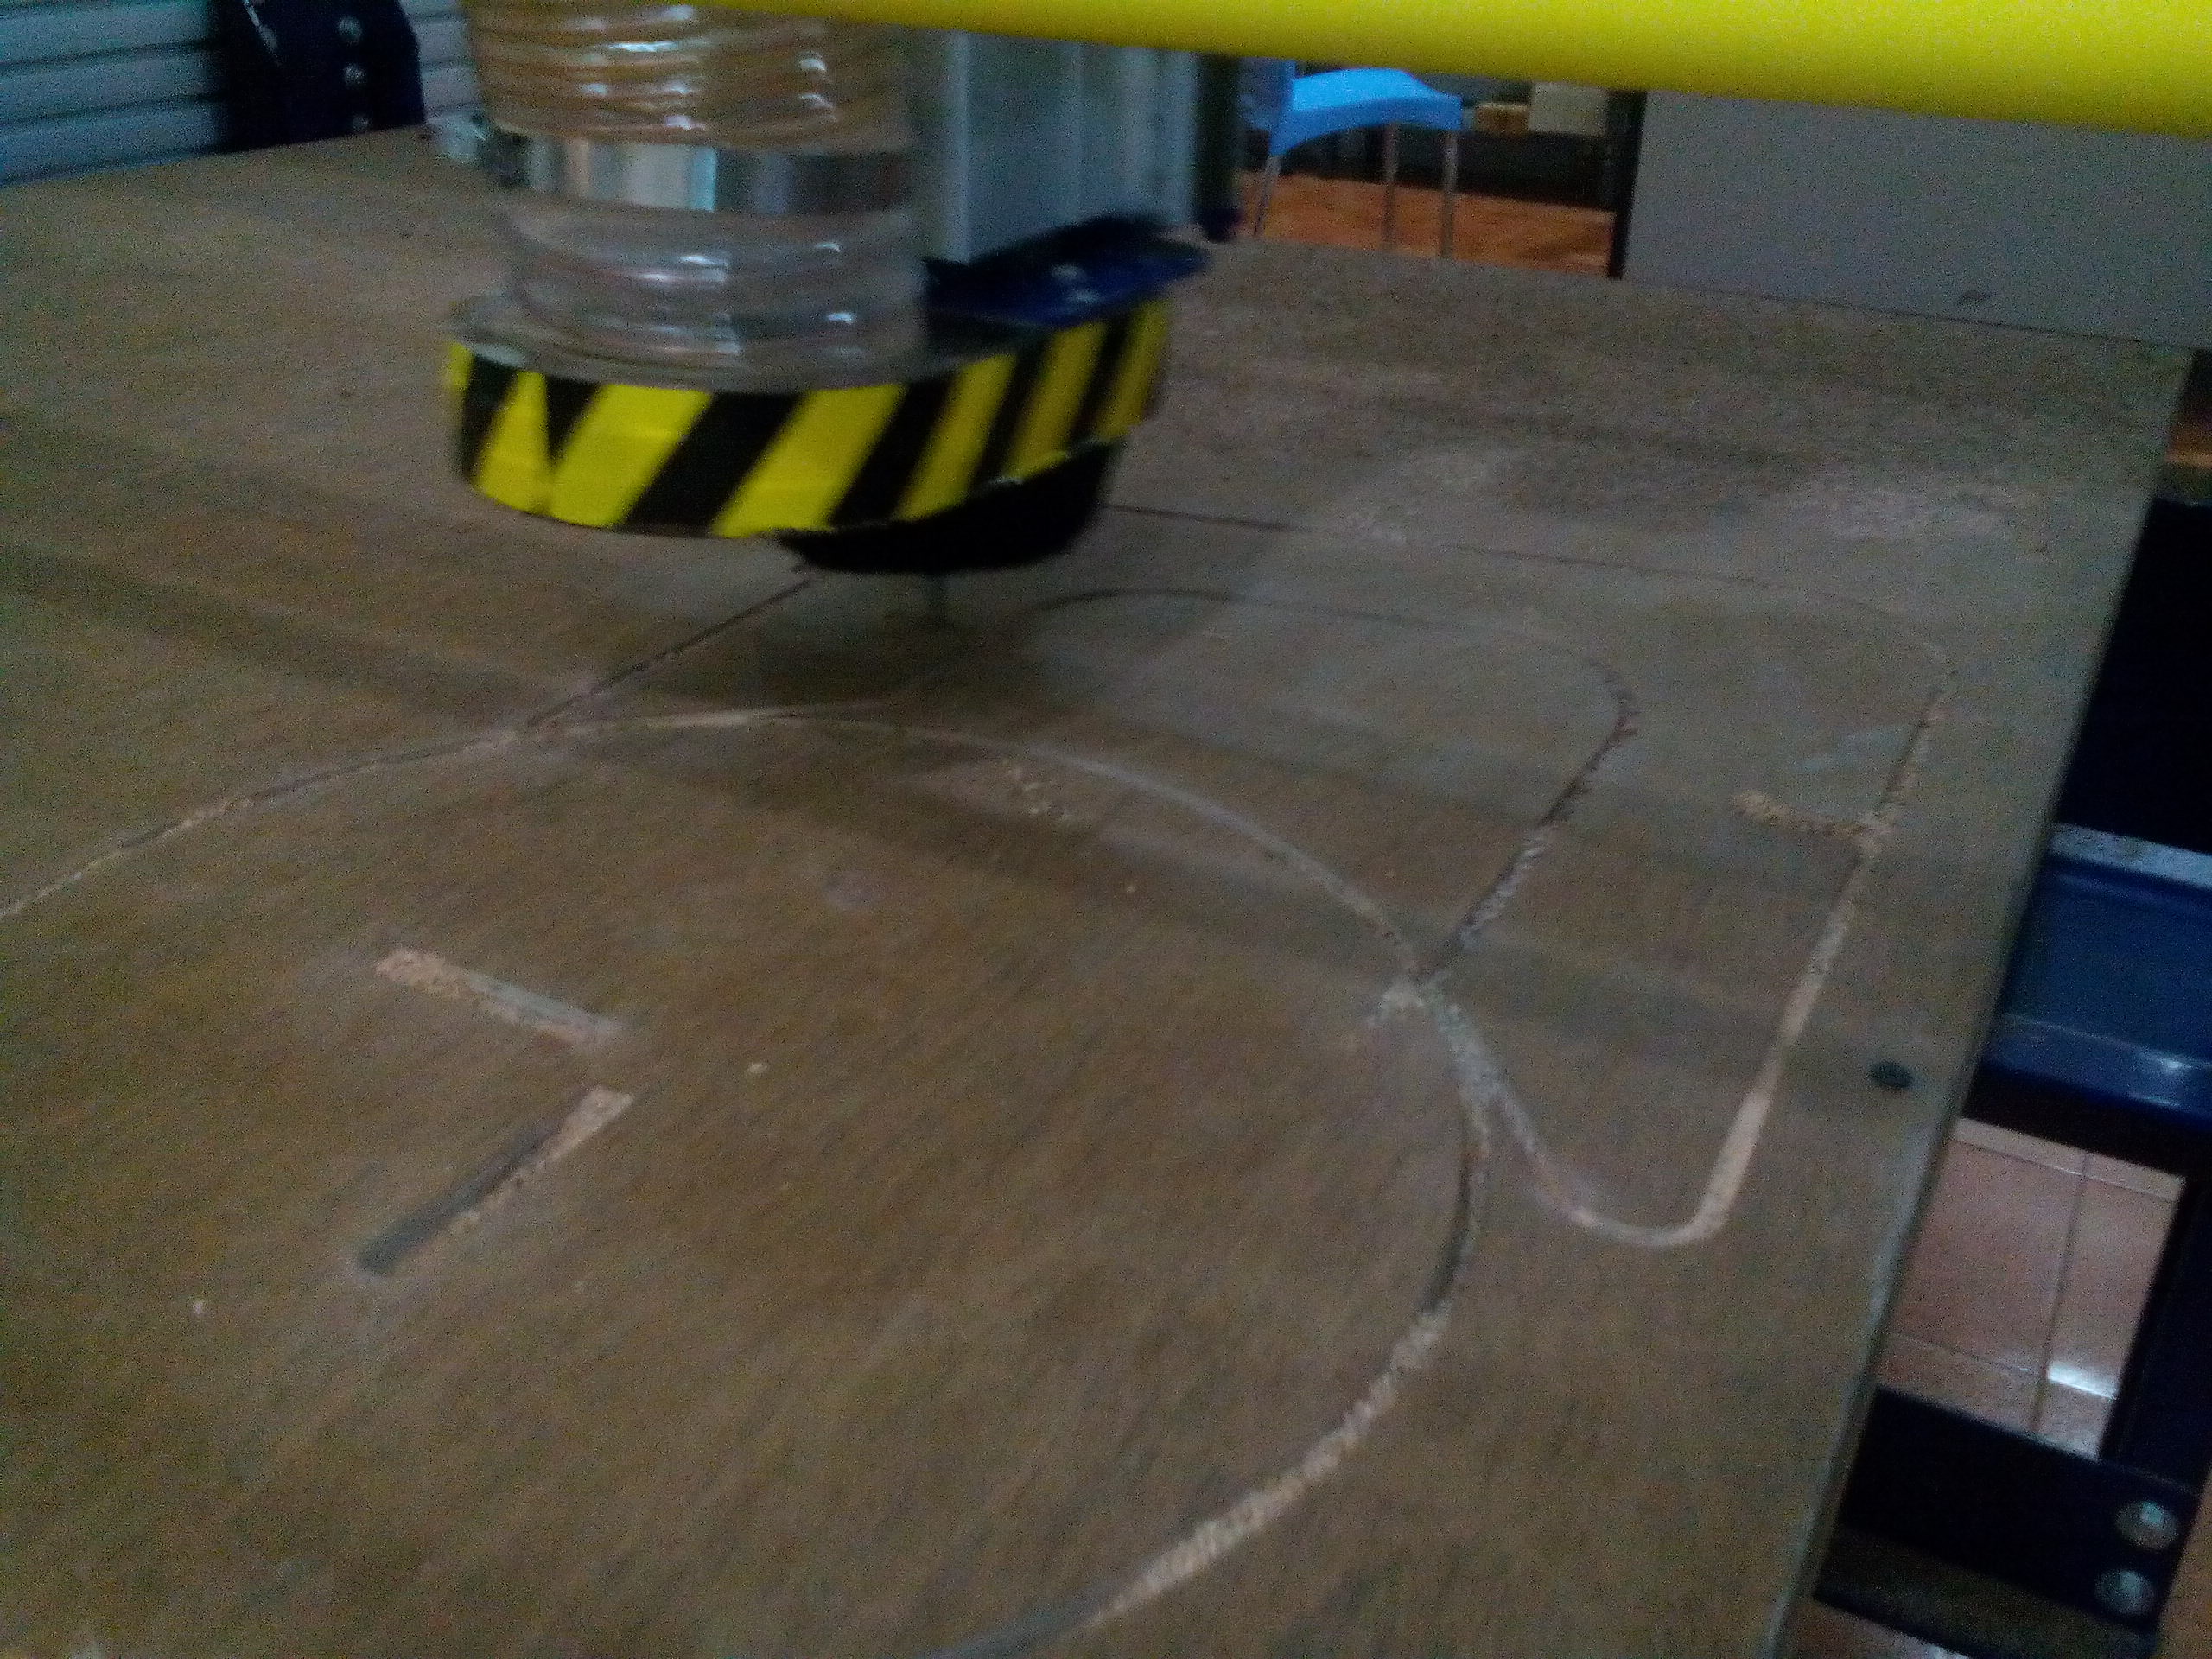
- Cutting commenced once the spindle had been properly aligned and the machine was set at the correct Z position:
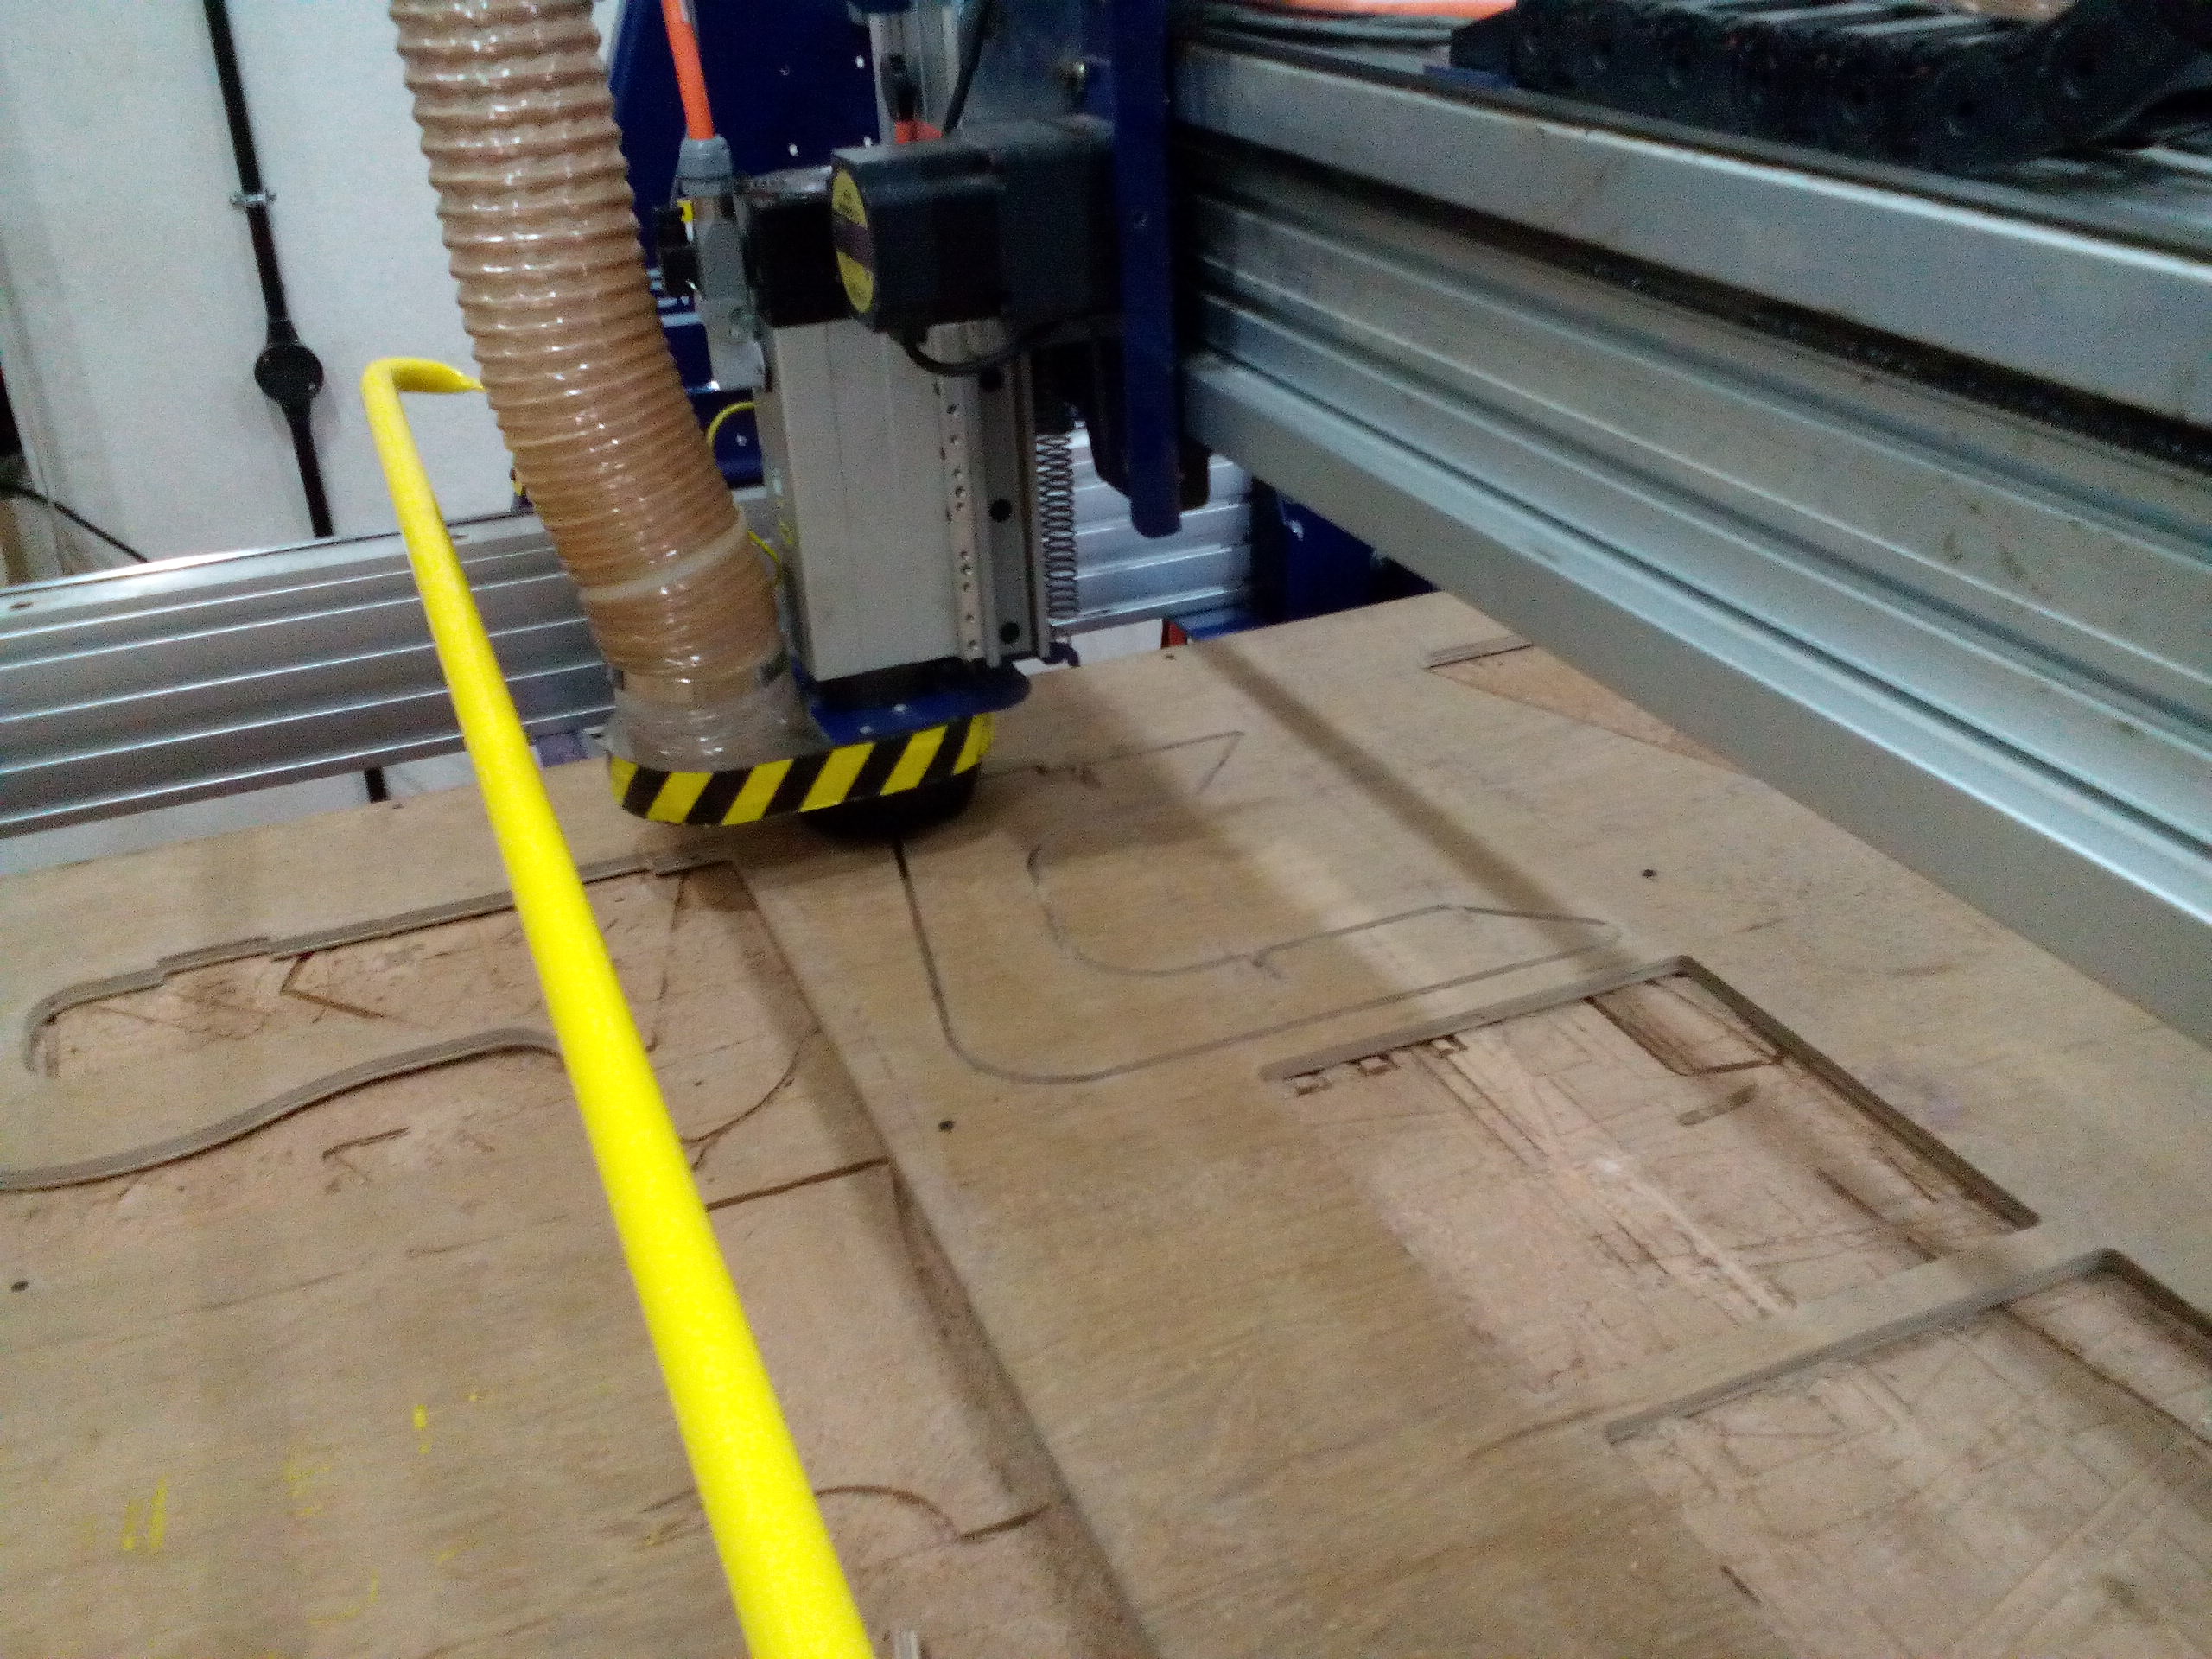
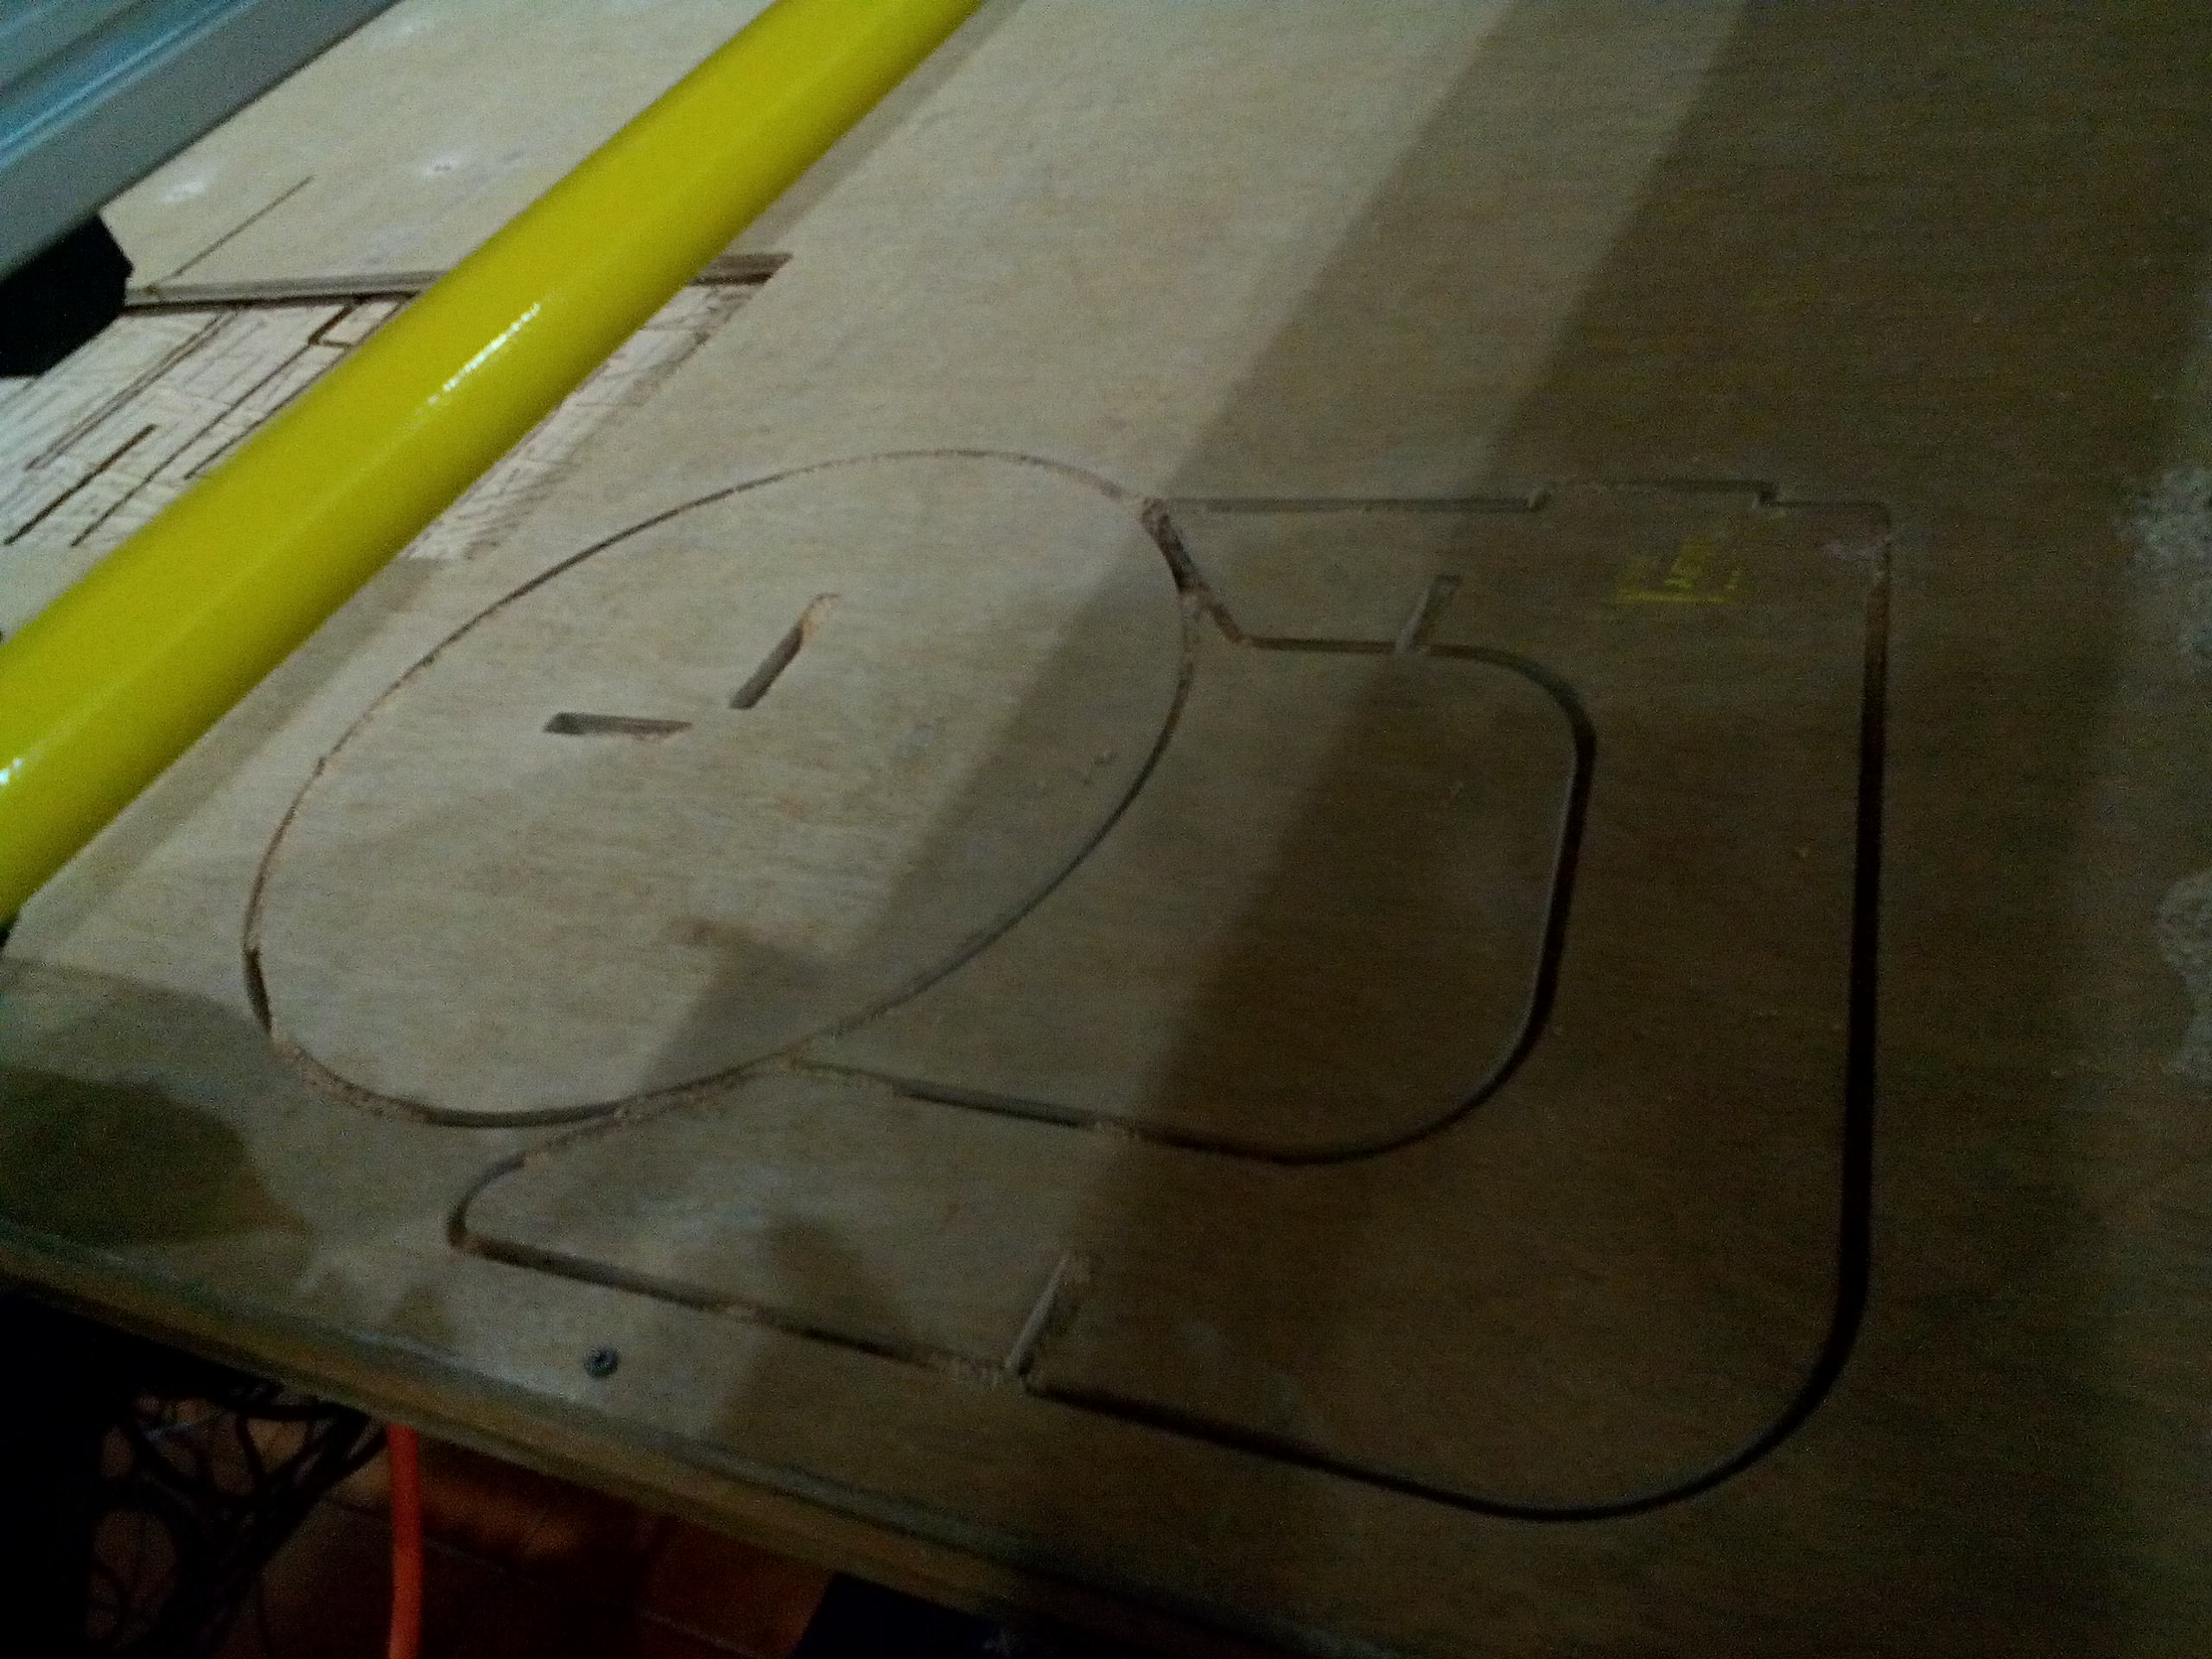
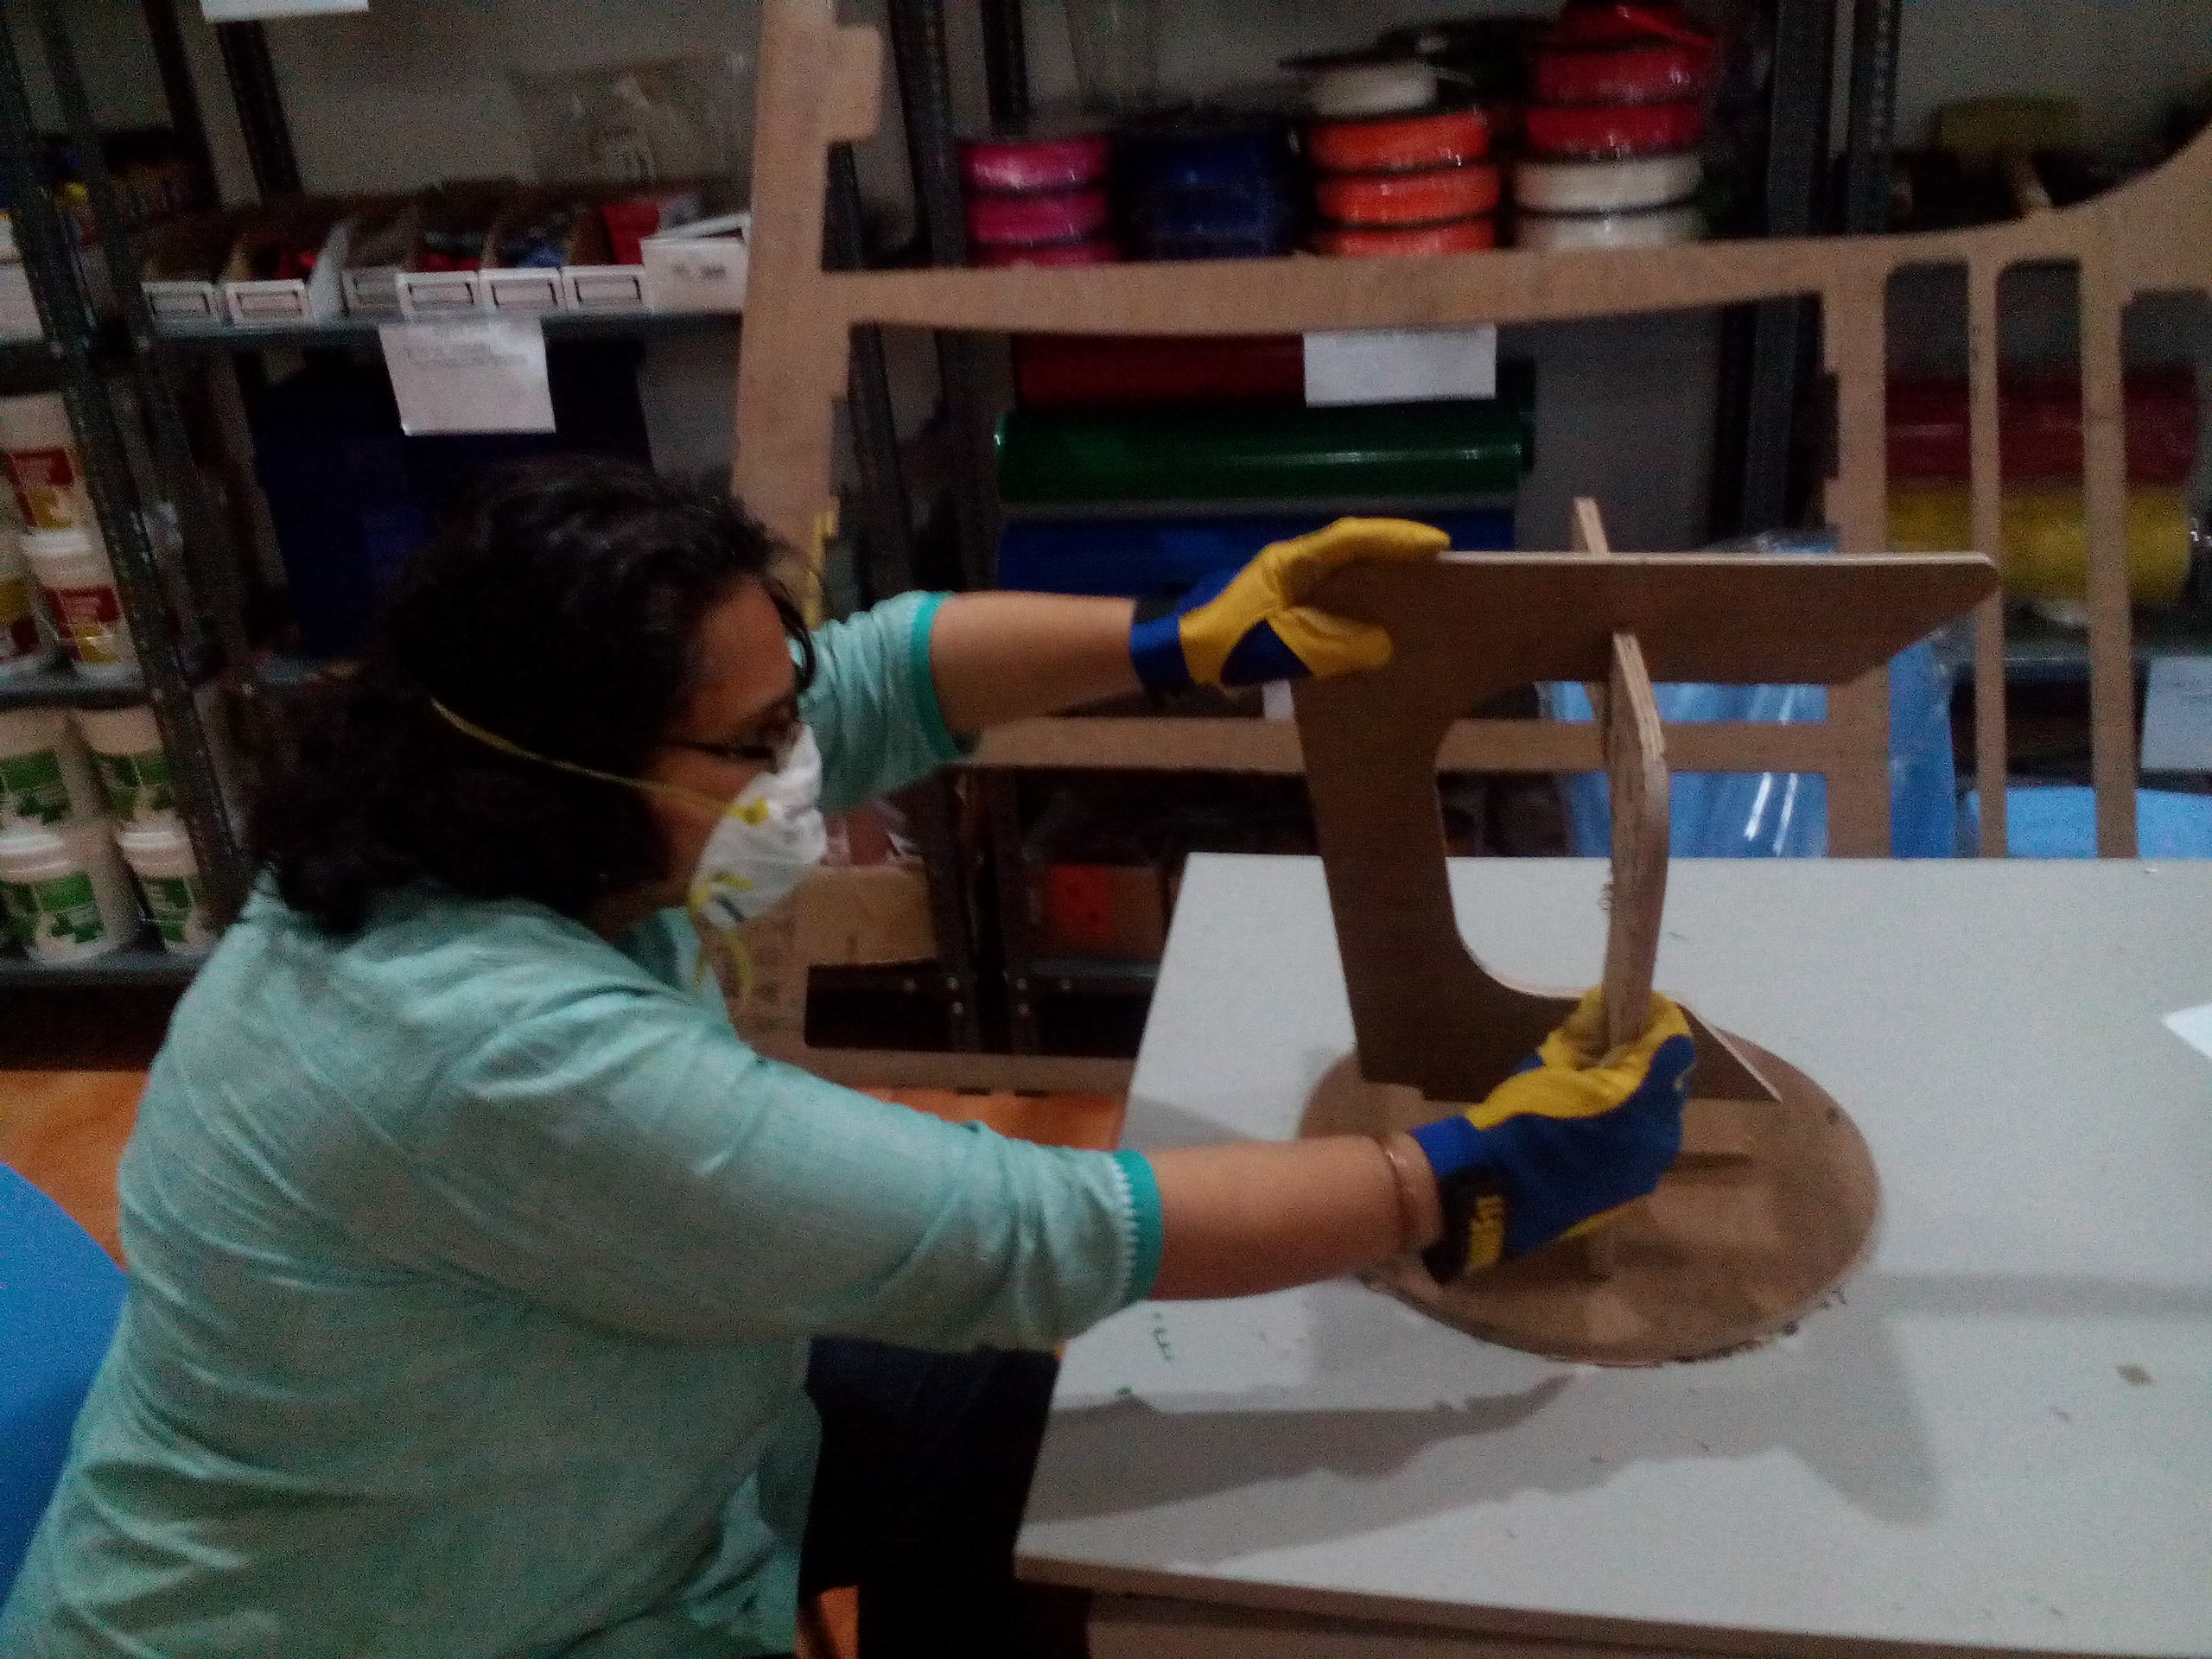
- After the first "leg" of the rocking stool was cut, I proceeded to load the other leg + surface part files in the exact same fashion as I did before (Steps 1 - 8):
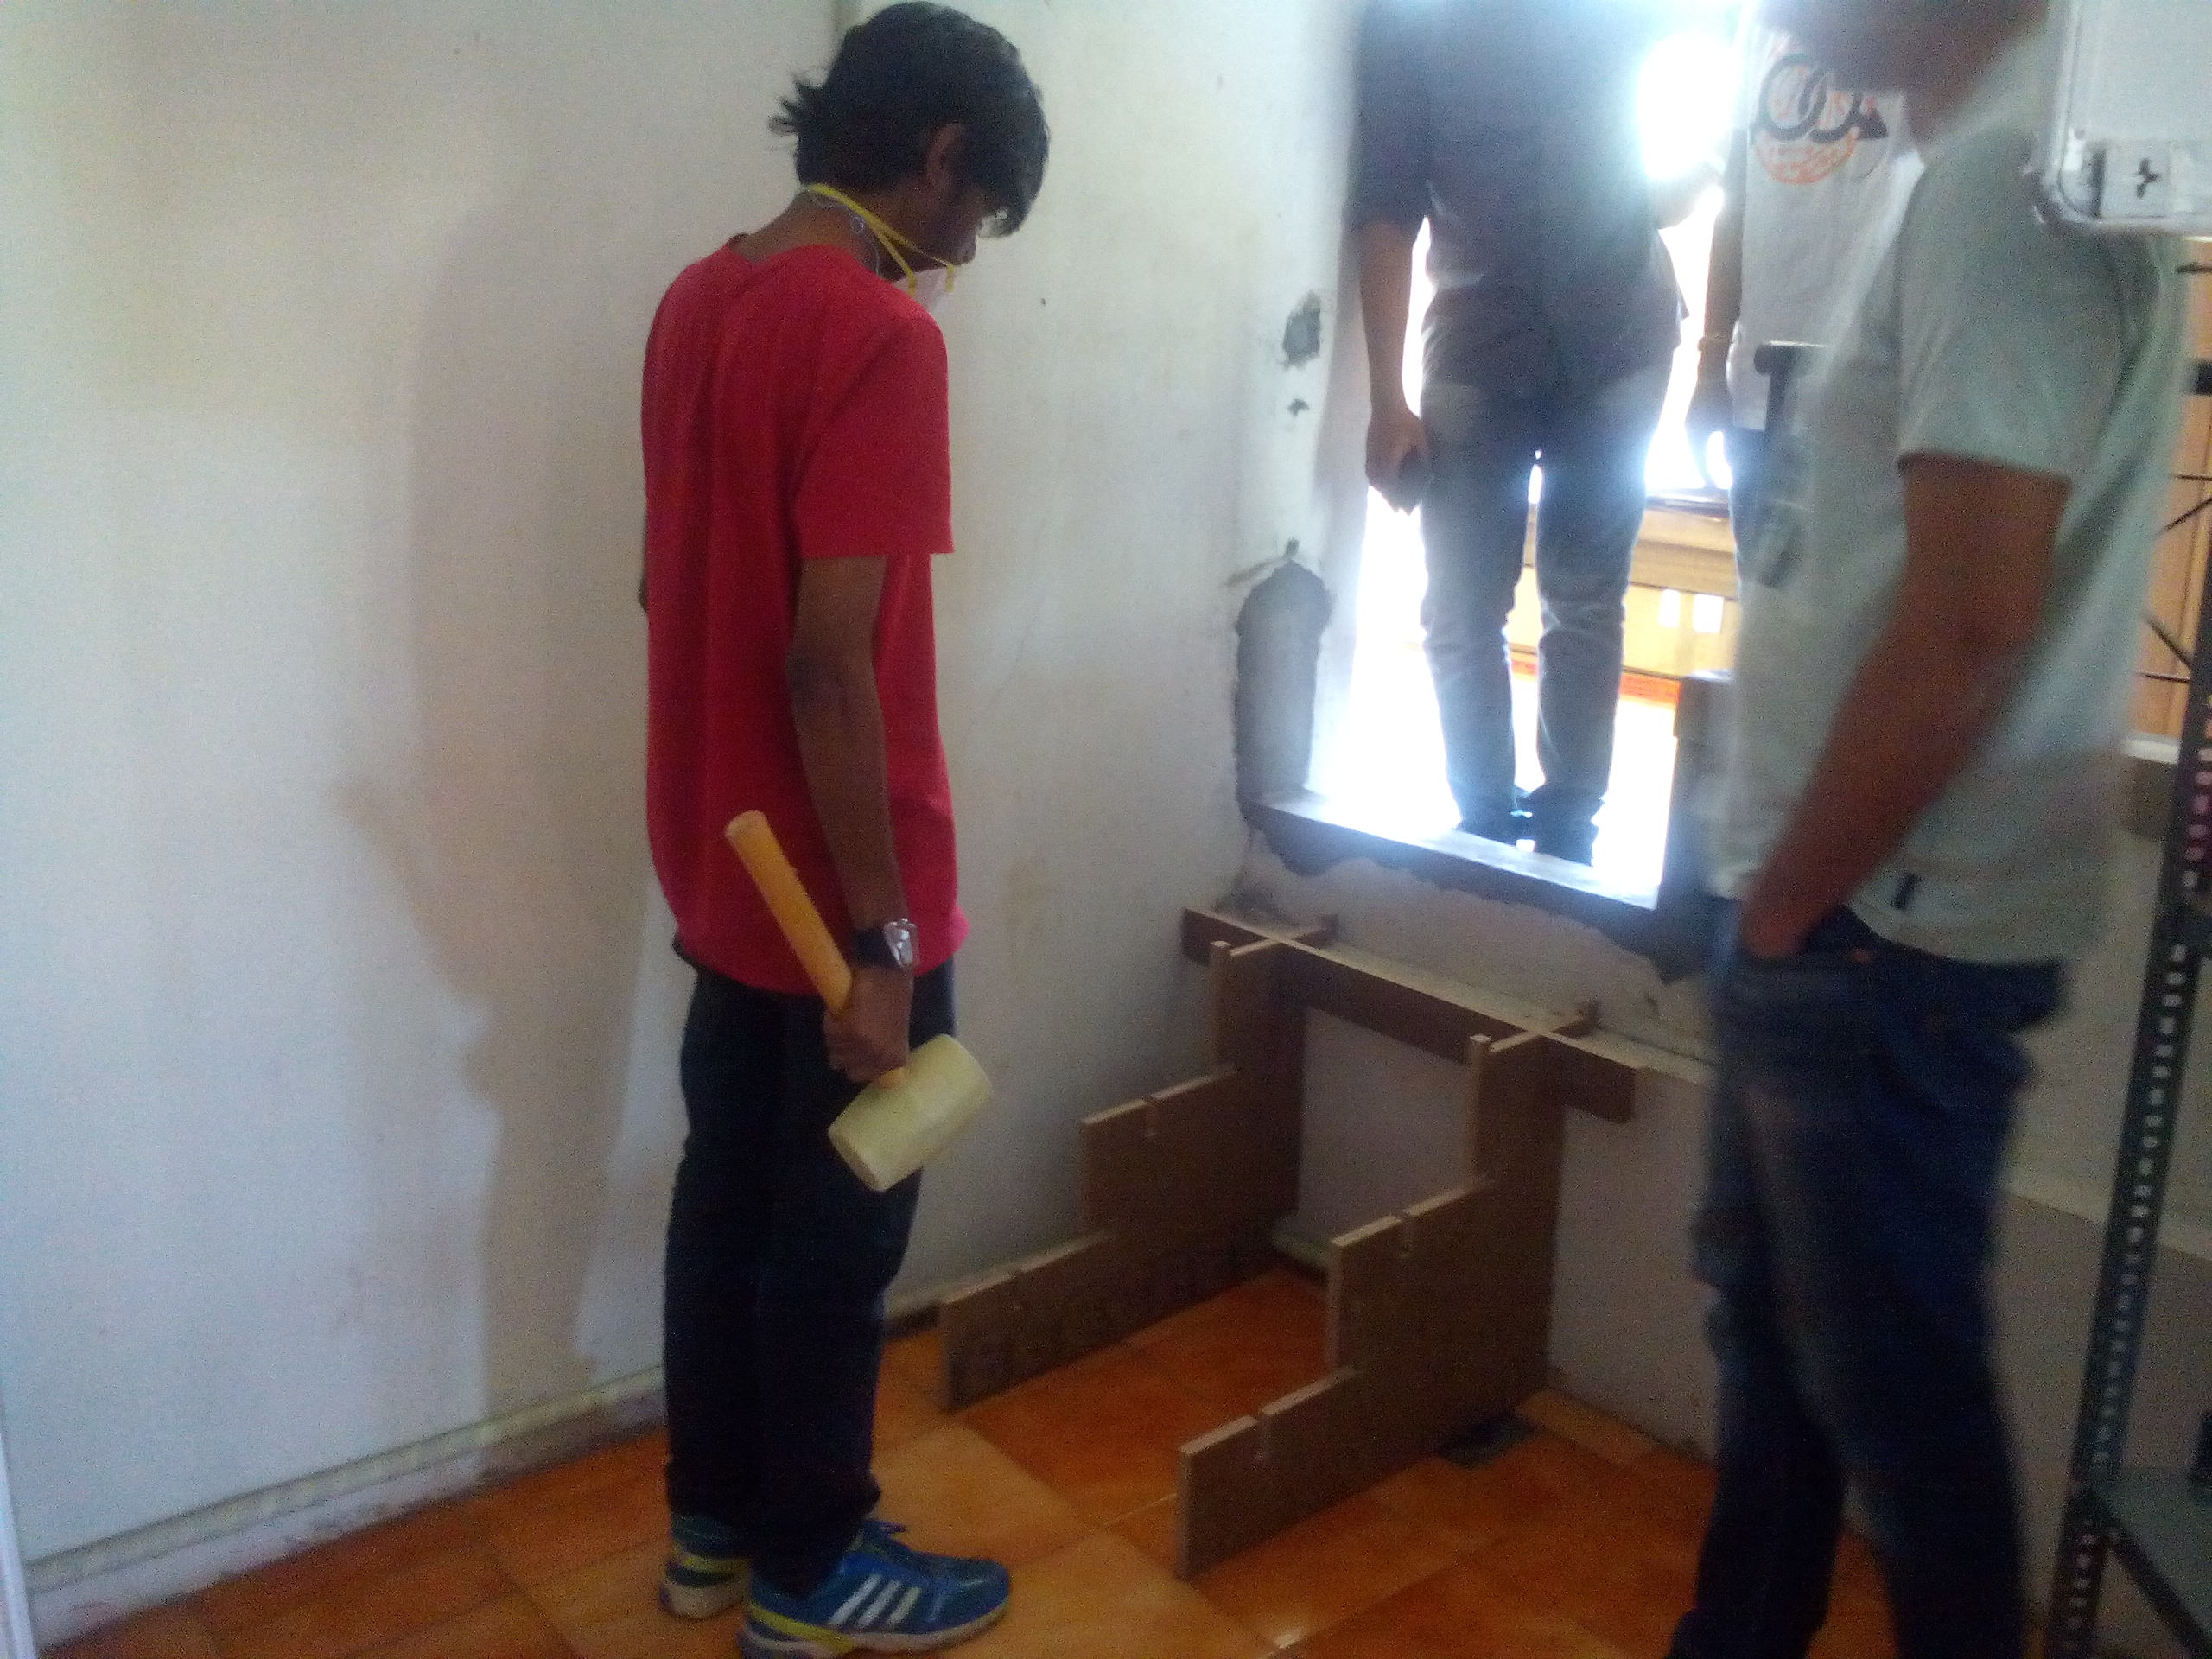
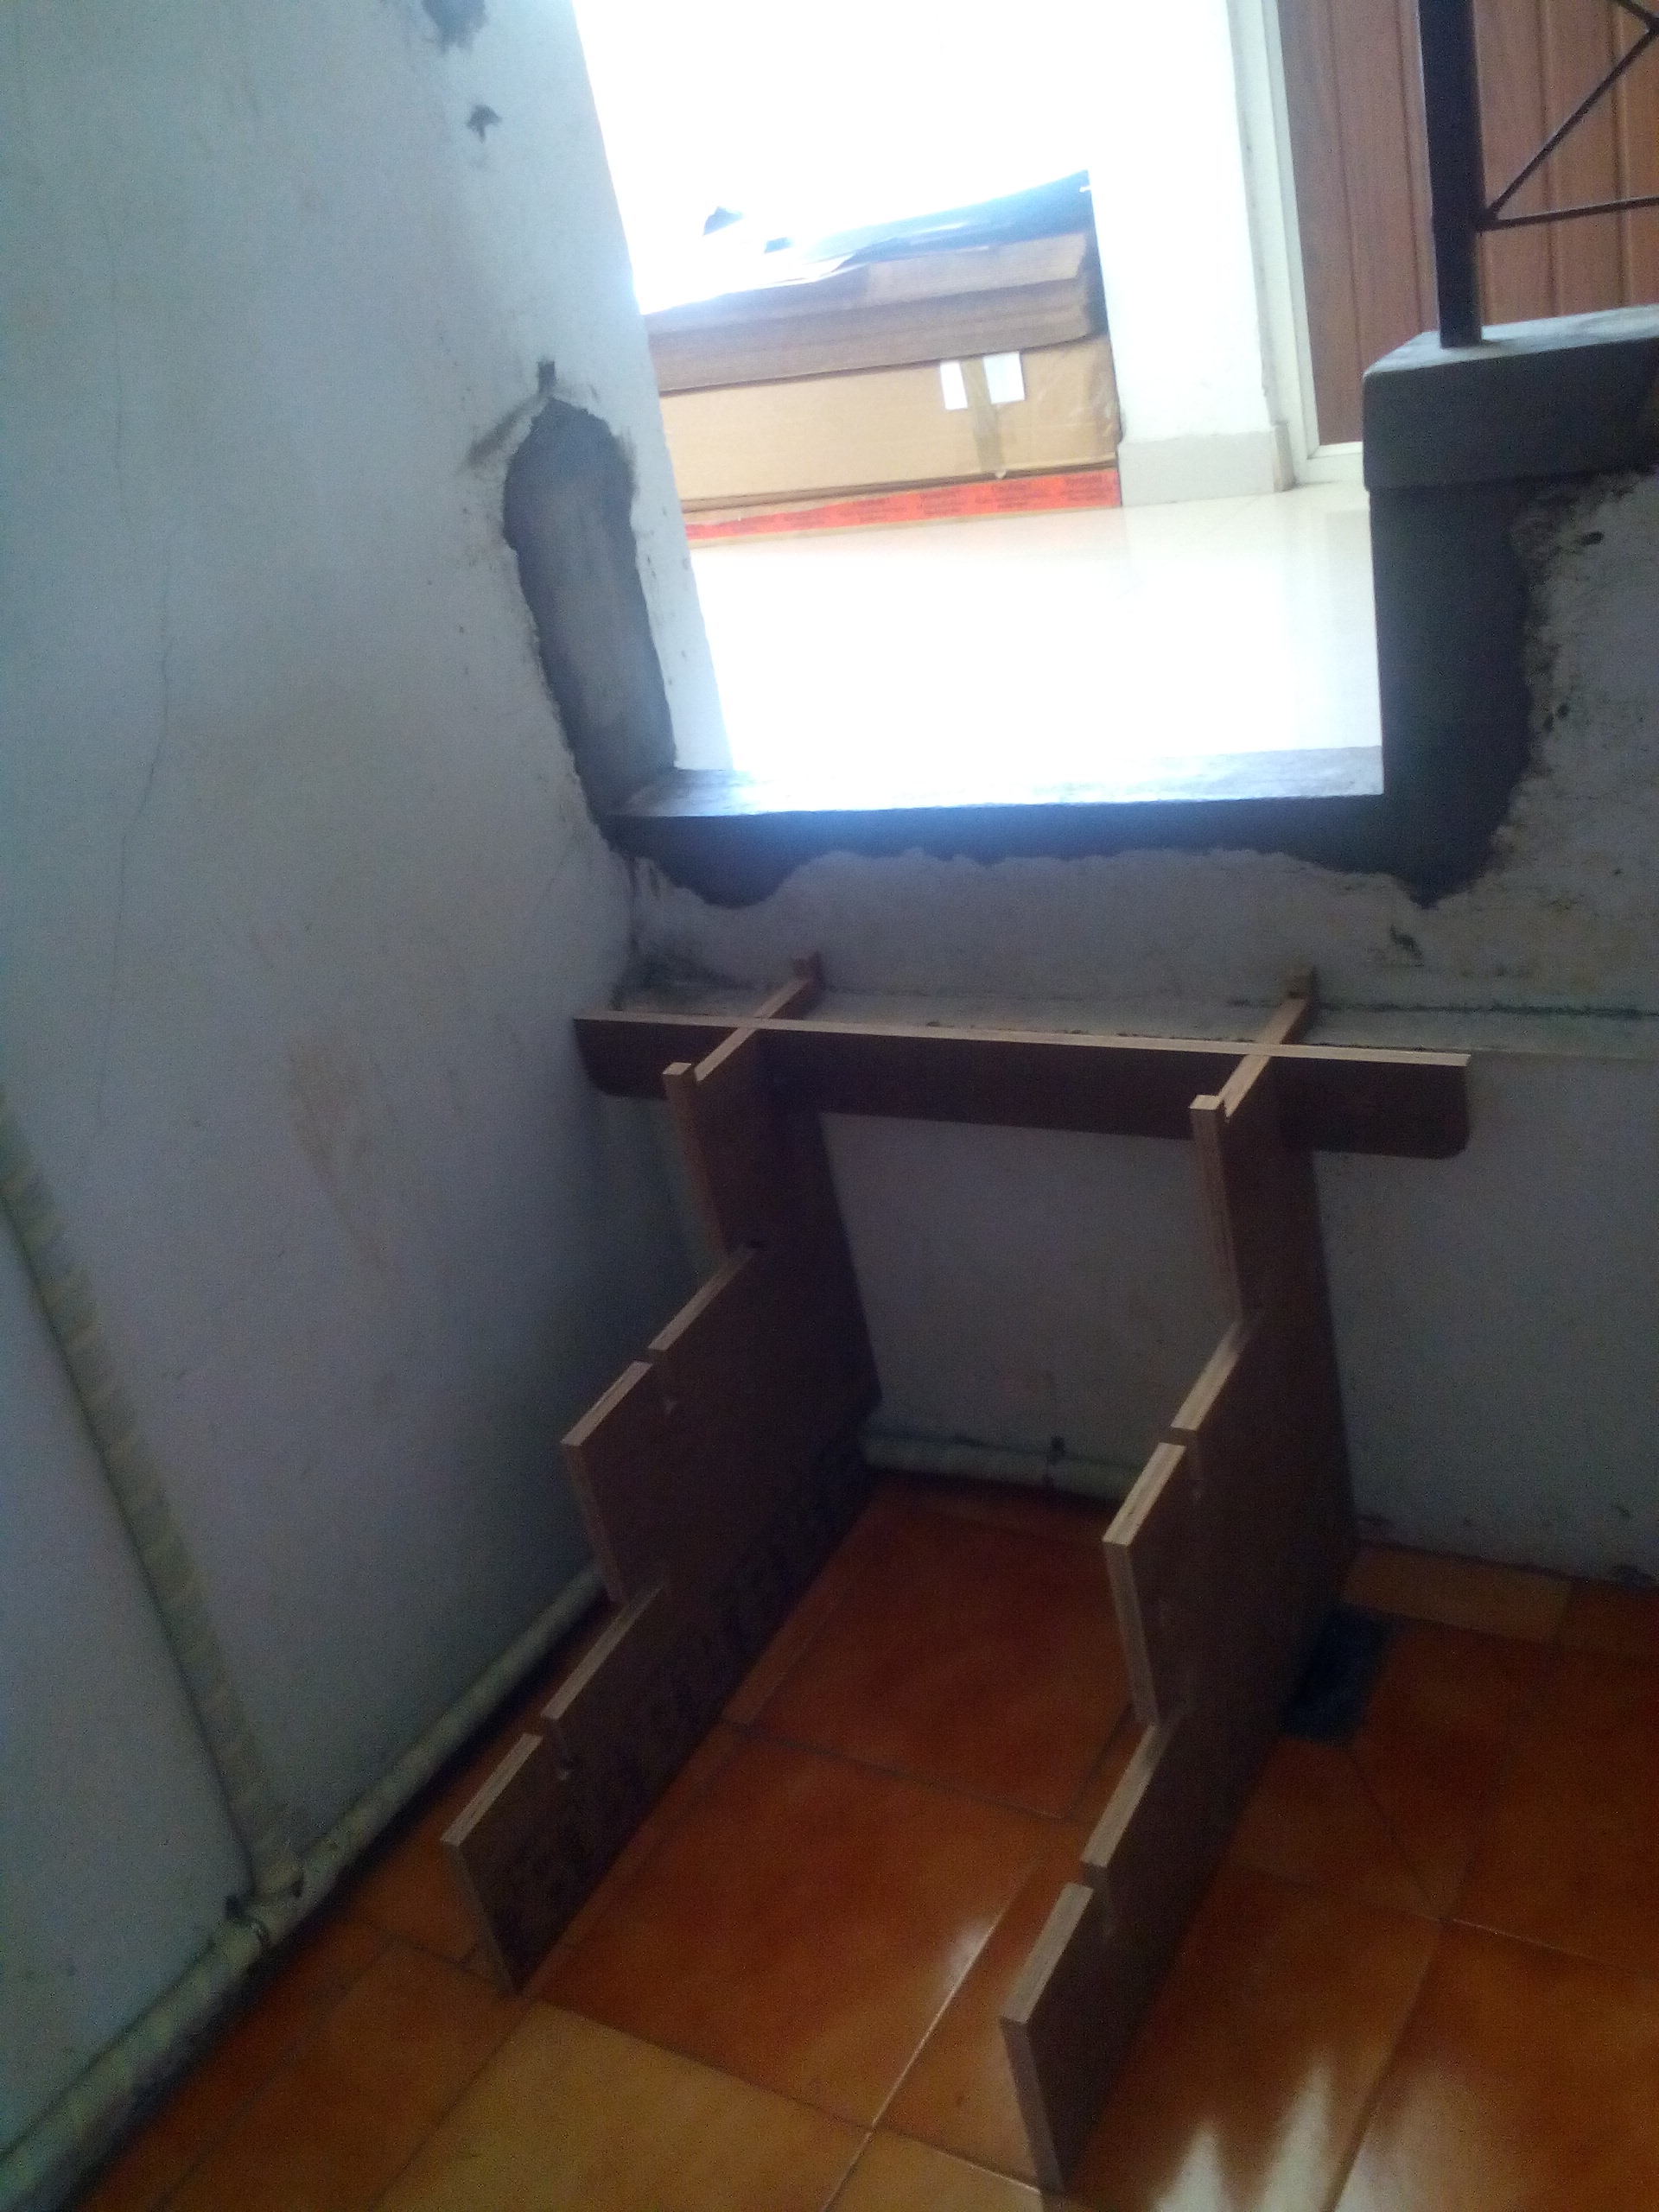
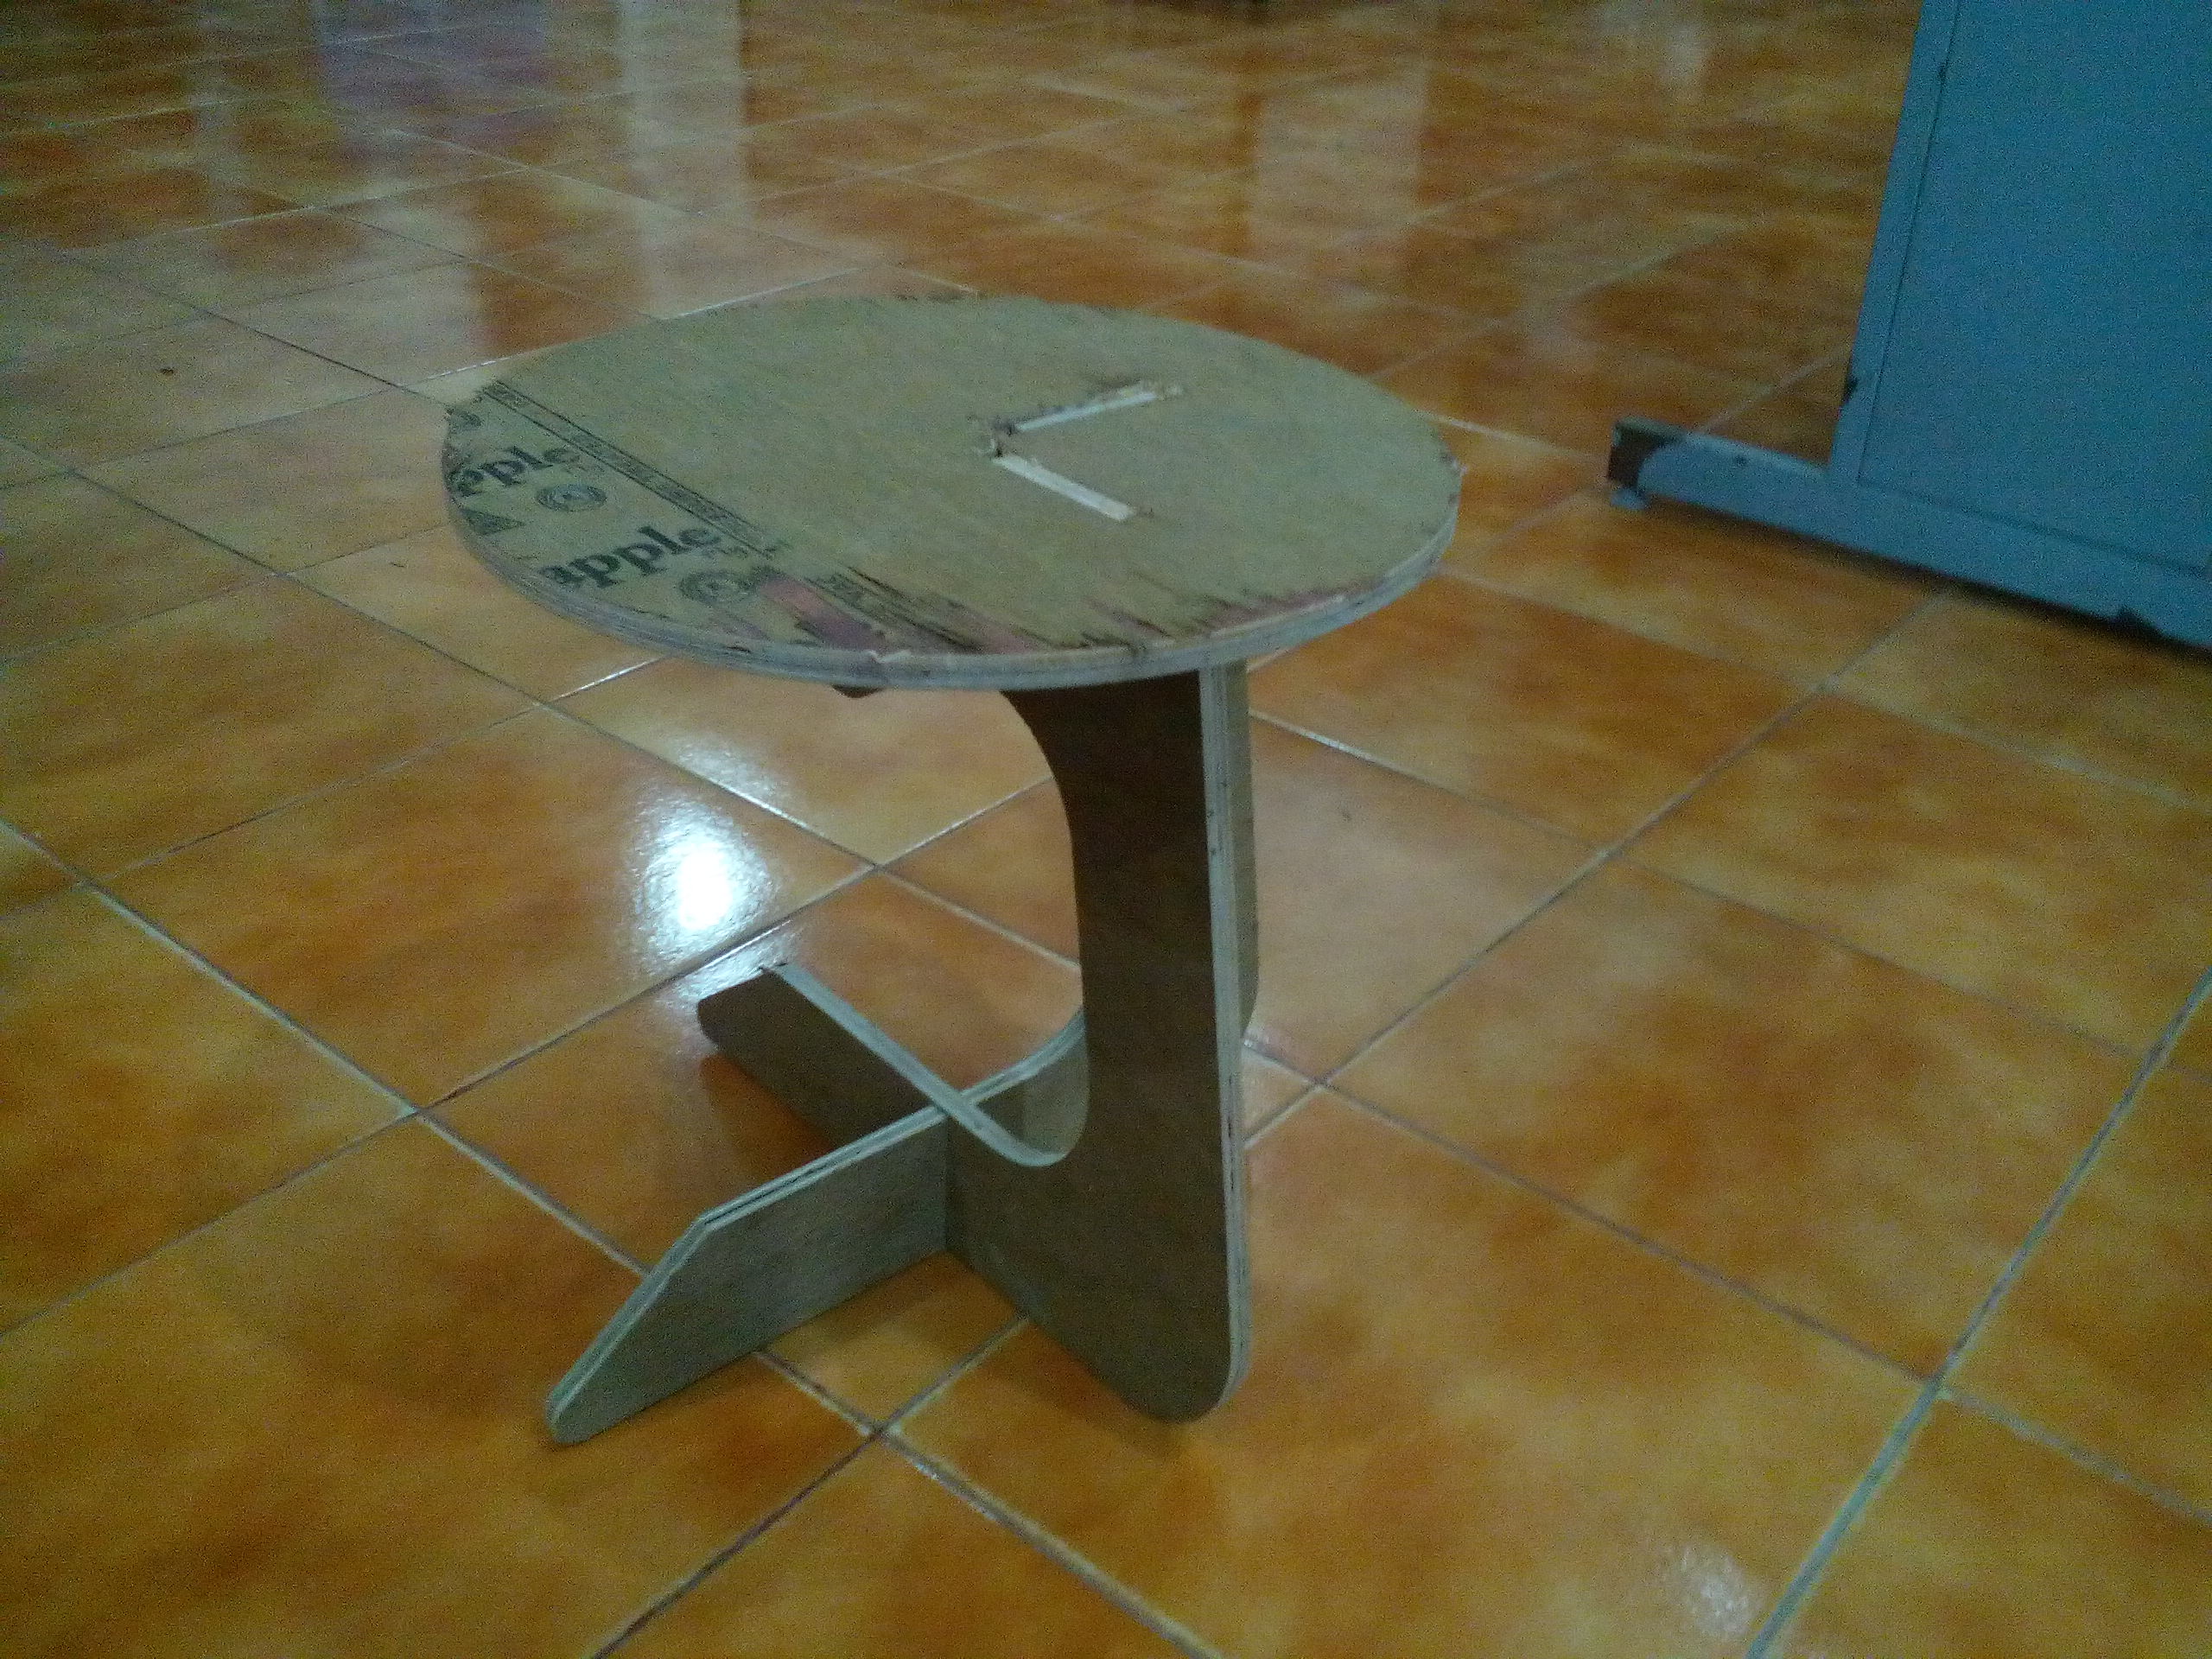
- Assembly of the final design was not as "smooth" as I thought it would be! I had to really put my back into fitting the component (cut) plywood pieces together:
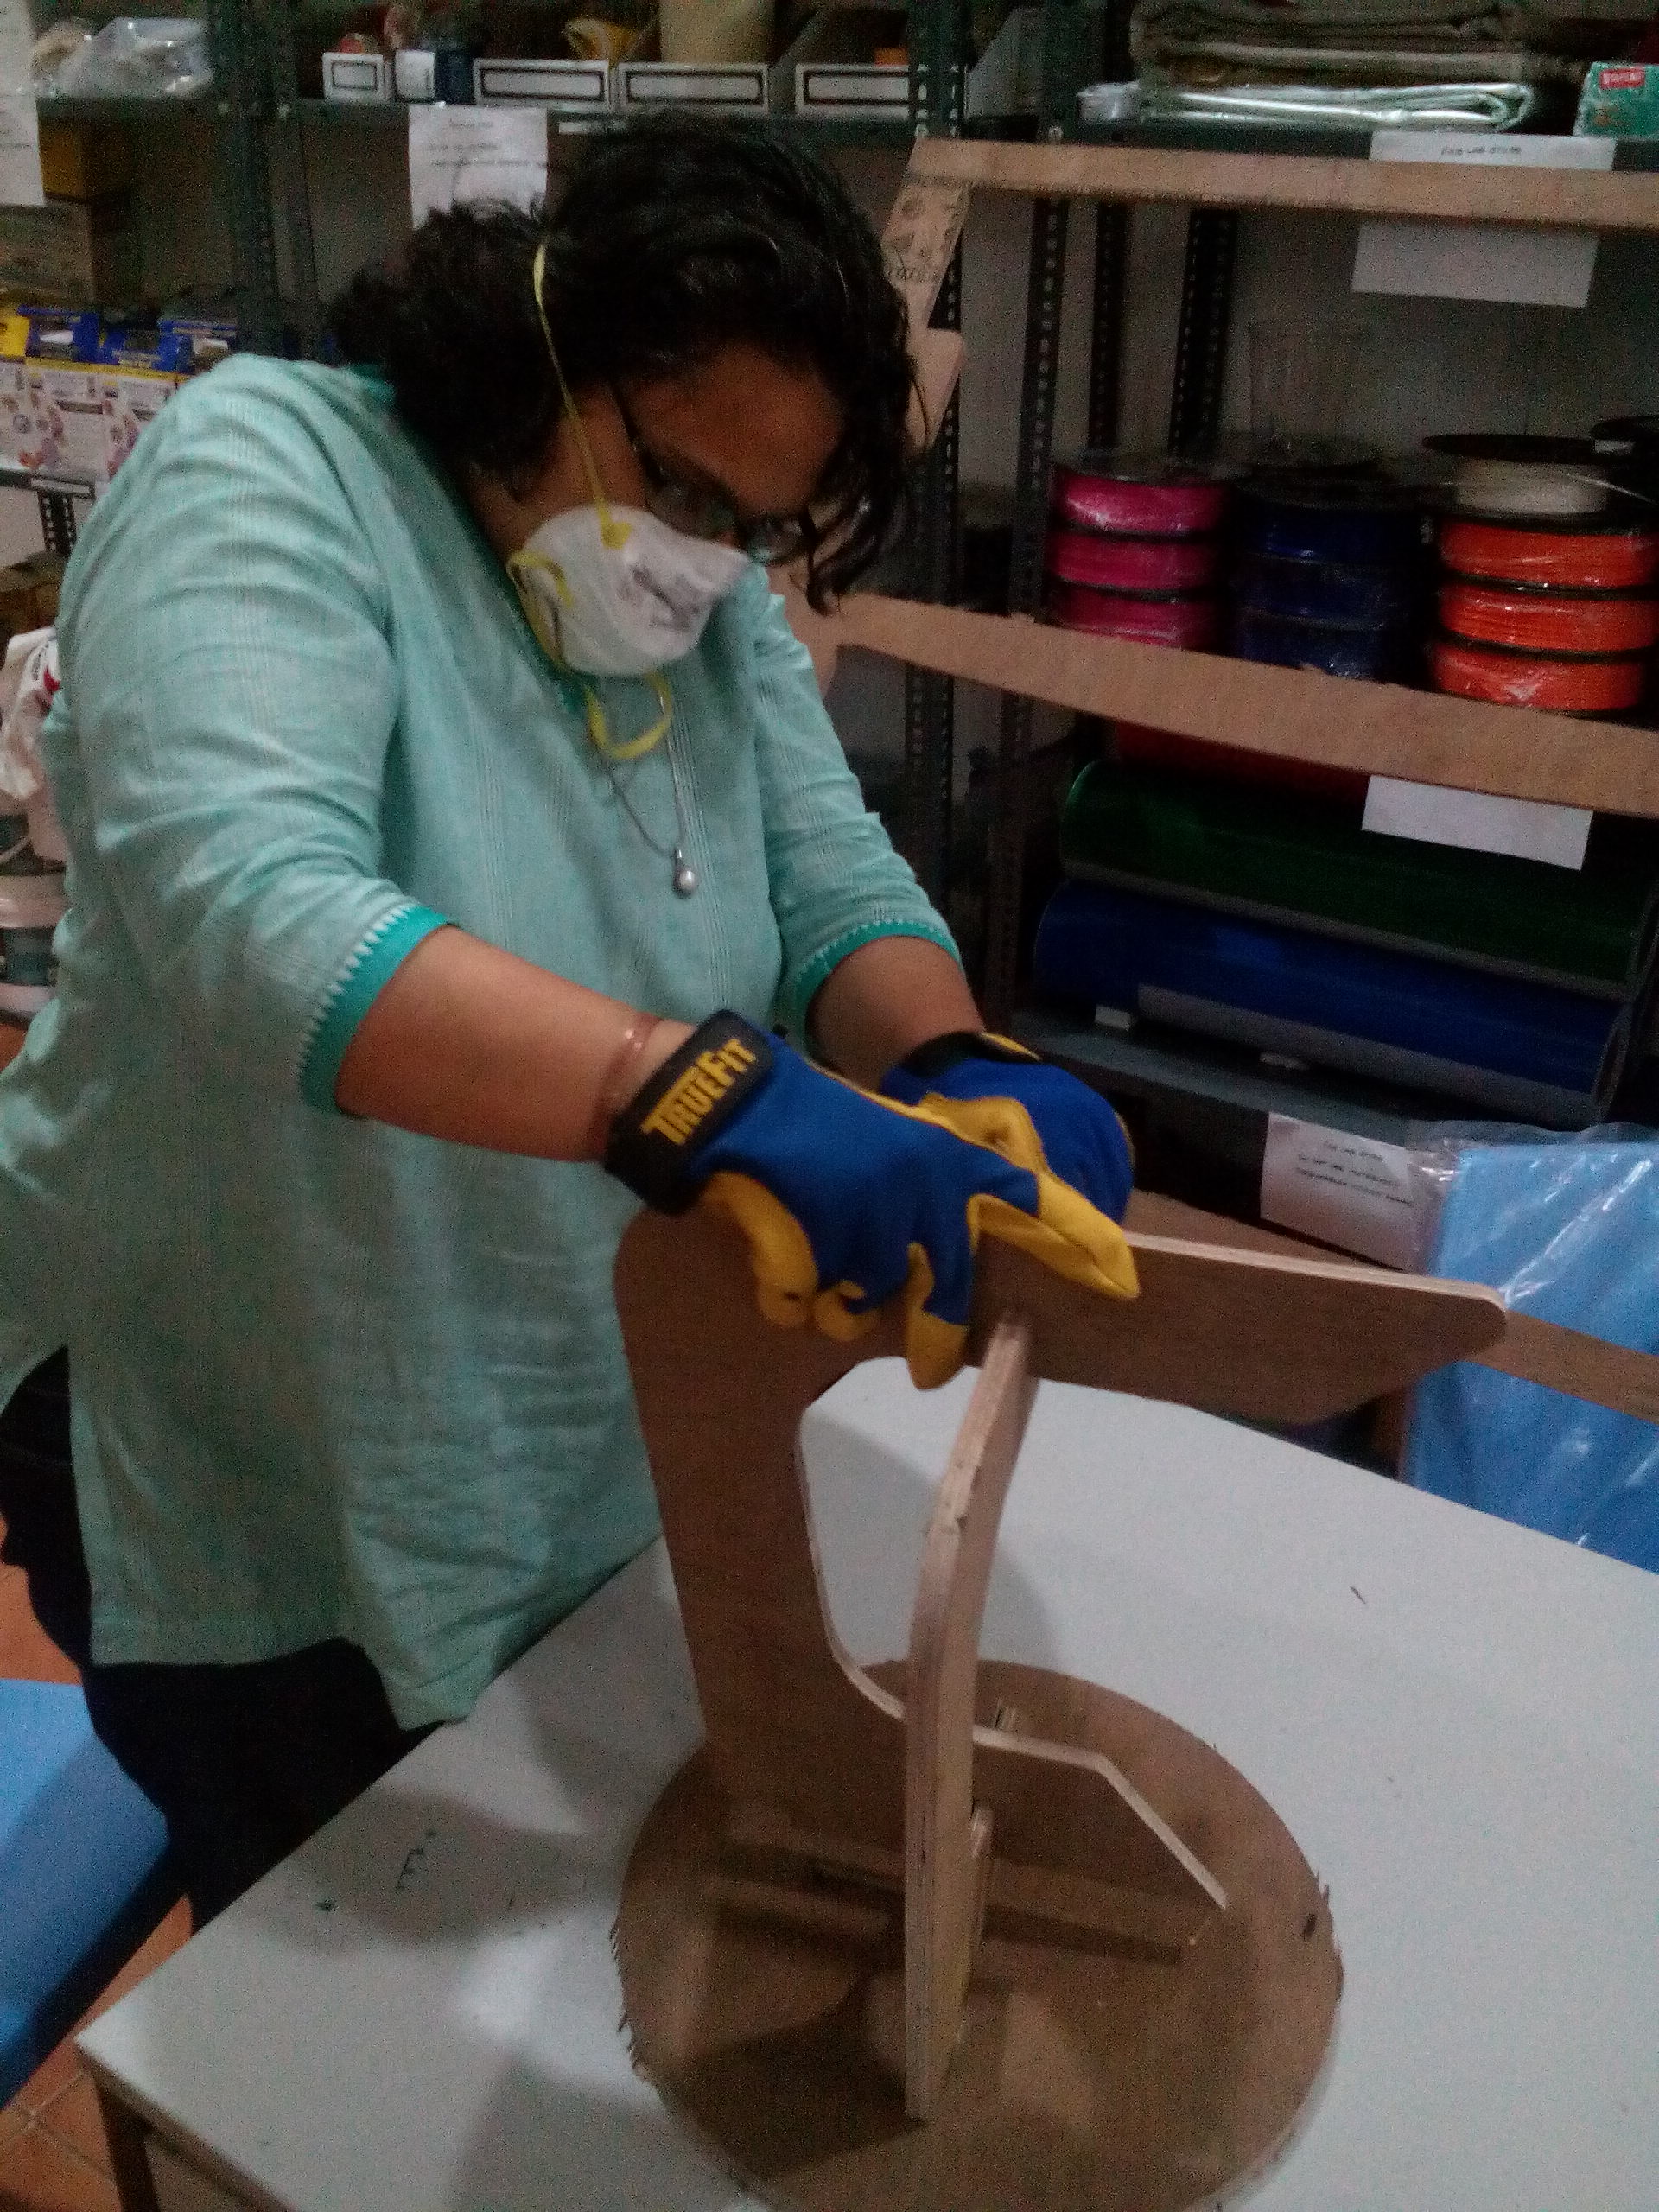
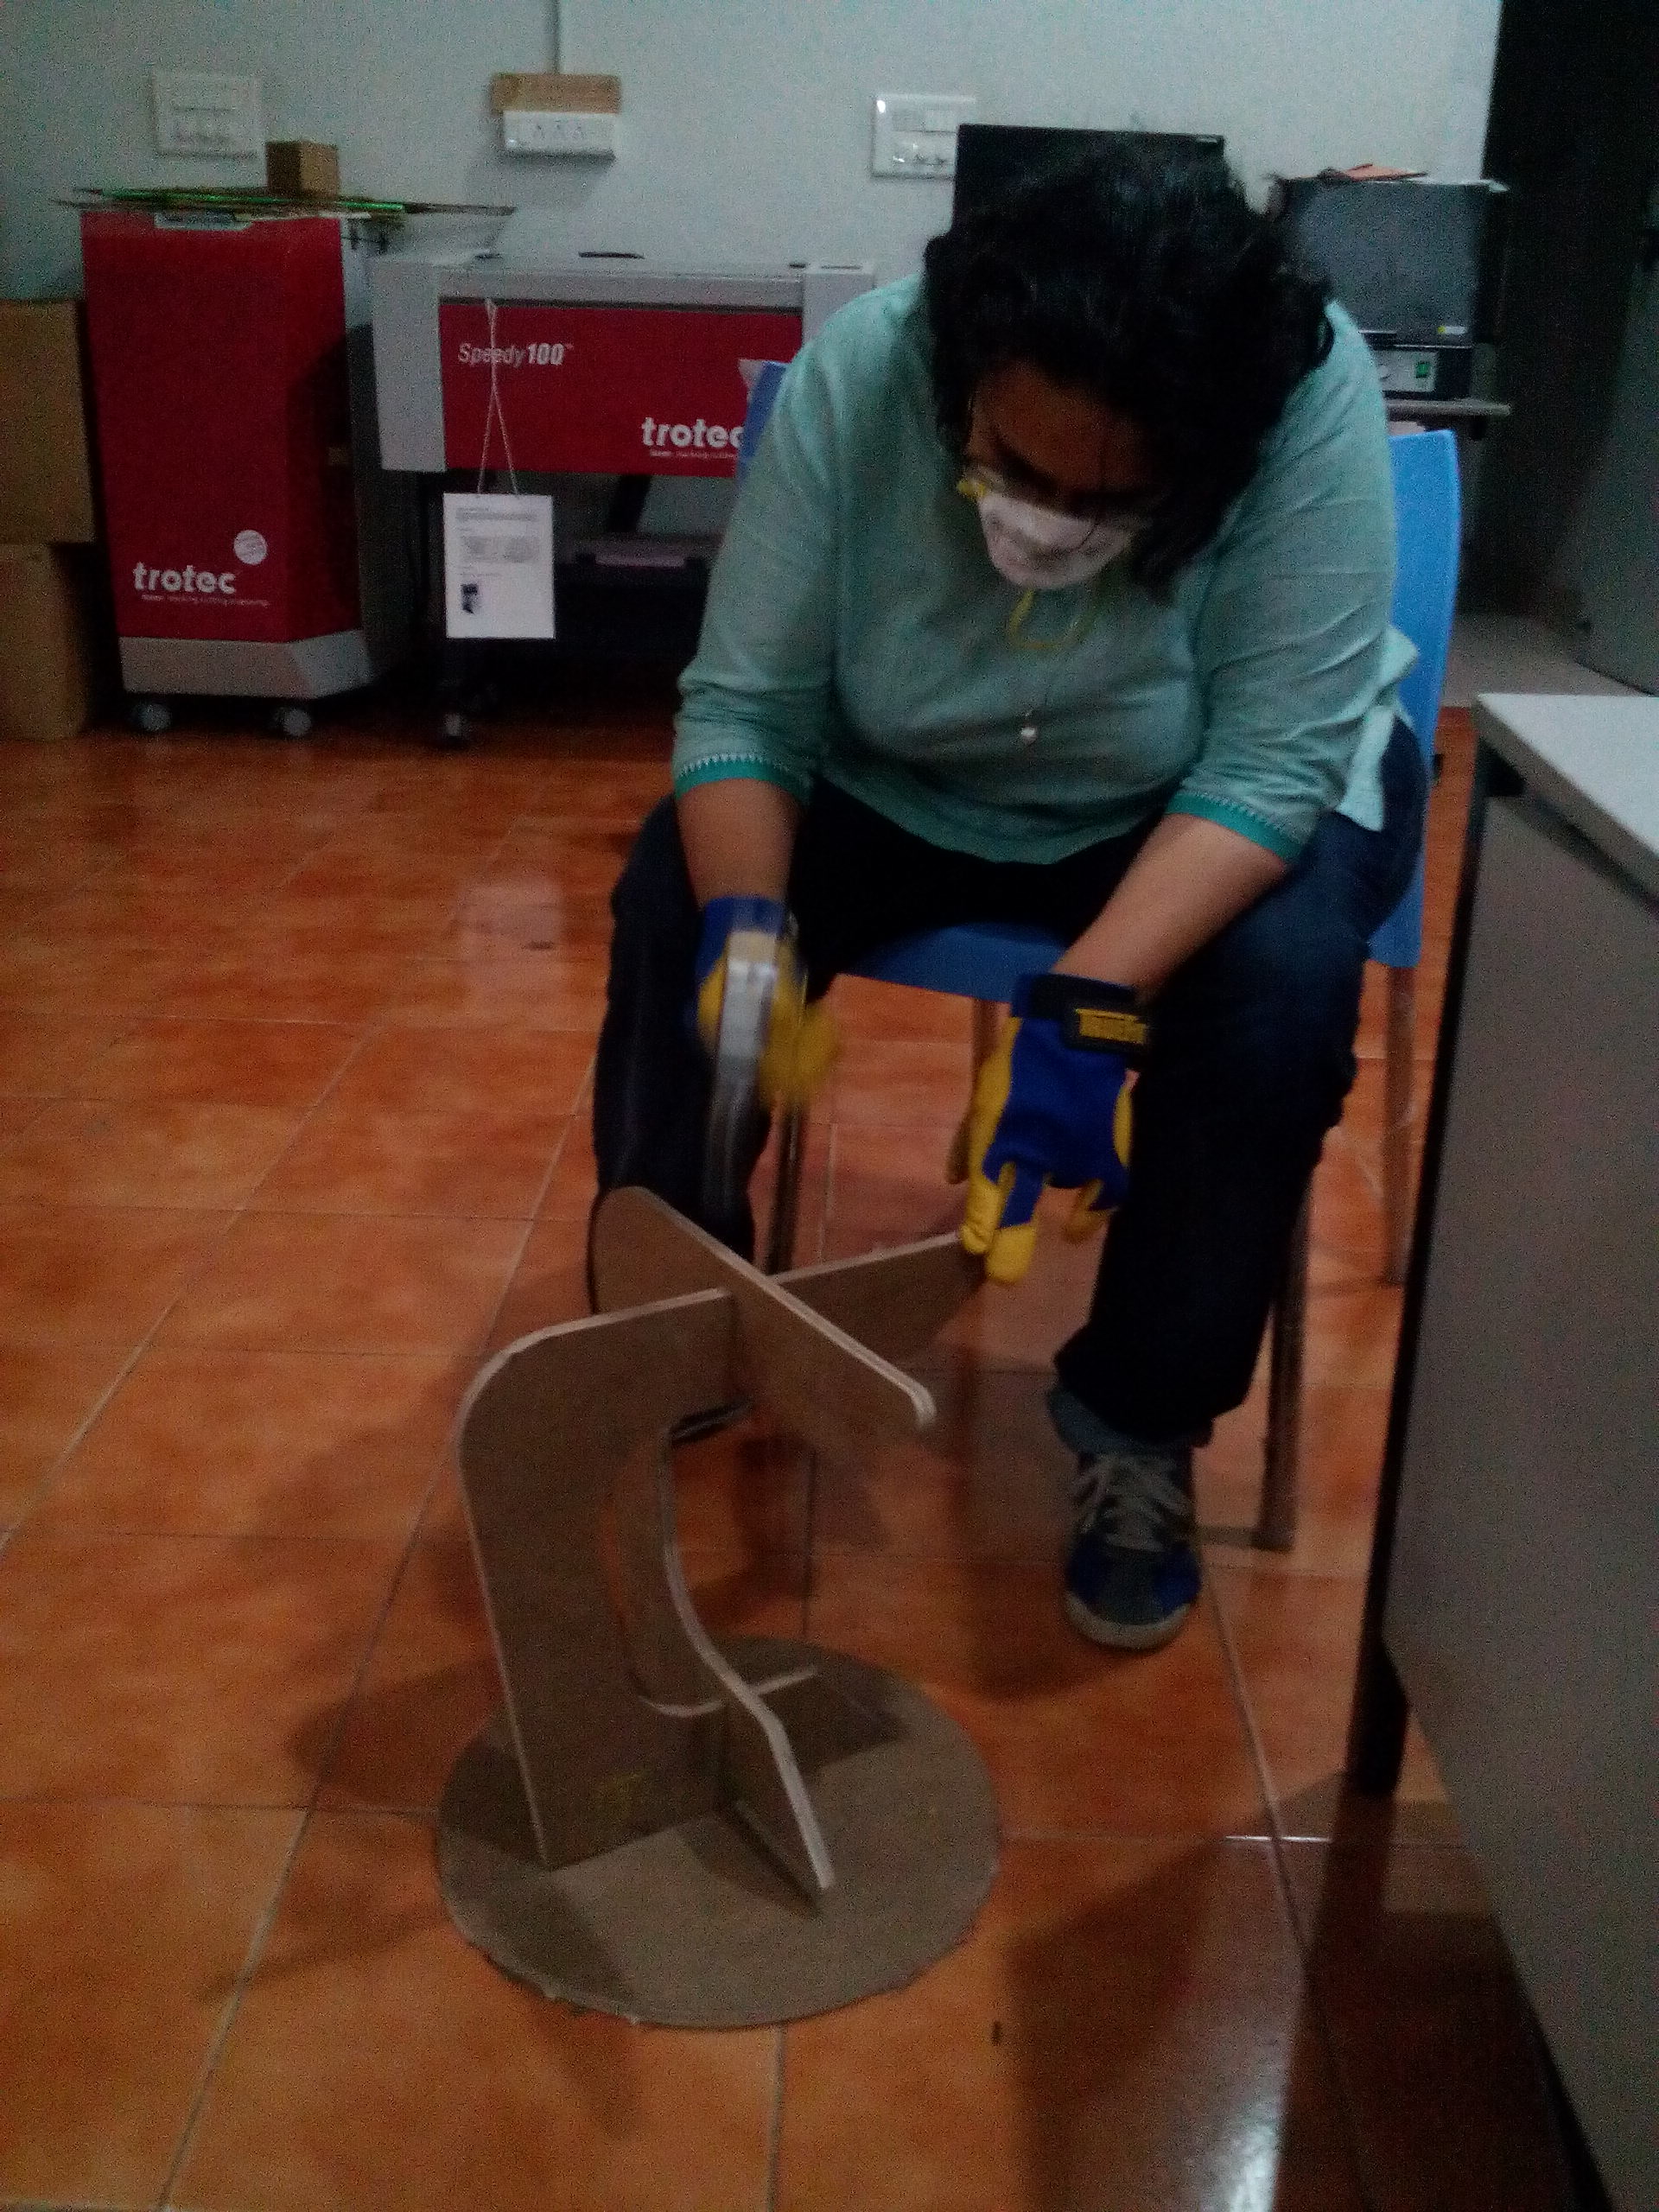
- Finally it all came together :) Hammering in the legs with the Disc of the Stool was not as troublesome as I originally believed. And my classmate Puneeth did me a favour and tested the "rocking" of the Rocking Stool :)
Please find all the digital content created in Rhino, VCarve Toolpath software to fabricate this project:
First Leg of Rocking Stool (Rhino .3dm) file
First Leg of Rocking Stool (.dxf file loaded in VCarve)
Second Leg + Stool Surface (Rhino .3dm) file
Second Leg + Stool Surface (.dxf file loaded in VCarve)
Consolidated Rocking Stool Model as dimensioned for ShopBot cutting (Rhino .3dm file)
Go back HOME