Week 2 Assignment: Model (Draw, Render, Animate, Simulate,...) a possible final project in CAD
Go back HOME
Week 2 introduced the concept of Computer Aided Design (CAD) via the use of various software platforms to create a model of a Design. Although there are a plethora of CAD packages out there; they can be broadly categorized as 2D CAD Modelers or 3D CAD Modelers. Further - since both 2D and 3D modeling software has expanded to include realms such as Graphic/Print Design; Animation, Rendering and full scale Movie Making -- CAD is just one perspective of Computer Graphics Software learning!
STARTING UP: 2D Modeling GUI and Basic Use
As part of exploring various 2D Graphics Software; we came across VECTOR based platforms (such as Inkscape, LibreOffice Draw, QCAD and Adobe Illustrator) as well as RASTER based platforms (such as GIMP, Adobe Photoshop, ImageMagick and Krita).
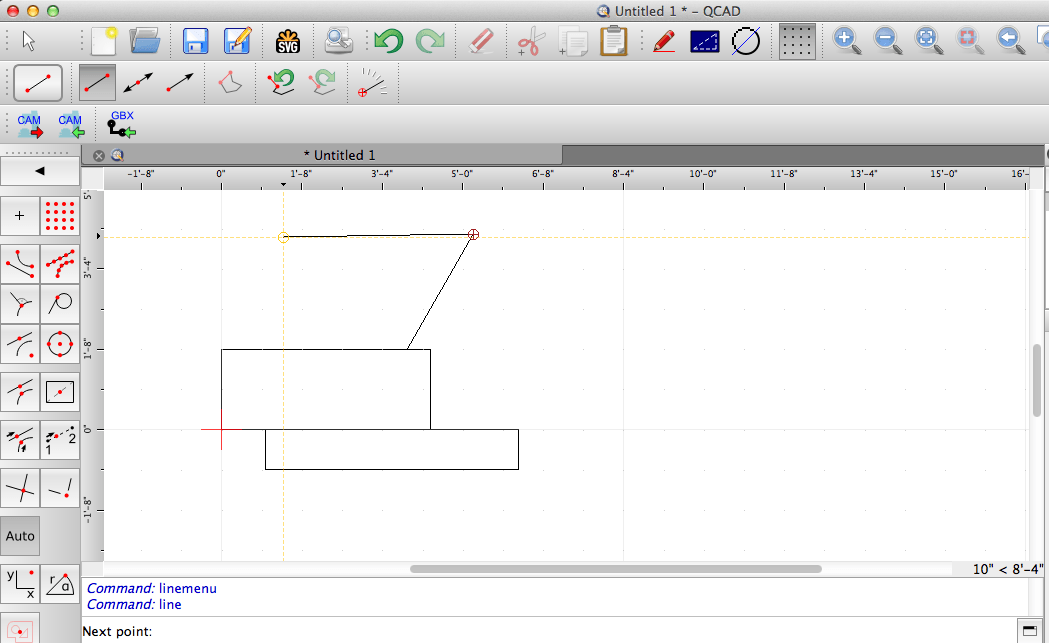
Since I wasn't very well versed in CAD, nor with Graphics Software overall (in fact, the only graphics editor I had ever used is MS Paint!), I had to look at modeling my final project design according to several phases. A part of me just wanted to rush in and "instantaneously paint and sculpt" my final project idea --> but I soon realized that working on a 2D/3D graphics platform was an entirely different approach to creation -- it forced me to consider the subsections of a Model Drawing. I used QCAD to create my initial 2D Model.
Looking at my original hand-drawn sketch, I noticed that my drawing roughly consisted of Shape Primitives - such as Rectangles, Ellipses, Concentric Circles and Lines:

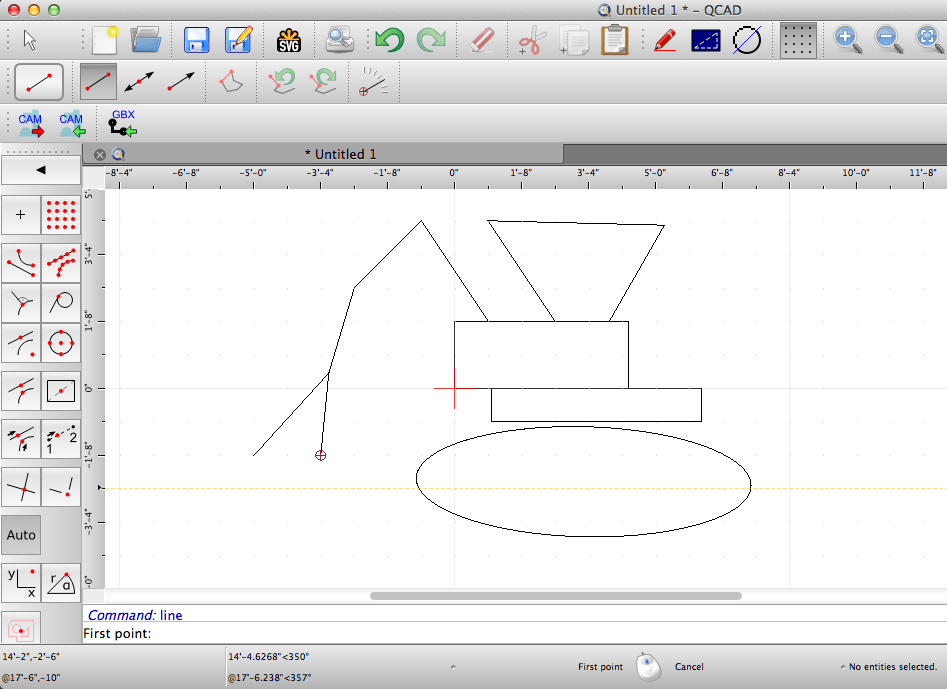
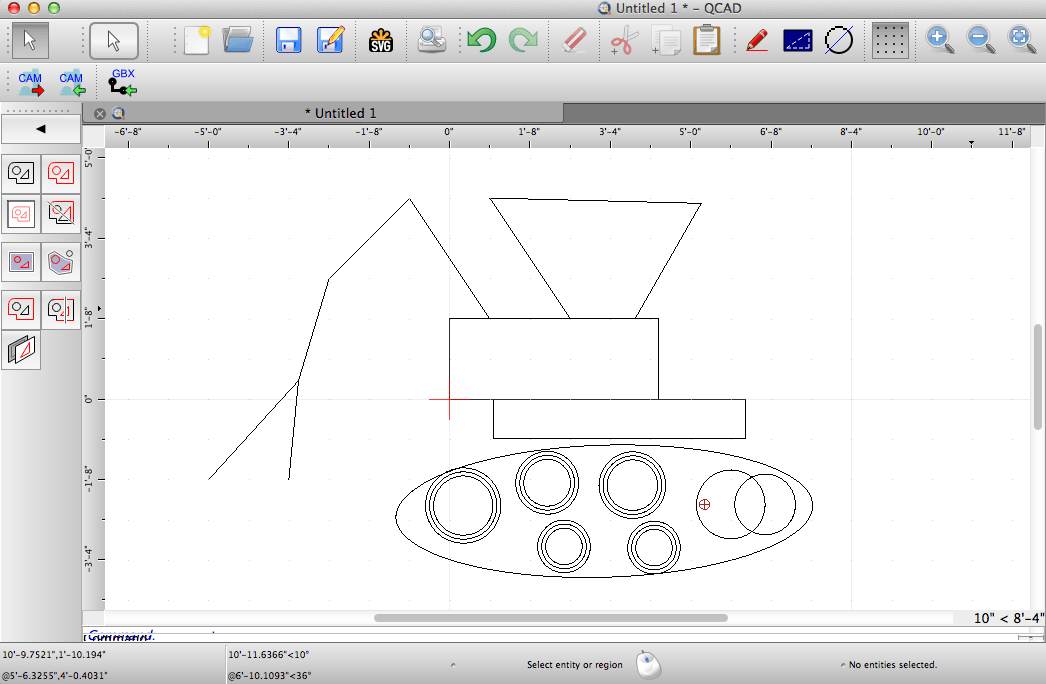
Finally, after drawing several ellipses, circles and rectangles --> I managed to create a conceptual 2D Model of my final project:
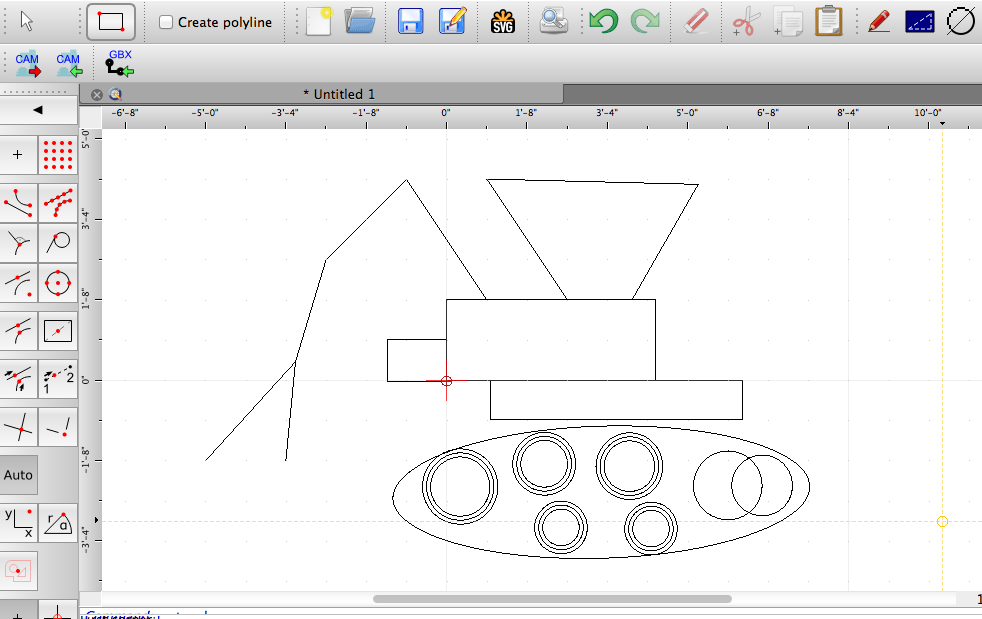
Please find a copy of my 2D Model designed using QCAD: QCAD 2D Model v.1
My next steps are to create a similar model, but using 3D CAD modeling software - which is taking me some time to learn due to the steep learning curve!
Getting Started with 3D Modeling
3D CAD seemed like a completely different beast to 2D CAD. In addition to the extra z-axis I now had to take into consideration; the entire act of "solid modeling" reinforced an entirely new way of working with dimensions - top views, side views, back views and so much more.
I used Autodesk's 123D 3D modeling software to create my initial 3D model of my final project:
1. My first step was to familiarize myself with basic CAD vocabulary. After creating an account to use the 123D App (www.123dapp.com) on their website, opening up the software package I explored the icons displayed on the interface with respect to their functionality.
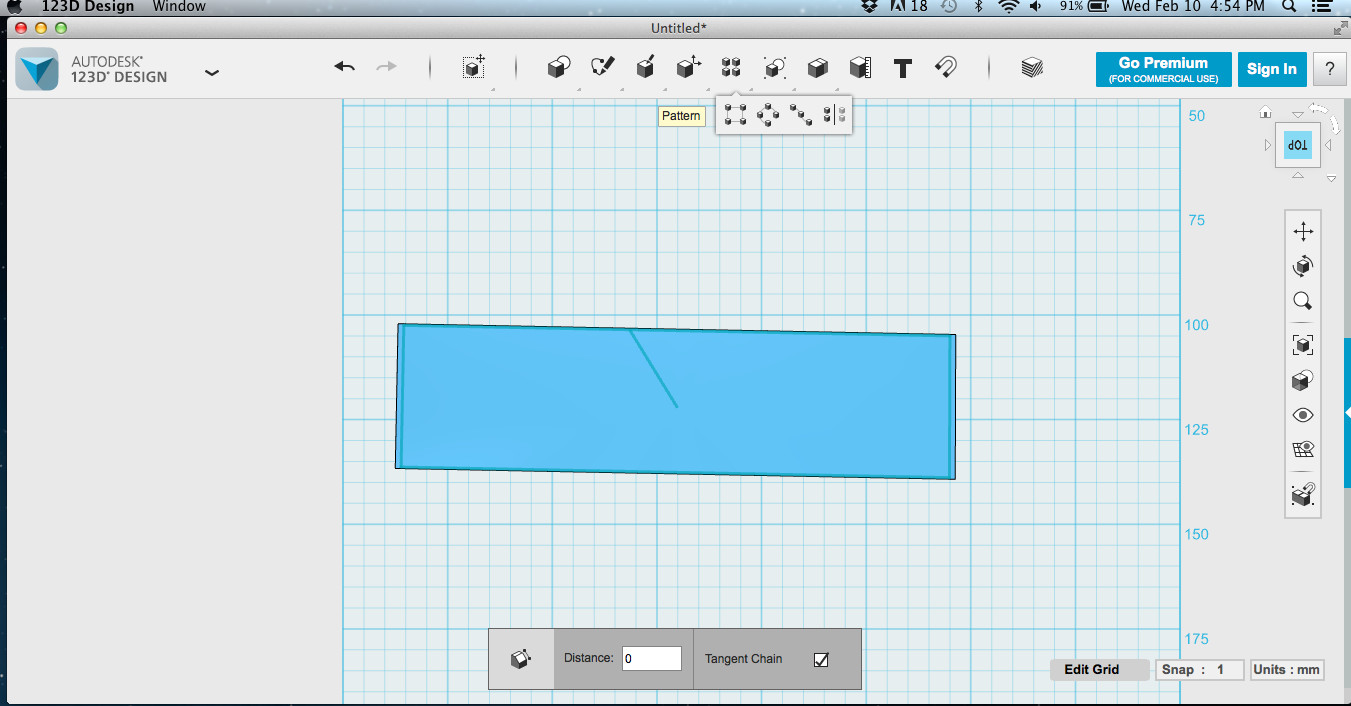
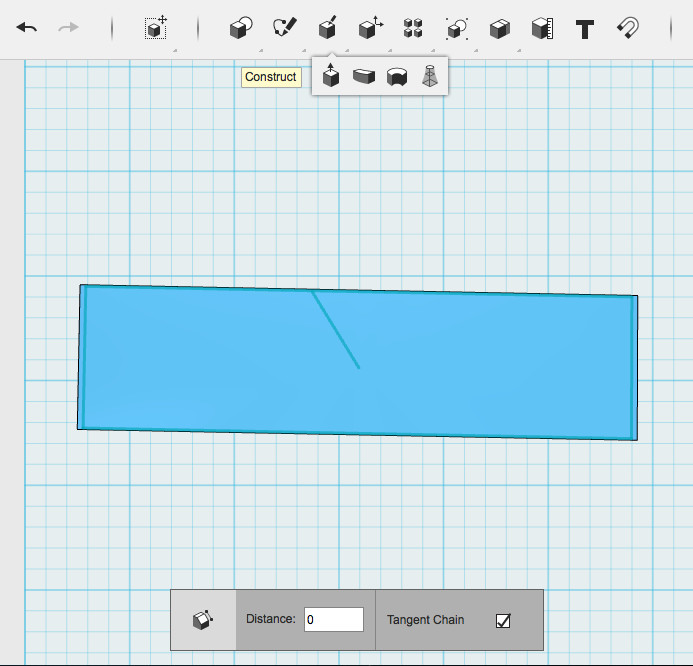
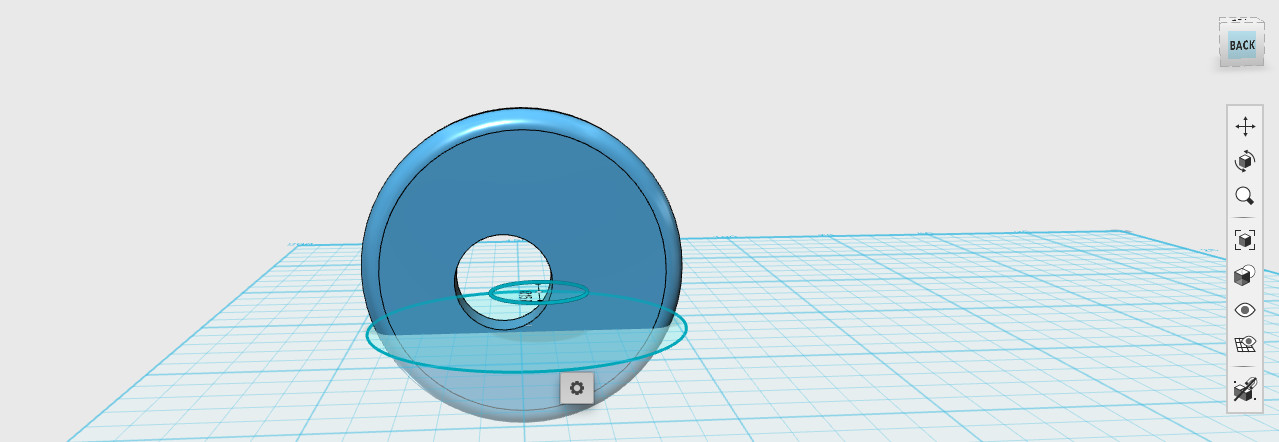
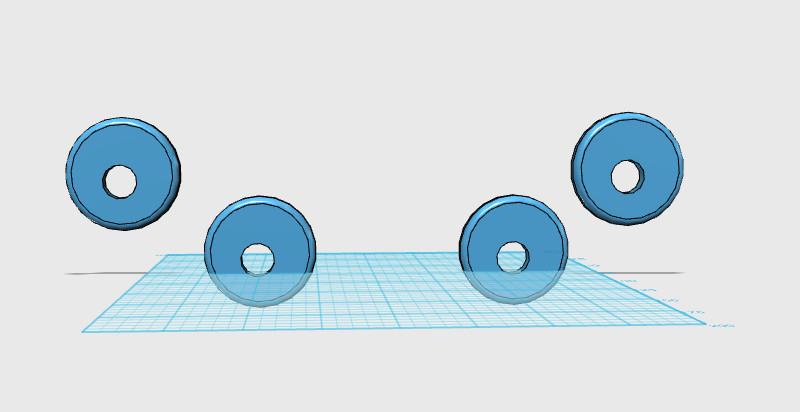
2. My next step was to *attempt* a basic geometric sketch! I thought to start modeling the tank wheels as the initial drawing. I proceeded to use the 'Extrude' function as well as the Pan and Orientation features to rotate between views. Understanding the difference between shapes and lines took a while, as I explored the 'Spline' function to draw polyline objects.
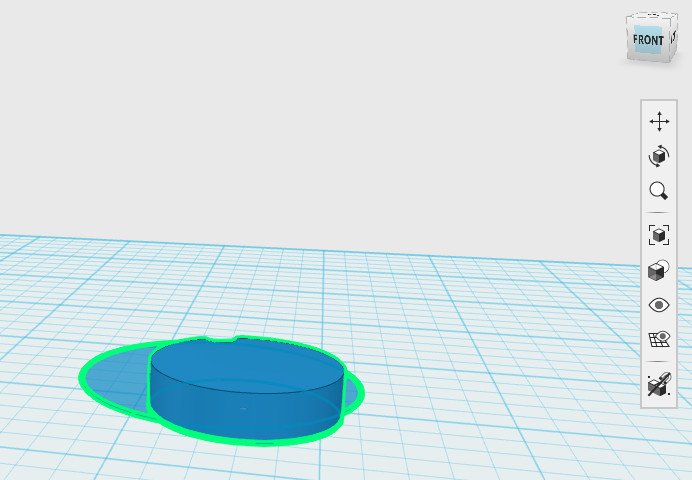
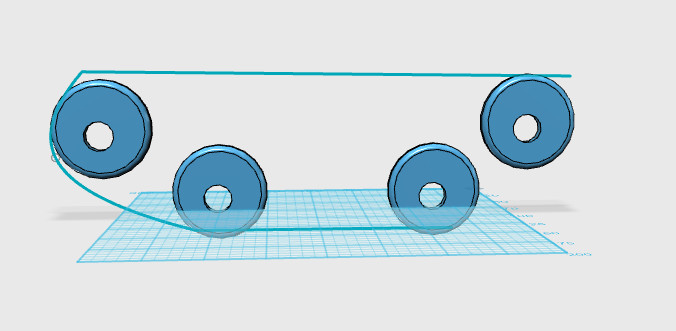
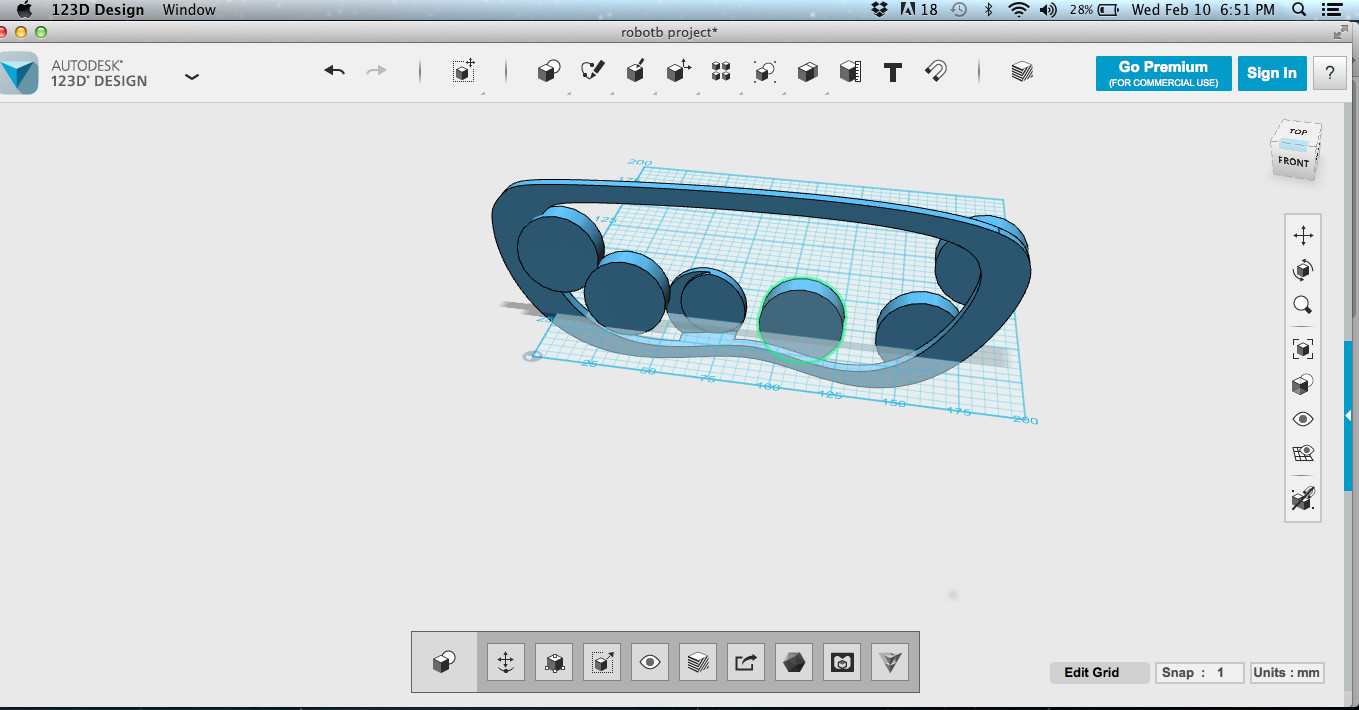
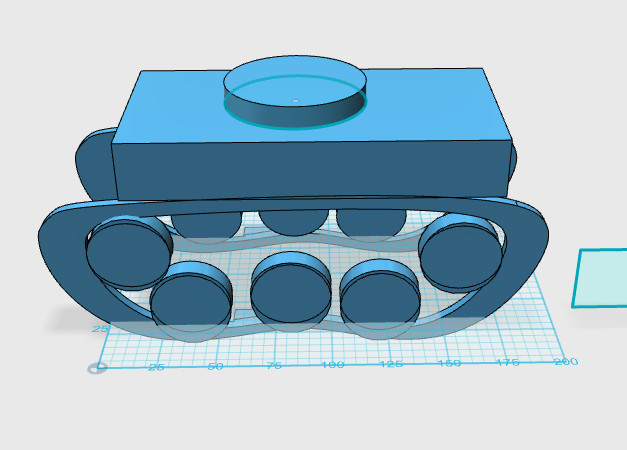
3. Creating Tank Treads out of the wheels and polylines, using the "Grouping", "Combine" and "Modify" functions got me an intermediate result:
At this point, my instance of Autodesk 123D crashed! Which was surprising because I was using it on my Mac - but luckily I had saved a copy of my file which is attached here: Robot Project v.1
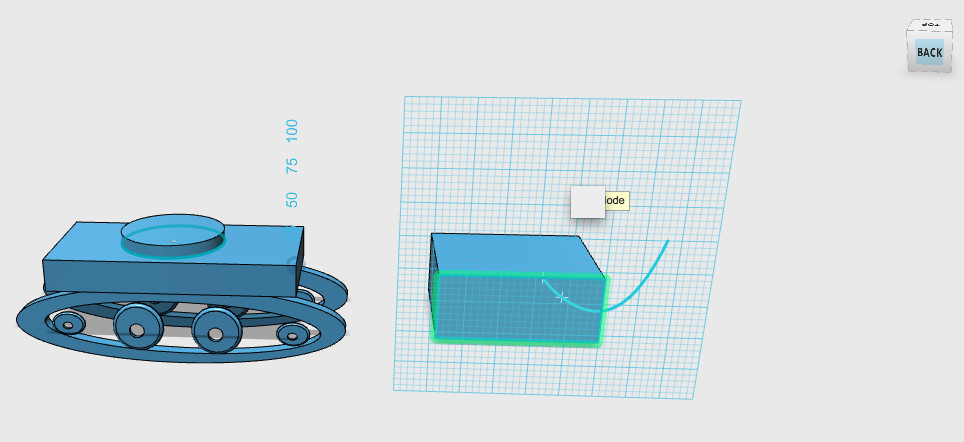
4. After achieving an intermediate 3D Model of my Robot Final Project, I doggedly tried to pursue the second stage of my design! I wanted to go beyond Primitive Shapes and Initial Solid Models to composites --> so I attempted to duplicate, scale and size the various parts of my Design and achieve a consolidated set of parts to create my first Assembly:
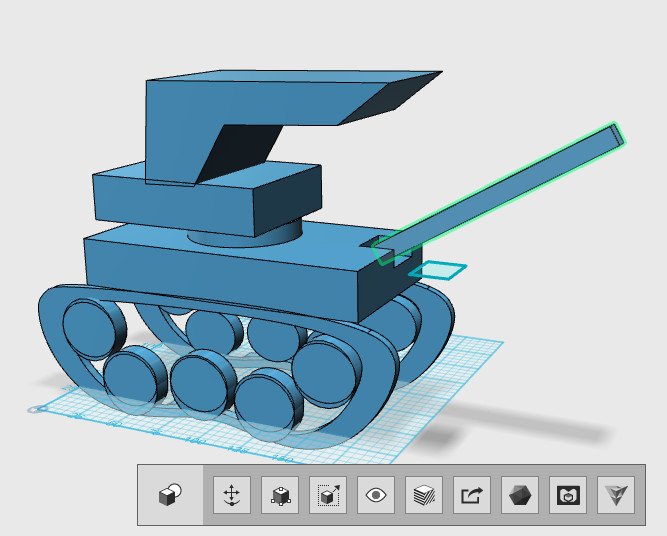
5. Using the 'Chamfer' function I was able to carve out the primitive shapes to my liking, which I then re-oriented to the desired positions of the assembly in my design. The 2nd iteration of my Final Project's 3D model was shaping up! Here are the visuals where I have completed the "Chassis" and "Chute" portions of my design, and am beginning to model the "Robot Arm" of my design:

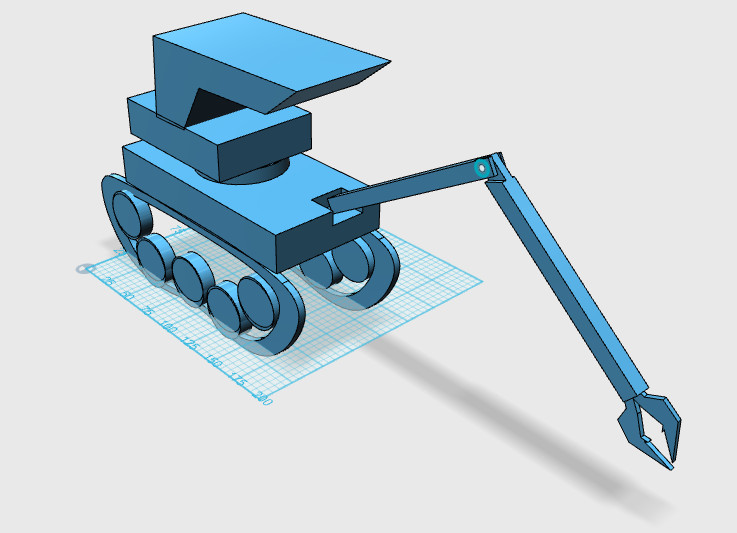
6. After much deliberation, hoping and praying, a (final) version of my Final Project's 3D Model was achieved :) In the below diagram, I have completed the Robot Arm portion of my design, along with attaching a potential "mini gripper" as the end effector:
 Here is the 123D CAD file depicting my model: Robot Project v.2
I will be updating this page continuously to demonstrate my progress in creating both 2D as well as 3D CAD models using the different software packages being explored in Fab Academy.
Go back HOME