Assignement:
- test the design rules for your printer(s) (group project)
- design and 3D print an object (small, few cm) that could not be made subtractively
- 3D scan an object (and optionally print it) (extra credit: make your own scanner)
Testing of 3D Printer
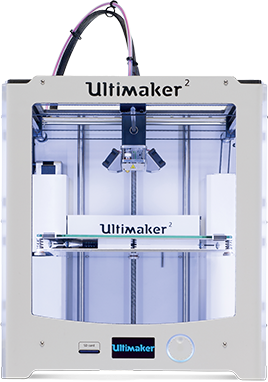
In our Fablab we have an Ultimaker2 3D printer , We searched methods for testing 3D printer and thereby finding the limitations that usually took place.we found a method in thigsverse ,namely Test your 3D printer! v3
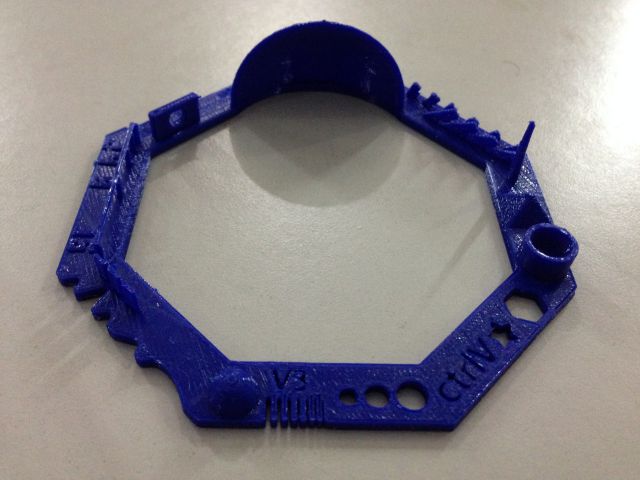
Printed in Our Ultimaker 2
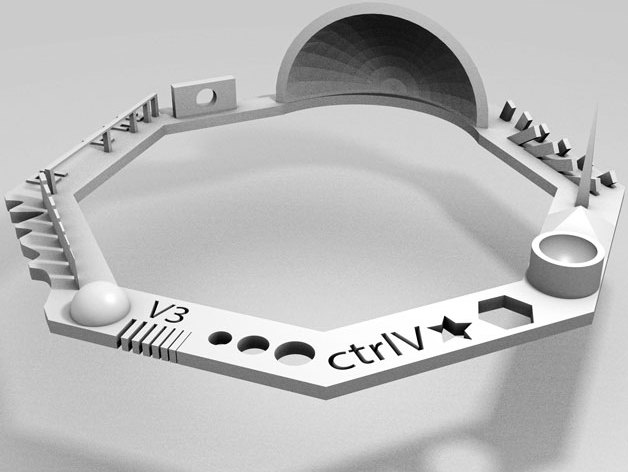
We can check the precission,accuracy and limitaion of 3d printer by comparing with Author’s guide line i attched author’s guide line Image .

This 20 Tests in one print .
01 Nut, Size M4 Nut should fit perfectly
02 Wave, rounded print
03 Star, Sharp Edges
04 Name, Complex Shapes
05 Holes, Size 3, 4, 5 mm
06 minimal Distance: 0.1, 0.2, 0.3, 0.4, 0.5, 0.6, 0.7 mm
07 Z height: 0.1, 0.2, 0.3, 0.4, 0.5, 0.6, 0.7, 0.8, 0.9, 1.0, 1.1 mm
08 Wall Thickness: 0.1, 0.2, 0.3, 0.4, 0.5, 0.6, 0.7 mm
09 Bridge Print: 2, 4, 8, 16 mm
10 Sphere, Rounded Print 4.8mm height
11 Sphere Mix, 7 mm height
12 Pyramide, 7 mm height
13 Overhang: 25, 30, 35, 40, 45, 50, 55, 60, 65, 70°
14 Warp, does it bend?
15 3D Print Font, optimized for 3D printing
16 Surface, Flatness
17 Size, 100 x 100mm x 23.83 (10mm width)
18 Spike, minimum Layer Time, 21 mm height from Bottom (include Baseplate)
19 Hole in Wall, 4 mm diameter, check for proper print
20 Raft Test, raft should be just under the model
21 Retract Travel, check retract settings for longer travel
After Analyzing Test Piece we got the following results,these are the limitations of our 3D Printer .
The minimum gap is .5 mm. Gaps with less than .5mm is not possible in our 3D Printer
3D Printing
3D Printing is a Addictive Manfacturing(AM) process for making Three dimensional object from a file(3D Design),We are using 3D Designing Softwares like Rhino,Antimony,Blender,Solidworks etc to design 3D files .
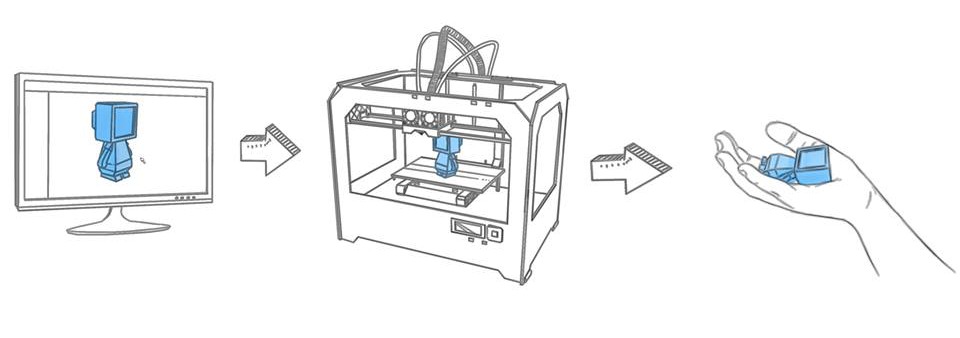 Image Source : doodlesplash.co.uk
3D Designing

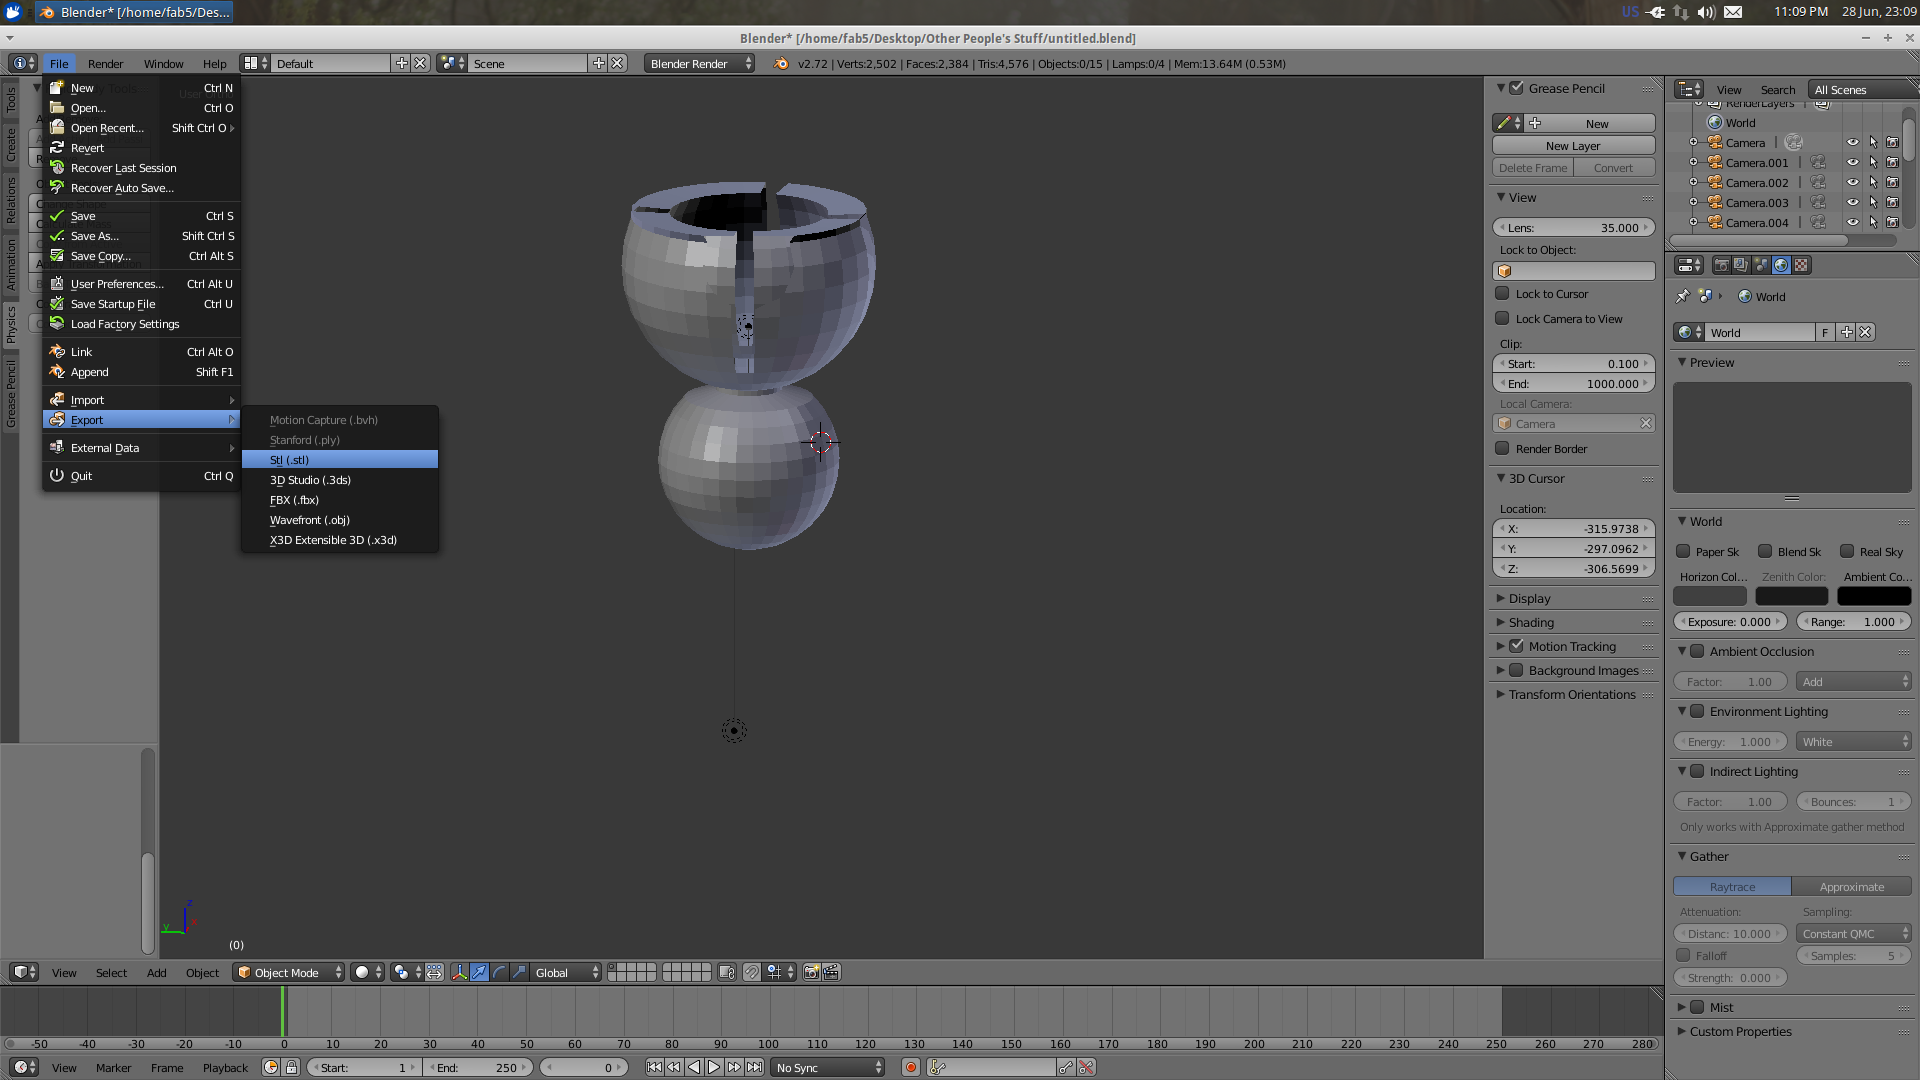
I started designing in Blender ,
I want to make a Flexible Hand like this
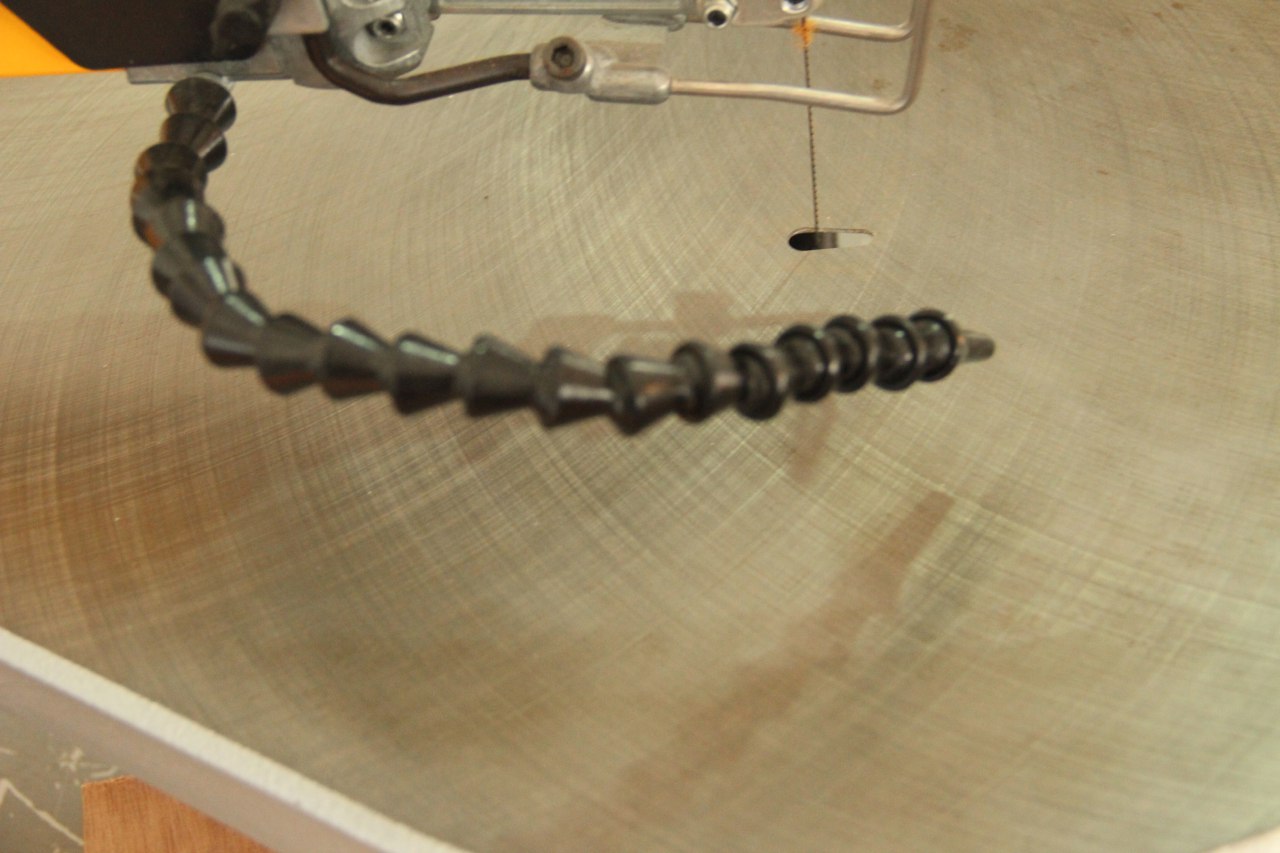 I created Two Spheres one is little big than other then i substracted small sphere from big sphere for getting a hollow space in a big sphere ,then i created some rectangular hinges for elasticity .
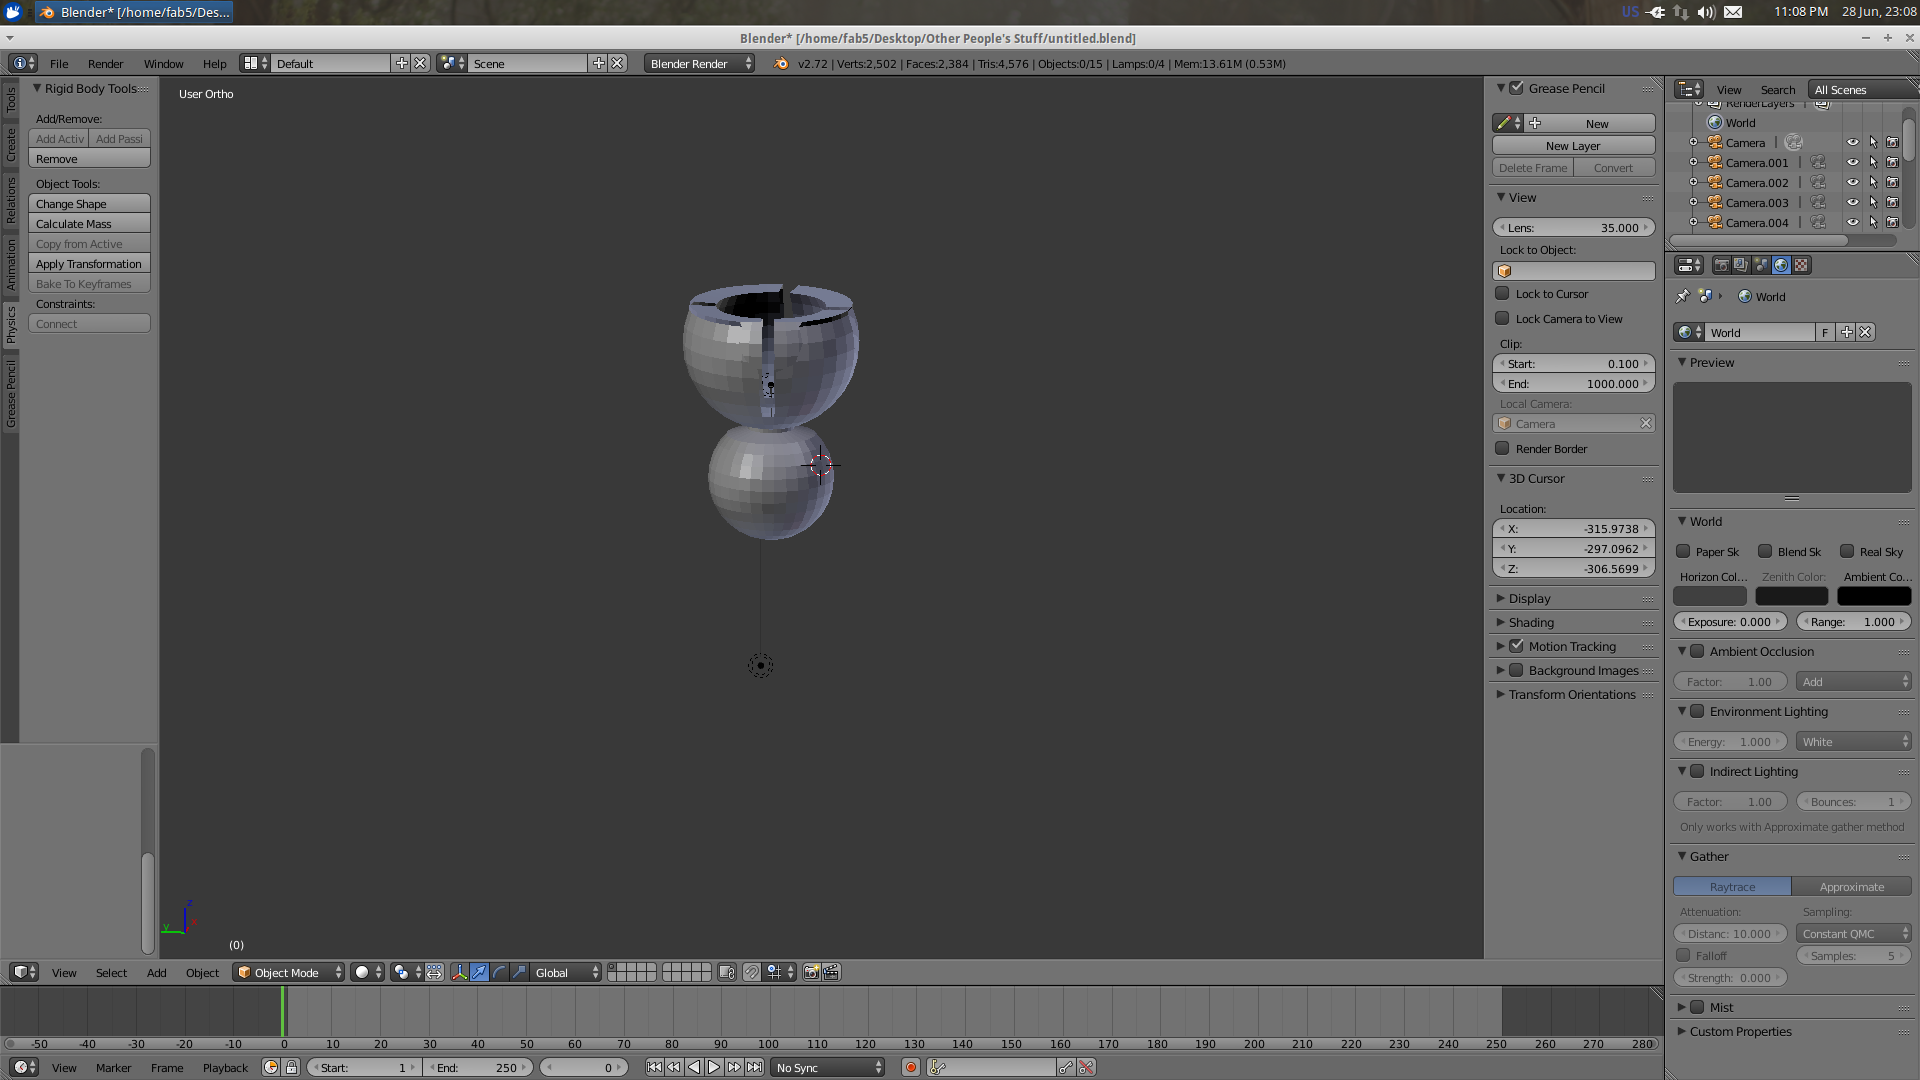
Z => Switch Between Wireframe Mode and Solid Mode
Other Blender Shortcuts :
Tab =>Switch Between Object Mode and Edit Mode
R => Rotate
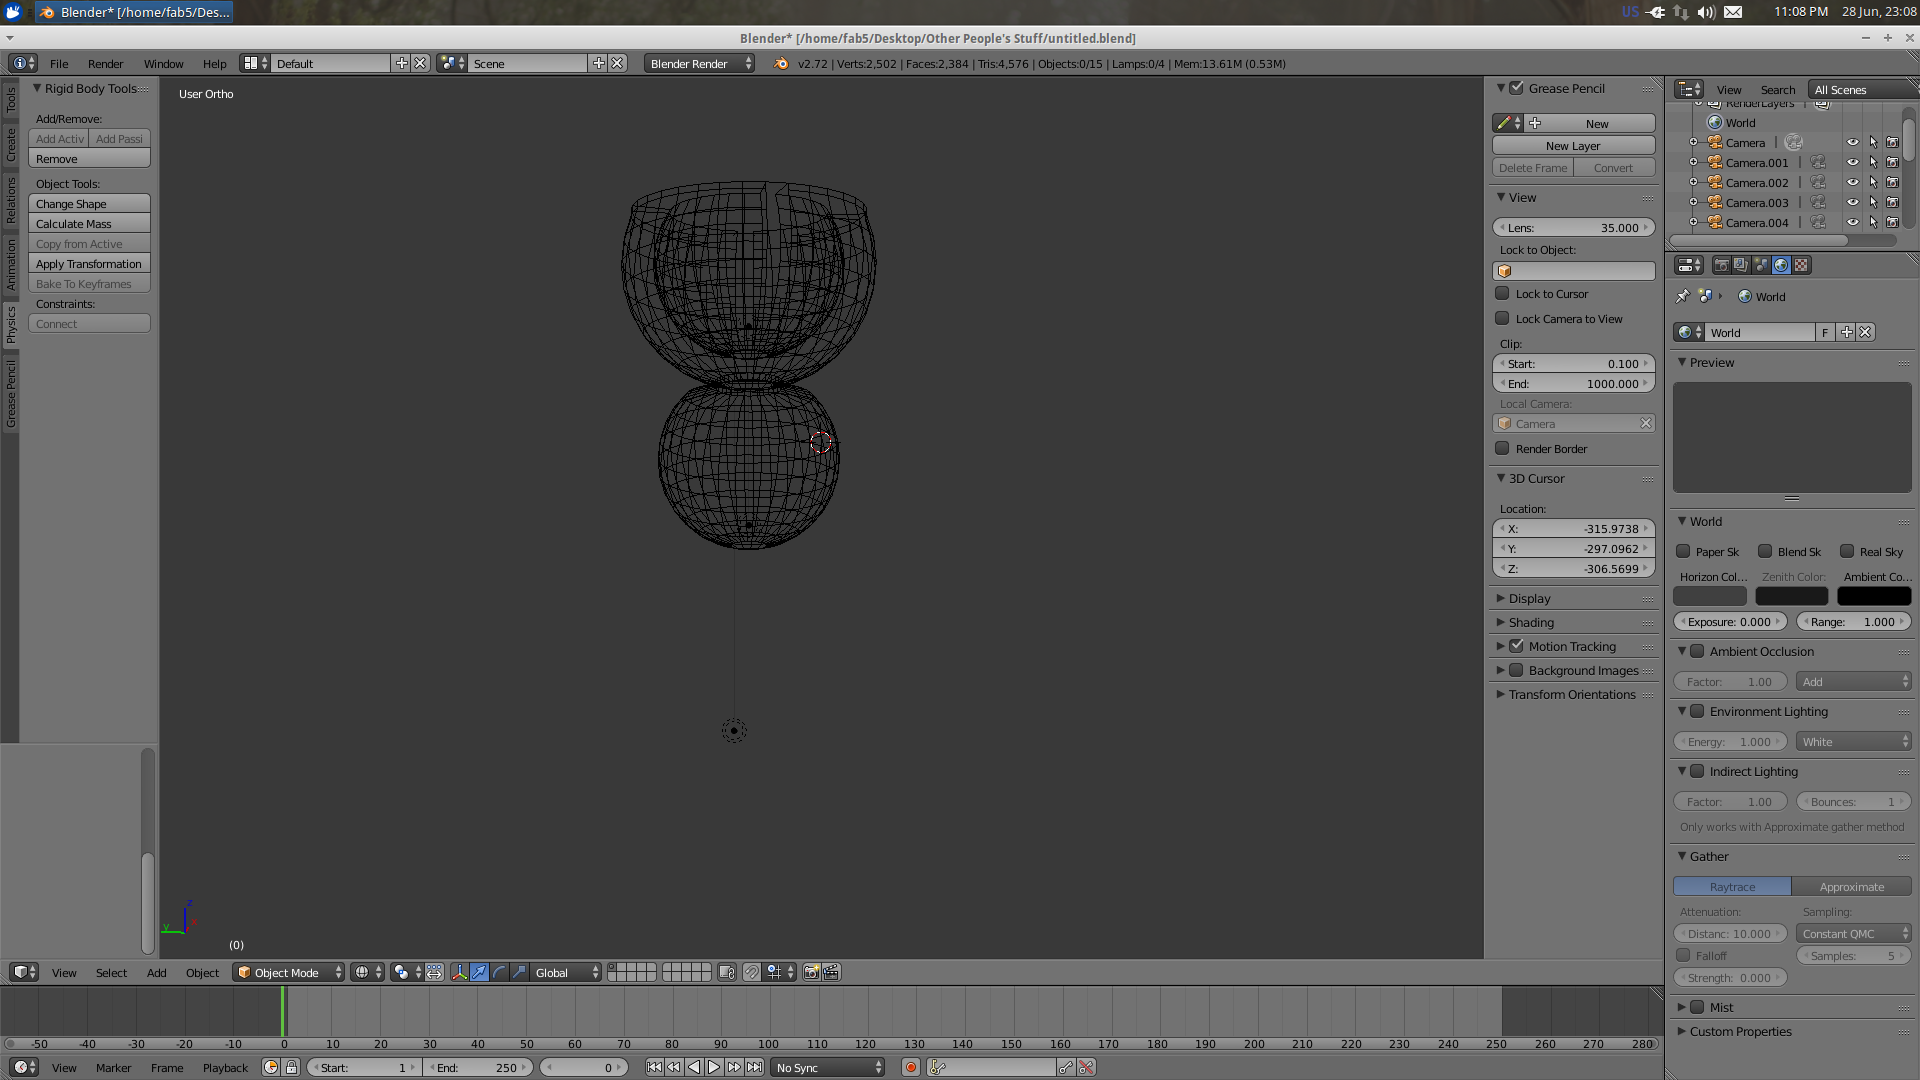
Alt+D => Duplicate
S =>Scale
I duplicated and just aligned like a flexible hand
you can export to ““.stl” from blender , i export only single unit i need to 3D print 10+ units to make a complete hand
Download Blender File Download STL file
3D Printer reads only “gcode” file format Ultimaker have a Software named Cura using this software we can make gcode files and need to save this gcode in memory card of Ultimaker .We can adjust position , size,printing qulaity,layer thickness,support material etc in Cura software .
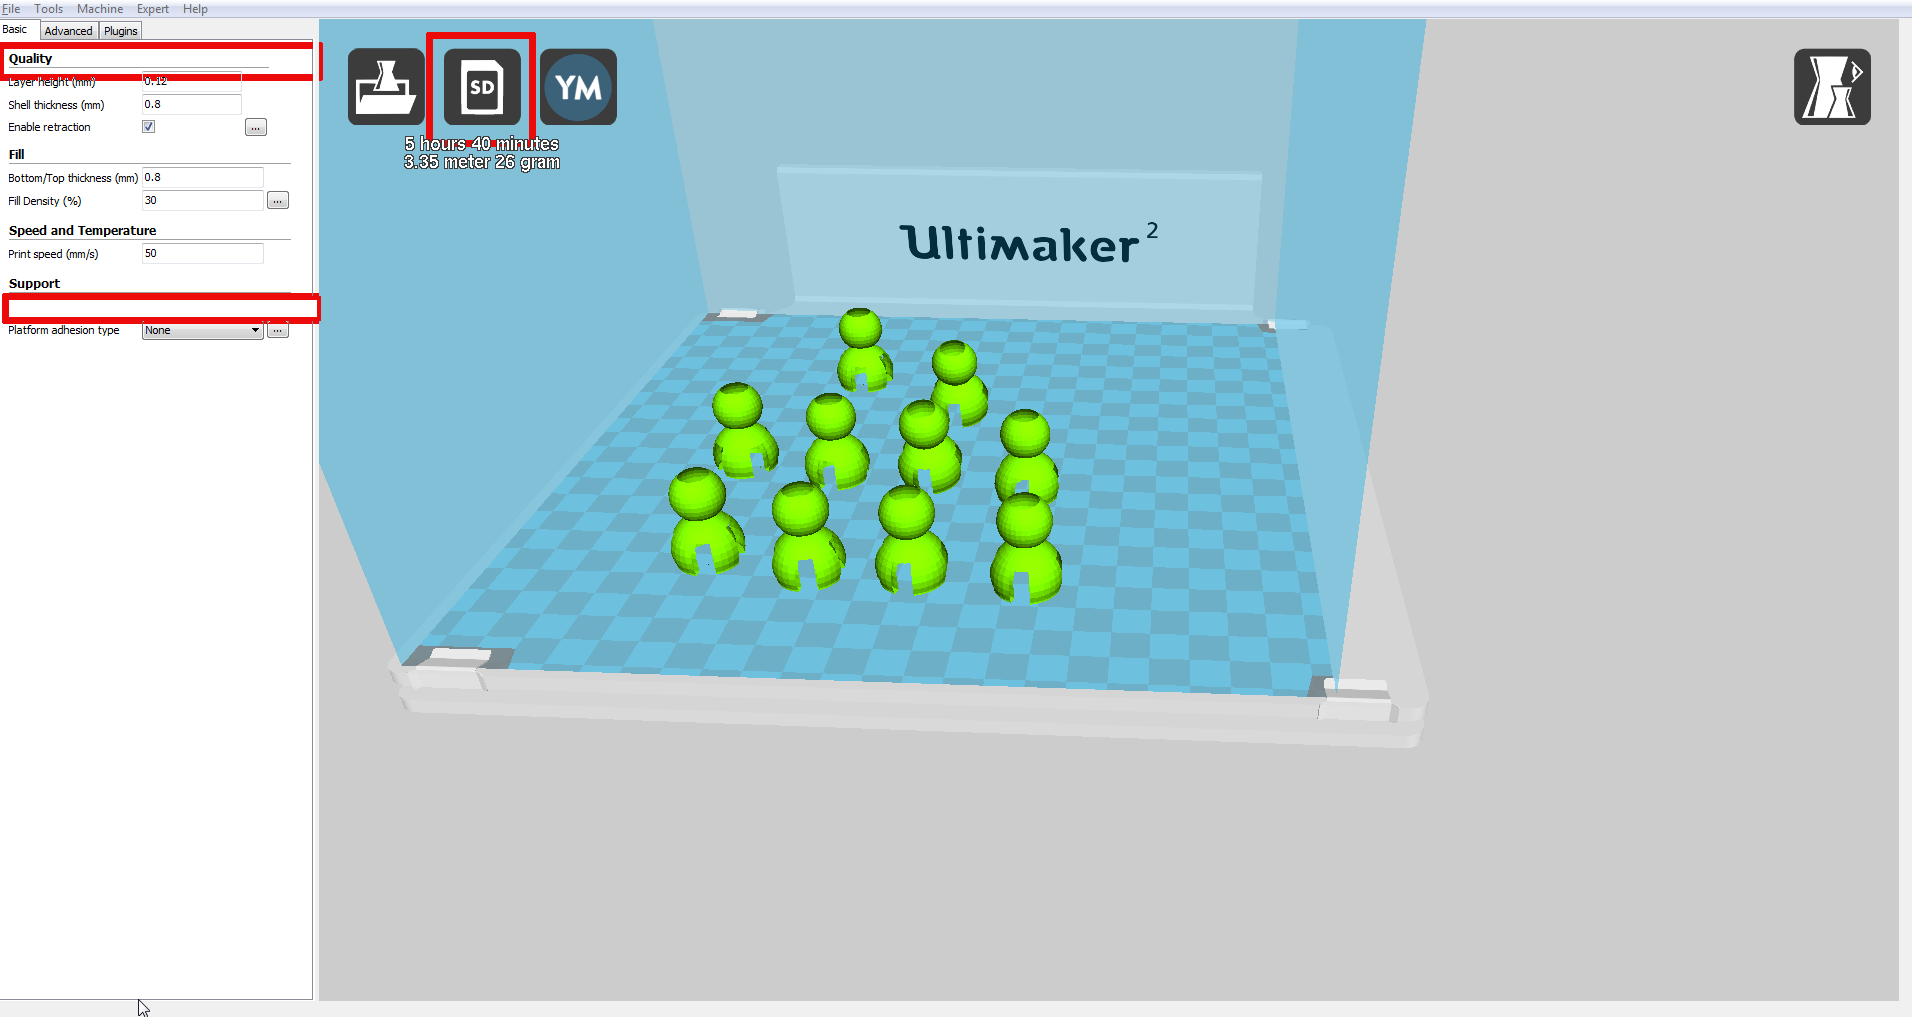
It takes 6 hours to print ,after 6 hours i got it printed .
Flexible Hand
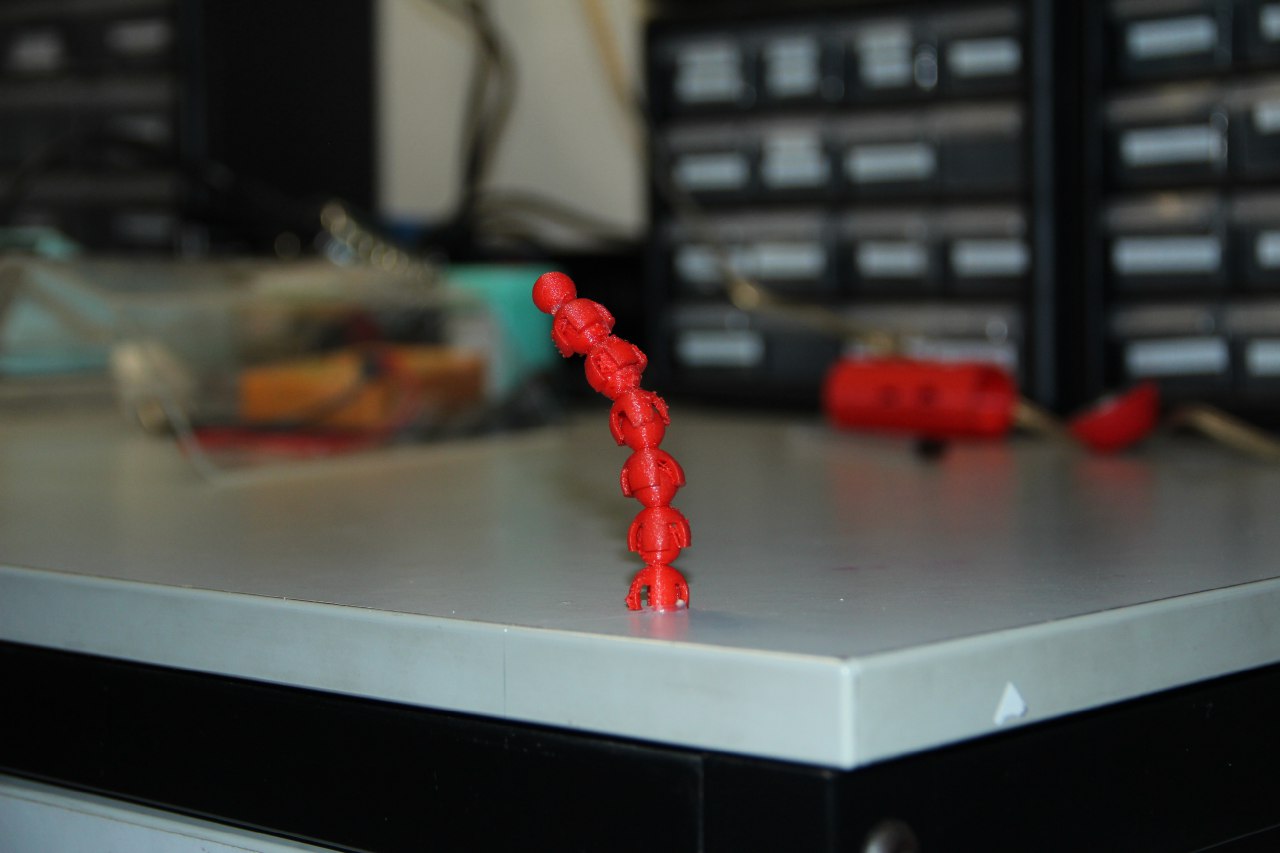
This acts as a helping hand in many situations.For example,adding an LED in the end can be used as a light source while doing machining or any other similar works.
3D Scanning
It convert physical objects to 3 Dimensuinal to a digital file .
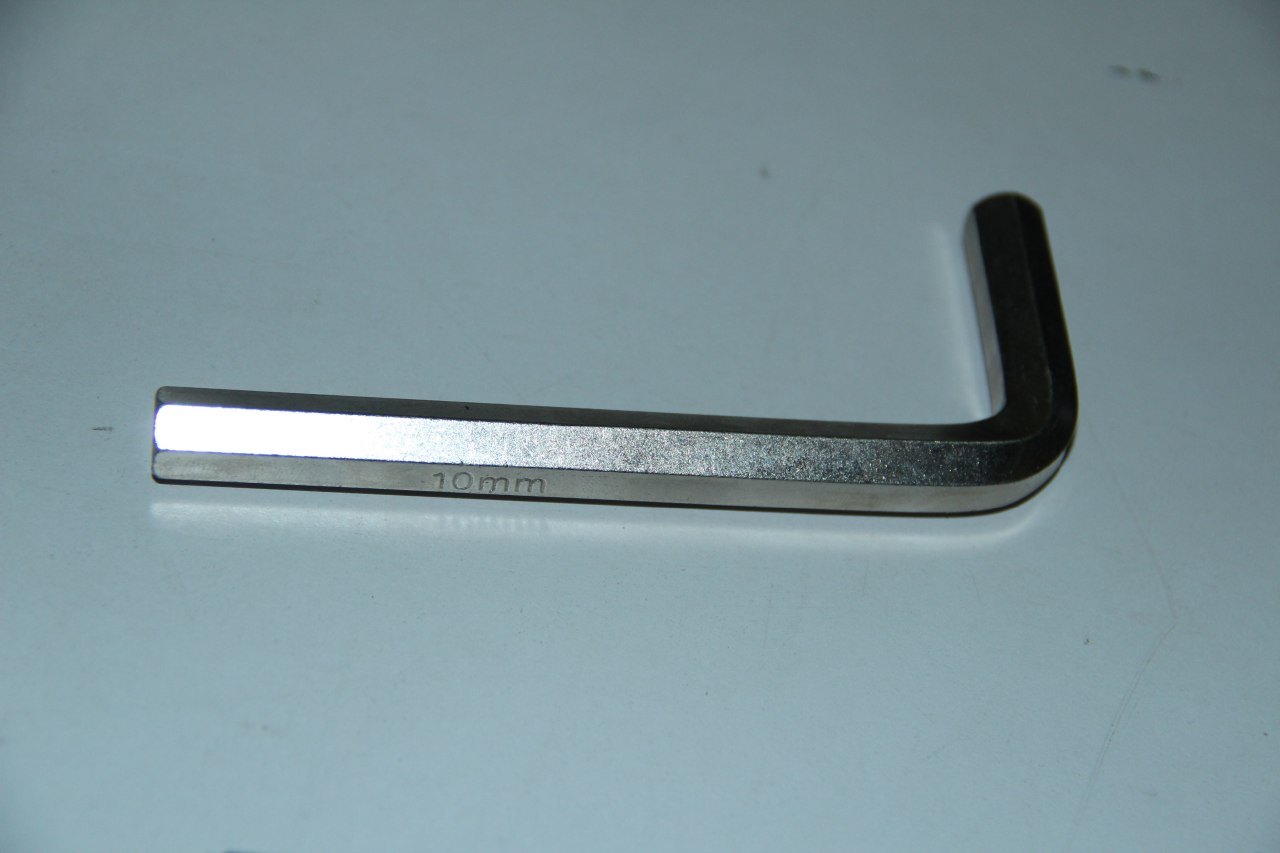
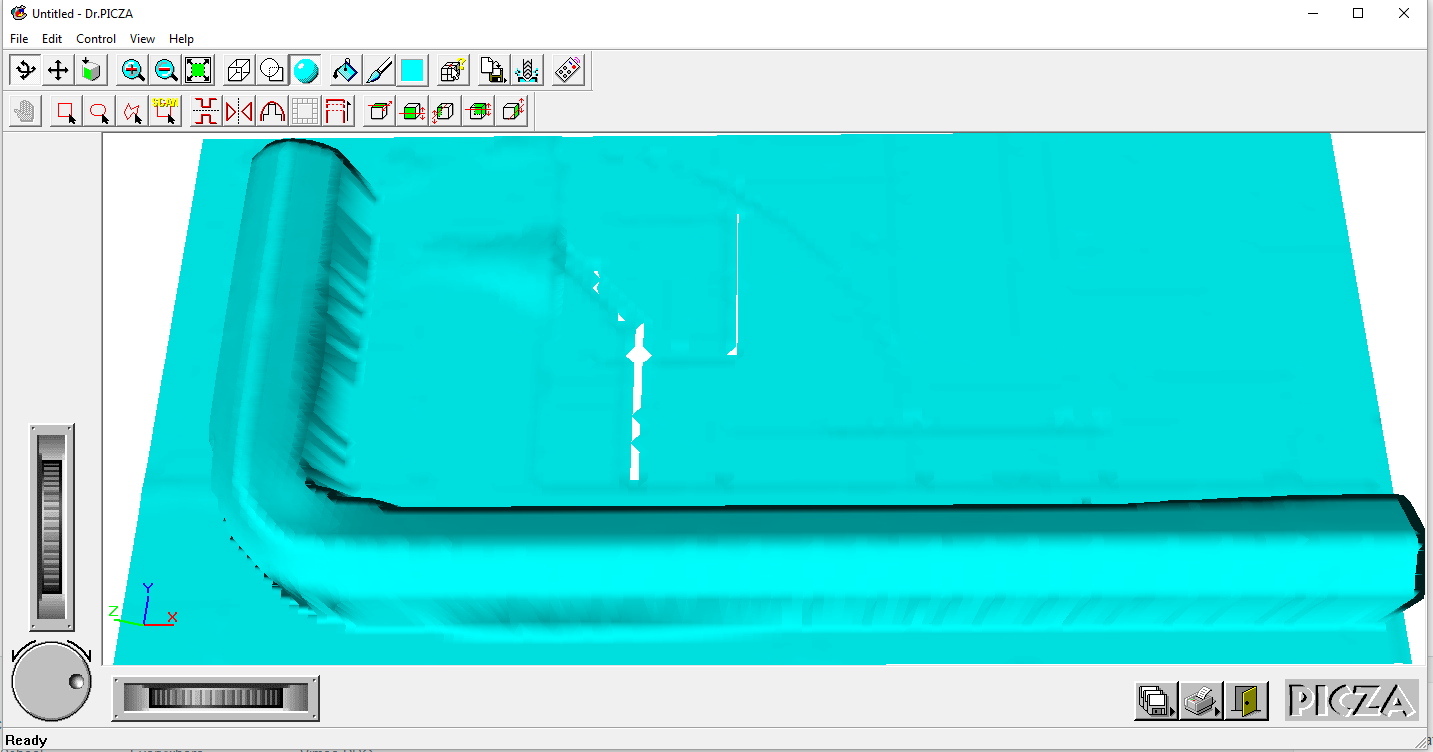
I am going to scan an Allen Key using Modela-MDX20 , ya it is not only for milling but also used for 3D scanning ,for that we need to change head to scanning head .
This is the Head Used for 3D Scanning using Modella-MDX20

Dr PICZA 3D scanning Software , it have an option to set Scanning area(X,Y,Z) it reduce scanning time ,if we set correct area for scanning it never scan unwanted portions .
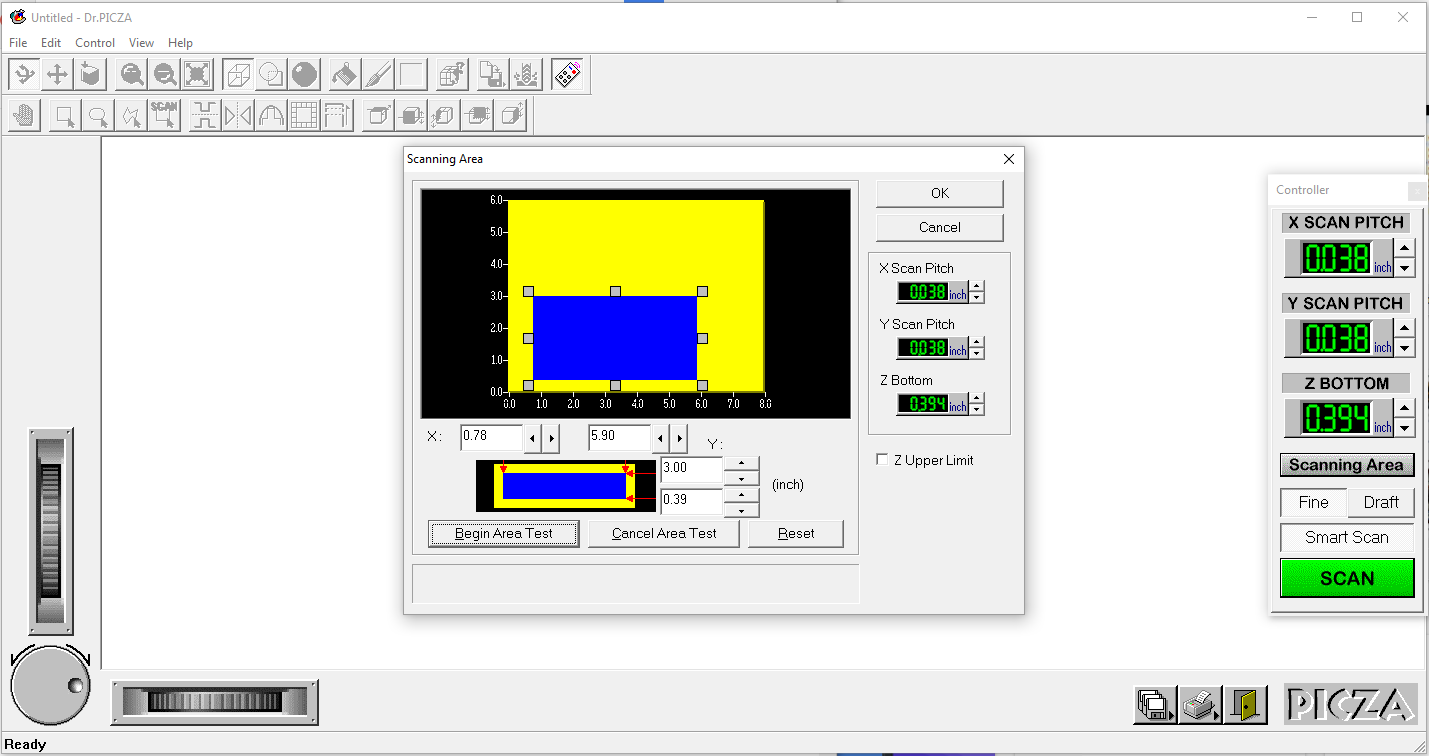
It is simple to use it gives final output(.STL) in a specified folder we can print directly from this stl file otherwise we can go for some touchup works then print.
 r Powering FabISP system not detcting
Solution :
Double checked all the connections using multimeter then i found an mistake in soldering then i resoldered , it fixed .
My Own 3D Scanner
I tried to make my own 3D Scanner but it is not giving proper output ,it is a nice experience ,here i am explaining what i did .
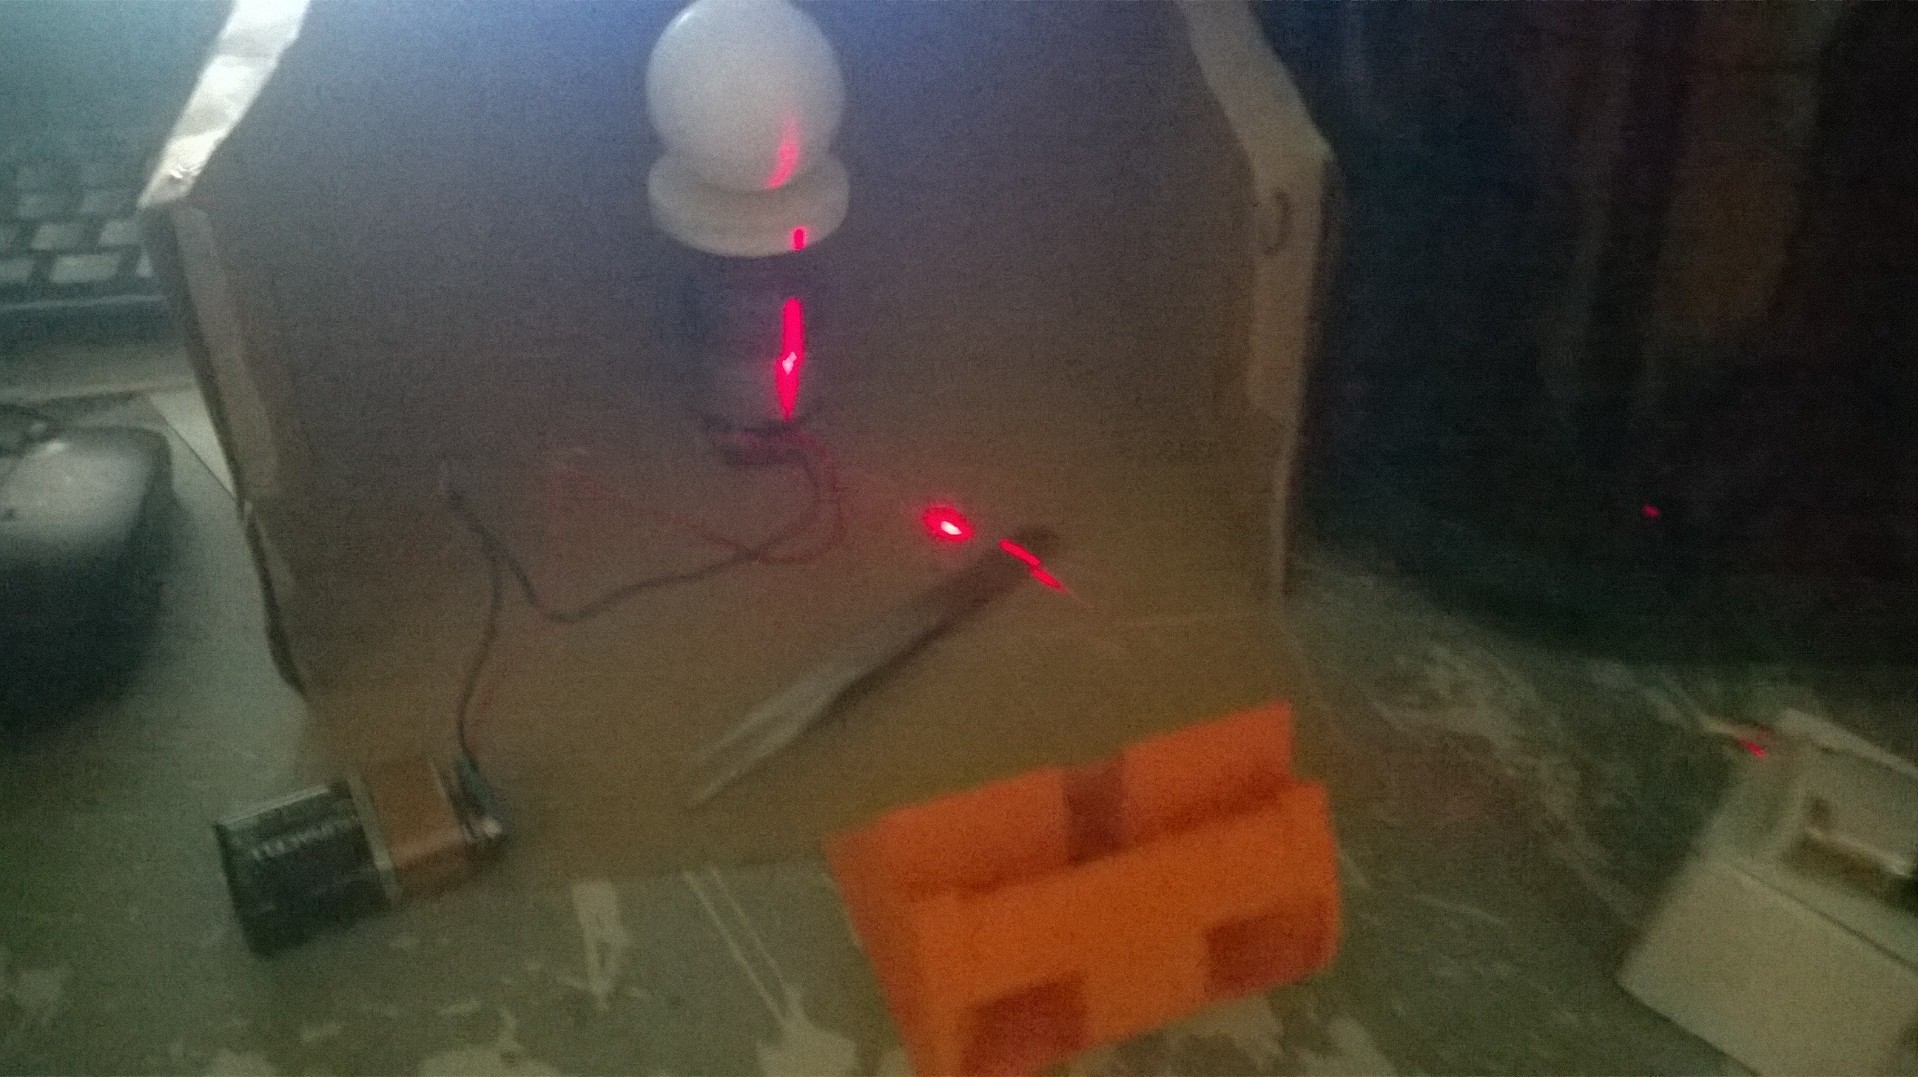
First I created a Rotating Platform using DC Motors and Cardboard Then I pass a Laser Beam (i used laser pointer but linear laser required) to that platform Installed a Makerscanner Software which is a Open SOurce 3D Scanner . After 10’s of rotation the software slightly identifies my object but not perfect
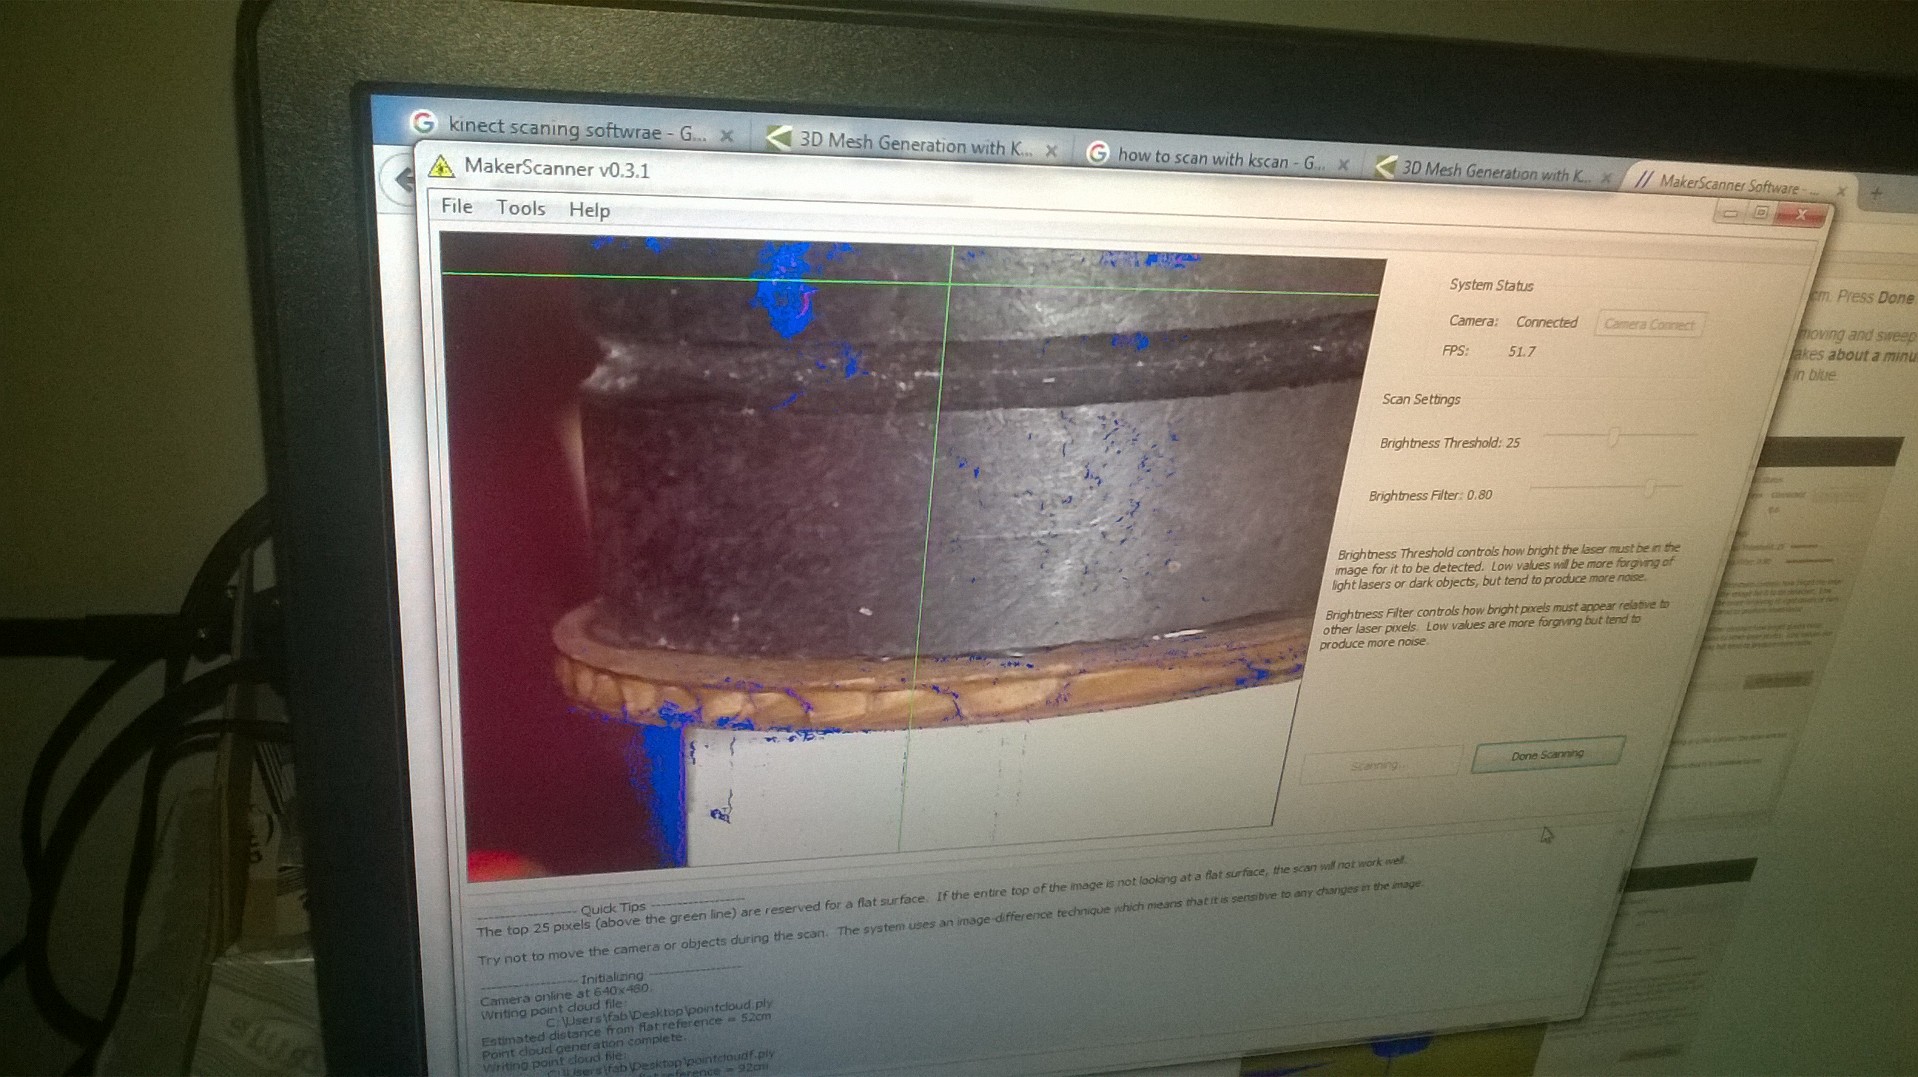
Sorry for Bad Image ,I forgot to take screenshot .