Week 15 : Composites
Assignment :
This Weeks assignment is to design and make a 3D mold and also to produce a fiber composite part in it.
The week was filled with things been tried out and lot of them that did not work at all. The assignment
can be divided into three parts:
- Create 3D object for molding
- Making the mold
- Producing the fiber composite part in it
What I'm plannng to do
I'm planning to create a mold in shopbot and create a composite part from the mold.
At first, I made mold with a cylindrical cavity. But then, Franc suggested to
create a shell like structure rather than a cavity.
I did a few experiments with a cavity I made, but on the shell mold I've used
burlap and epoxy resin
Creating Shell Mold
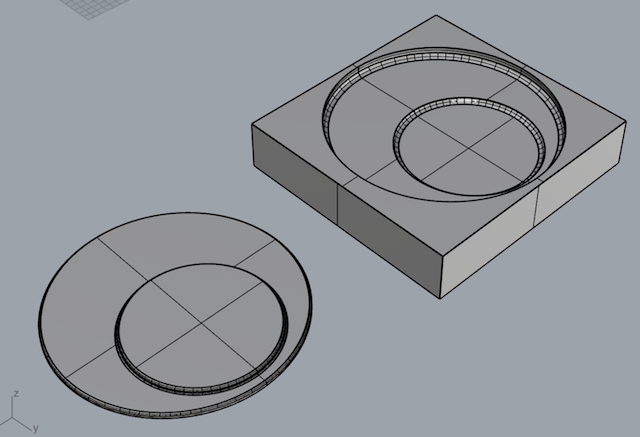
Creating 3D object
I used Rhino software to create the object. Initially, I created a cylindrical cavity from
which I need to produce a fiber composite part.
Design Files
The Design files of the mold can be downloaded here : Design Files [.3dm format]
Design Files [.stl format]
Making Mold
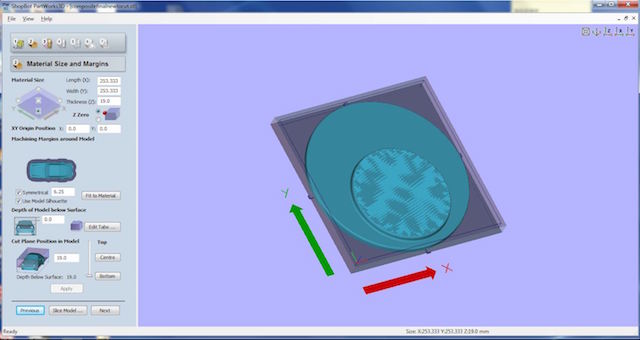
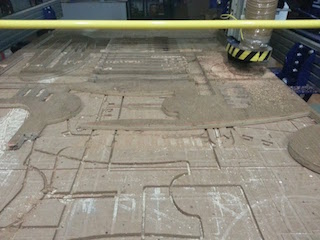
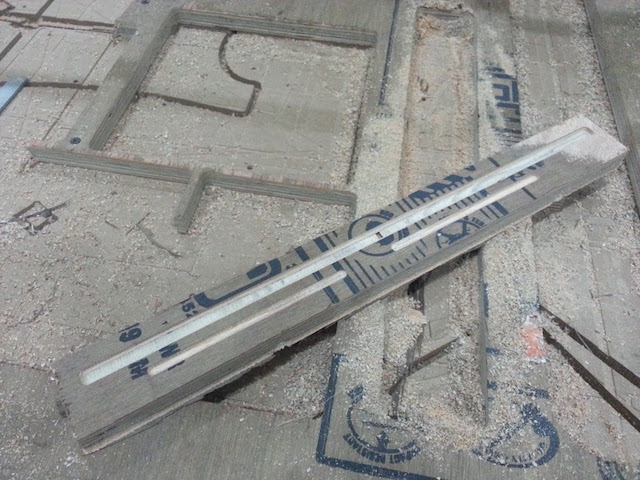
I used shopbot to make the cavity in ply wood. I did a rough cut then a fine cut both with
1/4 upcut FL. The cut didn't come as designed at the edges, since the tool diameter is less
compared to the edge curve, that it goes unnoticed. Bit used: 1/4 upcut fl.
ShopBot PartWorks is a user-friendly CAD/CAM design program that takes you
from laying out your design to producing a ShopBot Part File, ready to cut on with the machine.
At first, I did a rough cut, then a finishing cut. I added tabs so that the piece doesn't
come off while the cut process is going on.

 Toolpath settings
.sbp and log files sent to shop bot
Material Used
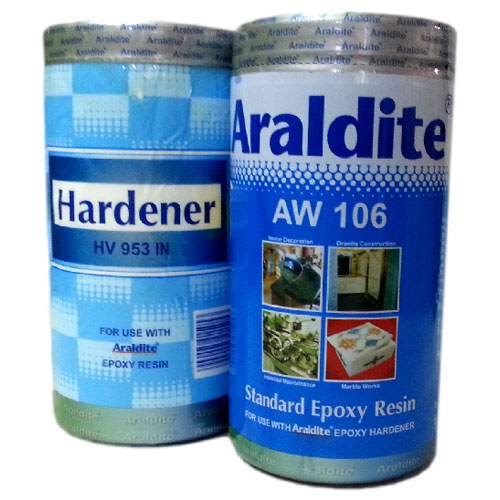
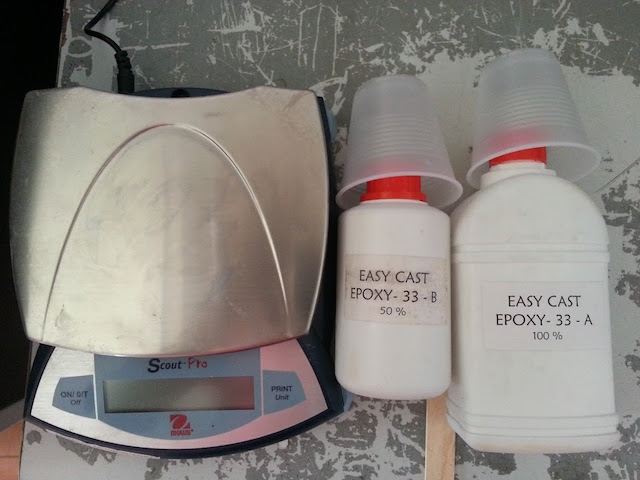
I choose ARALDITE AW 106 Resin and for fiber, burlab and cotton fabric. Araldite is a two part epoxy,
that has a long work time. The first time tried out
with Araldite, after mixing the temperature just shot up and curing occured within 15 minutes.
So, I understood that araldite sets faster as the temperature goes high. It's non toxic so you can
use it without gloves (it's messy thou' since it's highly viscous). Good thing that before setting it can be washed off with
just water and clean off your hands.
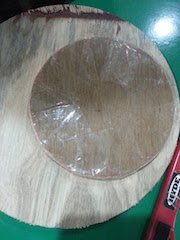
Preparing the mold and making the composite
You need to cover the mold with food film or anything similar so that you can reuse
the mold and remove the composite from the mold after it dries out. I used single sided tape to
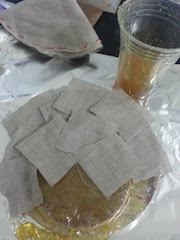
secure the mold. The Araldite has a mixing proportion of 1:1 by volume. So, I used syringe to measure
the volume and transfered both the mixture into a cup. I mixed it thoroughly and poured a layer of
the mixture into the mold at first. Then placed the fiber onto the mold. Then did the same step of
at first pouring down the resin and then placing the layer of fiber. The layers of cotton fiber cloth, burlab
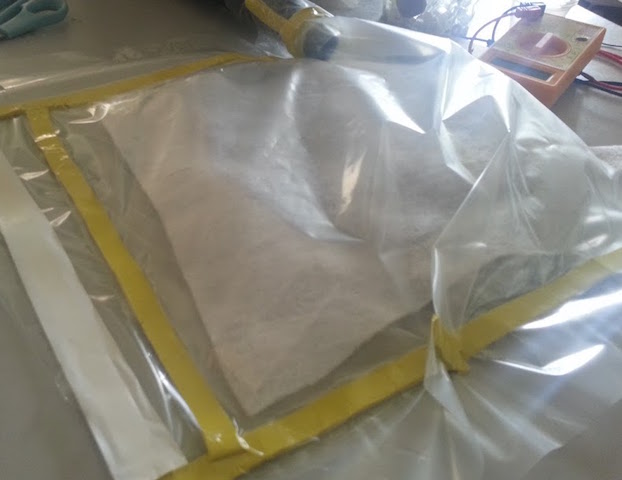
and epoxy is made. Then you seal the mold with food film. Take care to make some holes in the
food film that covers the mold so that the excess of resin just could ooze out.
Vacuuming needs to be done and we din't have vacuum so we made one. Previously, Vinod made
one such vacuum bag, where he sealed the edges using sealant tape available at lab. Puneeth helped to
make such a bag for the assignment. Hard part was to seal the area where the nozzle of the Shopvac goes into
the vacuum bag.
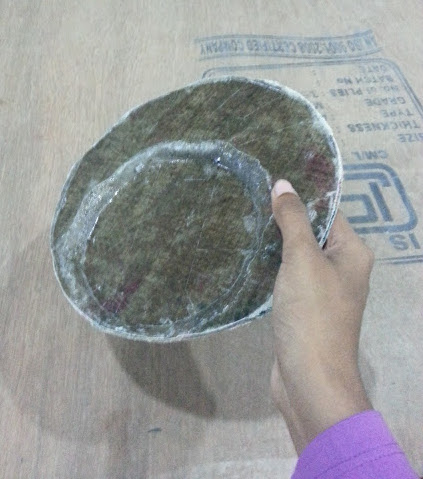
Composite after removing from Mold
On removing the composite, I've noticed that the shell is hard as expected.
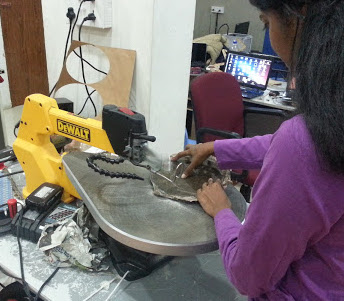
I need to remove the unwanted fabric at the edges and sand and do the finishing work of
the composite.
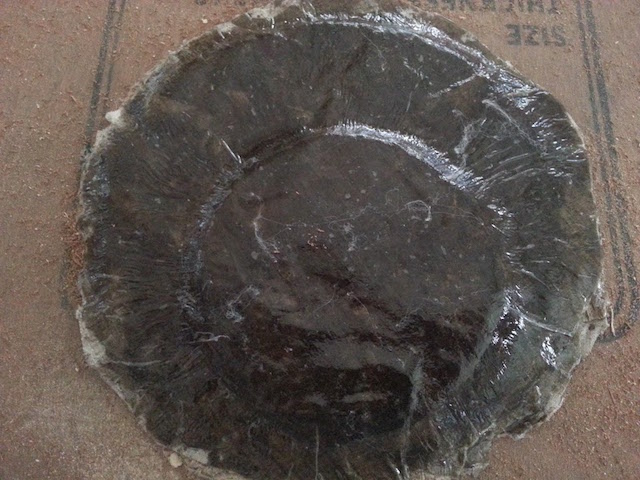
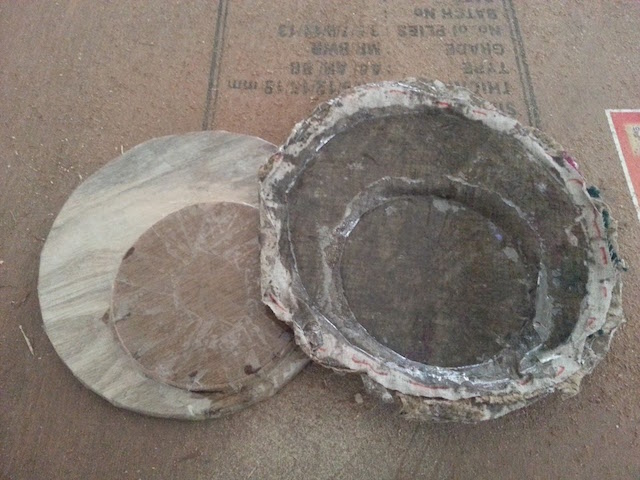
I used saw to cut off the unwanted areas and the finished composite is hard shell as
expected.
Making of Shell mold
Designing Mold
I designed the mold in Rhino.
Design Files
The Design files of the mold can be downloaded here : Design Files [.3dm format]
Design Files [.stl format]
Making Mold
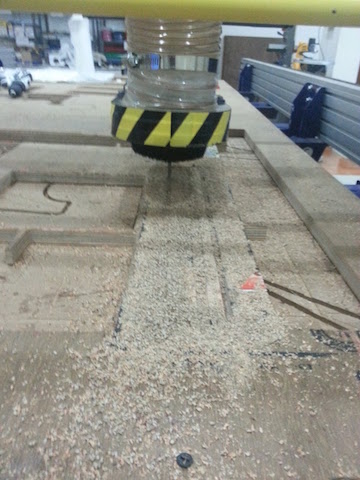
I used shopbot to make the cavity in ply wood. I did a rough cut then a fine cut with ball nose to get
smooth edges. Bit used: 1/4 upcut fl and bn.
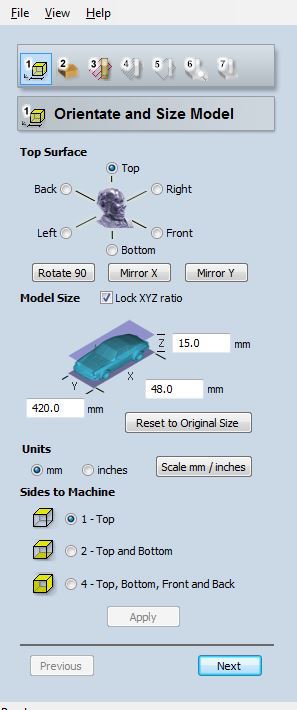
At first, I did a rough cut, then a finishing cut after which I did a cutout of the boundaries.
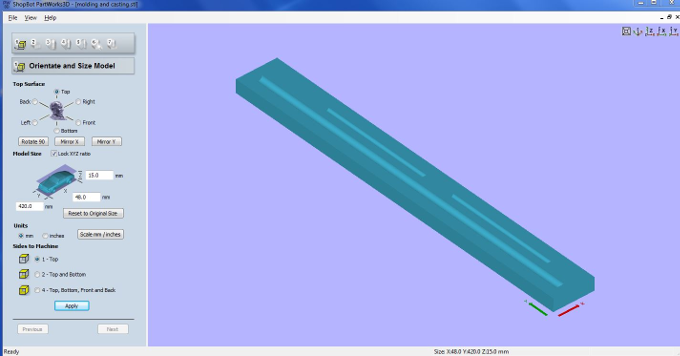
I rotated the object 90 degree's at first
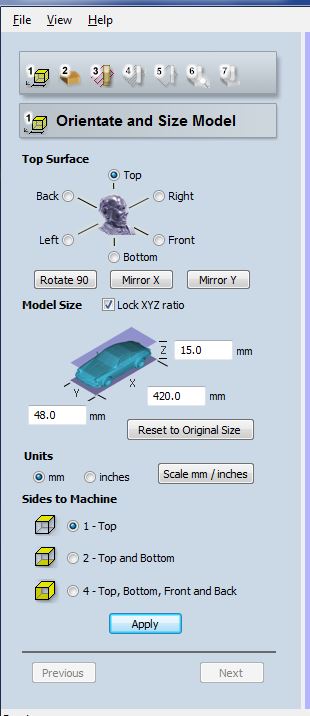
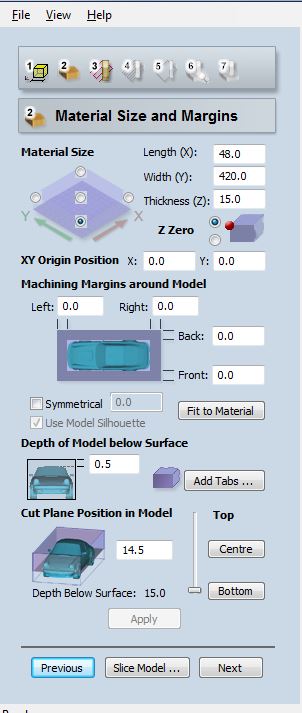
Material Size and Margin's set
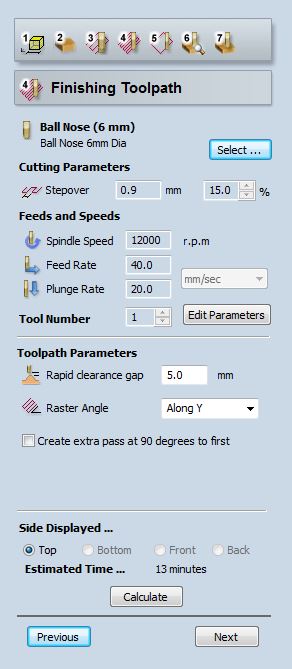
Finishing Toolpath settings
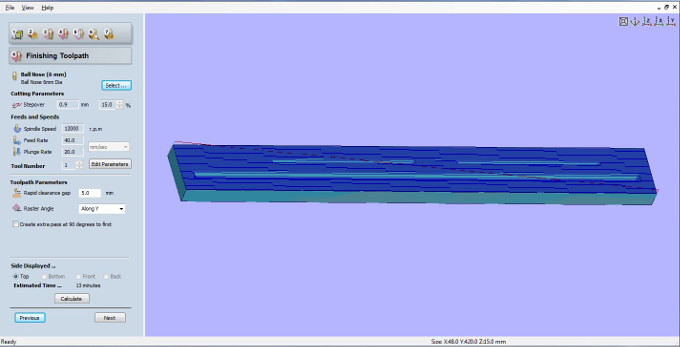
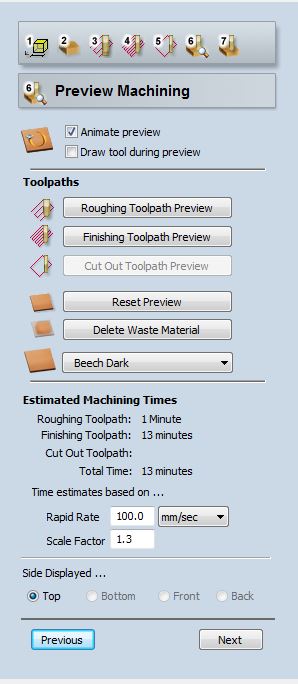
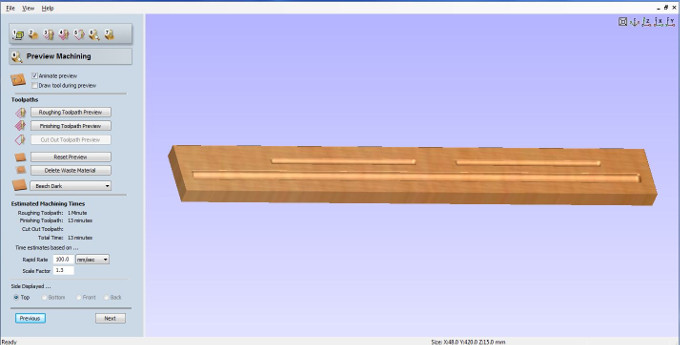
Preview Machining
.sbp and log files sent to shop bot
Shopbot cut works
What I tried but didn't work out
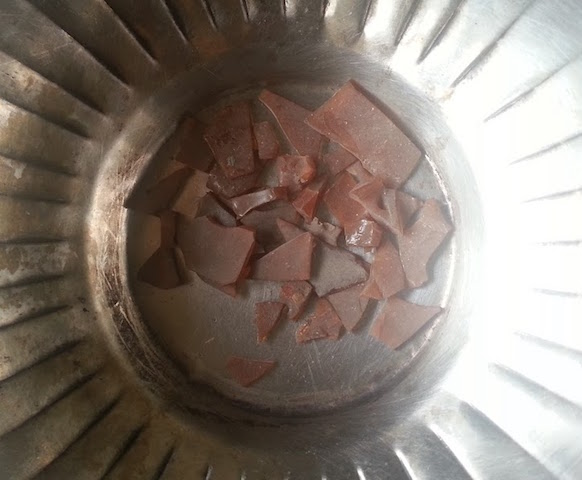
Pradnya sent me some plant sap resin called as Saras, to be used as the matrix
for my composite assignment. It was brown in colour chunks. The instructions given to me
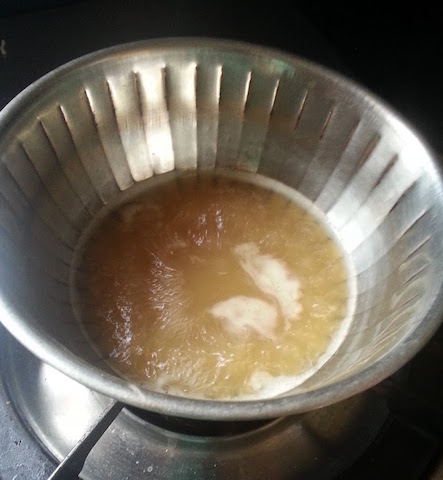
to prepare the material (Saras) was to melt in a little water and boil till it becomes viscous enough
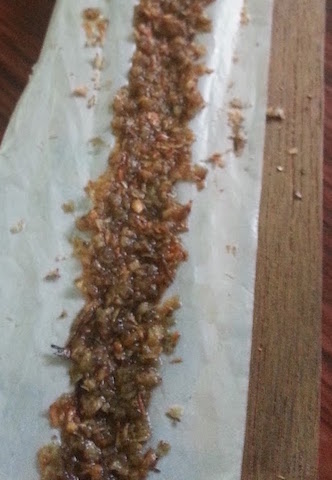
and attain a near tread like texture. When the texture was nearly attained, I mixed with saw dust which
I used as fiber and put it to dry as suggested. The mixture never got set. Later, Supriya did her
assignment with ready made Saras available at local stores and attained a rigid composite shell structure.
I discussed with her regarding the problem I encountered while trying the plant resin as matrix for
composites and found out the following to be the reasons:
- Use very little water.
- Keep the composite to dry for two days in Sun or bake.
Saras in flakes
Saras after being melted and boiled
The composite that really never set!!!
Producing the fiber composite part
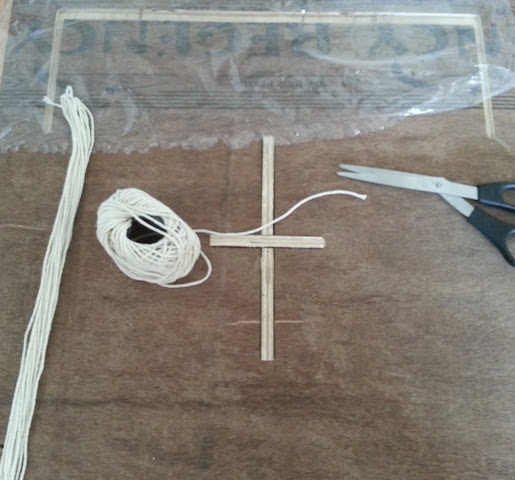
I thought to go with the epoxy resin and as fiber, knitting wool. I aligned the woolen thread
in the cavity of my furniture. The epoxy resin comes in two parts that needs to be mixed in 1:2 ratio.
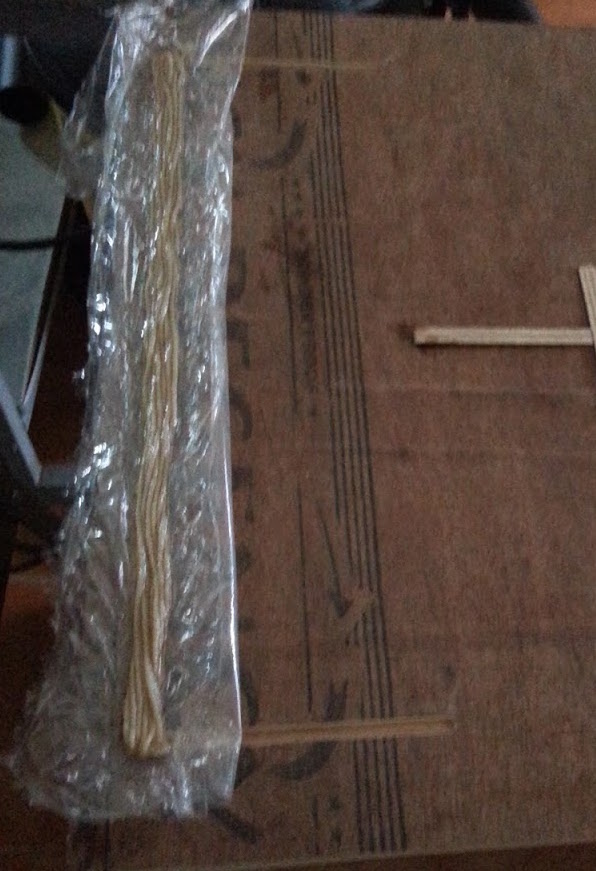
I used knitting wool, cut them into long pieces enough to fit into the mold.
After dipping the fiber into epoxy resin I placed it into the cavity.
The final structure attained
What I learnt from this week's schedule...
How to make composite material using resin and fiber layers
Different types of resins including Saras, Epoxy, Araldite
What not to do, more that what to do. Good to learn from mistakes.