Fab Academy 2016
Home /W5
3D Printing & Scanning
3D Printing
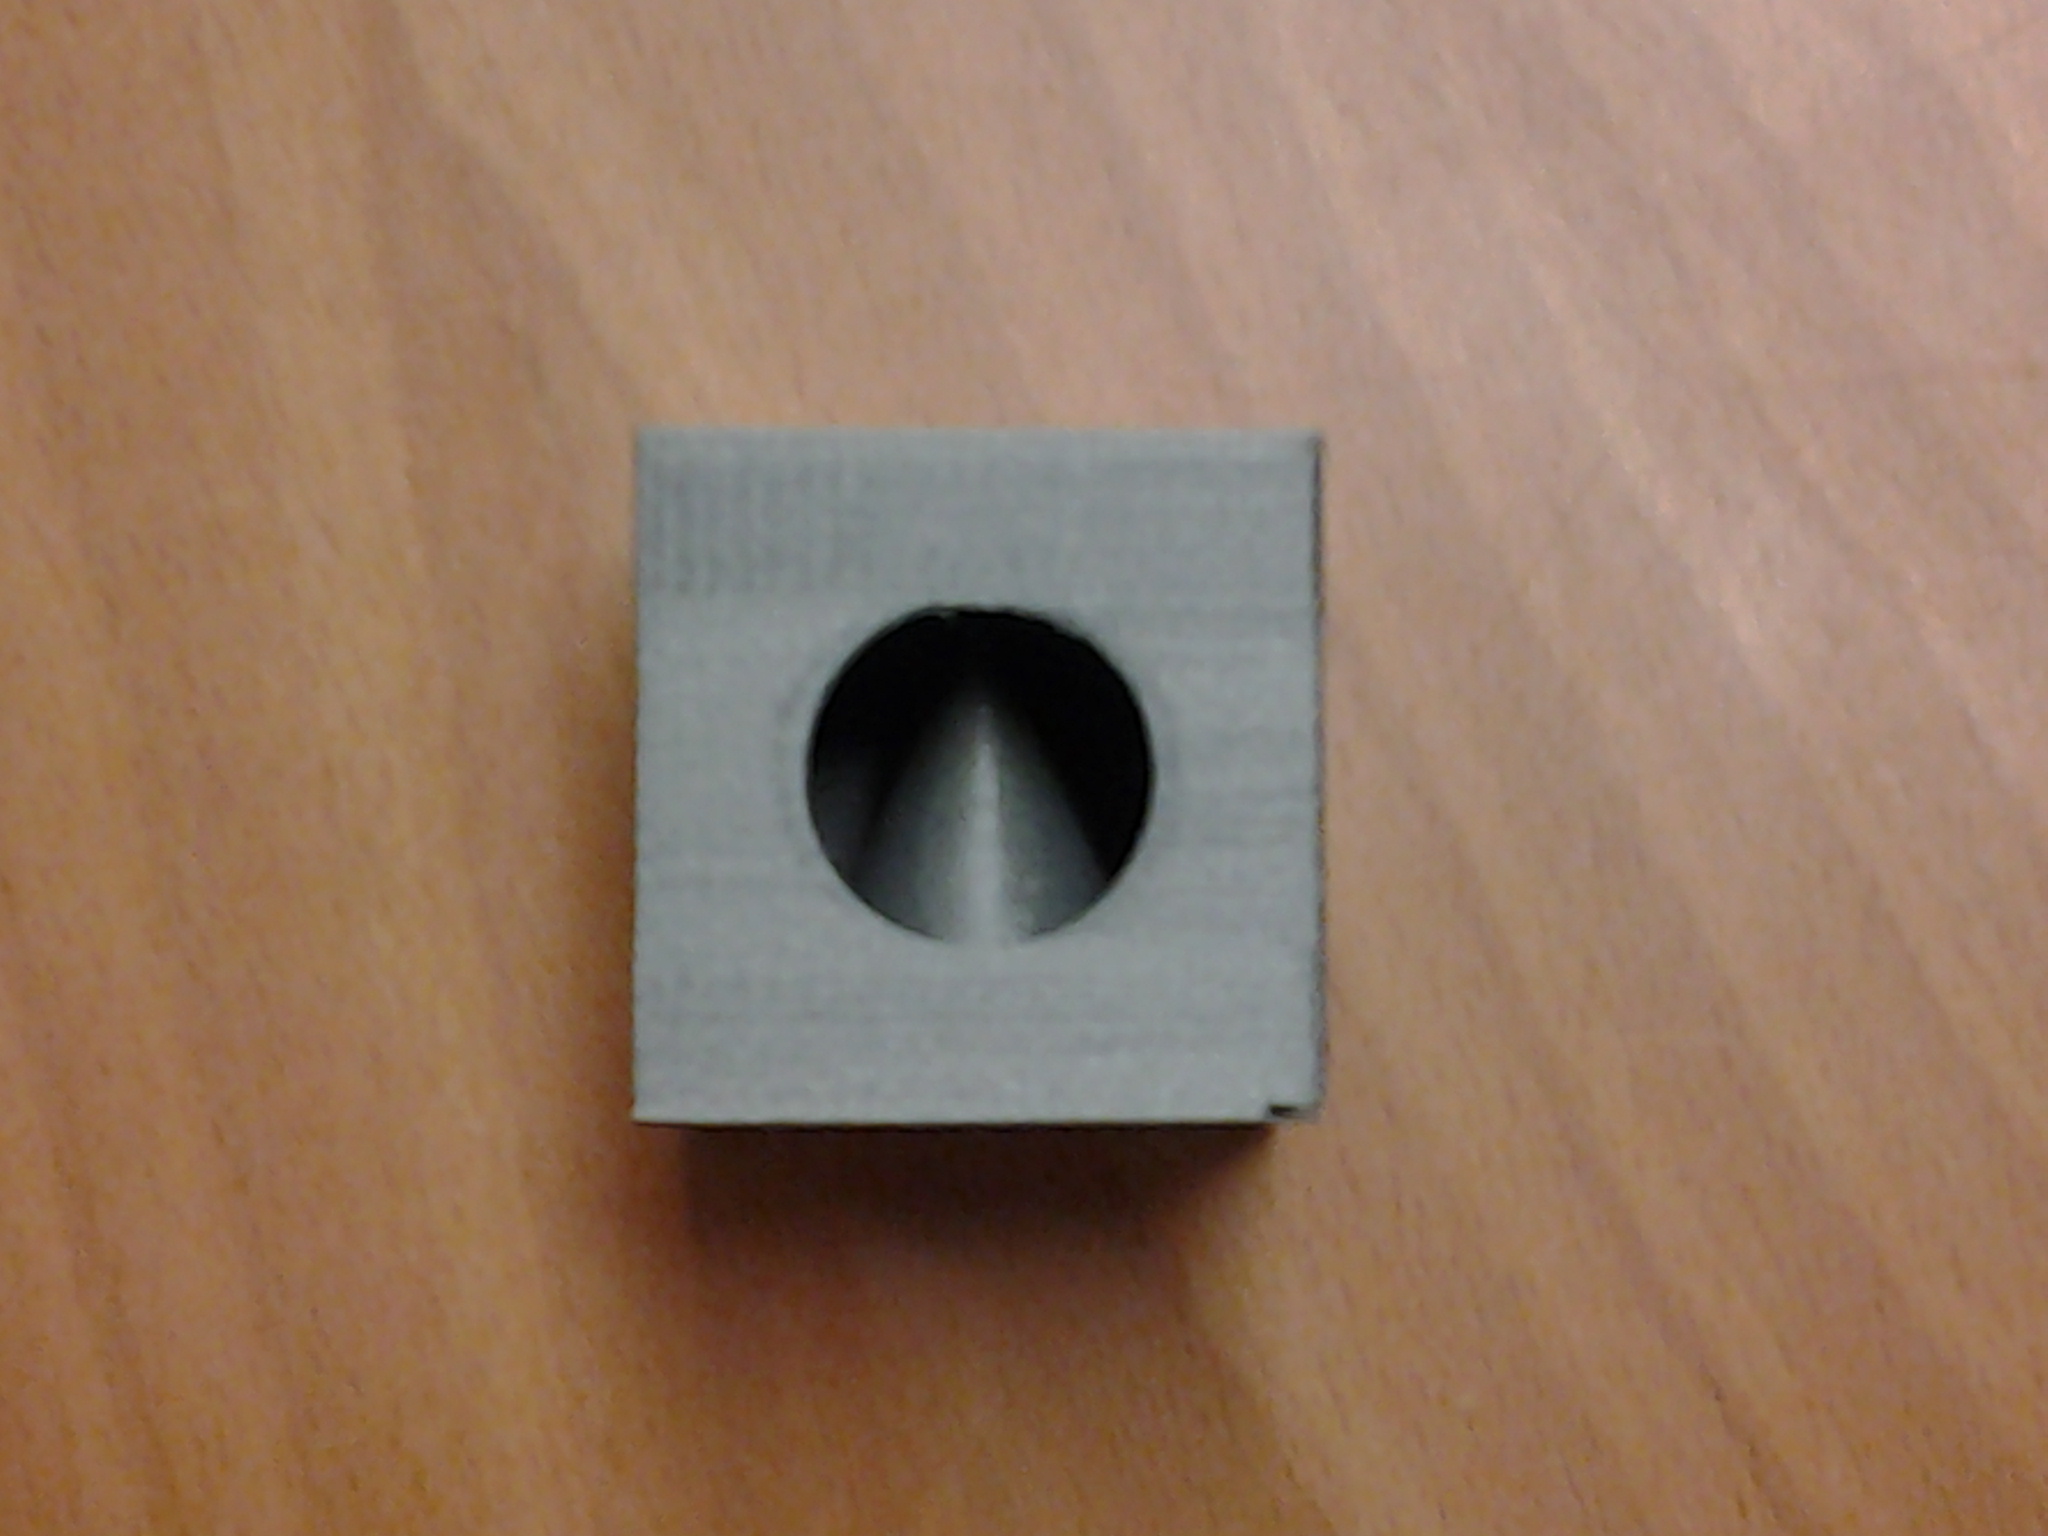
For calibration the printers in the lab we used this file for the test. This is a hard testfile to print!
These tests are included in this tiny file:
- size: the object is 4x50x50mm (baseplate)
- hole size: 3 holes (3/4/5mm)
- Nut size: M4 Nut should fit perfectly
- fine details: pyramide, cone, all numbers
- rounded print: wave, half sphere
- minimum distance between walls: 0.1/0.2/0.3/0.4/0.5mm
- overhang: 25°/30°/35°/40°/45°
- bridge print: 2/3/4/5/6/7/8/9mm
- surface: all the flat parts
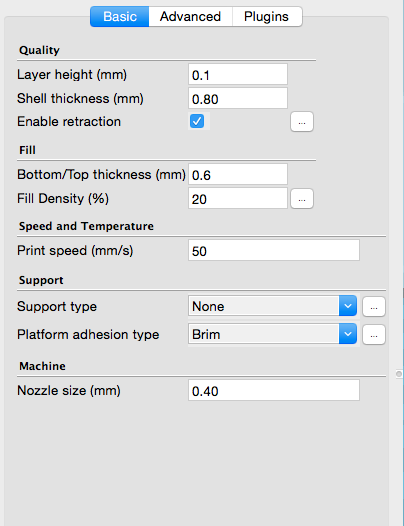
I had to make a 3d model to be printed so I created my model using the program 123d Desig.
I realized two geometric shapes to each other inside. This form can only be printed using a 3D printer.
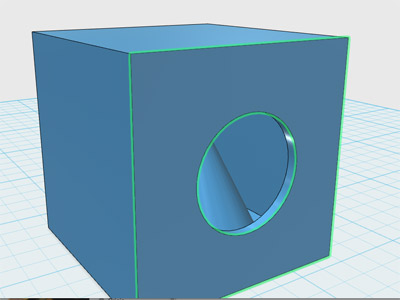
After this, I've used Cura to generate the file gcode to print the model.
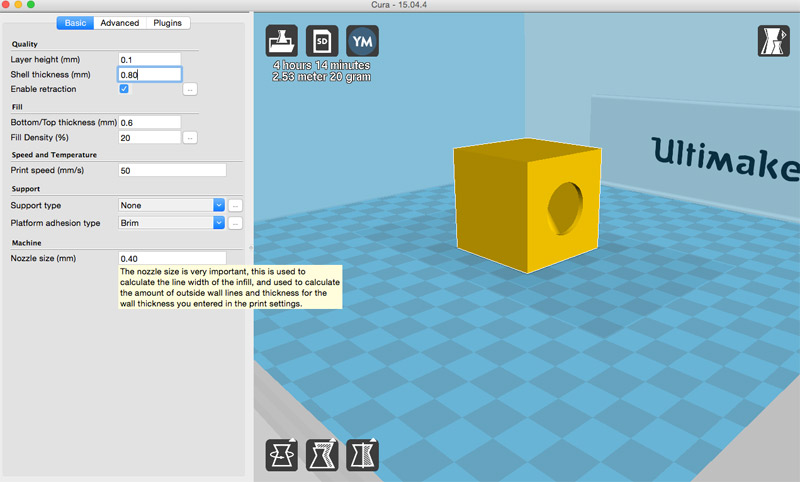
The realization
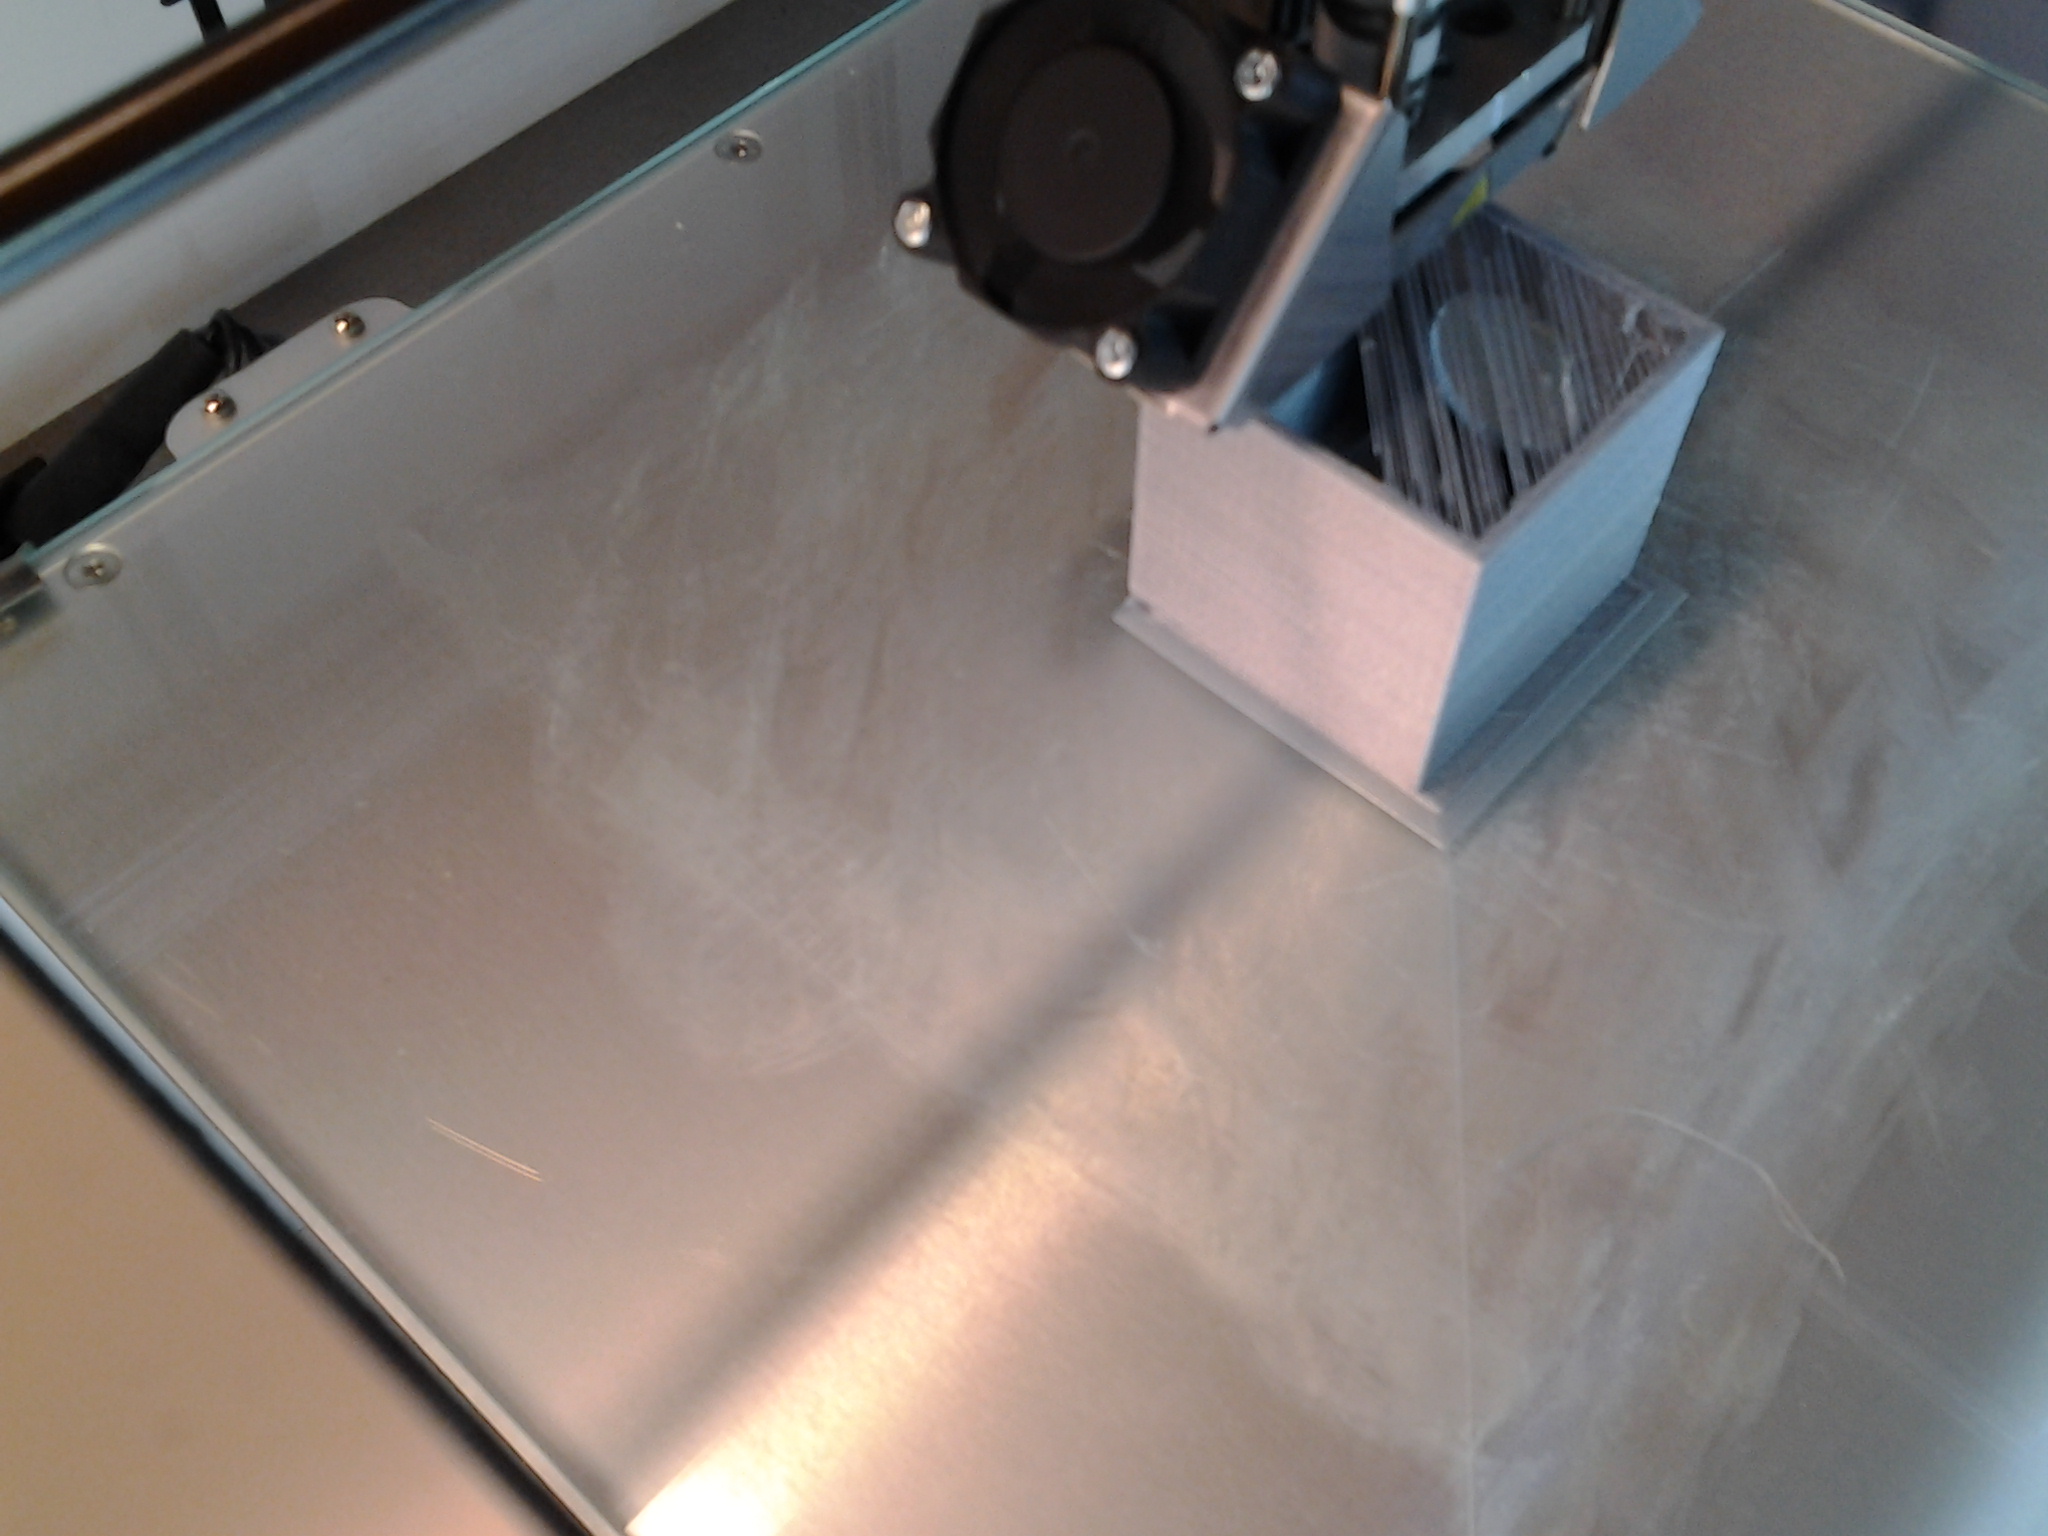
The finished piece
3D scan of an object
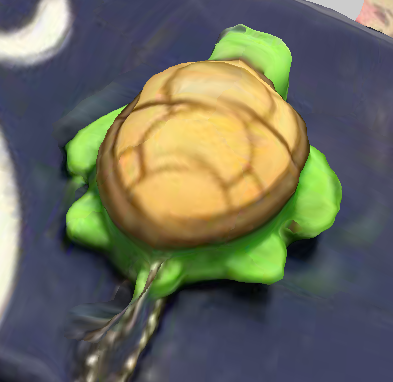
For this assignment, I've tried 123d Chatc ( Learn how to use 123d Catch ), it is very simple and it is a free app that turns photos into 3D models.
I use this program in my Mobile device.
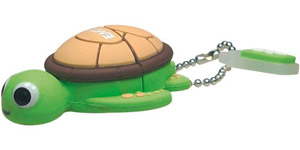
To use this program you have to turn around the object and take about 60 photos. So I decided to try scanning my turtle pen drive.
This is the real object
This is the image and the file obtained by the sotware
The second tool that I've tested is the Kinect with the Skanect software.
I acquired a scan of a person and I edited the model to remove the background.
To make a good result it is necessary a perfect light.
Kinect cannot be used to scan small objects but it is possible to obtain a complete 3D model.