Took aprox. 5 minutes to set and calculate the design

+5 minutes to cut
Vinyl Cutting
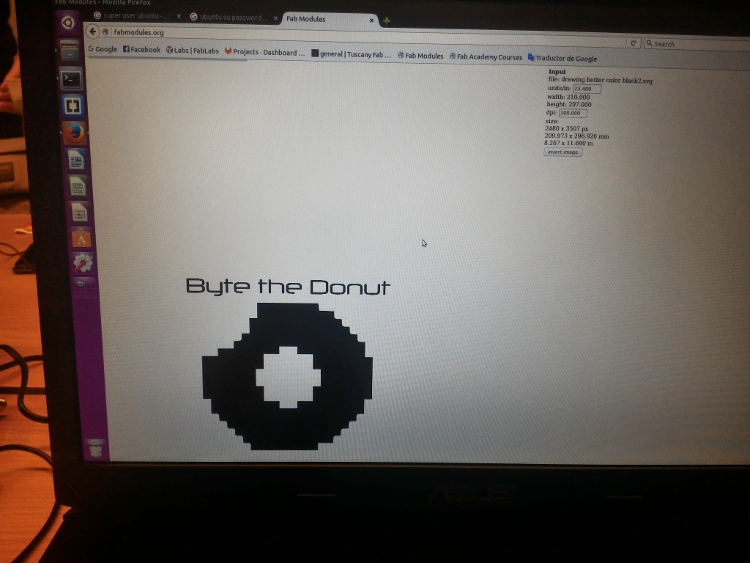
One of the first assignments was to learn the processes of Vinyl cutting, and the best part is that it cannot only be used to make stickers but also flexible circuit boards(which is something I look forward to use on my final project), textured surface/relief pattern and screenprint resists/stencils. I started by transfering my file from last week design on Inkscape to Fab Modules, I figured out that having already designed something in 2D, my focus would be concentrated on learning how to use the Roland GS-24 vinyl cutter to its maximum.
-One problem I encountered with the vinyl cutter was not being able to connect to it thru my laptop(in reality, it was my fault), due to the lack of the SU (Super User) password on ubuntu.
-After being succesful in getting "Super User" privileges I proceeded to convert my .svg file to a .camm file which the cutter can translate.
-Before pushing the "calculate" button, I set the output force(g)=70 and velocity(cm/s)=2, after calculating and saving the .camm file, I launched the commands to communicate and finally cut the design for good.
Commands for the vinyl cutter:
dmesg to check whether the lp0 is recognised
        cd directory of the file
        su
        cat filename.camm > /dev/usb/lp0
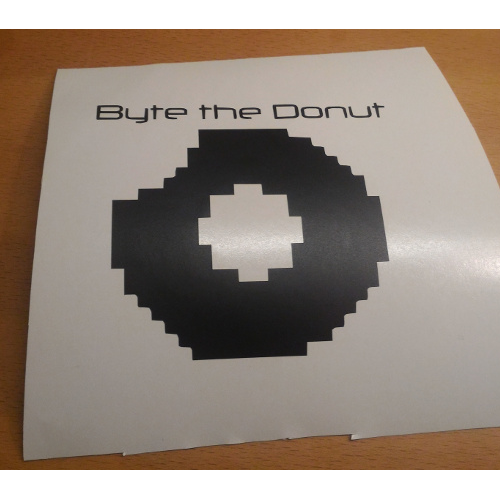
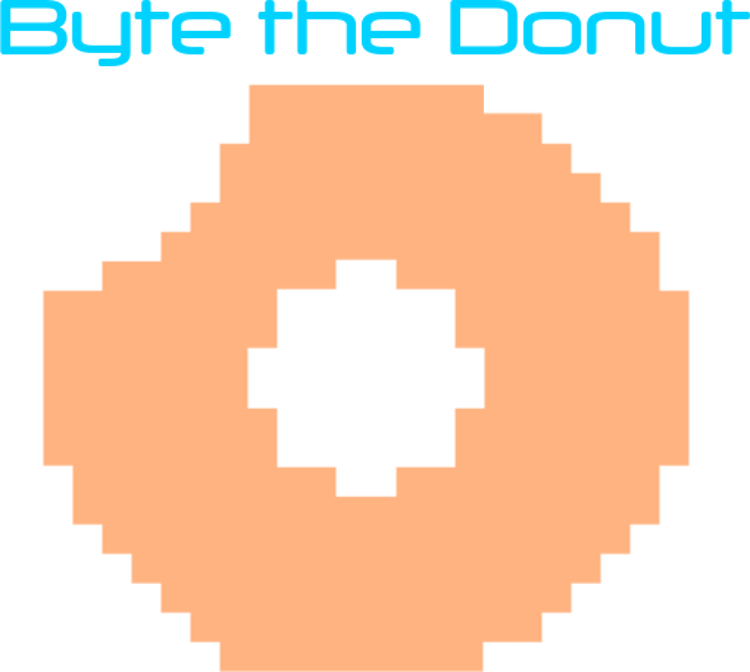
So happy with my 8-bit donut
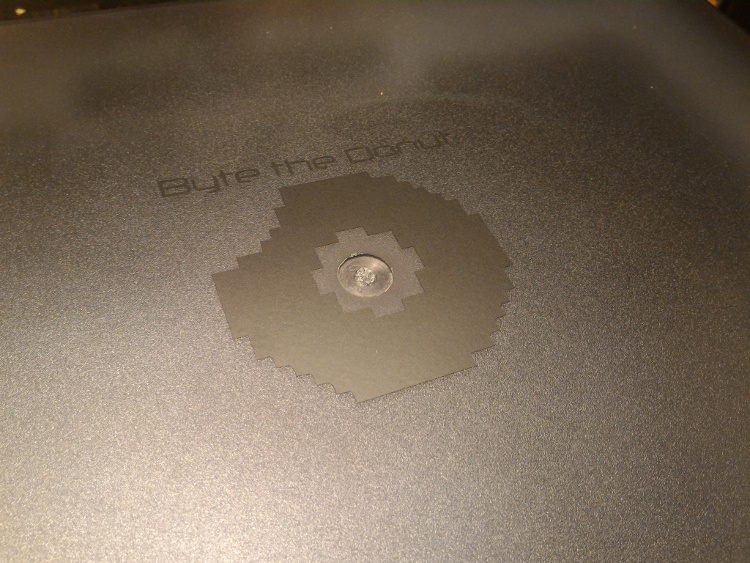
I stuck the design in one of the printers
First, before going to cut anything, I first learned all the specifications of the machine like the Laser type, Work area, Max. workpiece height and Laser power. Second, I want to apologize for not calculating the kerf of the laser cutter myself, but
Matteo Sirizzotti from my class did it way before anybody and it seems like a waste of time to redo it again but he was kind enough to explain to me and others the whole process.
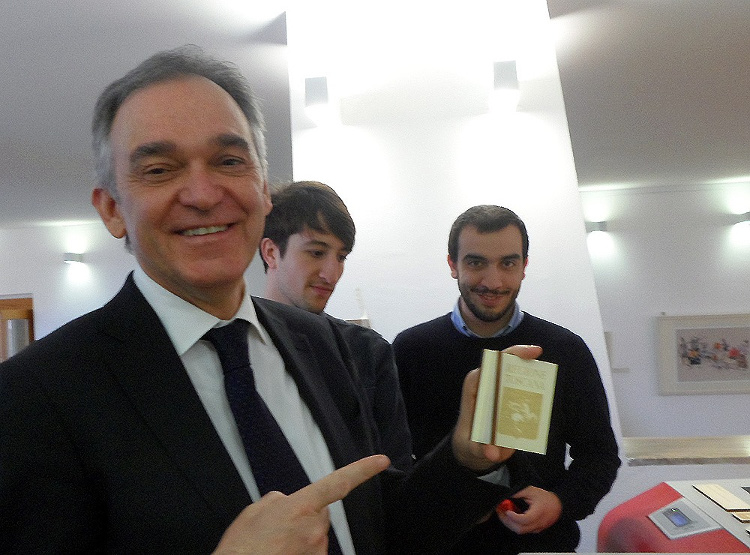
Matteo is the one on the right
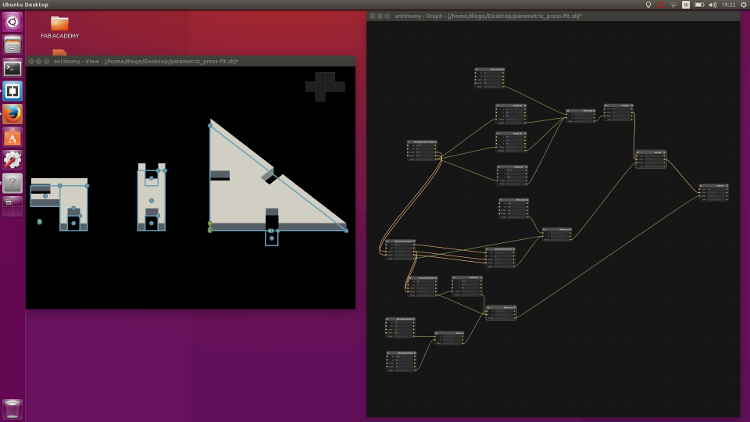
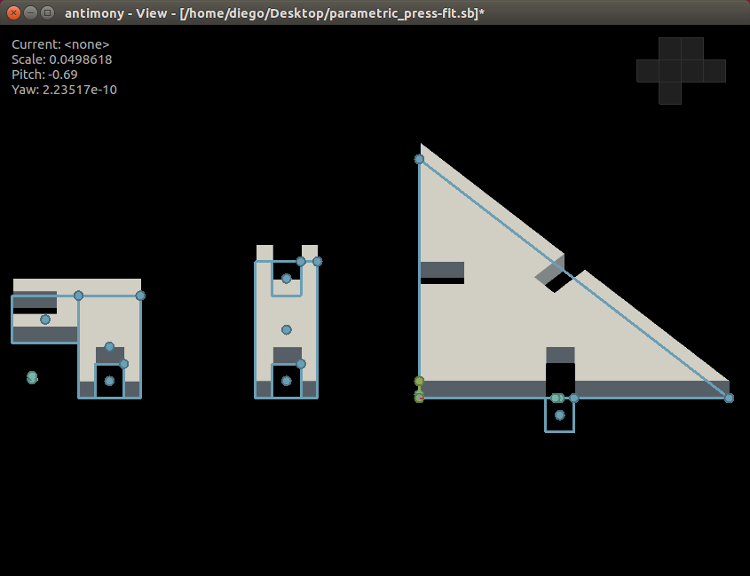
After finishing the press-fit kit in Antimony, I had to go back to Inkscape to change some settings to make it suitable for the Laser Cutter, starting with the length.
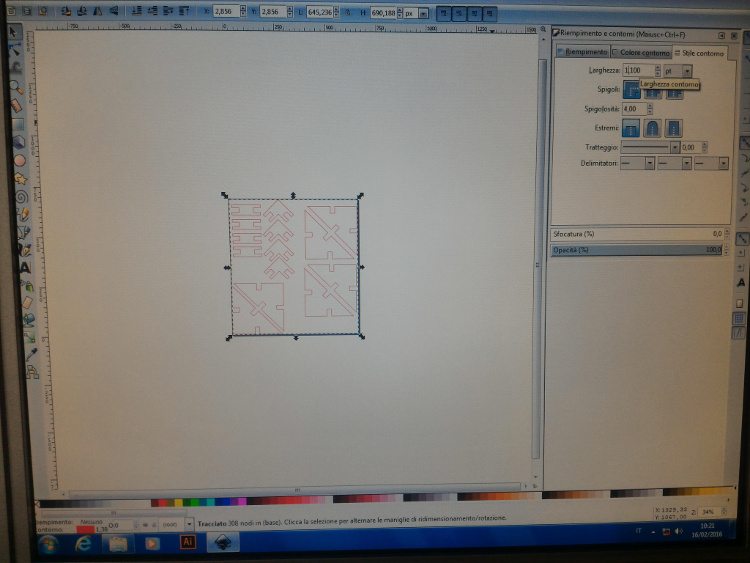
Length of the lines (0.003pt)
Right after, we must change the color or it will not be possible for the software to interpret correctly the file and the machine to cut the cardboard.
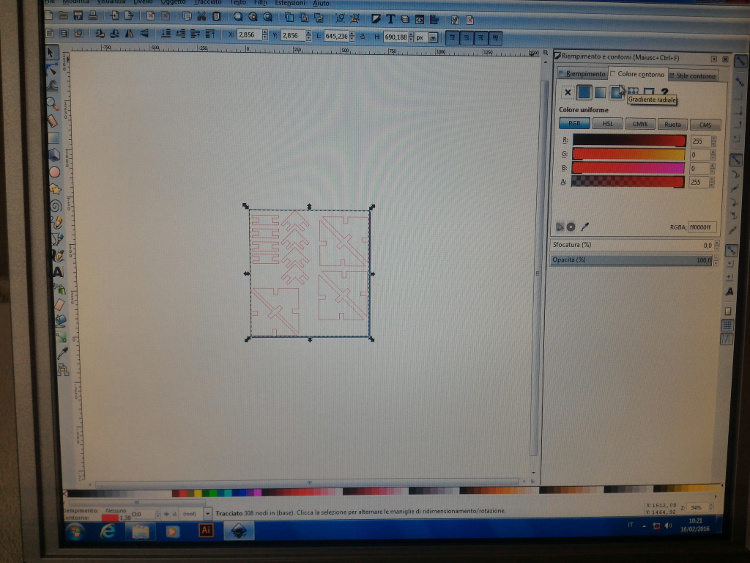
Color of the lines (R=255, B=0, G=0, A=255)
I also have to set the measument unit to millimeters and to resize the page so the drawing doesn't take more than space needed.
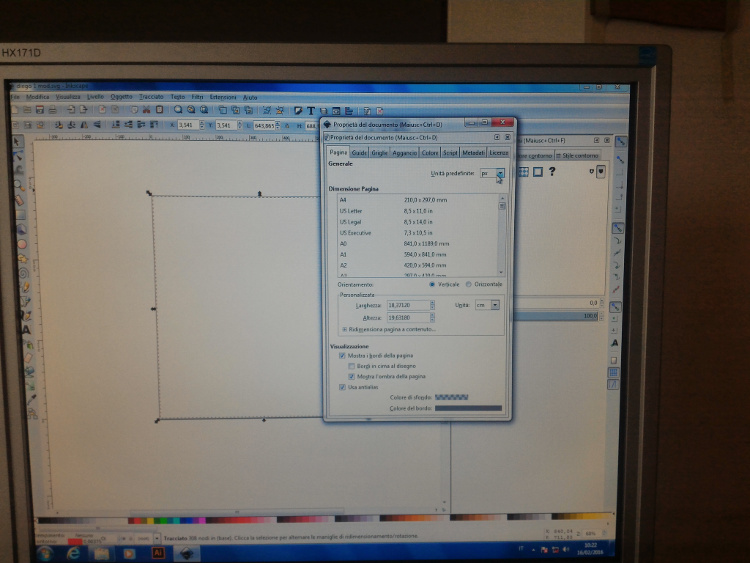
Default unit=mm (Width=183, height=196)
Then I put a margin of content on all sides of the page so the laser doesn't skip any line.
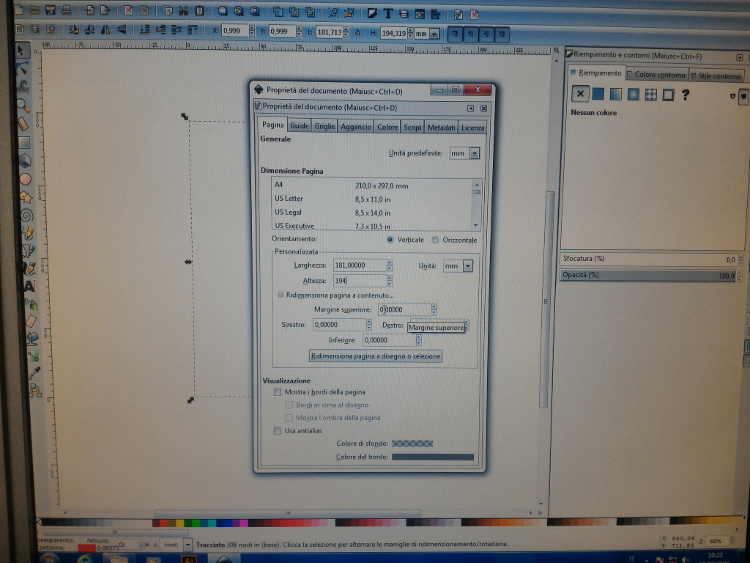
Resize page to content=2mm (top margin, bottom, left, right).
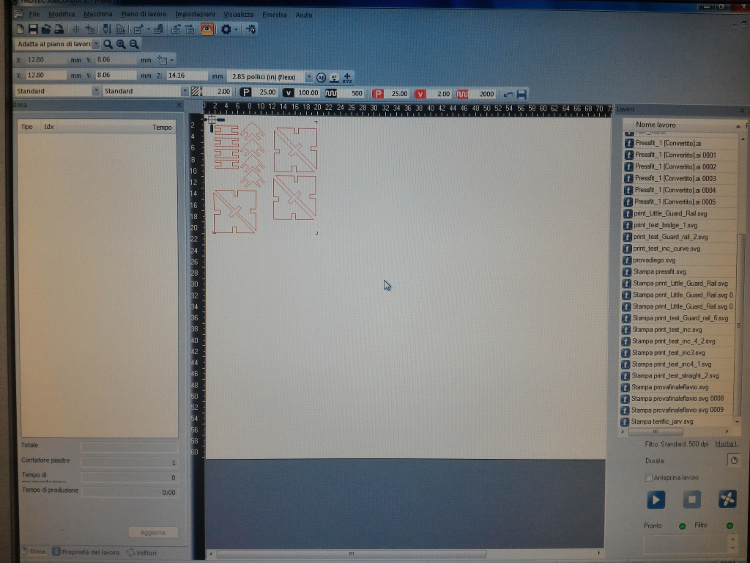
Finally done with changing the parameters and saving the file, it was time to send the file to "print" in the laser machine, here I also have to set the dimensions of width and height for the drawing size and finally send the file to the laser software JobControl®.
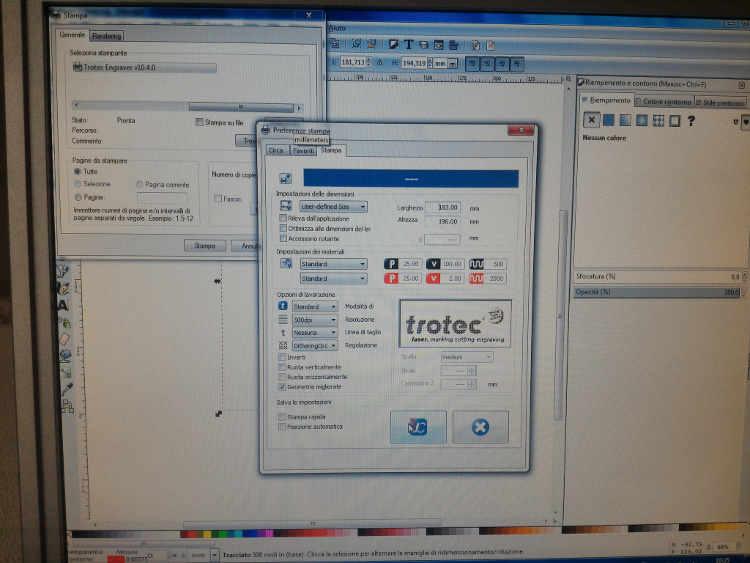
Same dimension as before.
After that, it wasn't that difficult to get things running with the machine.
Placing the drawing in the laser cutter working space.
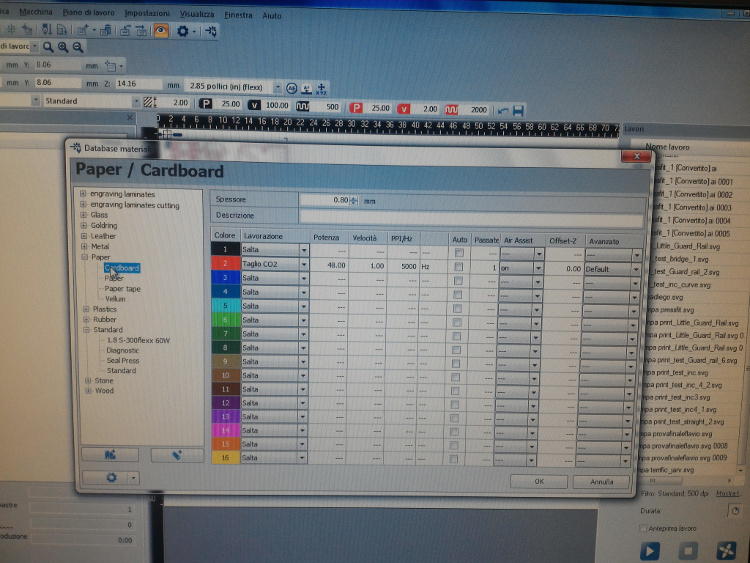
I also applied the same settings to minimize the kerf (Power=48% and Speed=1).
The whole cutting just took about 2 minutes to finish due to the area being really small.
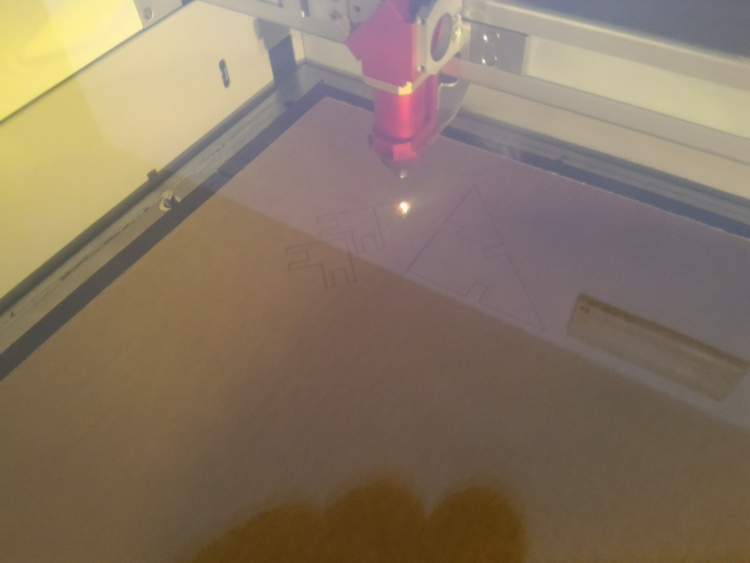
Laser Cutter on progress.
This is how it looked like before separating the pieces from the cardboard.
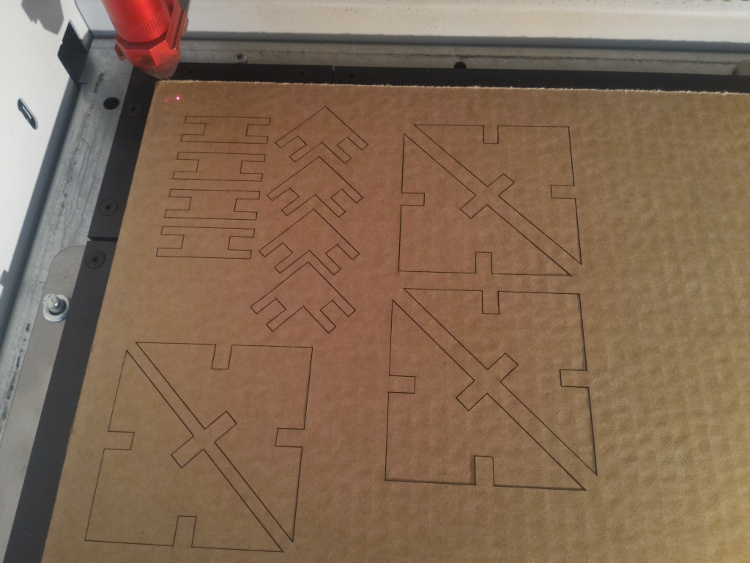
The laser went thru perfectly with the stabilished kerf.
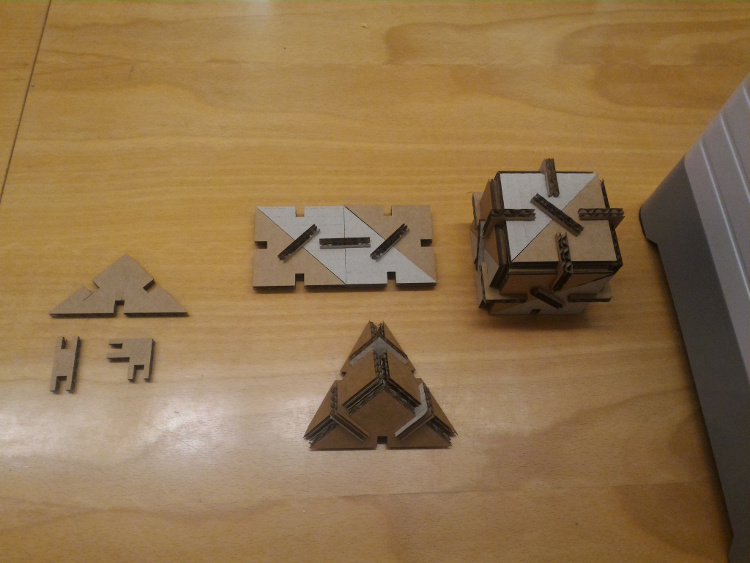
And this is the final result, I was able, as I wrote before, to build a cube and a three-sided pyramid with only a three-element press-fit kit.
Conclusion:
Building a fully parametric design is annoying and I didn't like at all, I do not, at this moment, seen to find any use to introduce or finish my final project. I will try to avoid realizing any parametric designs until the day I can not longer scape from it.