Composites
OverviewLast updated: 11/05/2016
Objective Design and make a 3D mould (~ft2 /300mm²), and produce a fibre composite part in it. Learning outcomes 1.Recognise the benefits and limitations of 3 axis machining; 2.Demonstrate workflows used in mould design and construction; 3.Select and apply suitable materials and processes to create a composite part. Have I... Shown how I made the mould and created the composite? Outlined problems and how I fixed them? Included original design files and and ‘hero shot’ photos of the mould and the final part? Summary During the composites week I built the model of a Ferrari 250GTO laminating resin and flax.Introduction Since I did not want to spend too much time thinking about what to build, I quickly made up my mind with manifacturing a car model. On GrabaCad I found these files for a Ferrari 250GTO, a beautiful piece of Italian car design. I took the file Ferrari250GTO.SLDPRT, converted it in .STL and resized so that the lenght was of 50 cm.
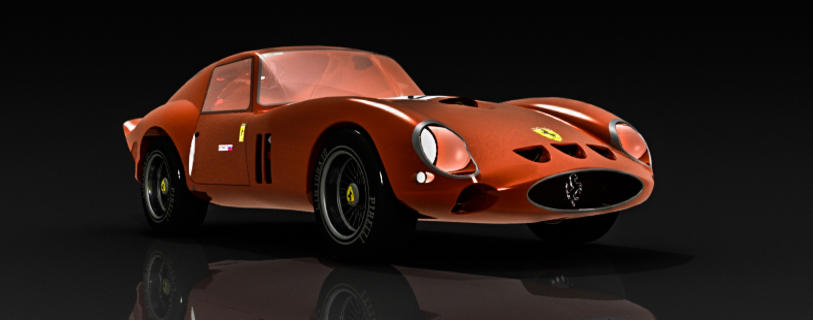
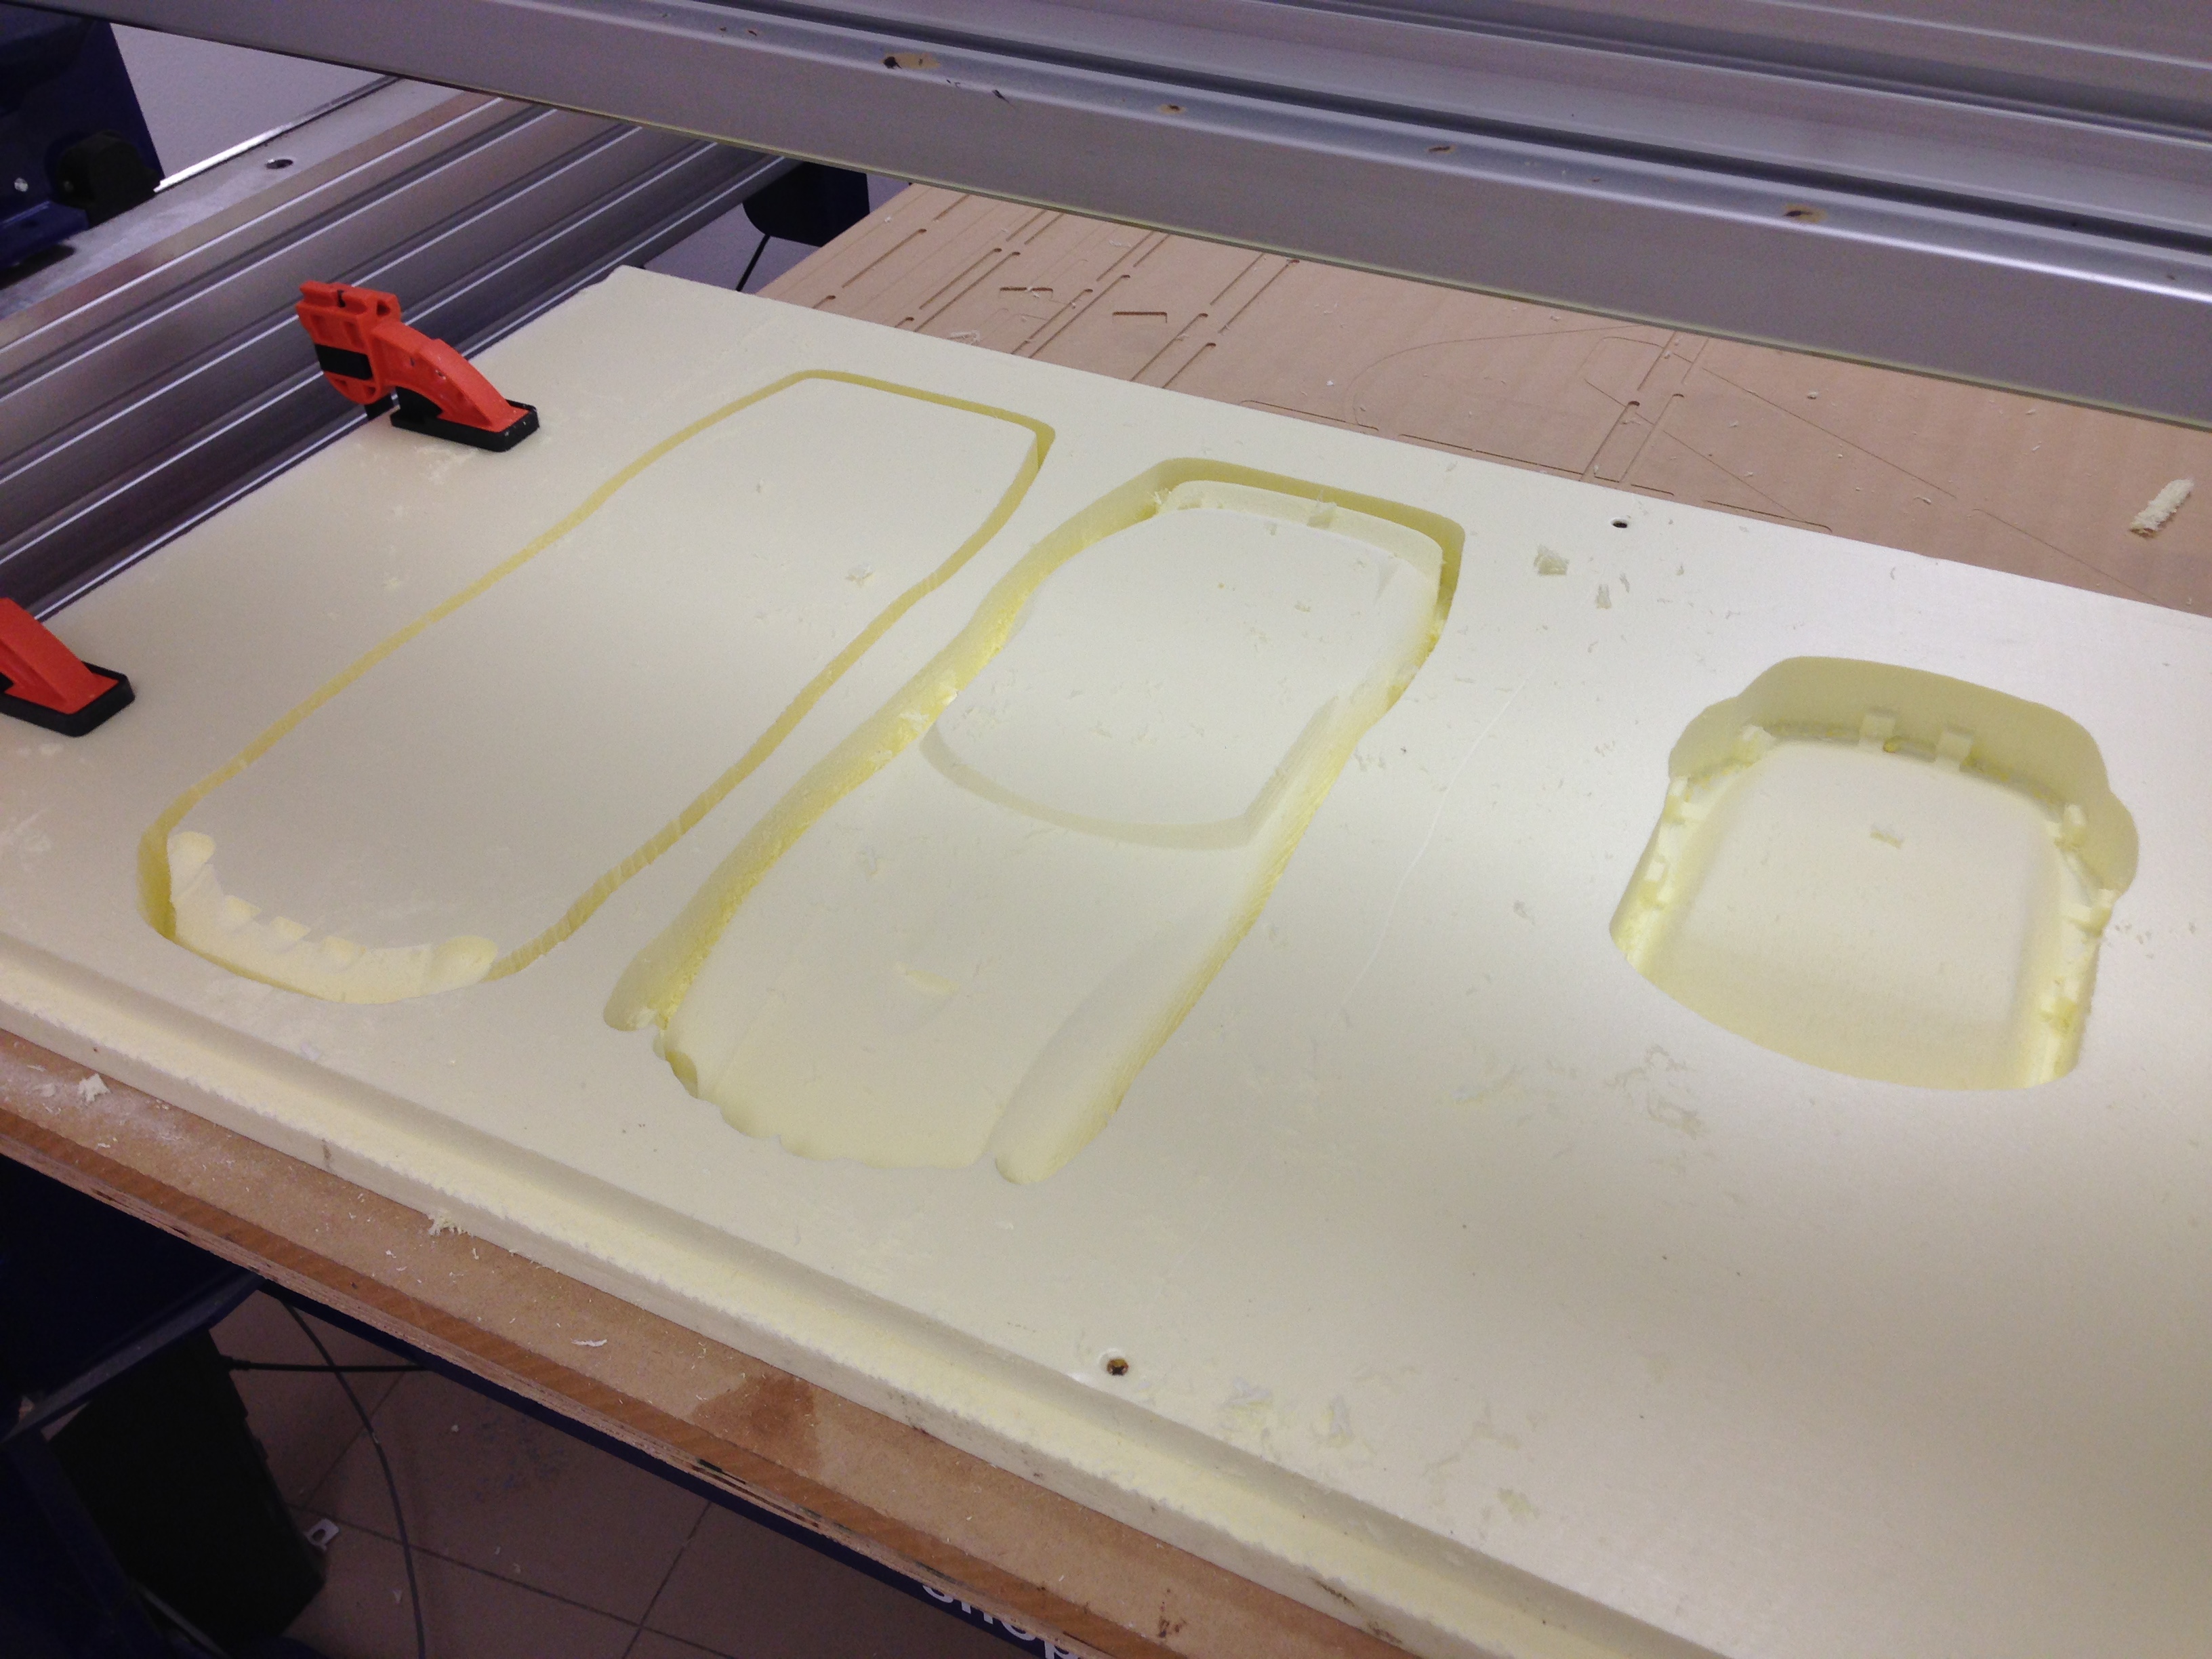
Cut3D I used Cut3D to do the slicing first, since we were using 40mm thick poliurethane boards. It was the first time that I was using the shopbot to make stacked objects. after making a quick test with Matteo on a small object, we realised that it was vital to actually have enough material in the last layer, since few millimeters can easily fly away. I opened the model in Cut3D [1] and I sliced it in three pieces, as shown in the picture below.
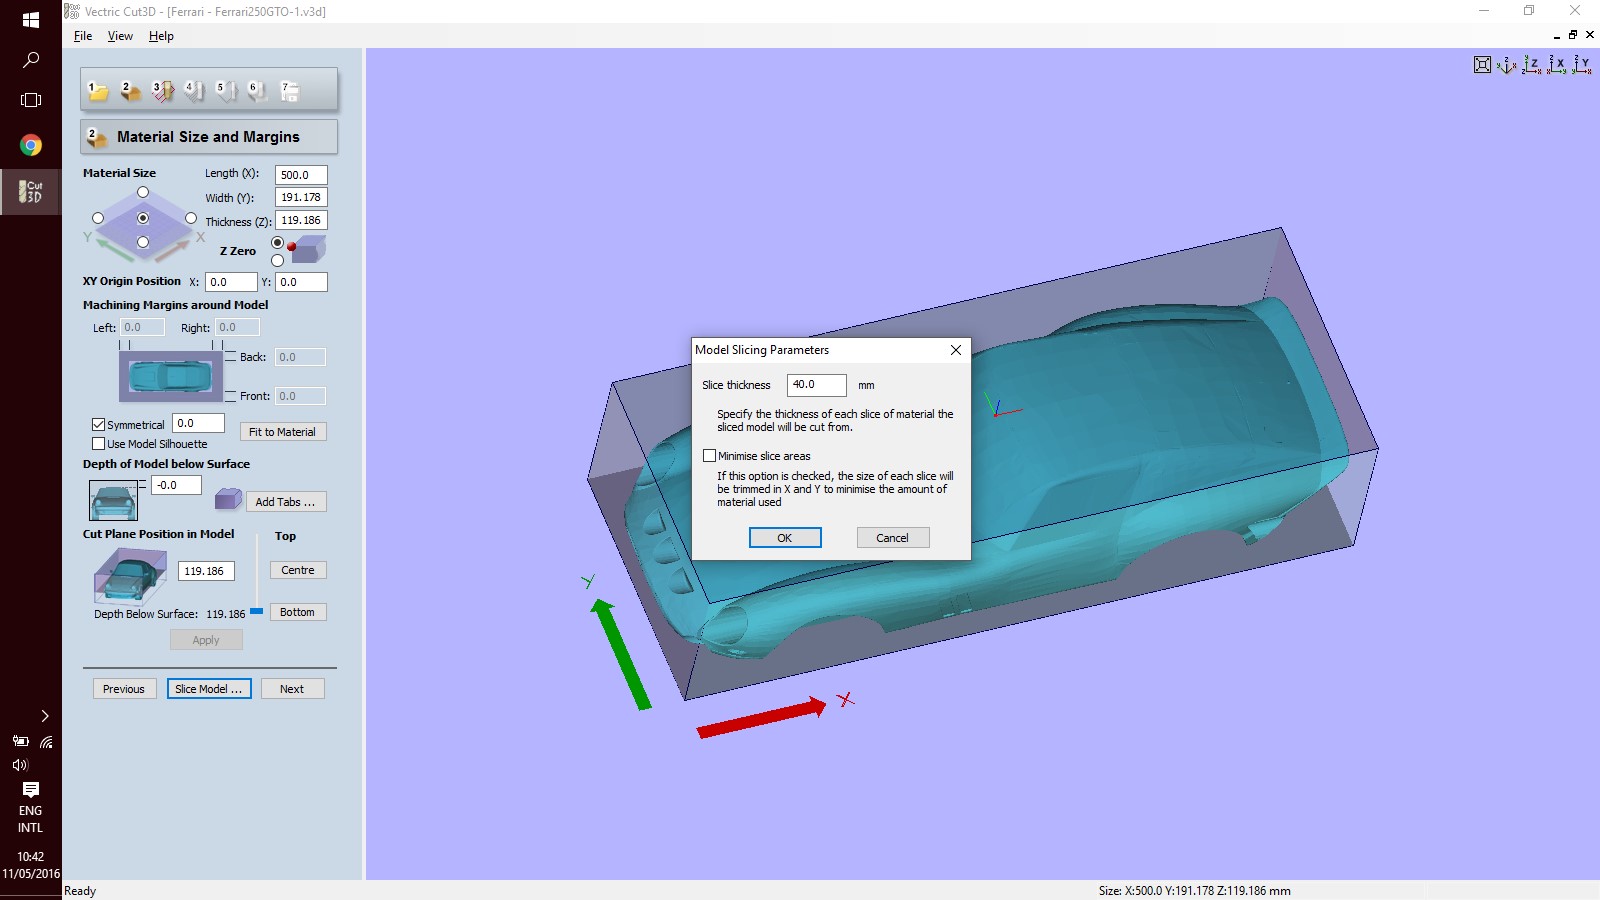 It follows the process that I went through for preparing the cutting files. I will show it for the bottom layer only, the rest was prepare in with the same settings. After I set the material and cutting box size, I added tabs. There is no automated tabs generator in Cut3D and you have to do it manually. I set the tabs 10mm wide and 3mm thick.
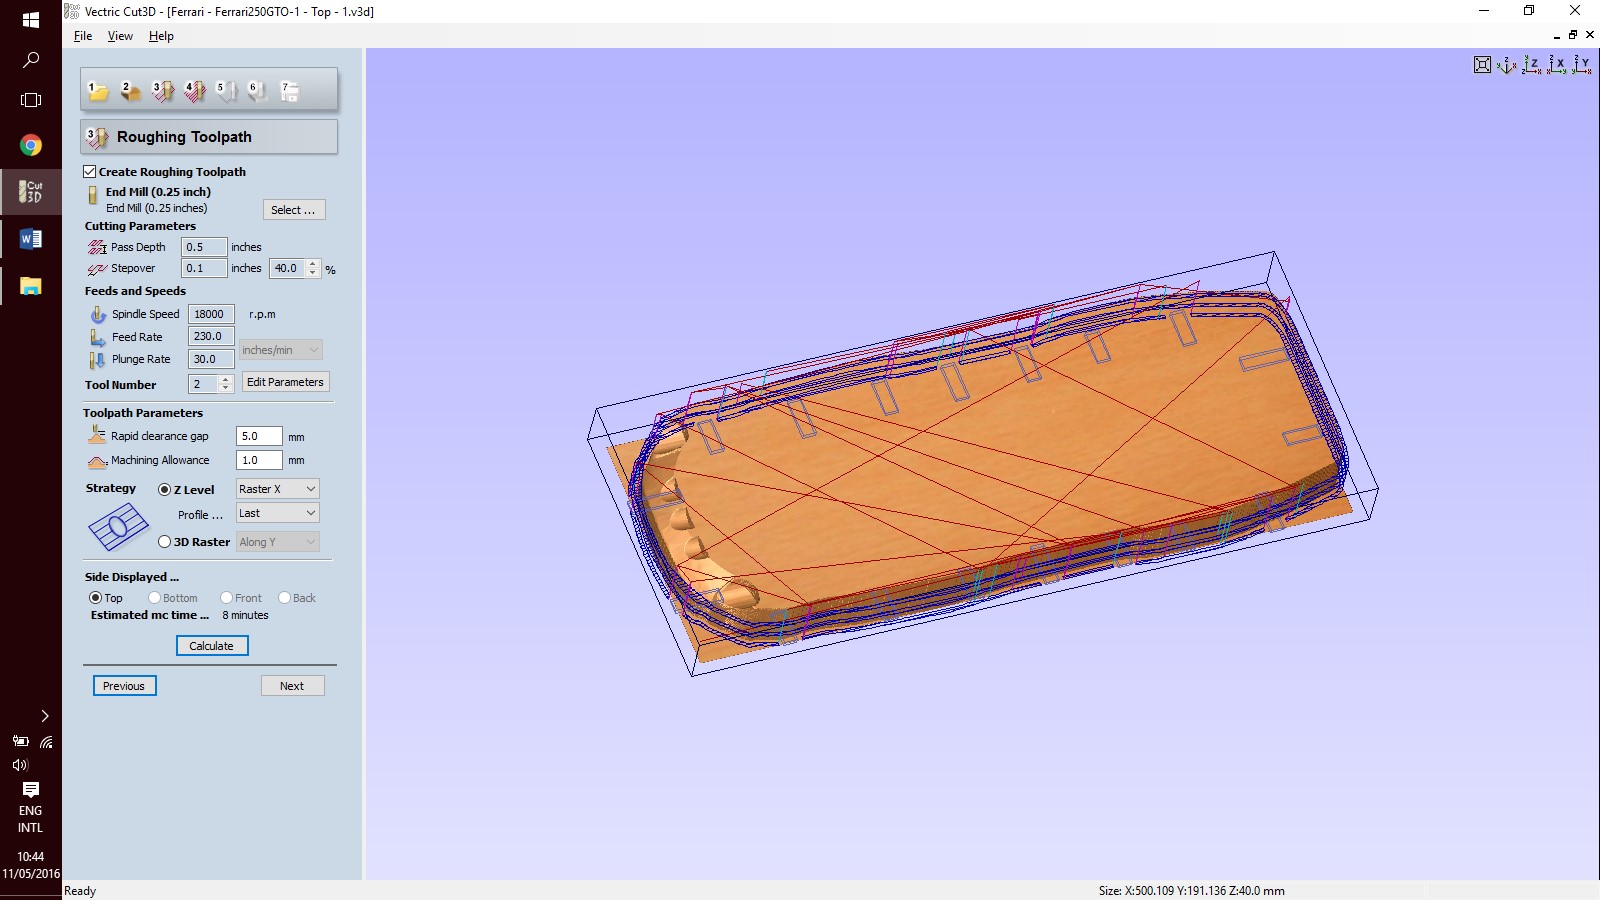
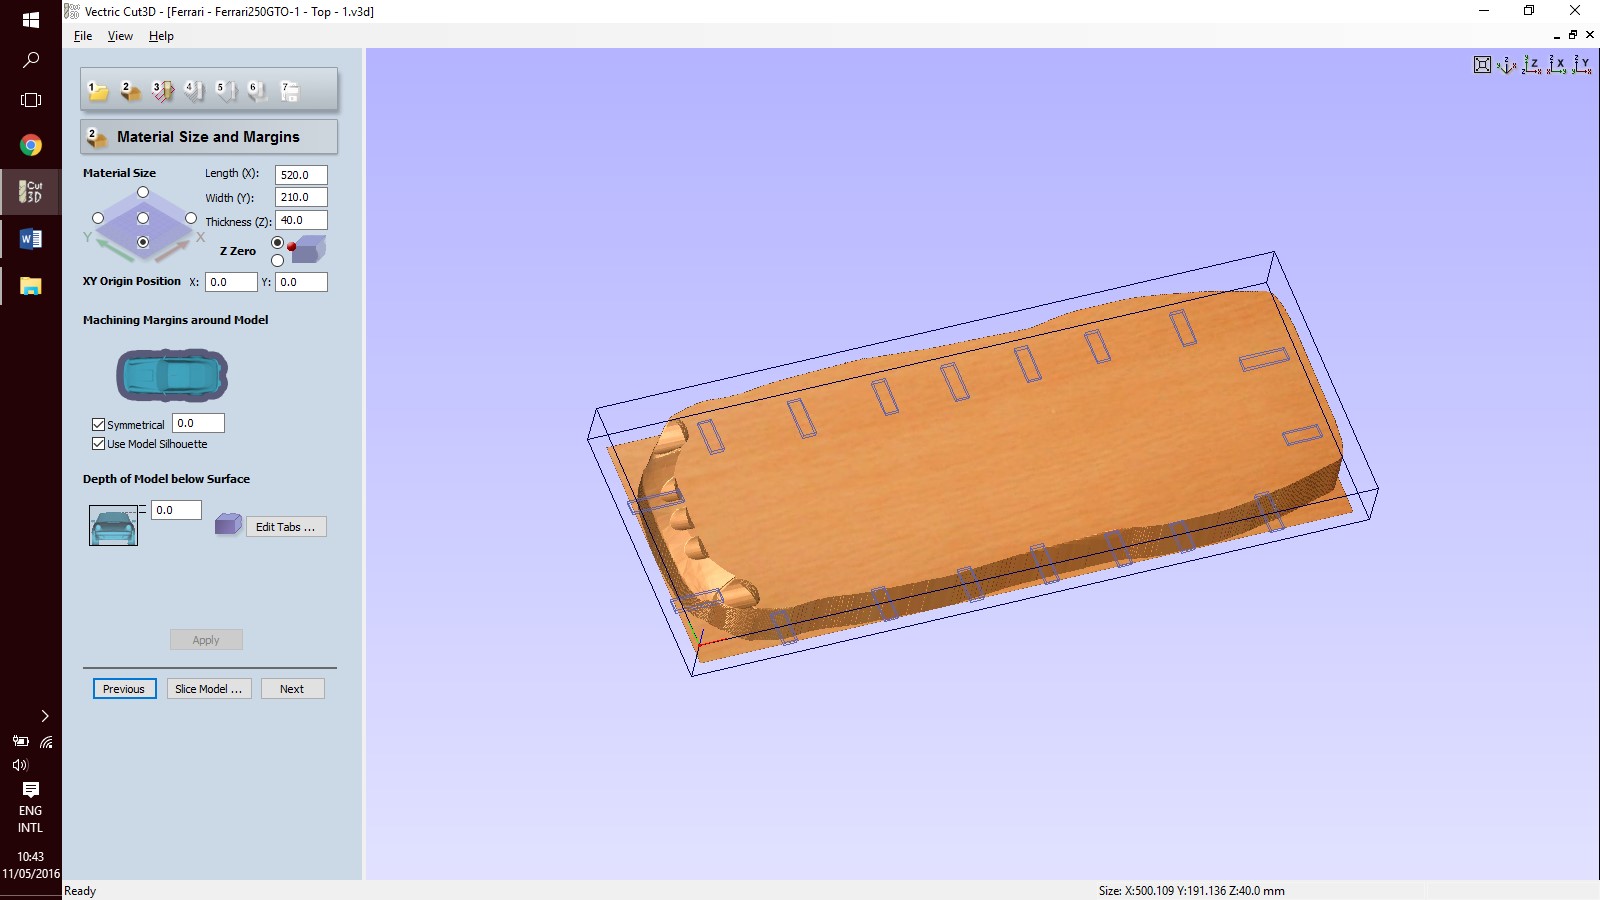 The rough cutting was made with the 1/4 inches straight bit. After we did some testings, we realised that we could easily machine at 230 inches/min and with a pass depth of at most 2 1/2 inches.
 These are the settings for the rough cutting, were I boosted the stepover to 40% in order to speed up the process.
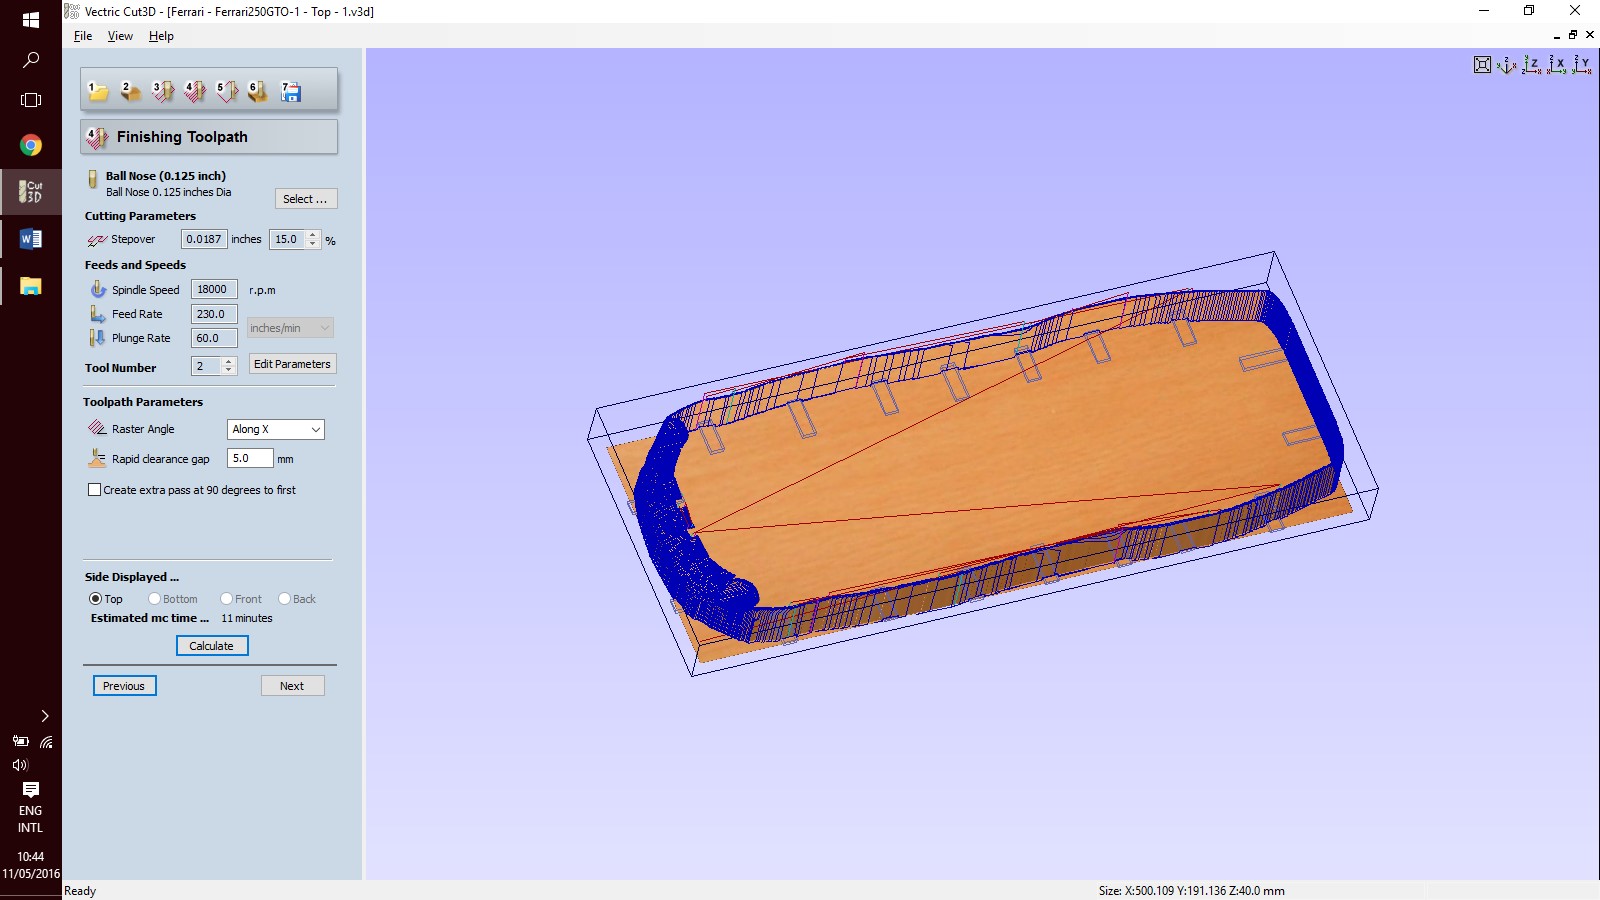
 These are the settings for the finish.
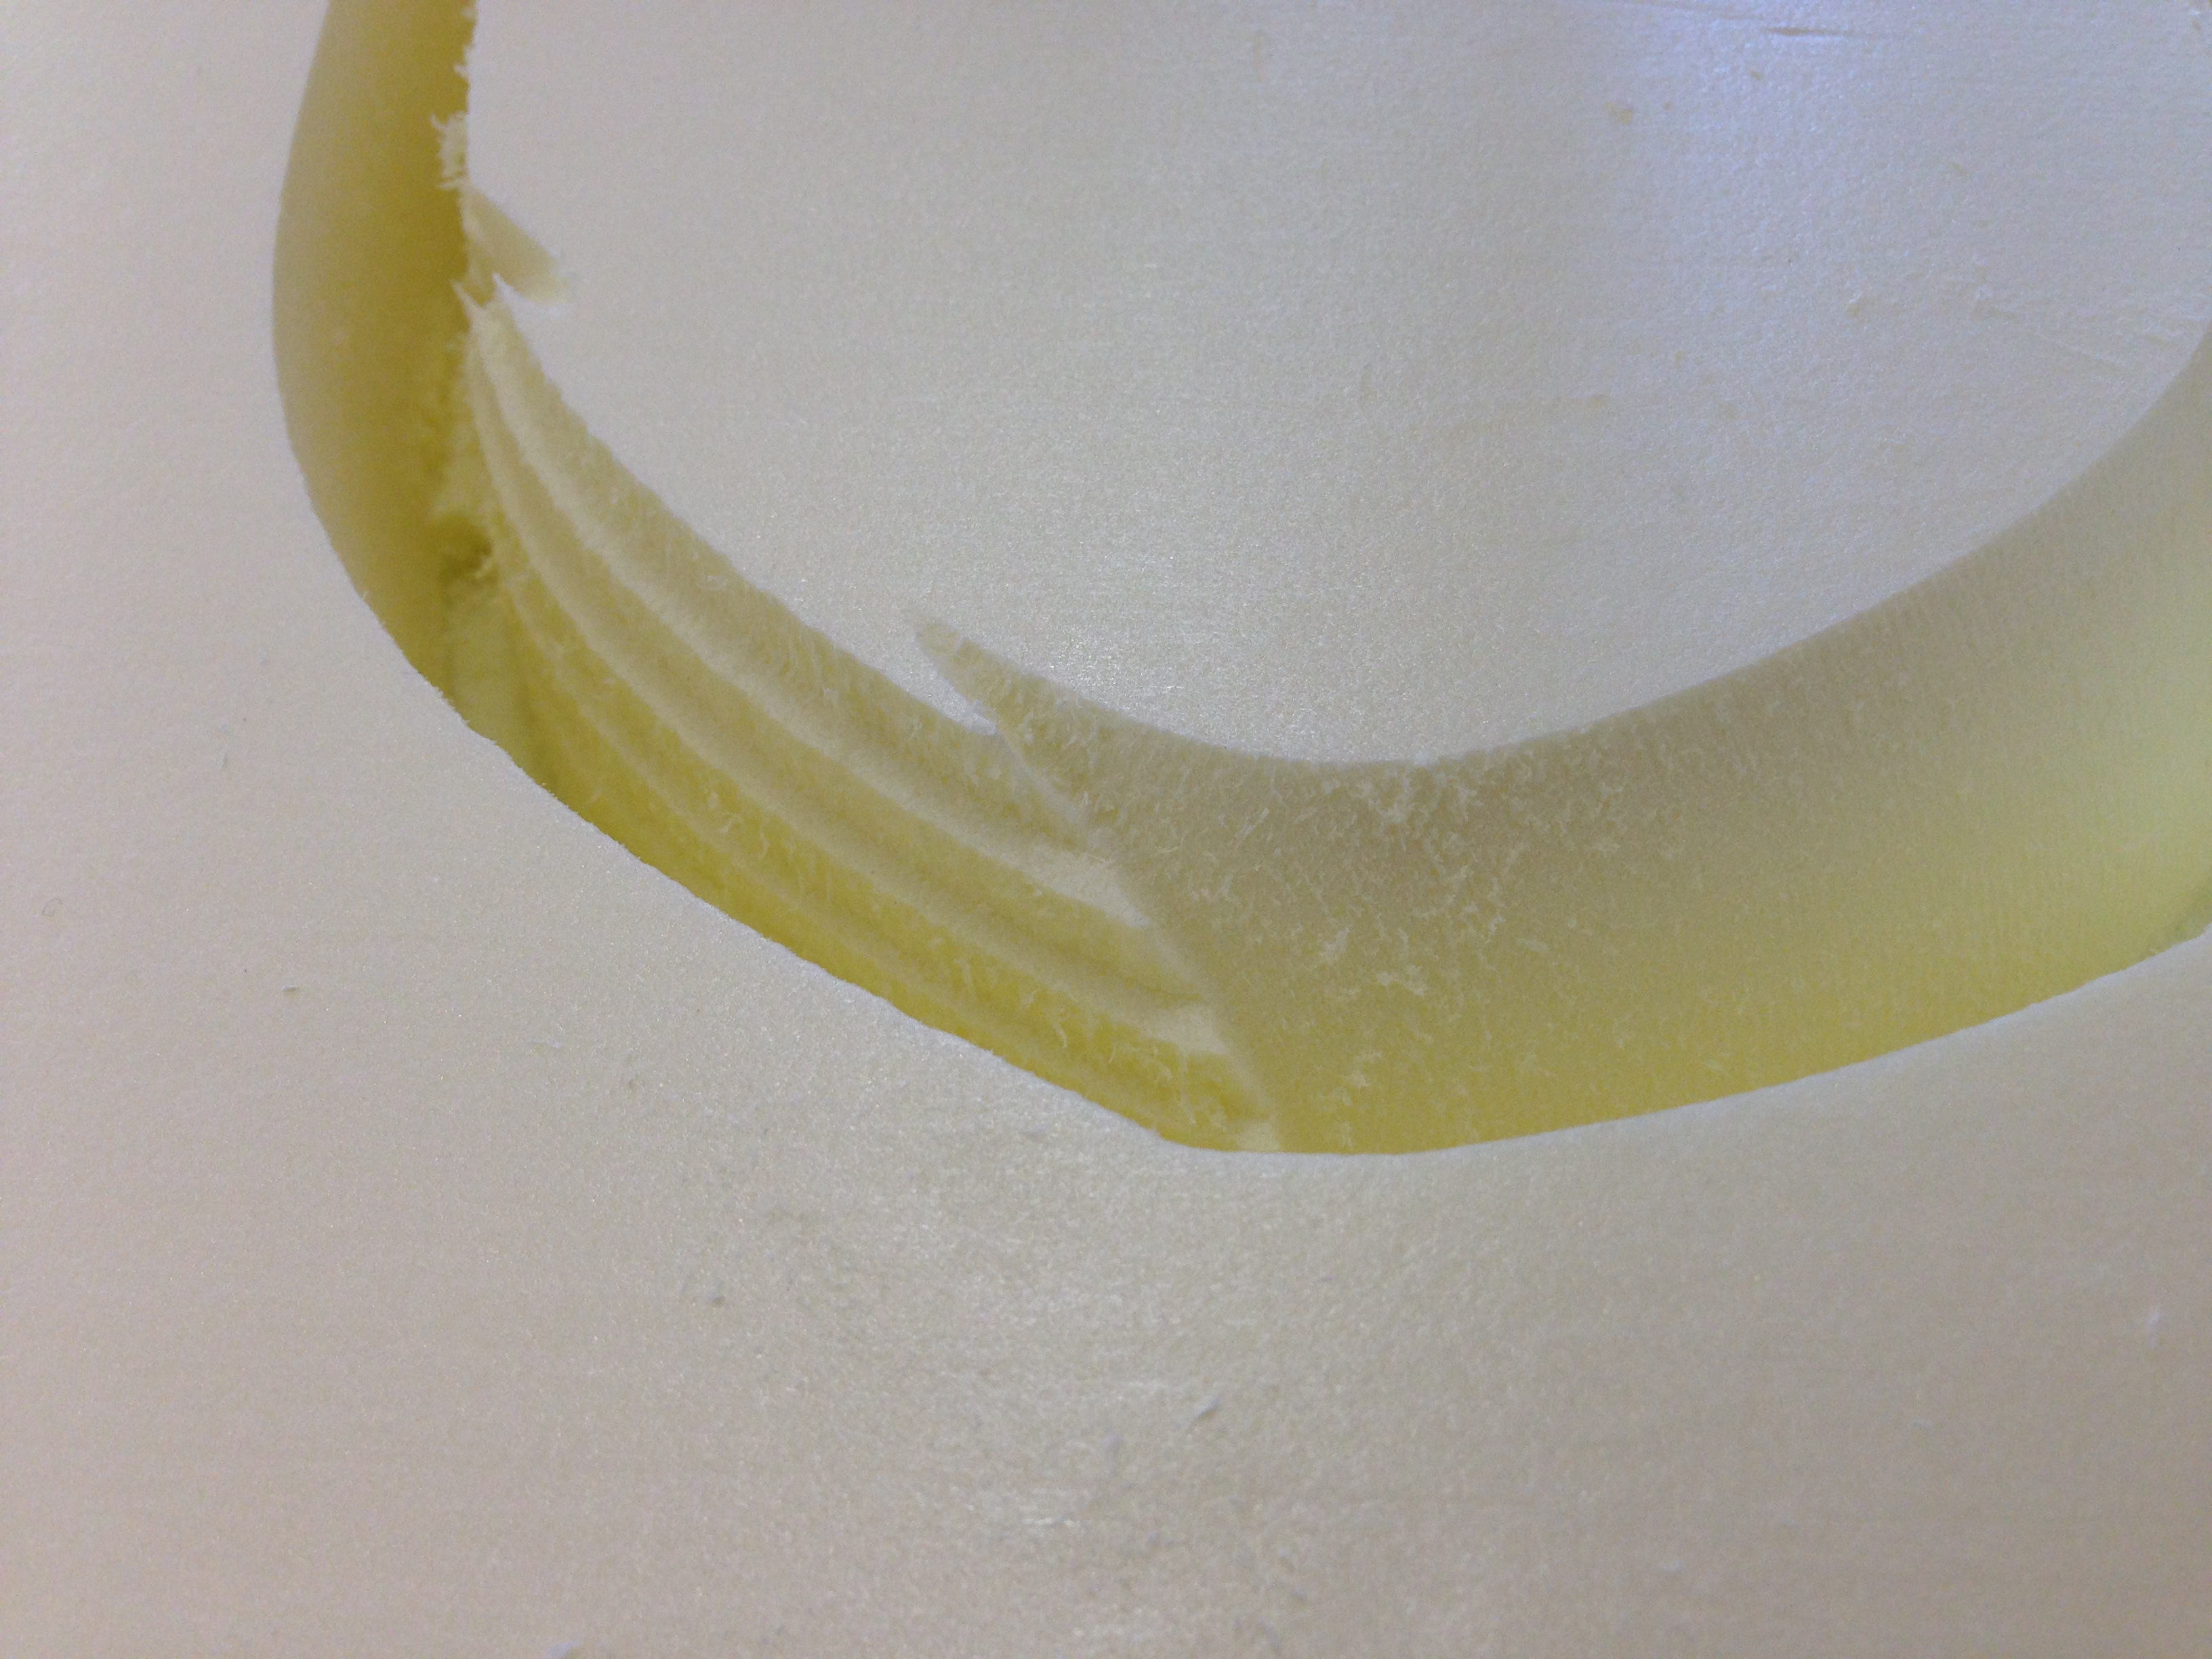
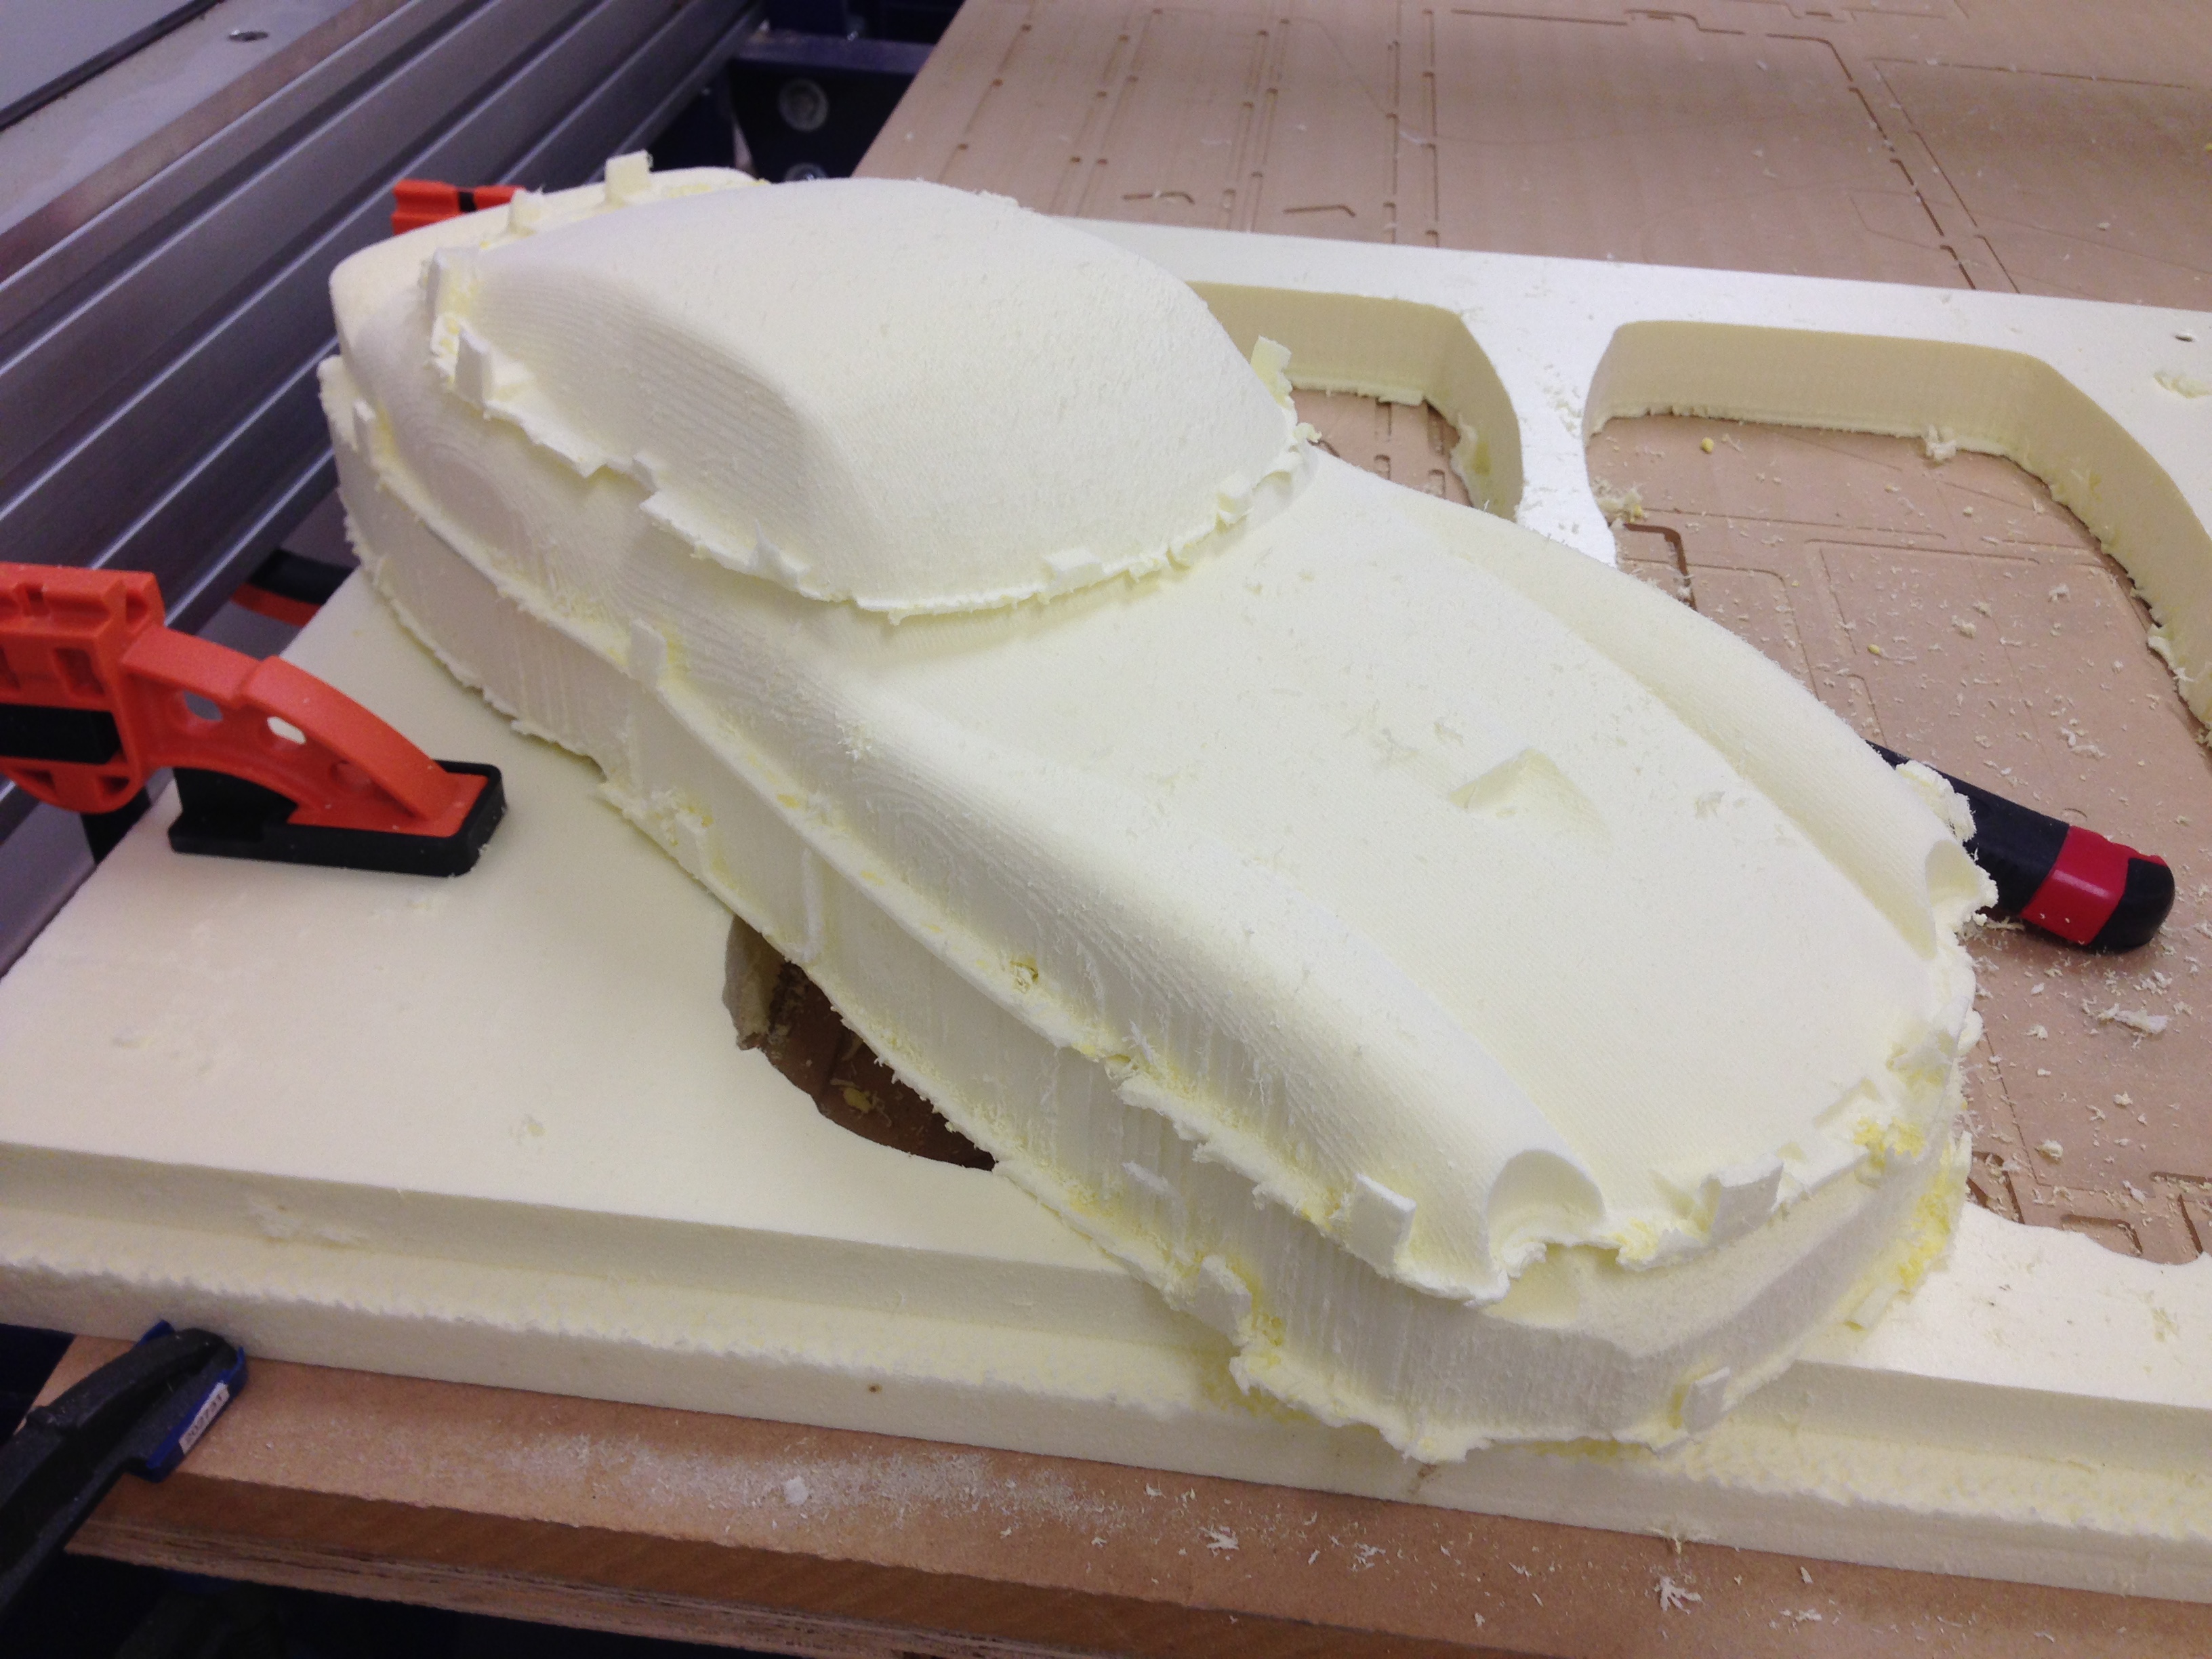
Machining Machining was quite smooth and the main details all came out nicely. Of course I knew I had to do the overhangs by hand. The tabs held pretty well and nothing flew away.
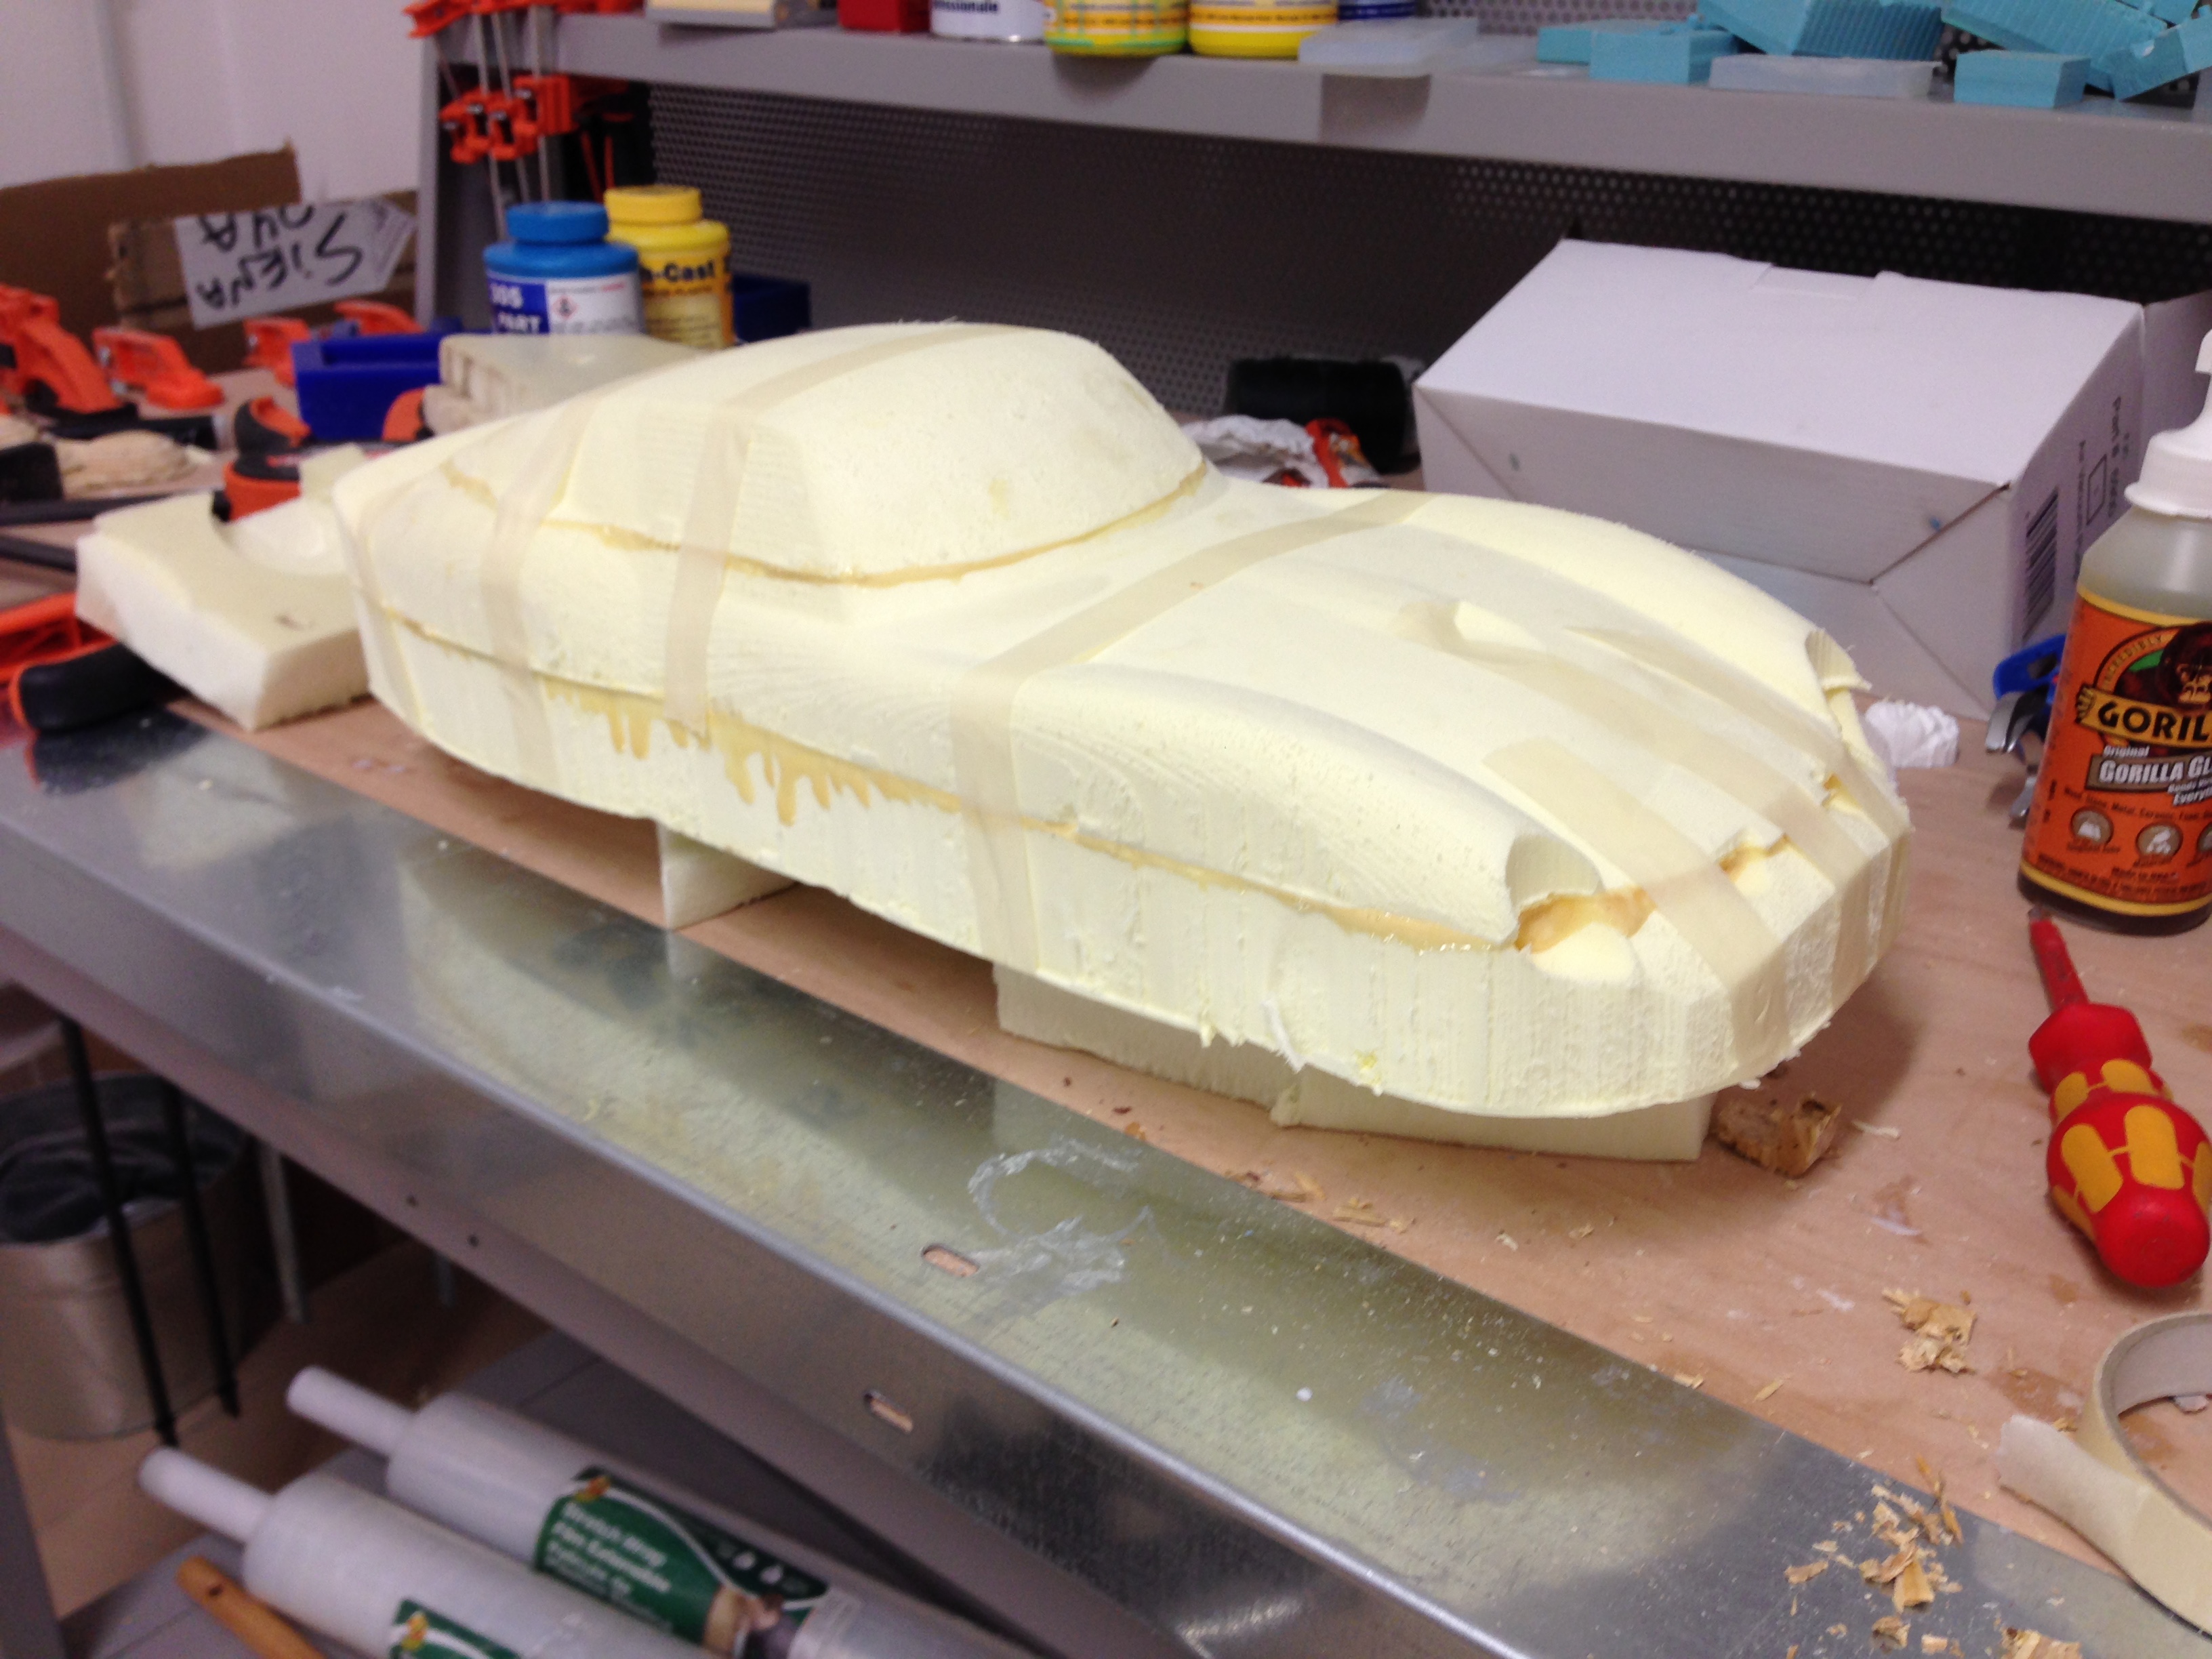
 After that I glued the pieces with the Gorilla glue, that was actually a bit of a mistake. Gorilla glue expands quite significantly when drying. Nonetheless, I first gently clamped everything to let the excess come out and then I held everything in place with some paper tape, as shown with the picture on the left. Then I started sending with 180 and 220 grain paper.
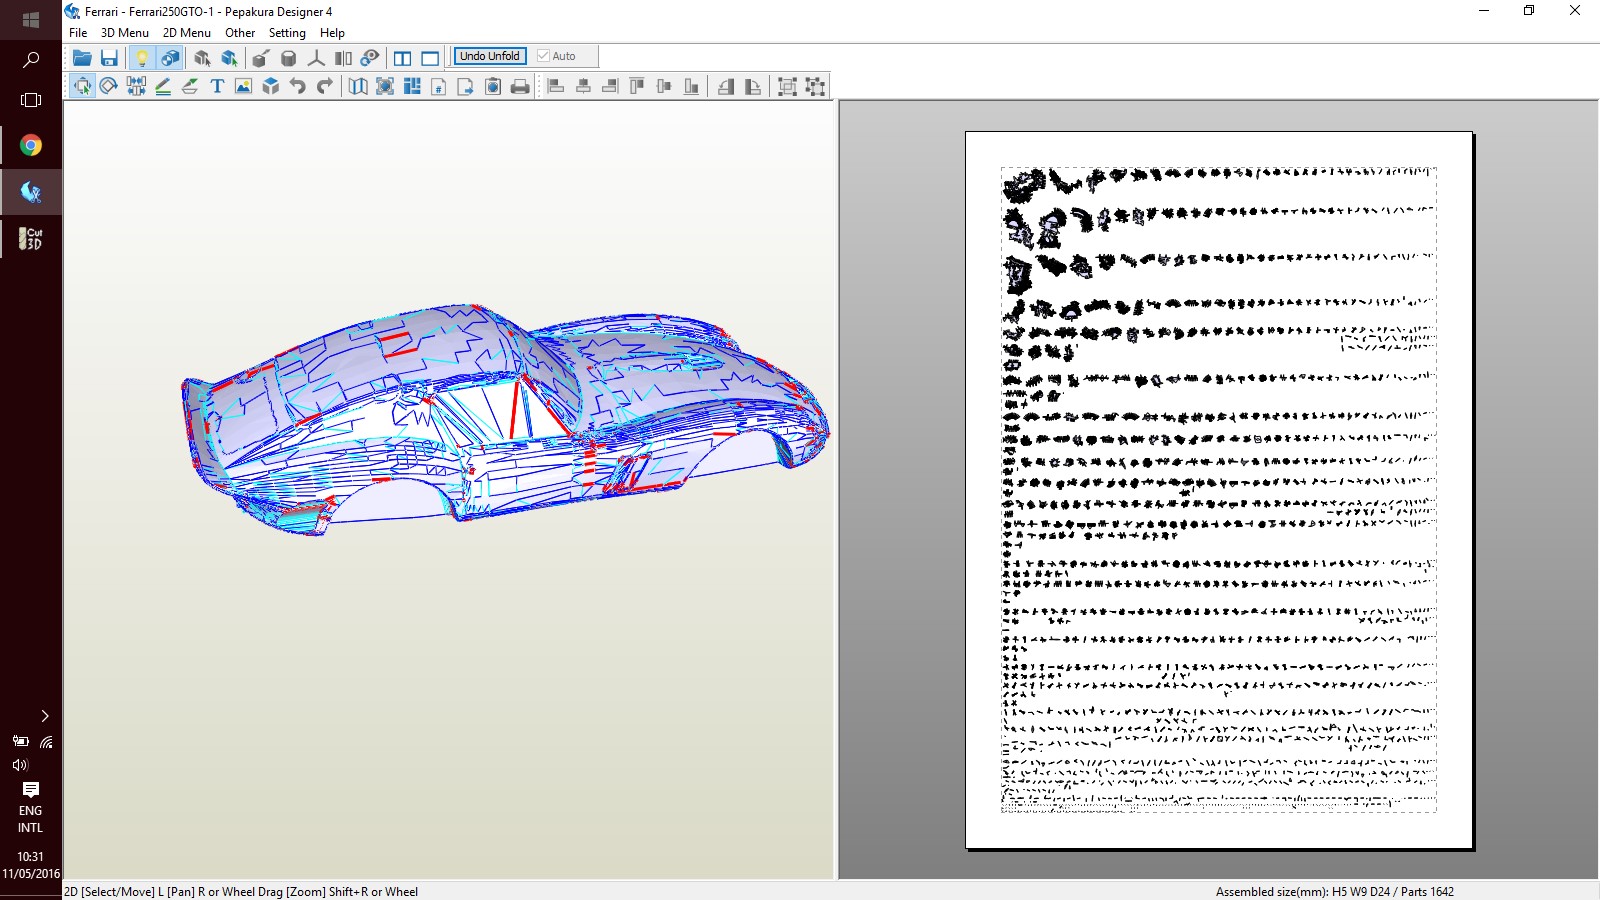
Laminating My composite was to be made out of flax and epoxy resin. I wanted to cut the fiber on size, flattening the 3D image. In the first attempt I used the free tool Pepakura. I load the .STL file but unfortunately it had too many edges and the software did not give me a clean drawing, as shown in the picture below.
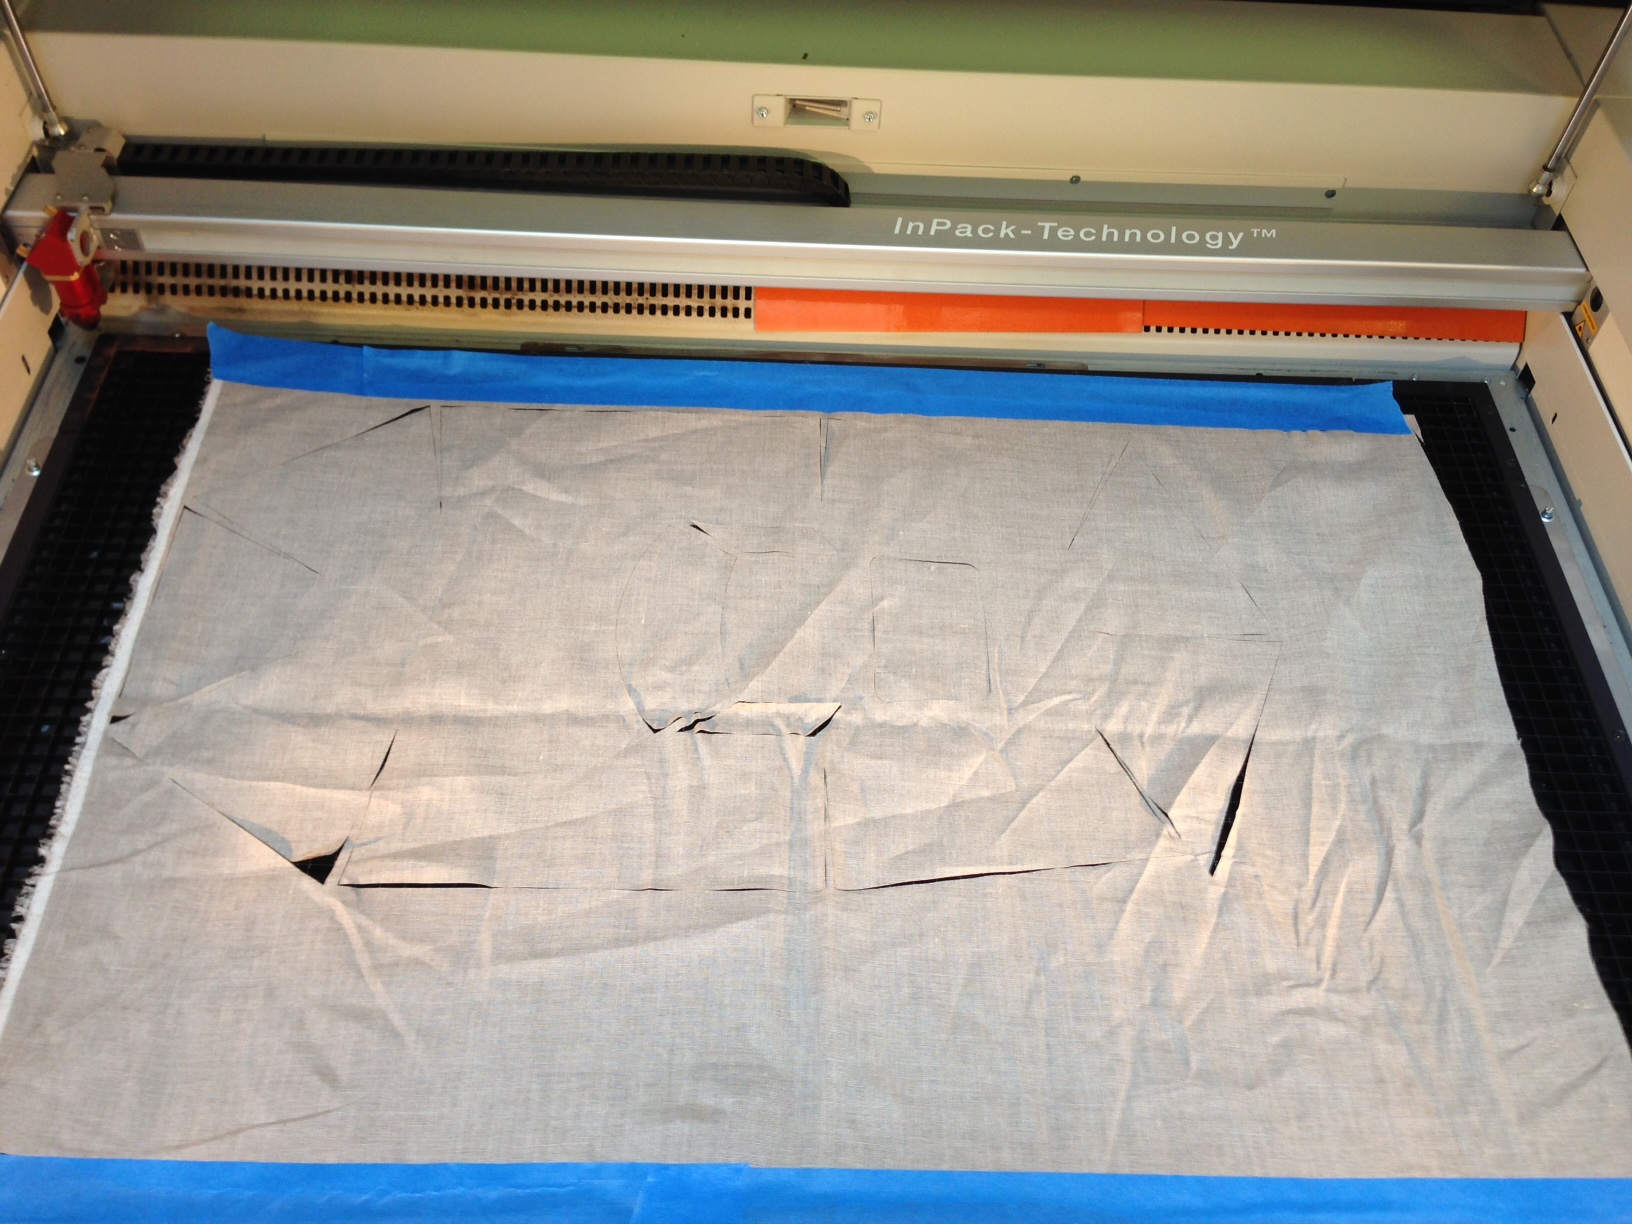
 I therefore decided to do it a bit more empirically [2]. I took the top view of the SolidWorks file and I worked it out. I the refined it by hand. I lasered the flax with the Trotec Speedy400, using the following settings:
.power 40
.speed 5
.PPI 2000
I therefore decided to do it a bit more empirically [2]. I took the top view of the SolidWorks file and I worked it out. I the refined it by hand. I lasered the flax with the Trotec Speedy400, using the following settings:
.power 40
.speed 5
.PPI 2000
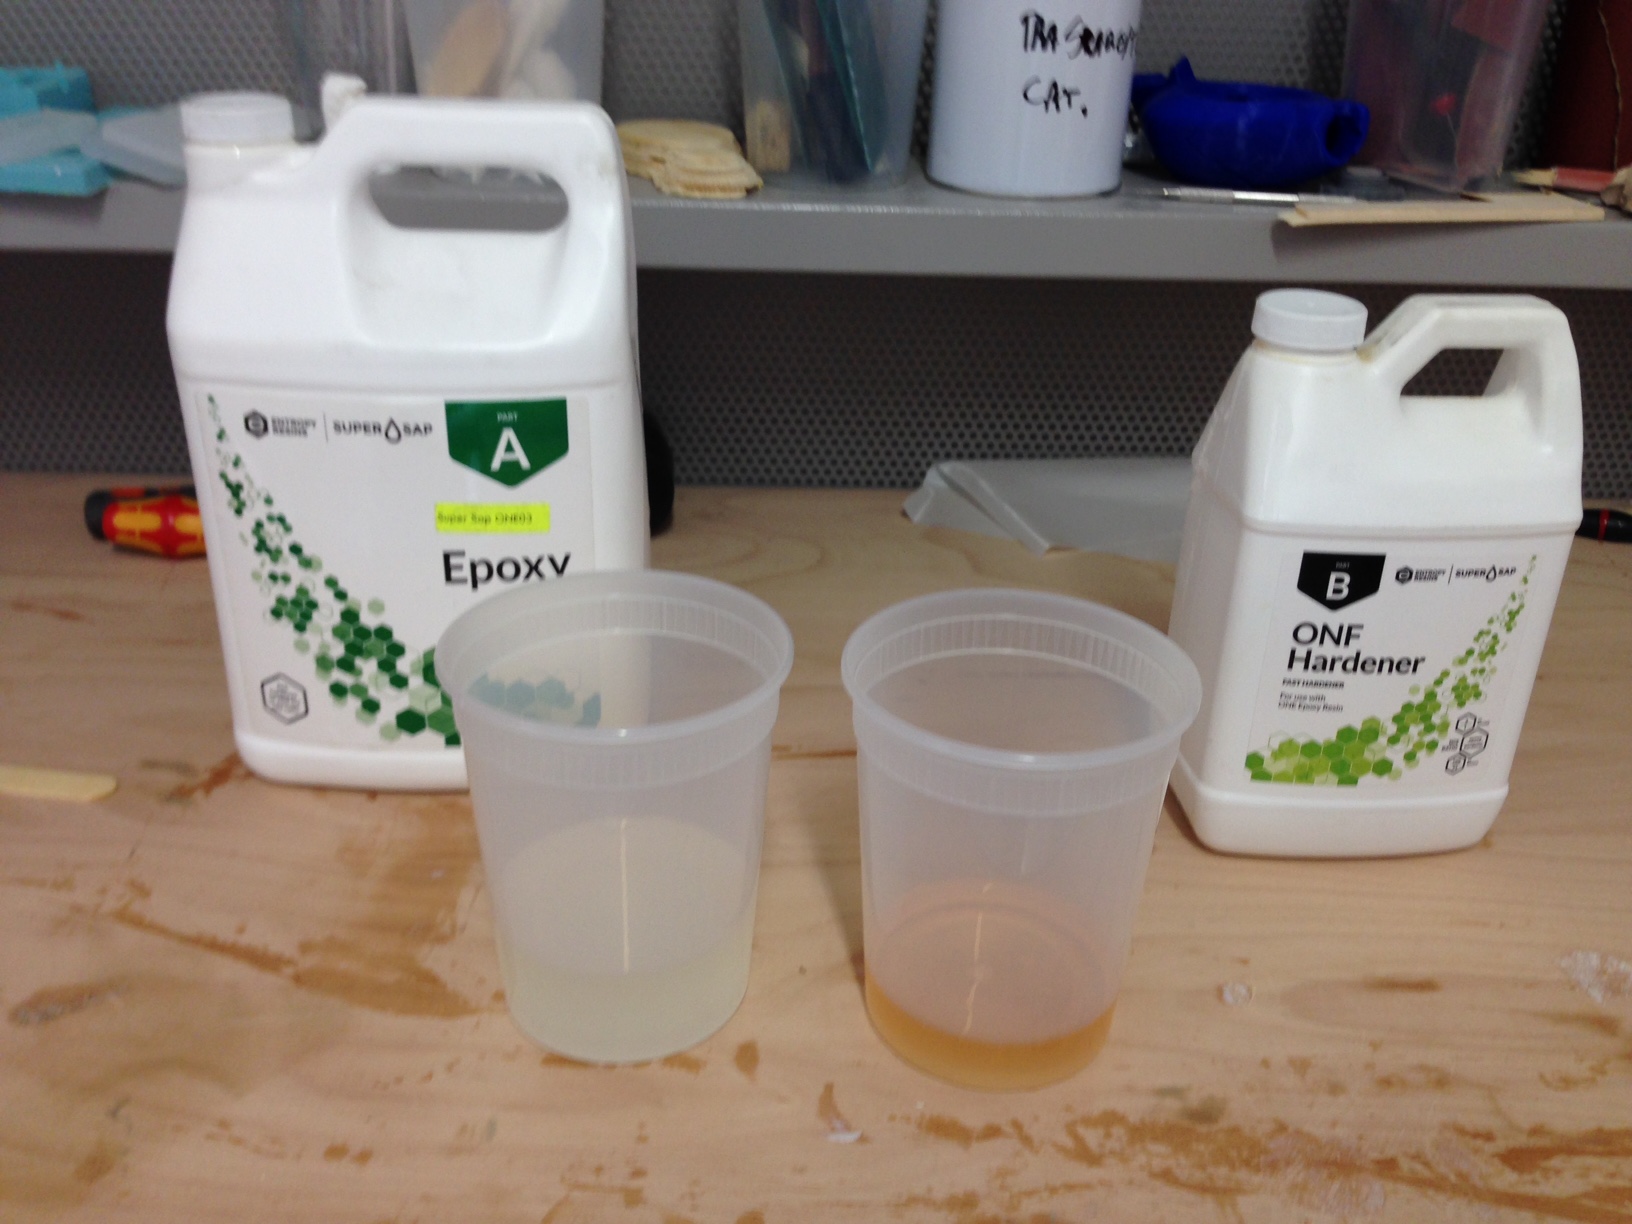
 Then I prepared the resin. The volume ratio is 2 parts of resin and 1 part of hardener.
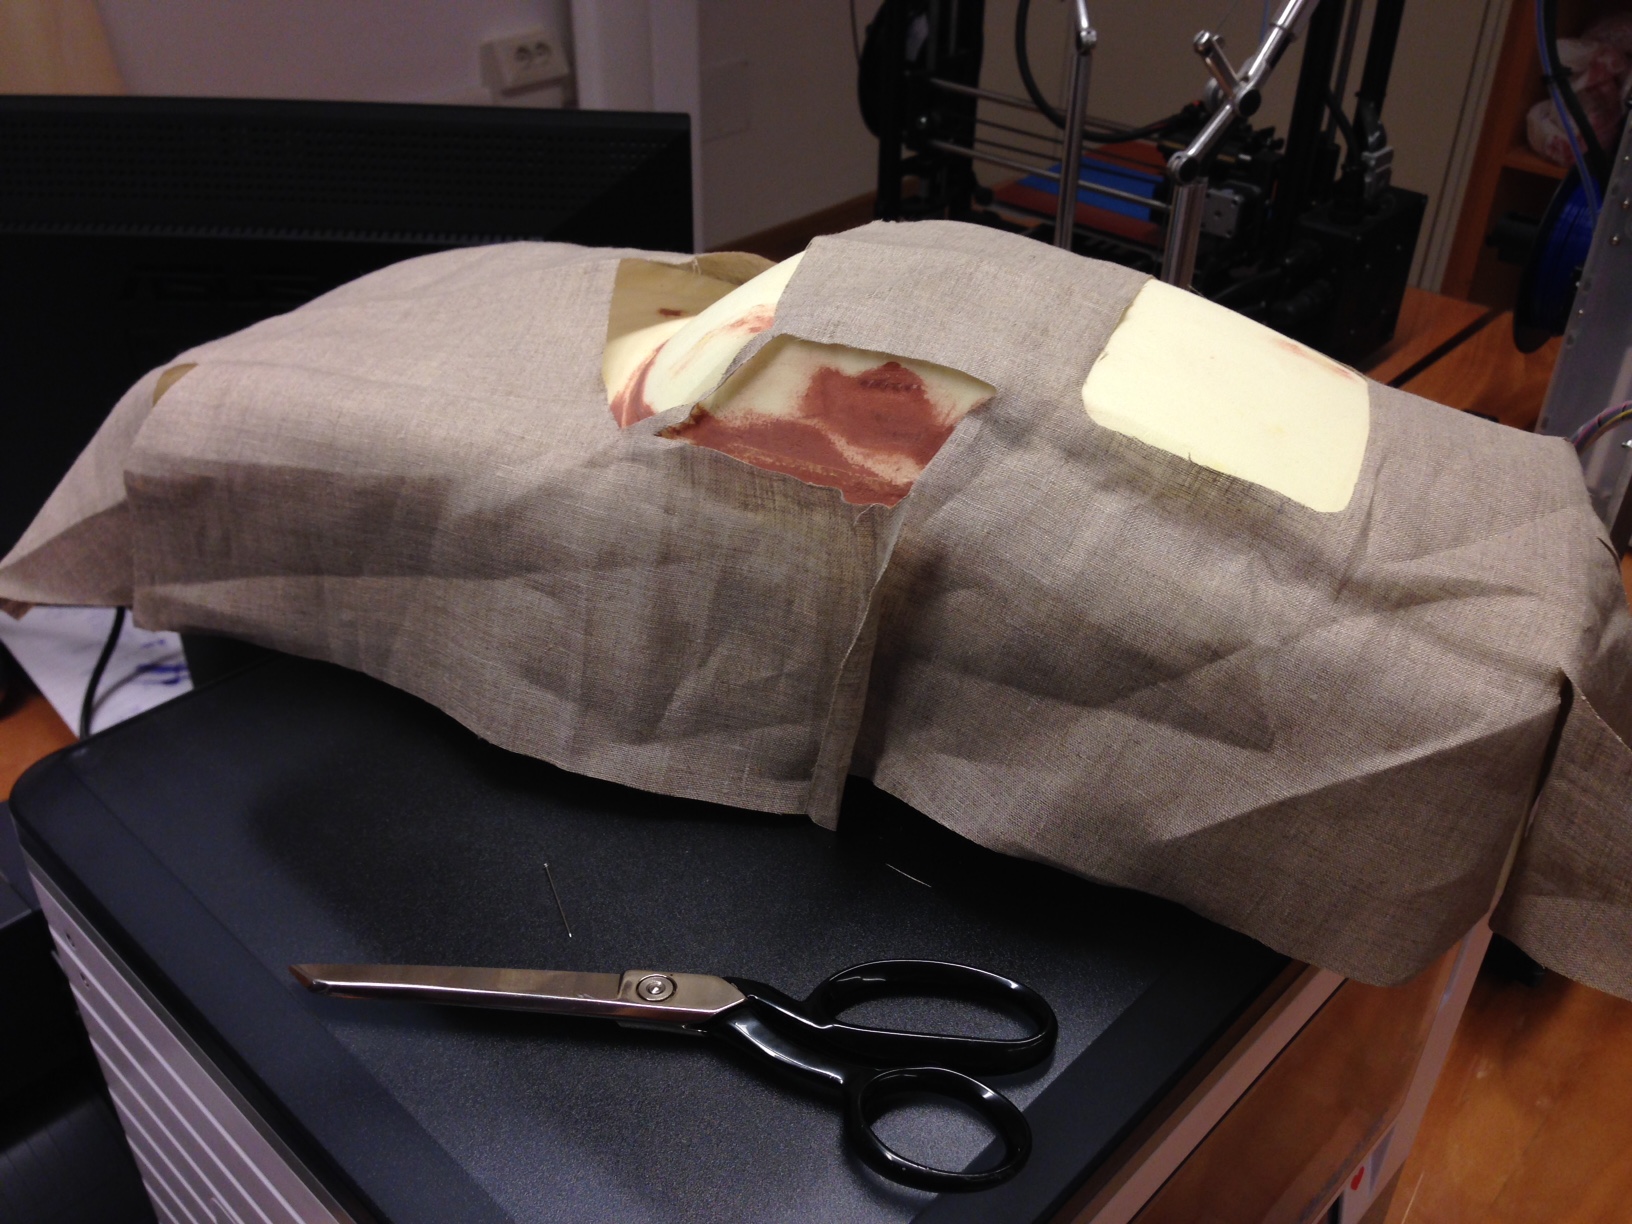
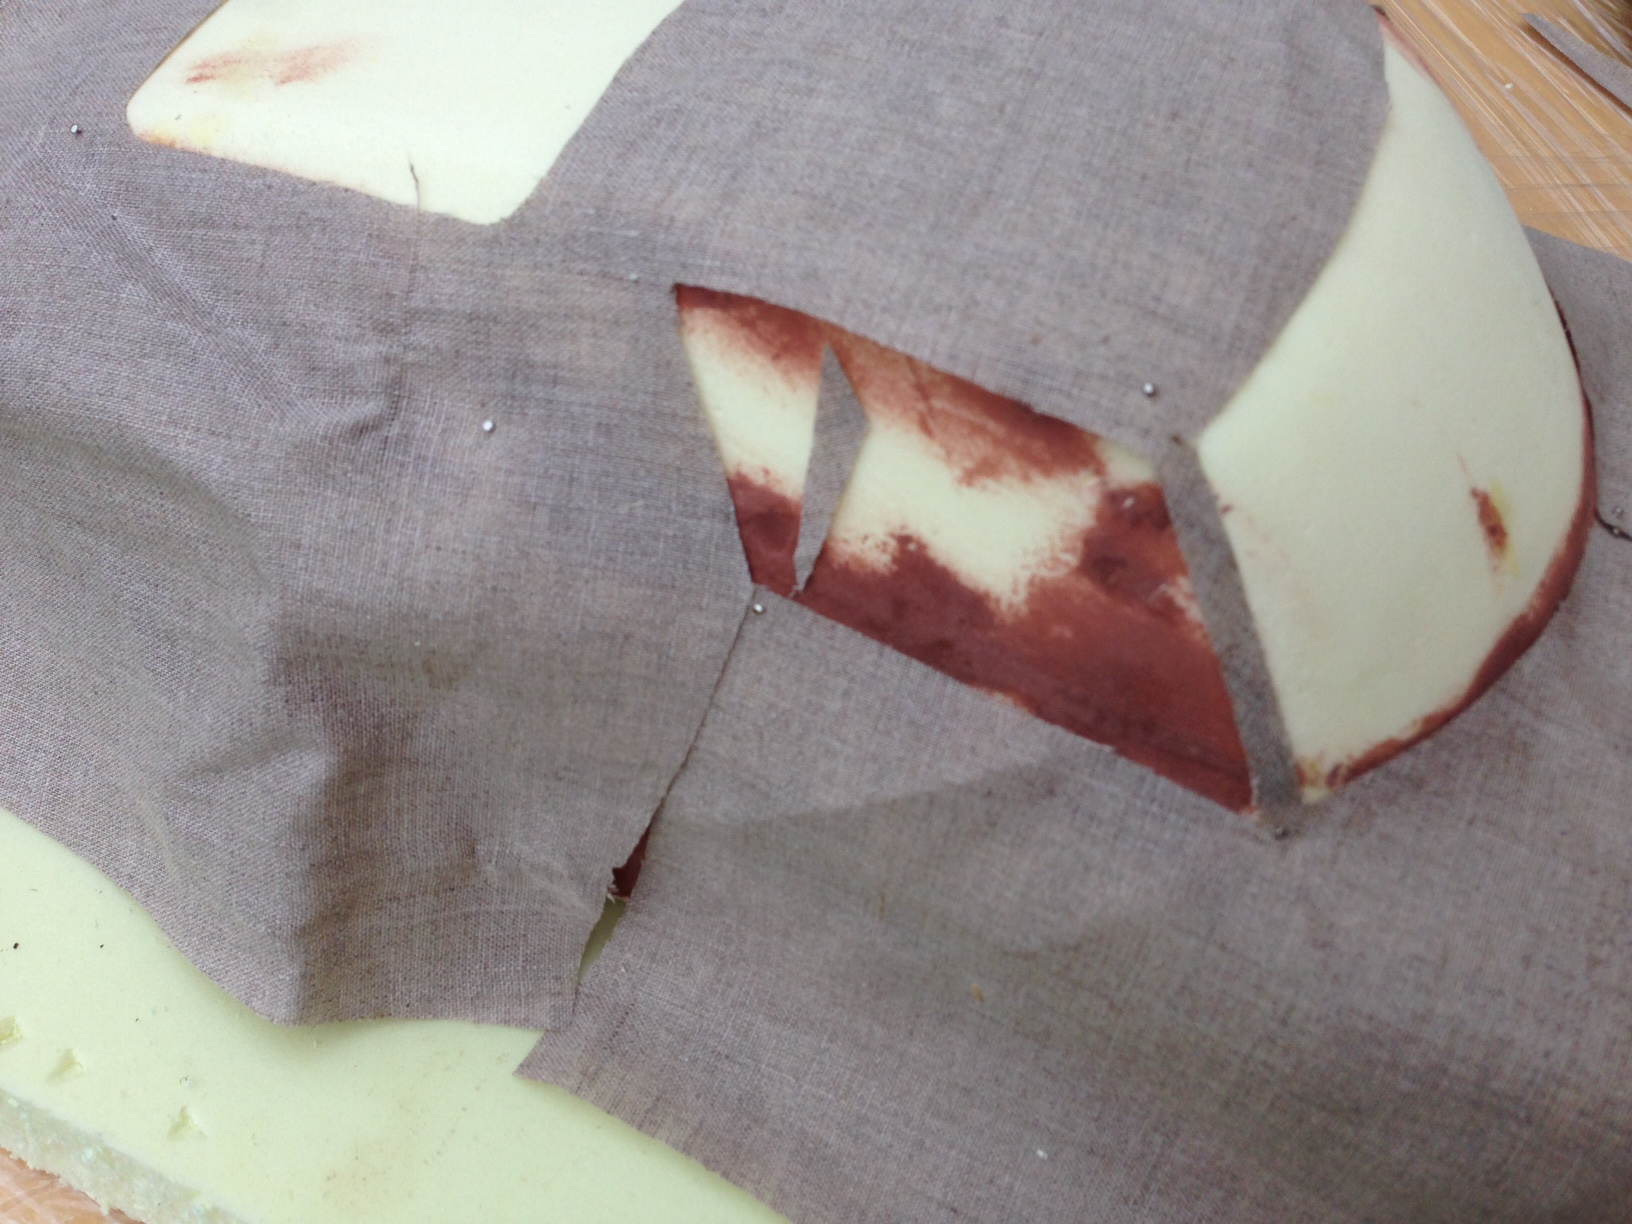
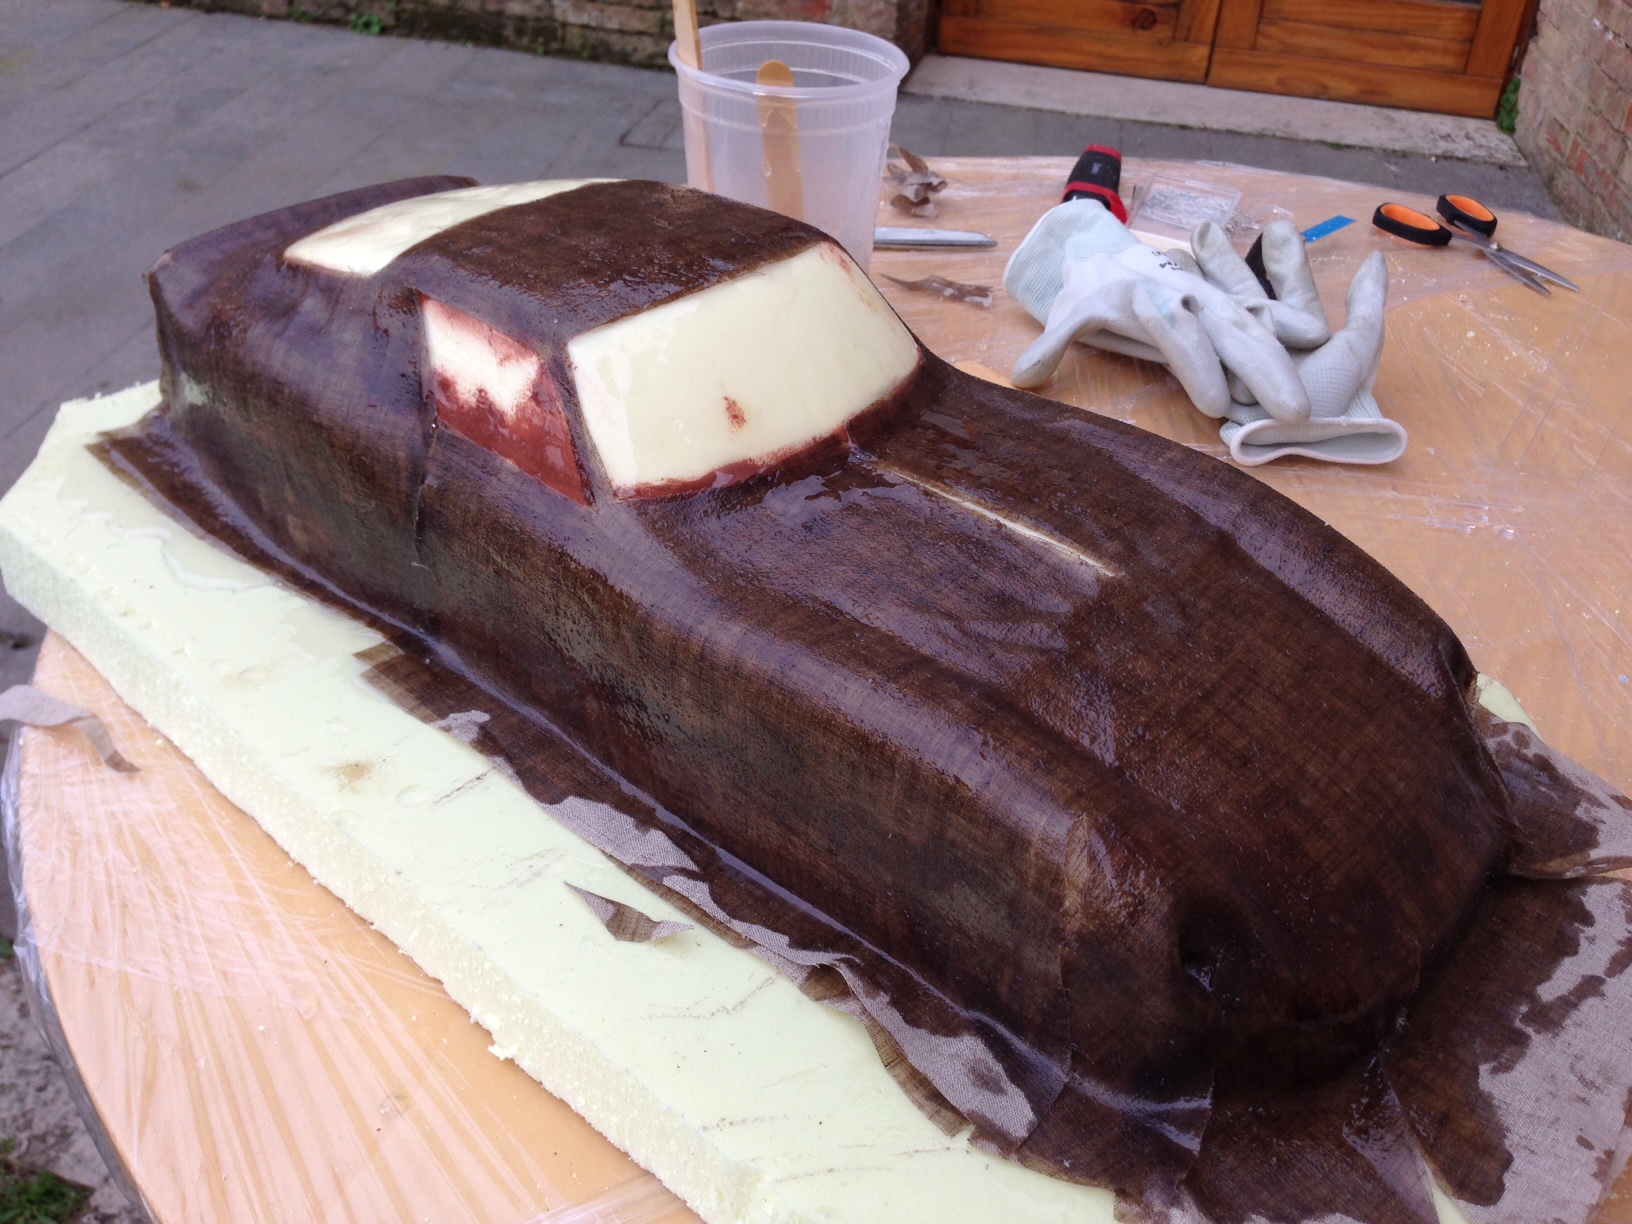
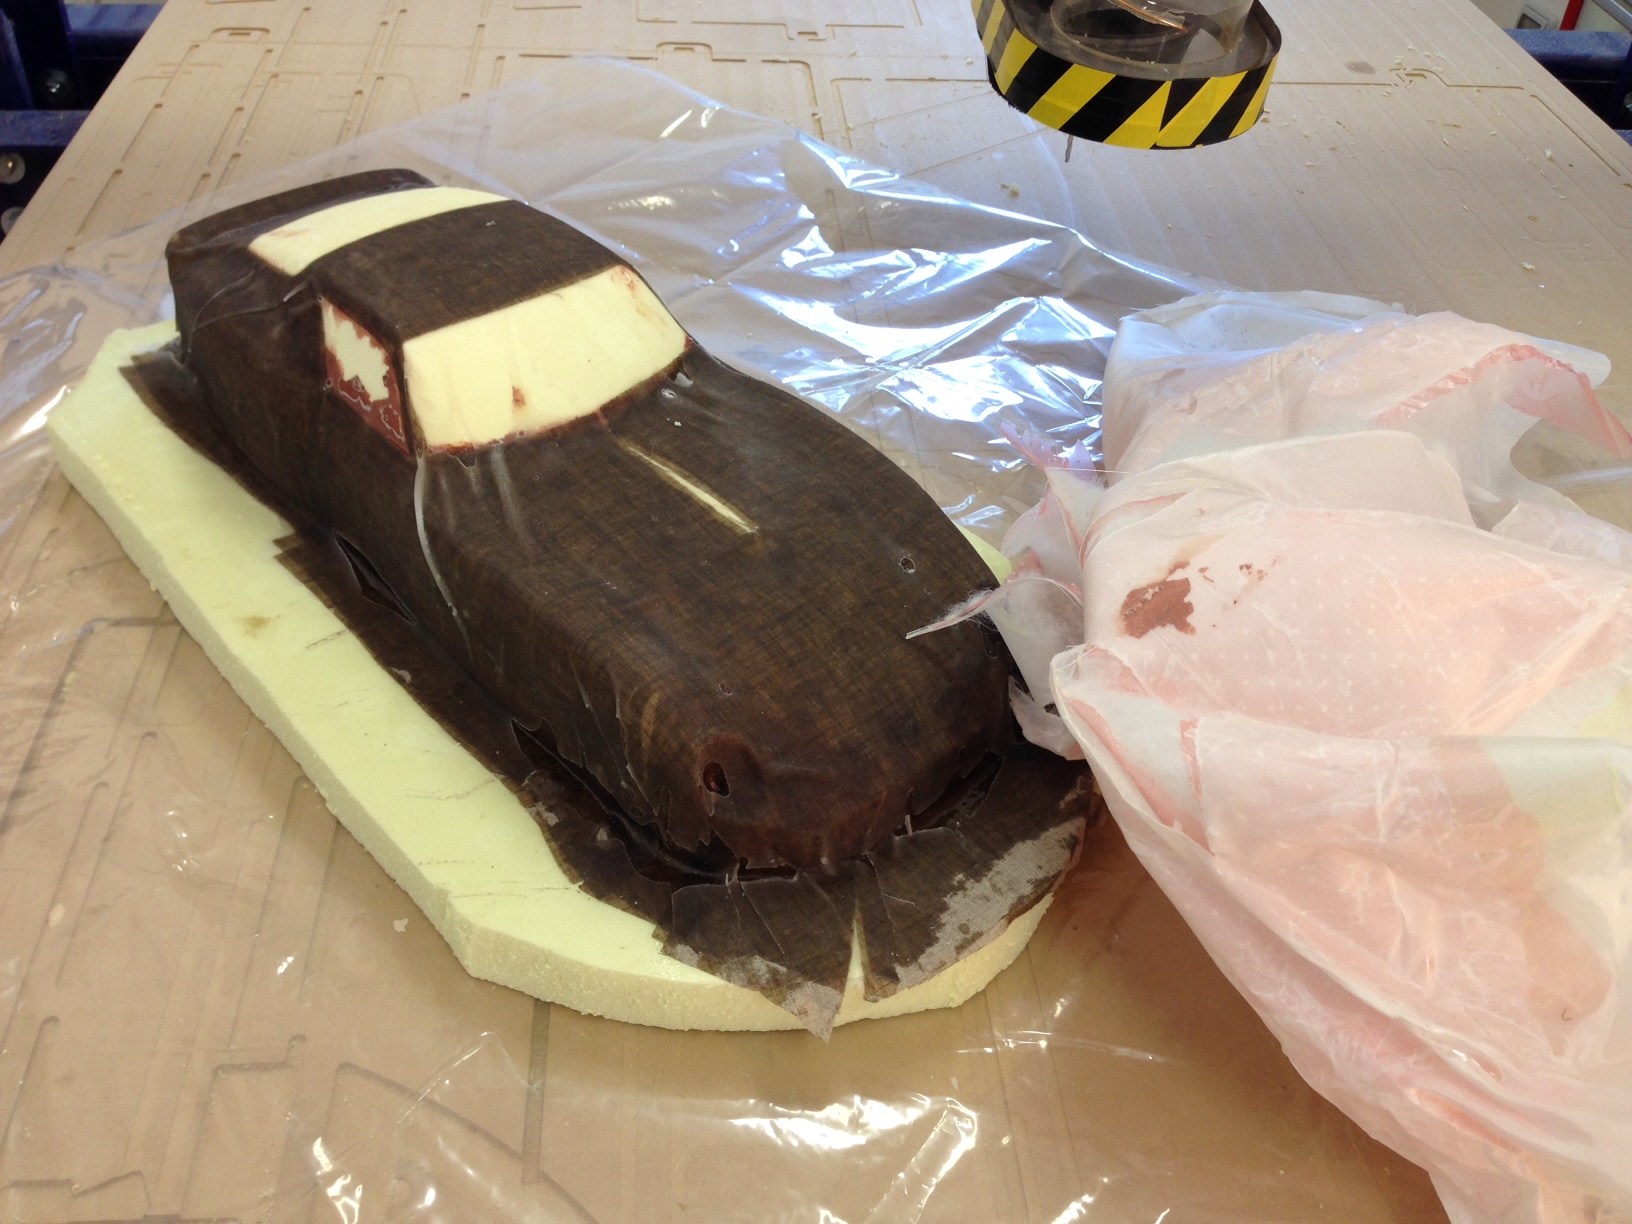
 With the help of Matteo I coated the model. It is worth being mentioned that the resin starts to heat up and hardens within a couple of minutes, so the coating should be a quick process. Below is the result, with the windows left uncoated.
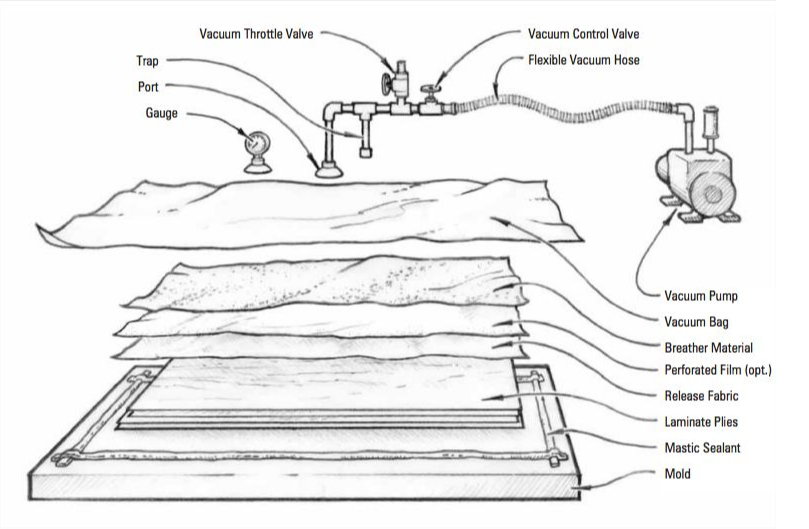
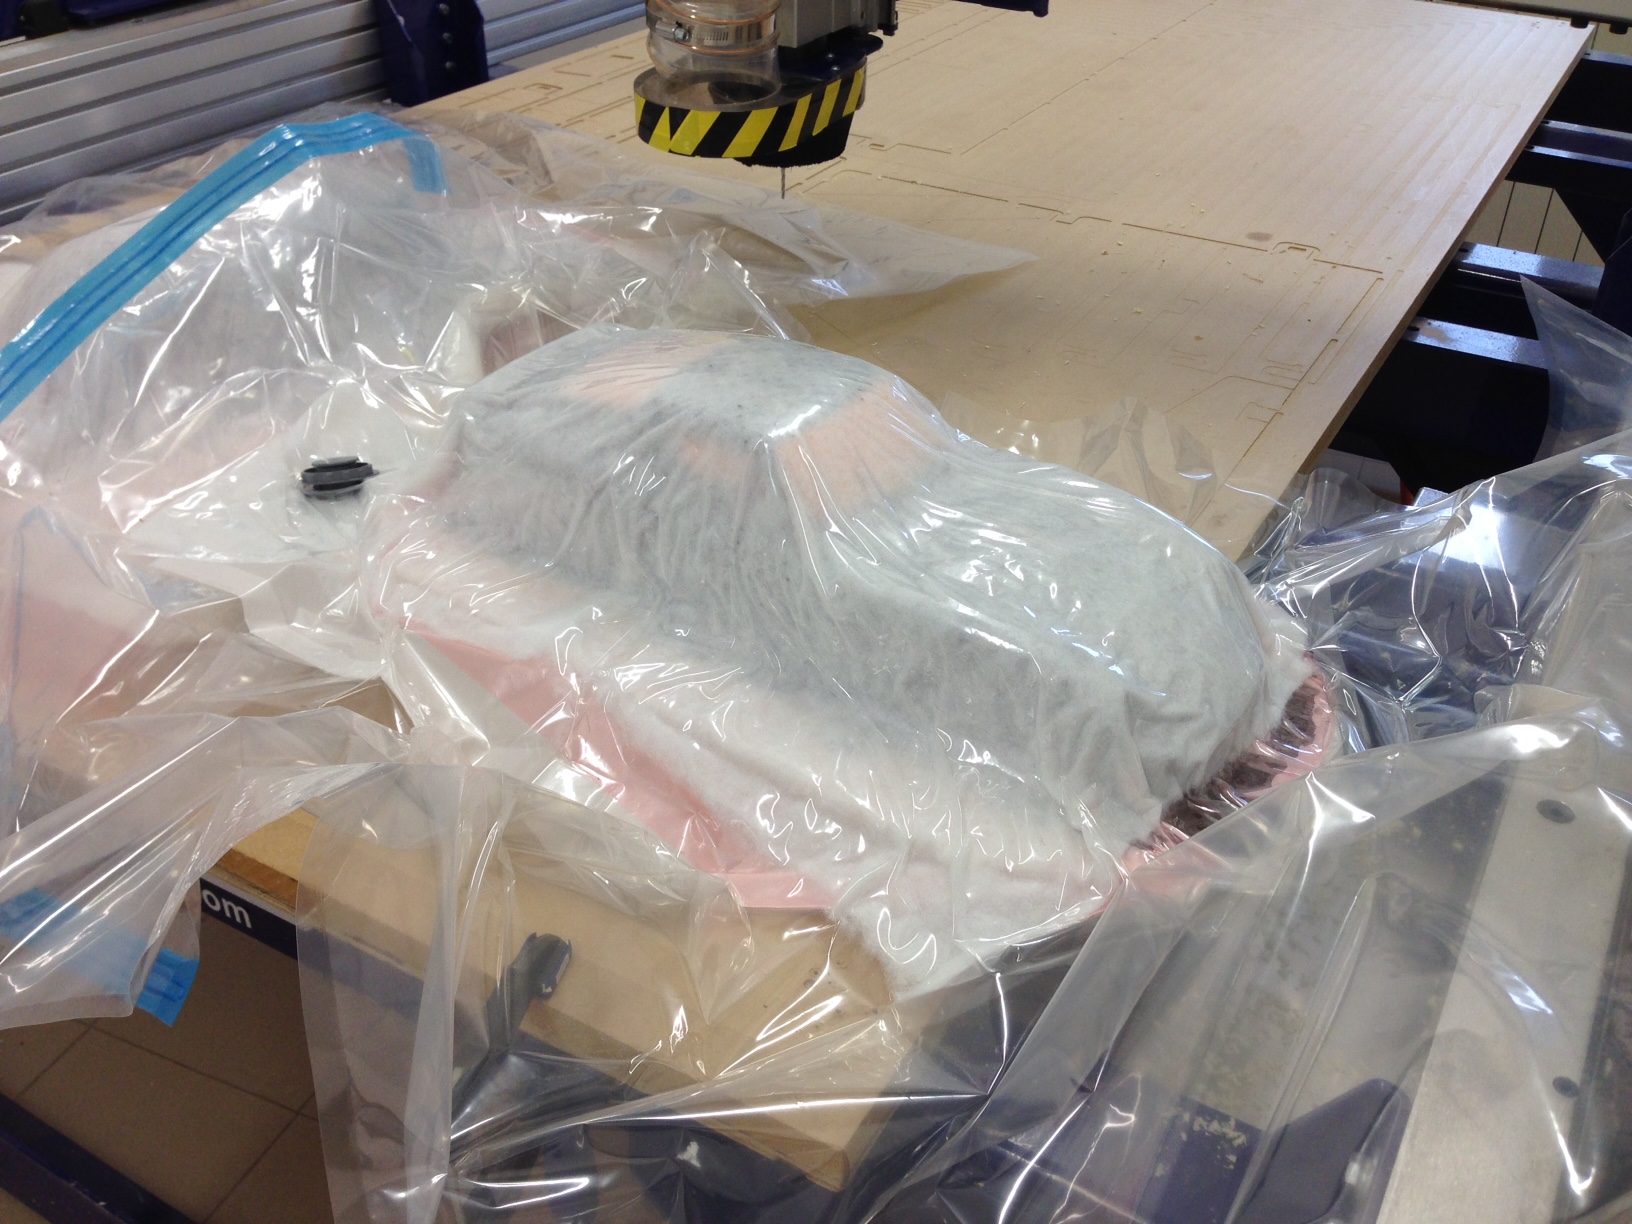
 After I applied the release fabric, the perforated film and the breather, as shown in the schematic below.
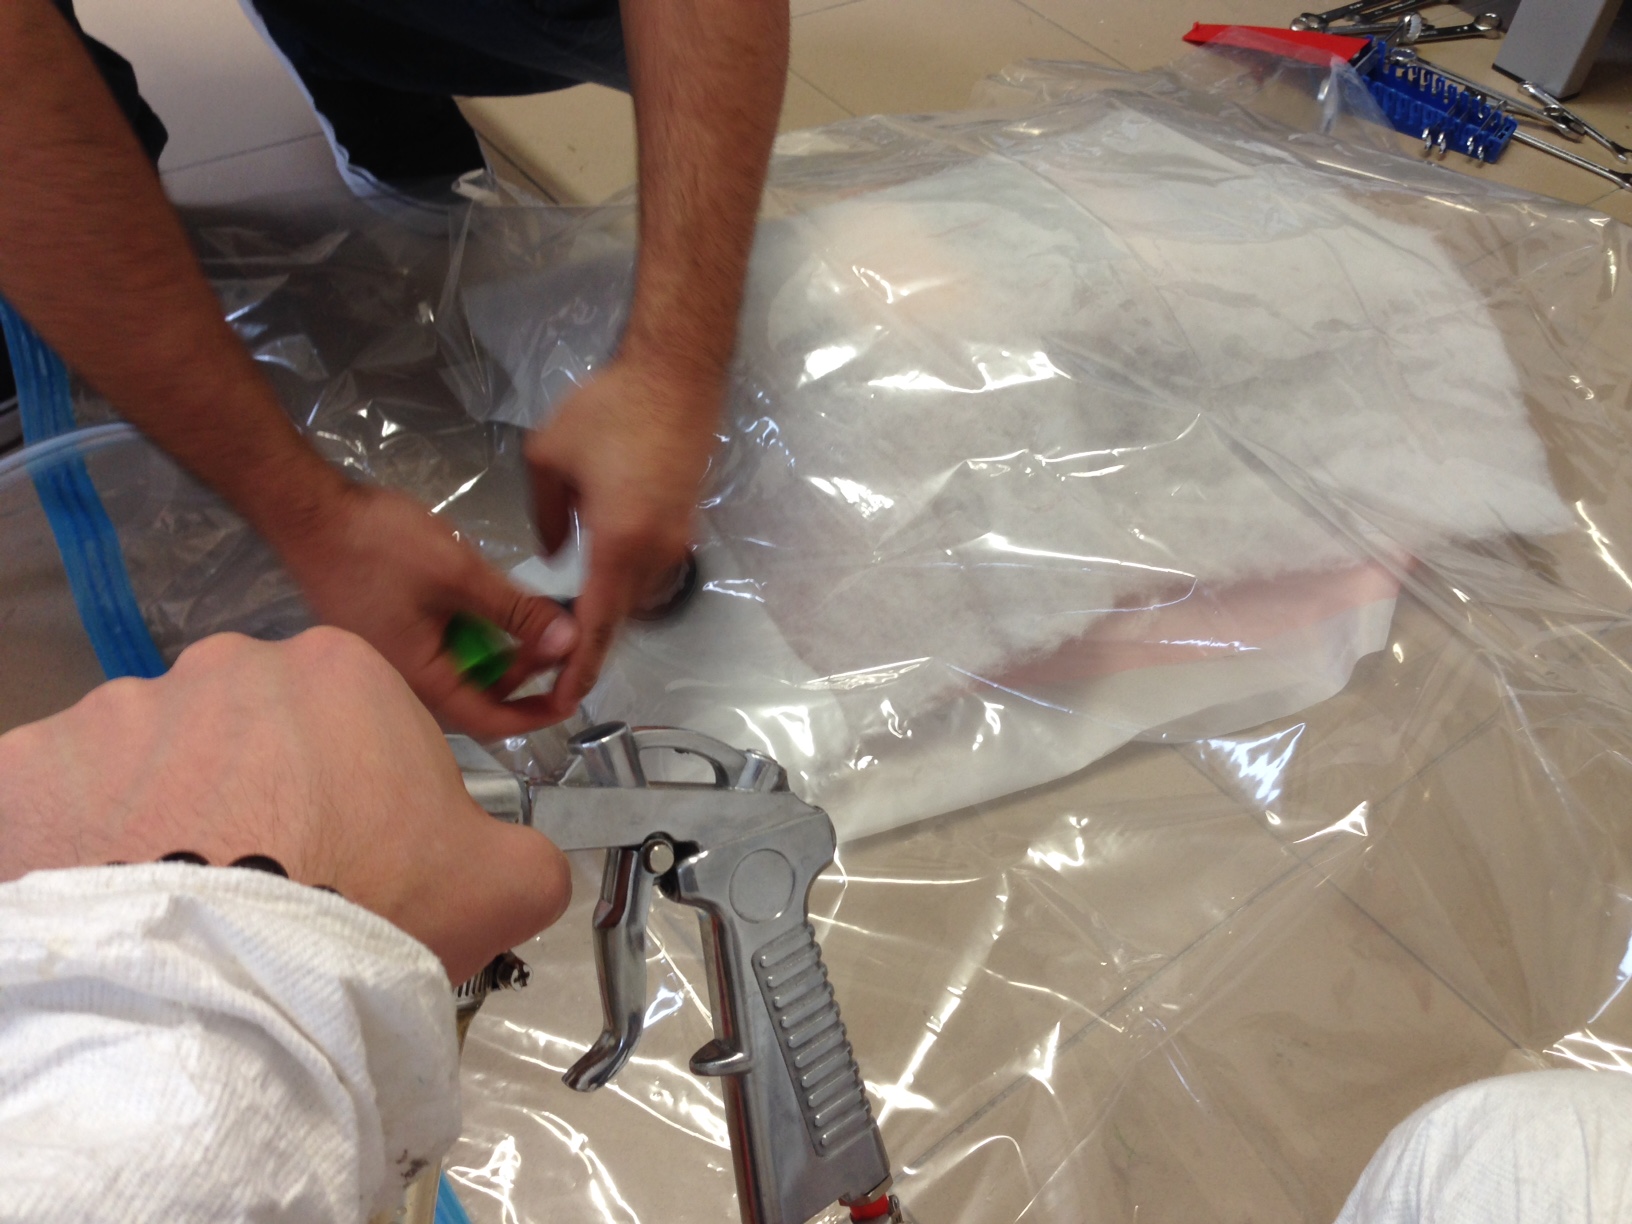
 Then I vacuumed the model.
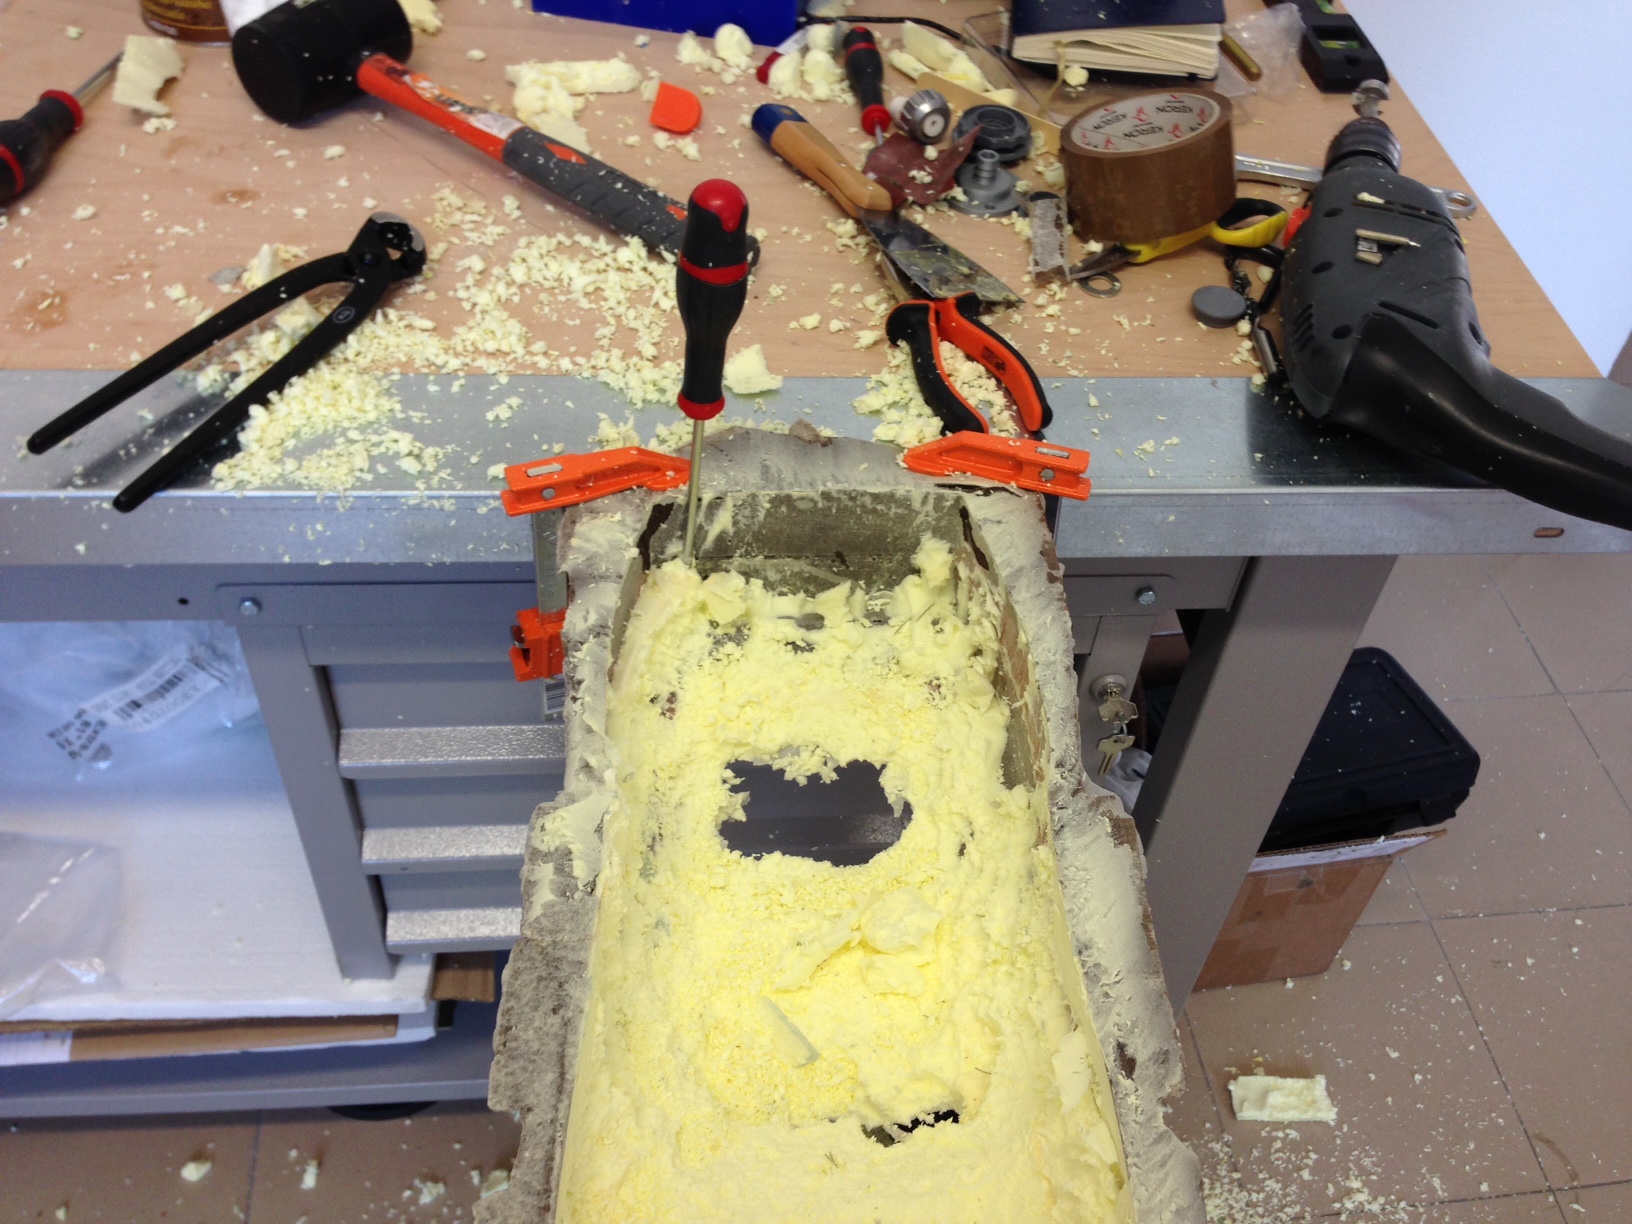
 That forced me to go rough and destroy my mold, which made me cry from the inside. I used a powered hand tool with a flat drill bit to remove the poliurethane and with the help of some alcohol I managed to clean it quite properly.
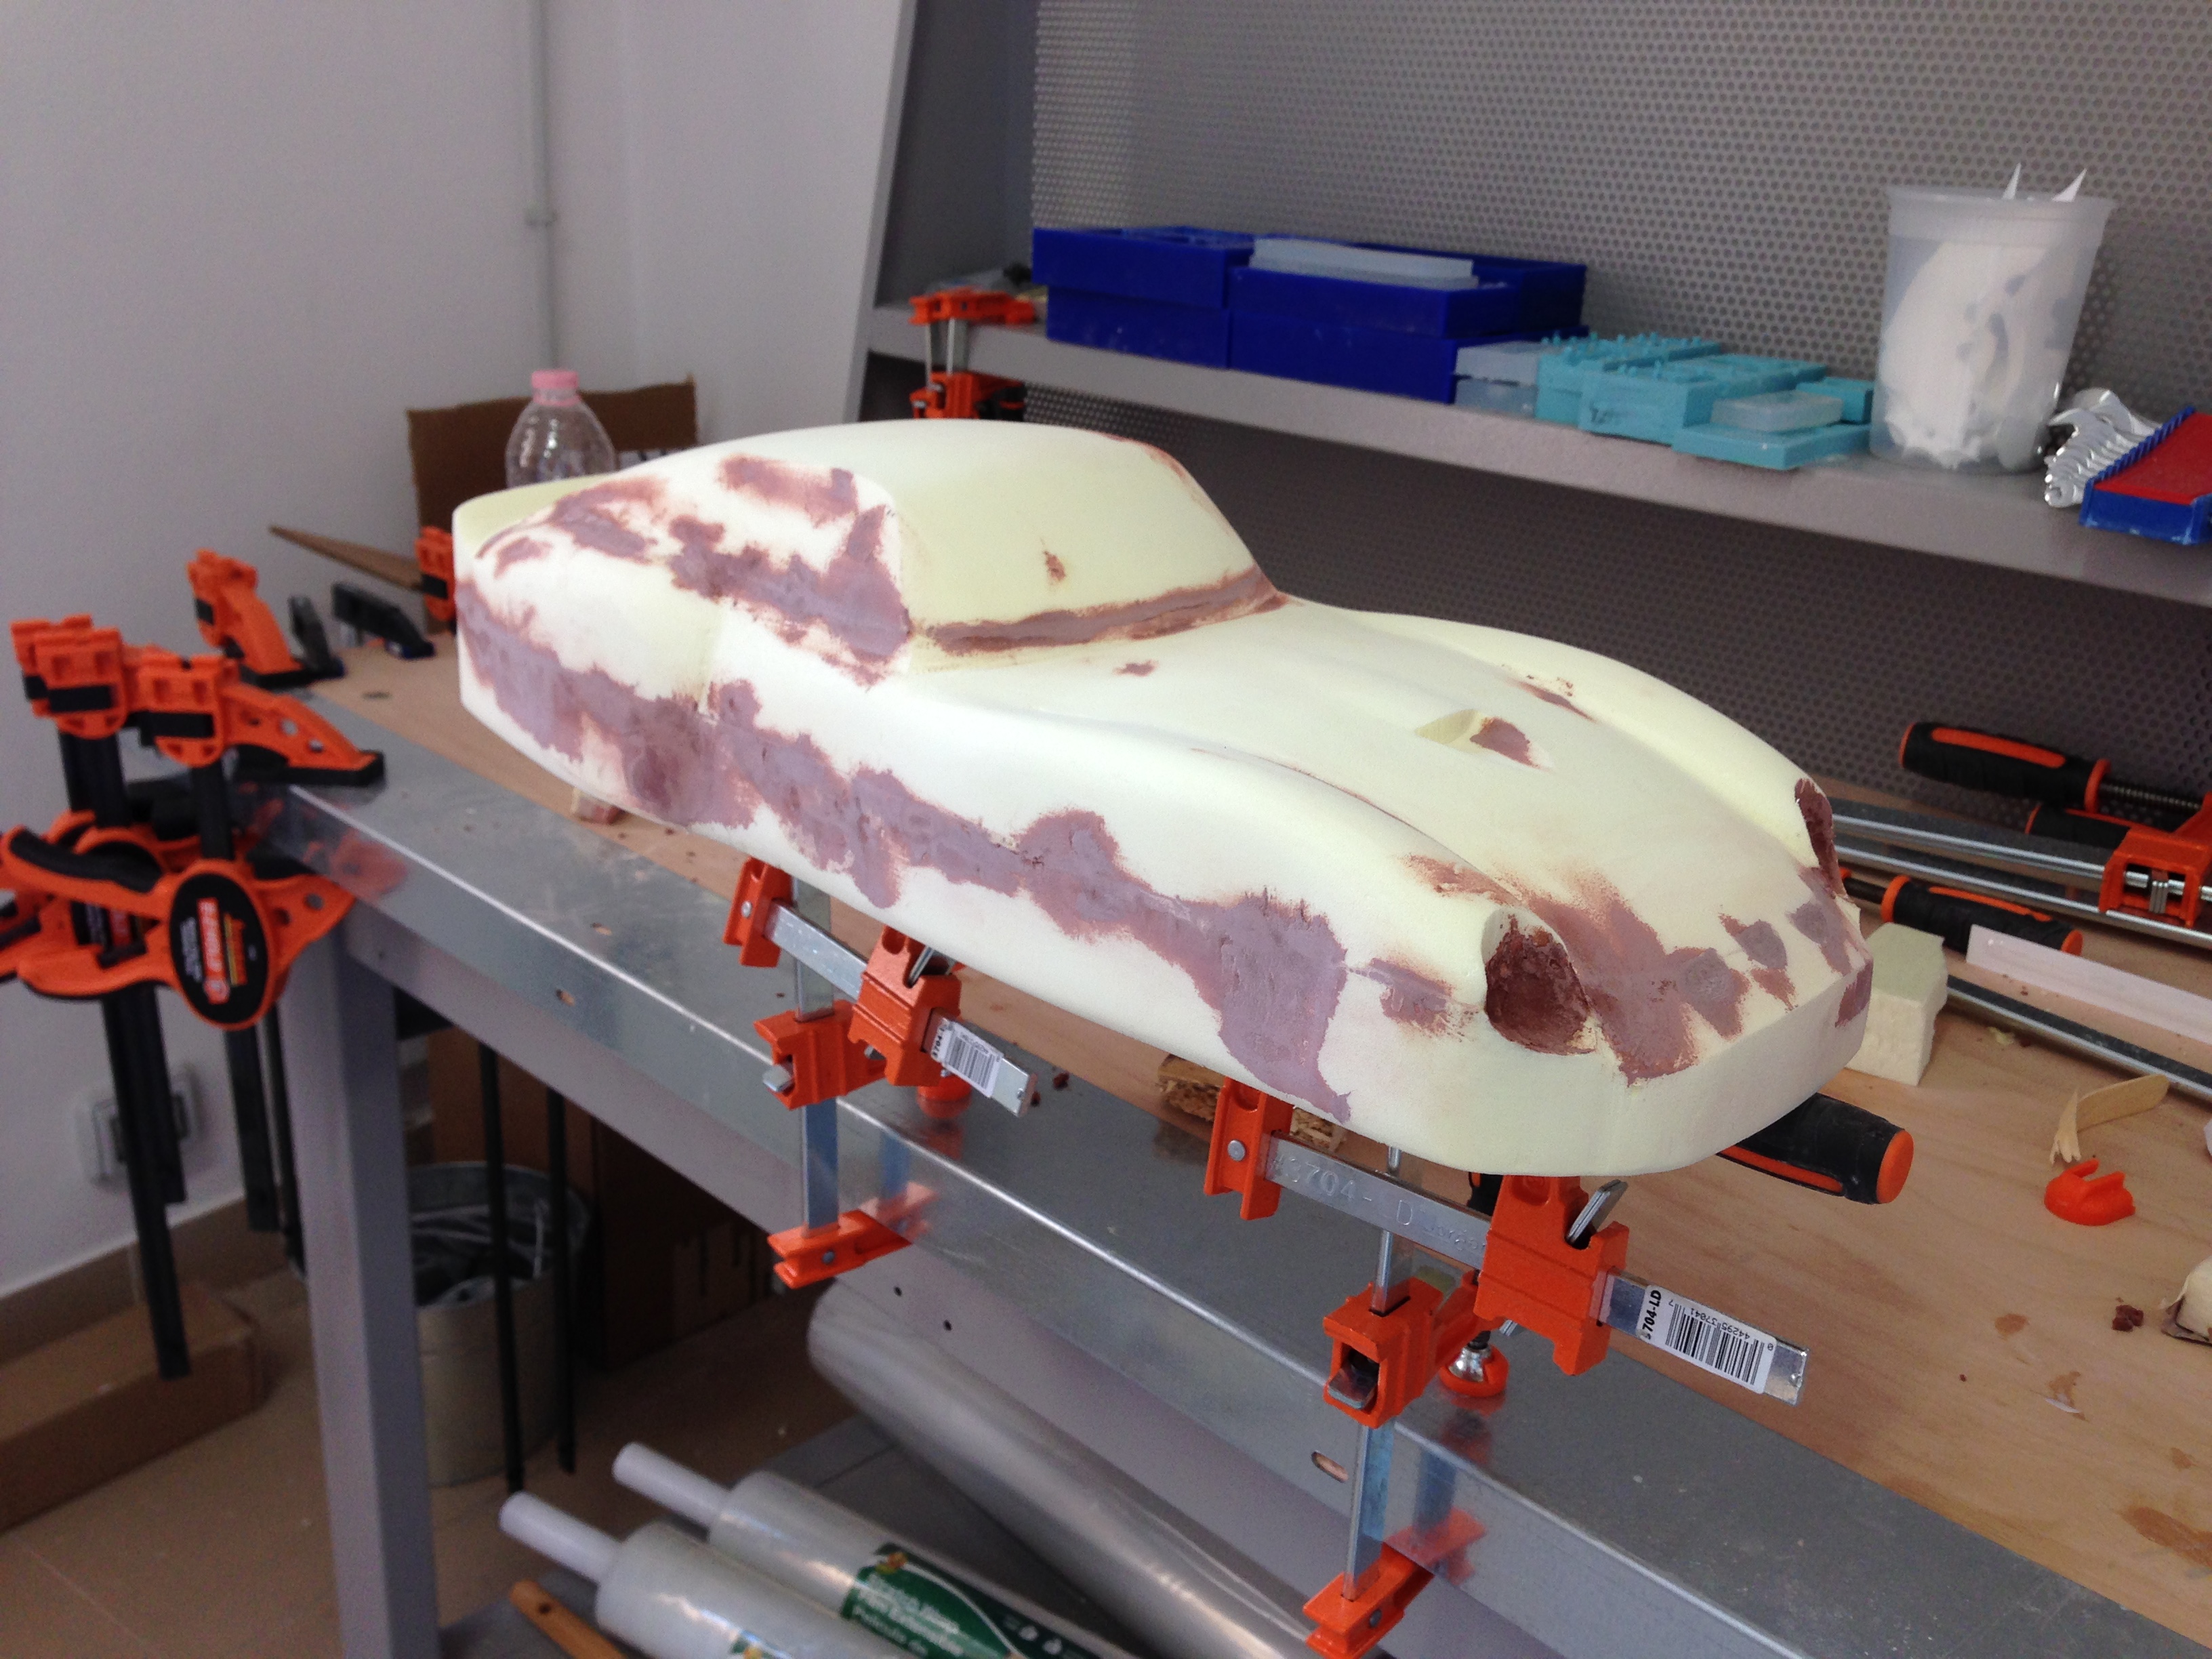
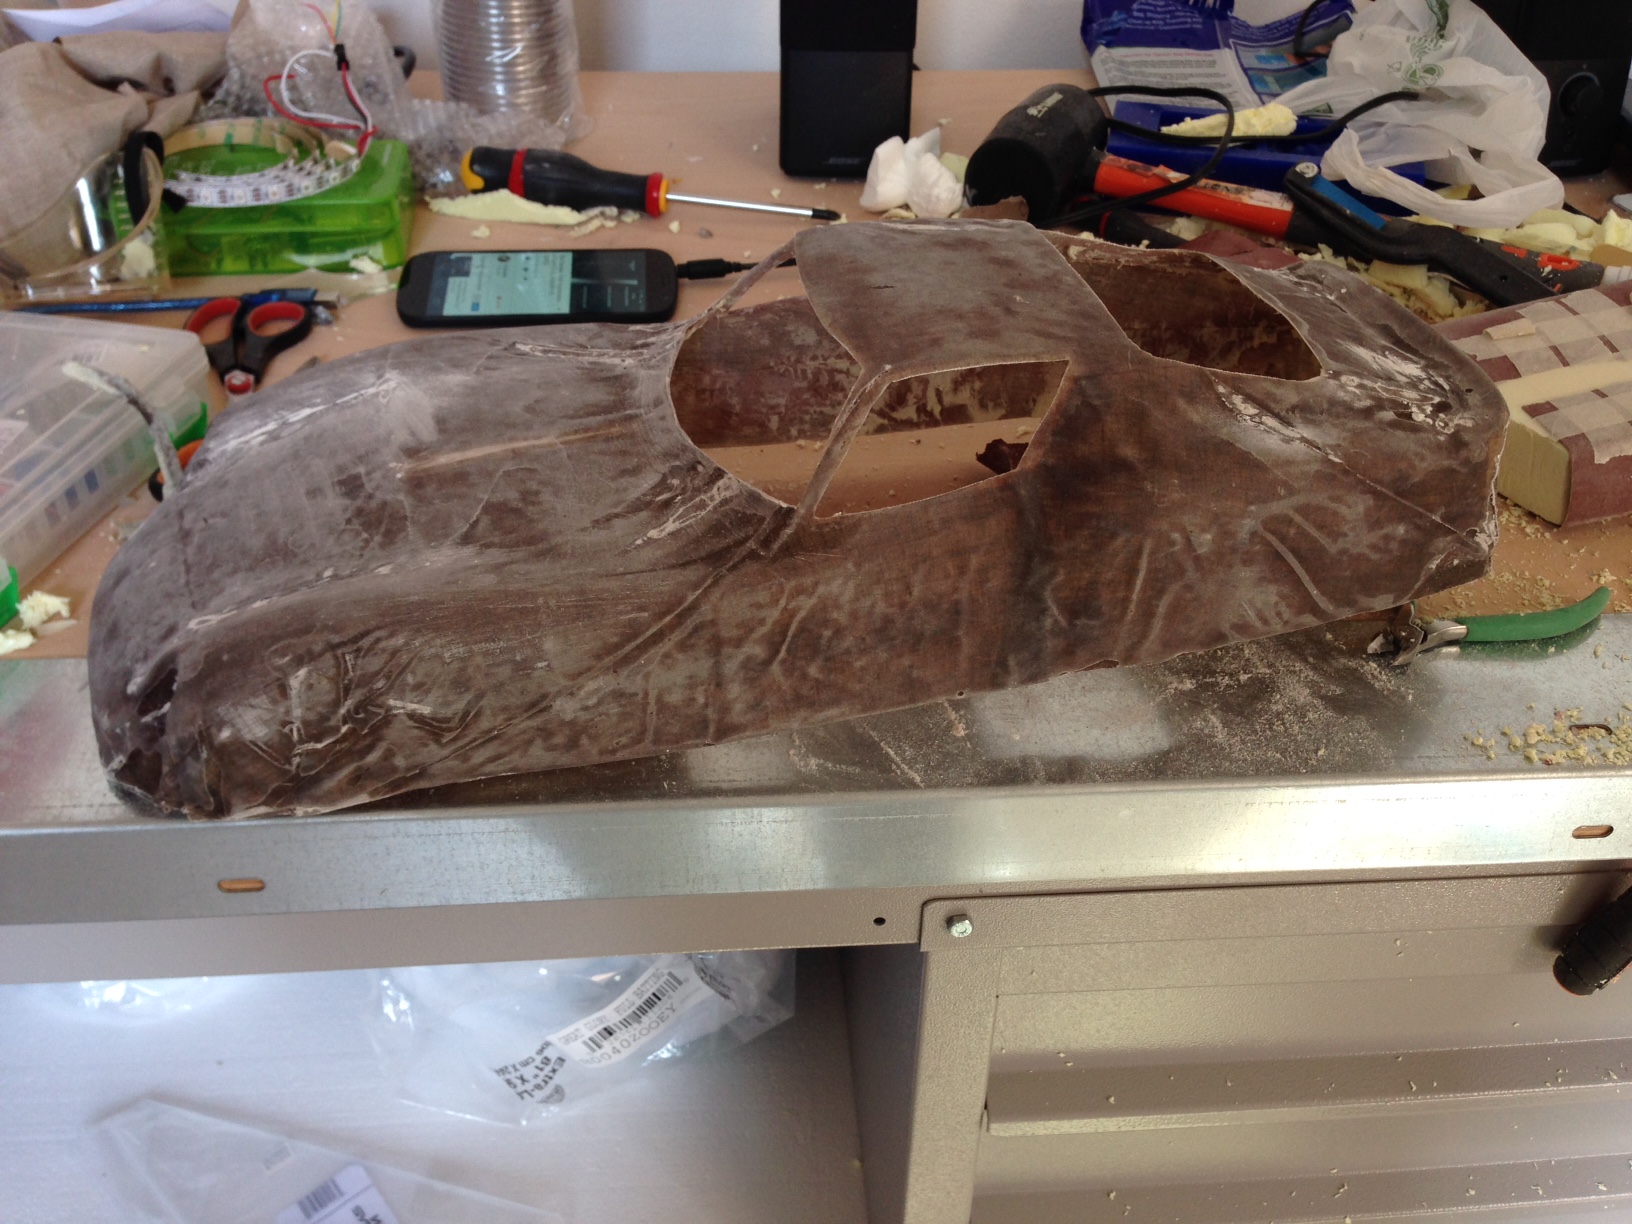
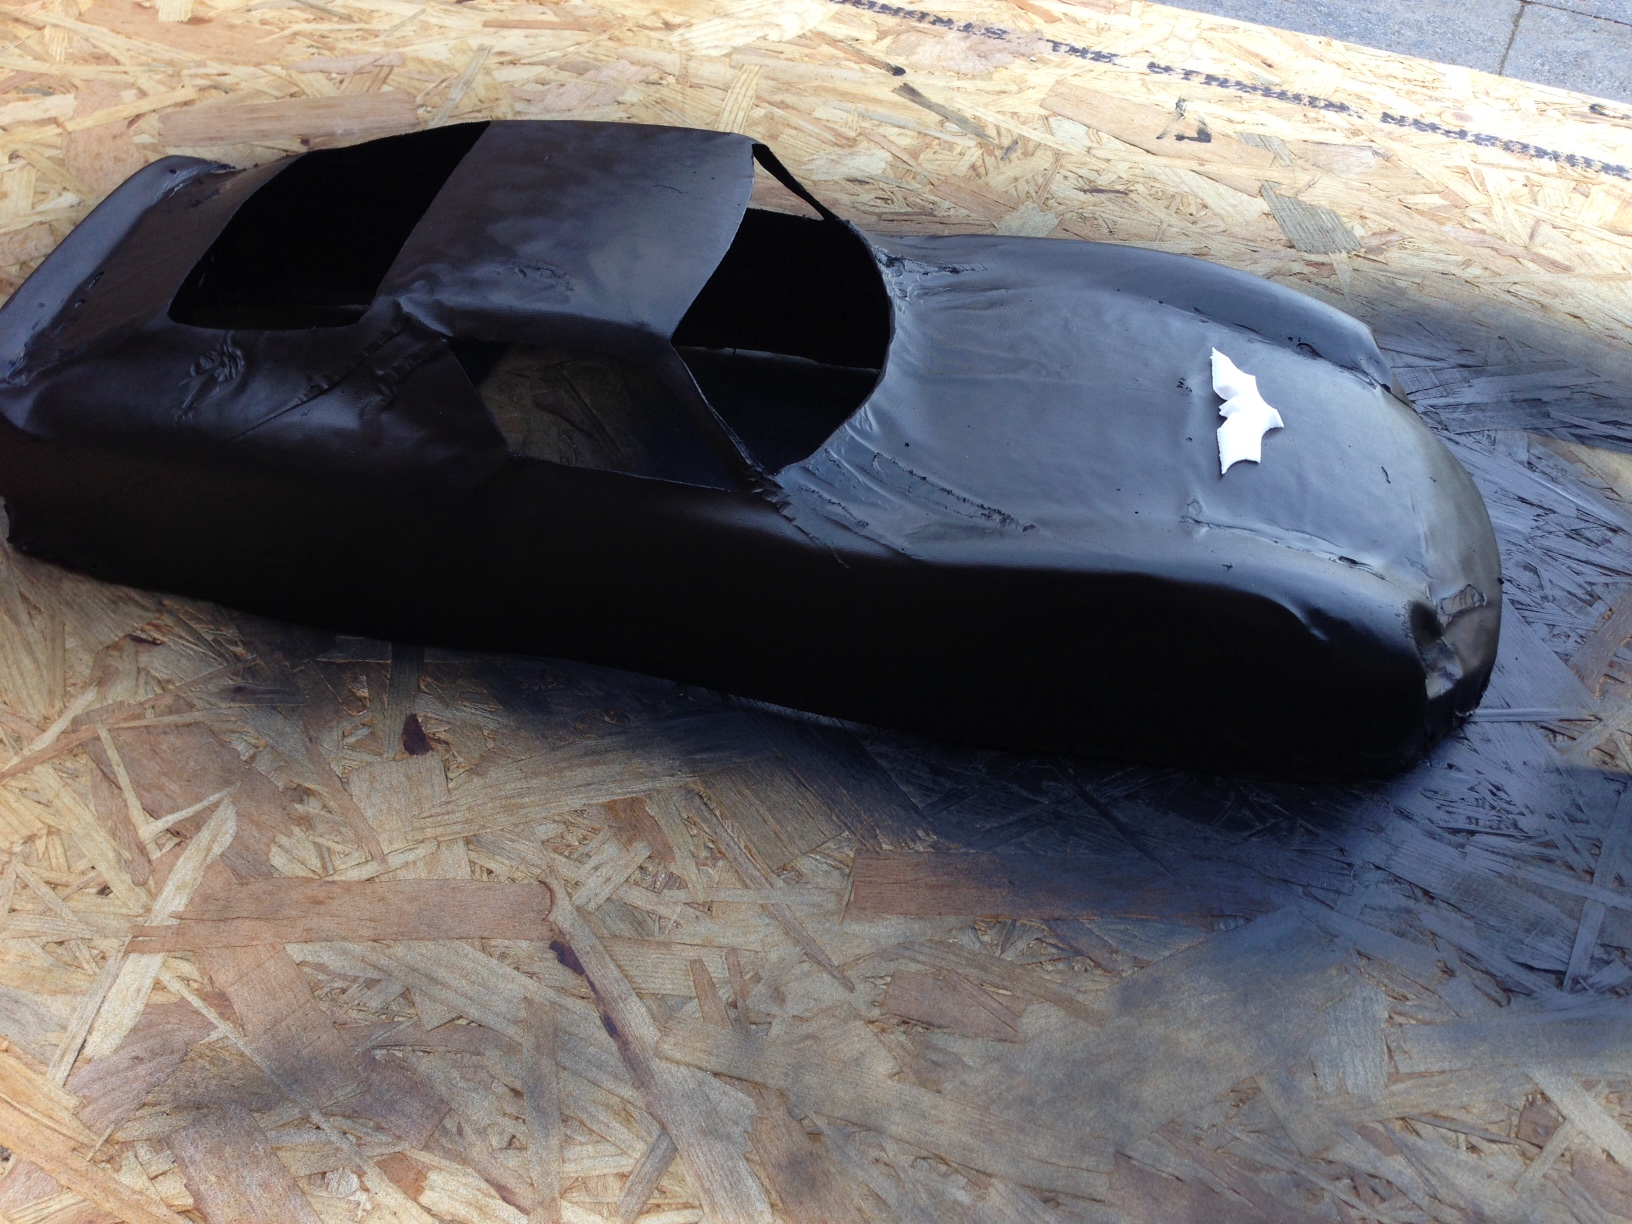
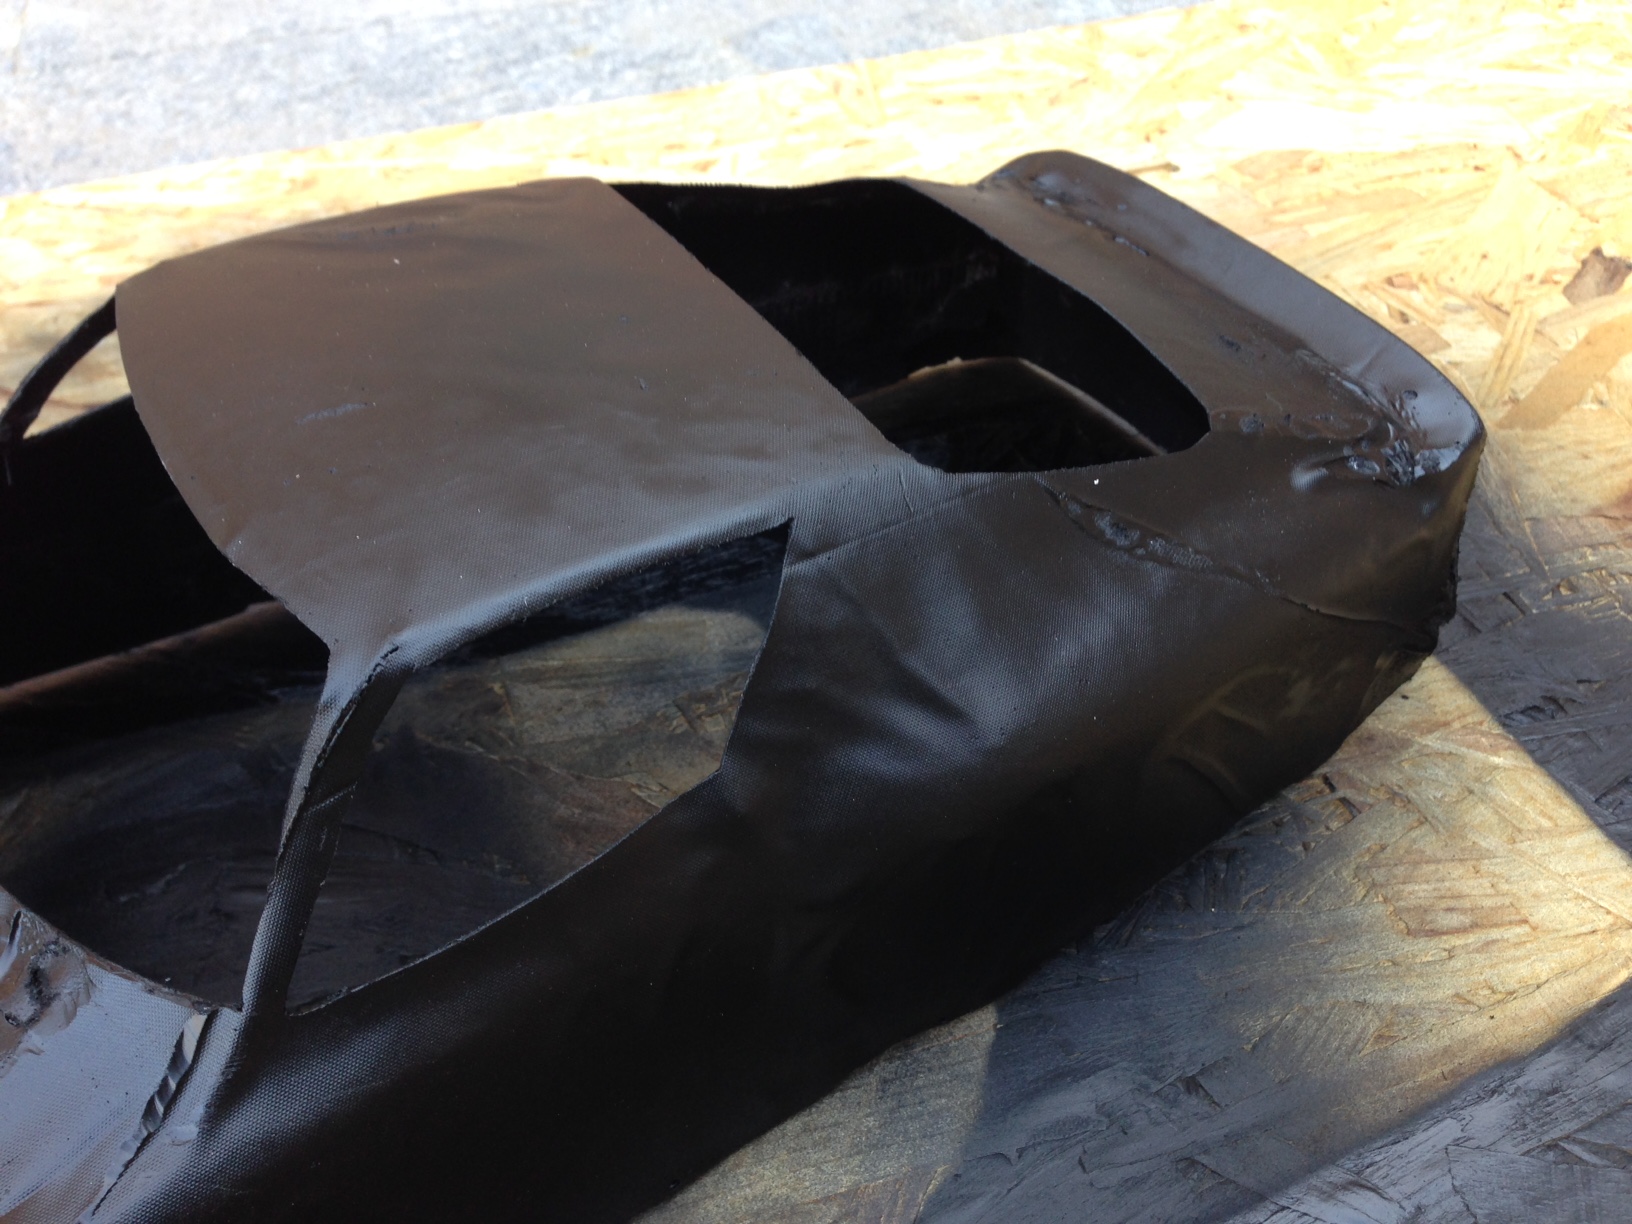
 Then I started to work on the outer shell. The main problem there was that the release film made some grooves that got filled with resin. So my model had plenty of "veins" running through it. I cleaned them with the dremler first and with sending paper afterwards. Despite my effort and patience, I did not manage to get a really clean surface. On the positive note, the windscreens came out nicely.
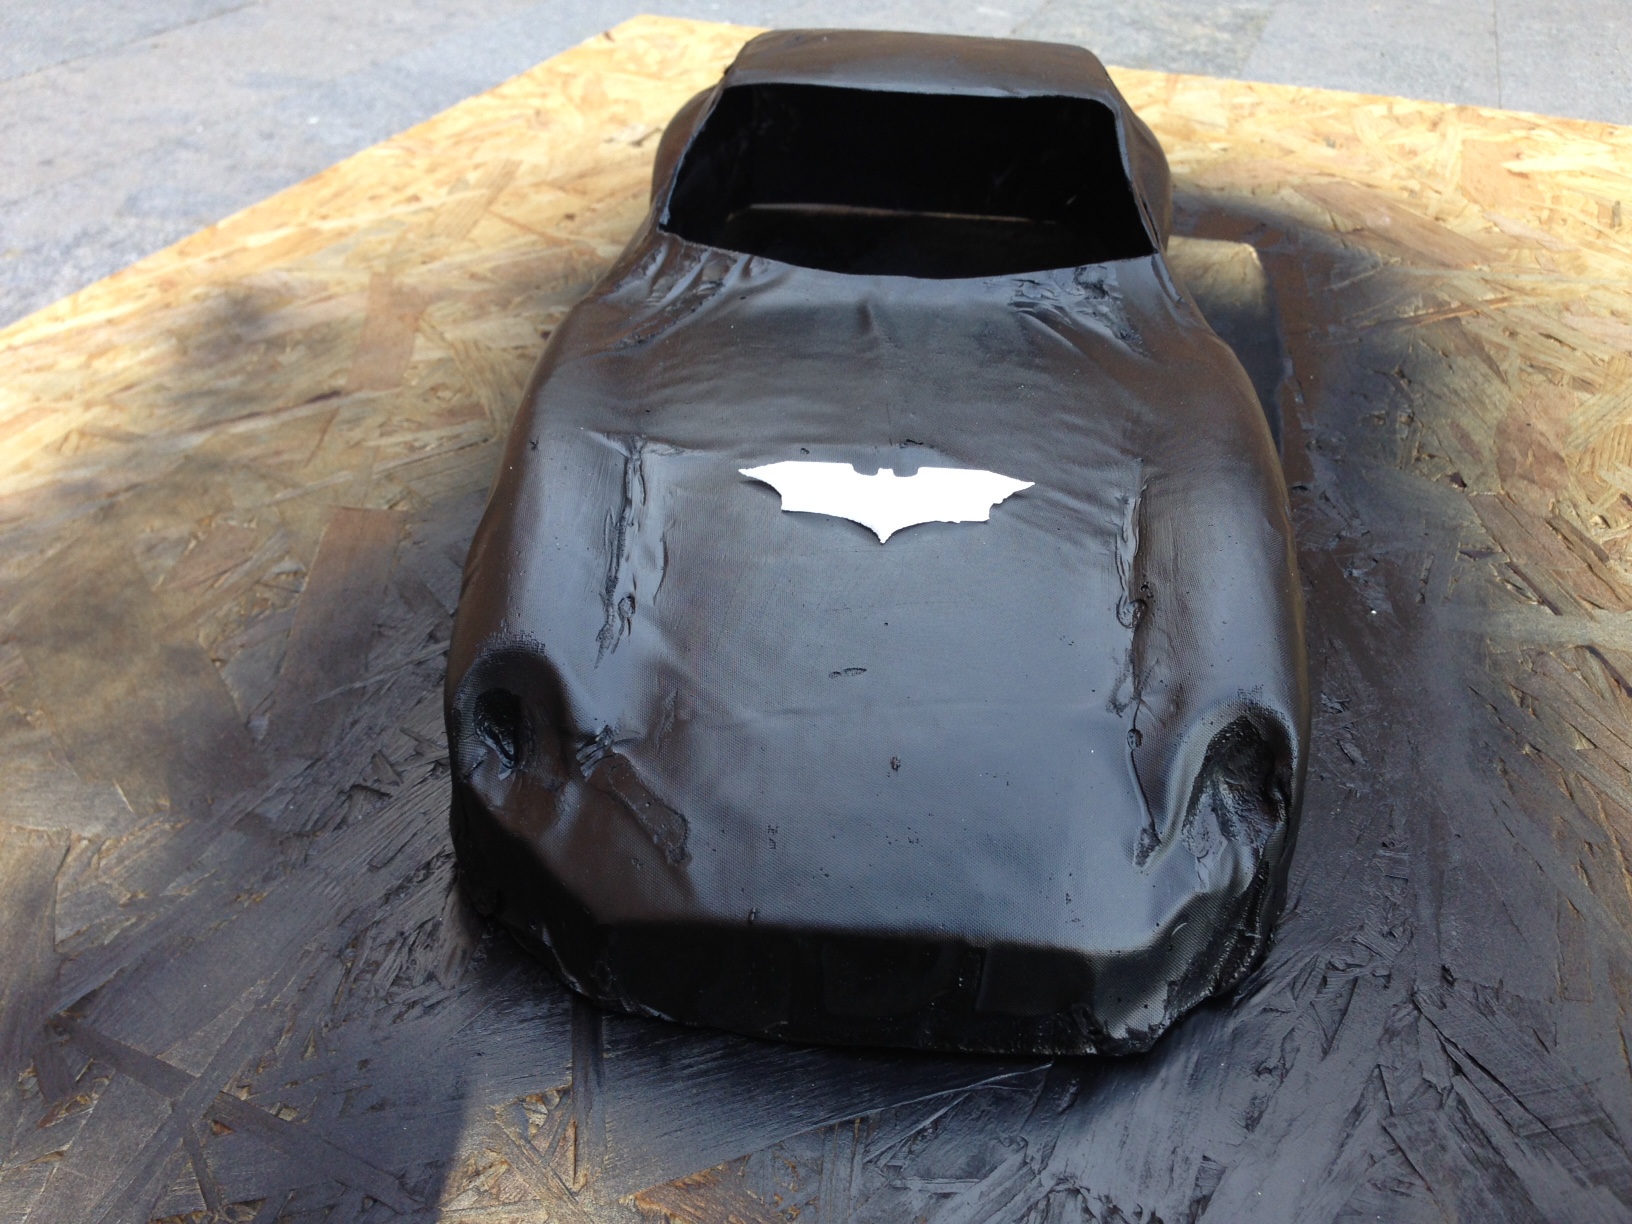
Final Result I spray painted the whold model with a cheap acrylic paint. Eventually, I recycled a casted object that Matteo made two weeks ago to give my chassis some identity. If Batman could have choosen, he would have gone for an Italian car!
Conclusions This week flew away for me, mainly because I truly loved the manual working. I learned how to do larger pieces with the Shopbot and I learned a bit about laminates, even though it feels to me like I still have a whole lot to gain in that direction.
Table of Content
Resources
- [1] Cut3D Files
- [2] Lasercut File