Week 7
Computer-controlled Machining
I have chosen to use Solid works to make a Mini Book shelf as my assignment . there was a need for a small bookshelf.
I have used the snap fit approach to make my Mini Bookshelf .
I have used 16.5mm MDF (what we call Superwood ) to cut out my Mini Book Shelf.
Designing the Mini Book Shelf Using Solid Works
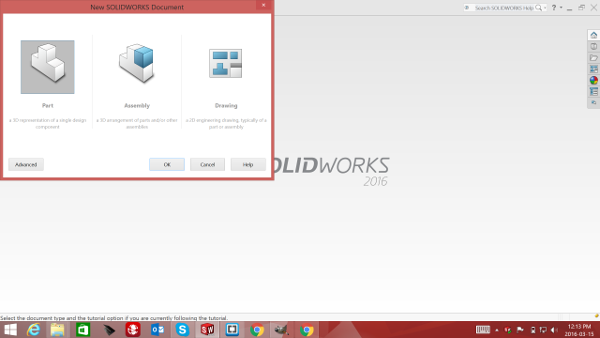
Opening Solid Works and creating a new File. we are designing a part first so we select part and proceed.
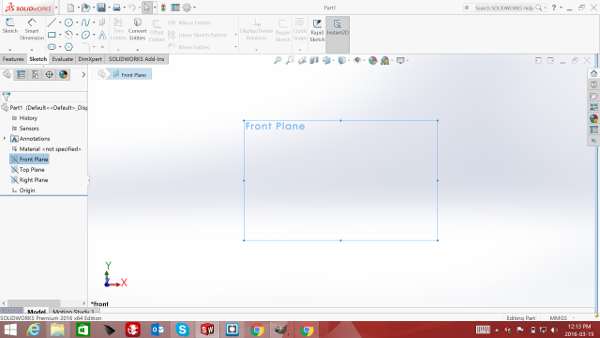
Once the file is open we select front Plain as we need to select a view in order to start our drawing, Then select sketch , this enables us to use the drawing tools
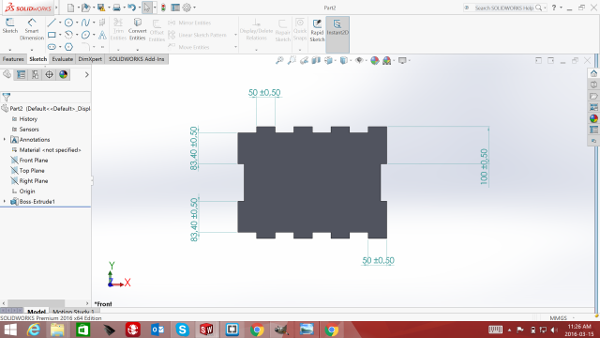
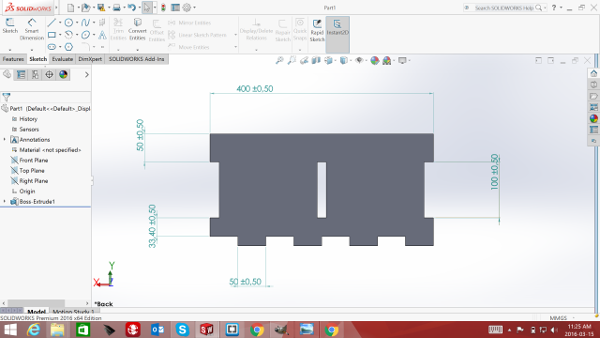
We start by drawing the Back of the Mini Book shelf and calculate the number of Snap Fits we require and design accordingly. once we have designed accordingly we the use Features Button and do an Extrusion using the thickness of the materail.
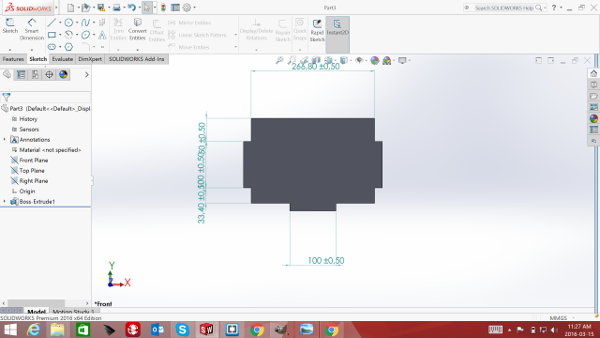
This is the Bottom piece of the book shelf but would also be the top piece as they are the same size, so there was no need to draw the top side again.We would just need to cut out two pieces of this part
This is the side part of the Book shelf and again, the both sides would be the same so all we have to do is cut out two pieces of this part.
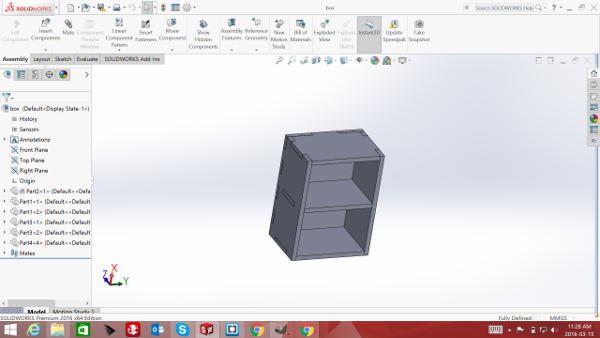
Using solid works and choosing the asembly function i have assembled all the parts to make sure that it would work perfectly so that i would not have to waste materail by just cutting without knowing for sure that it would work.This is a brialiant feature as if your design is not right you would be able to see and you can correct the design immediately.
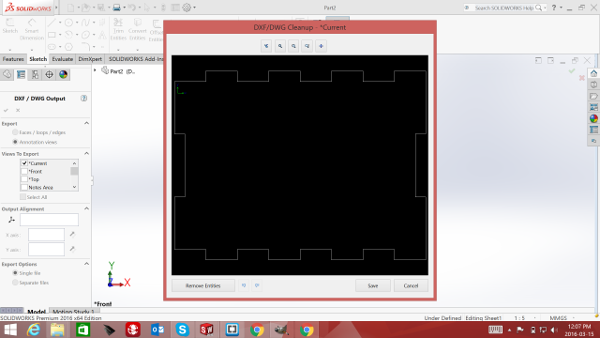
once the assembly is all correct then you would make a DXF file of all parts and then import in VCarve pro.
Now To the Shopbot and the cutting of the parts
The lab uses the shopBot to Cut out big things.it is a very simple machine to use, however if you do not follow the correct processes , it can be complicated and also dangerous.
The Shop Bot Uses its own Software which reads DXF files , which is called V Carve Pro.The DXF files would have to be brought into V carve pro
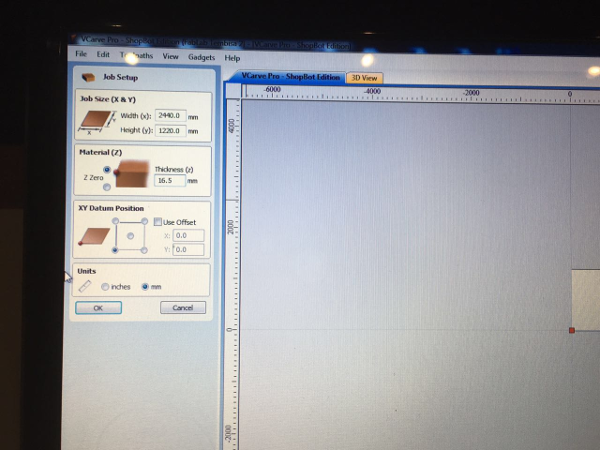
Opening a new page on V Carve Pro. here you have to put in your materails size. its perfect guide to show you if your parts are going to fit on the piece of wood you are going to use.In this case it wasa 16.5 mm MDF board
importing the the dxf into V Carve Pro was very simple, since it reads DXF files and i had already created DXF files , i just dragged them into the Vcarve pro.I brough all the parts in, it did not matter what the order was, as long as all parts were brought in.
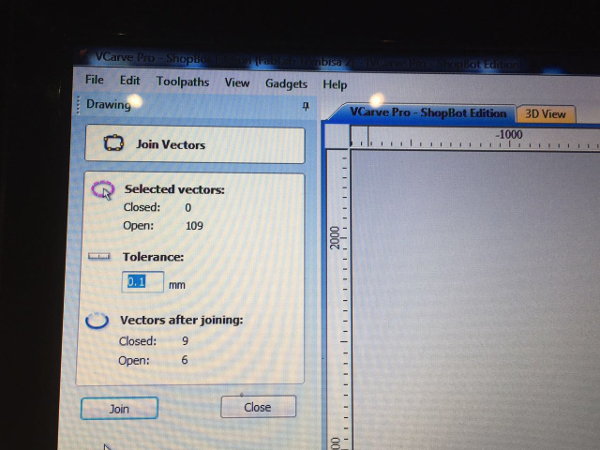
Once I brought all the files into V Carve Pro i selected all the parts and then made sure that i join all the vectors otherwise it would have created a problem if there were open vectors

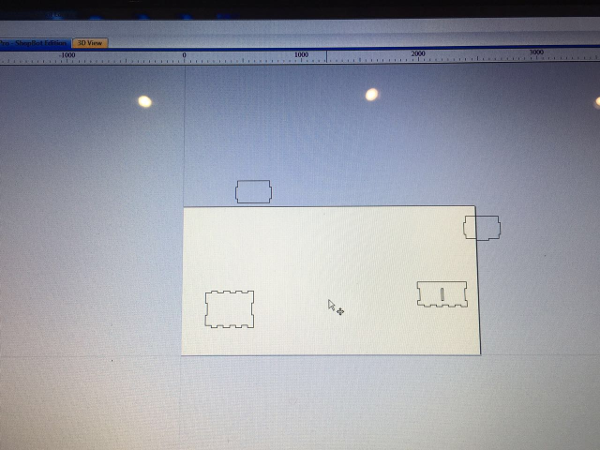
I arranged all the parts into my sheet and then i copied the side part and the Bottom part as i needed two of each of these parts. I was satisfied the parts would fit on my board from the preview.
Moving to the Shopbot, I had already desiced i would be using a 3mm Bit. I had to change the bit on the spindle. The safety feature on the Shopbot is such that, the key to turn the computer box for the Spindle on, is attached to the tool that is used to change the bit. this means that when changing the bit the machine is gauranteed to be off. A brialiant safety feature
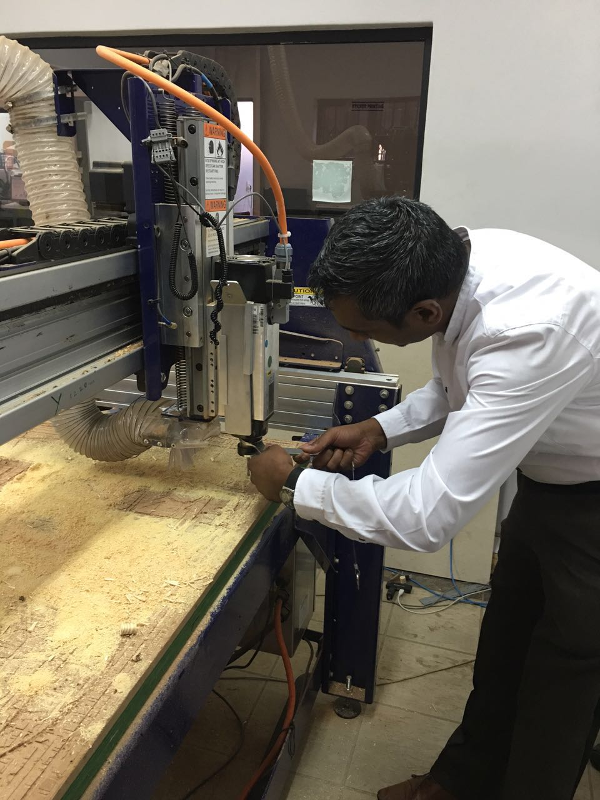
Changing the Bit using the provided tools.
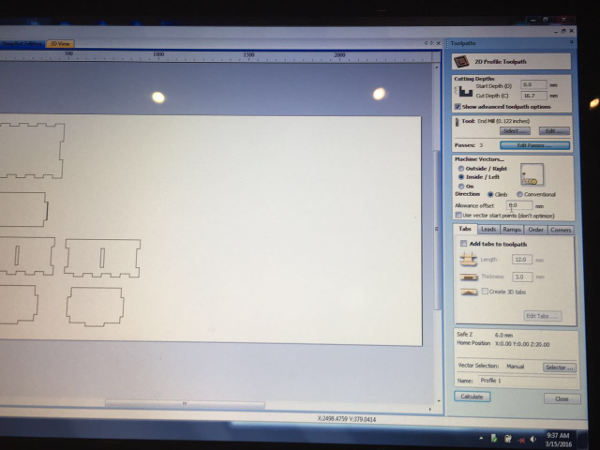
Now back to Vcarve Pro. The next step was to create a toolpath for the cutting.the cutting can be done from inside and from outside depending on the settings you choose. for the two small cut outs in the centre of the side parts i had to cut on the inside so that it cuts it to the correct size and my other part fits perfectly in.the rest of the parts were cut out from outside.While creating the toolpath you would choose the tool that you would like to use and the number of passes you would want the tool to move.The pases would depend on the bit you use and the thickness of your wood.

selecting the correct bit from the list. once that is done and you have chosen the tool and the number of passes and whether you want to cut on the inside or outside, and how deep you want to go,then you would say calculate
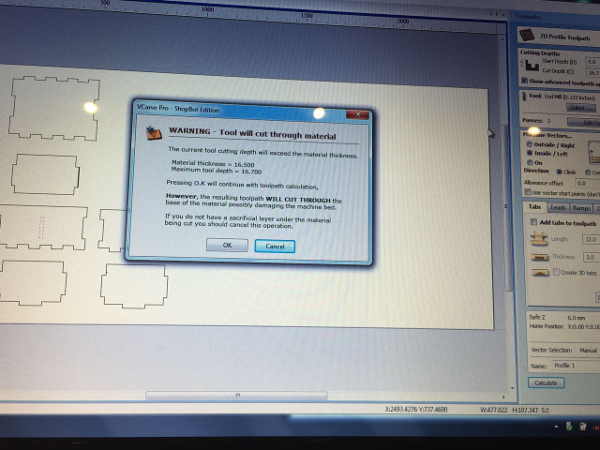
Becuase I have choosen to cut right through the materail, I recieve a reminder that i am going to cut through the wood sheet.Then it creates the tool path.
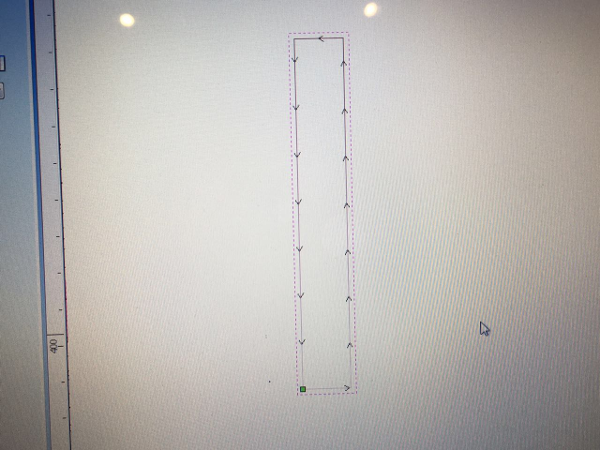
Tool path created cutting on the inside
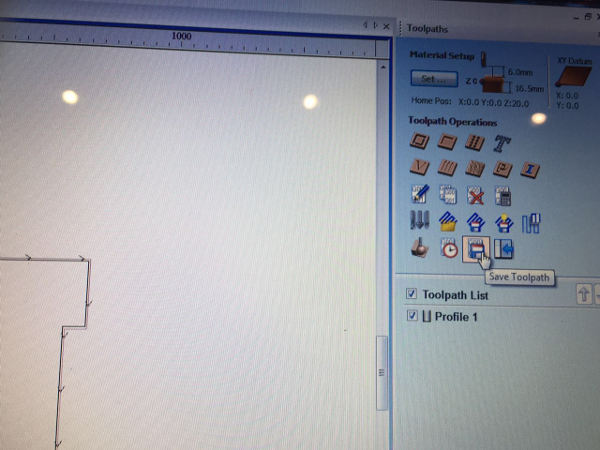
Tool path created when cutting on the outside. then the file is saved and ready for cutting. The i opened the Shopbot Software for cutting

The Shopbot tool has many controls, this tool controls the Spindle and the XYZ have to be set before cutting.

using the controls to kove the machine to the correct spot of the X and Y and then making them both Zero. Then the Z can be zeroed by placing the steel plate under the bit and then clicking on theZ button shown on the control box. then the machine is all ready to go. you open the file and then cut. alwys rememebr to press the start button before saying ok on the spindle as this makes the spindle to spin before it cuts otherwise it would break the bit.
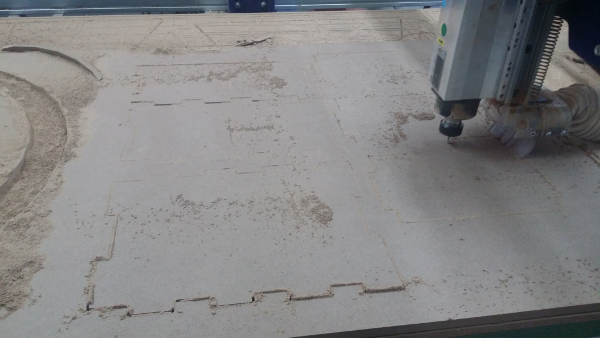
The machine cutting the parts
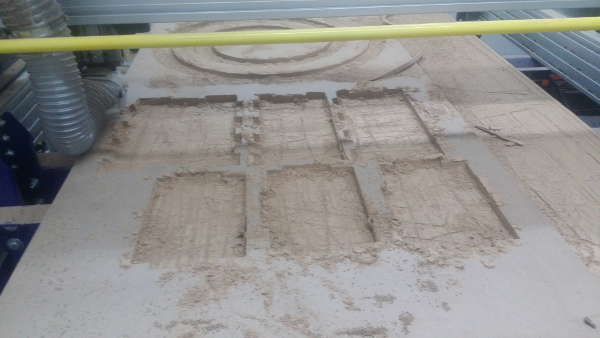
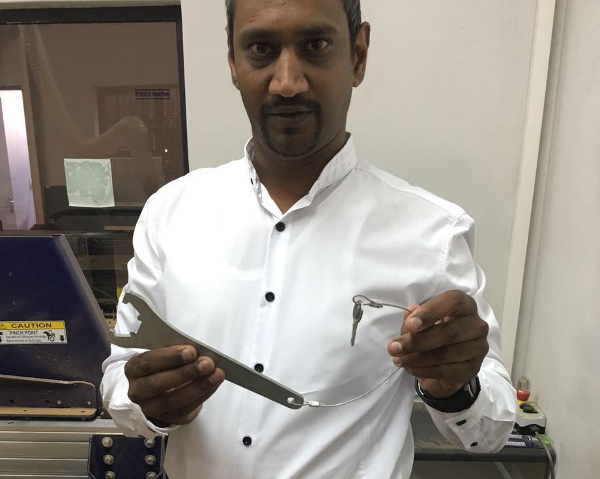
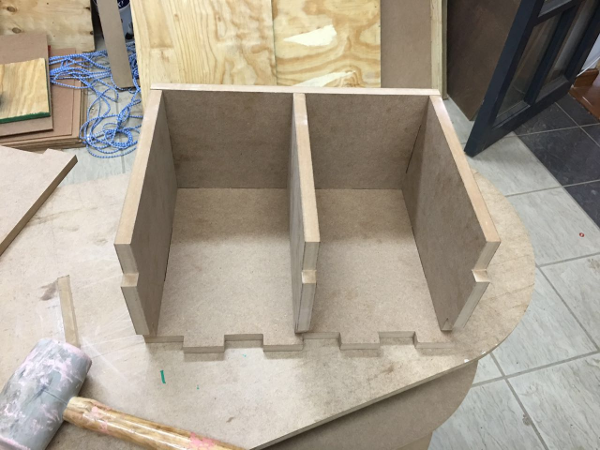
All Cut parts removed from the Bed.Time for assembly
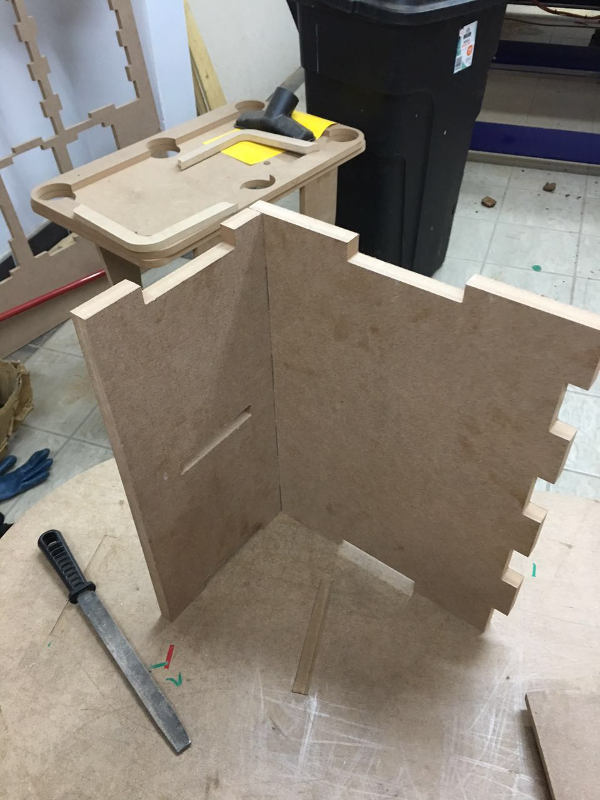
Assembly of parts
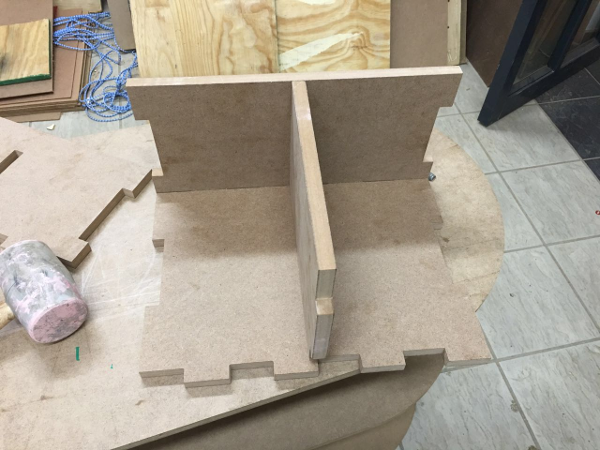
Assembly of parts
Assembly of parts
Assembly of parts

Assembly of parts
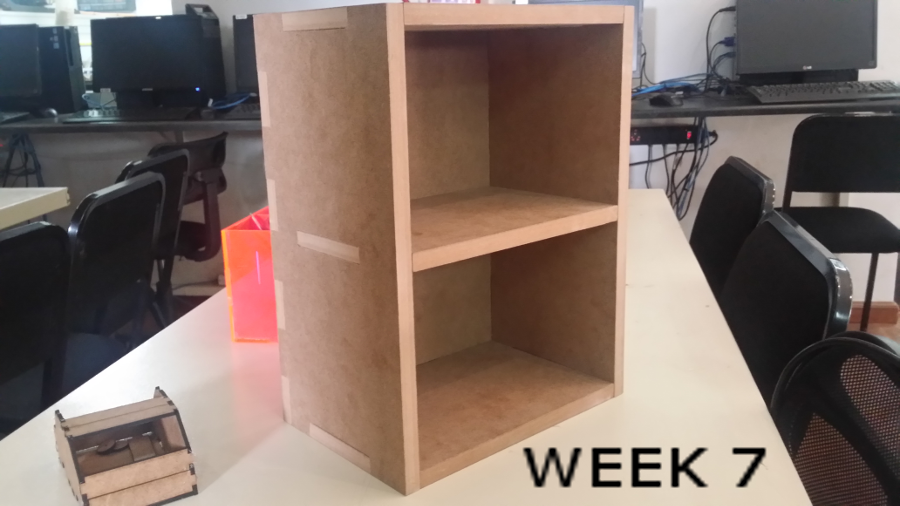
Mini Book Shelf all designed cut and assembled