Week 4
Electronic Production
First point was to update and re-install the lastest version of Unbuntu on my PC. i tried to use unbunto to run off a Flash drive but was unsucessfull becuase of issues on my PC . Ubuntu was needed to be loaded on a seperate PC which would link to the Modela (MDX20)
We sucessfully installed Ubuntu and then loaded the Fab Modules through the Terminal. We ran the updates on the Terminal.
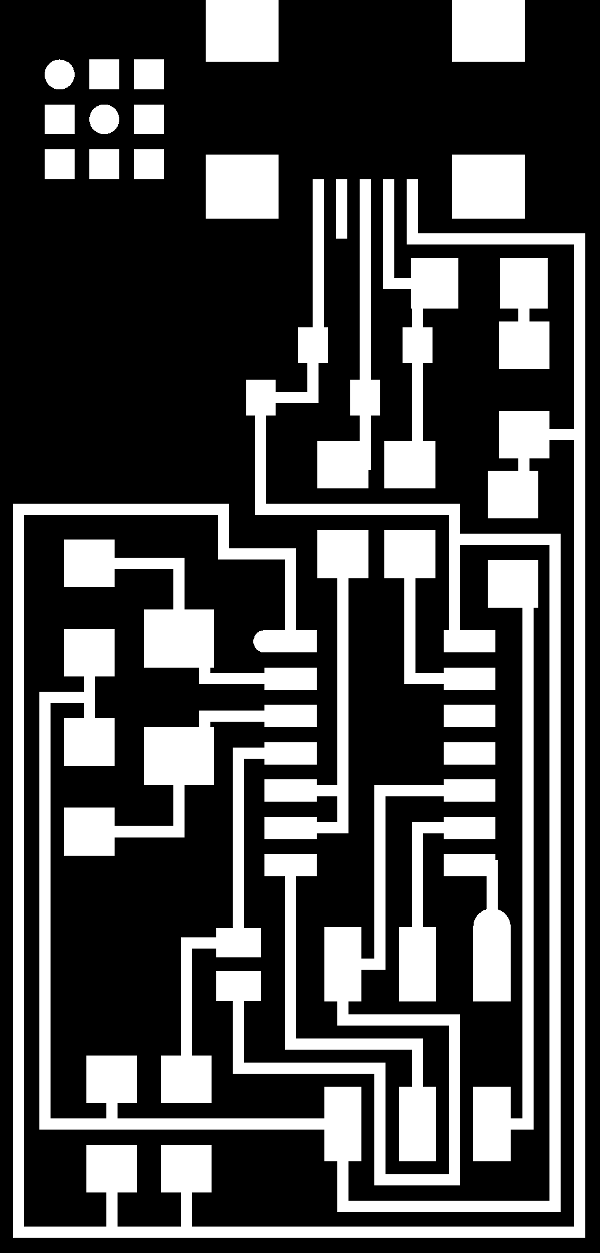
Downloading the ISP 44 traces for the ISP 44 Programmer
down loaded the ISP 44 traces PNG file and the ISP 44 Cut out PNG file
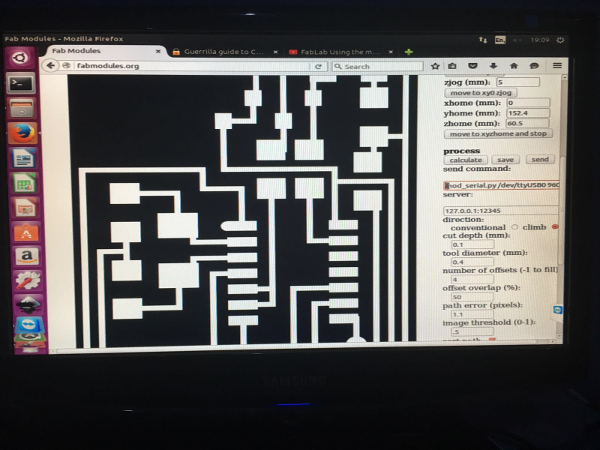
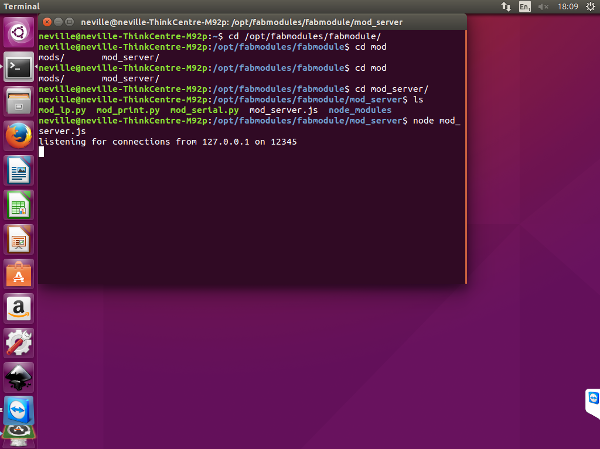
getting the computer ready to mill, The computer has to be linked to the internet as we mill through the Fabmodule. org website. and firstly to mkae sure that the computer is linking to the machine, we open the terminal and make sure that the computer is listening see bellow : the computer is now linked to the machine and ready to mill
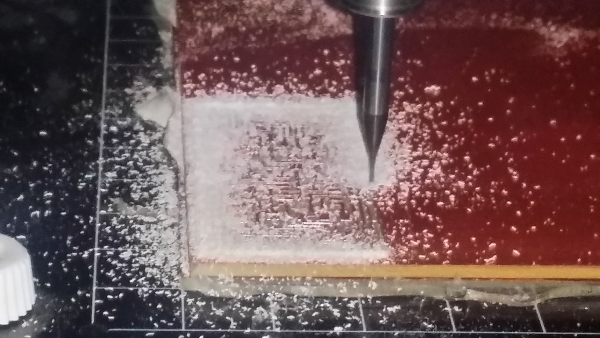
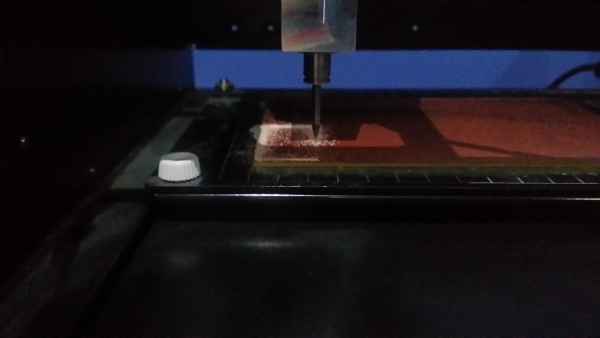
in order to mill the board, we have to do this through the Fabmodule.org site.i first brought in the cut out png file, to do a test to make sure that the board was level.i donnot cut through the board as yet but just one round on the surface.
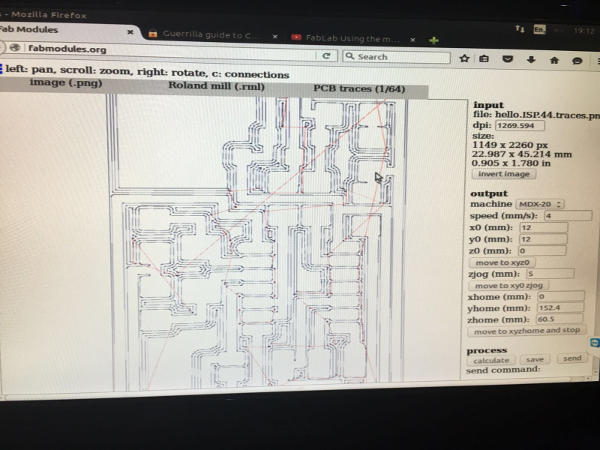
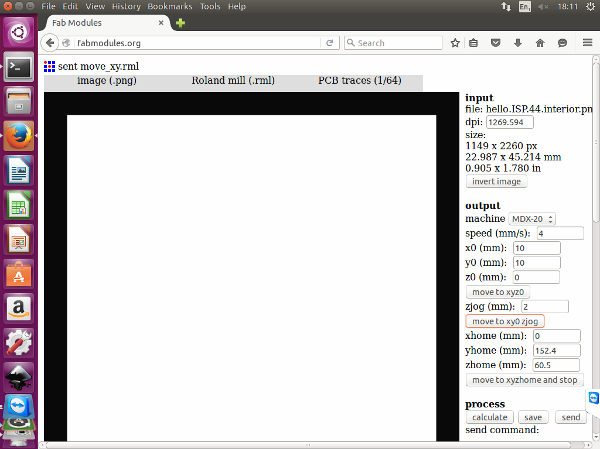
Step 1 open fabmodules.org
Step 2 bring in the PNG file
Step 3 selct the machine, in our my case the Roland Mill
Step 4 select the PCB traces 1/64
Step 5 on Output select the machine : MDX20
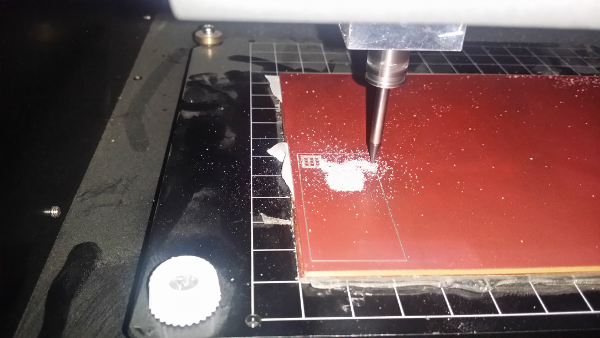
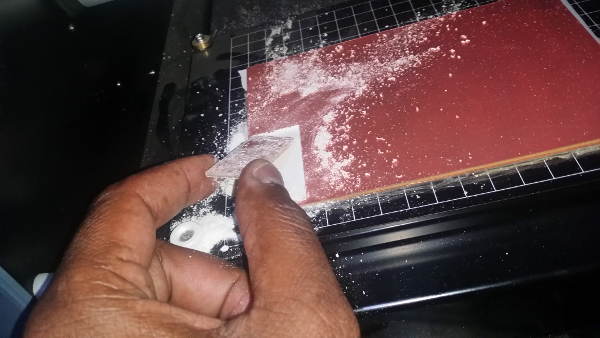
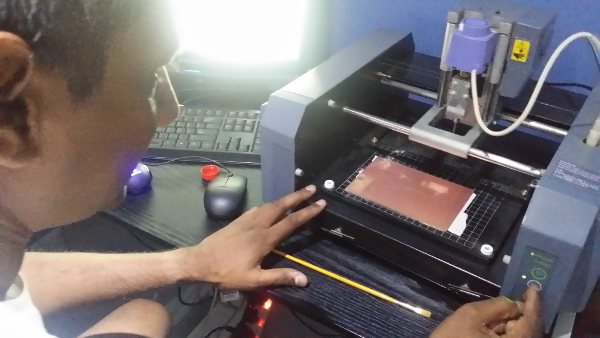
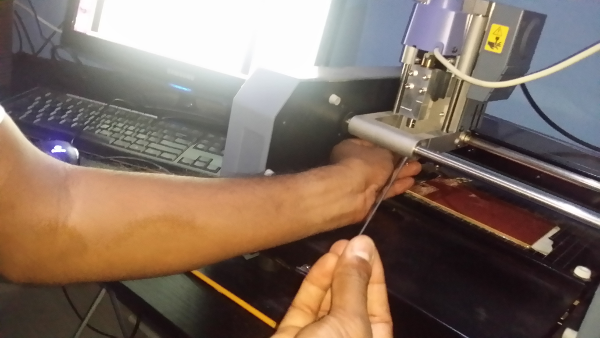
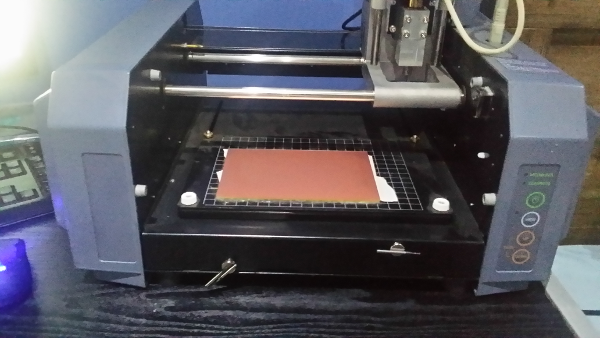
setting the board on the machine was very important, Using two way tape i stuck the board onto the machine bed, which already had a sacrificial layer stuck on. Then making sure the correct mill is installed and also the positioning of the mill to start cutting the circuit.
Back to the computer, to get milling
all seemed correct and then, but the machine would not move, then i had to put "./" infront of the mod_serail...... and then we calculated it and then sent through to the machine . the board seems to be all level and ready to go.
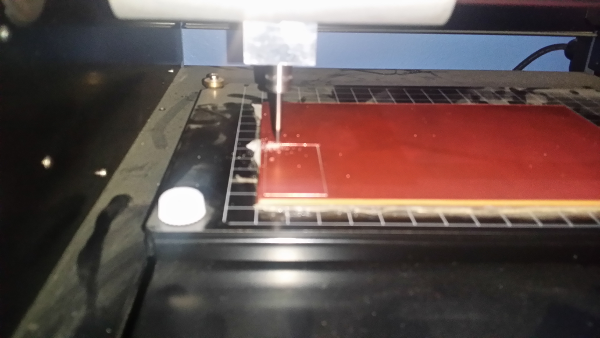
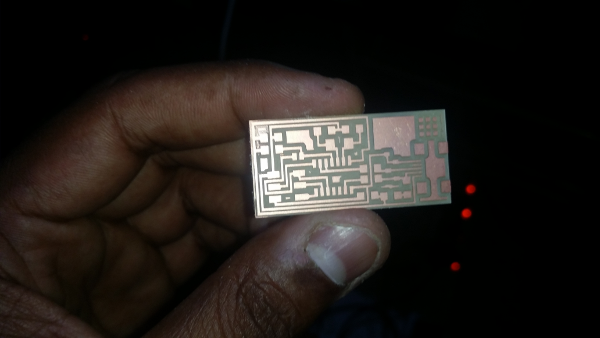
i follwed the same process again, bringing in the PNG file for the traces , then selecting the Roland Mill , then the 1/64 mill , selecting the machine type. and then calculating also calculating the cut dept and changing it to 0.06 ,so that we dont go too deep into the board. Calculate and the send to machine and then thereafter folling the same process again bringing in the Cut Out PNG file follwoing the same steps, but this time using the PCB traces 1/32 mill to cut out the board