Week 6::Electronics Design
Learning outcomes: Select and use software for circuit board design. Demonstrate work flows used in circuit board design. Source Files.
Select and use software for circuit board design:
Using EAGLE to layout the board. I downloaded and installed Eagle and the fab libraries. I followed FabAcademy2016 tutorial to complete the assignment. It was well documented and helped to point out many of the Eagle usability issues. First, I imported the components necessary from the library, then laid them out according to tutorial example. Next, I was labelled each component and the pins, which built the trace references in the file. This is what it looked like in Schematic view: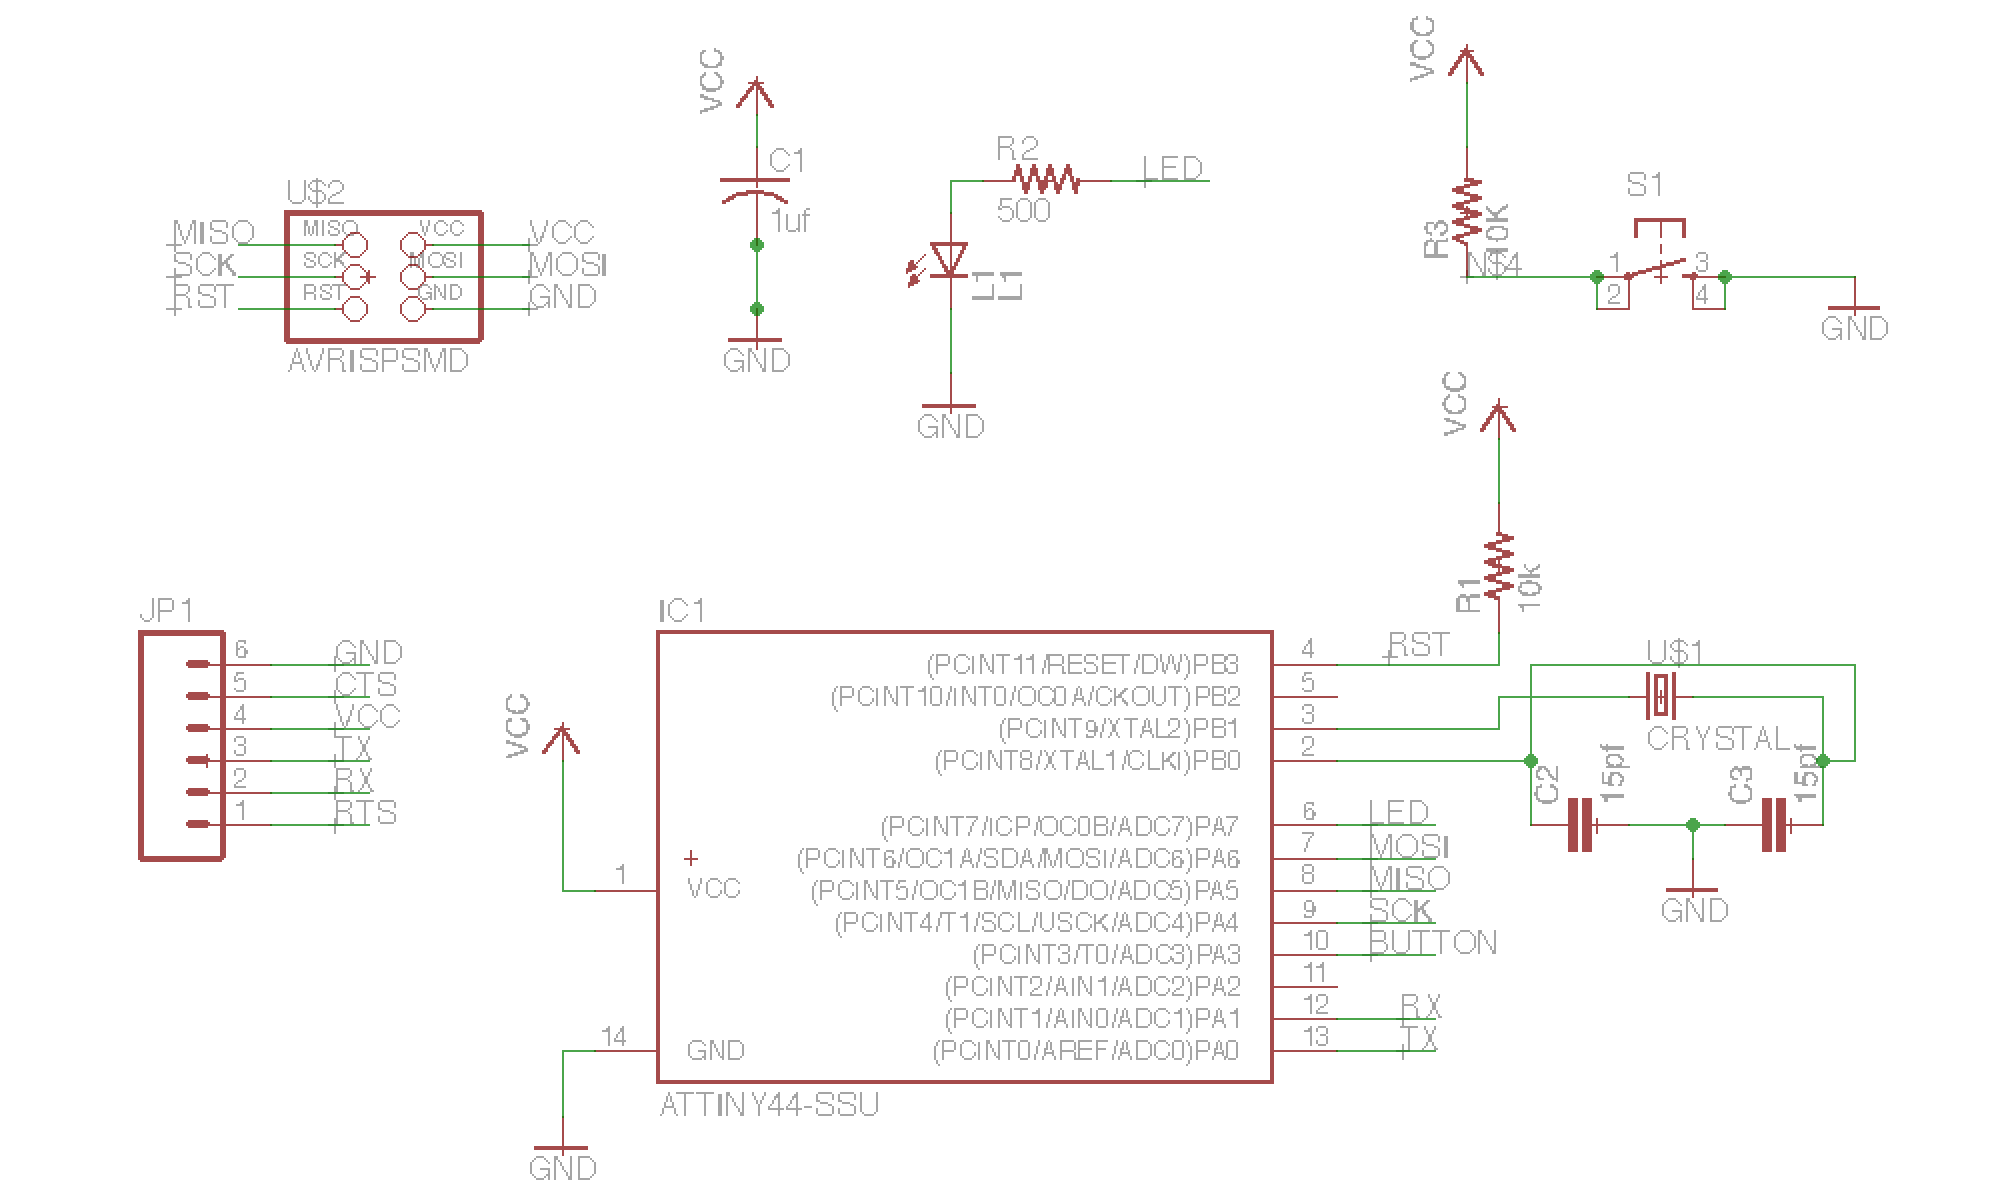
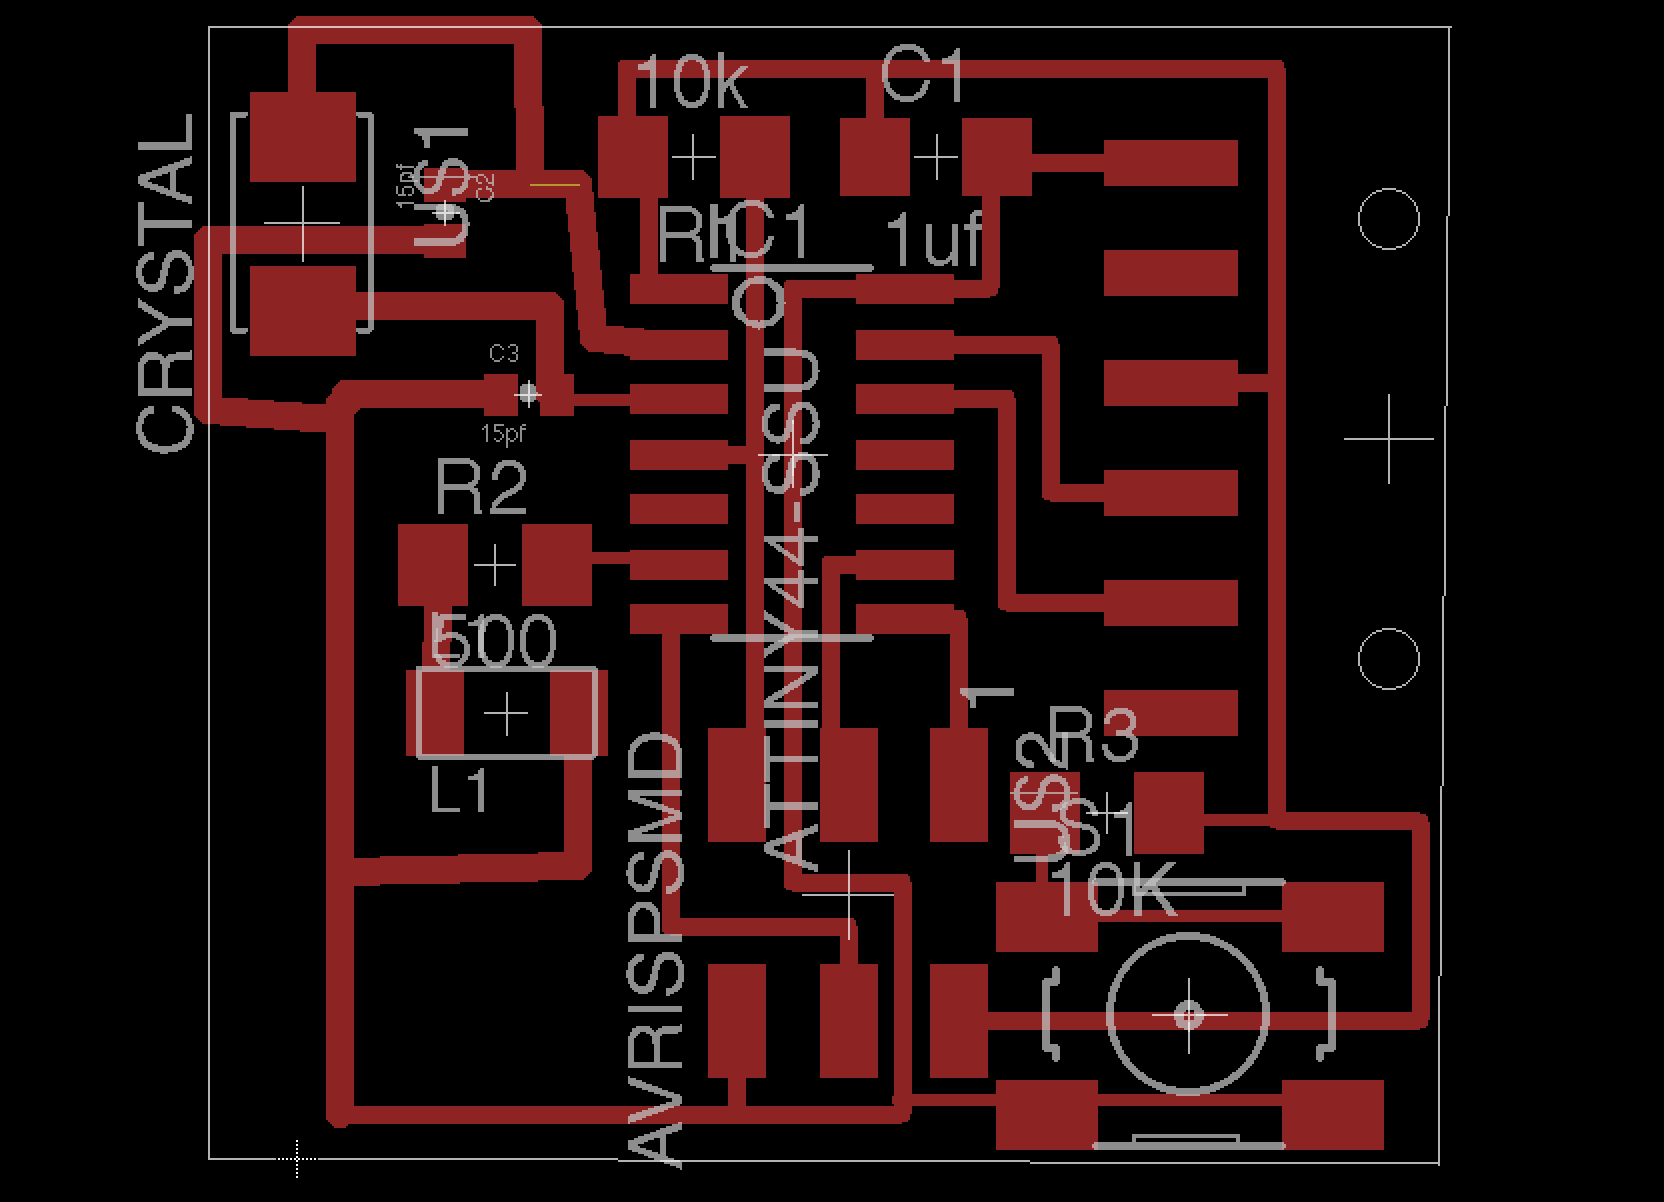
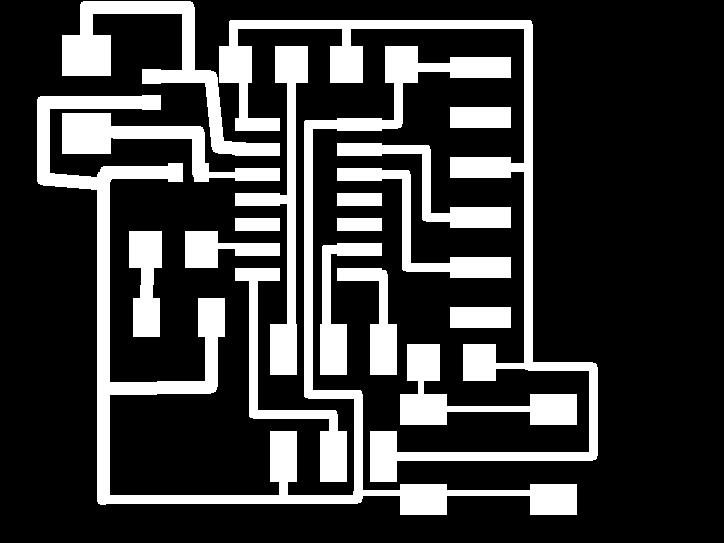
The next step was to view the file in Board view and to route the traces. I did this manually and followed tutorial layout closely.
In the end my board looked like this:
Demonstrate work flows used in circuit board design:
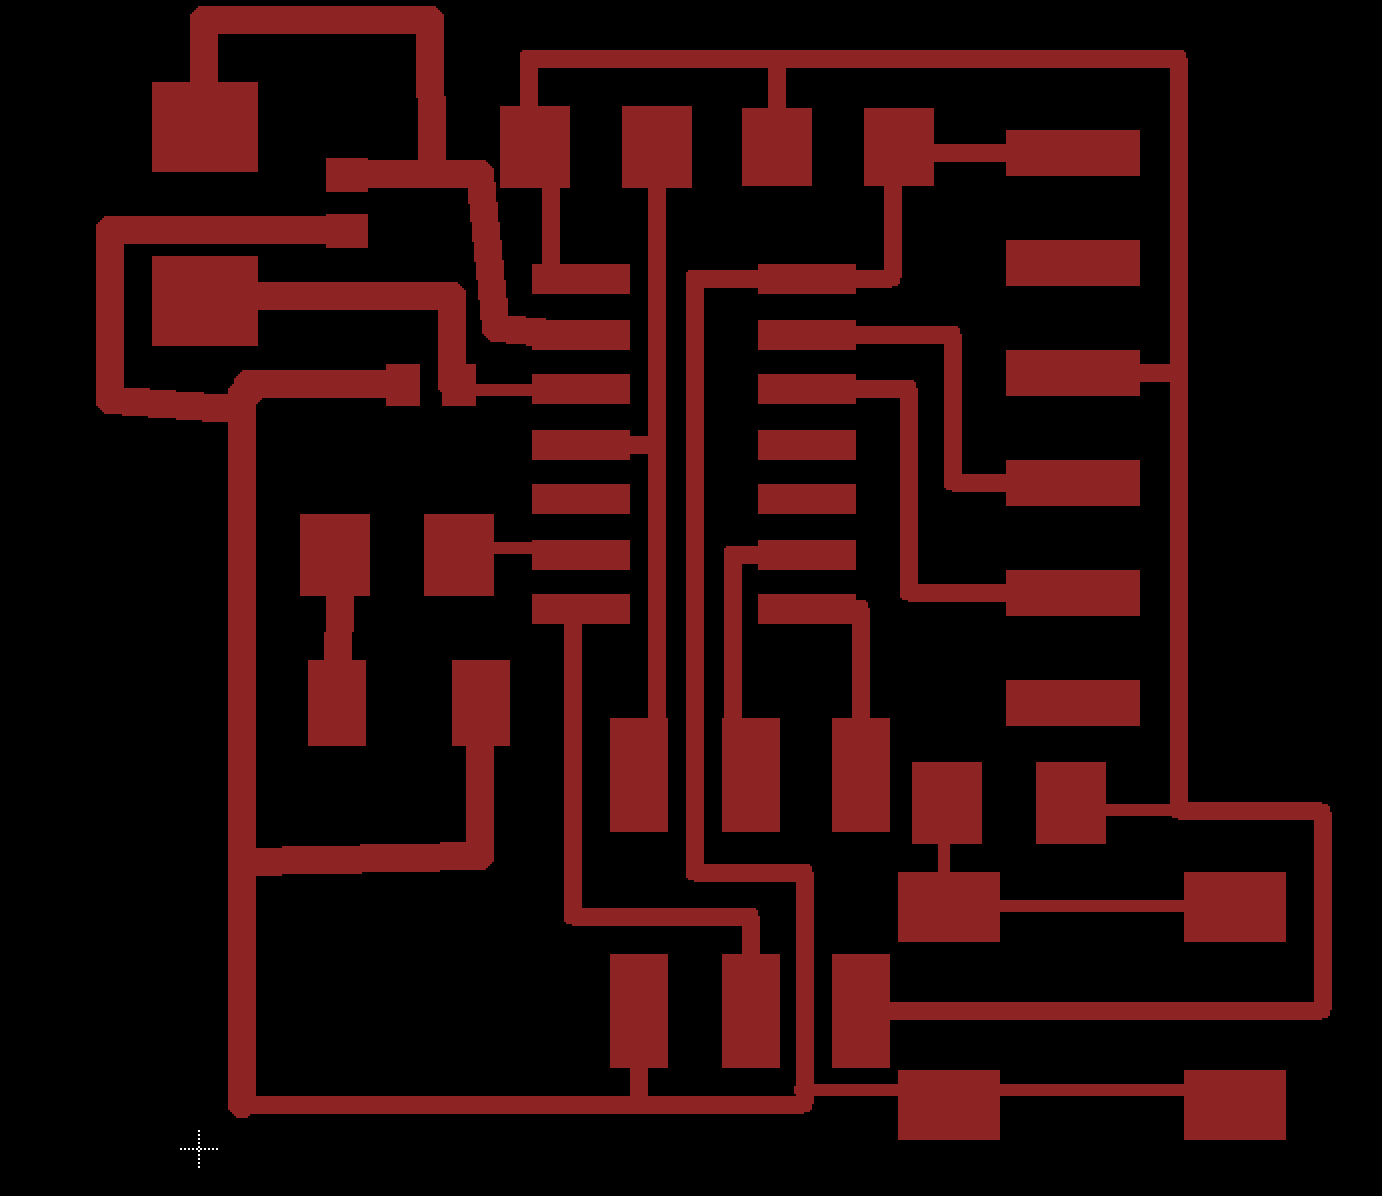
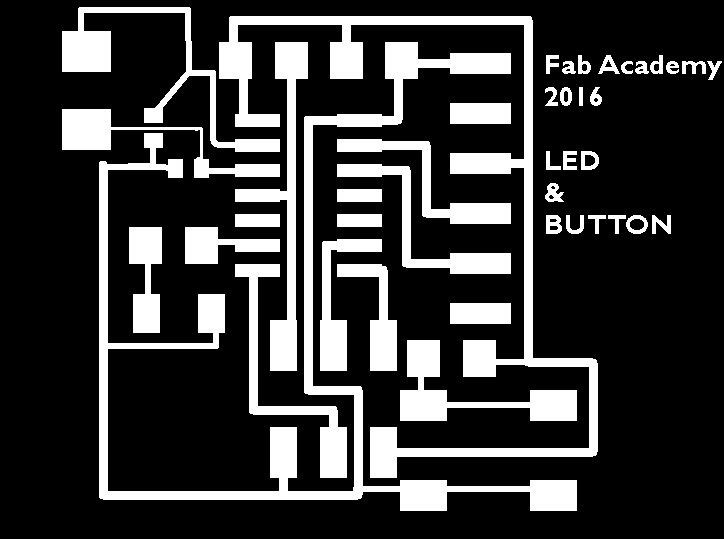
Then I used the GIMP to make the png file for the traces:

Start milling my board with modela mdx-20
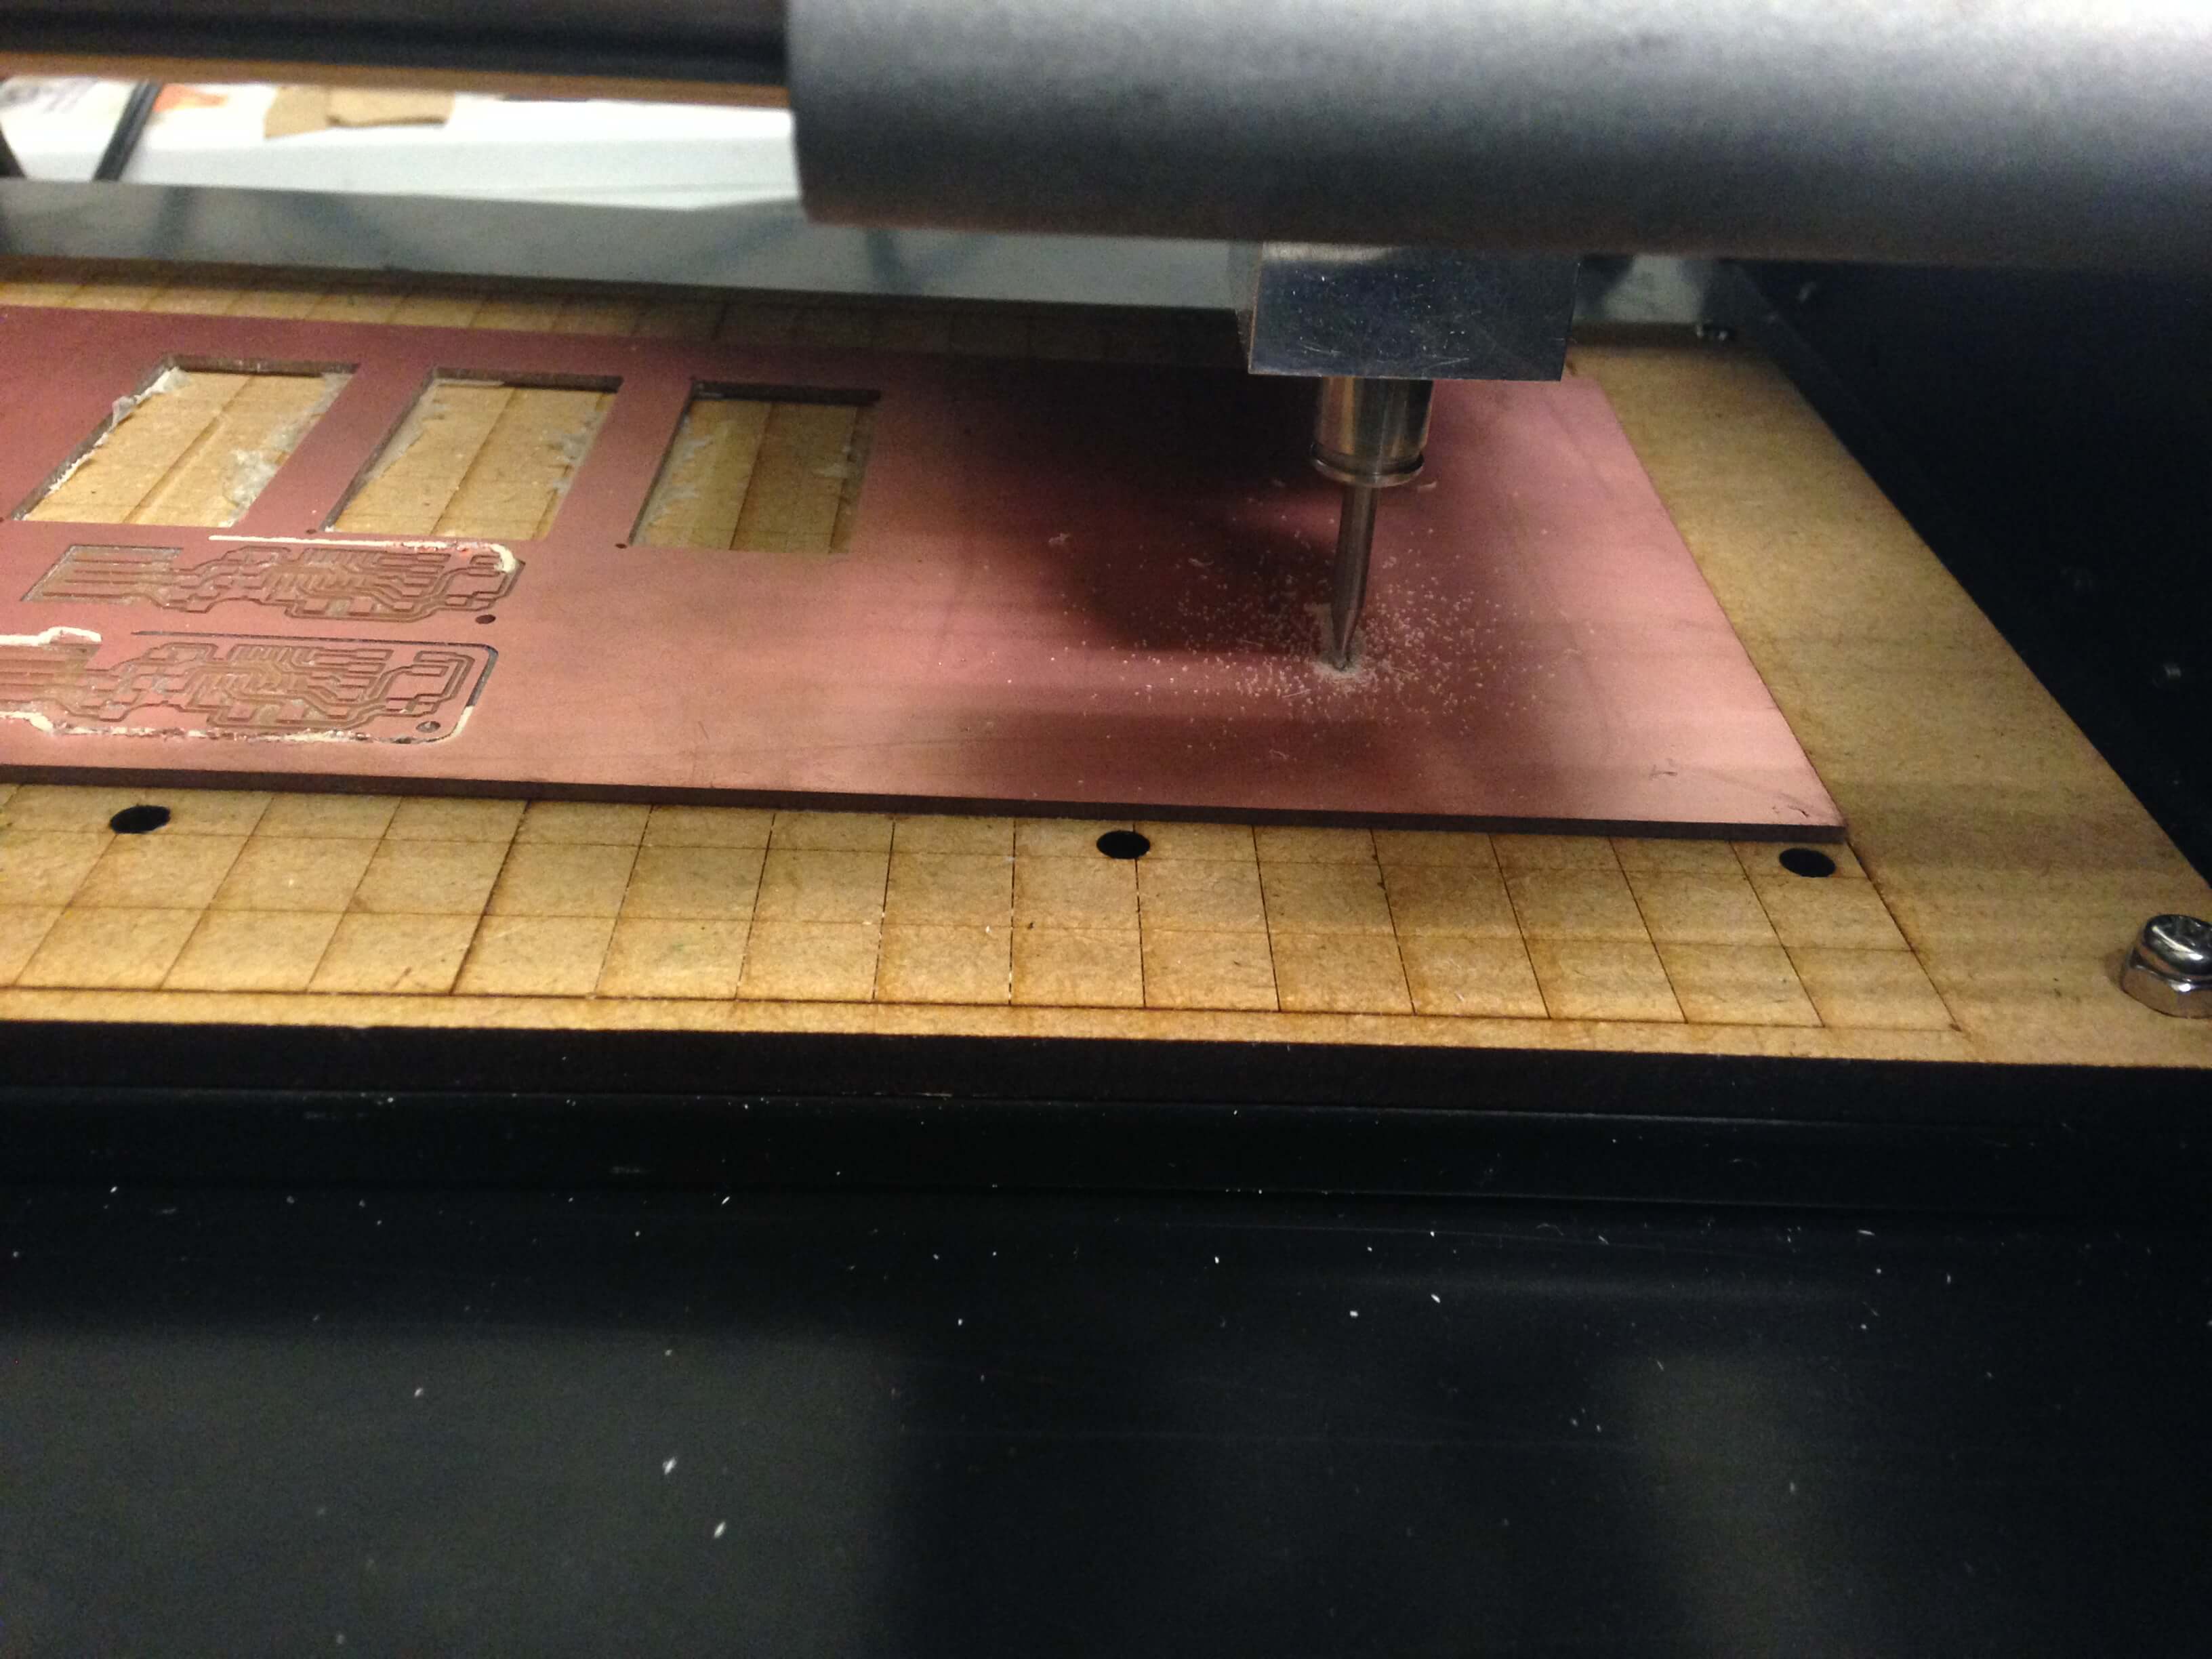
This was the first board that I milled, but it came out with some problems. First, the letters in the "fab academy 2016......" were too small and so tore off the board. More importantly, some of the traces were awfully thin and broken, so the connections wouldn't be made.
After regional review Jason told me right angle pcb traces should be avoided.
So next time to design pcb traces I have to avoid this problem.
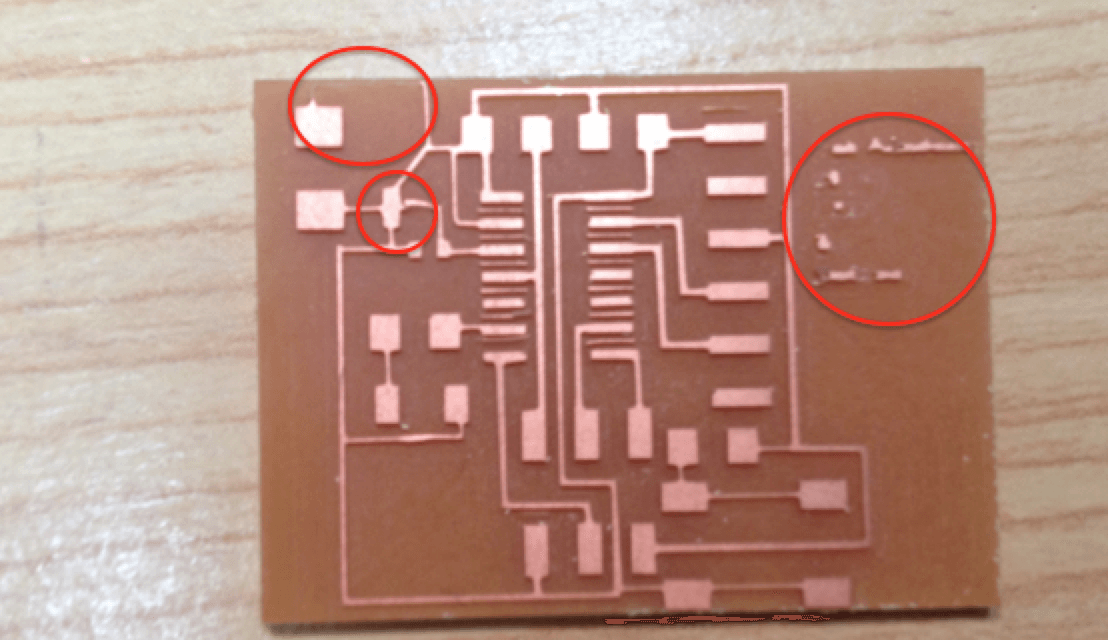
So I have to go back to EAGLE and fix the traces, moving the components apart and making the traces a little bit bigger. Then the milling process much better.
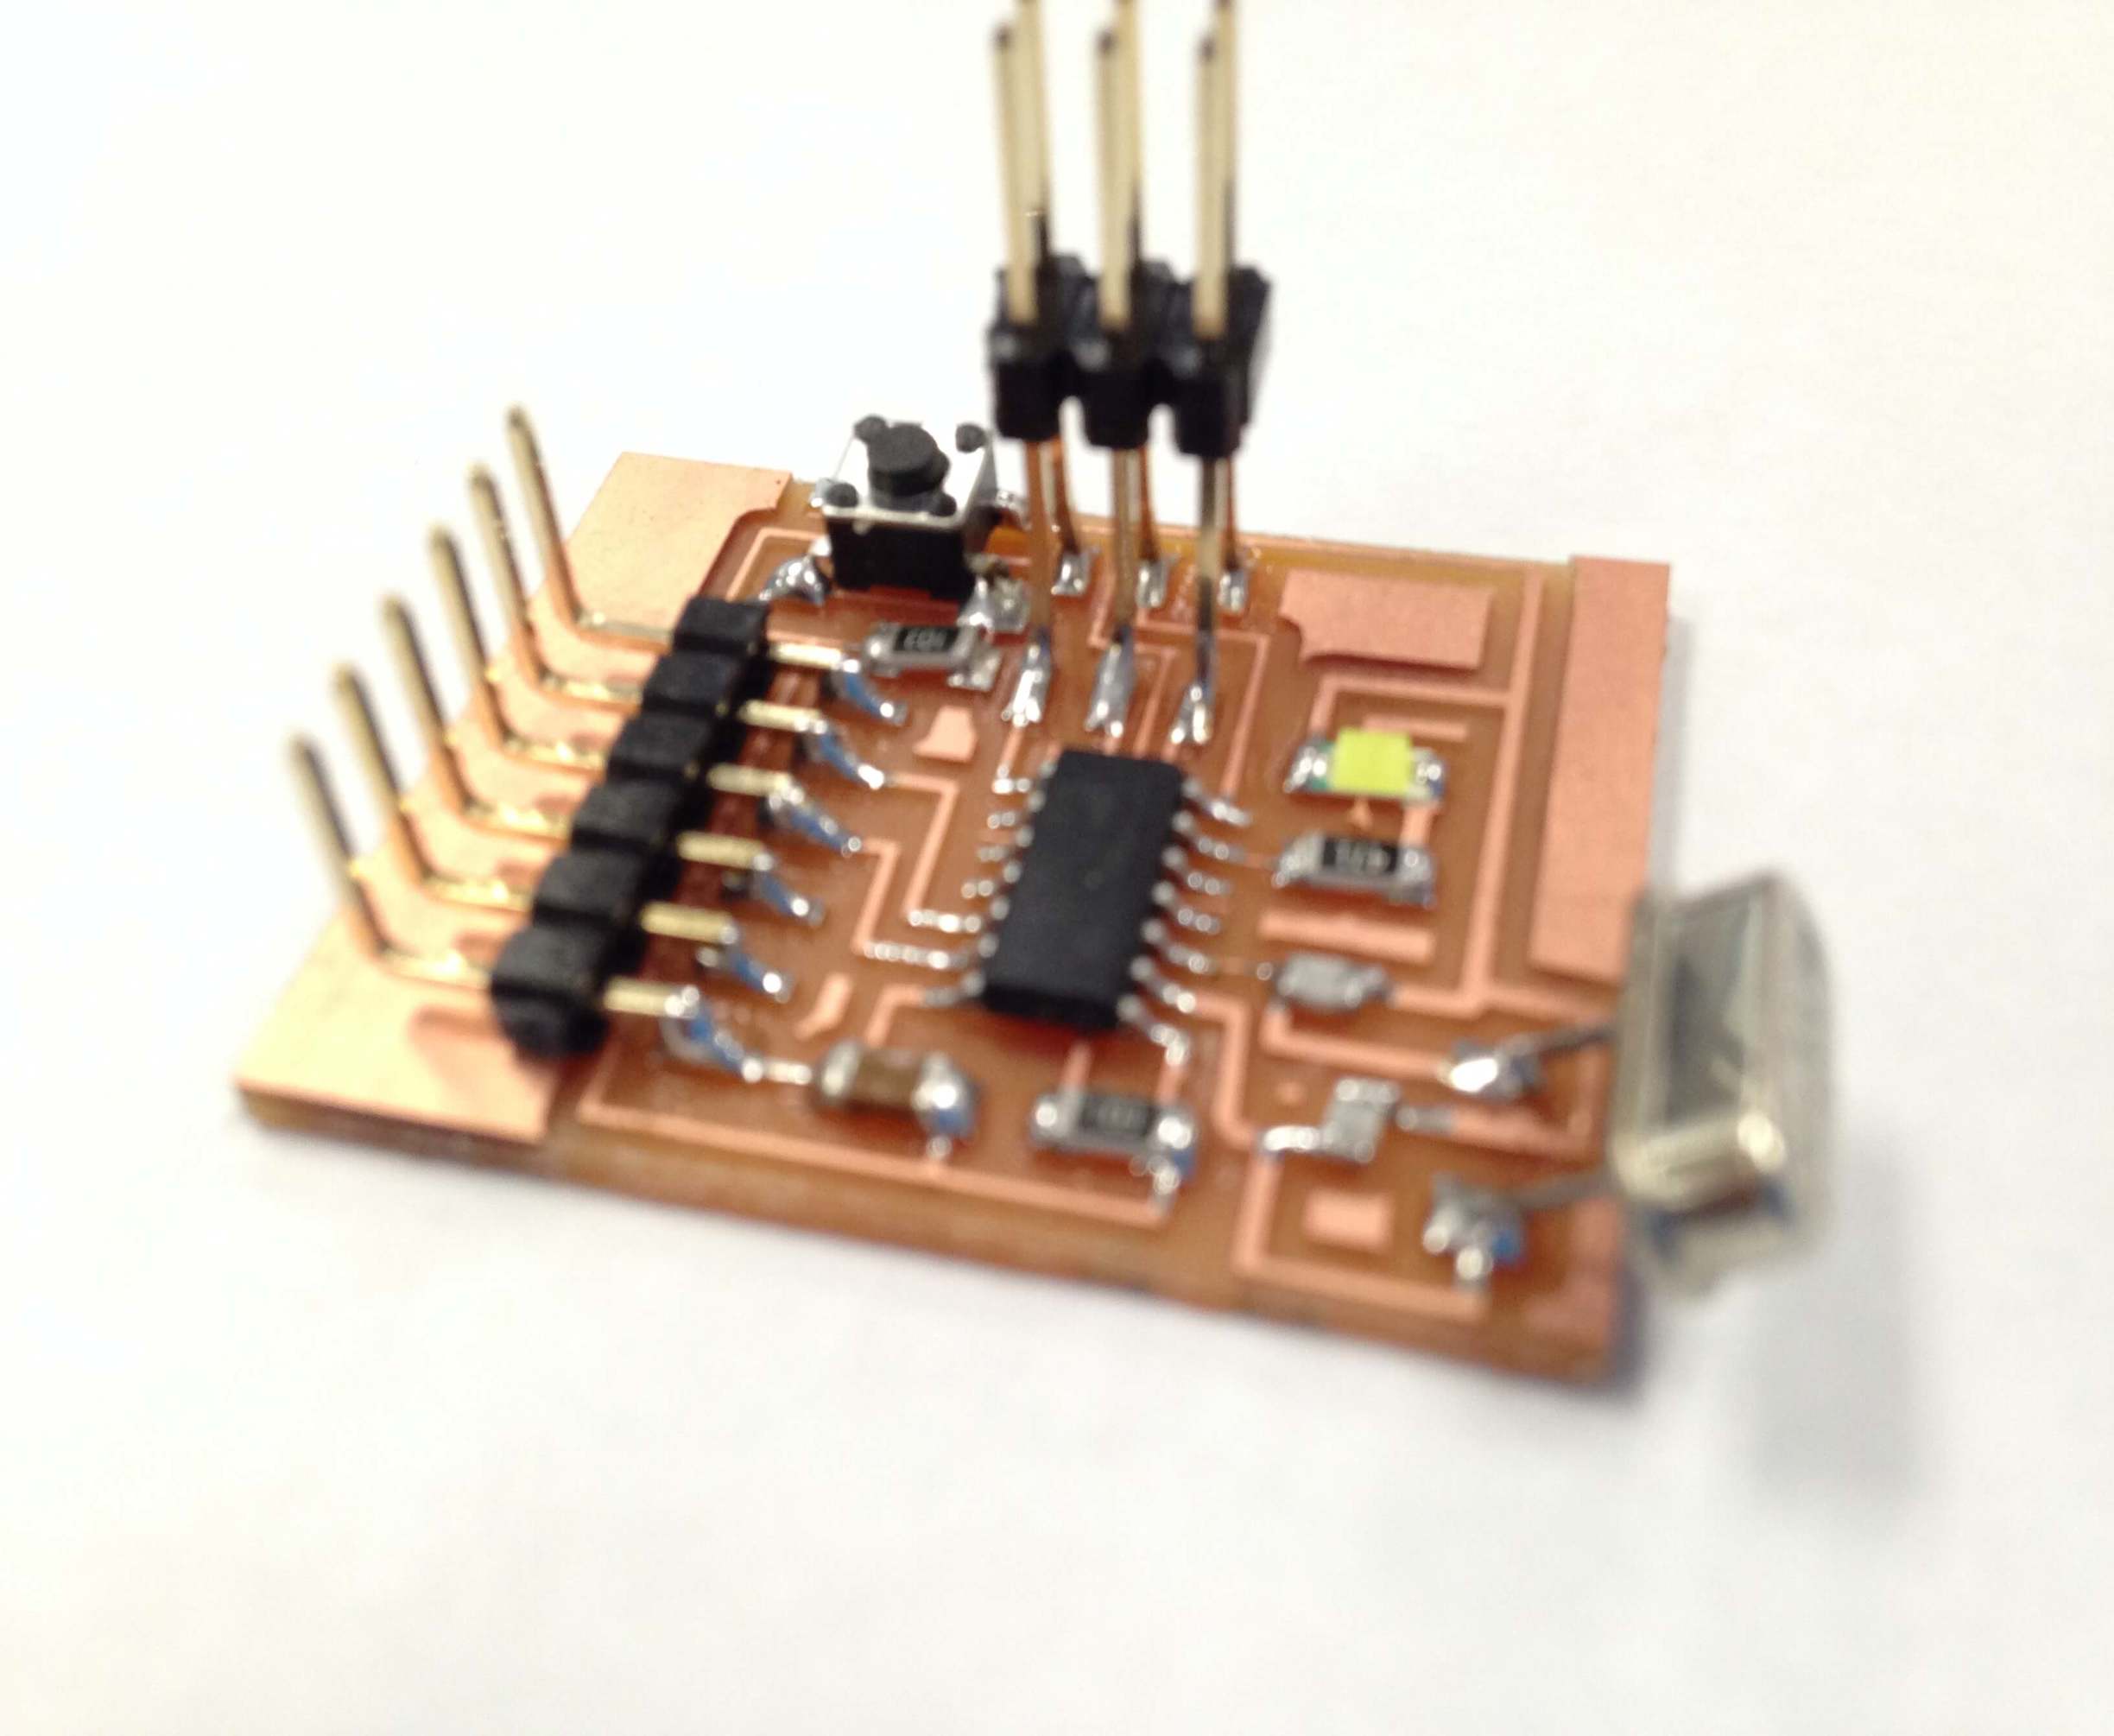
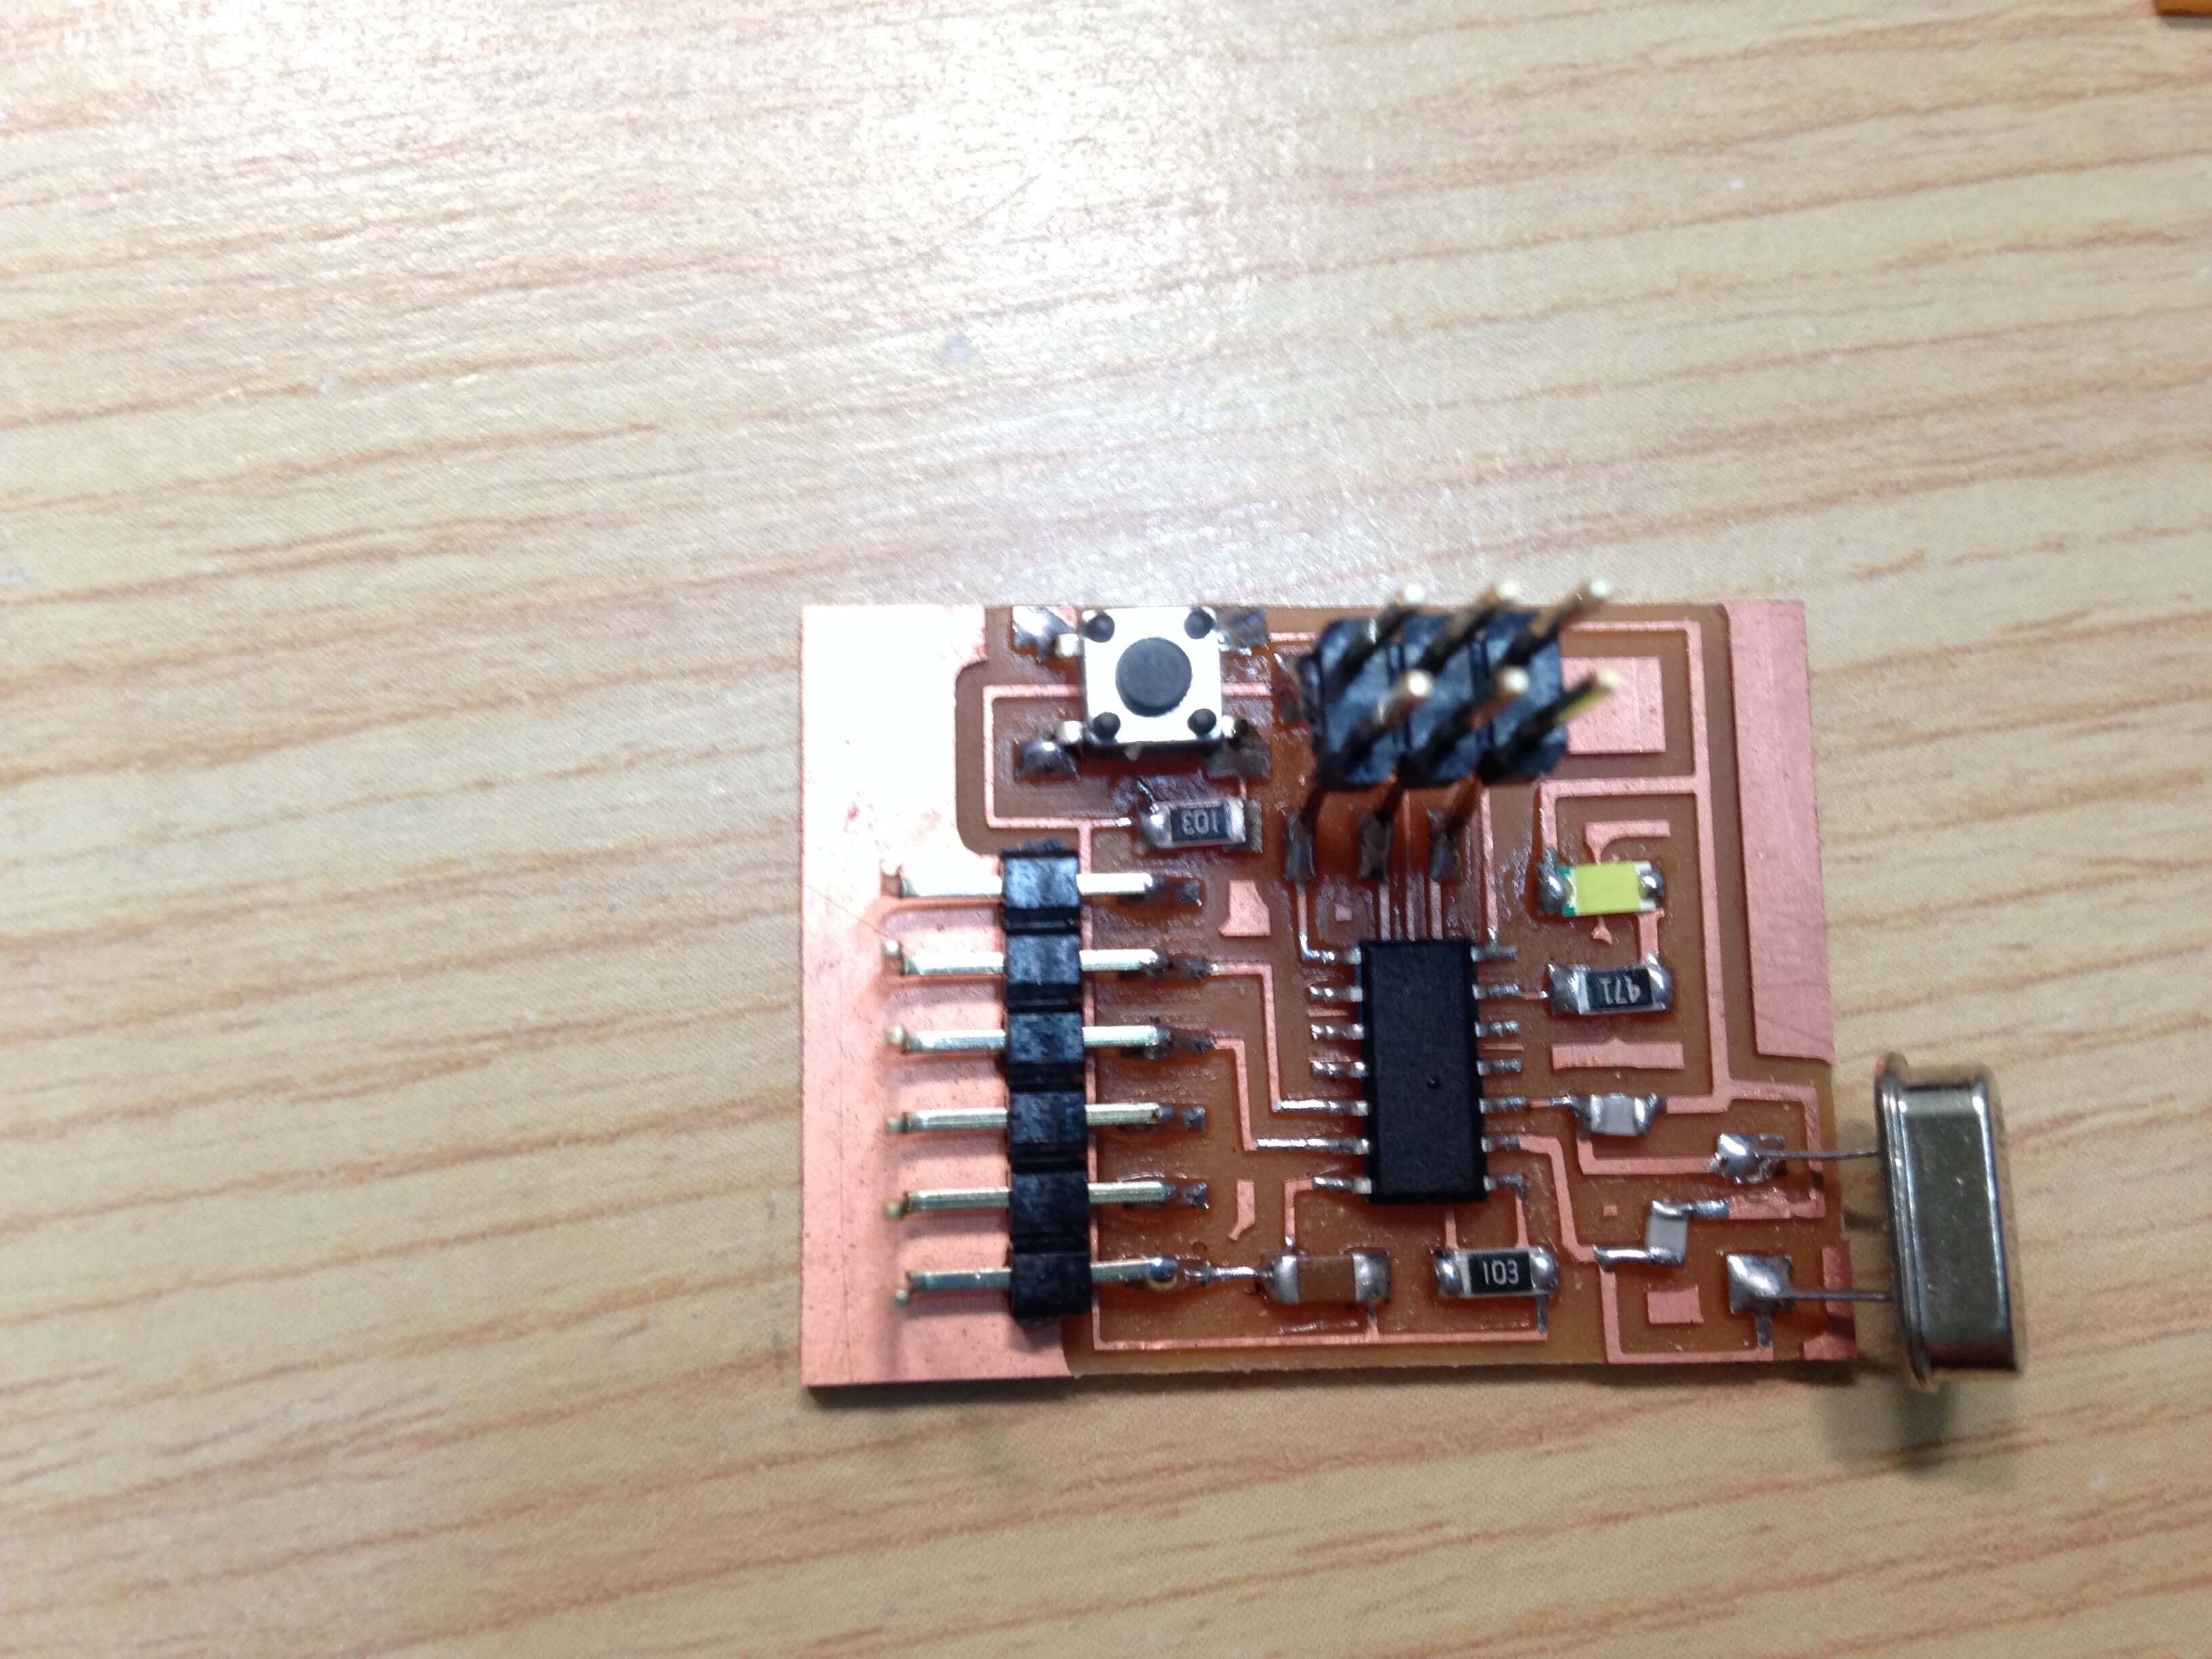
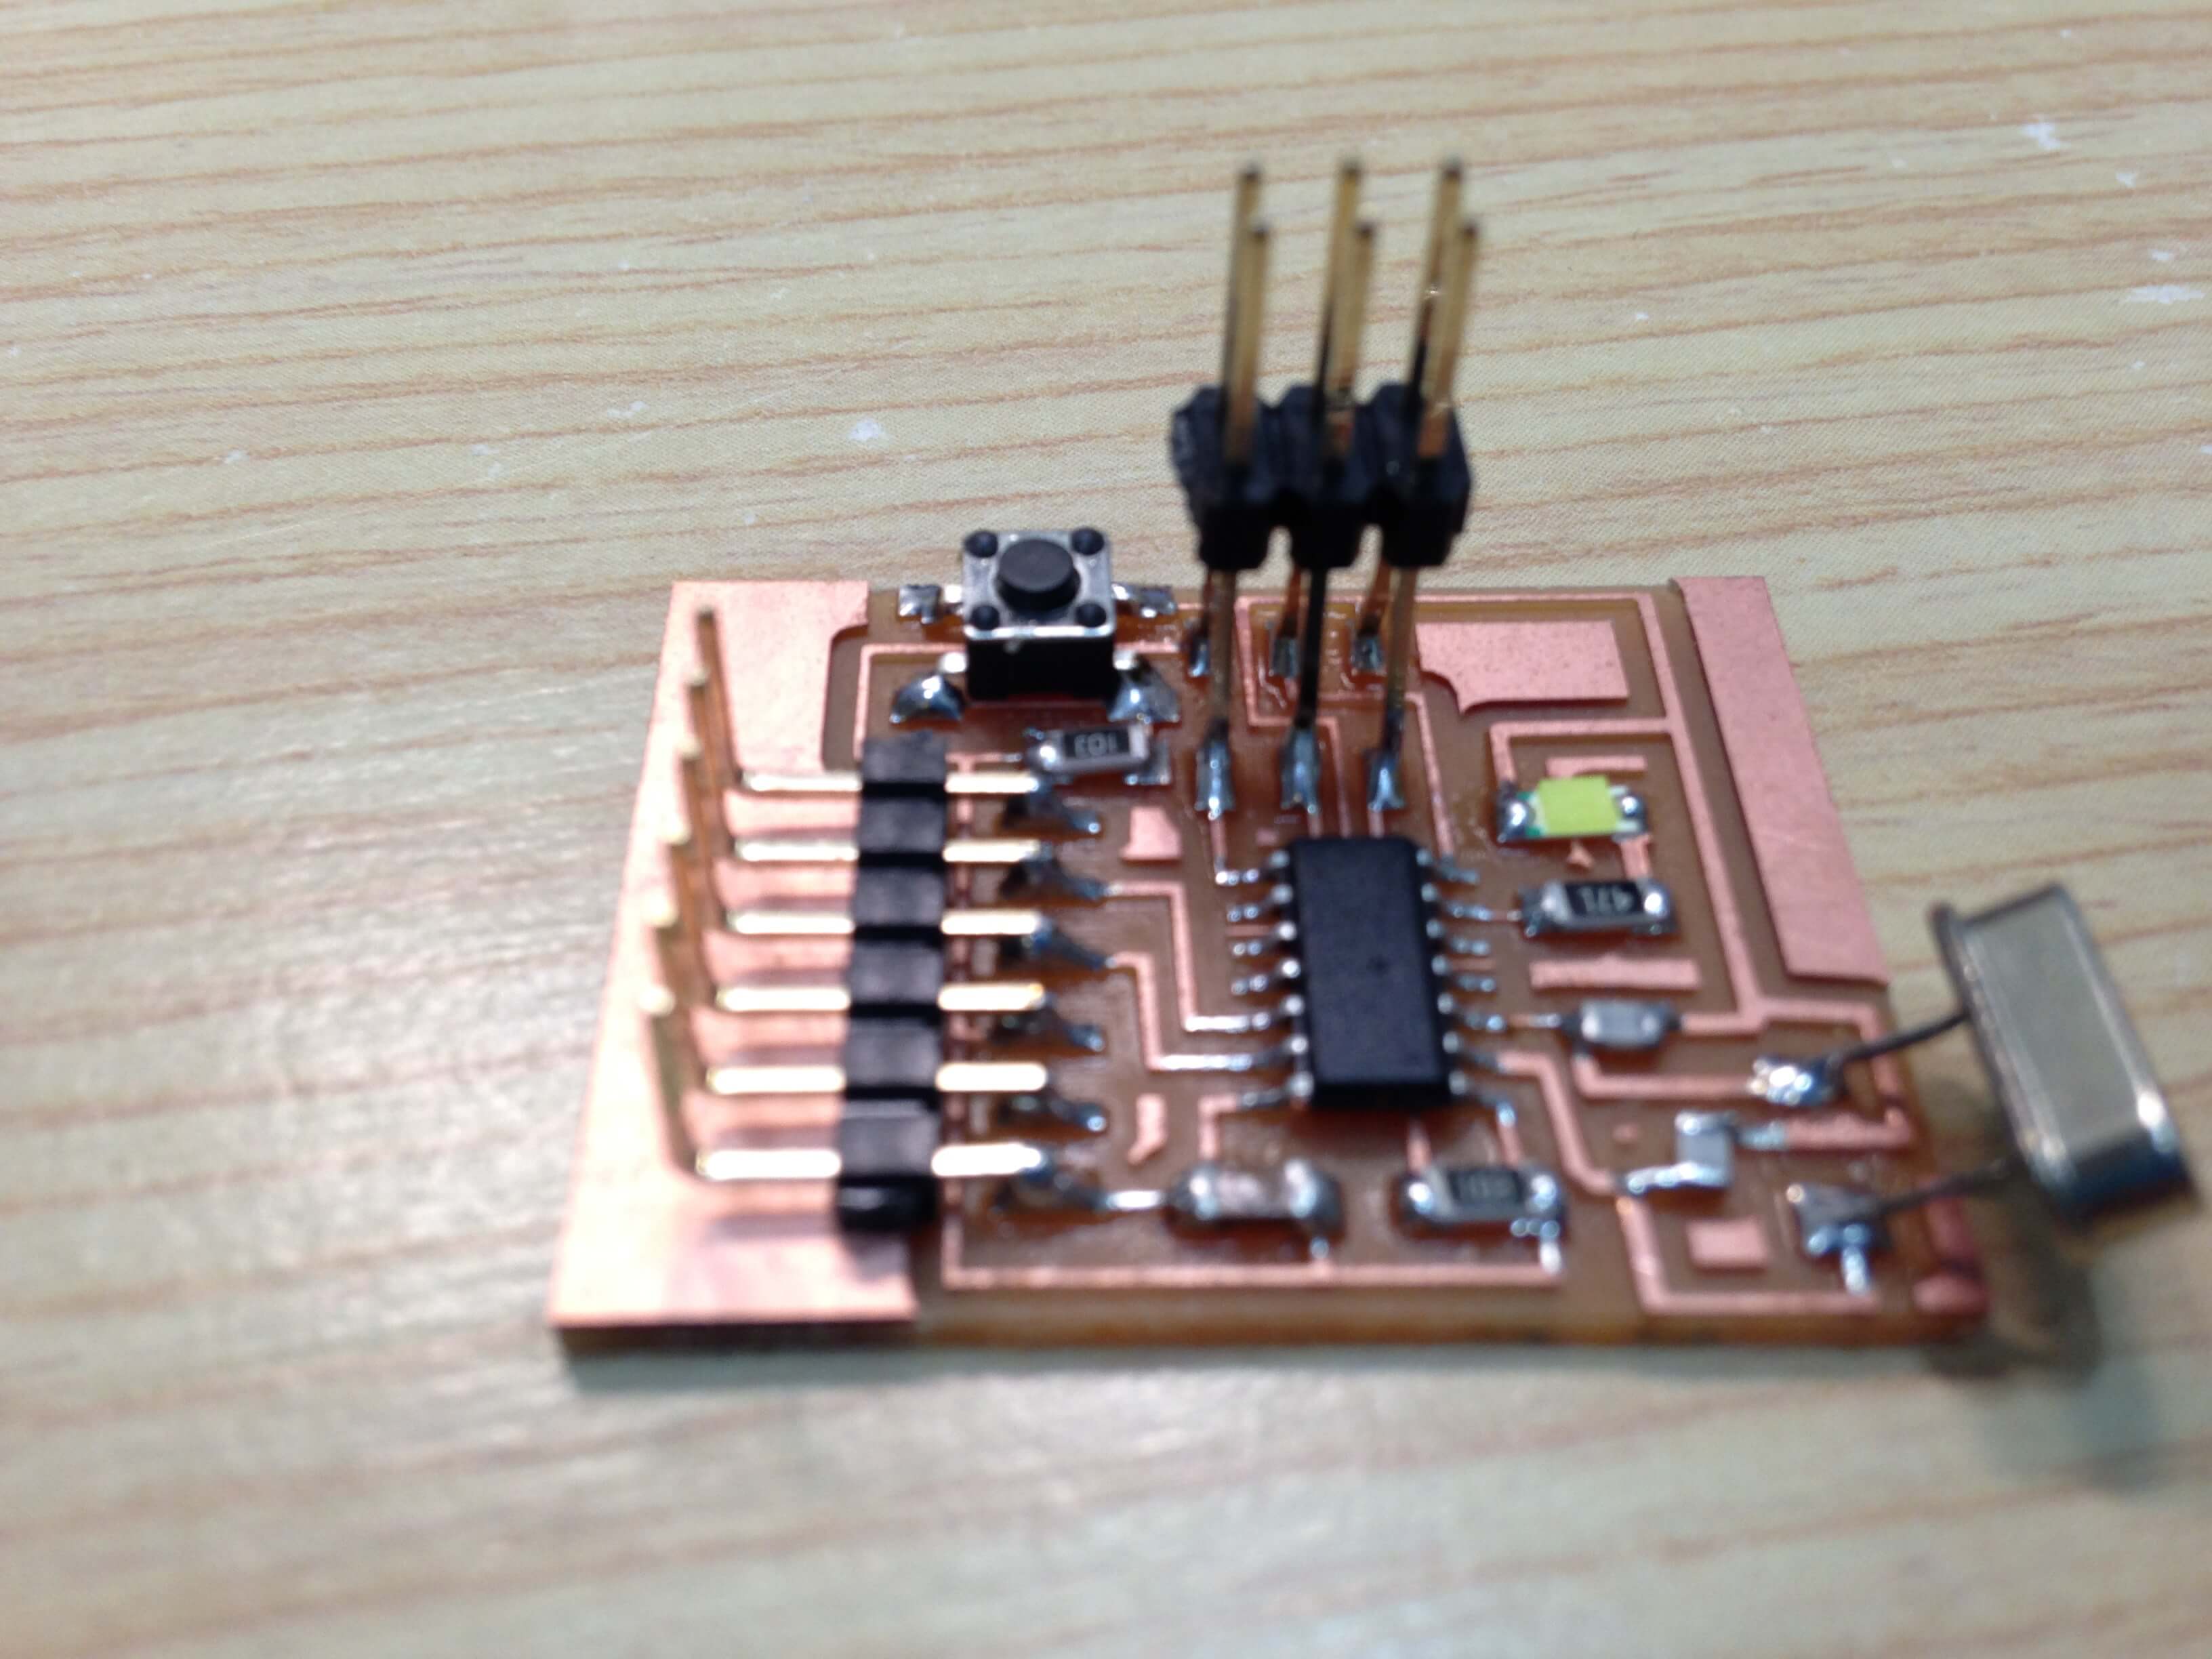
Start soldering with components:

The one part of the process that I have gotten much quicker at is soldering. The finished board looks pretty neat.