Week 3::Computer Controlled Cutting
Learning outcomes: Demonstrate and describe parametric 2D modelling processes. Identify and explain processes involved in using the laser cutter. Vinyl Cutting. Source Files.
Demonstrate 2D modelling processes:
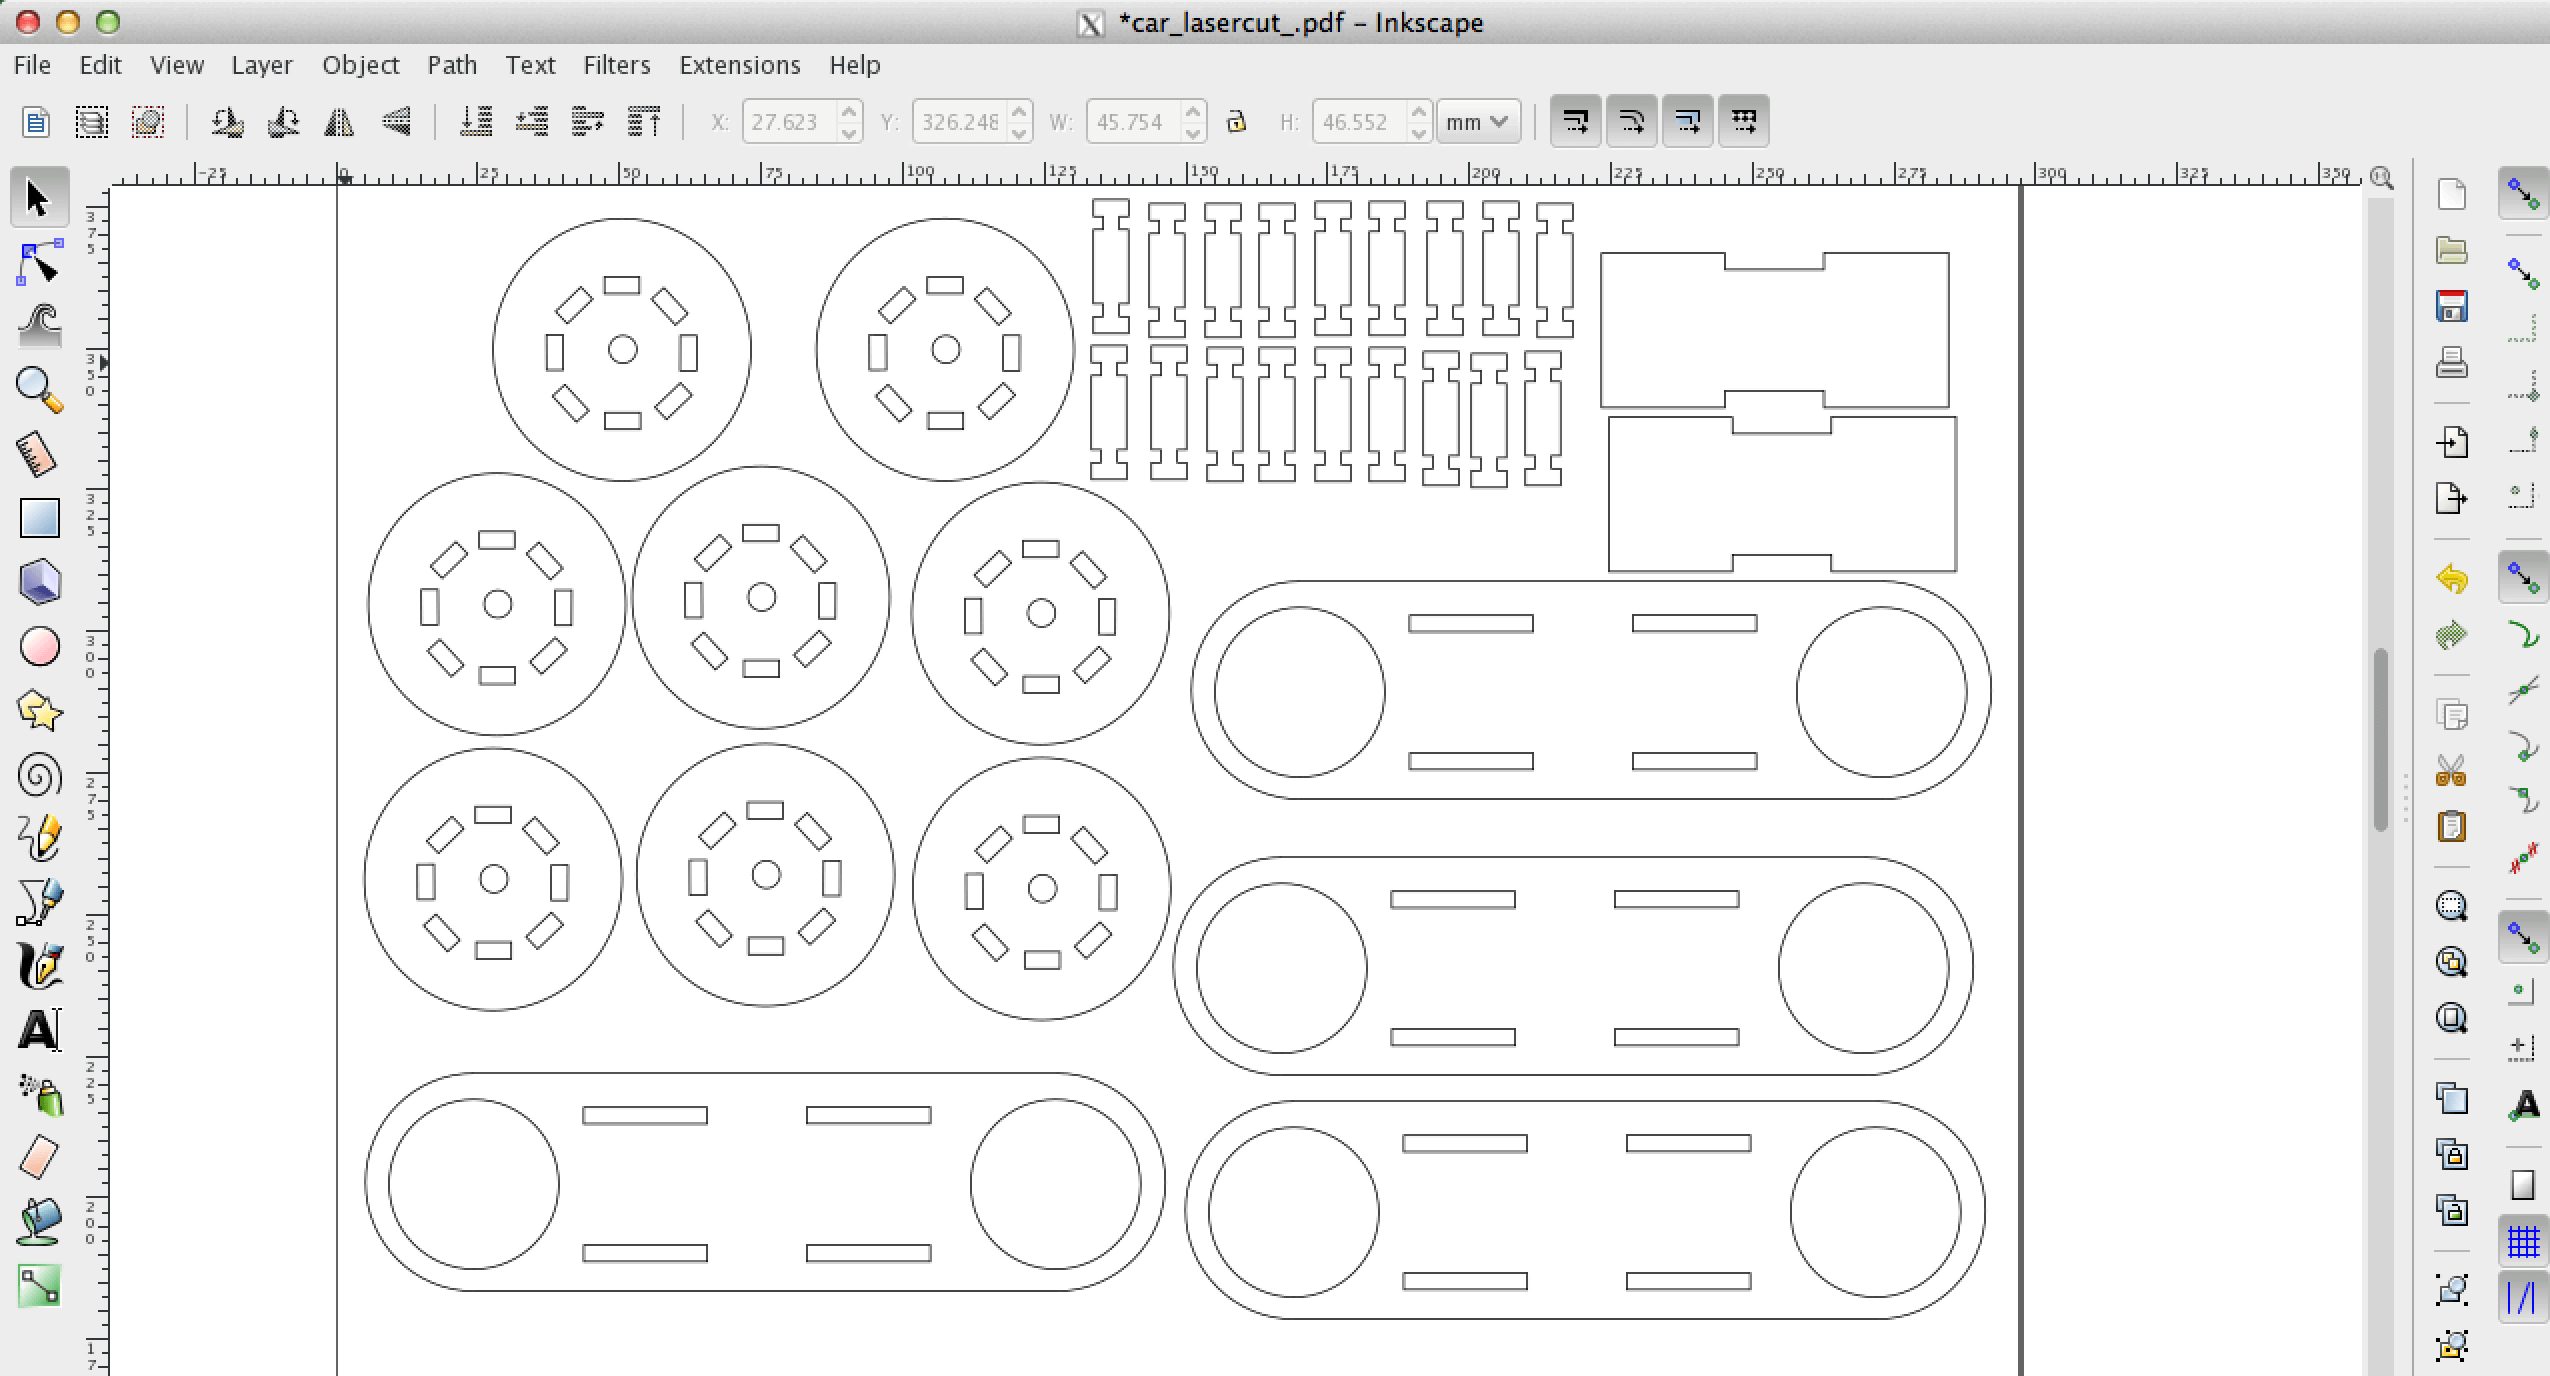
I try to use Adobe illustrator and Inkscape to draw my 2D design.
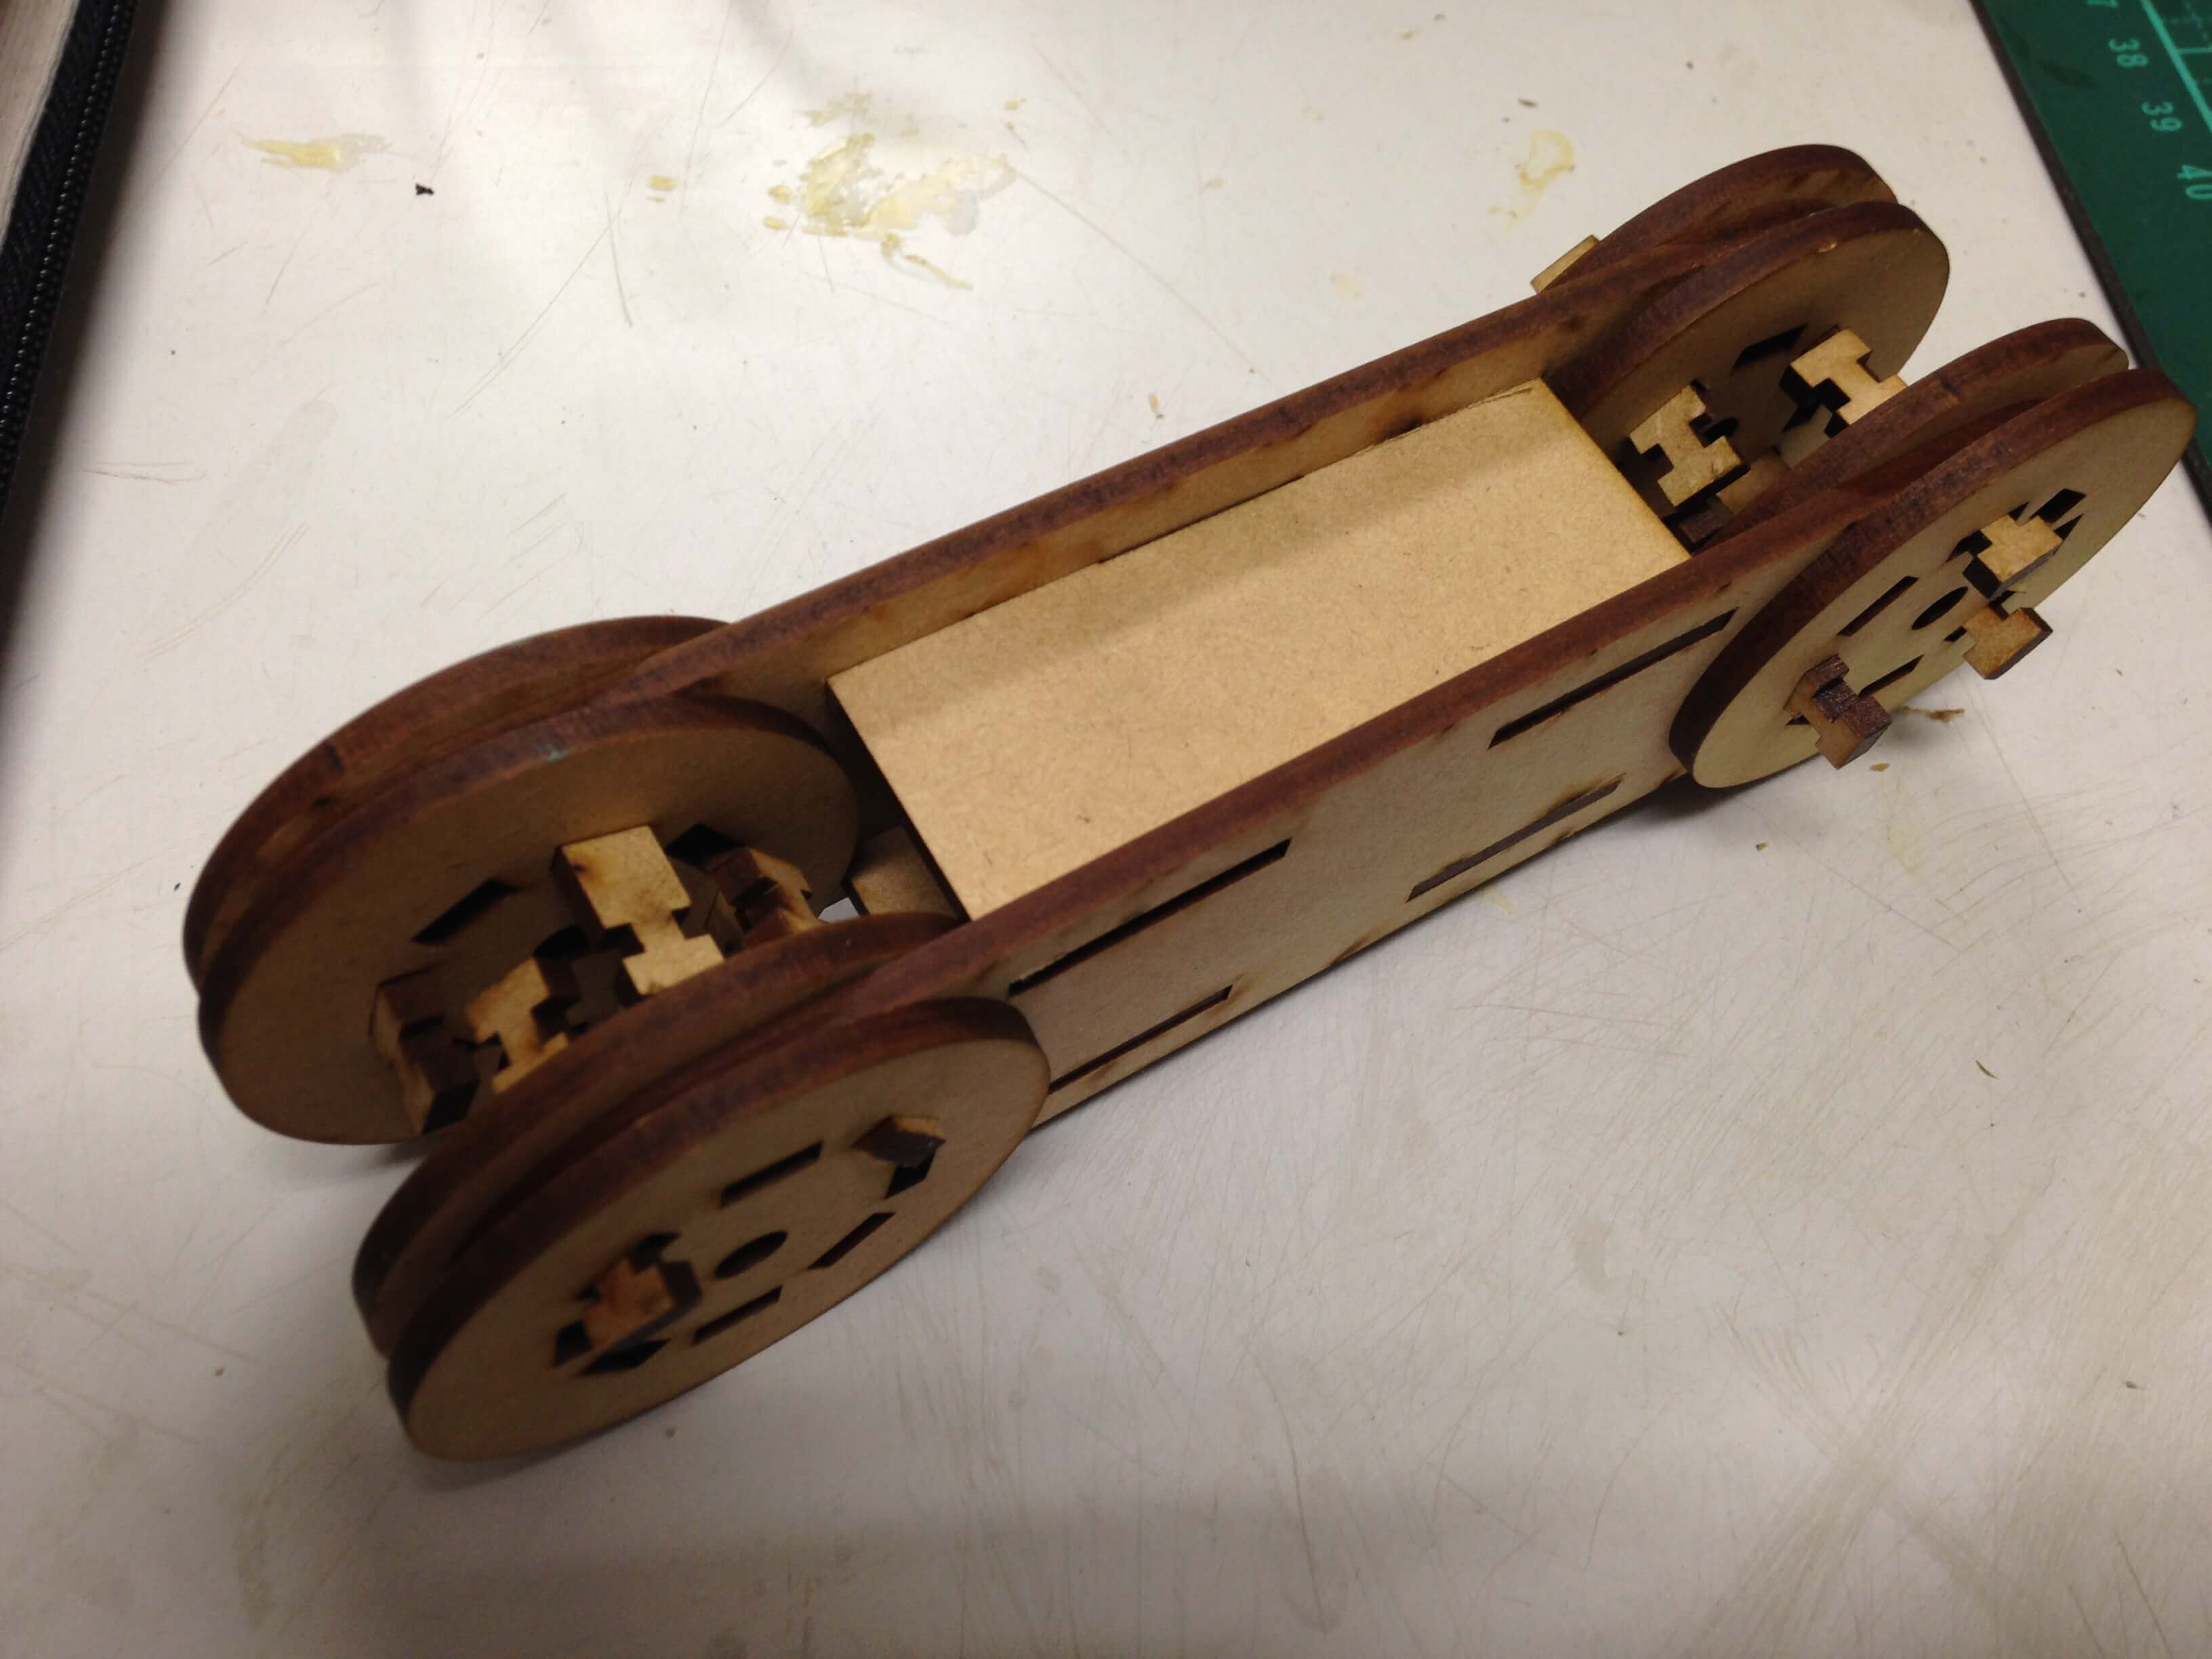
Because I very like car model. I want to make a small car by laser cut.
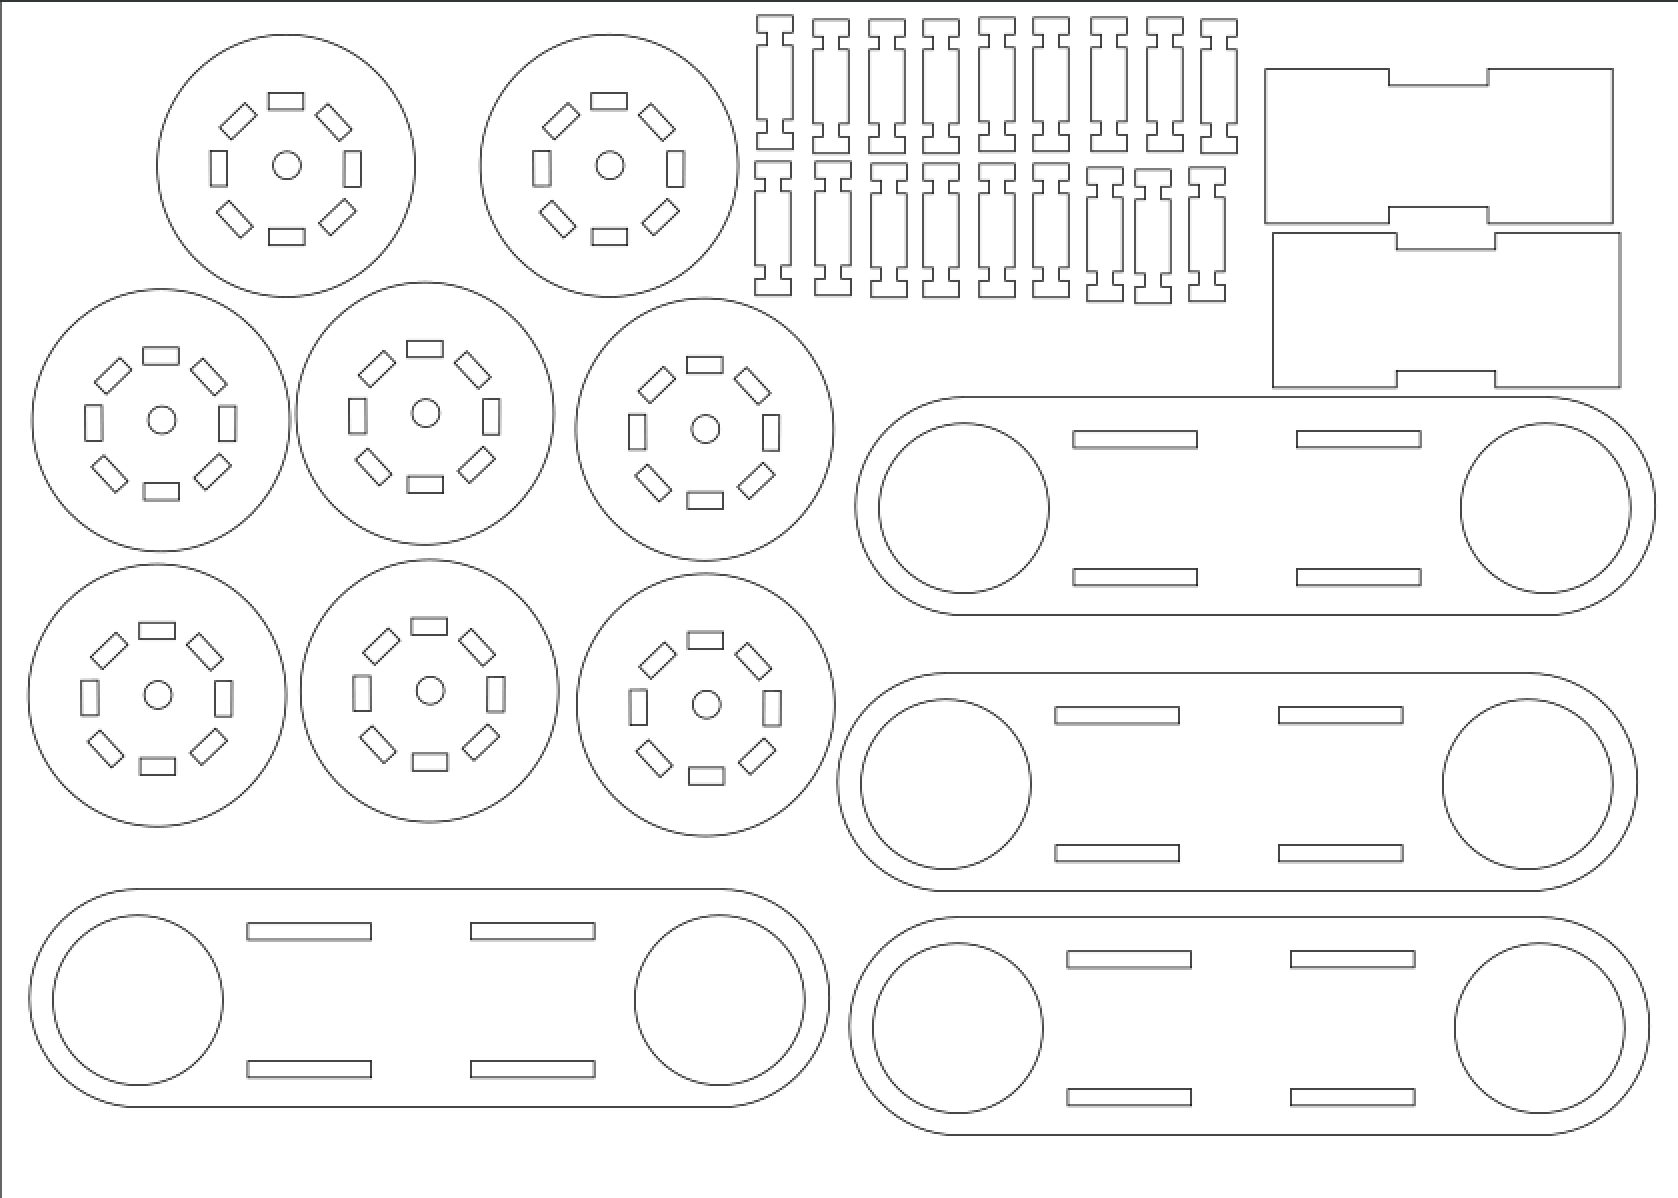
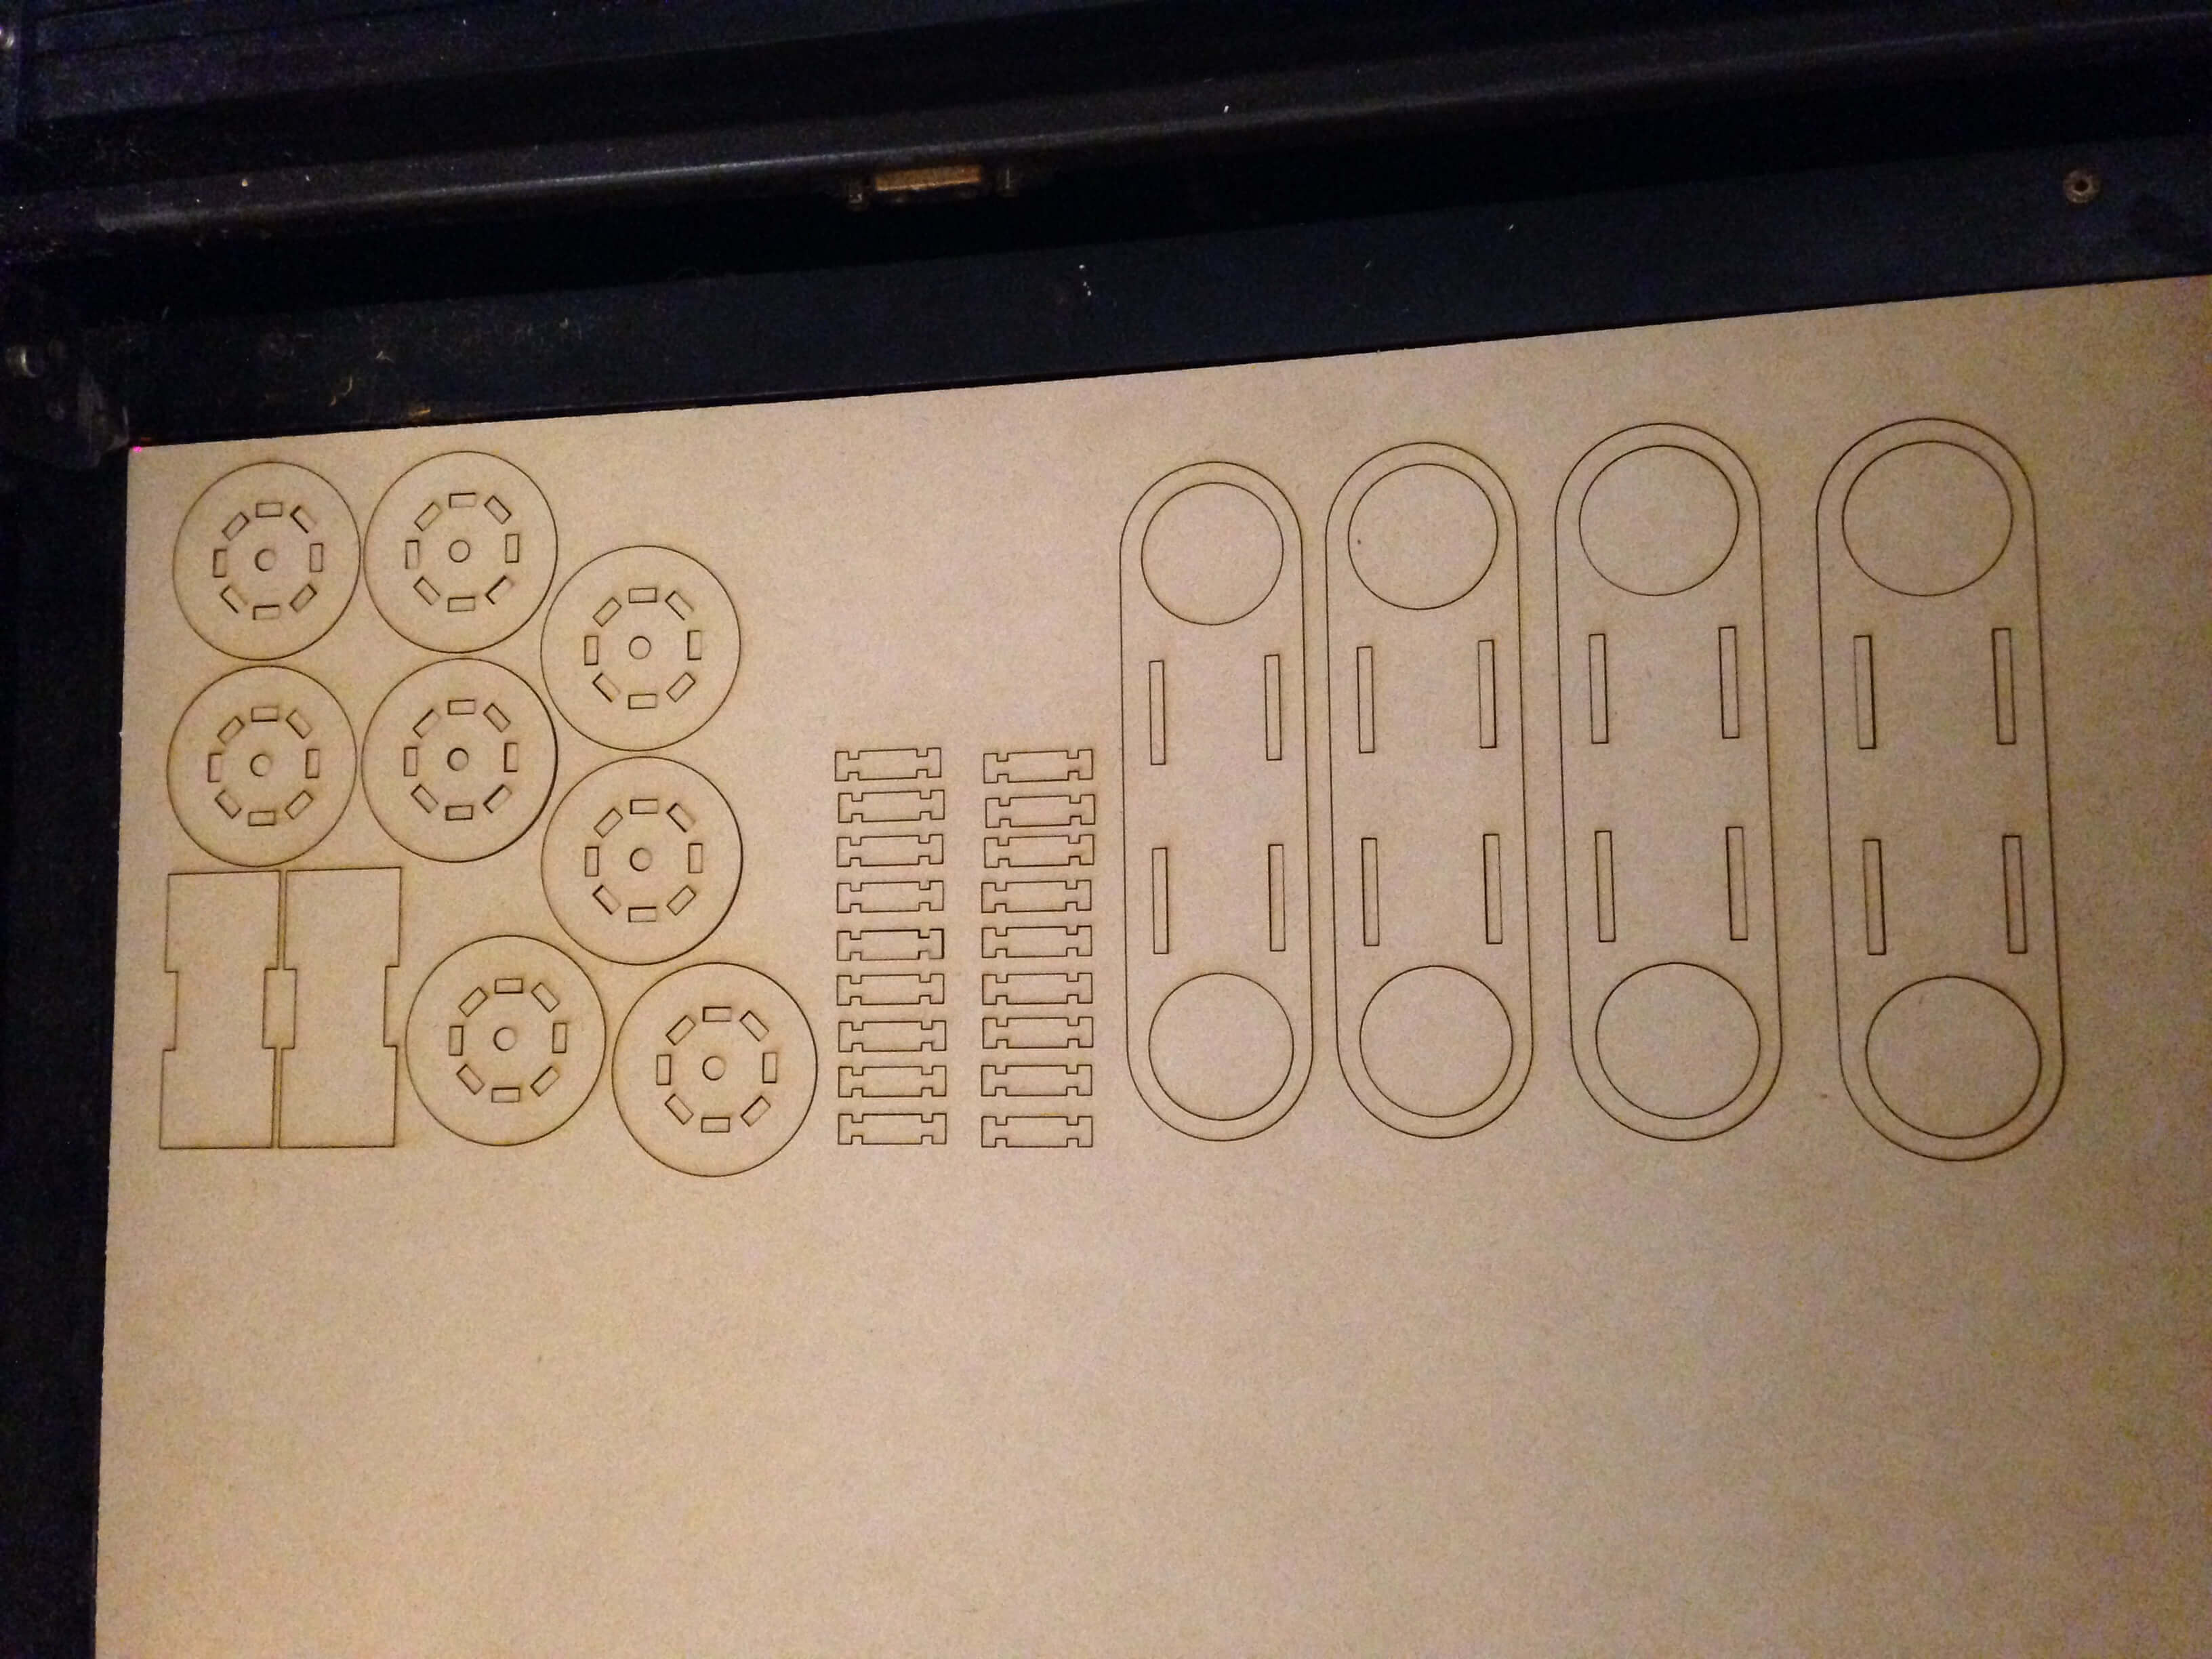
So first time I try to draw my car with Inkscape. For four component weels、car body and two bridge.
Good practice is to measure with different settings and materials are used. This is the benefit of parametric design if the designs have to be adjusted for different materials thicknesses.
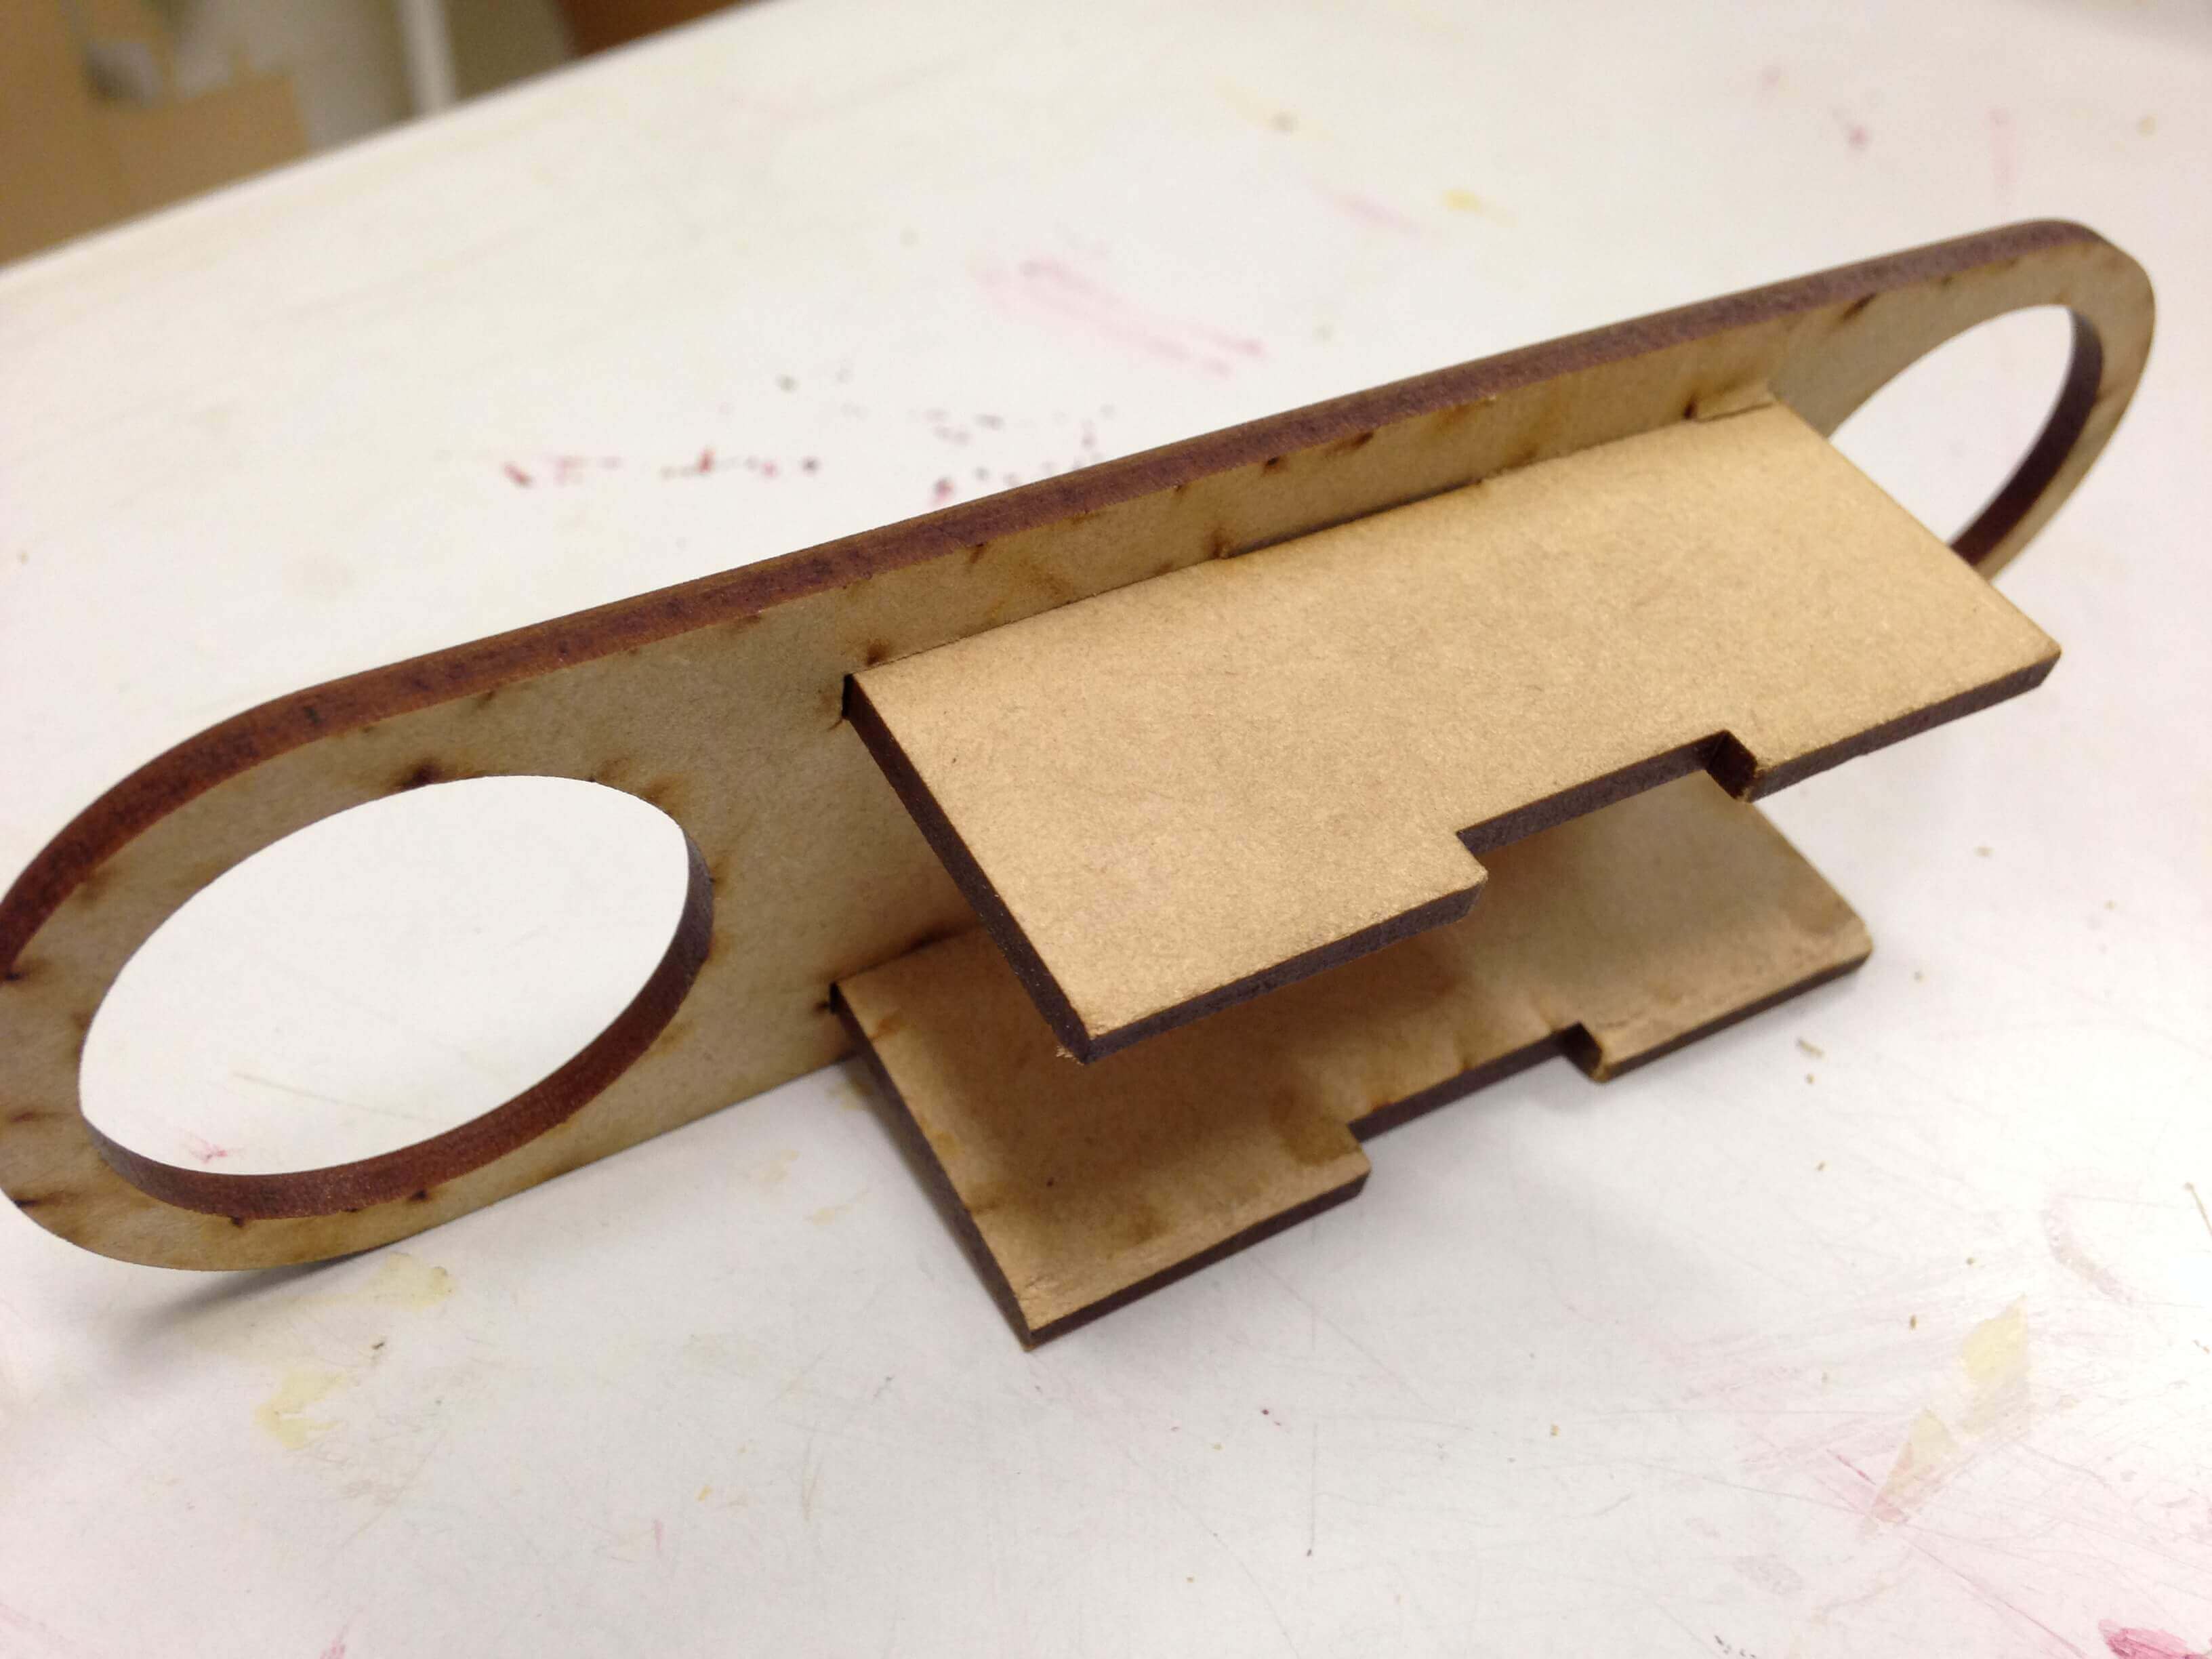
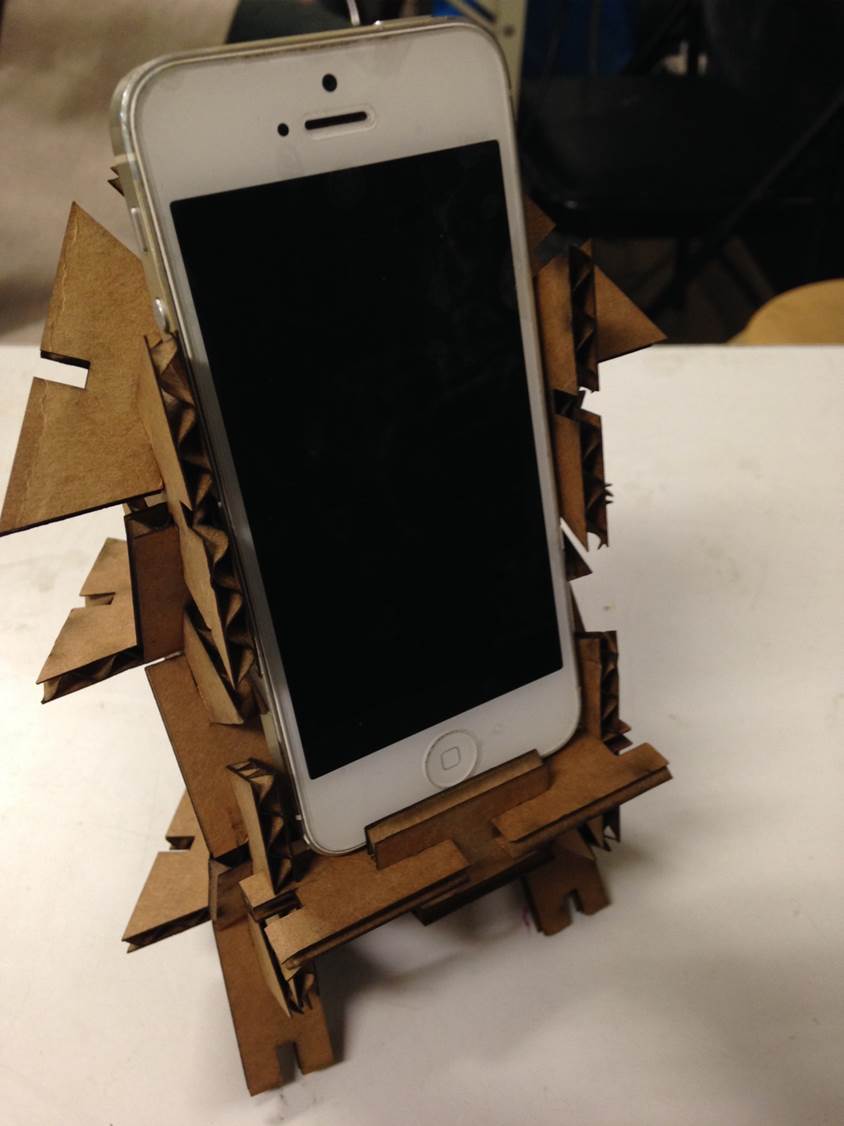
After decide my final project to make a fishing float and fishing rod base, I want to make a phone stand for me.
Then I can put my phone on it, I can seeing the phone status when I was fishing.
I will not dropped calls any more.
I used illustrator to design phone stant componments.
With parametric design if the designs have to be adjusted for different materials thicknesses. It is very convenient for me.

Using the laser cutter:
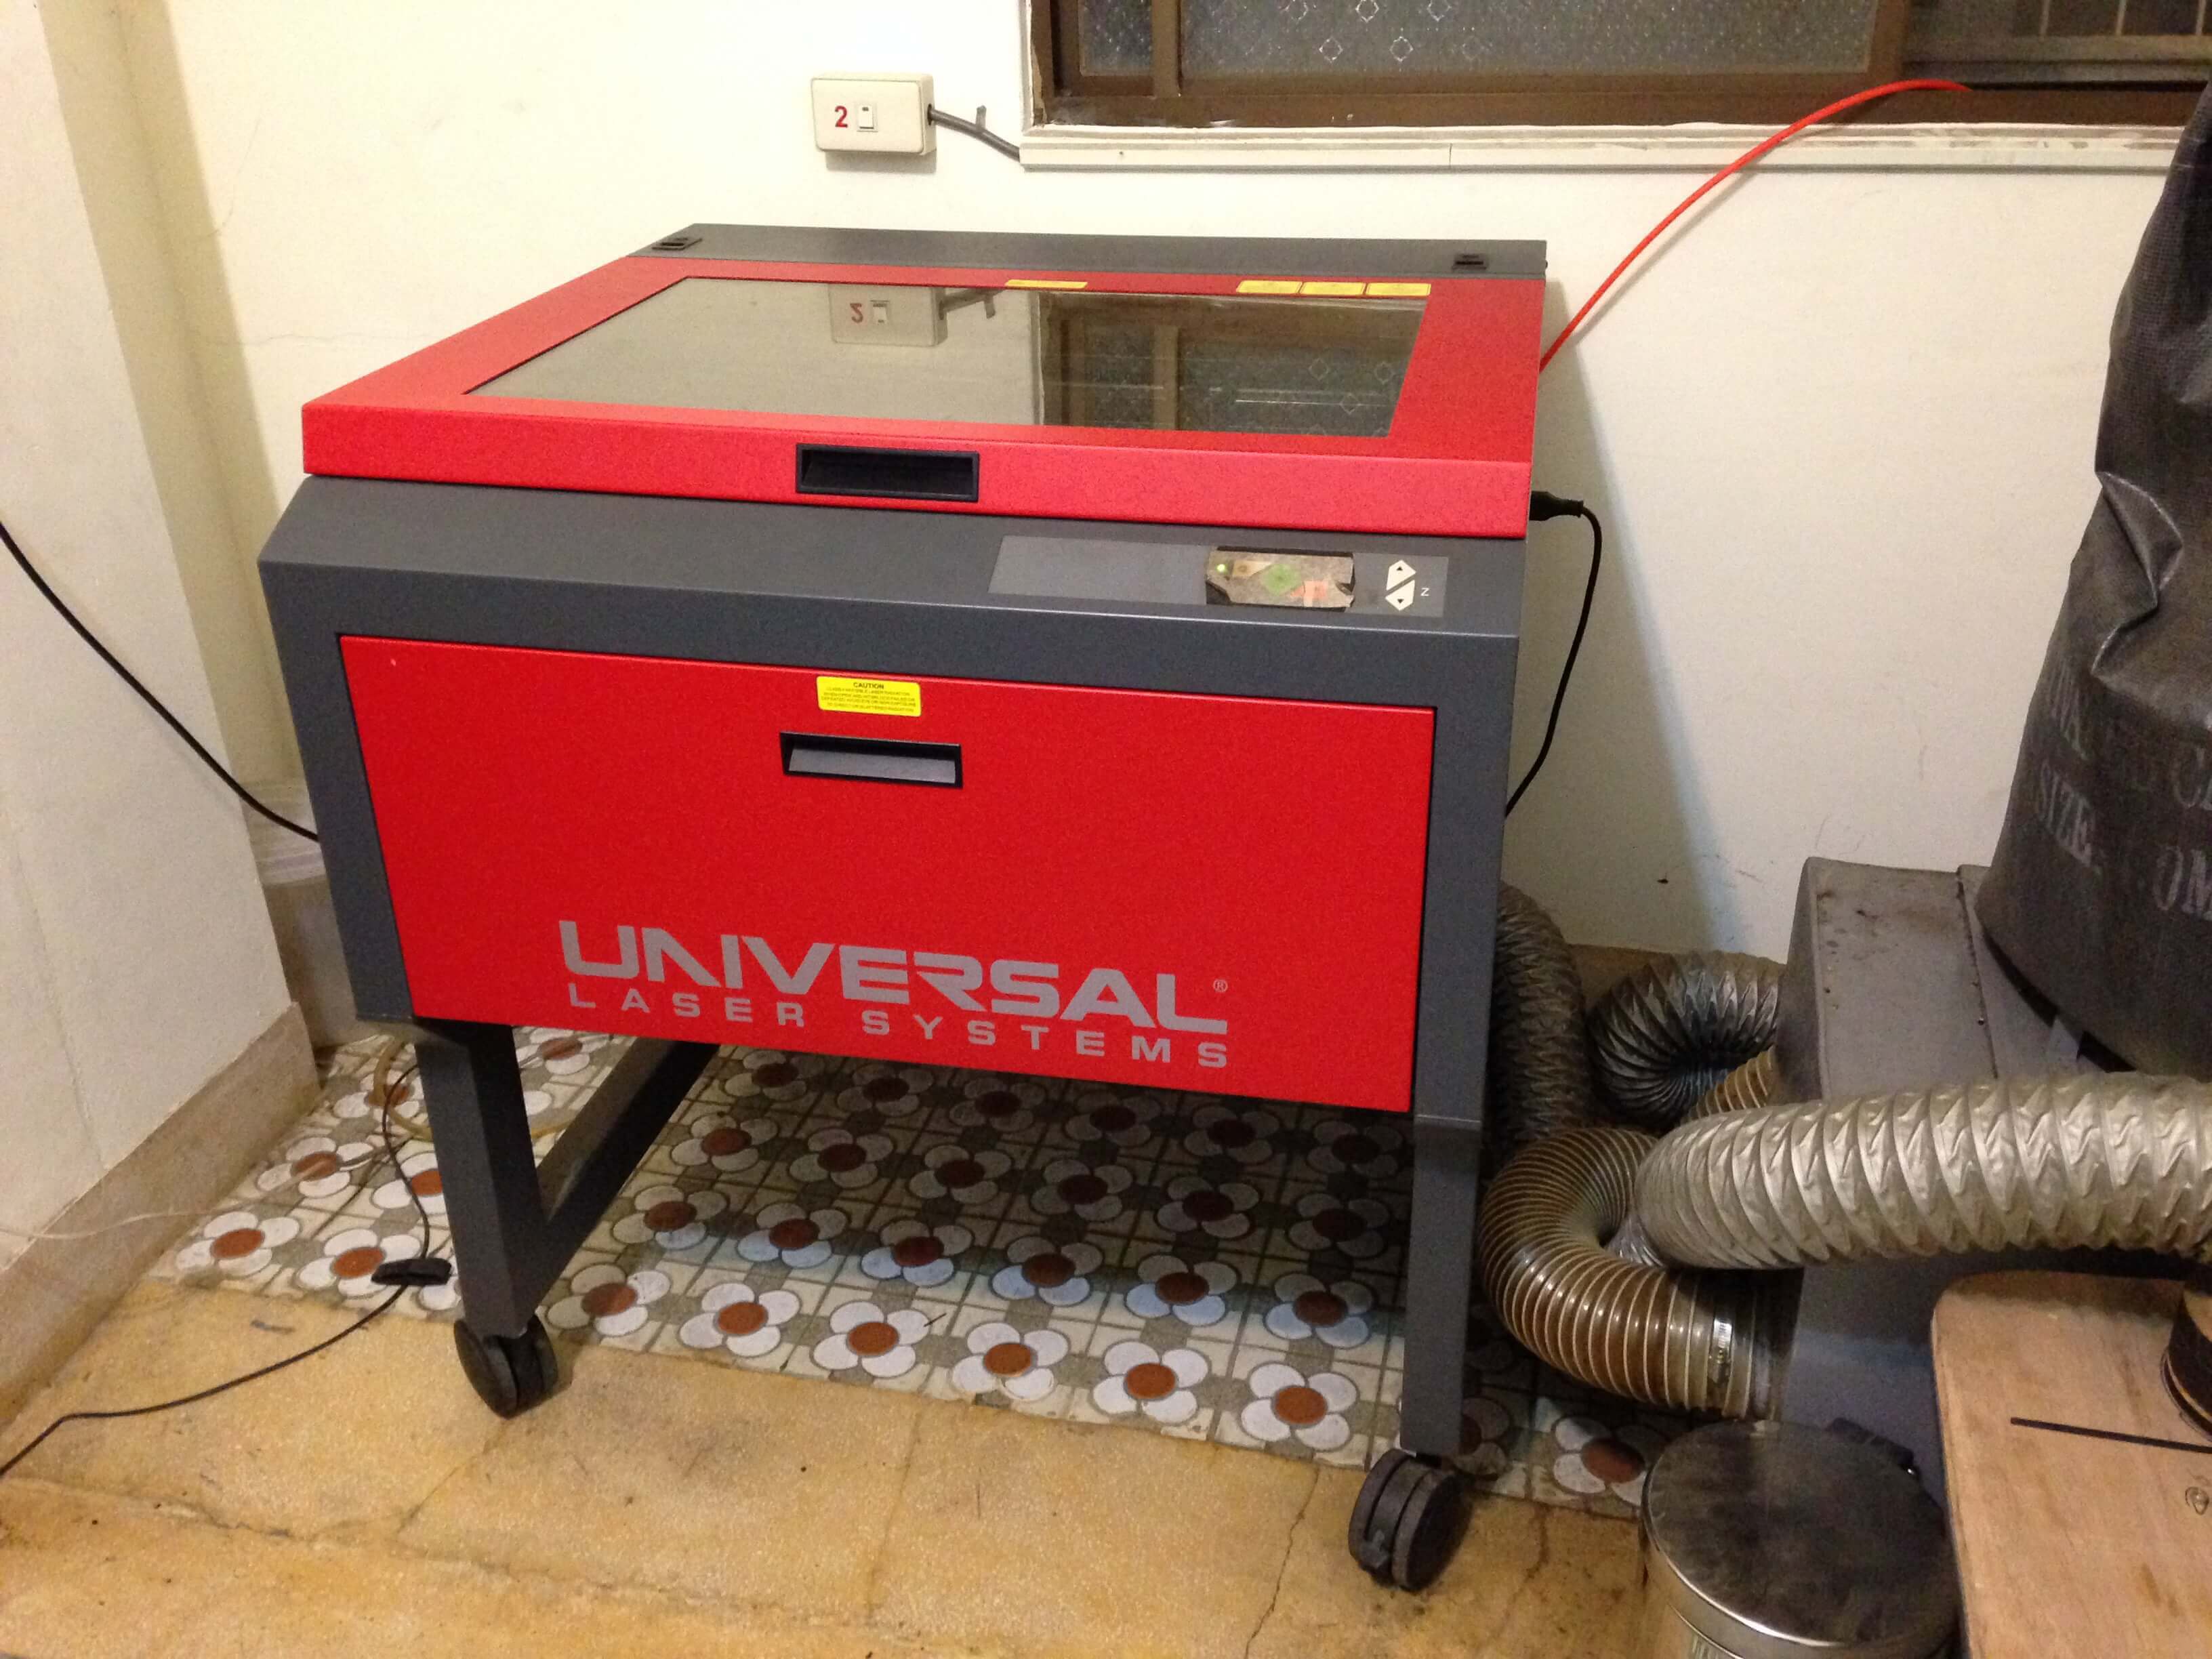
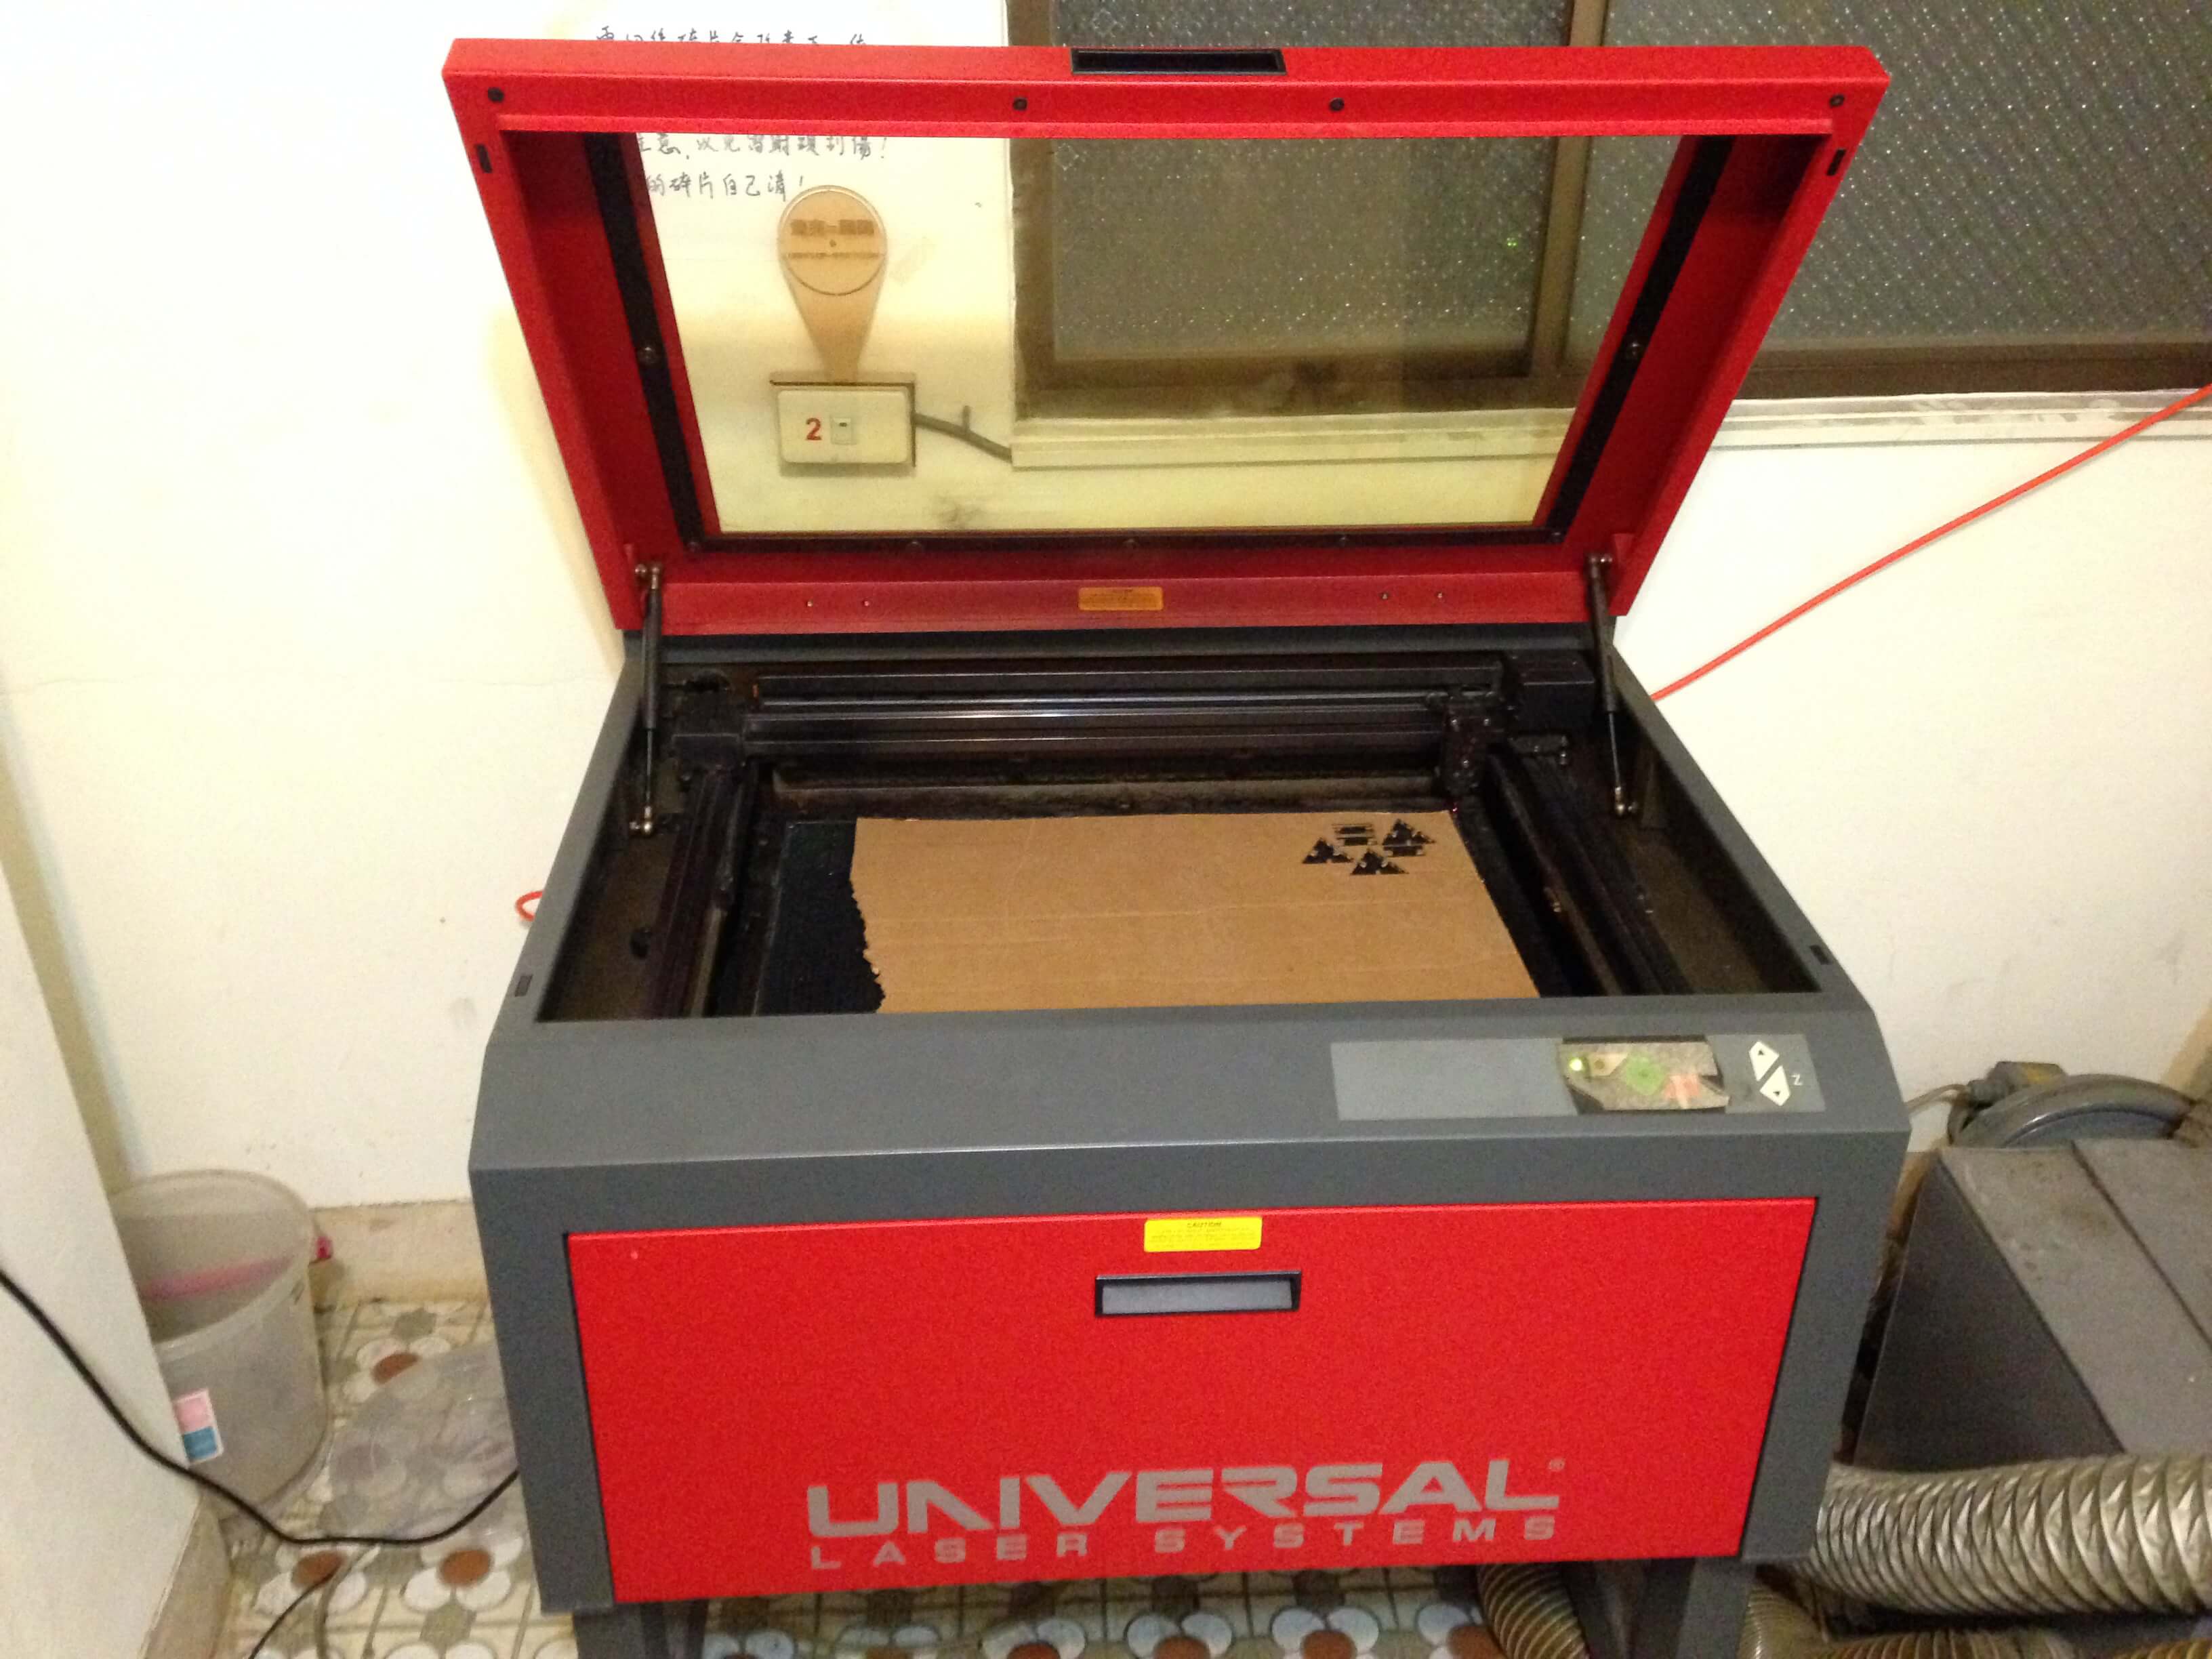
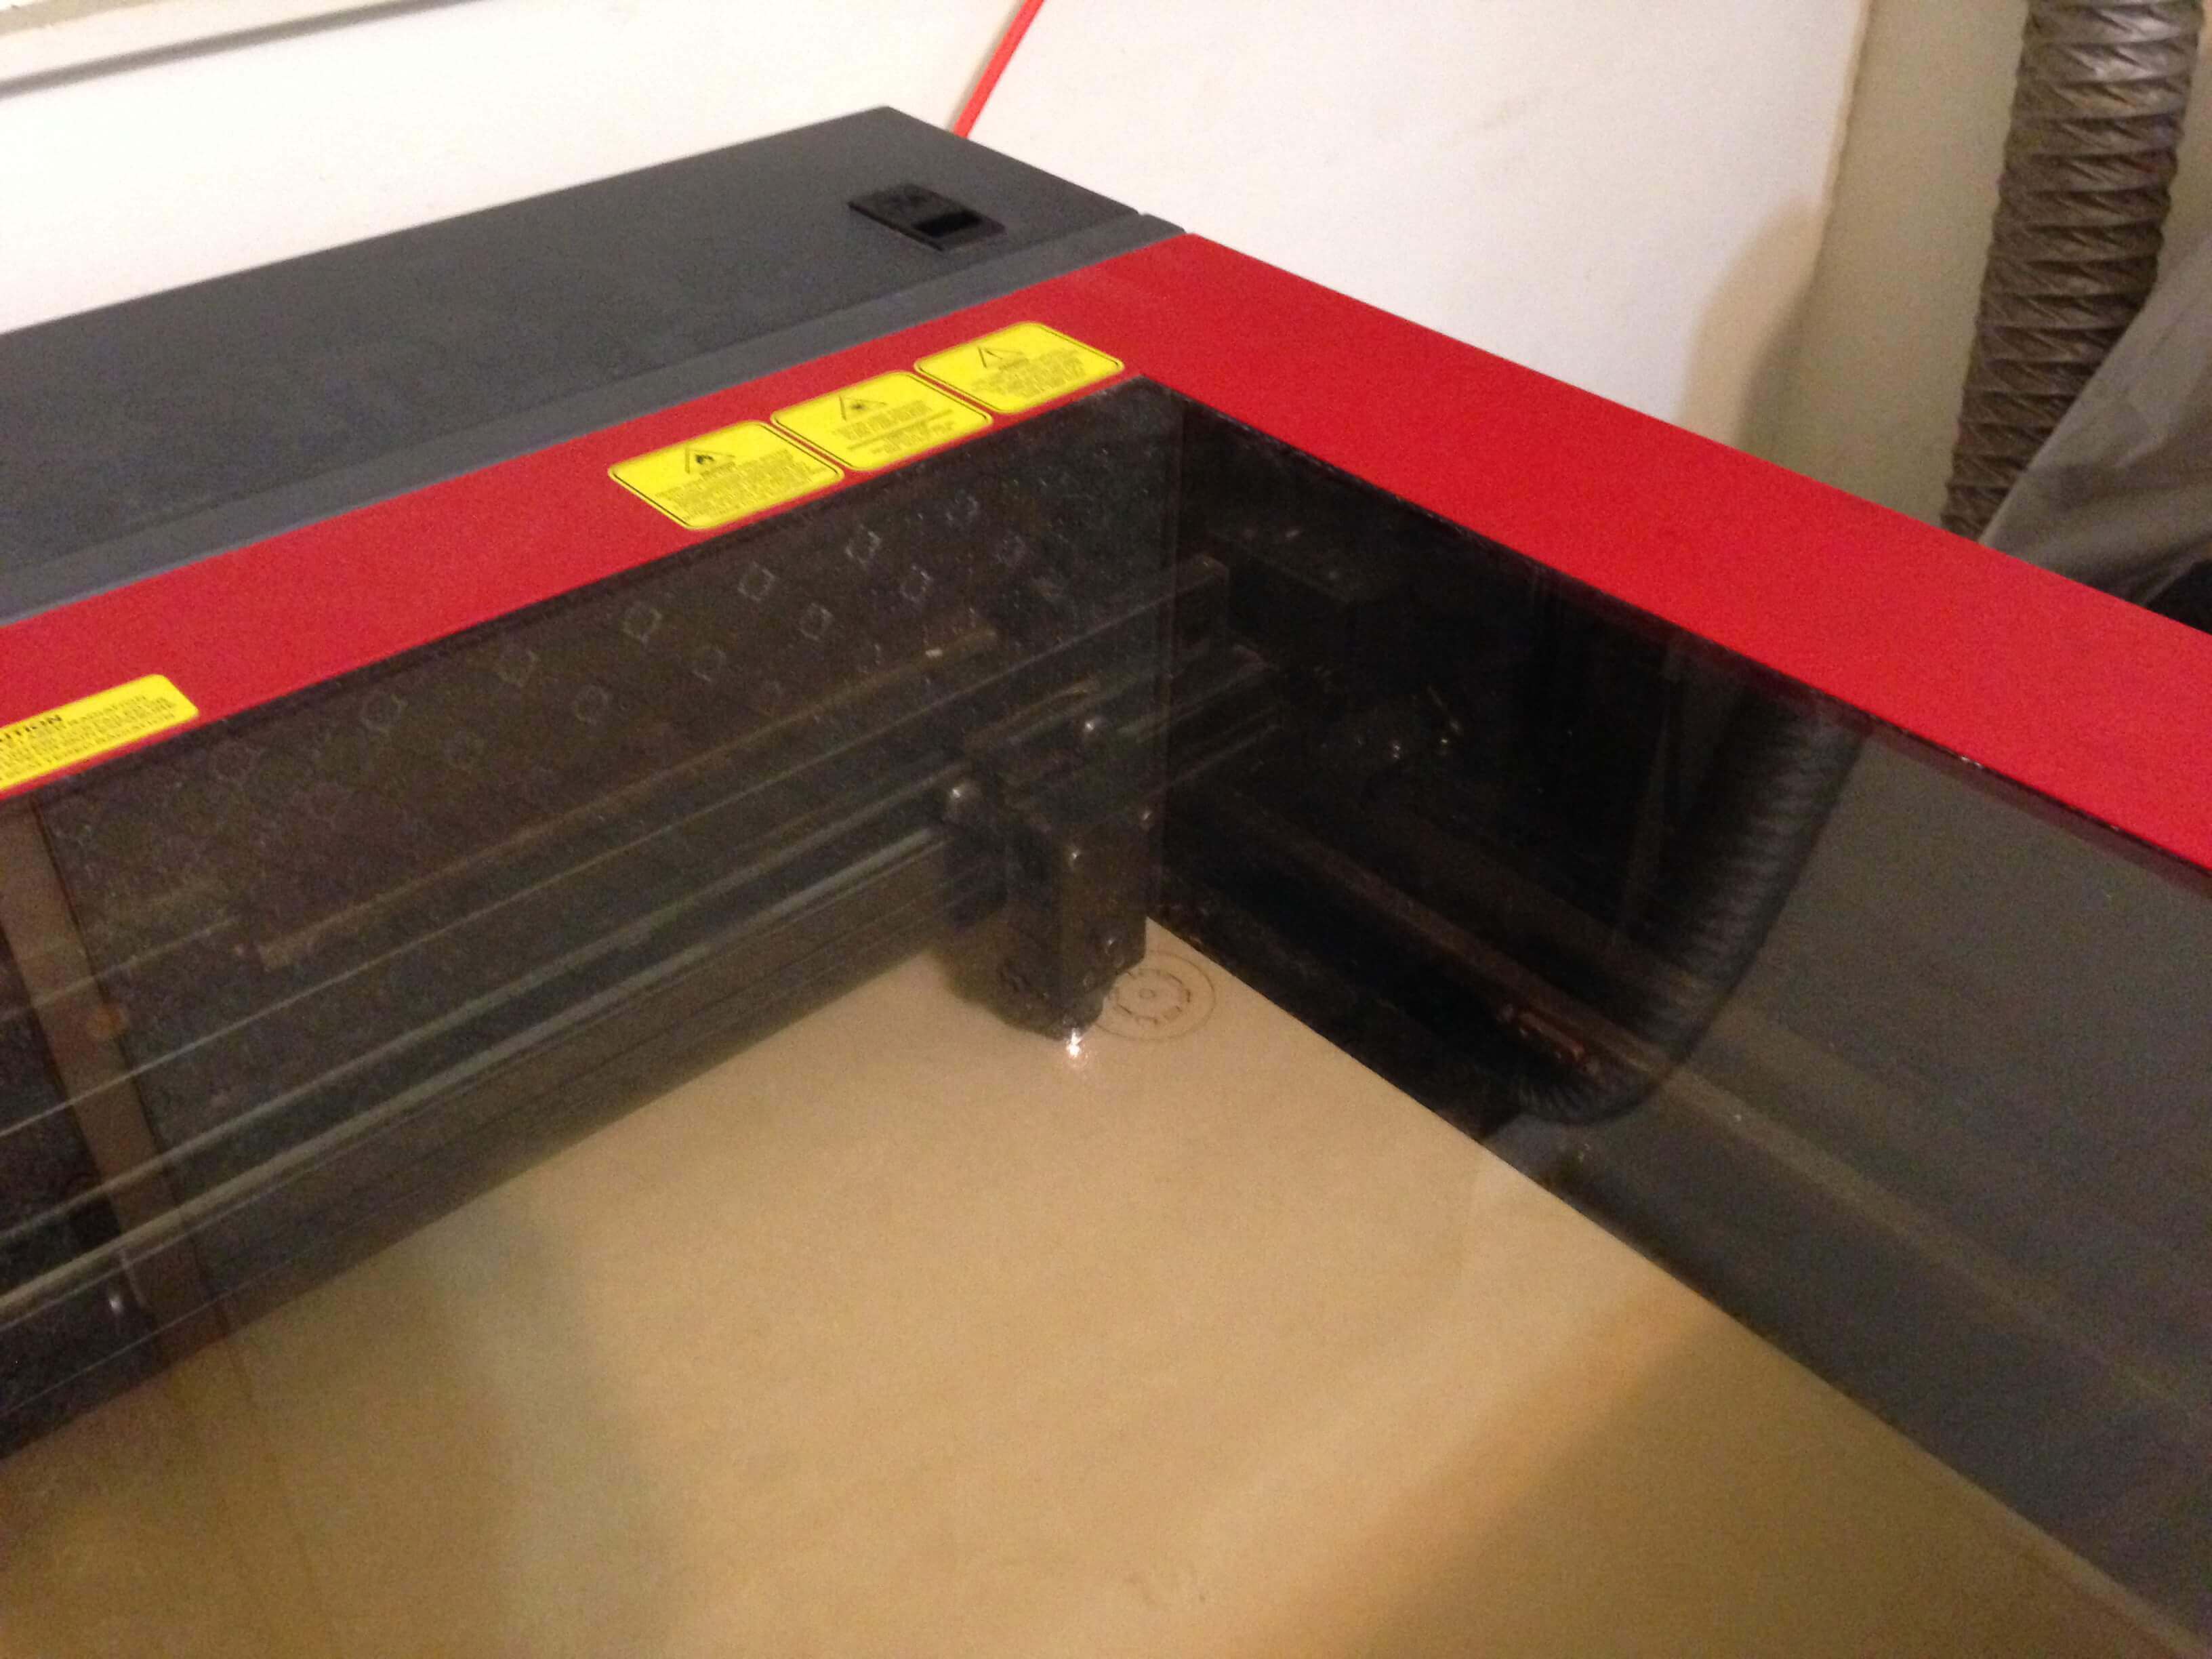
In FabLab Taipei, we are using Universal Laser Systems VLS to cut what we want to cut.
Fablab's laser cutter
Our local instructor Yi-Pin Huang teach us how to use laser cutter.
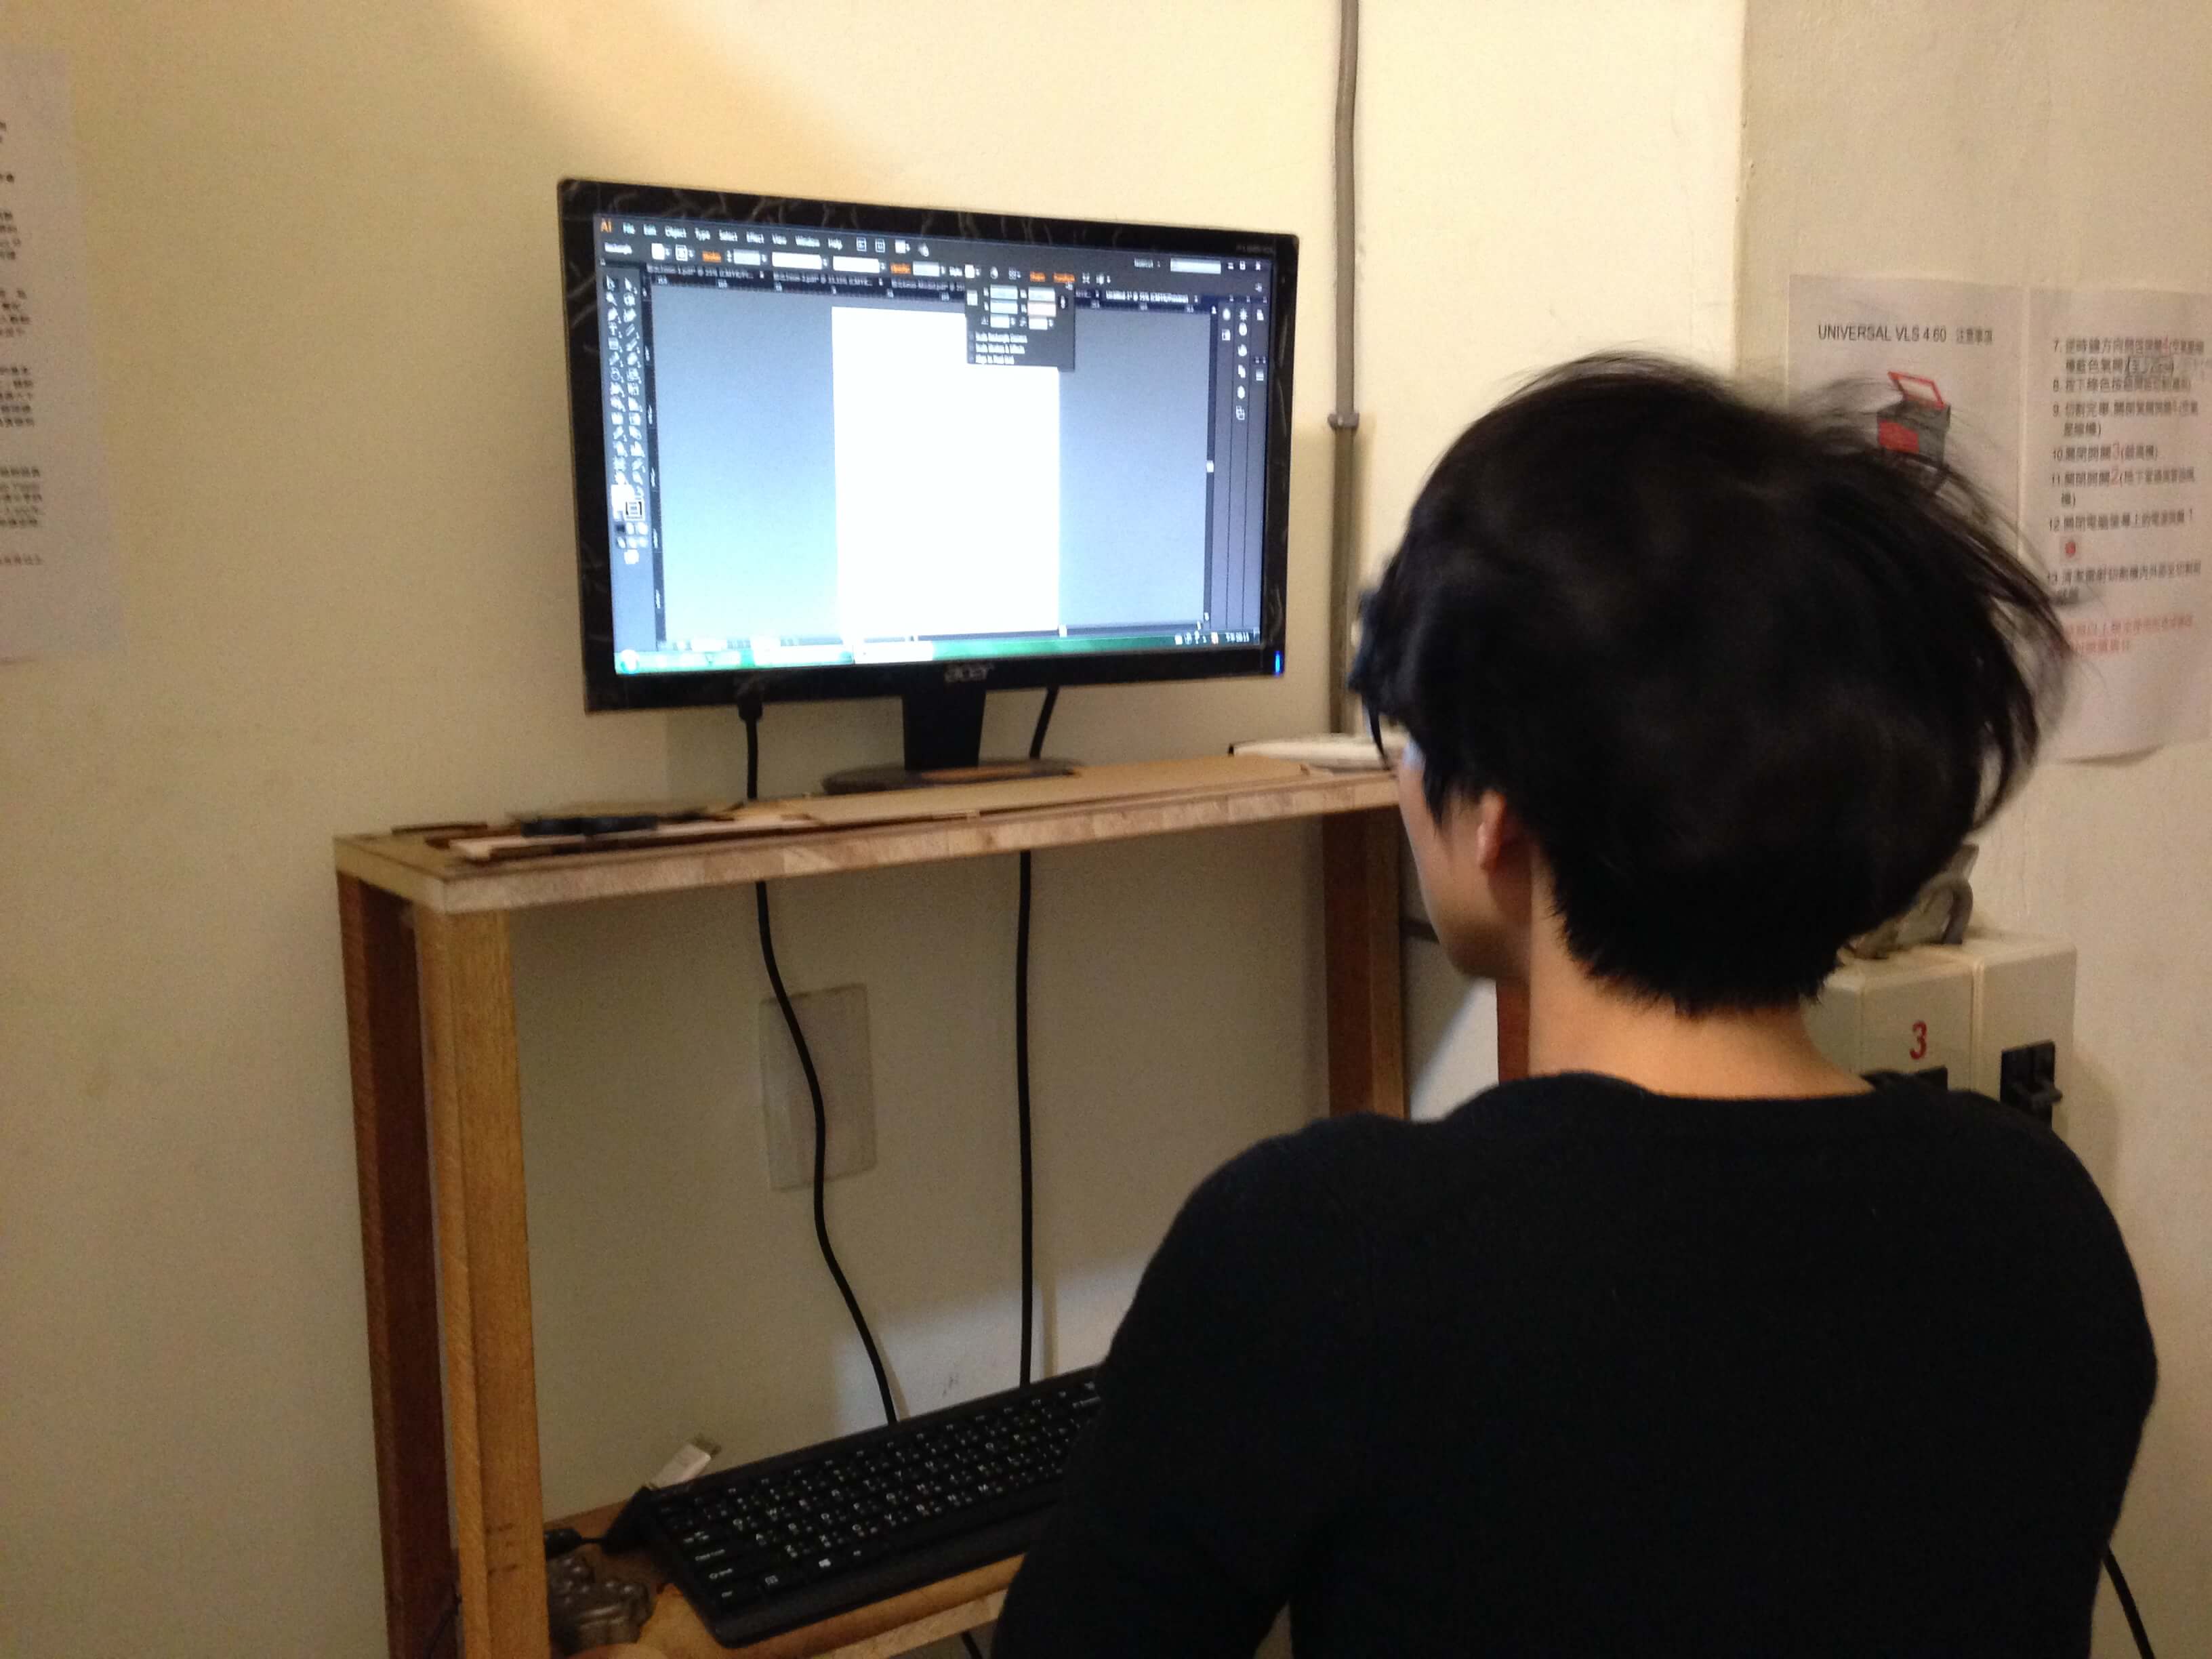
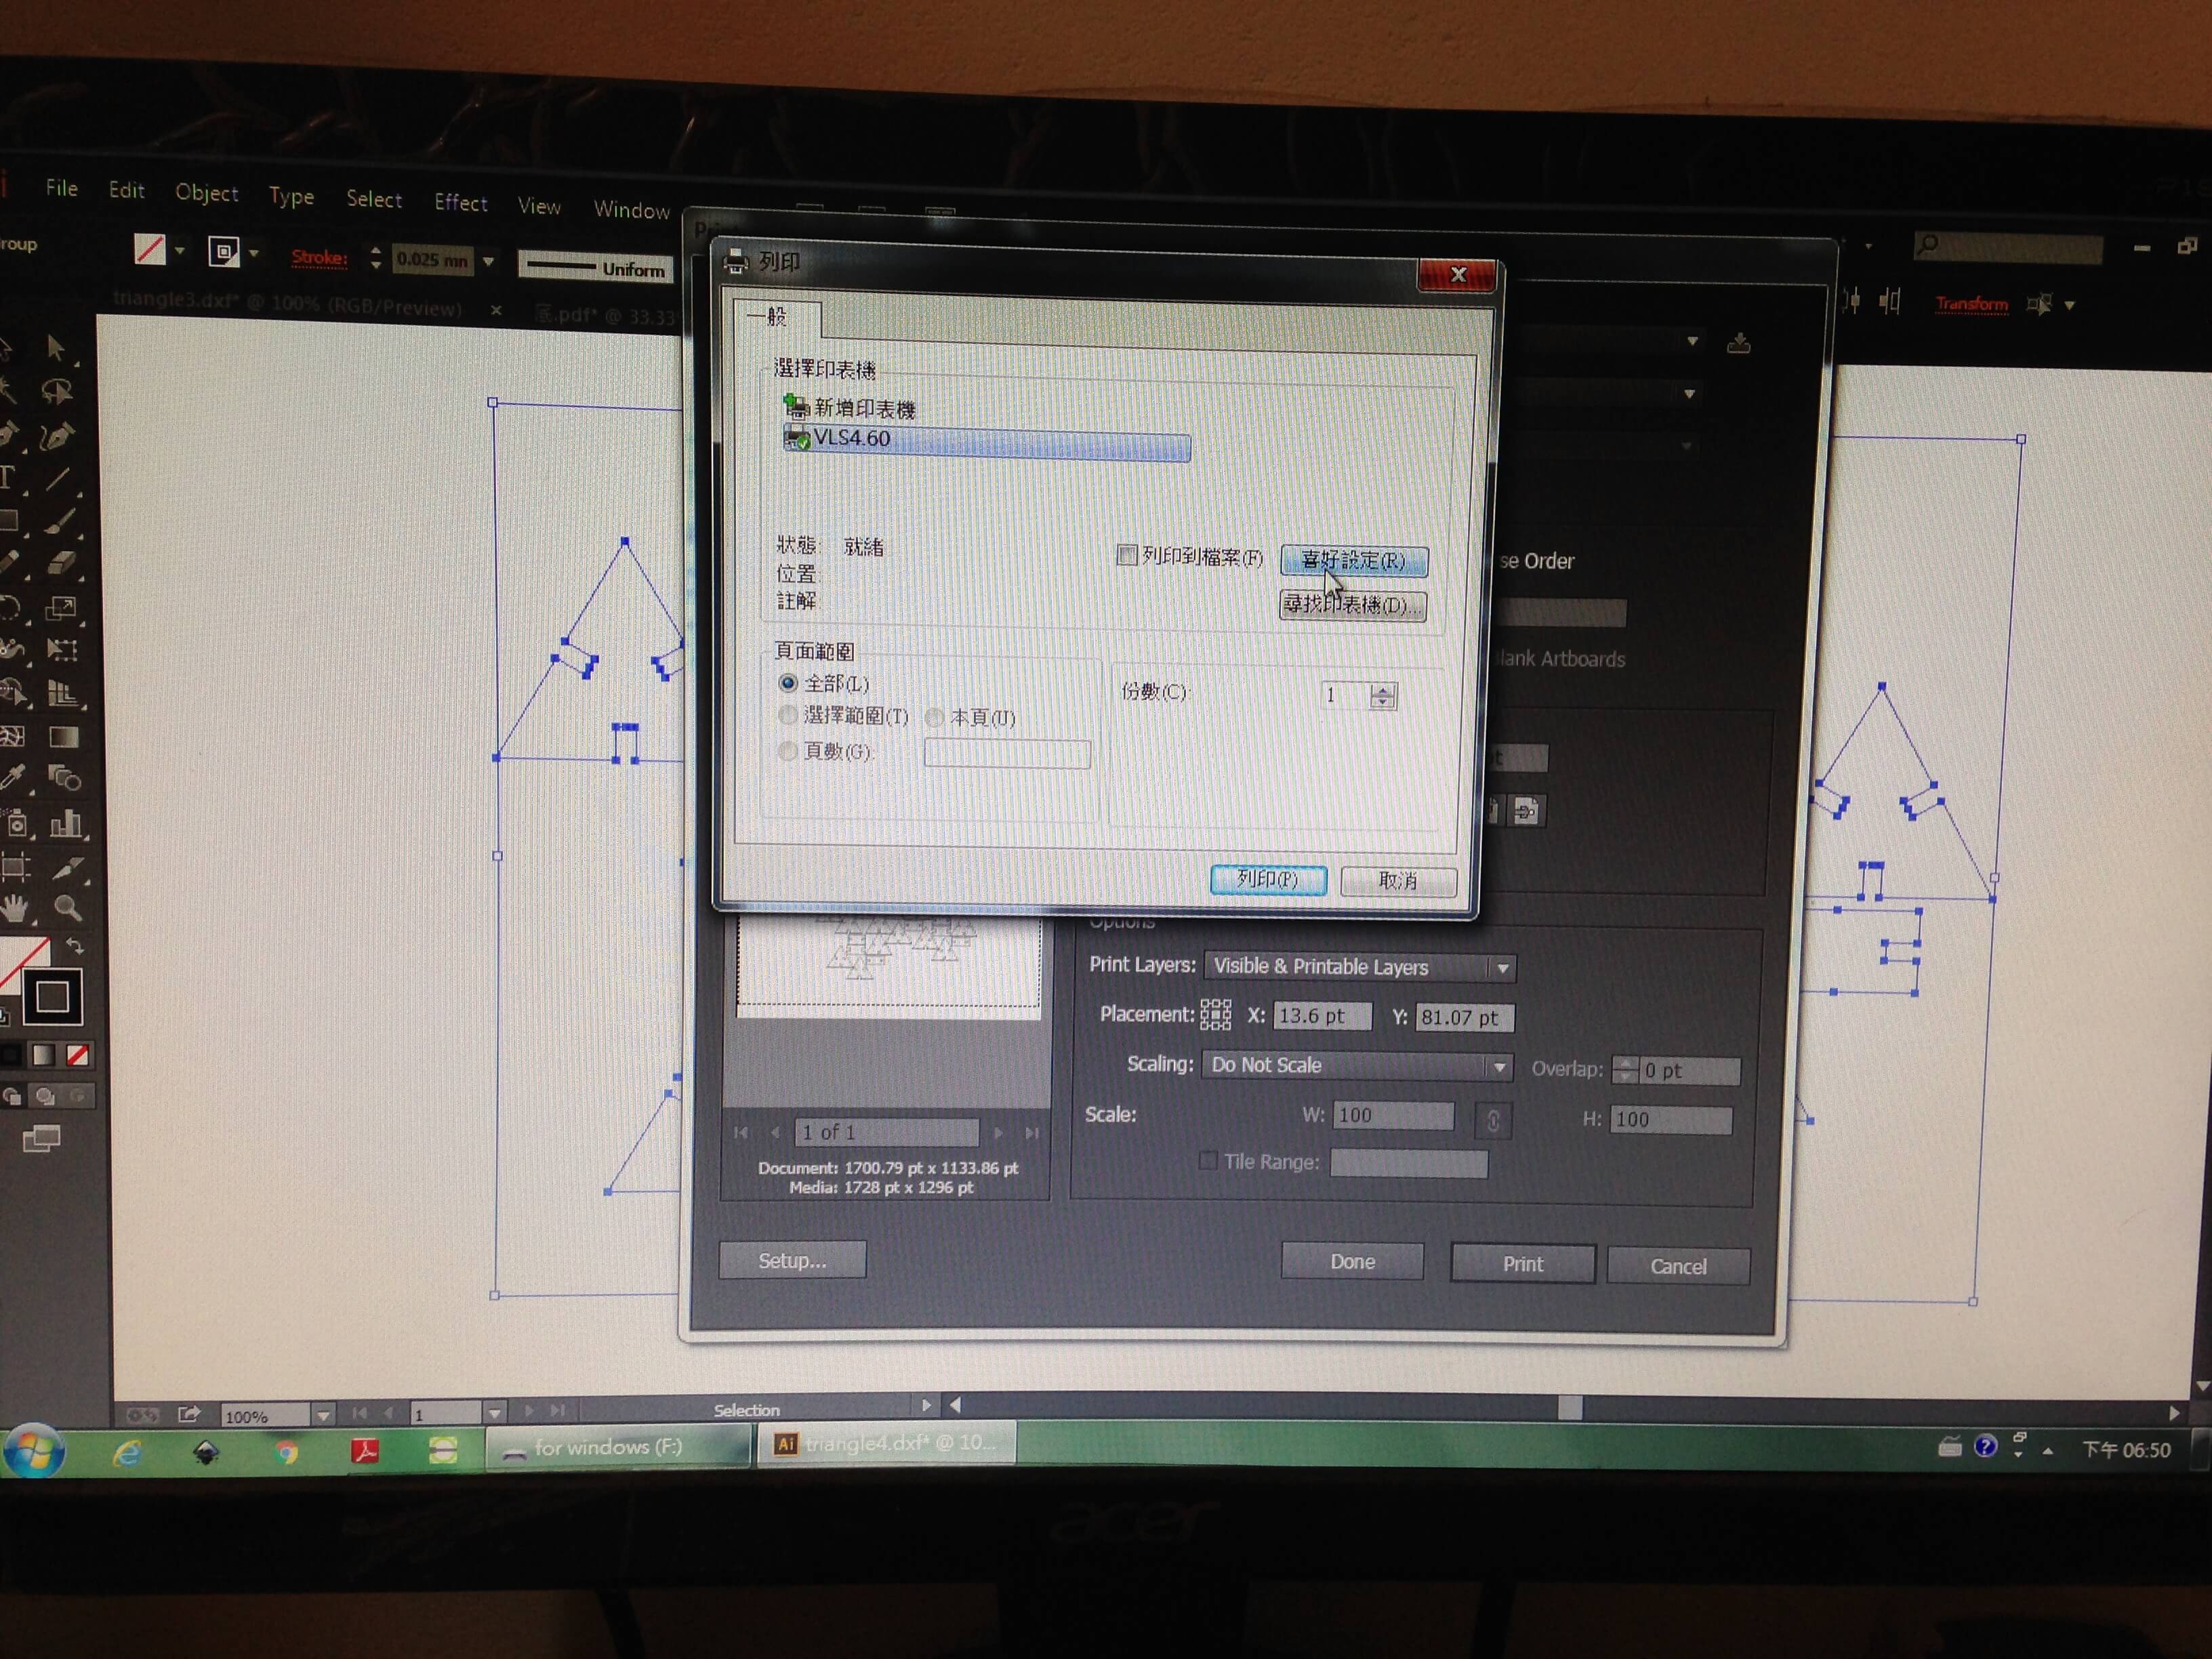
We are using illustrator to open what we want to cut files.
First, we should to set all the stroke be a 0.025mm.
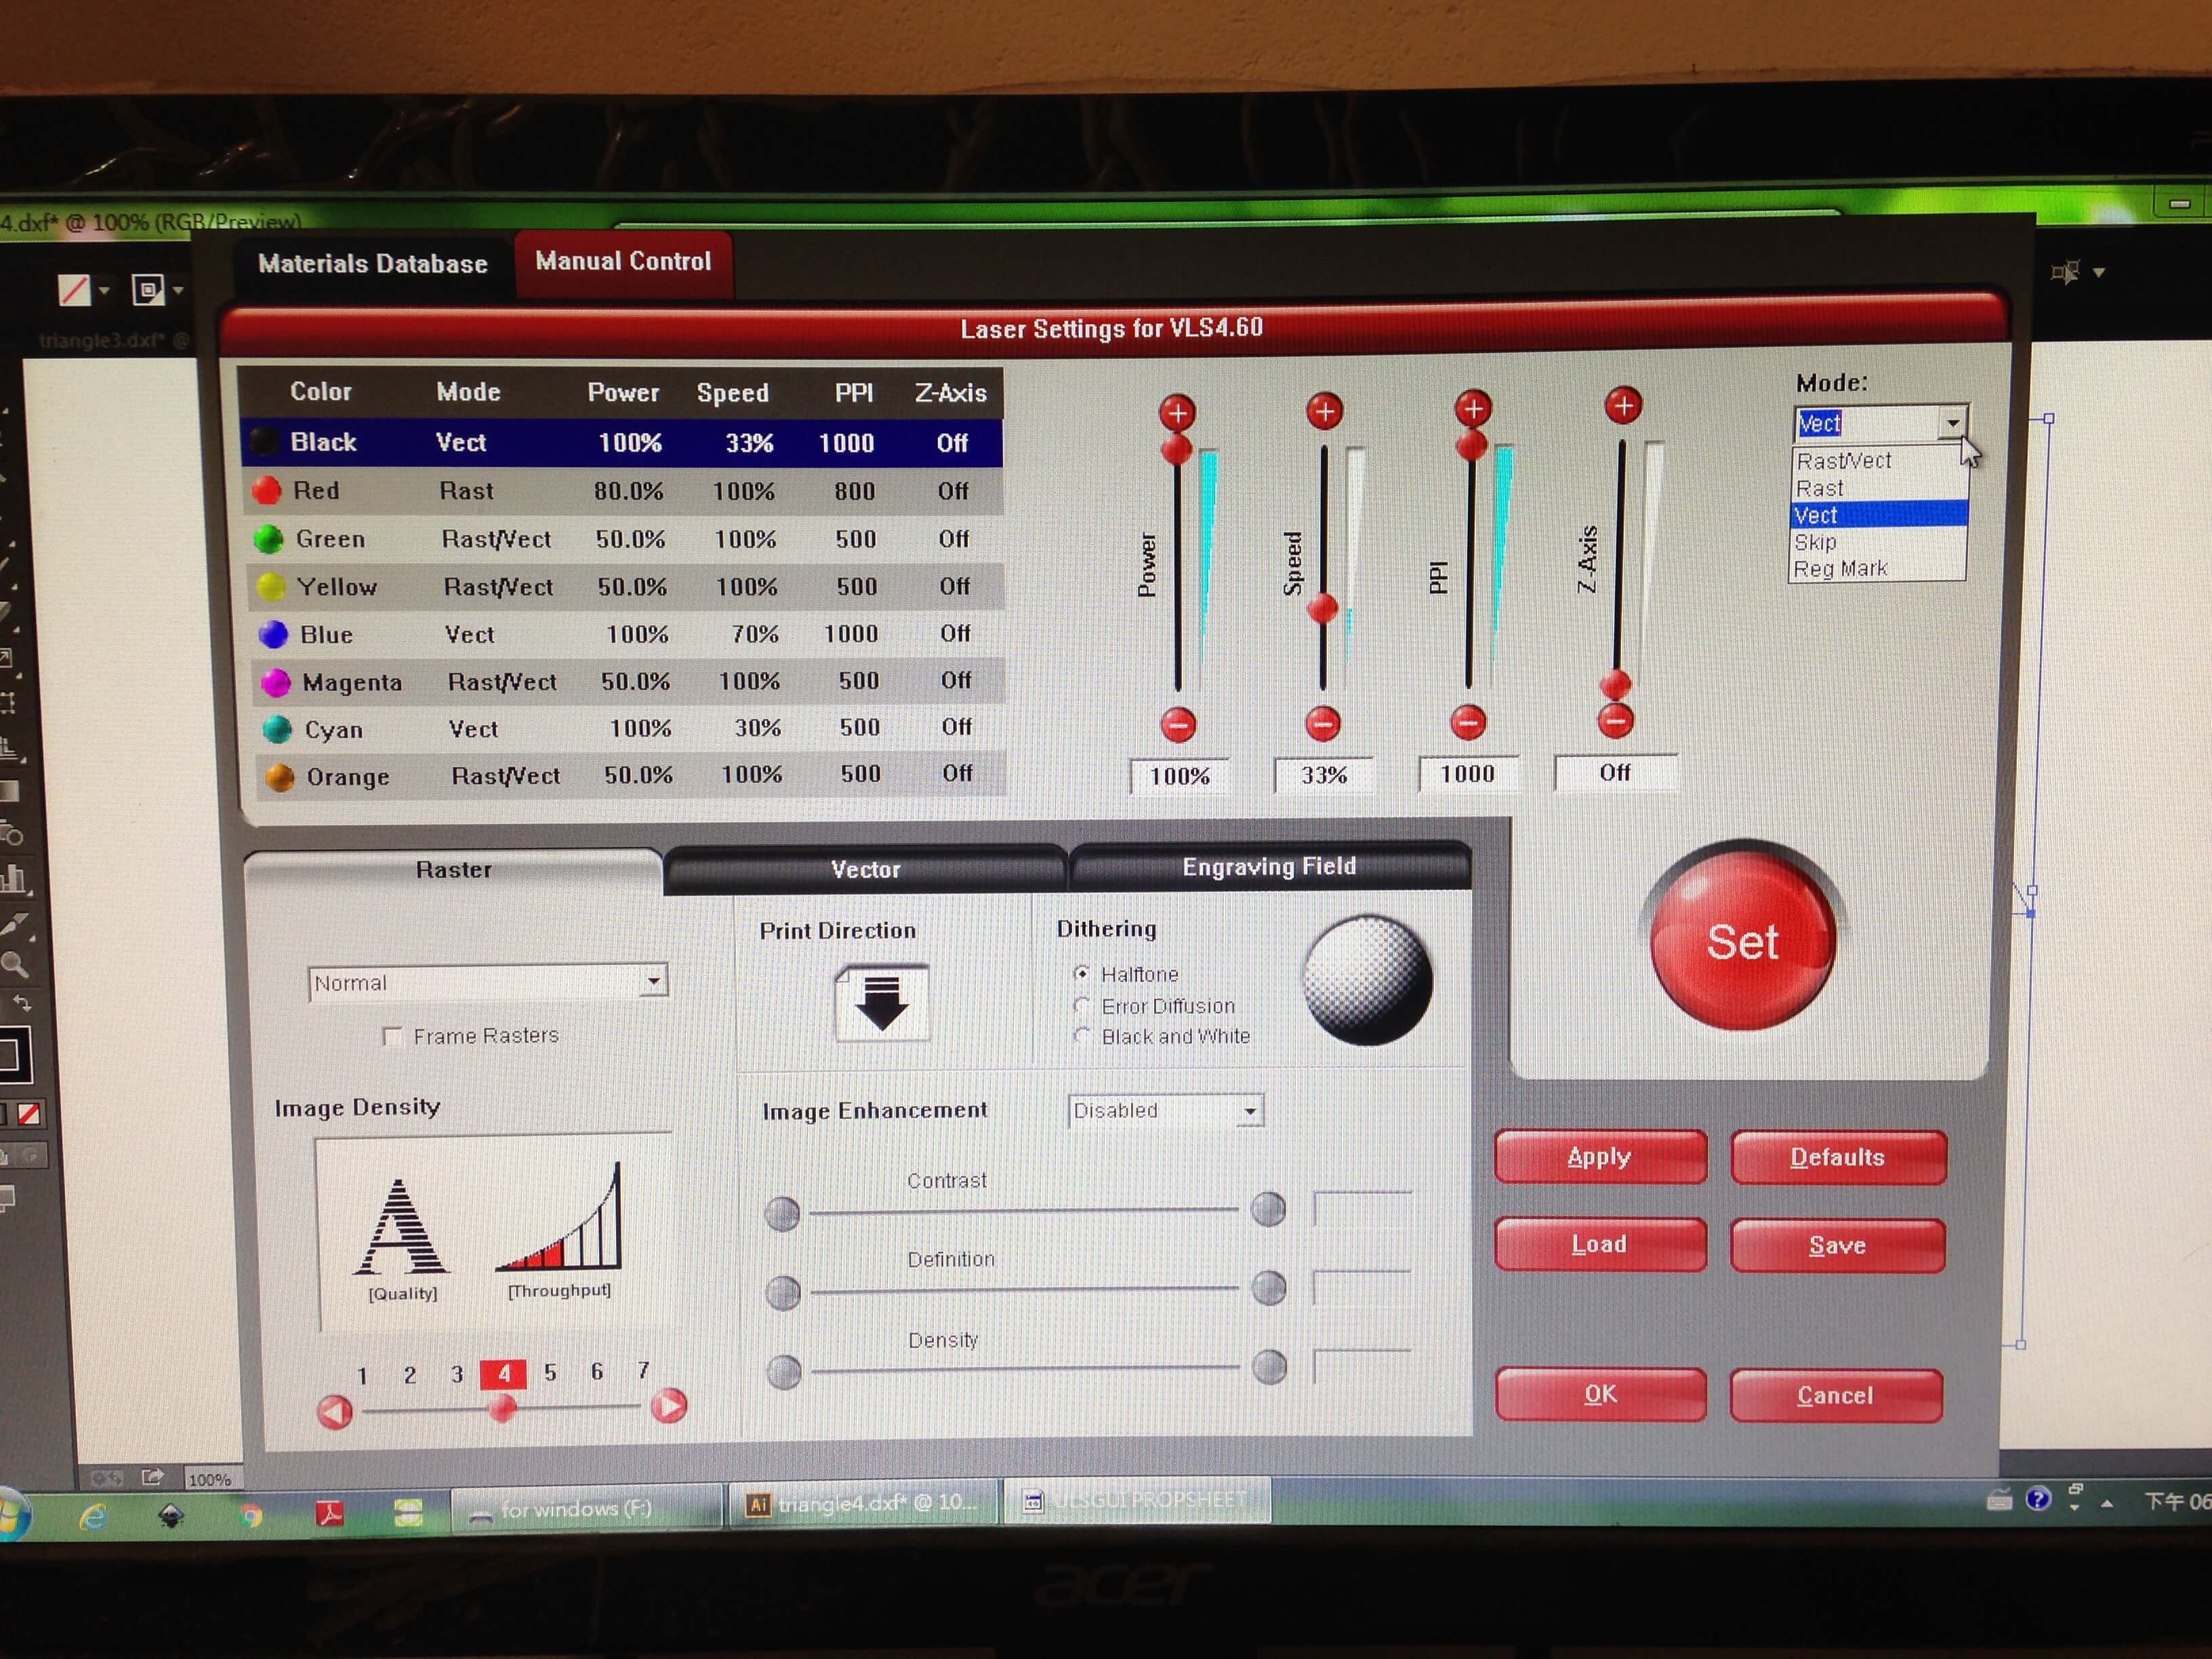
Then click print and choose VLS4.6 printer to set variable for cutting.
For usual, we was using "black" for "Vect" to cut and other colors for "Rast" to scan cut.
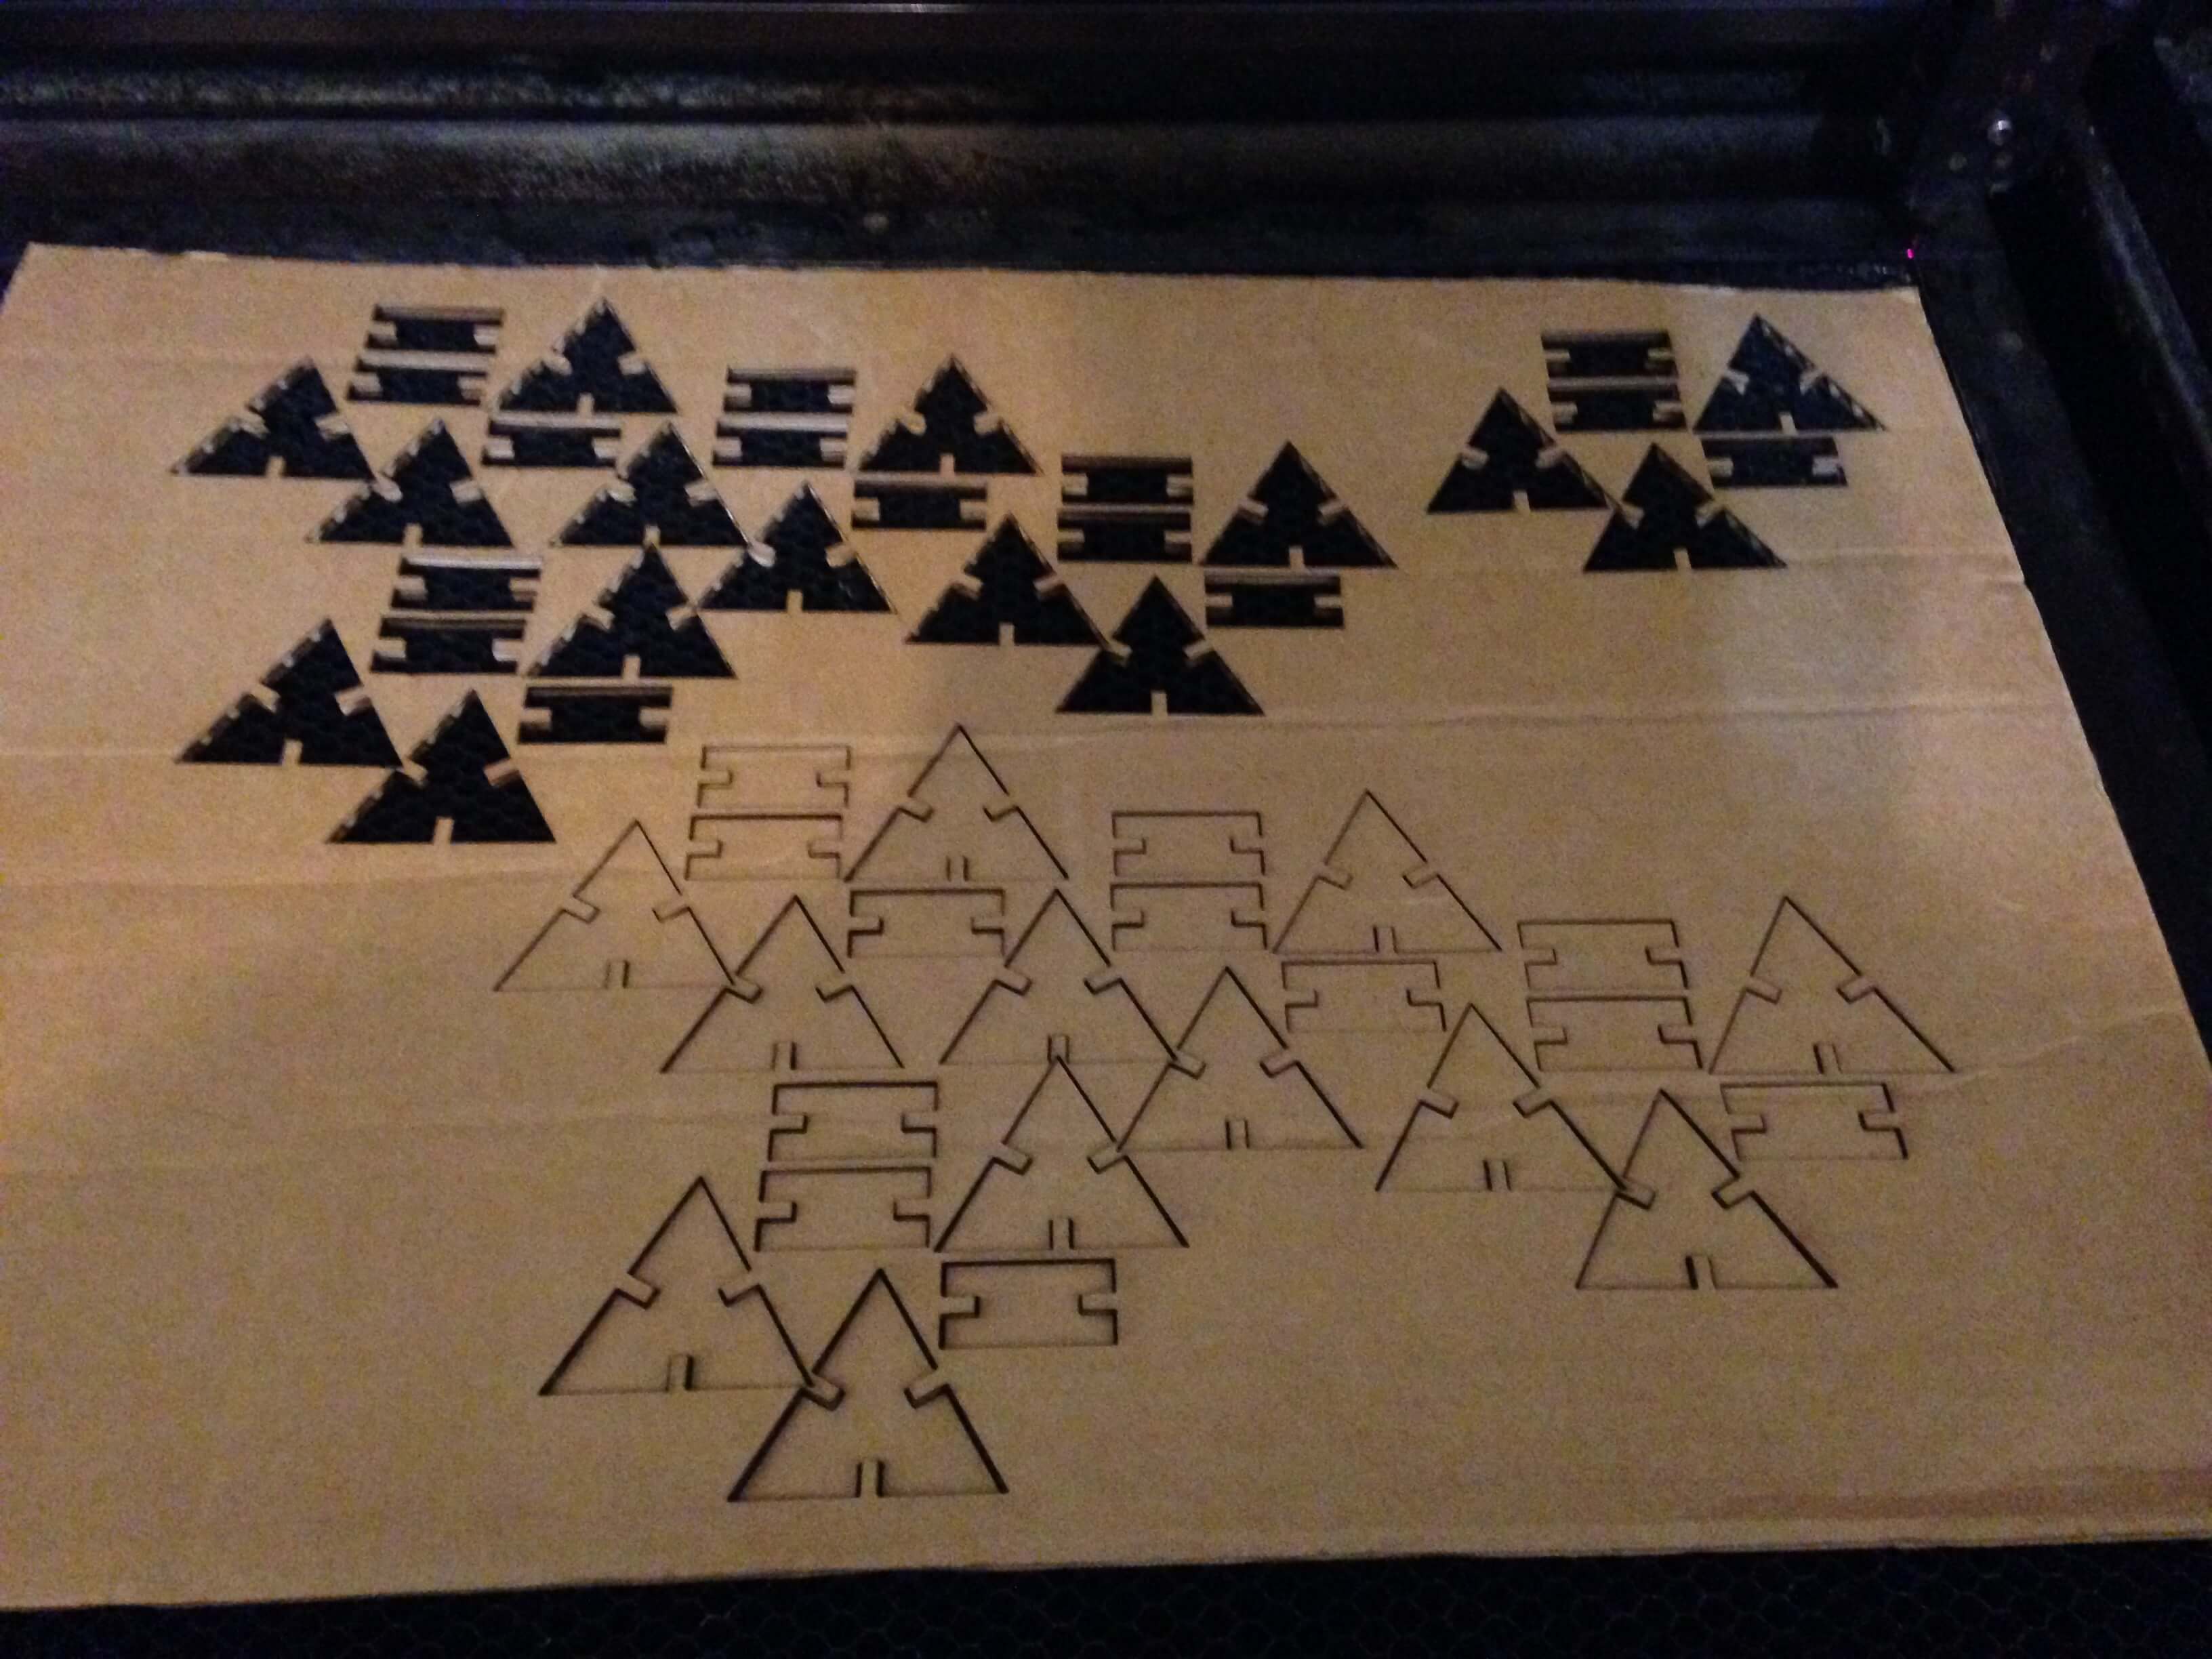
In my assignment, I am using 5mm carton and 3mm MDF for cutting.
In 5mm carton:
In 3mm MDF:
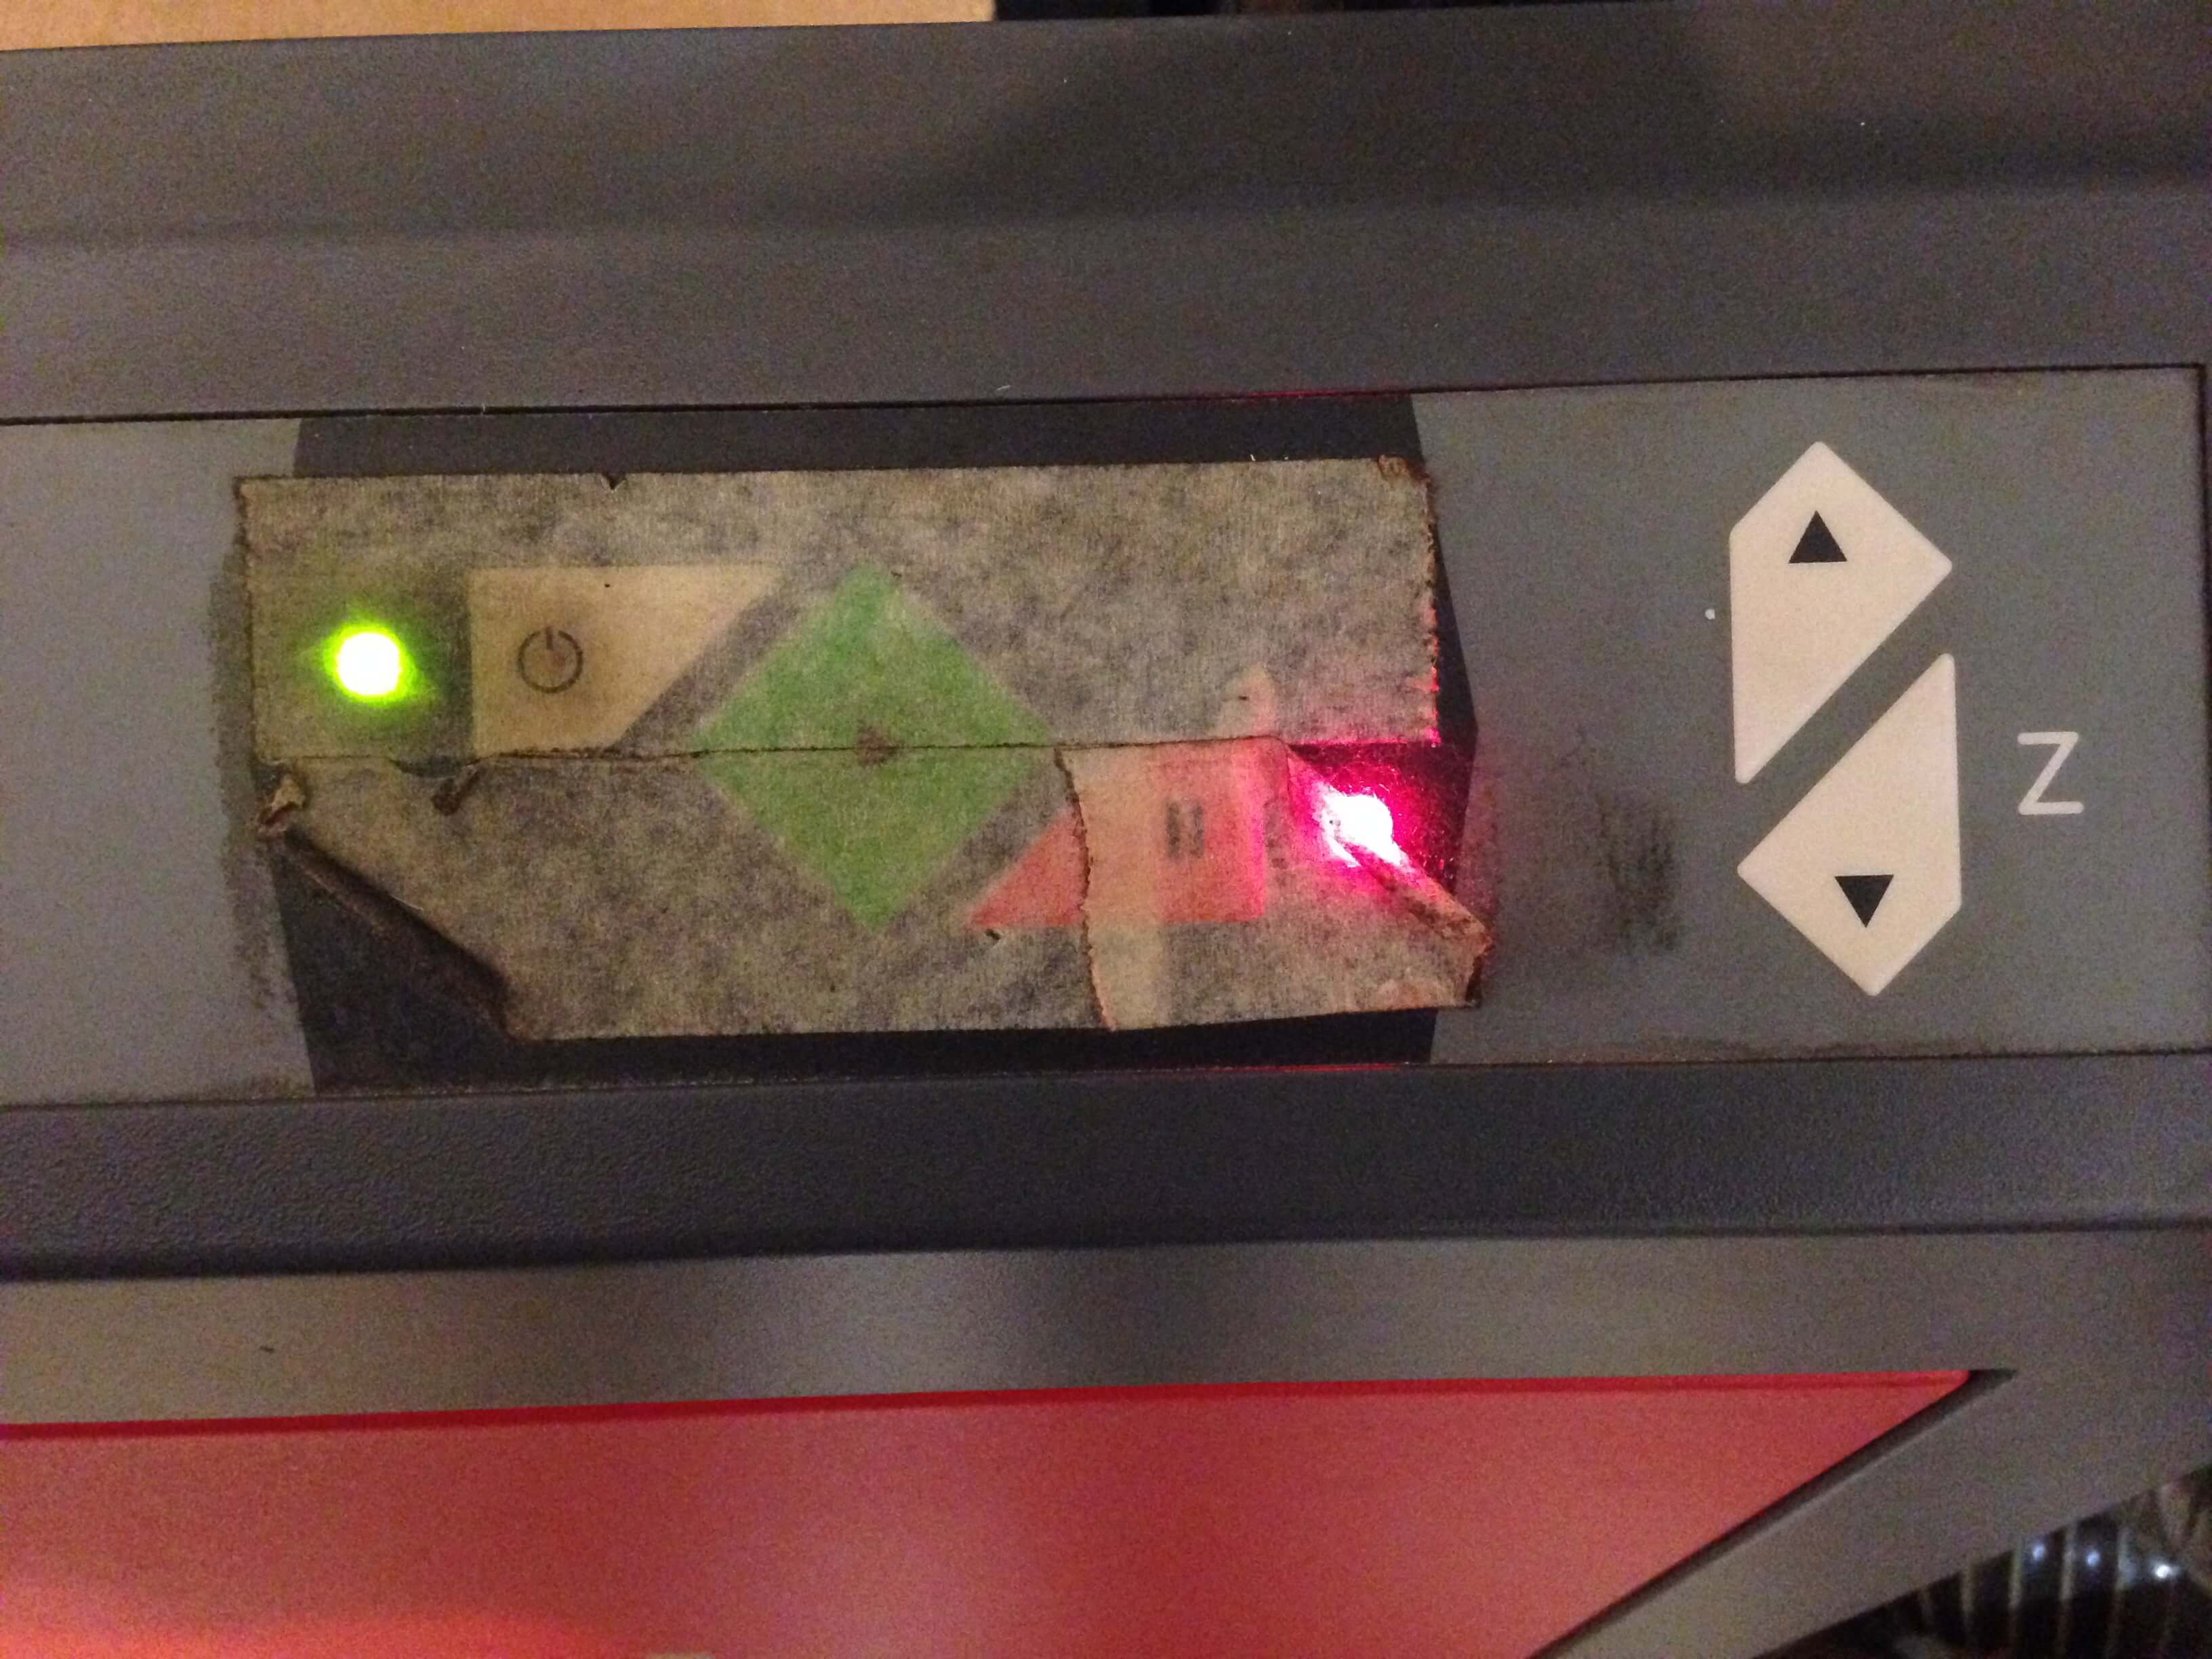
After finished setting for cutting. To set z-axis to precise to cut.
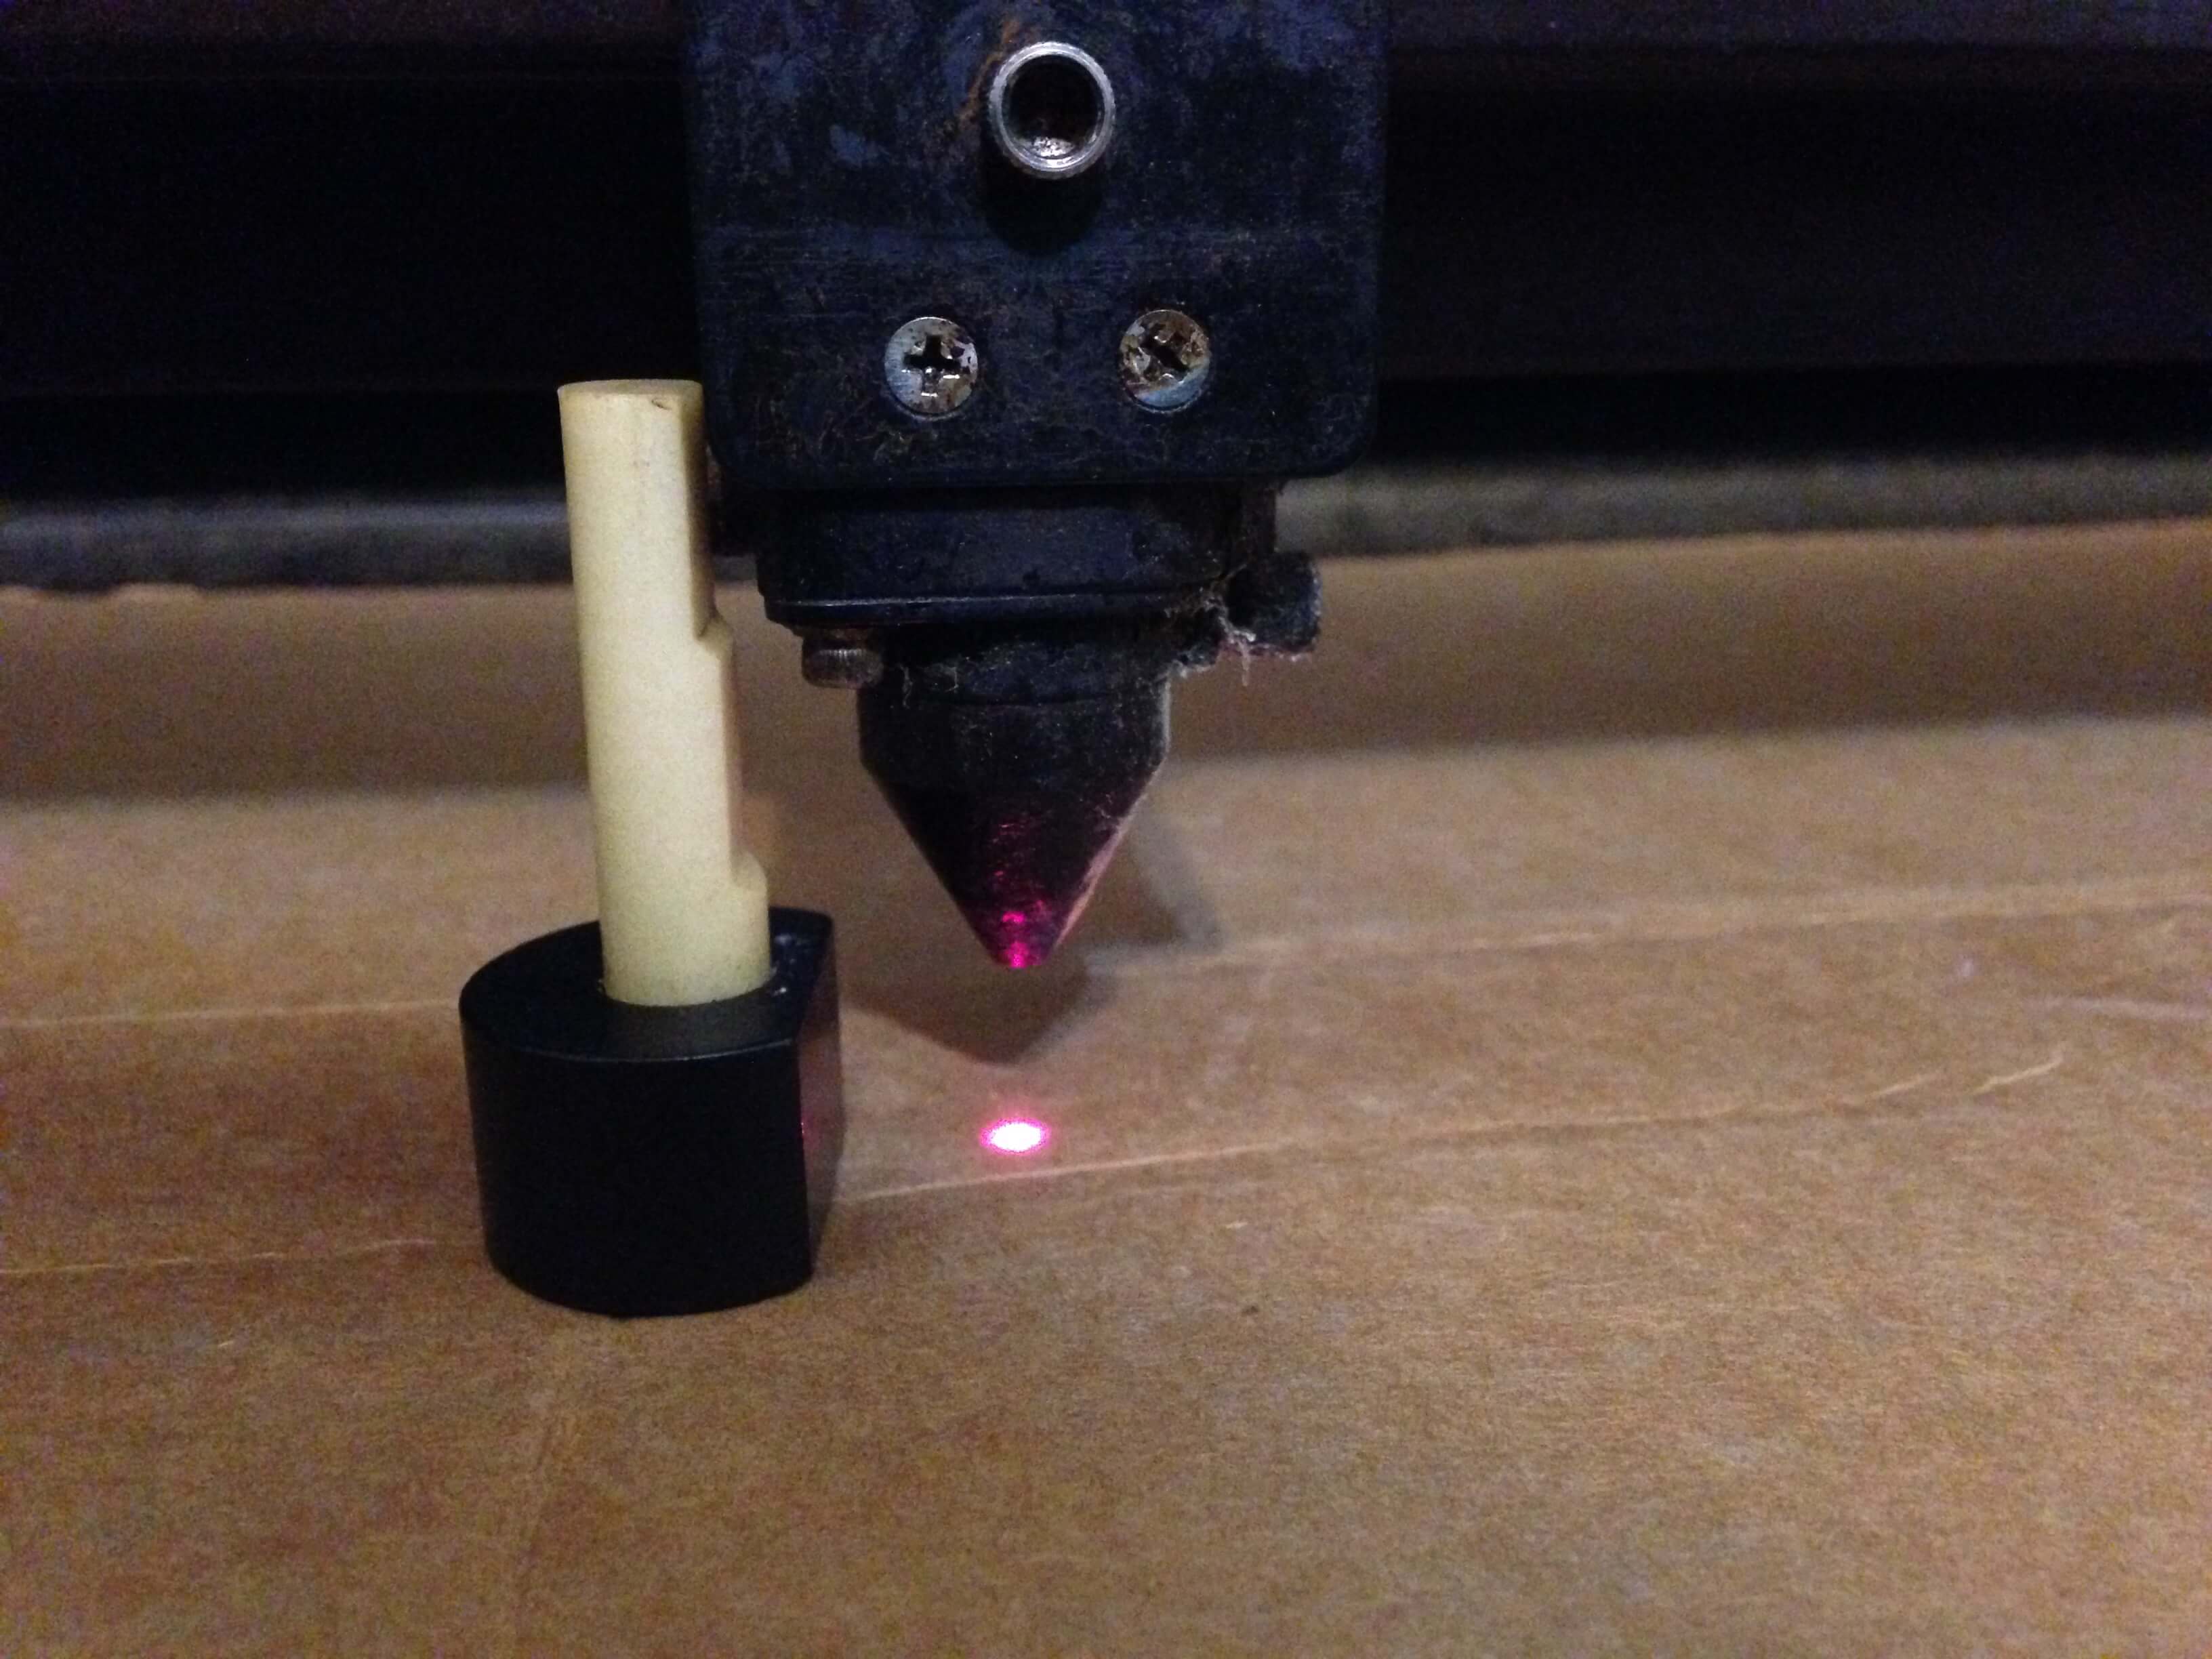
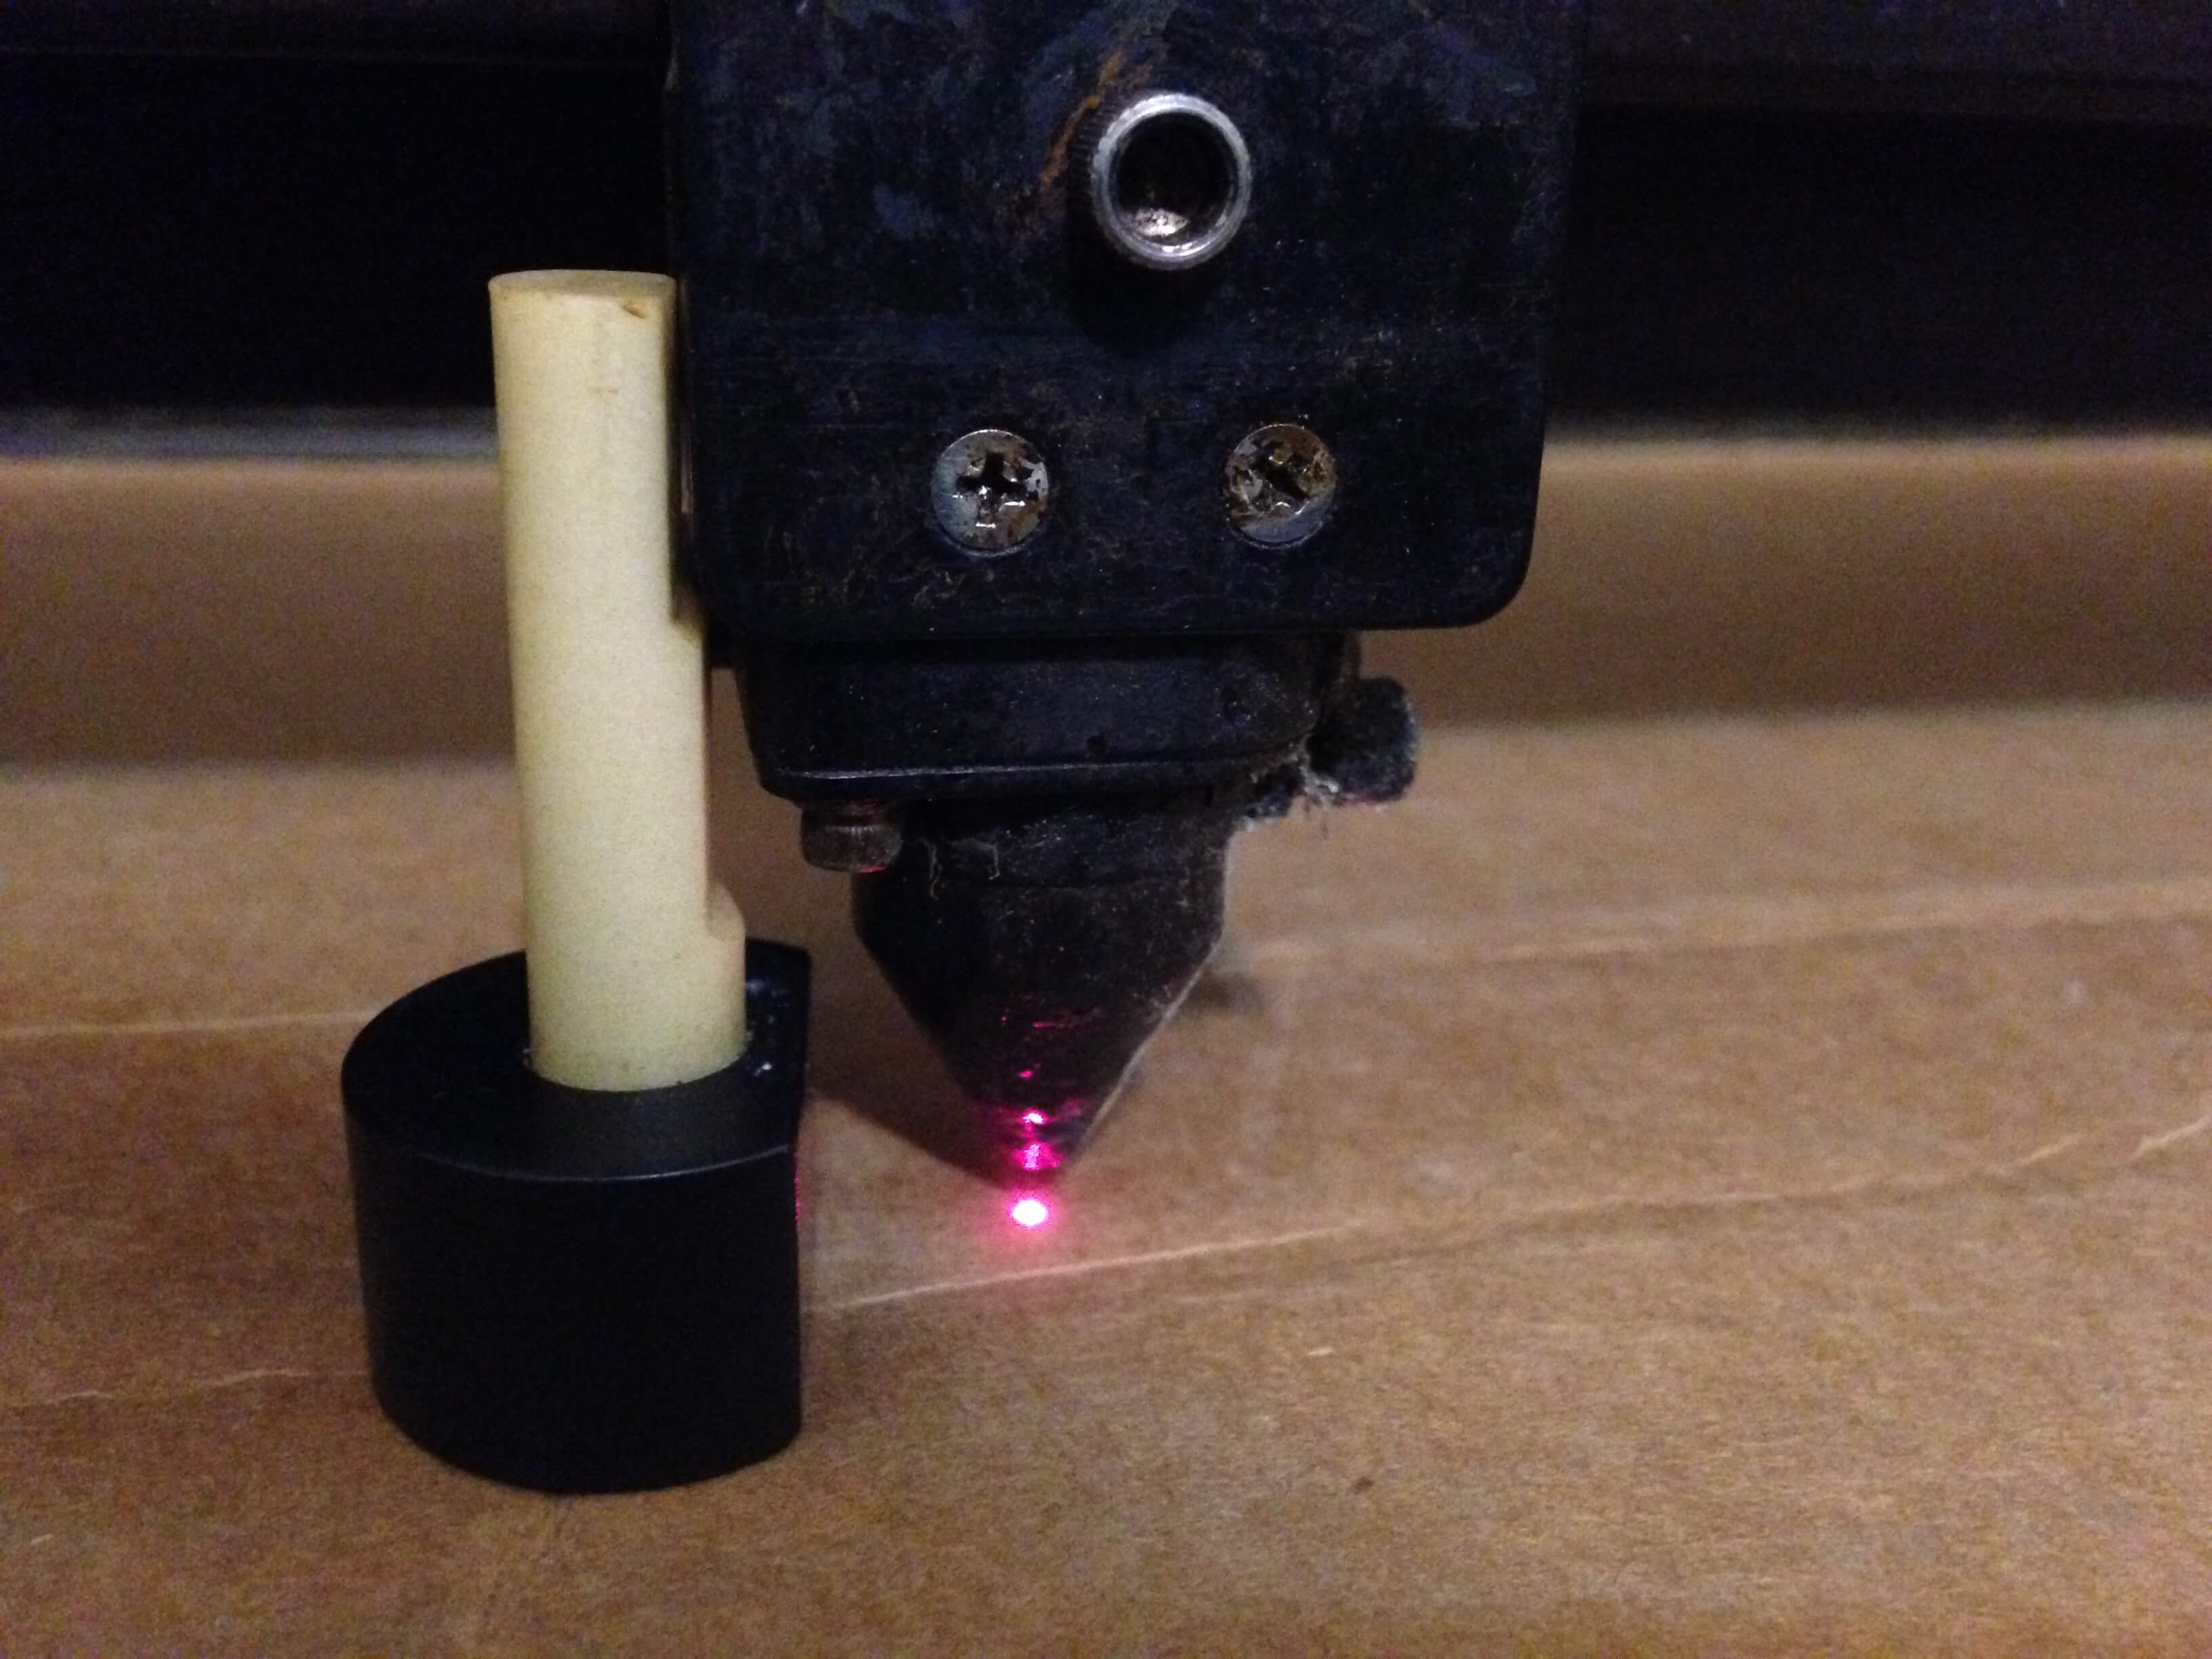
Press up or down to adjust z-axis.
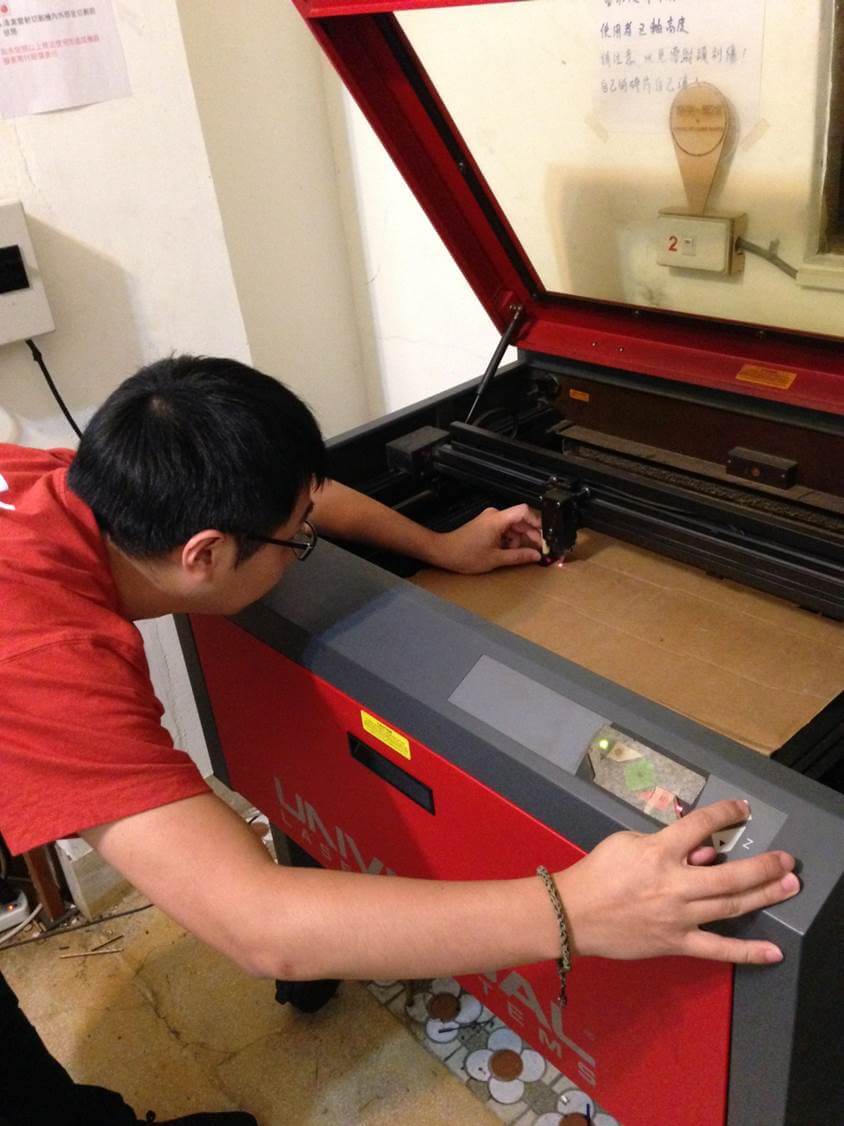
Put MDF or Carton into laser cutter.
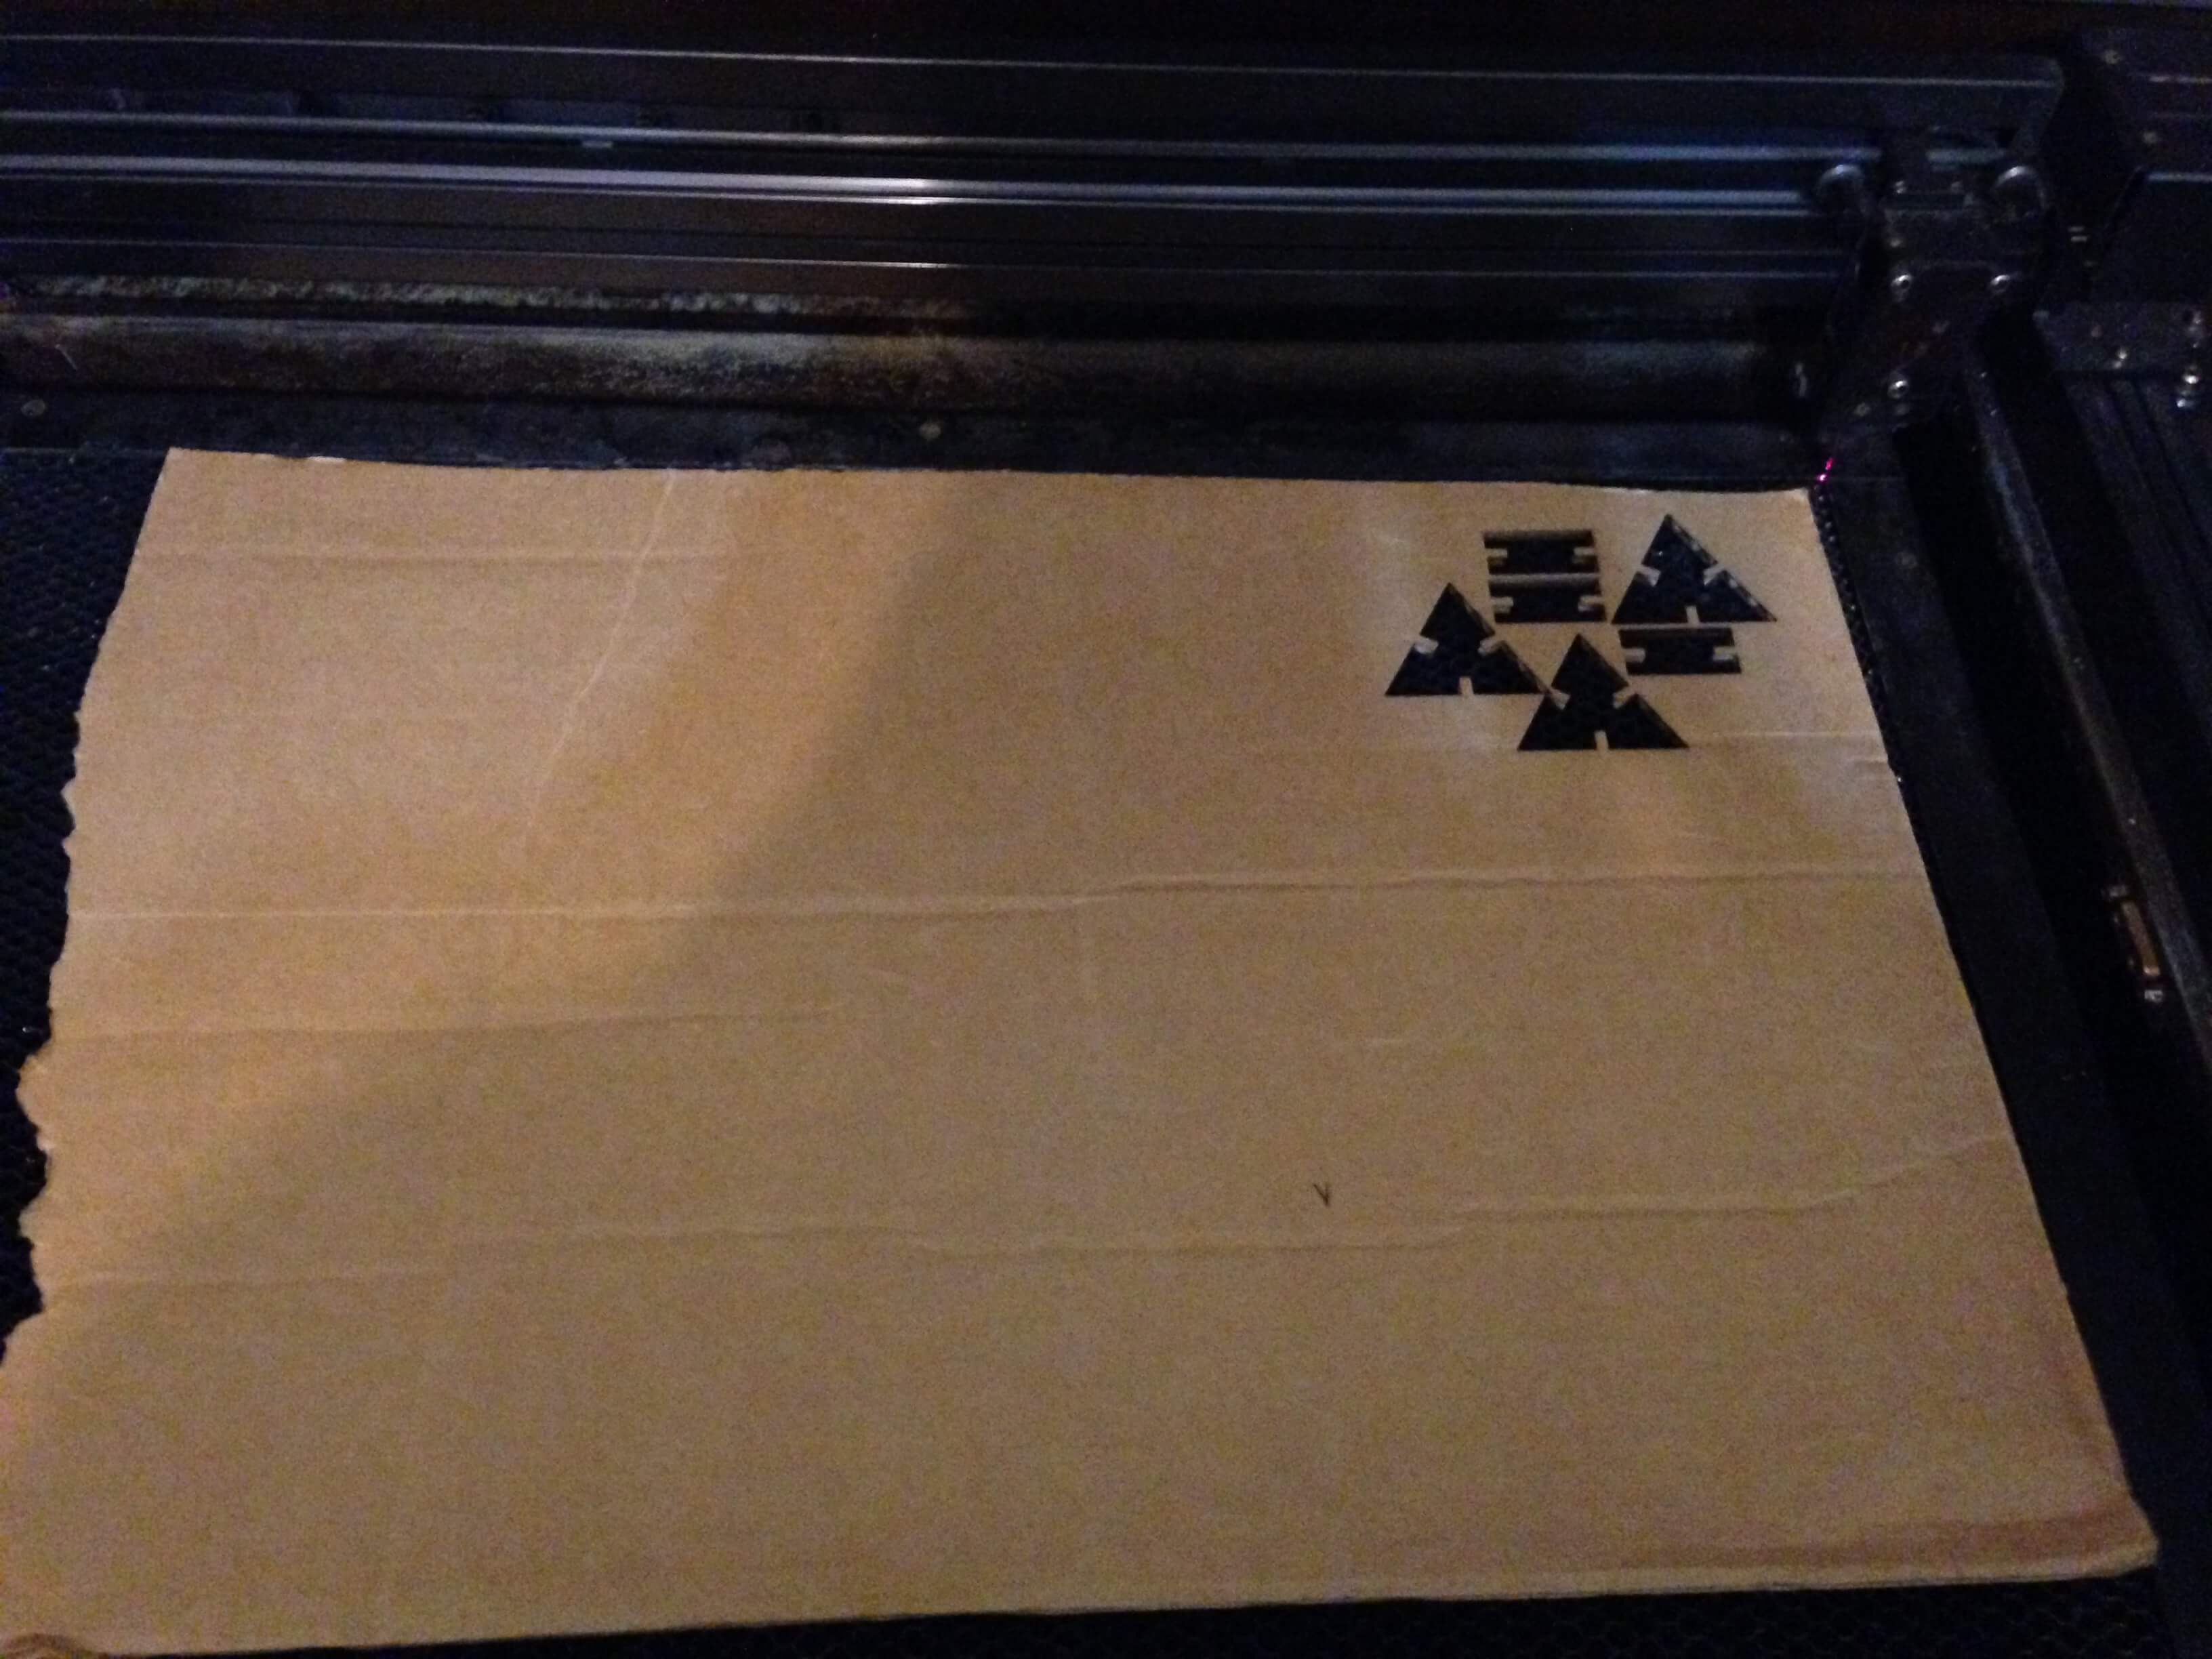
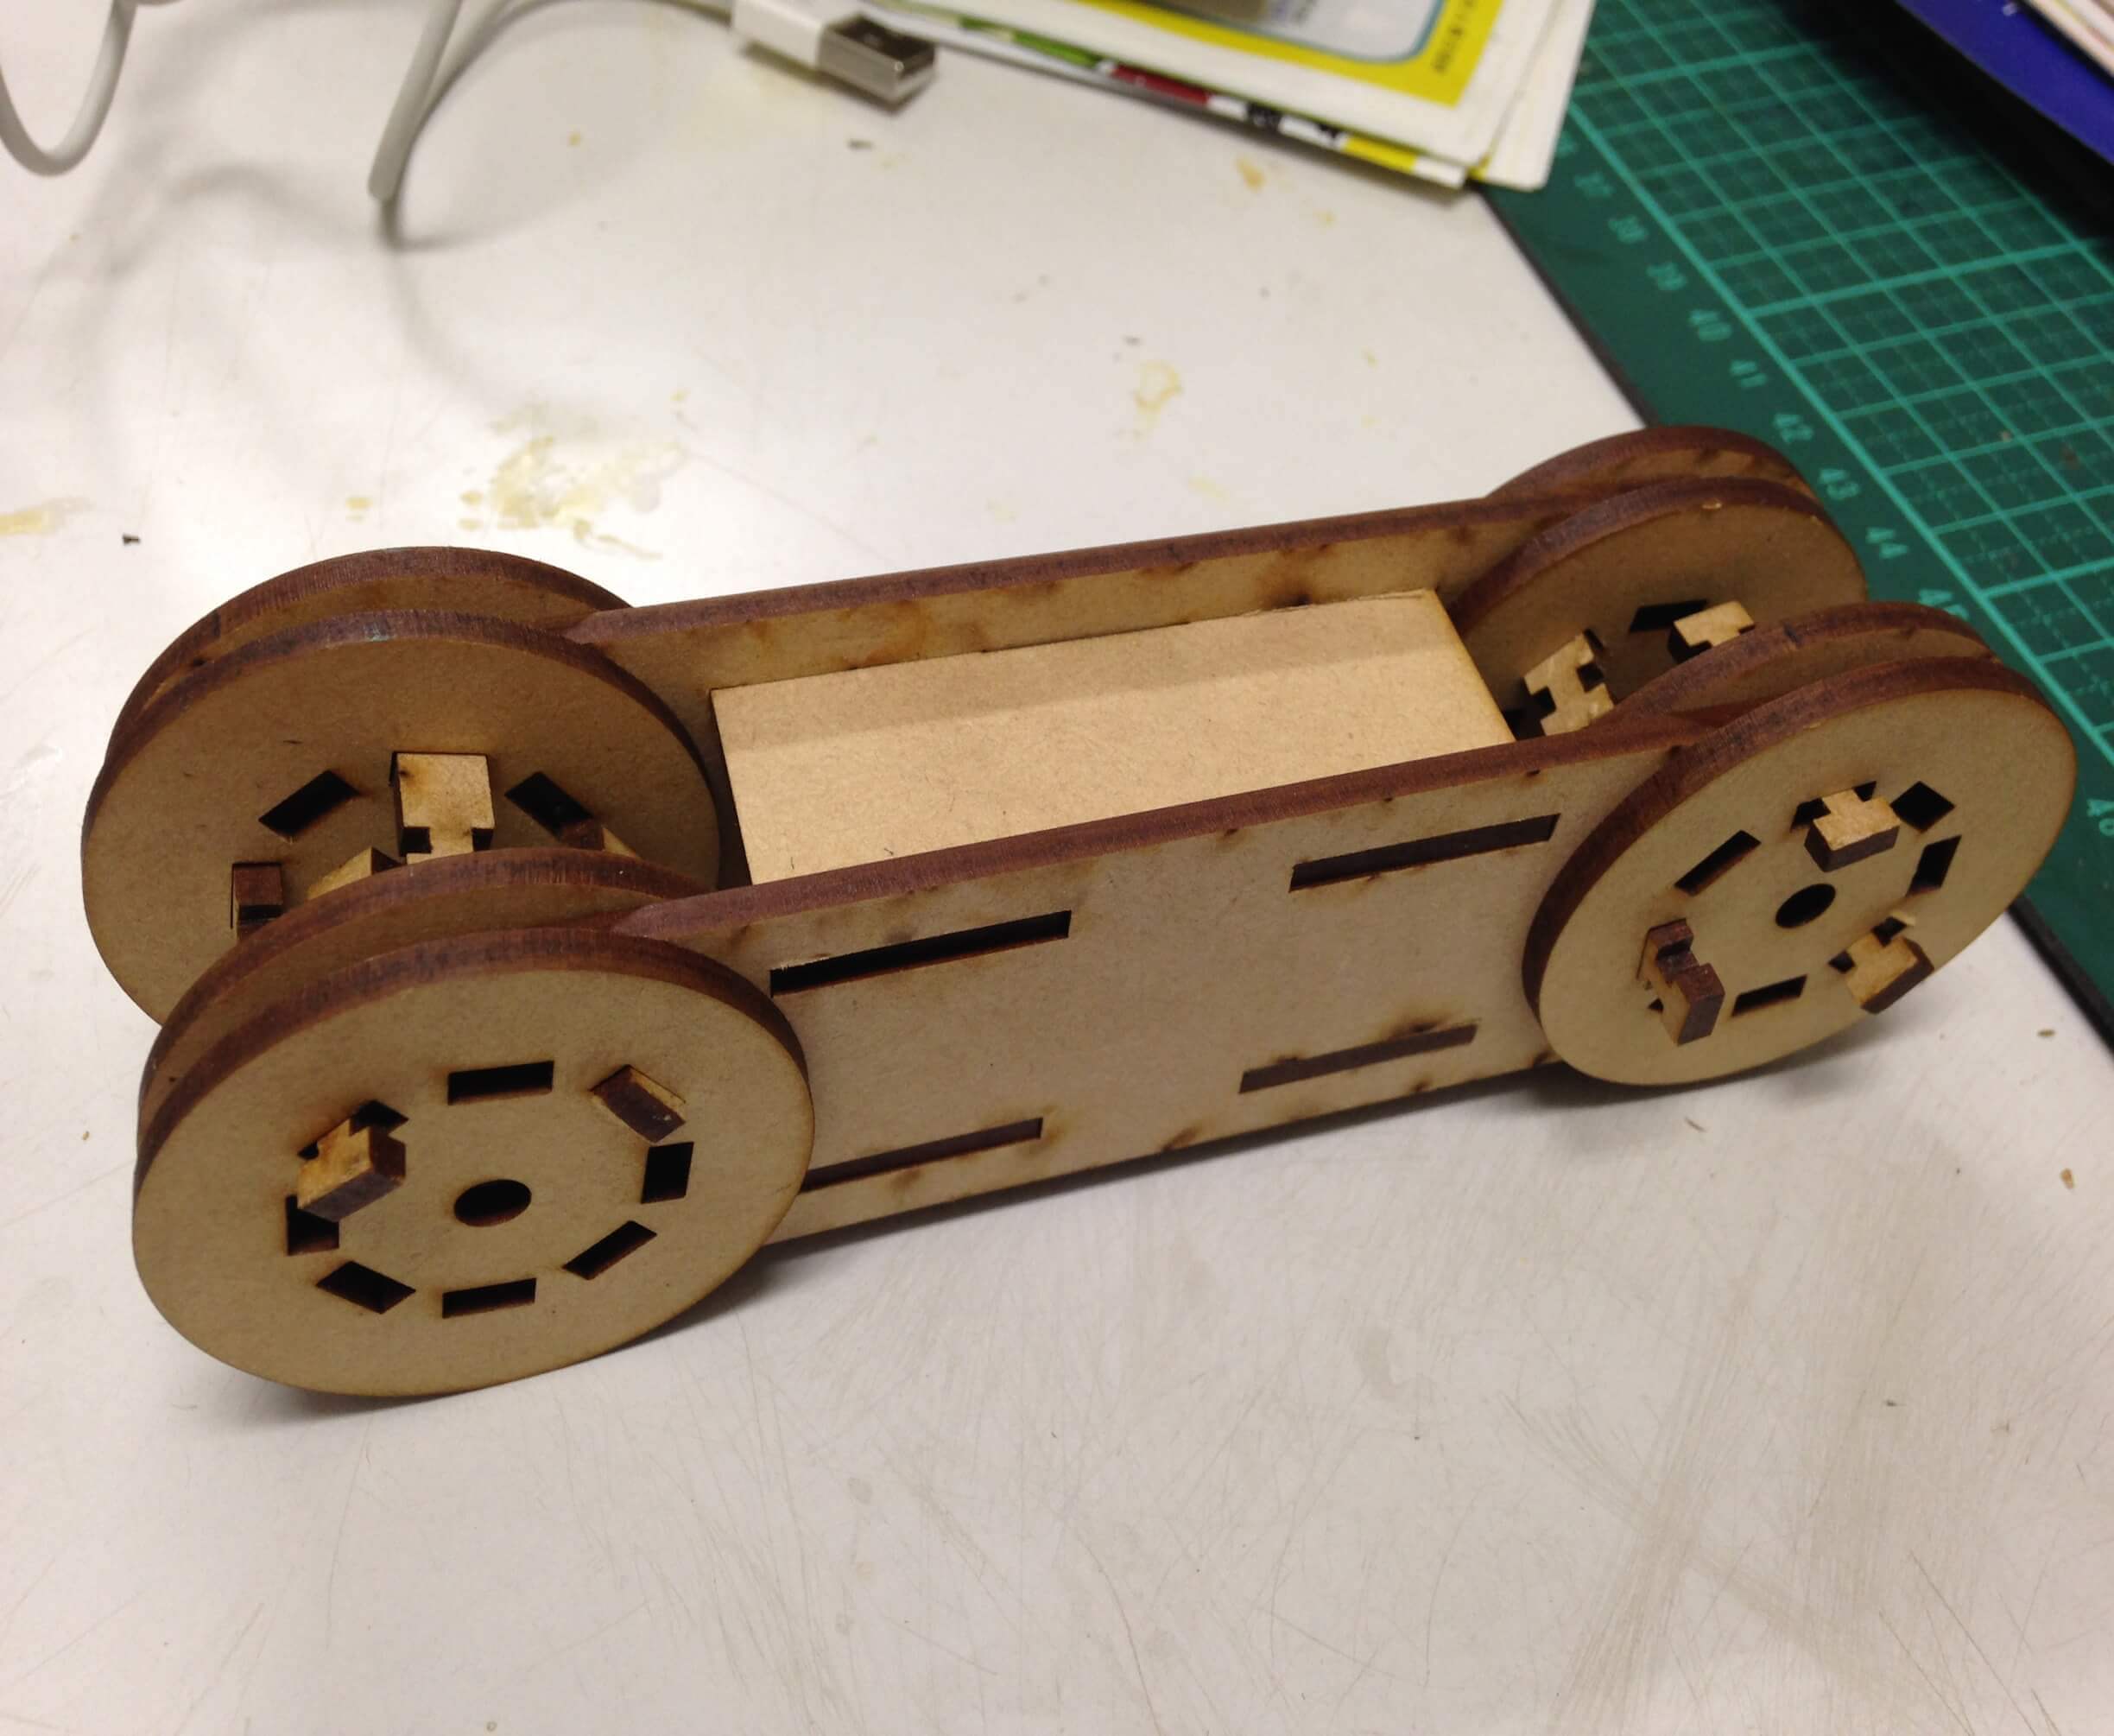
After cutting, there are component for car and combine them it.

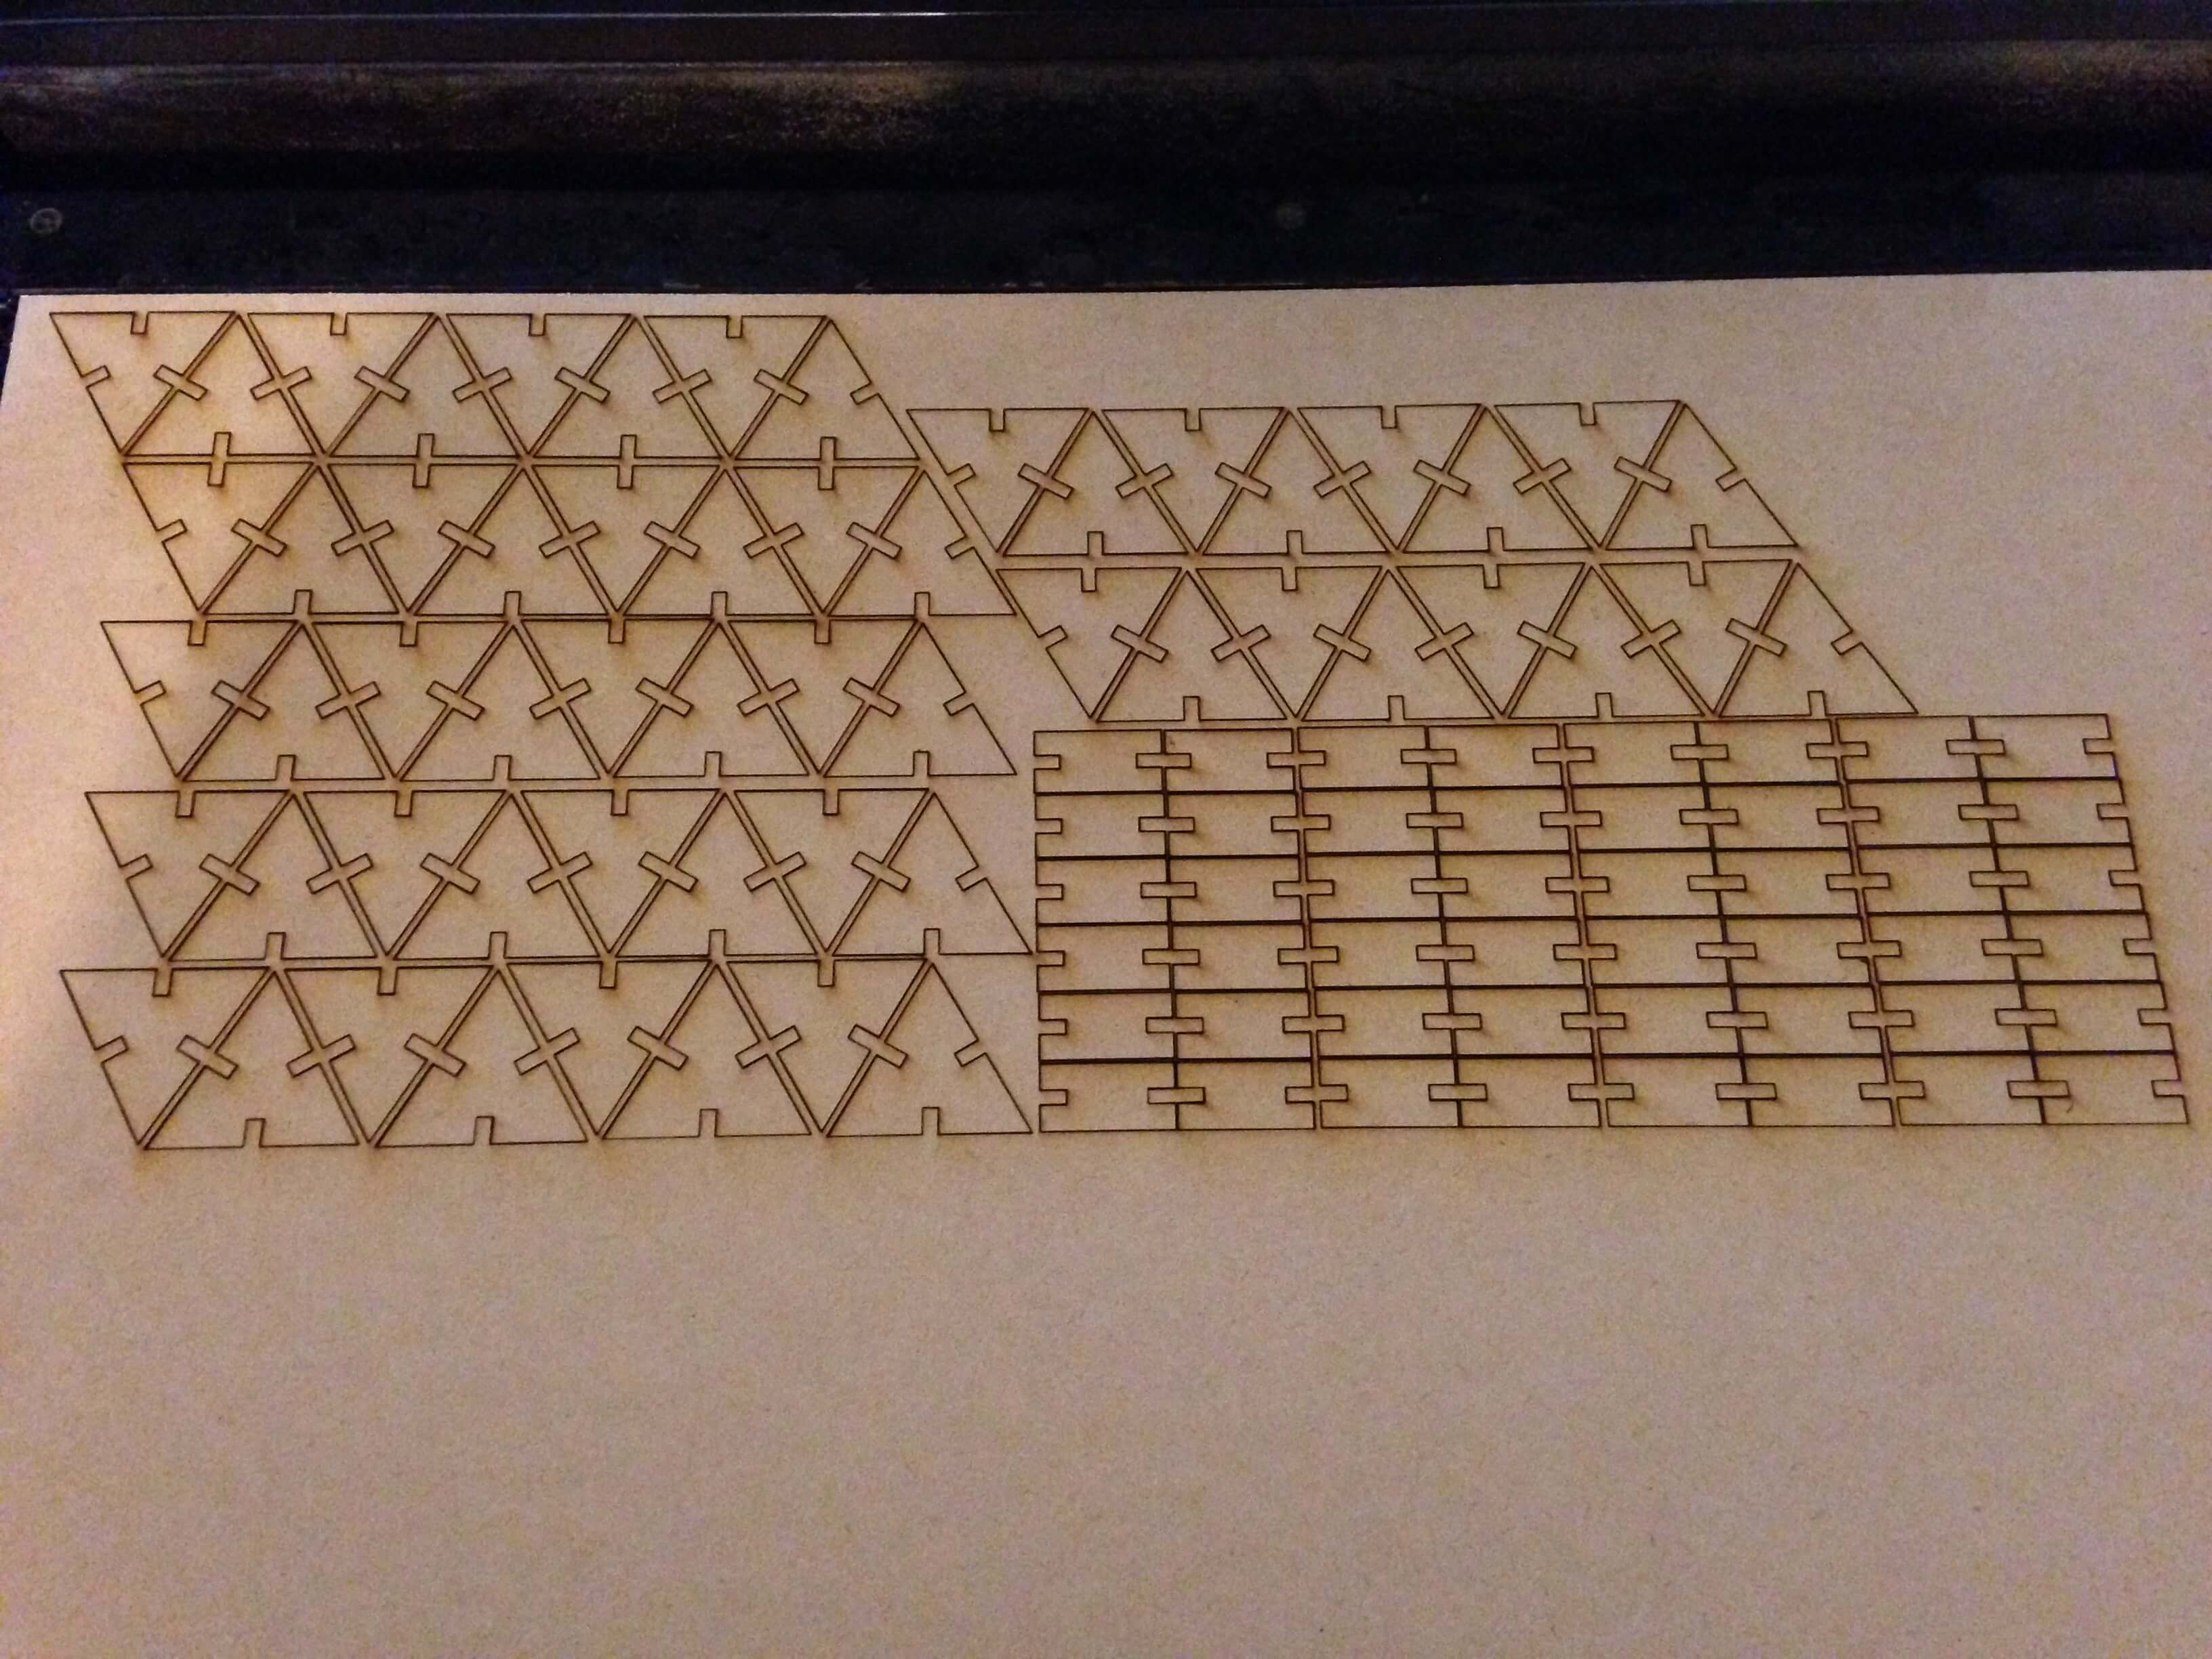
For phone stand components (press-fit kit):
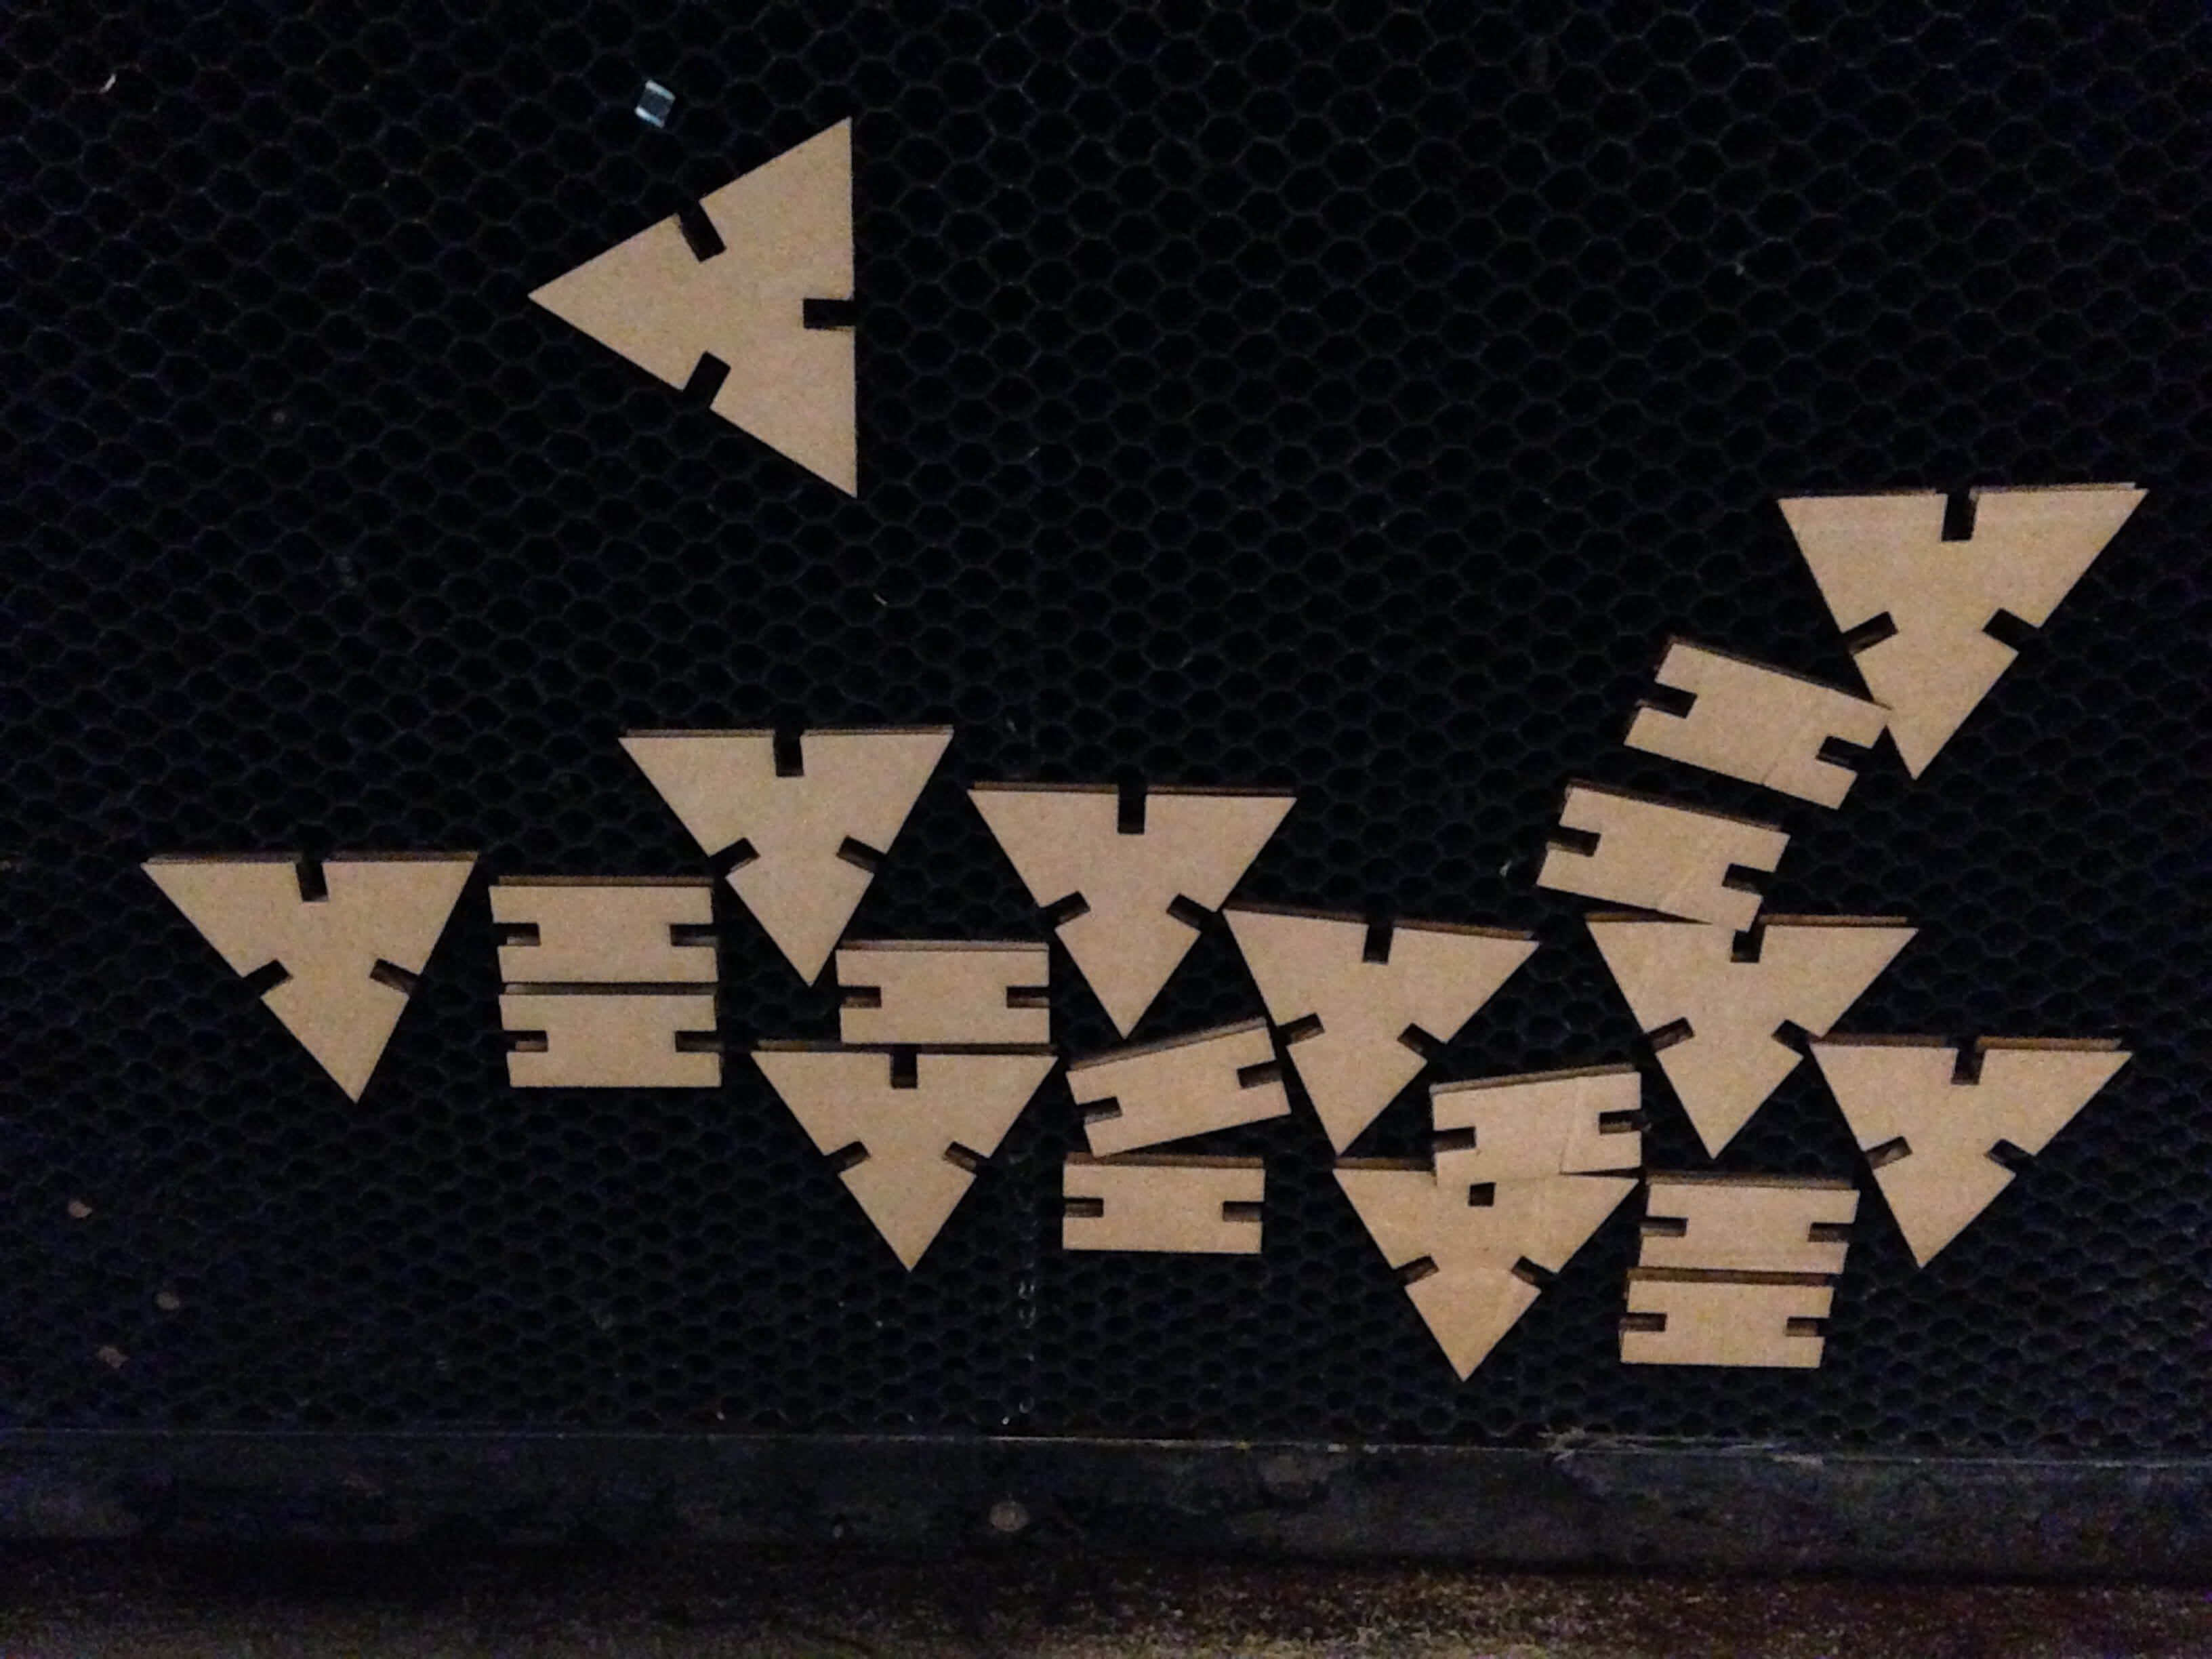
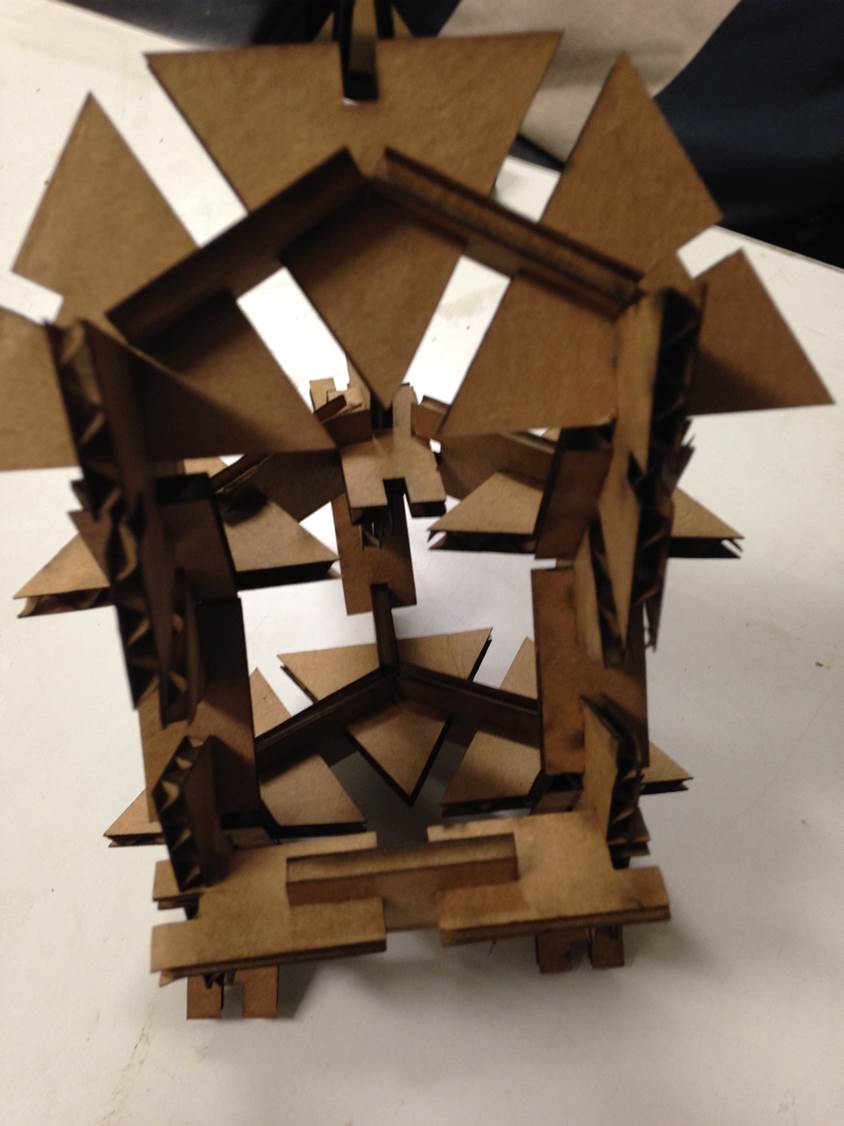
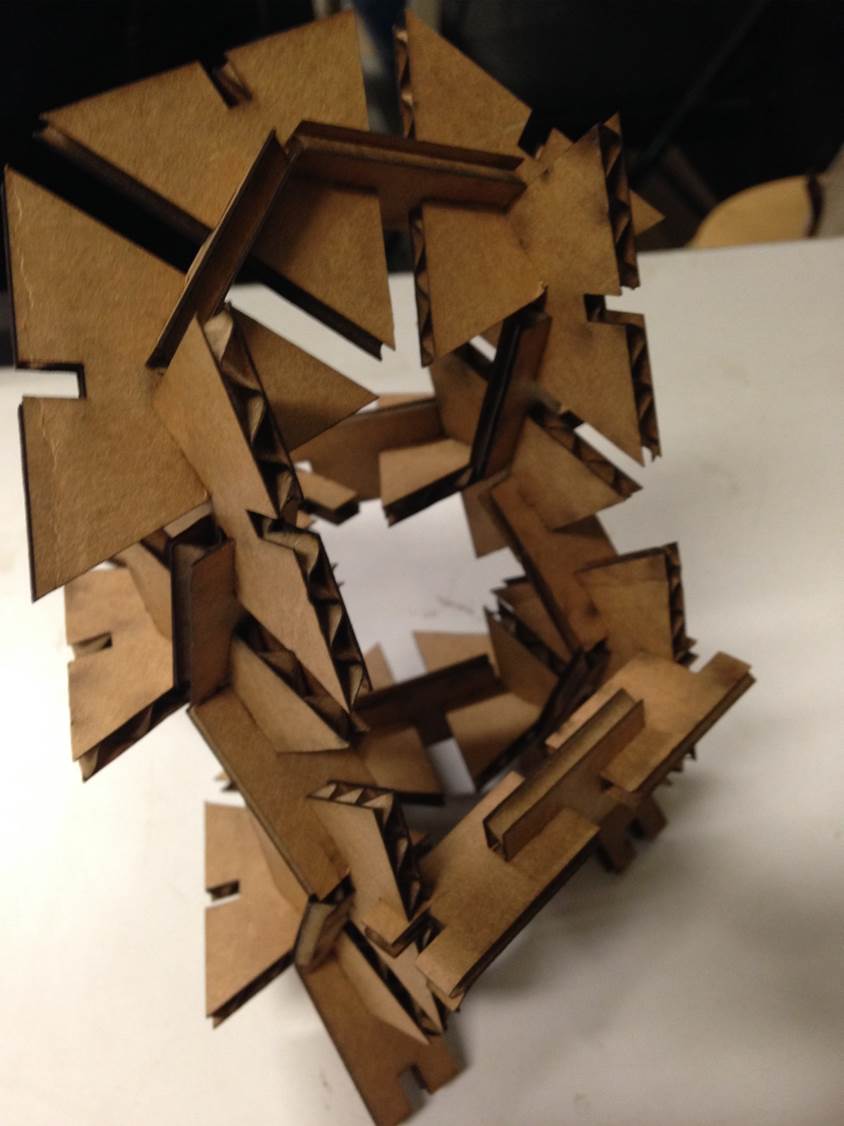
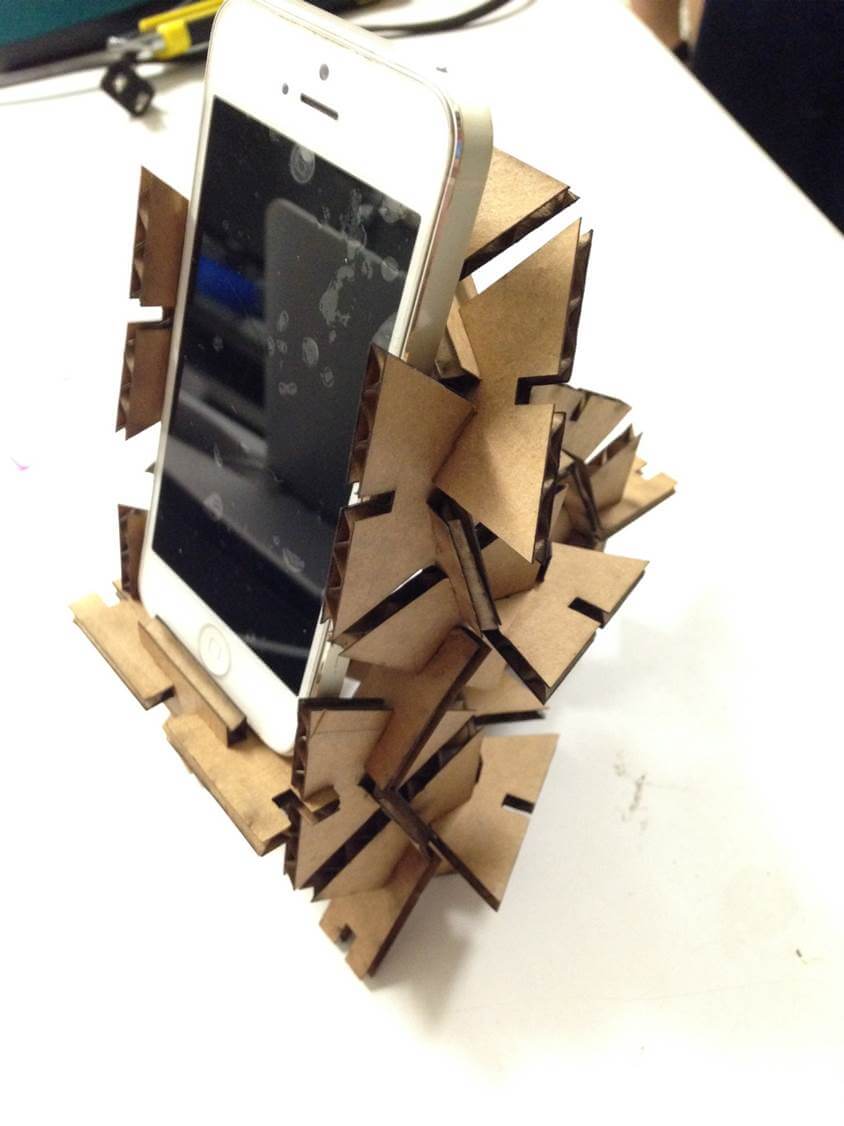
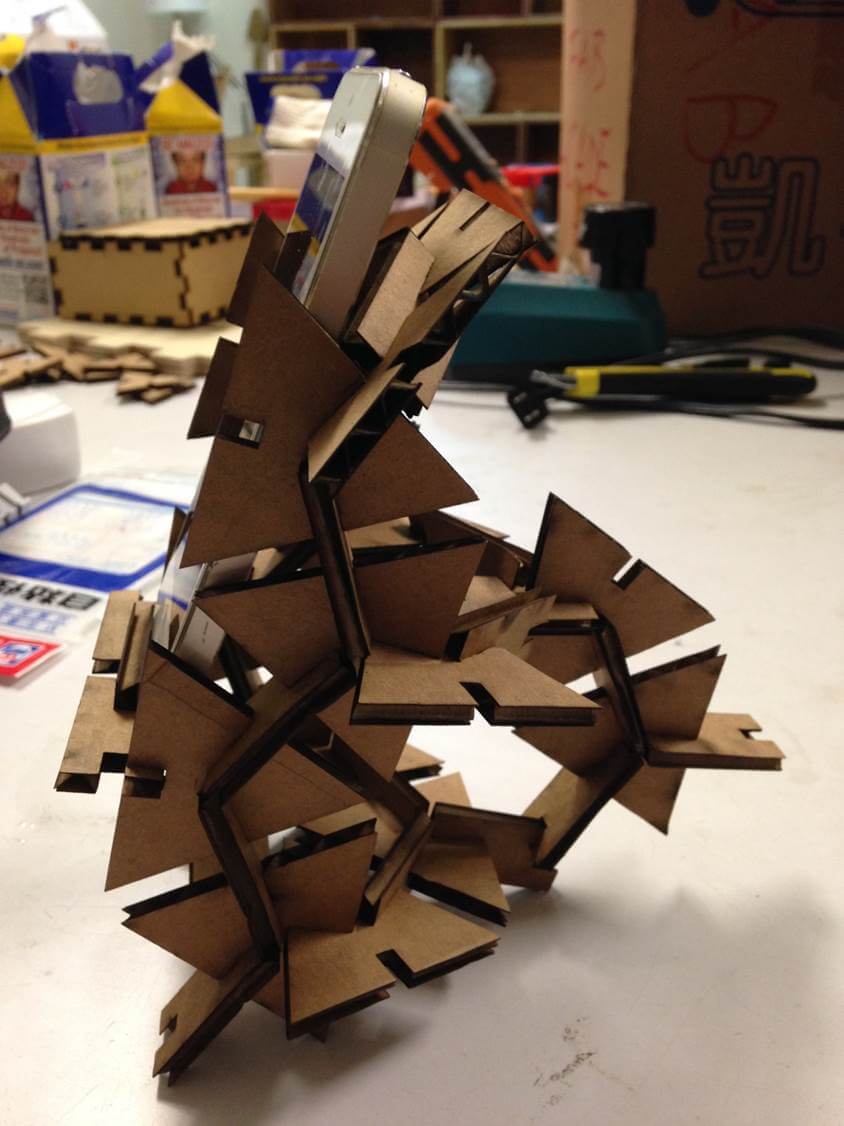
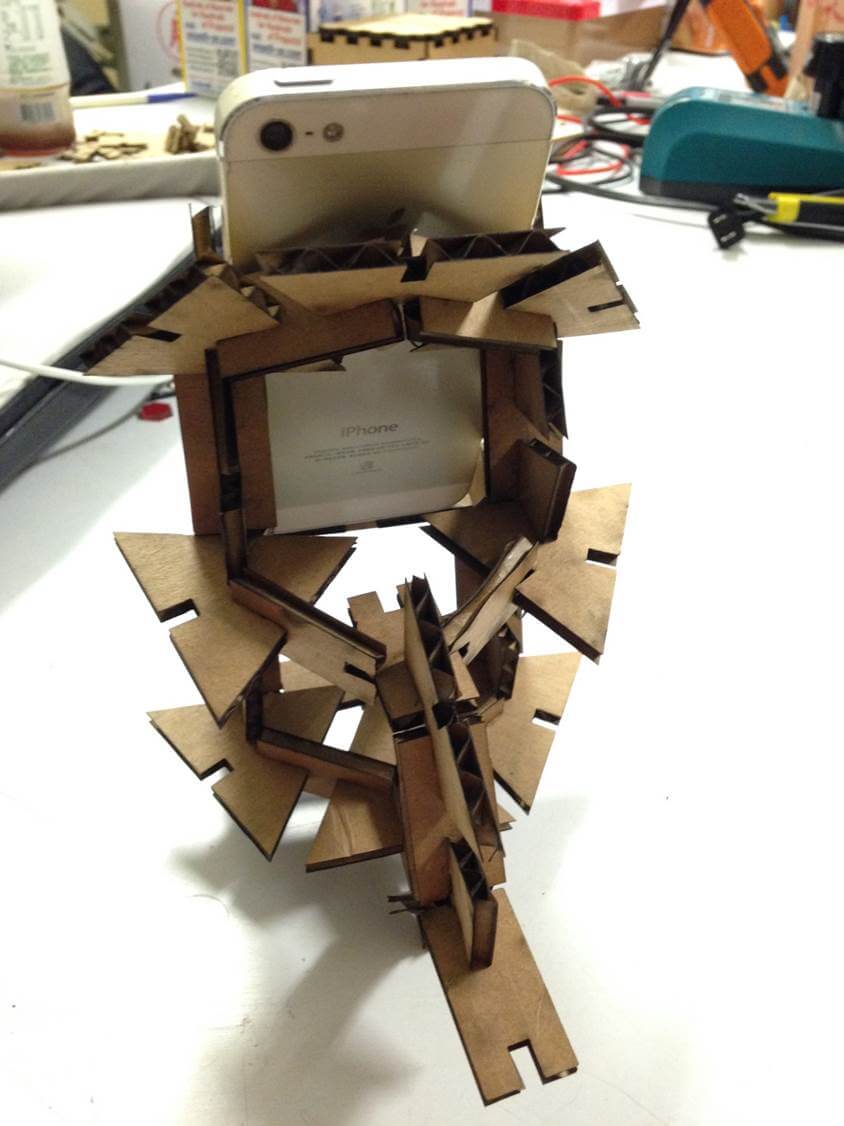
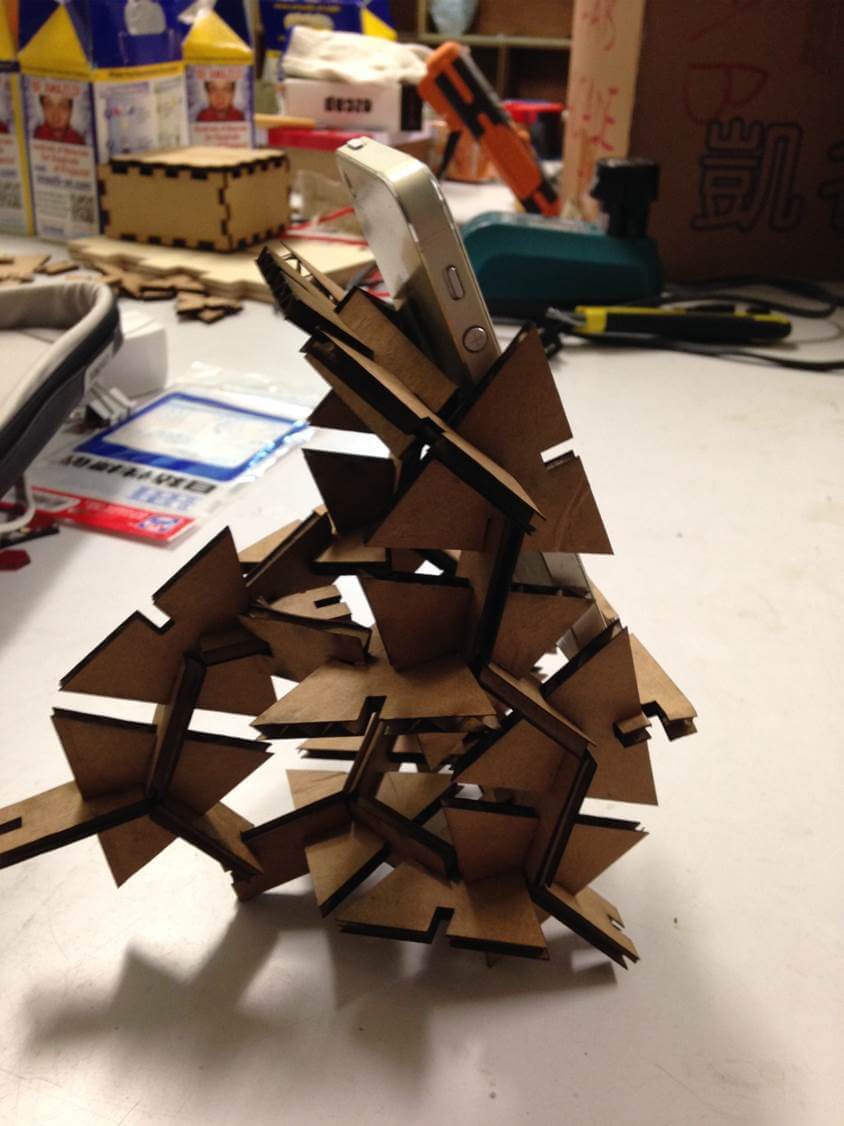
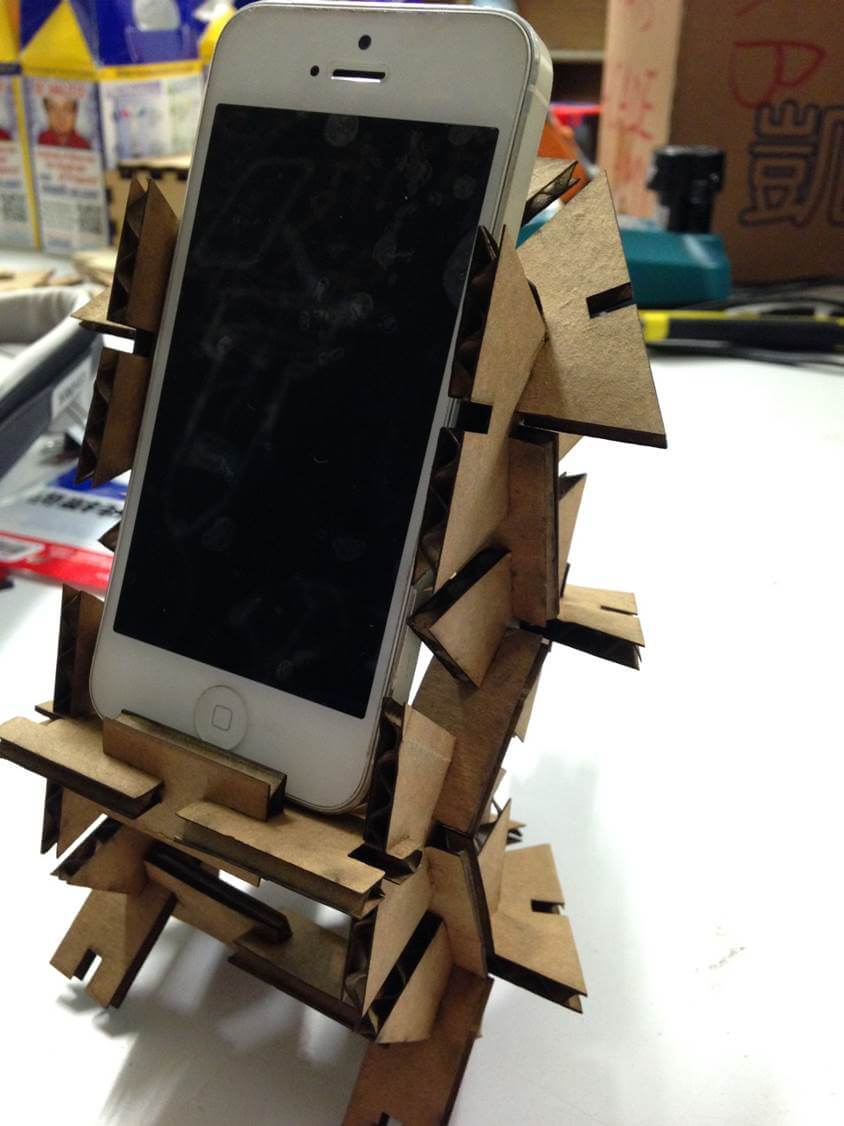
From this week, I have learned how to use 2D design to make 3D model via press-fit construction kit.
And First time to use laser cutter to cut MDF, I forgot to calculate the thickness of mdf so can not to combine all part of components.
Another one things is, I used Power:100%, Speed:25%, PPI:1000 to cut carboard so it had a lots of fume after cutting.
Maybe set lower power and lower PPI will be better next time.
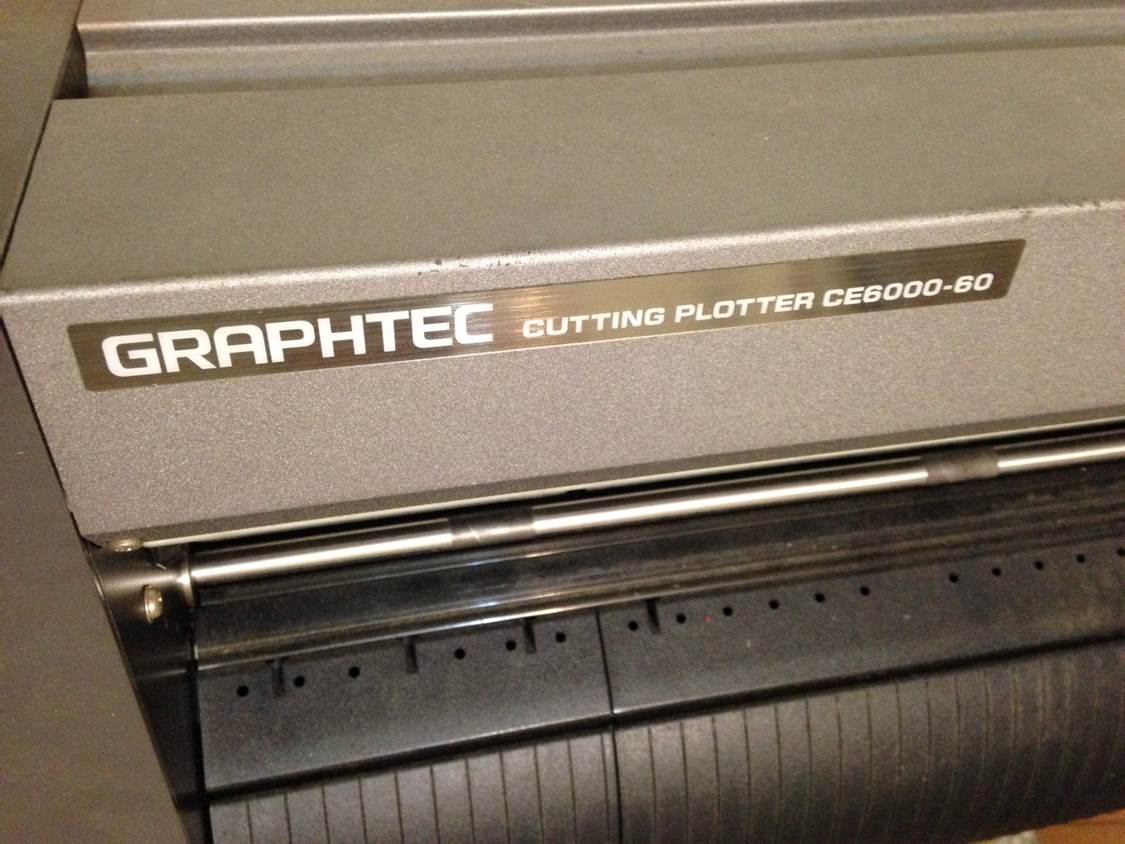
Vinyl Cutting:
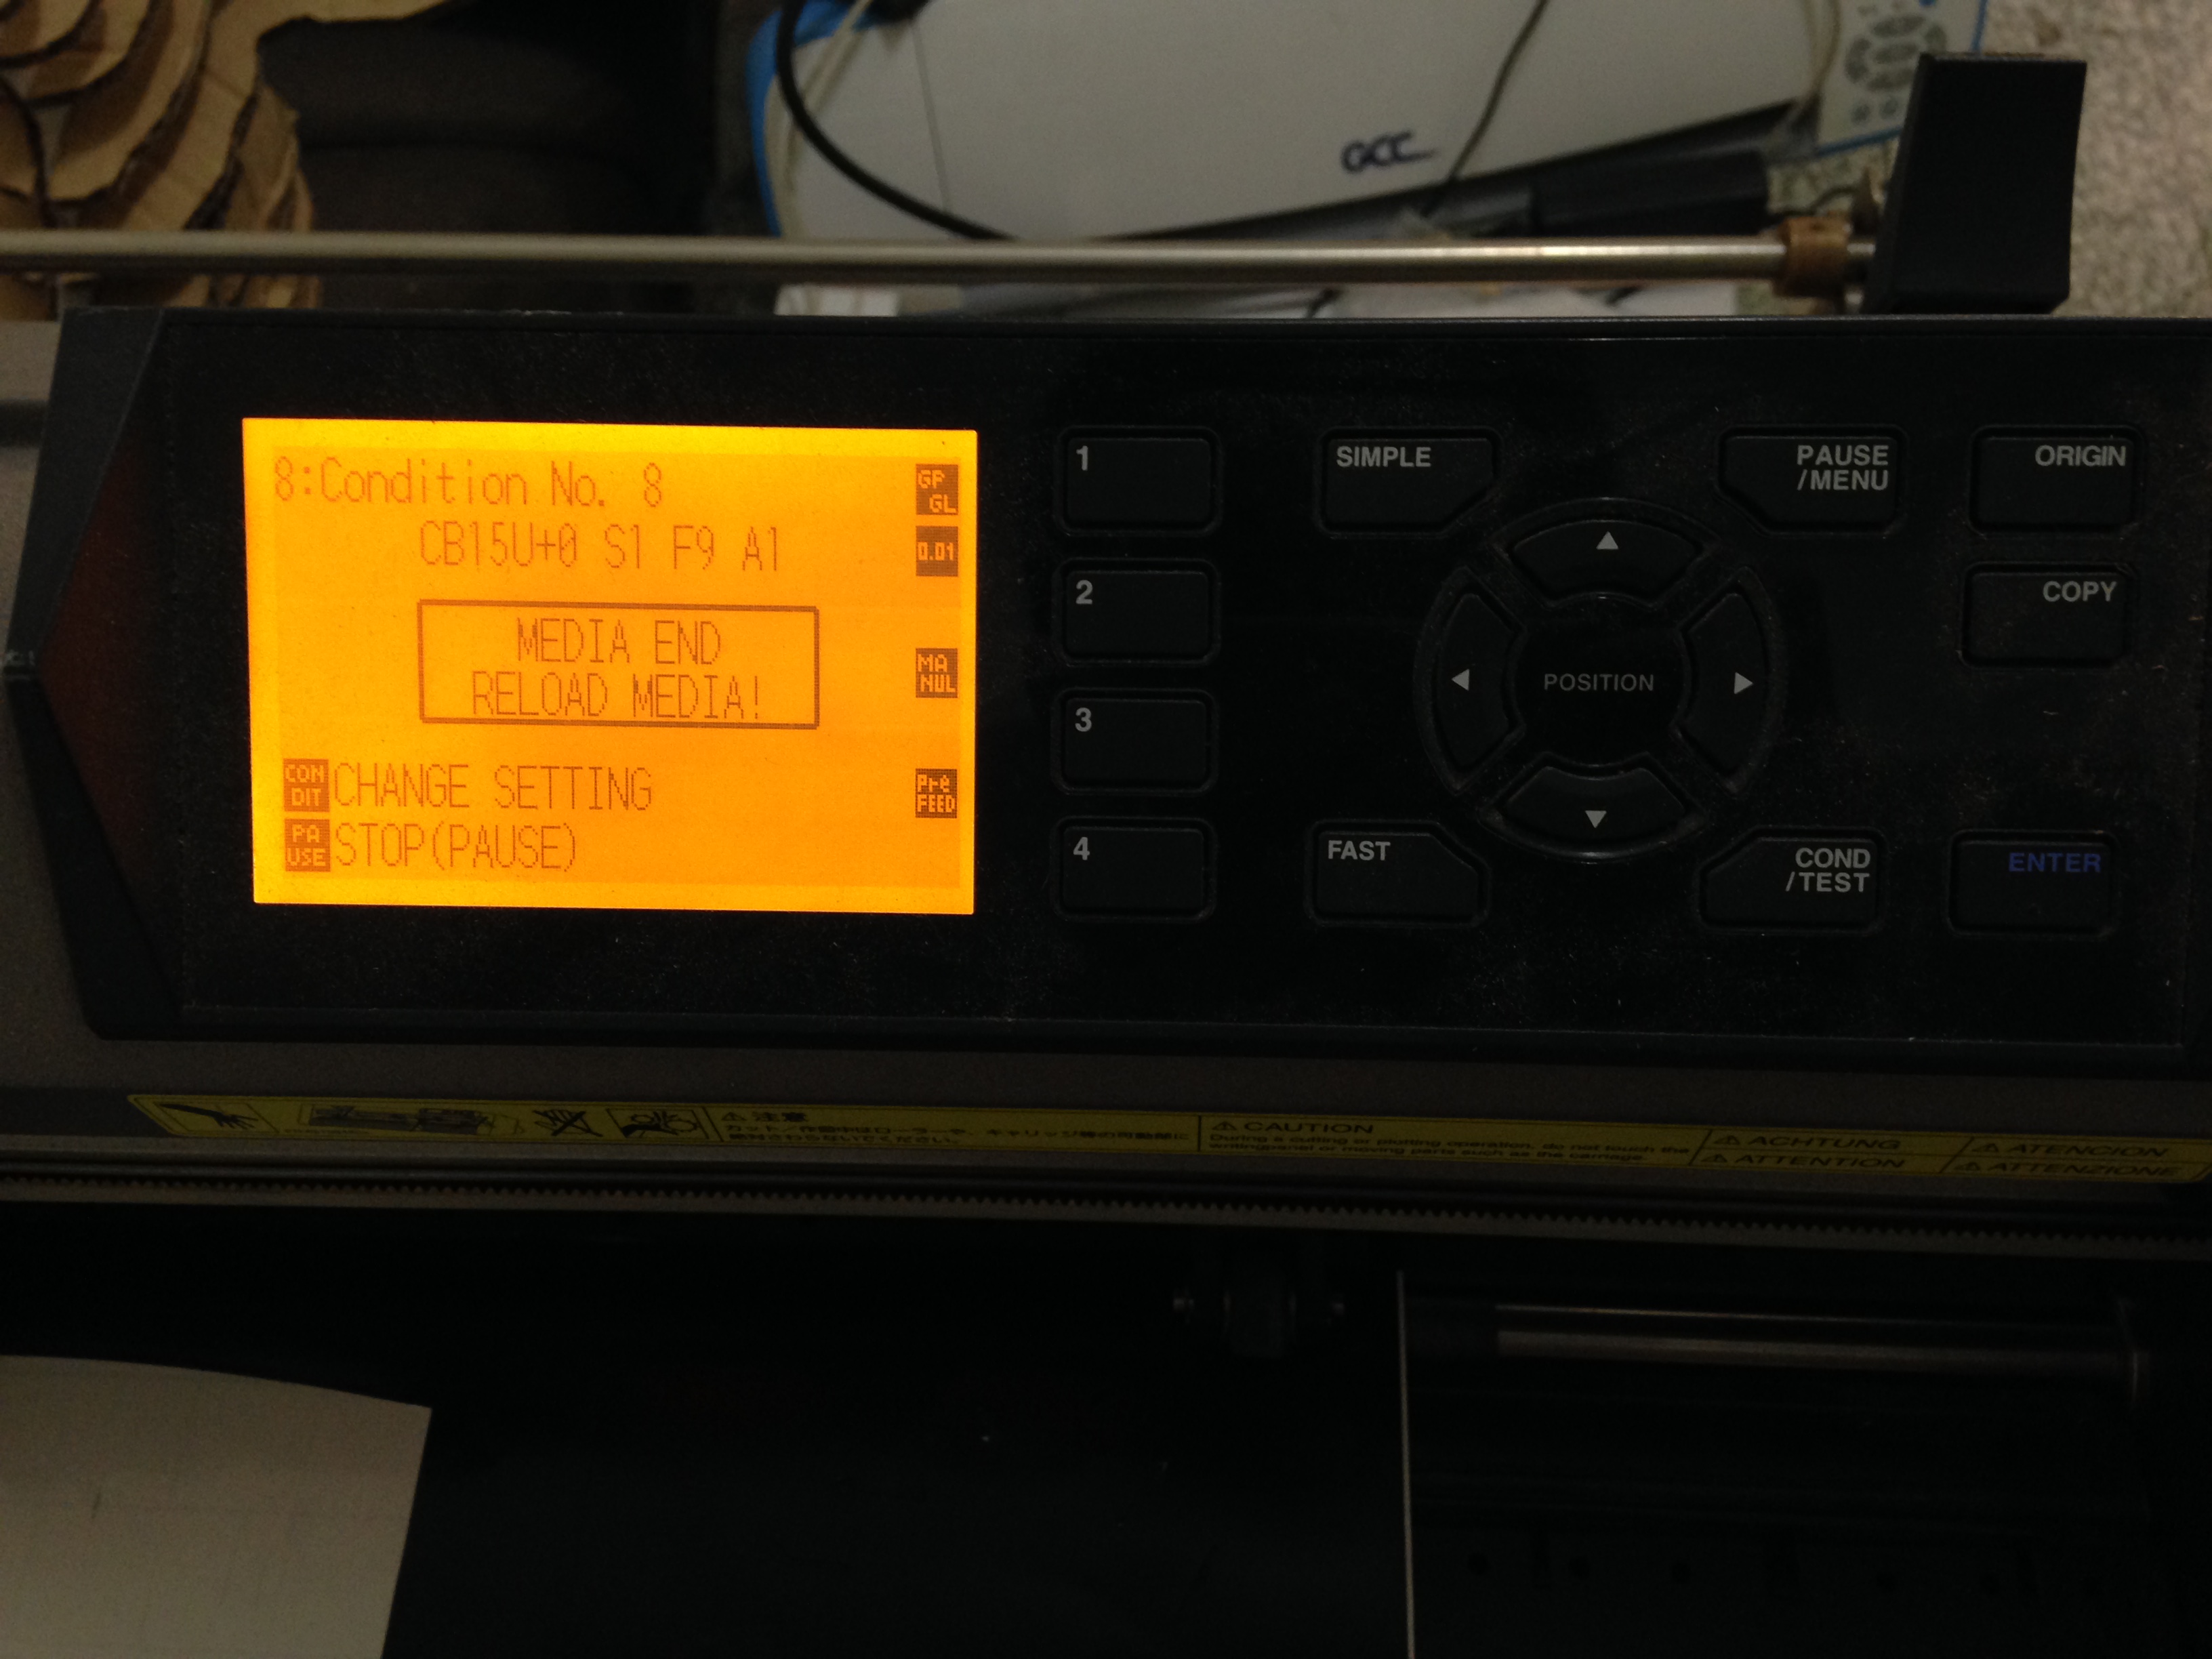
In FabLab Taipei, we used GraphTec Cutting Plotter CE6000-60 to practice cut what we want to cut.
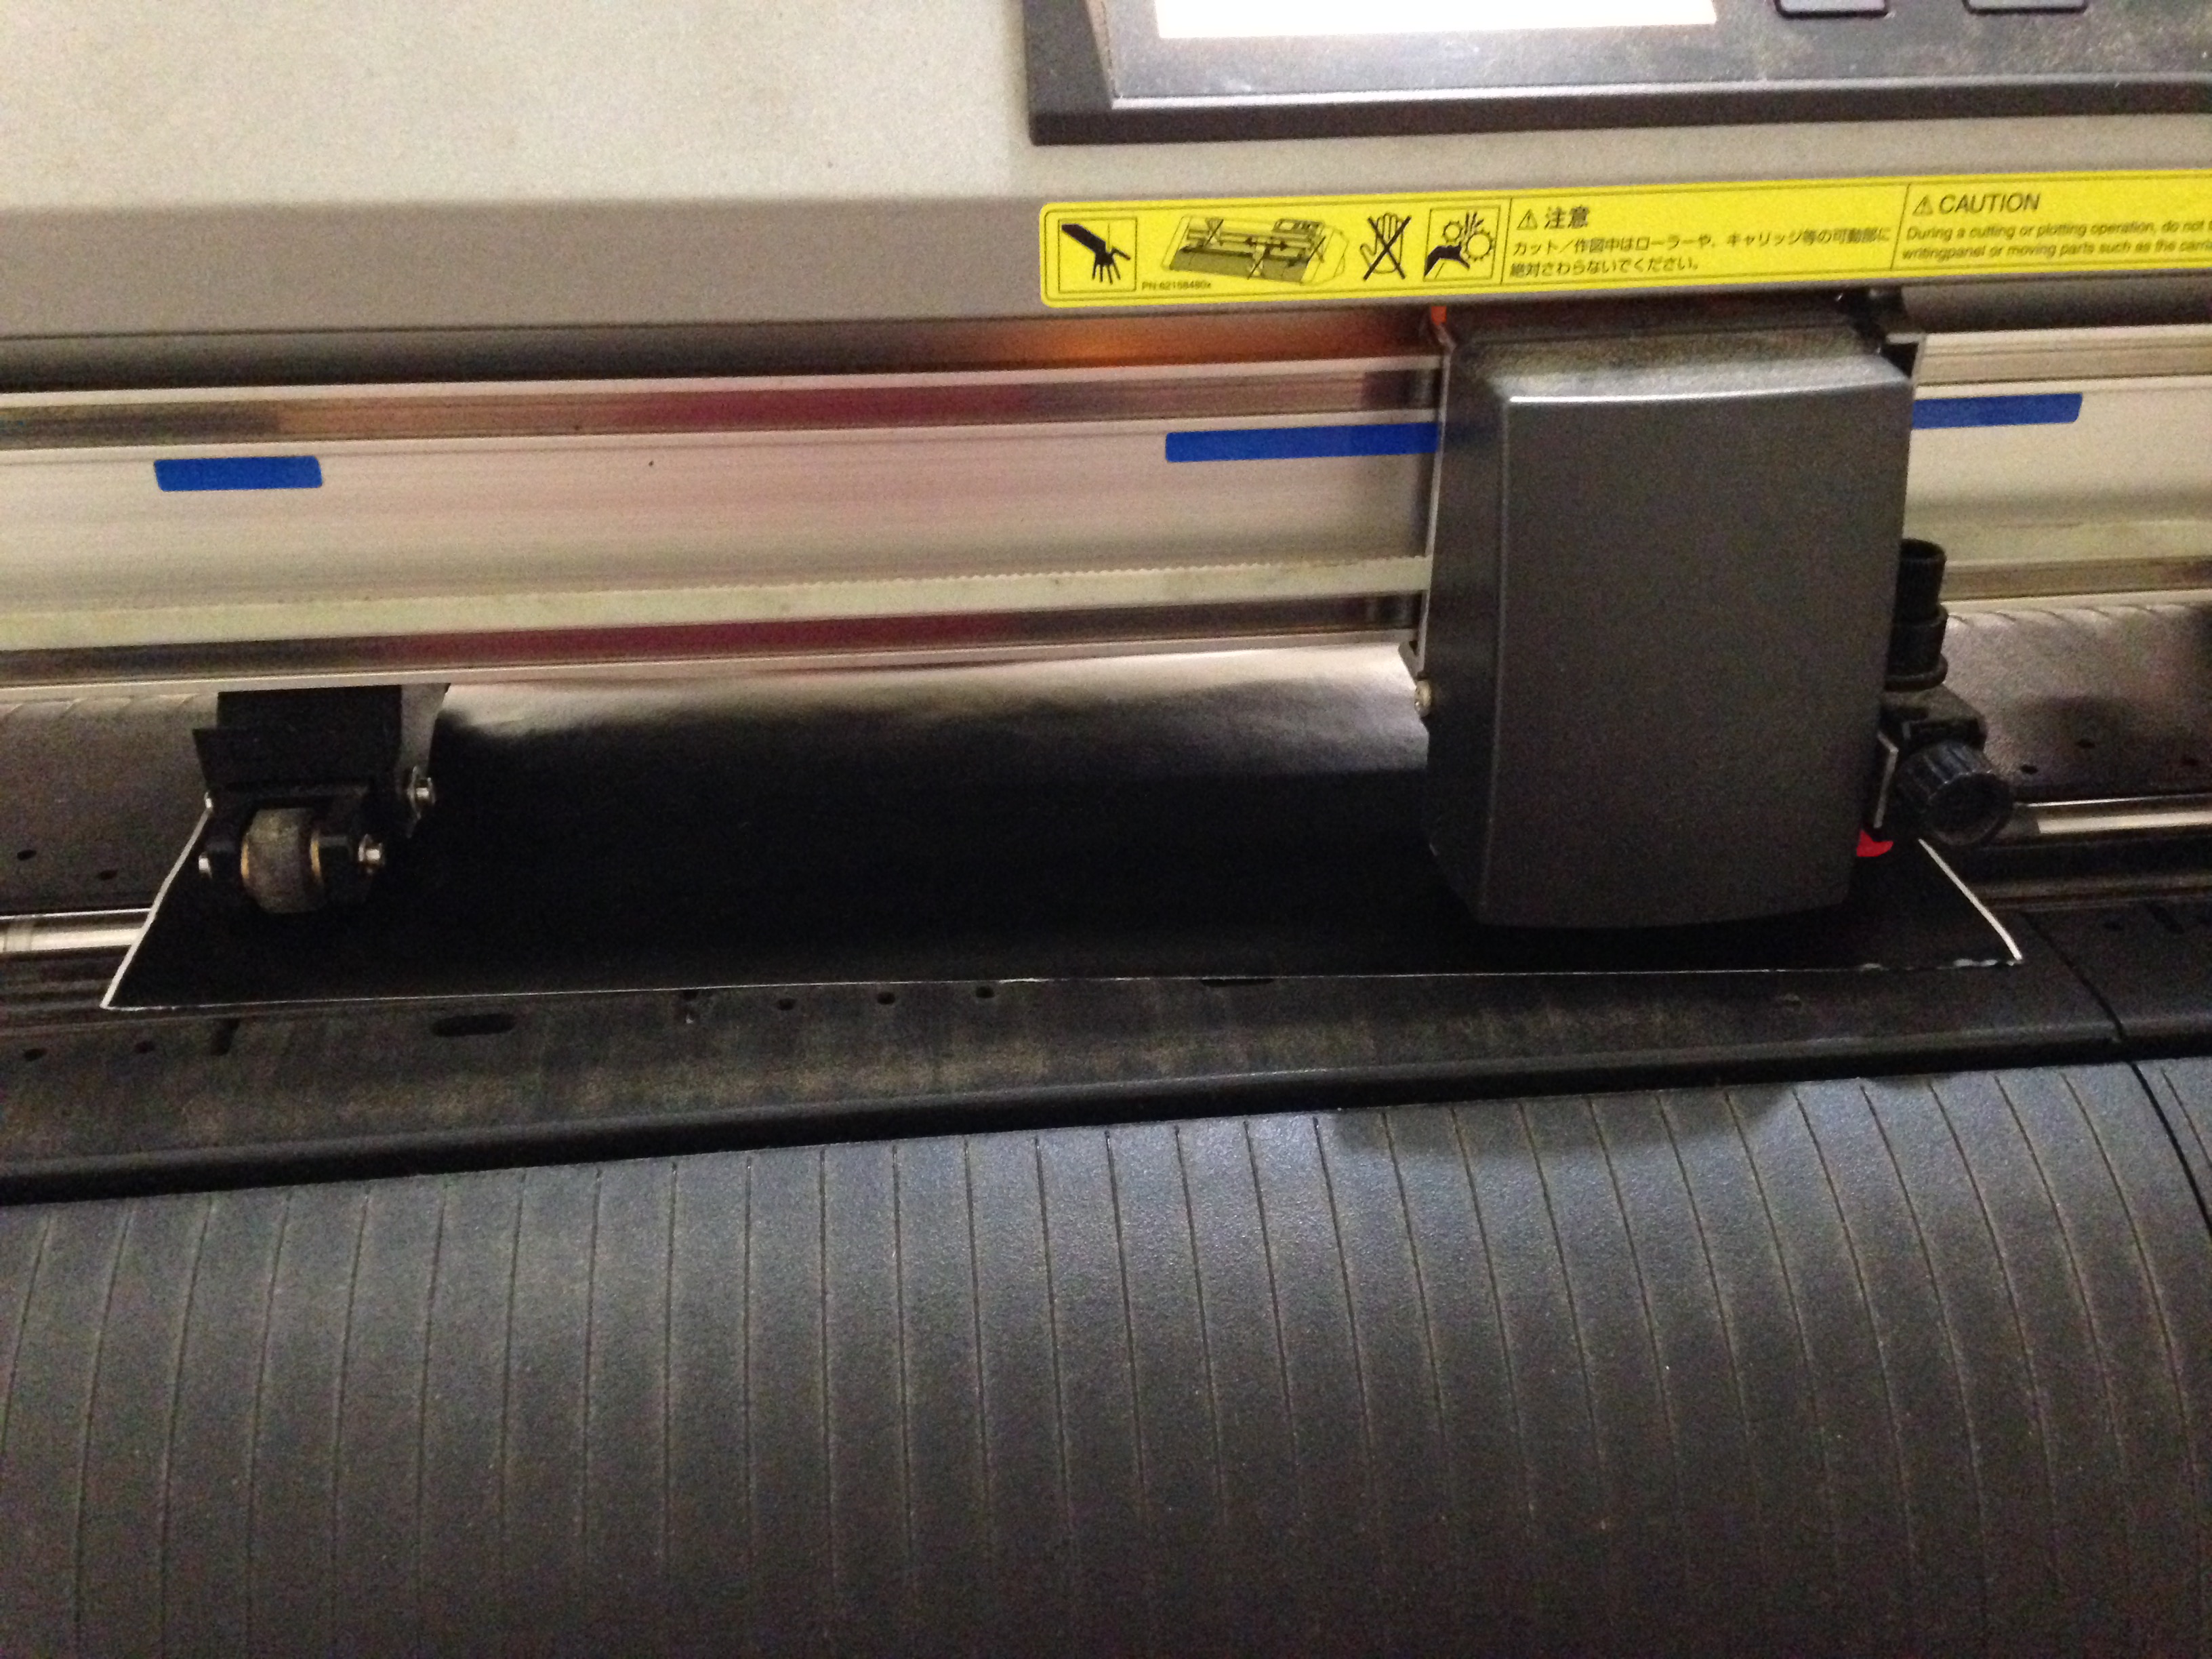
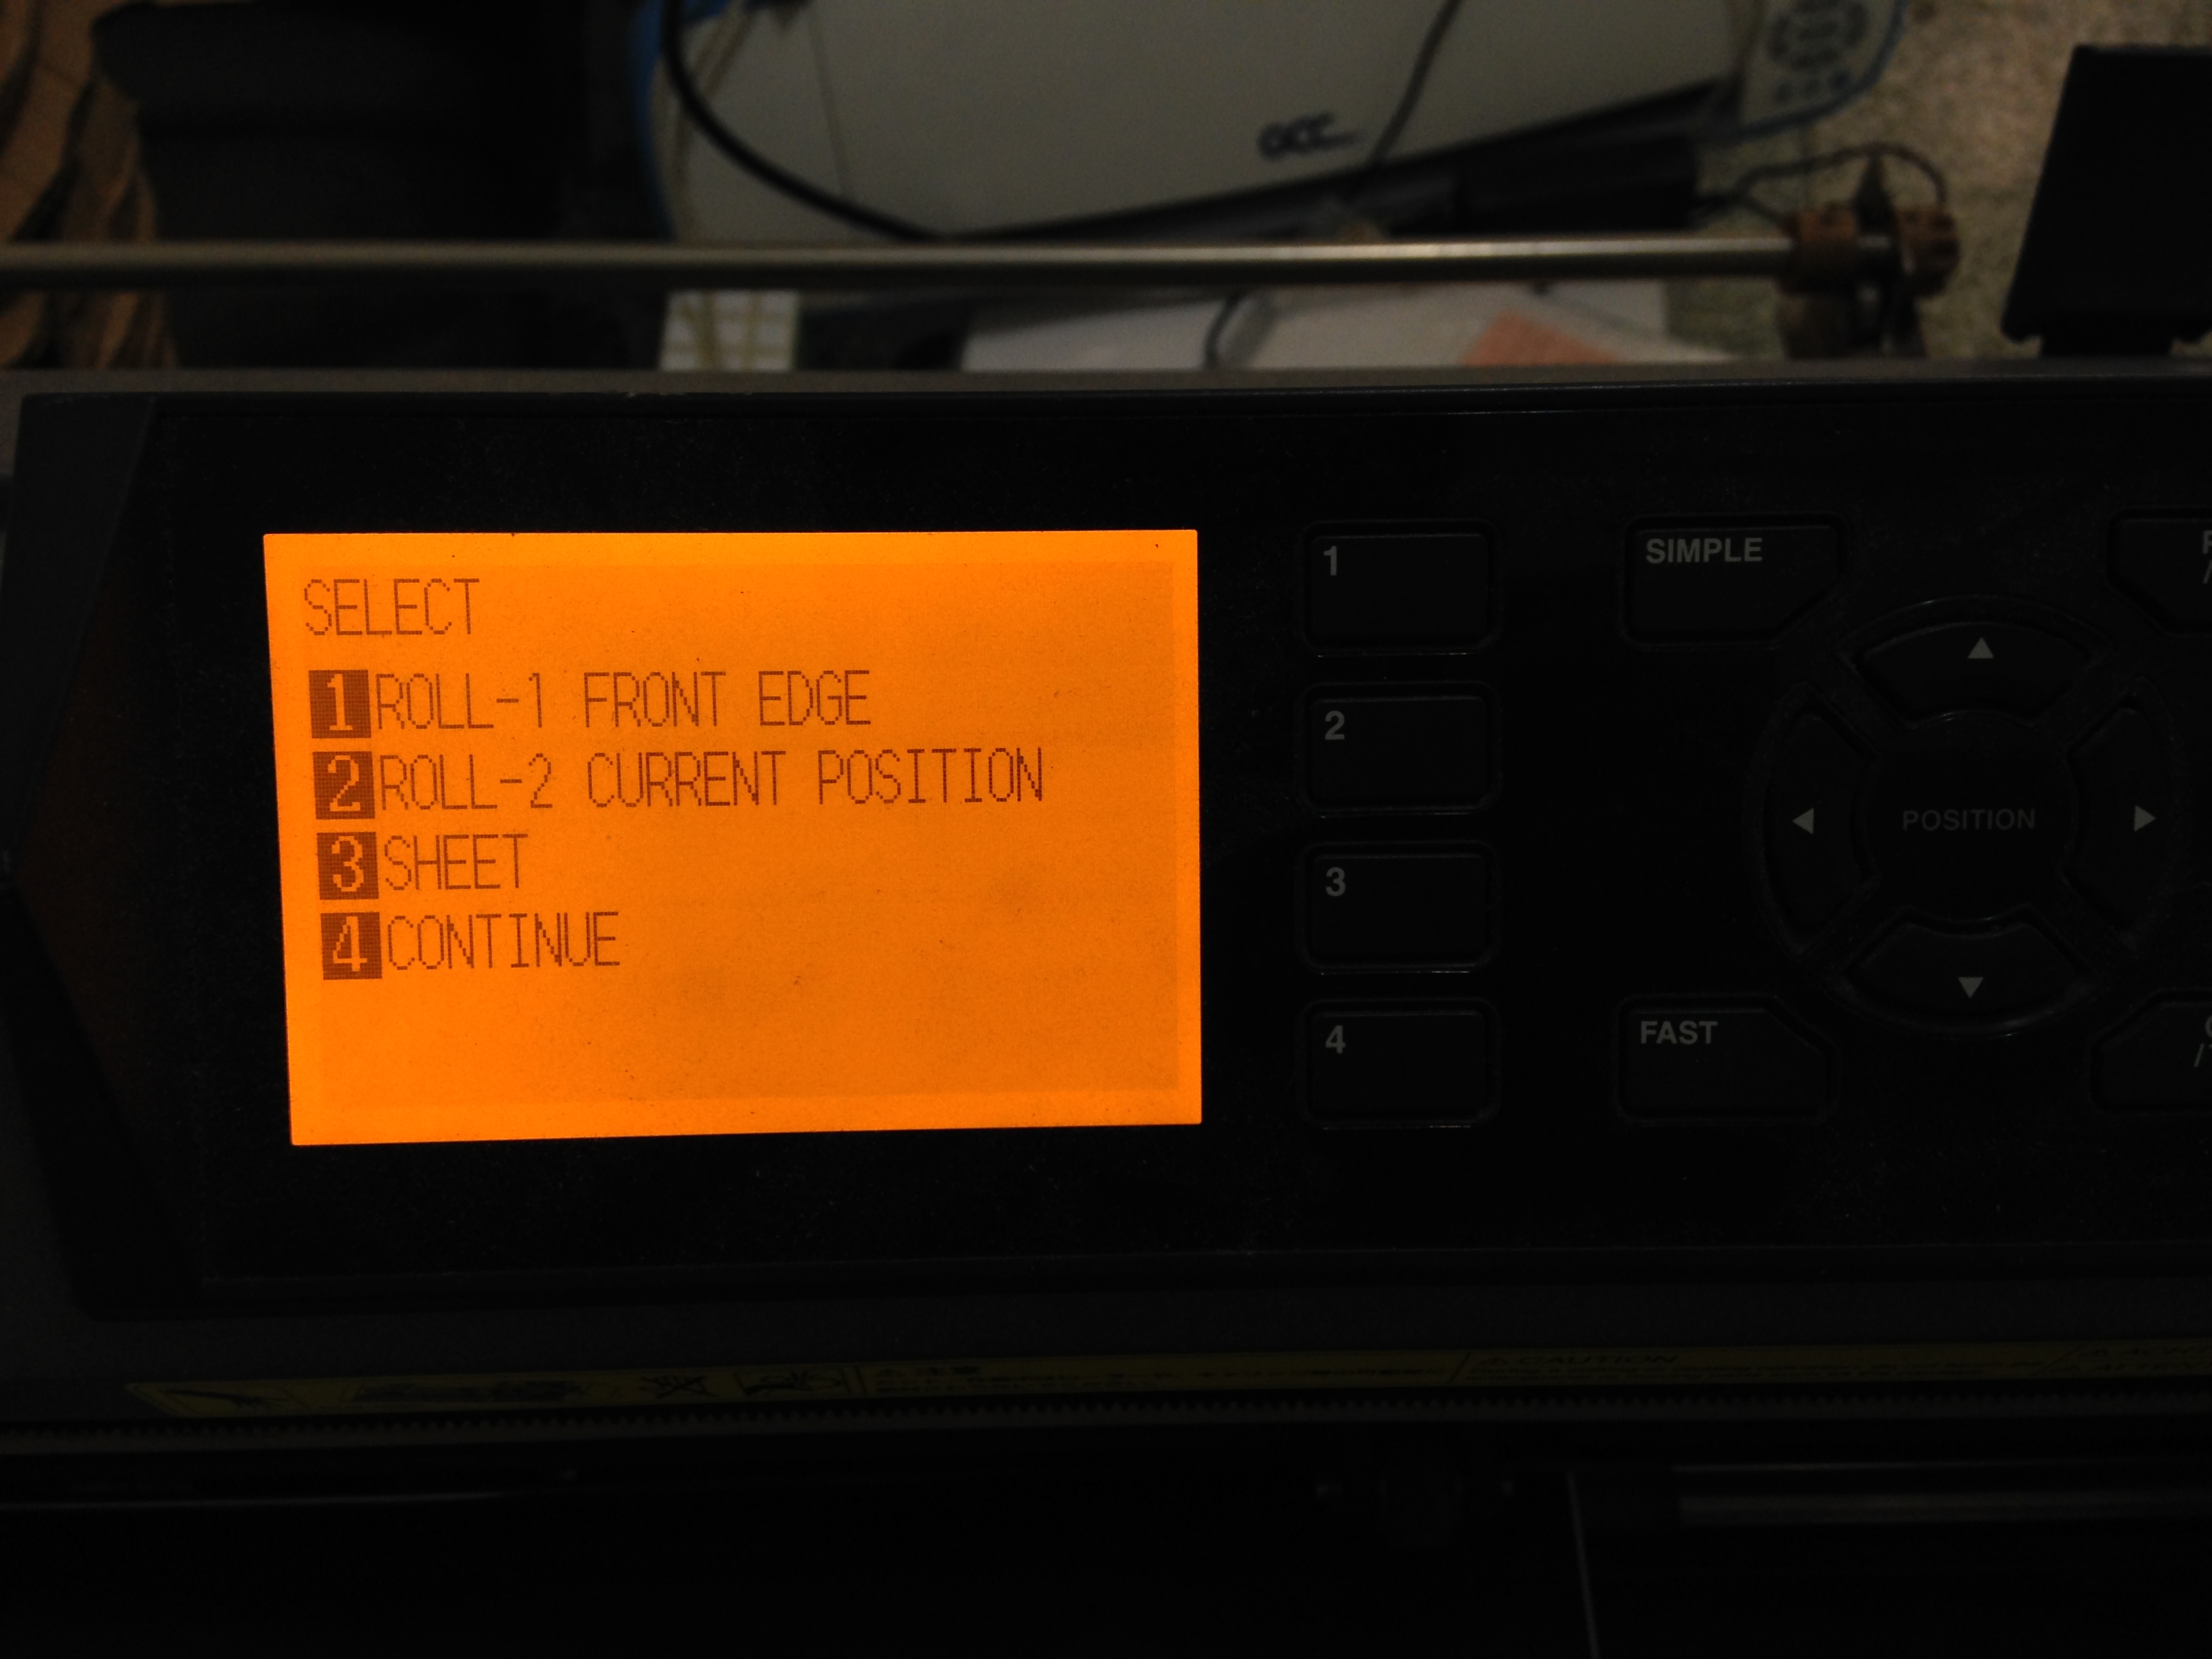
Put the paper to machine and click sheet, it will calculate the paper length.
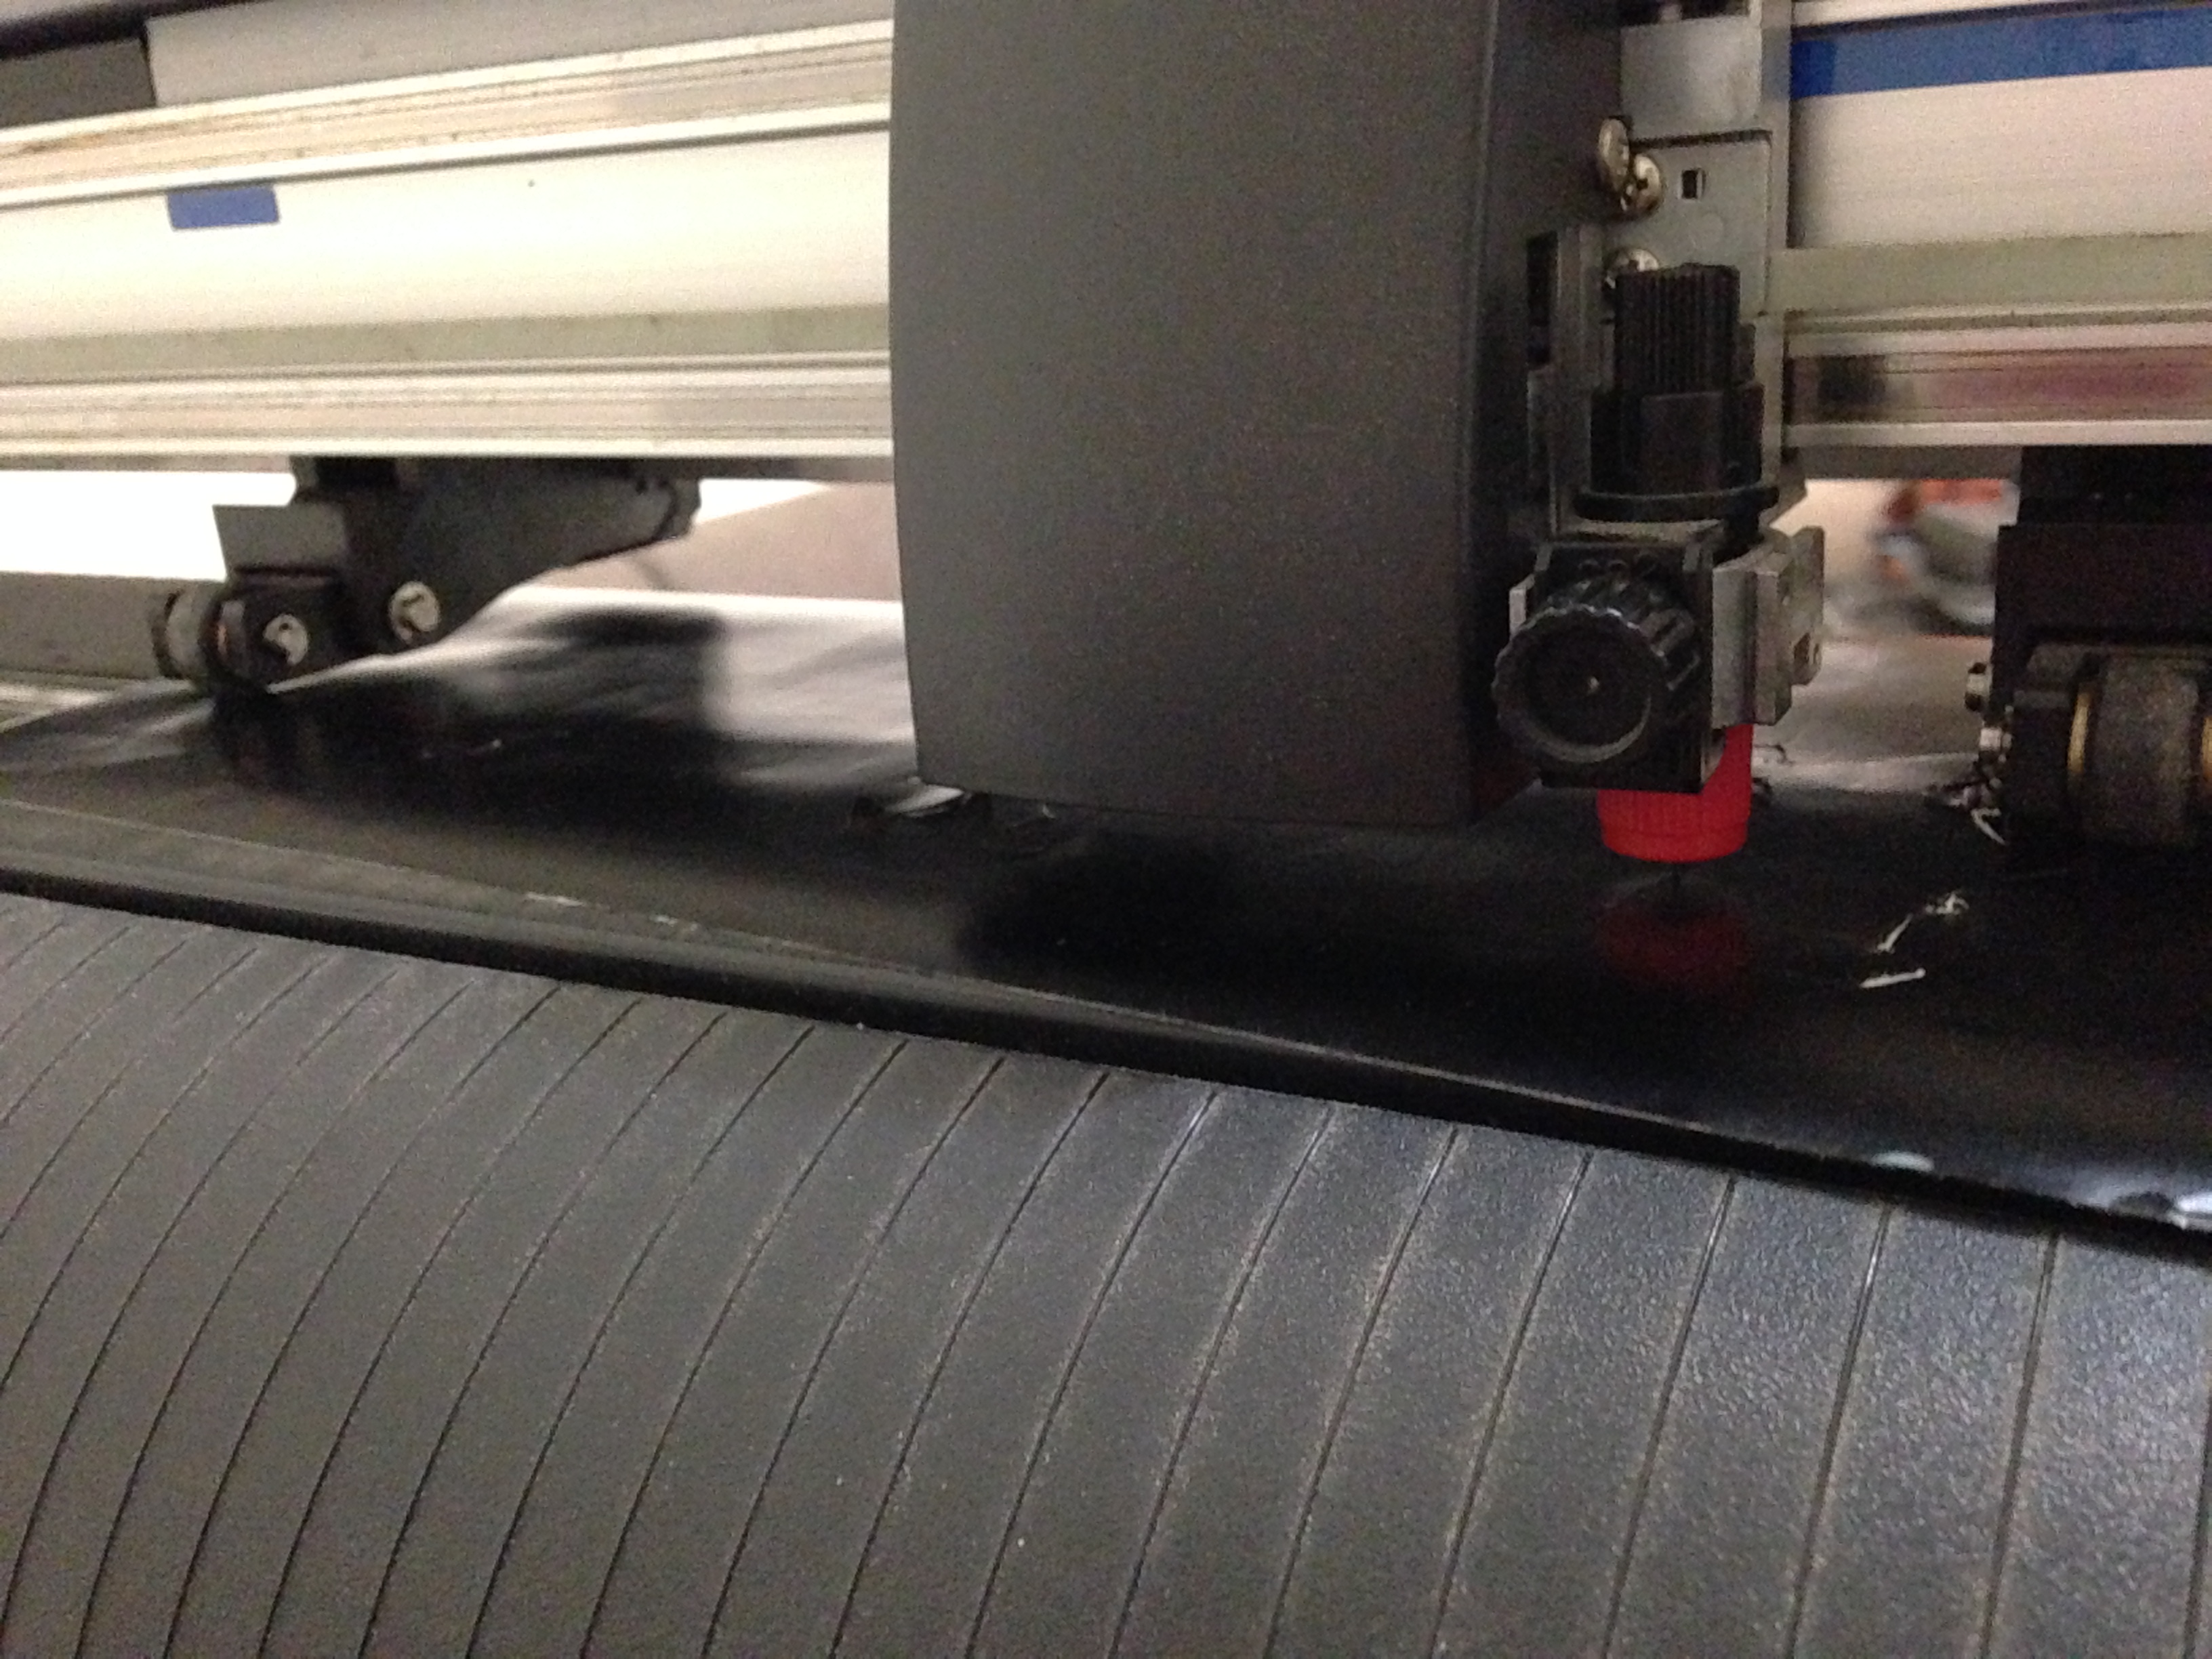
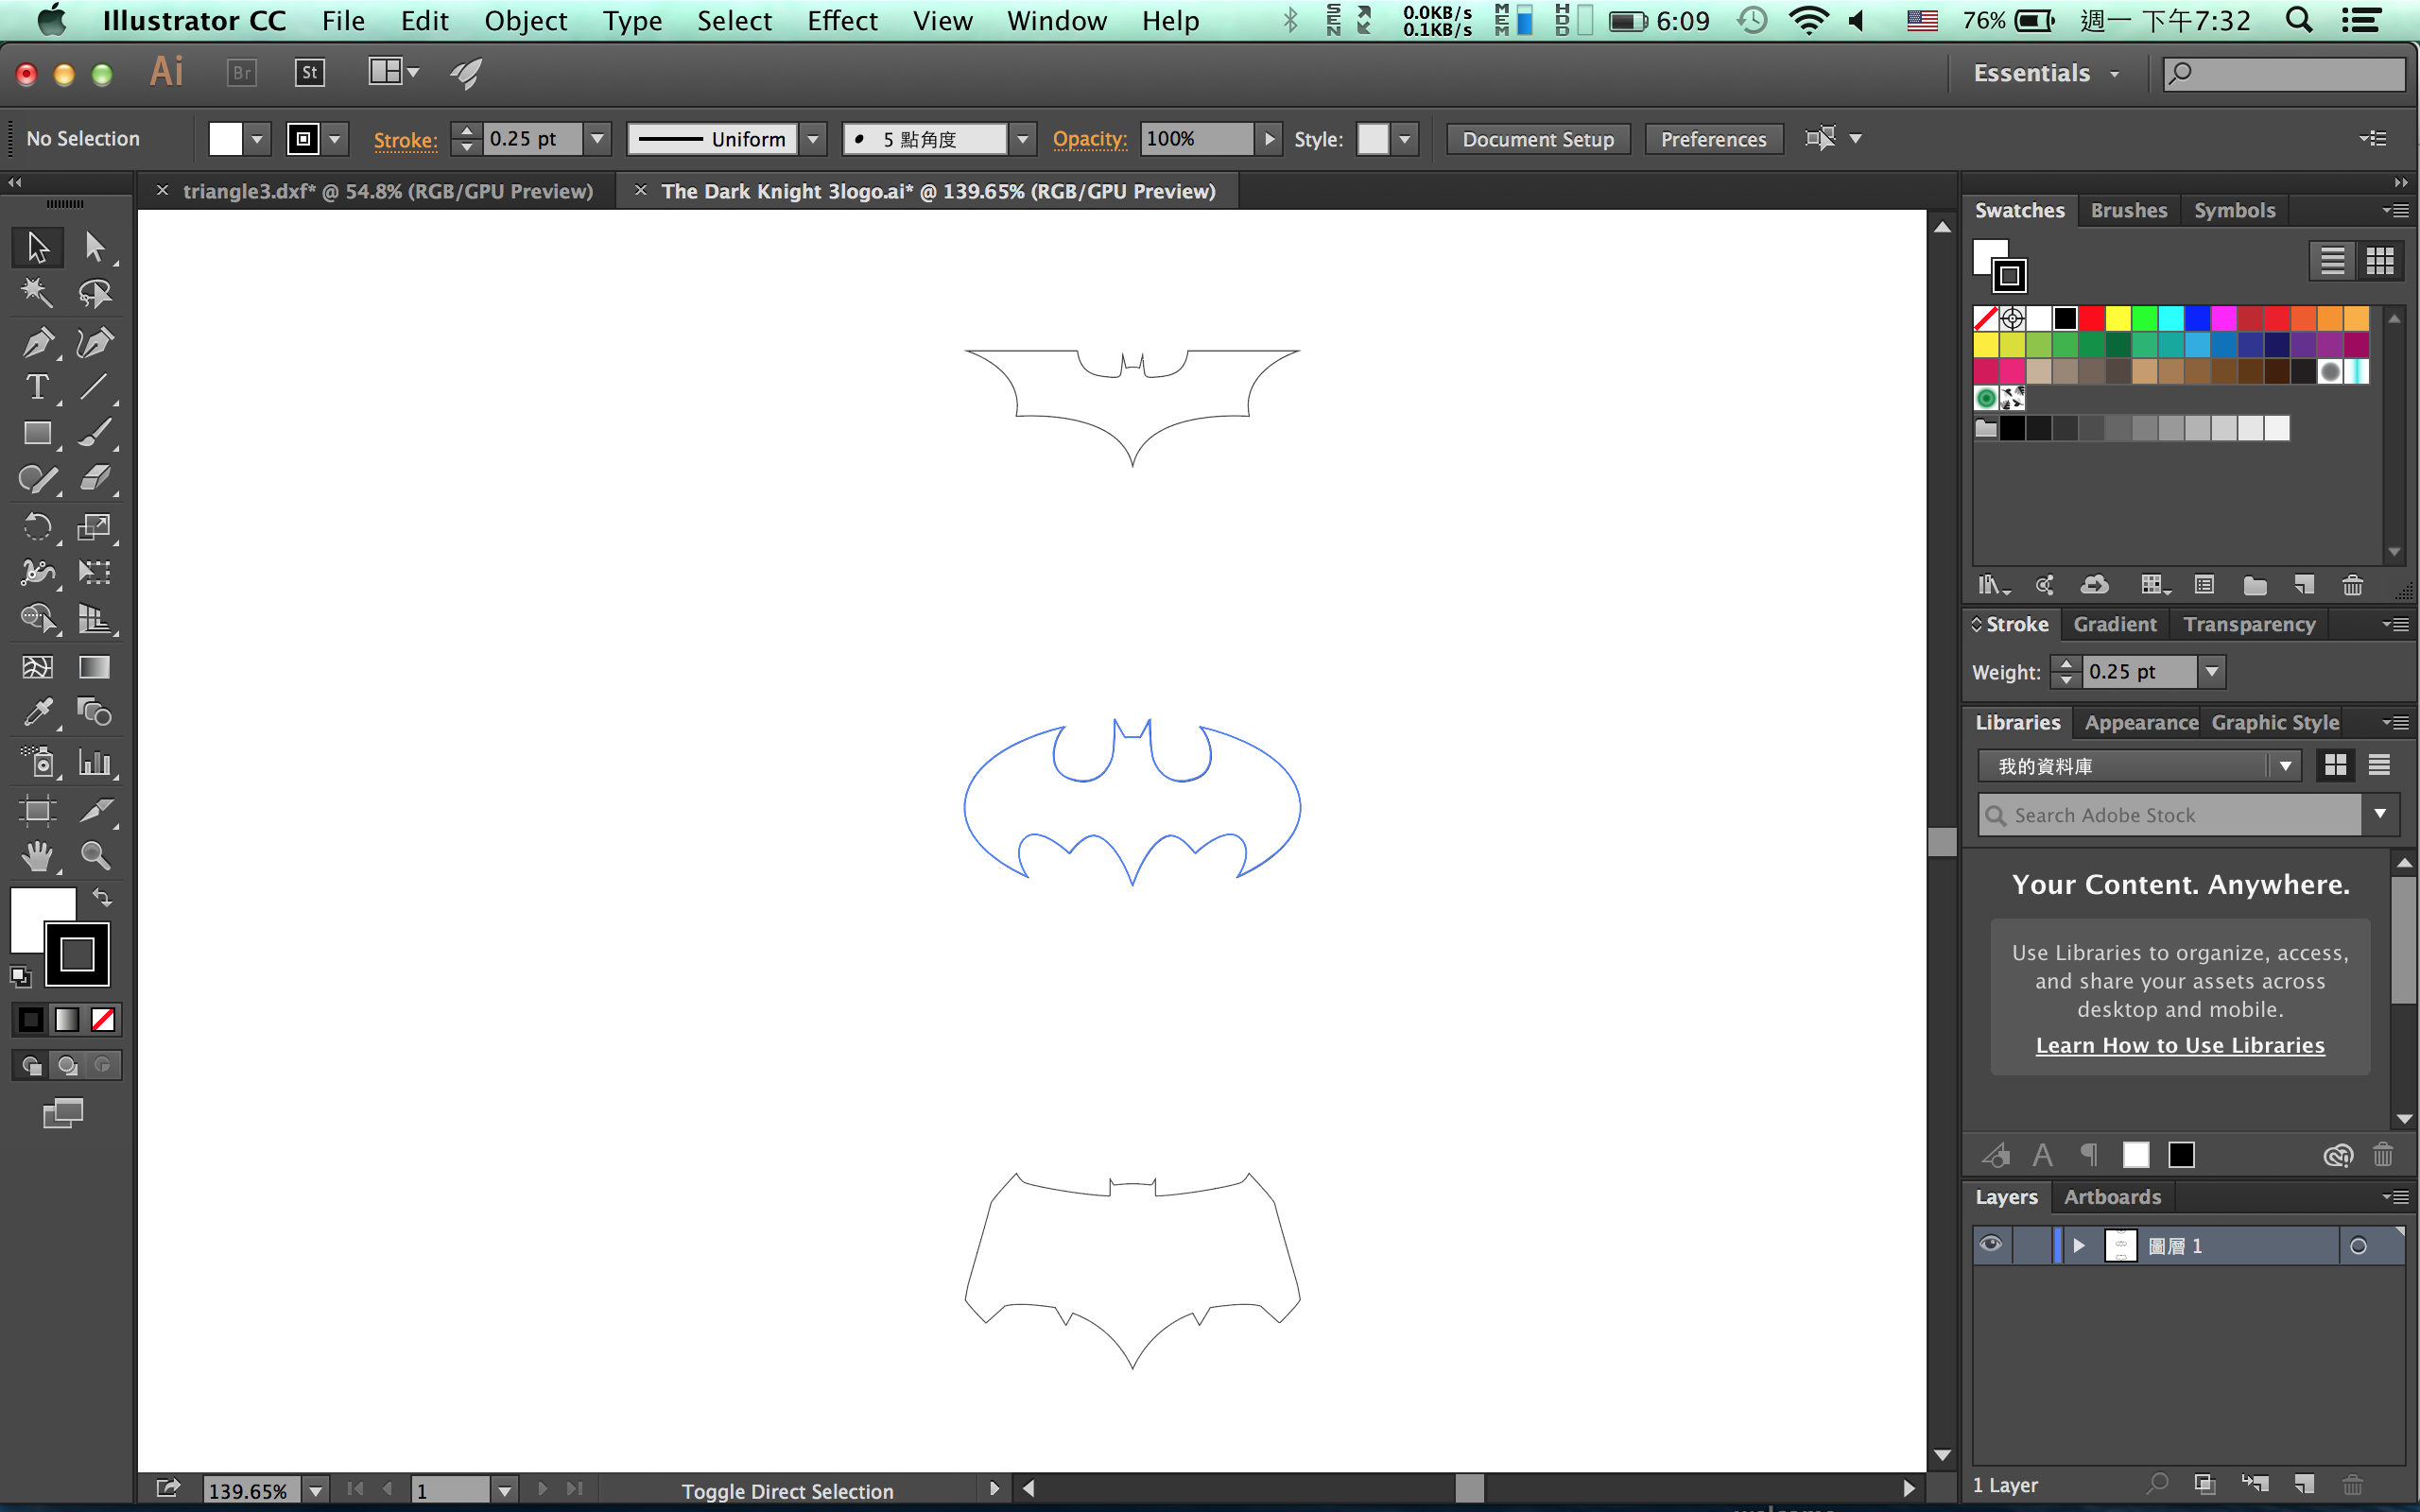
I want to cut Dark Knight logo for Vinyl Cutting.
Then connect my computer and machine. It will recognized machine automatically.
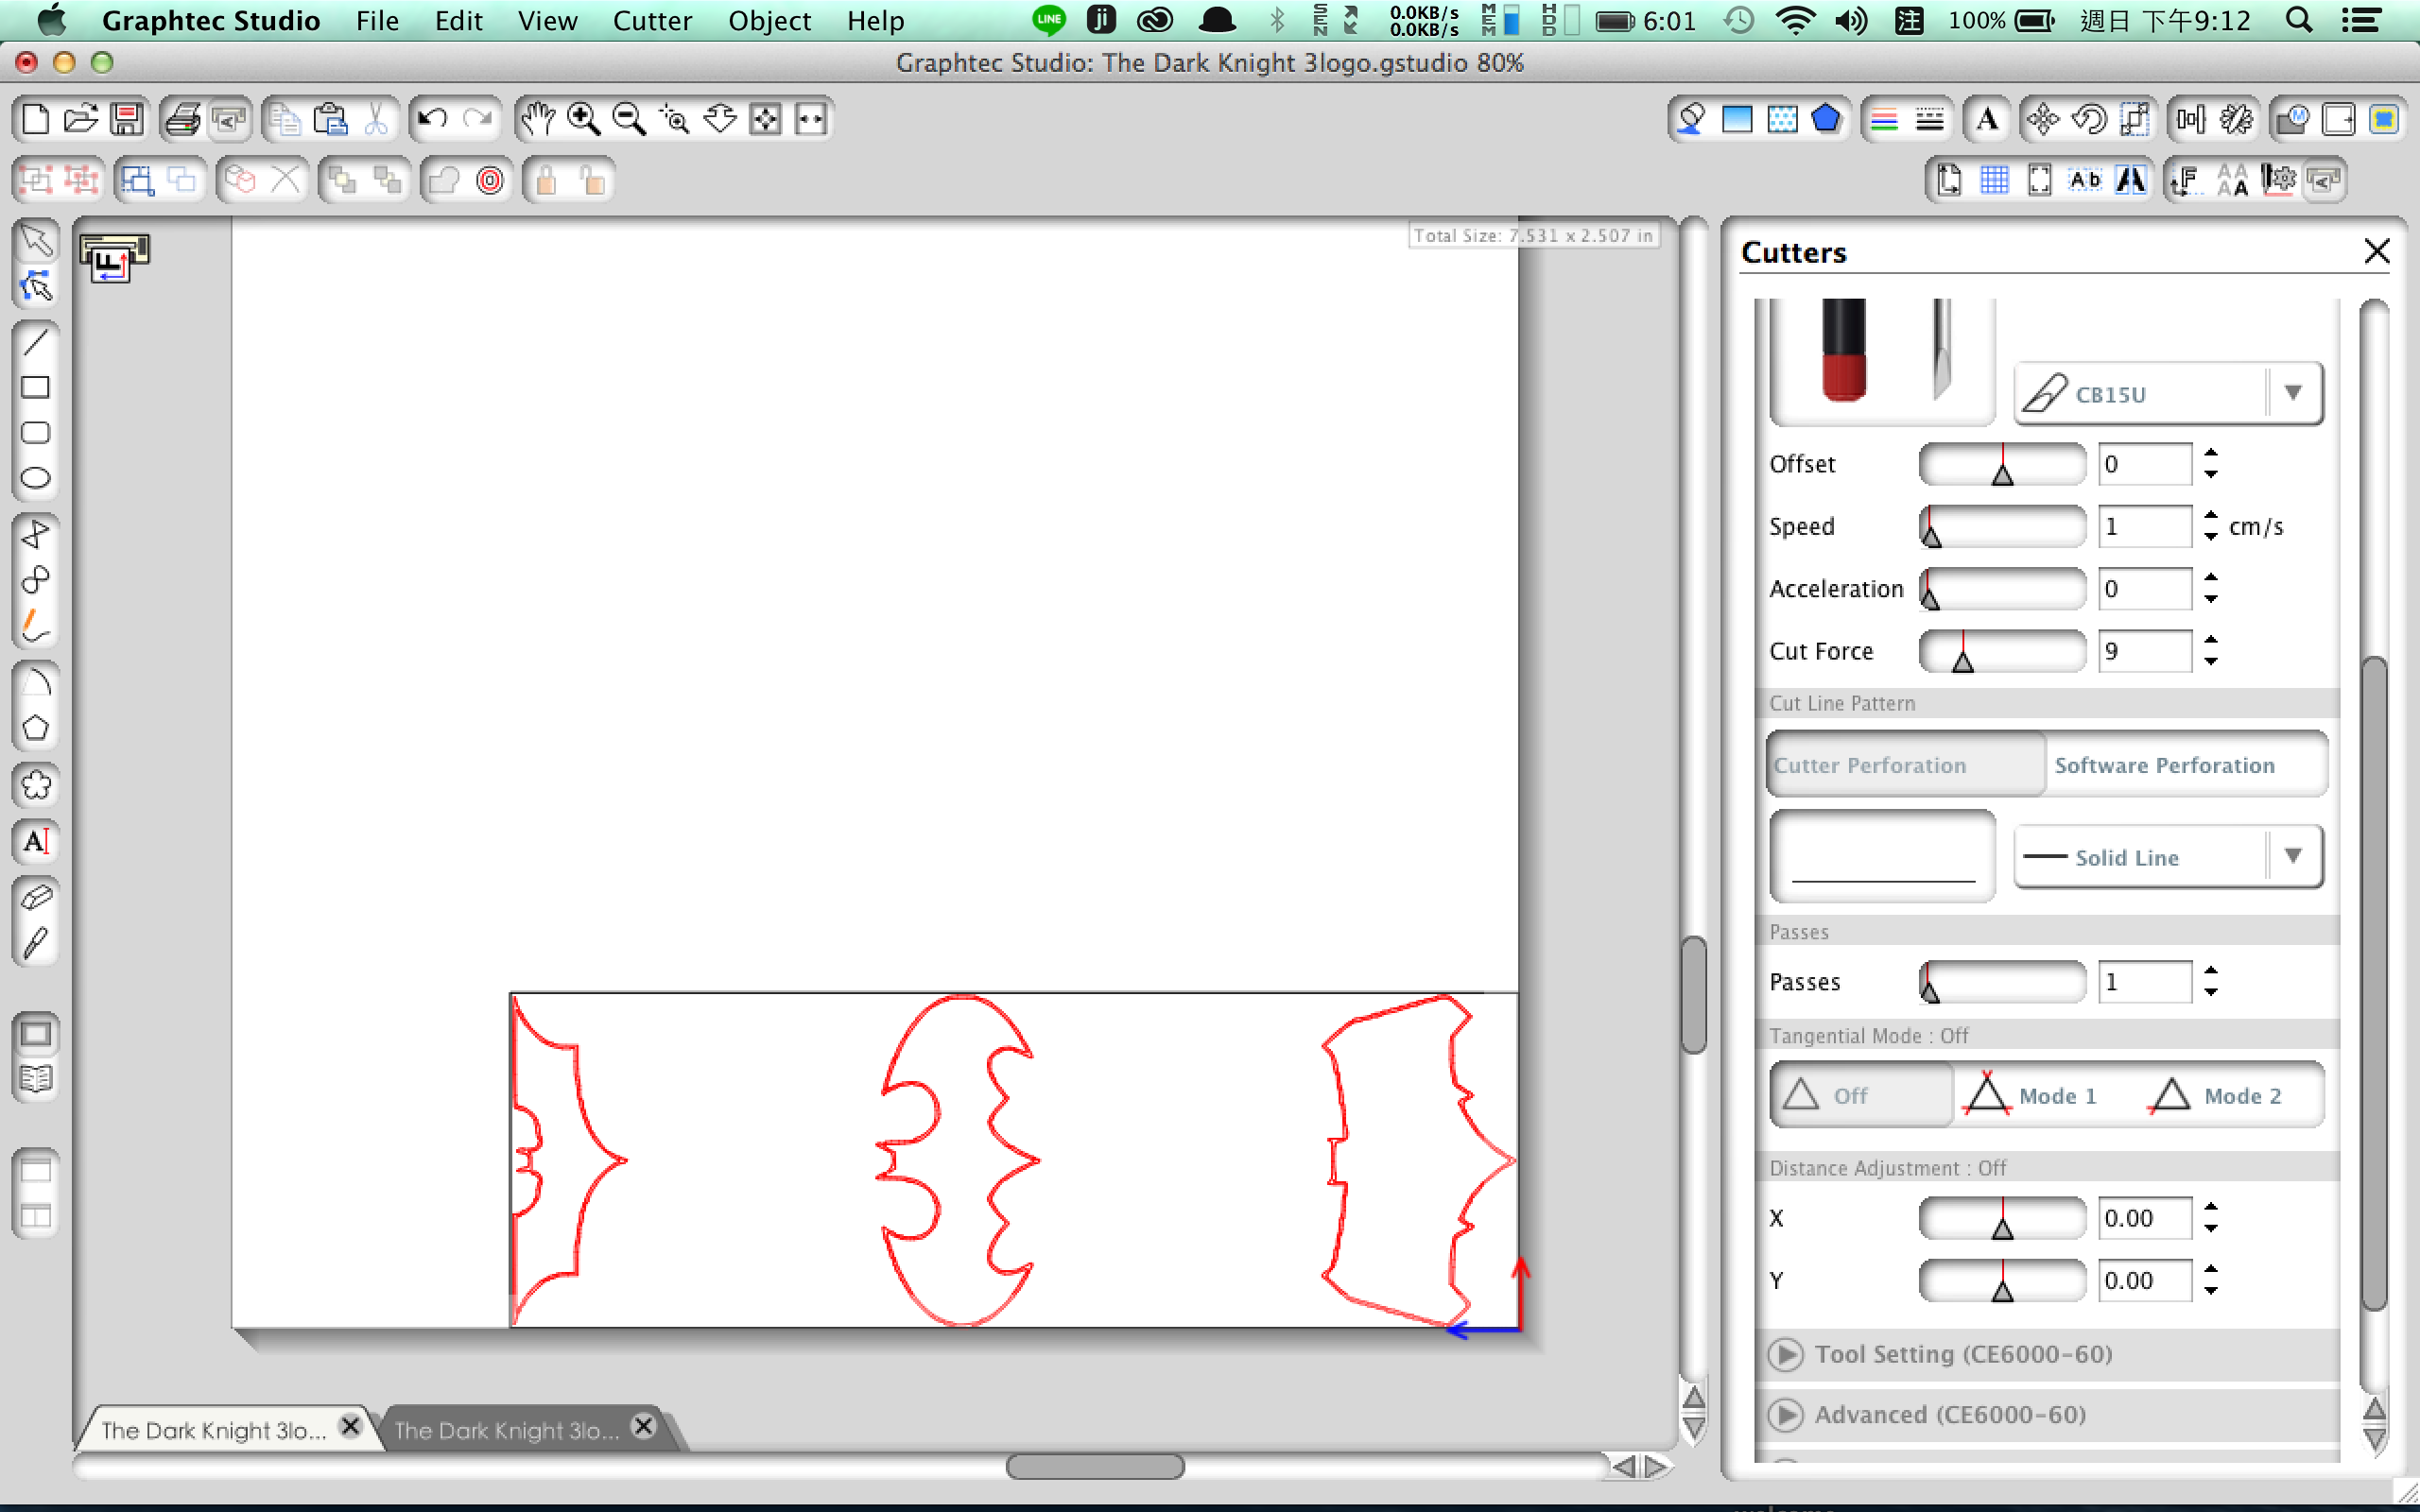
I was used graphtec studio software from official website. It is very easy to use. There are many tutorial videos on the youtube with this software.

I just set some variable and click send to cutter.
The variable what is set:
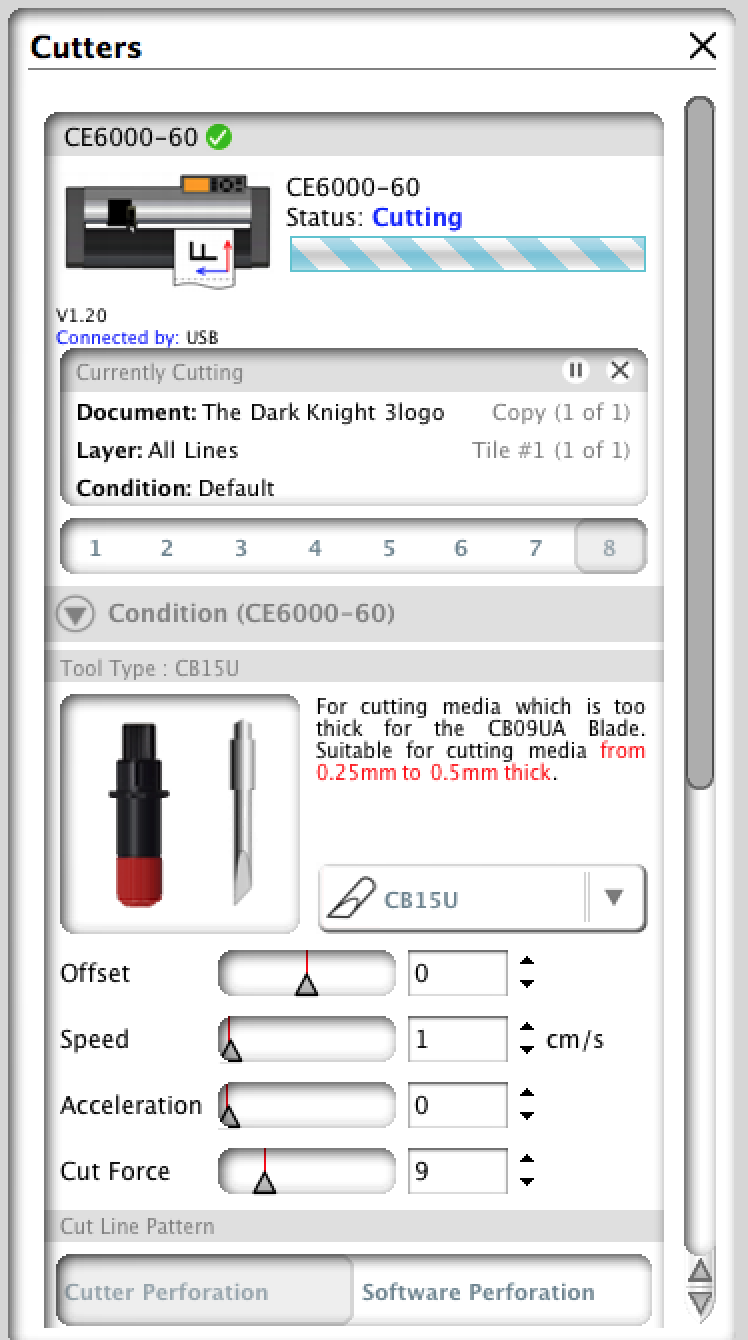
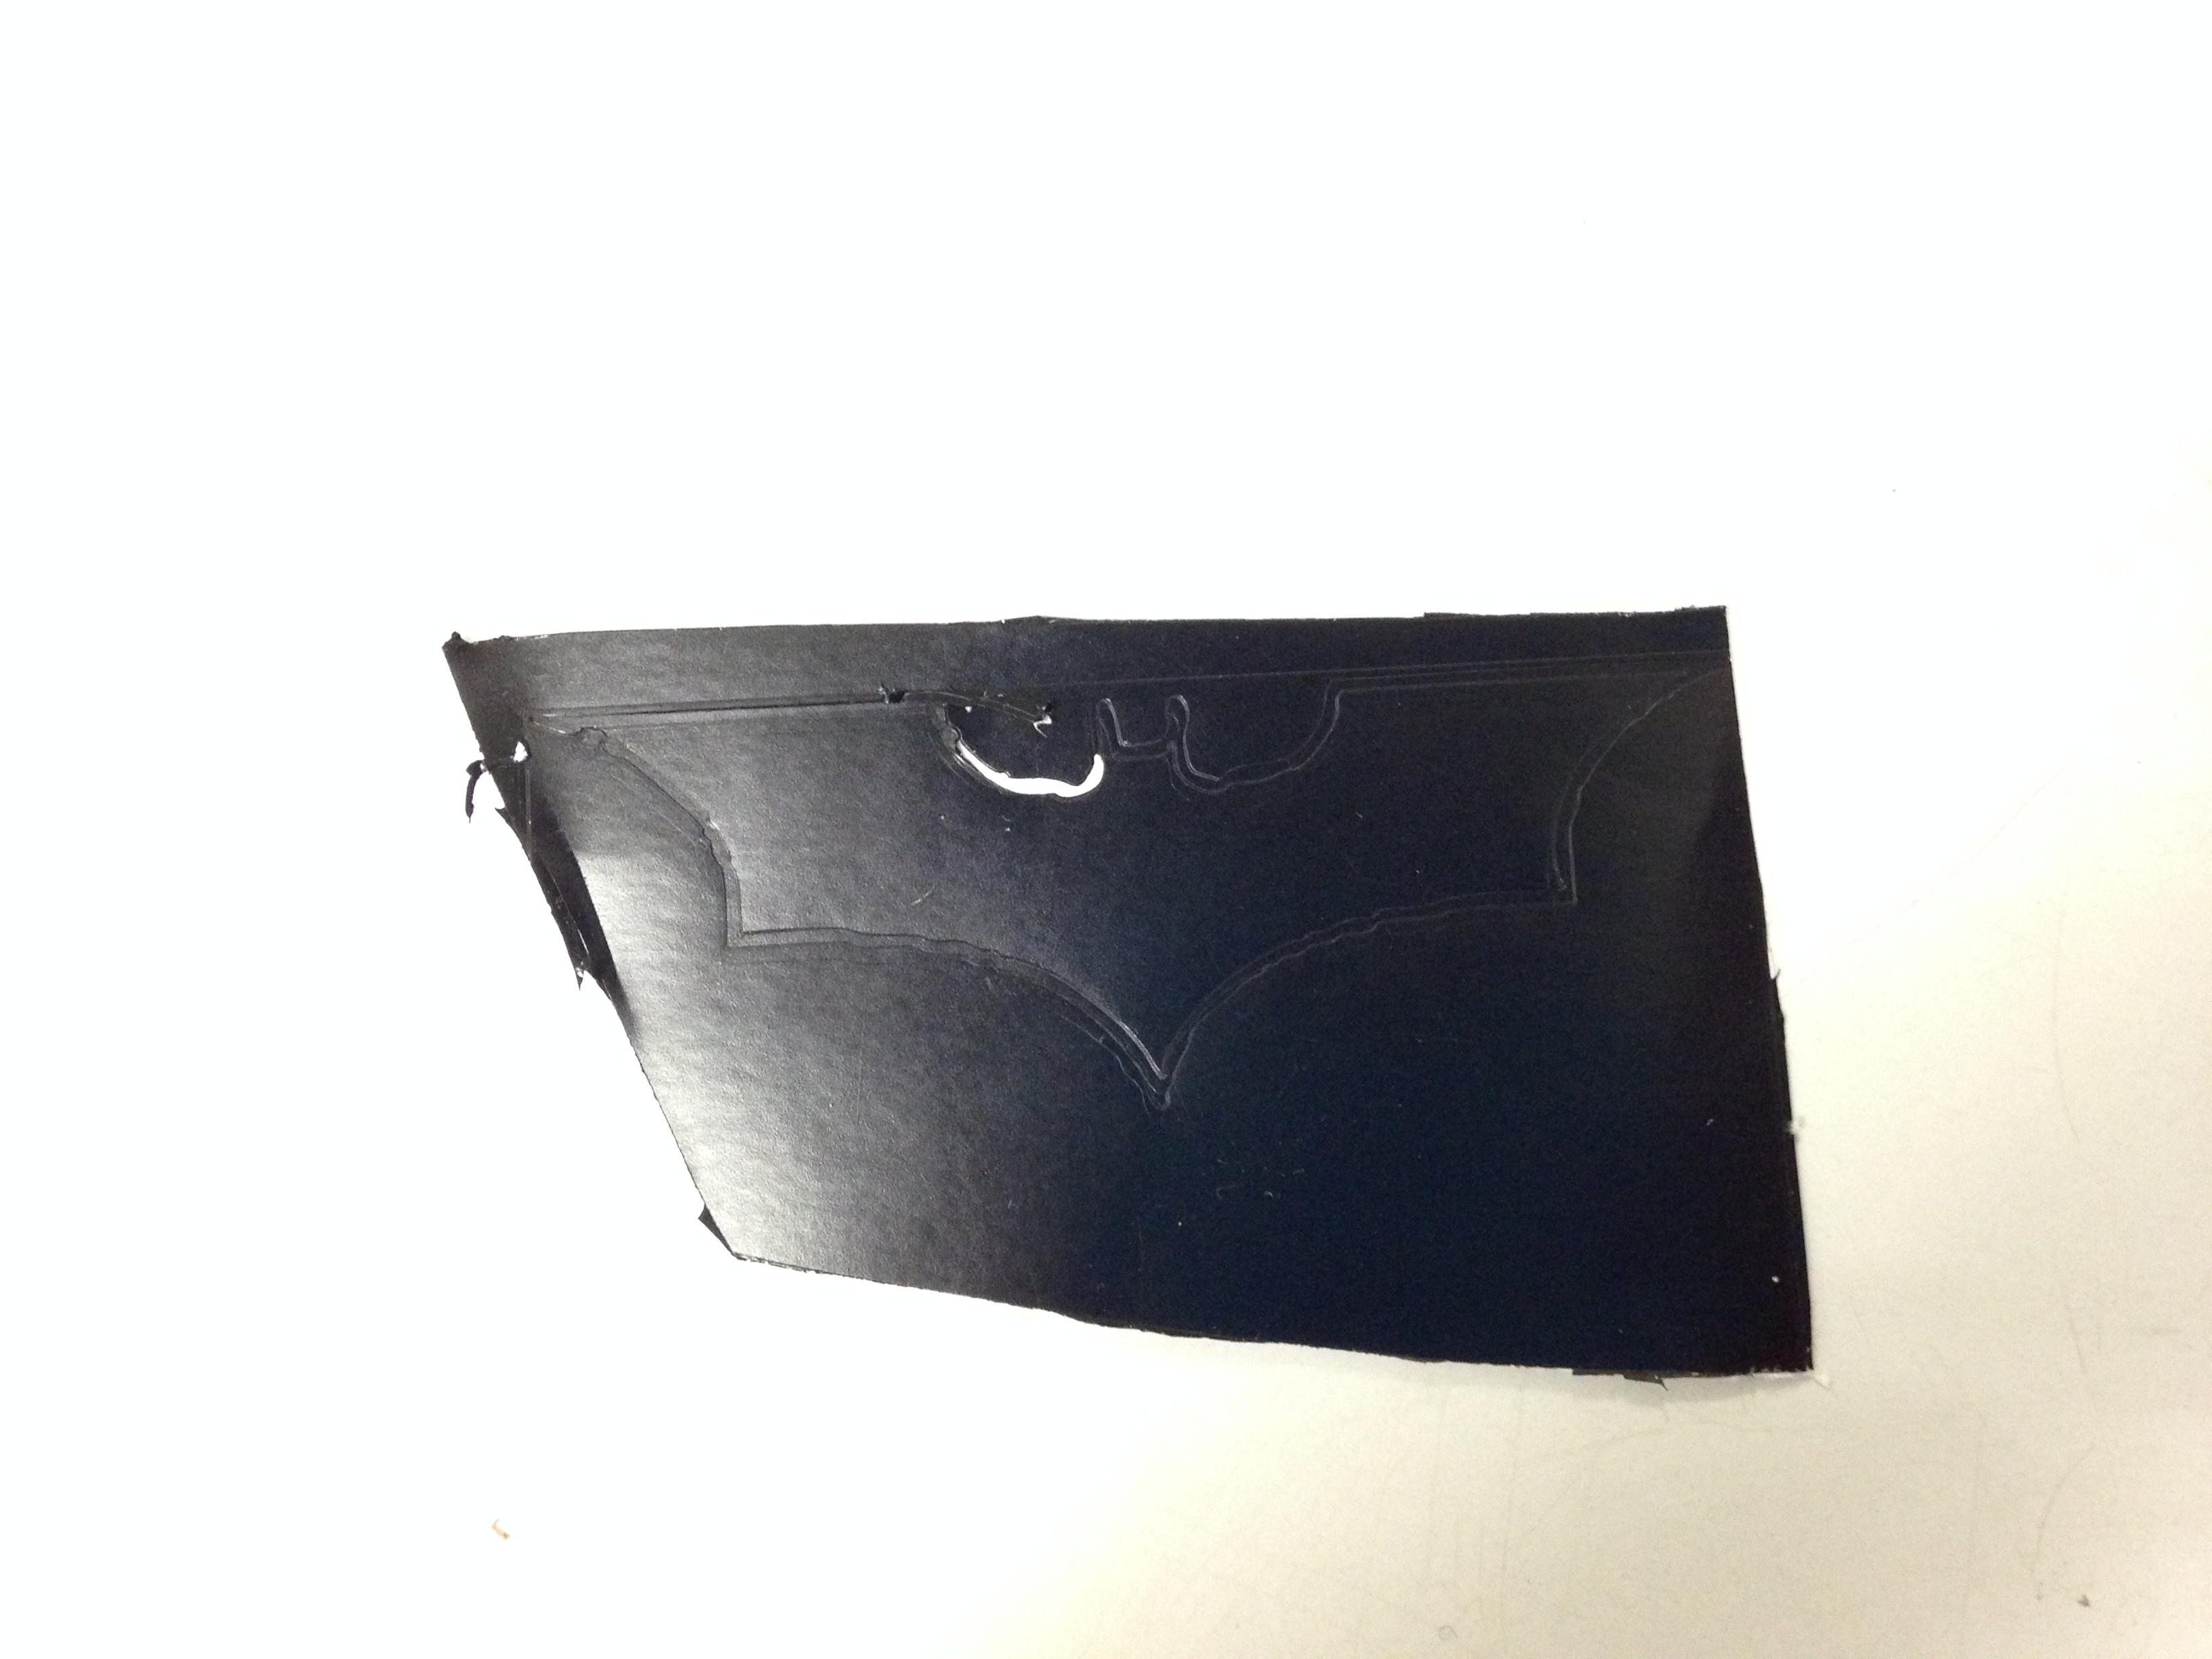
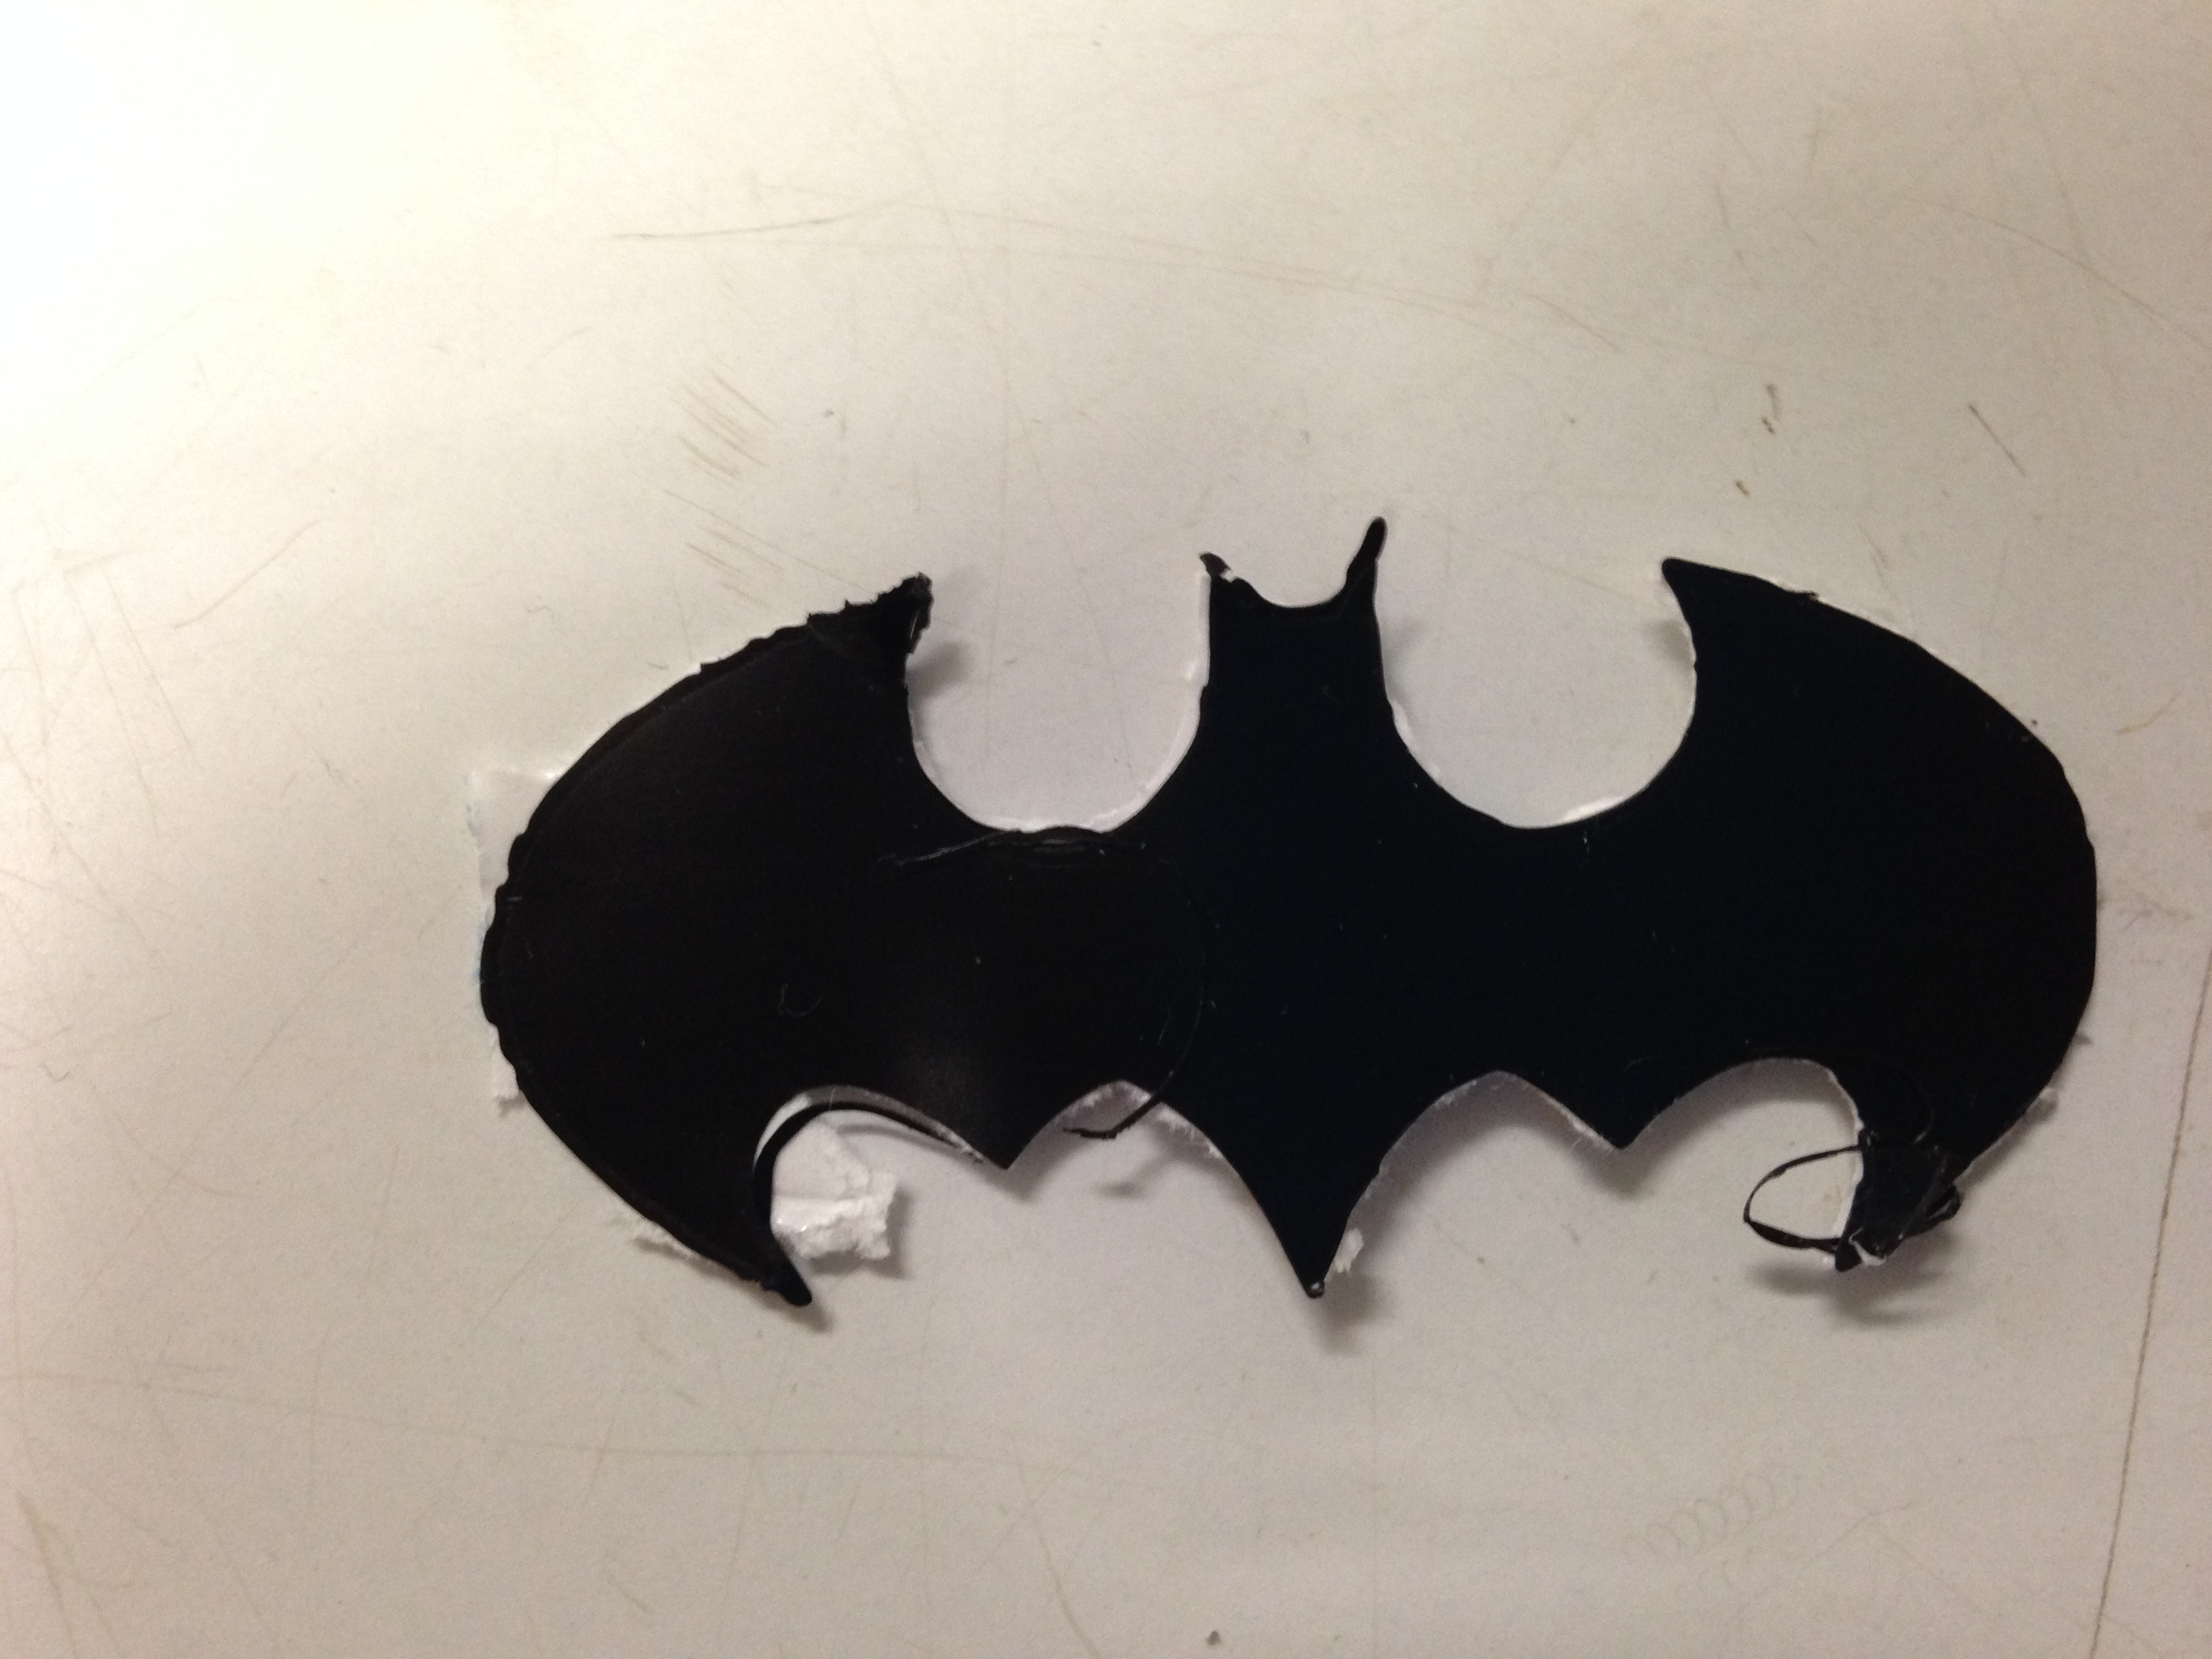
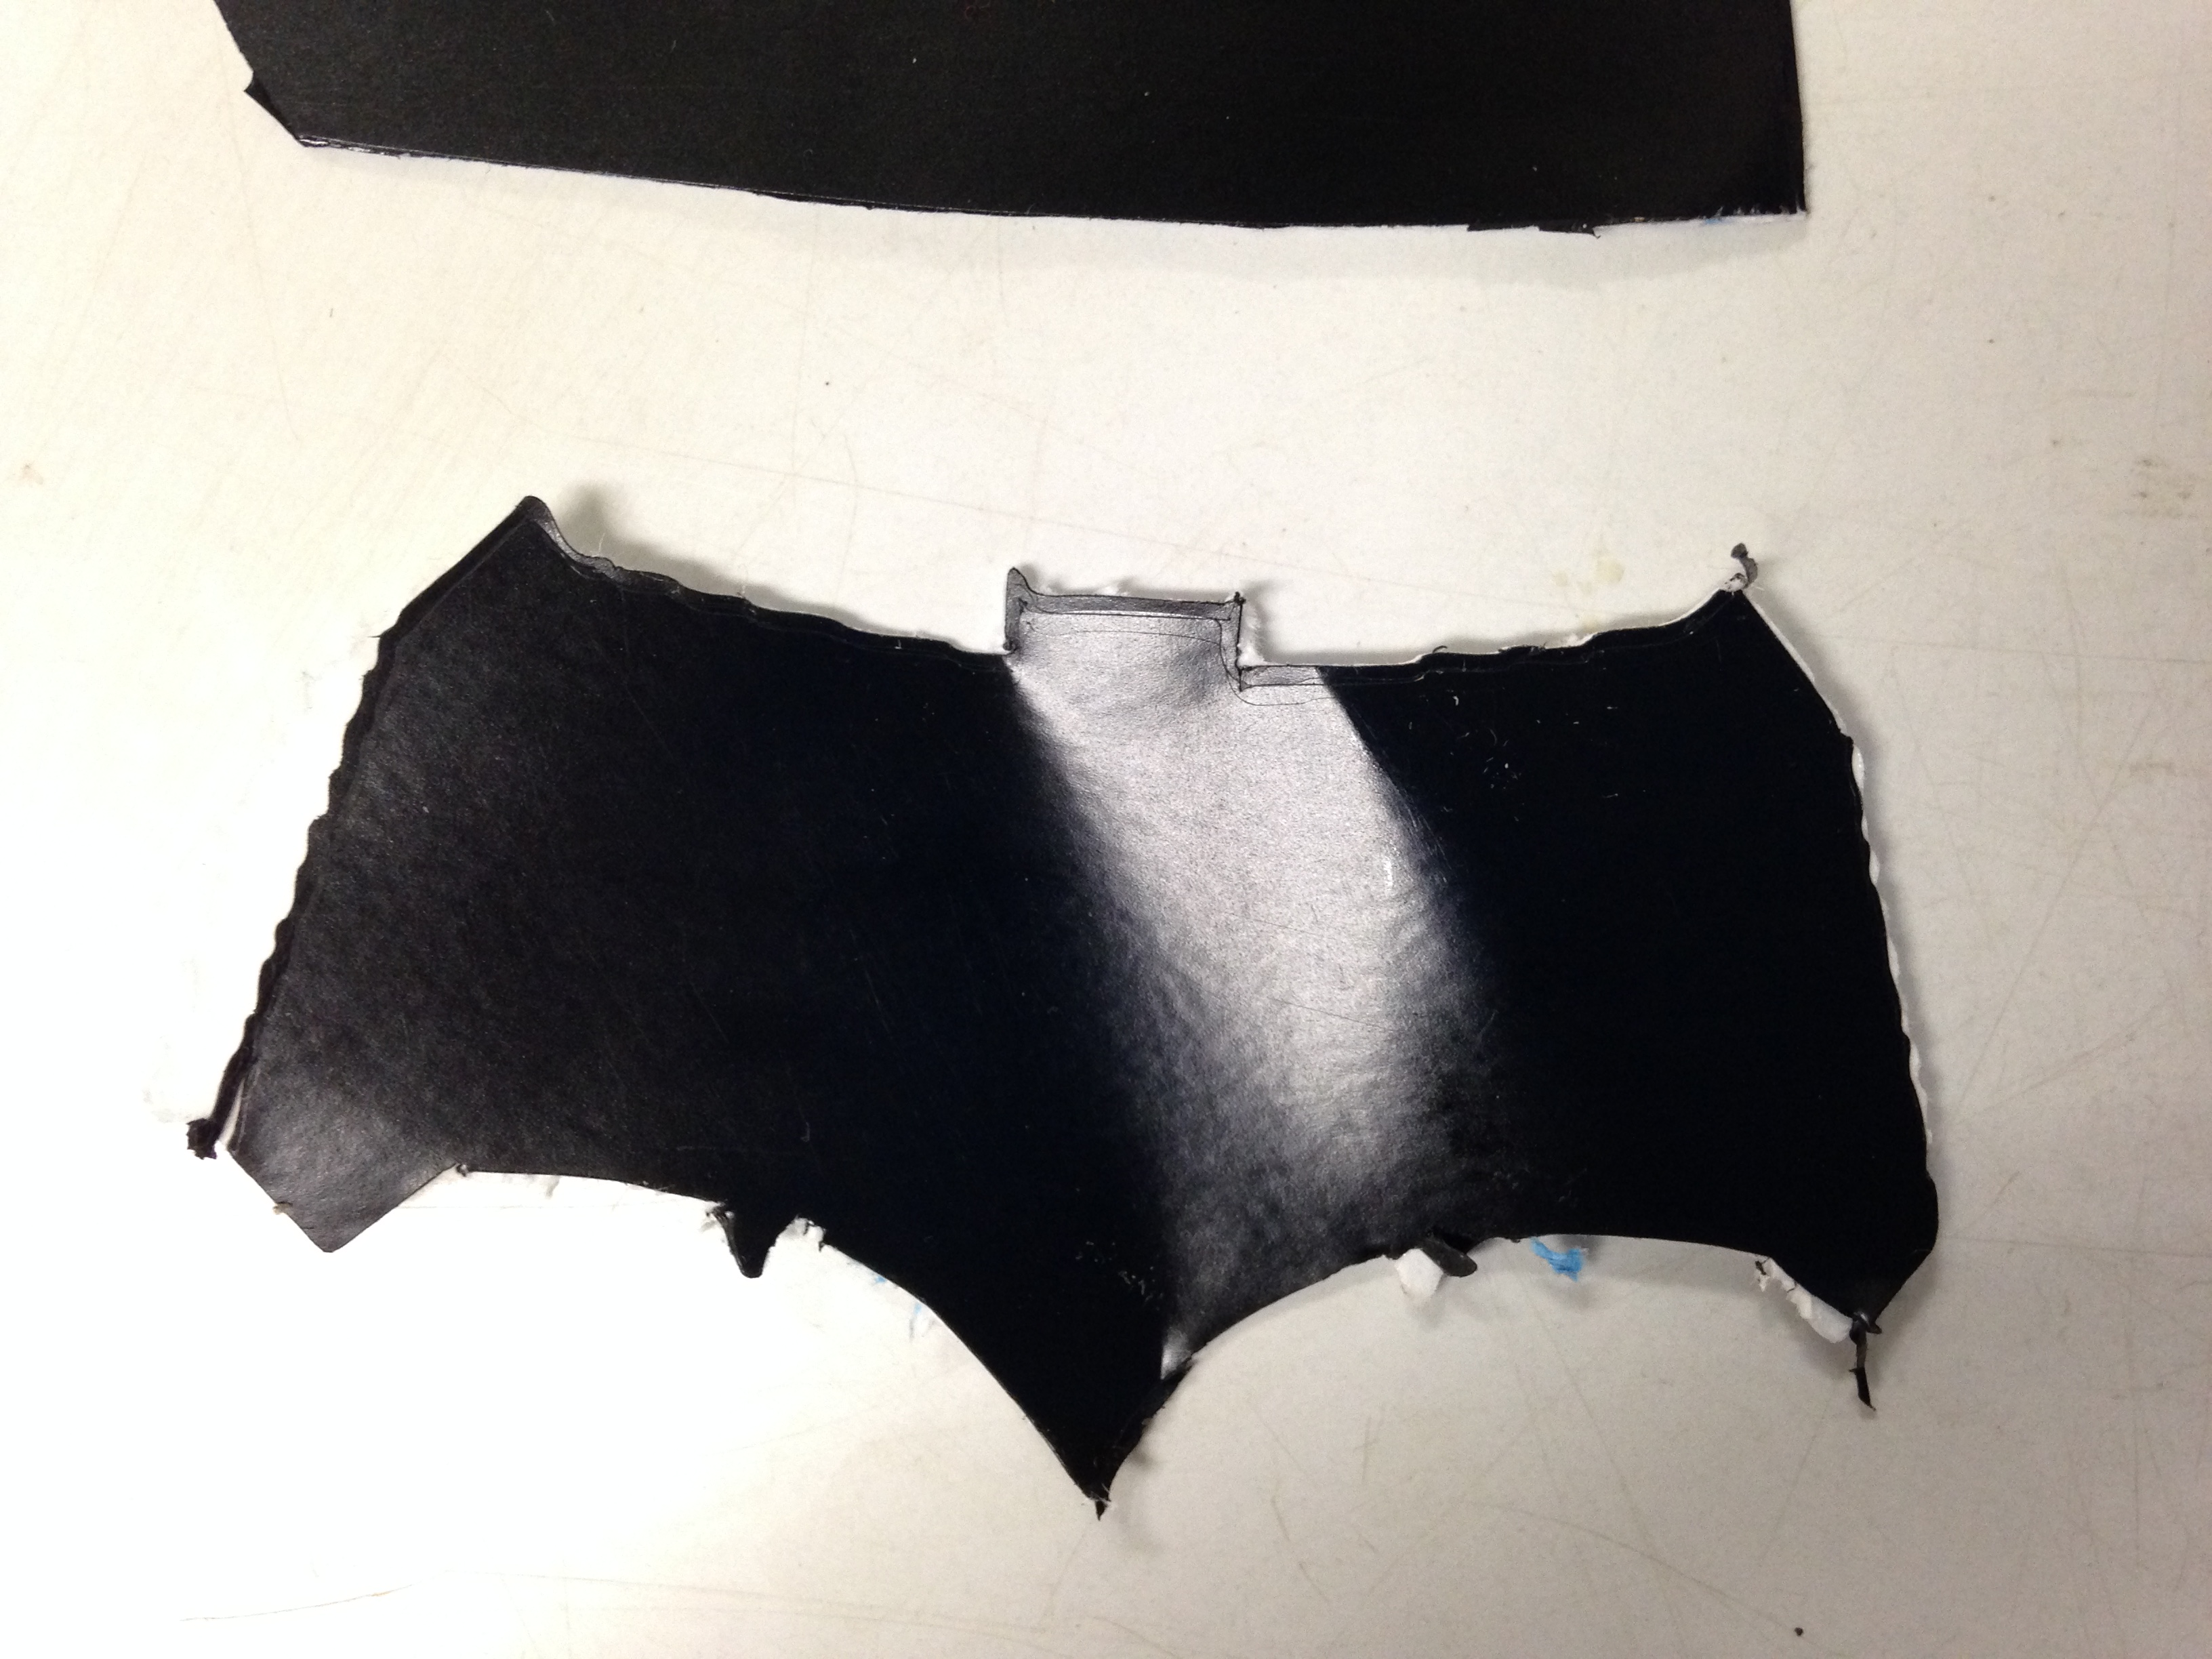
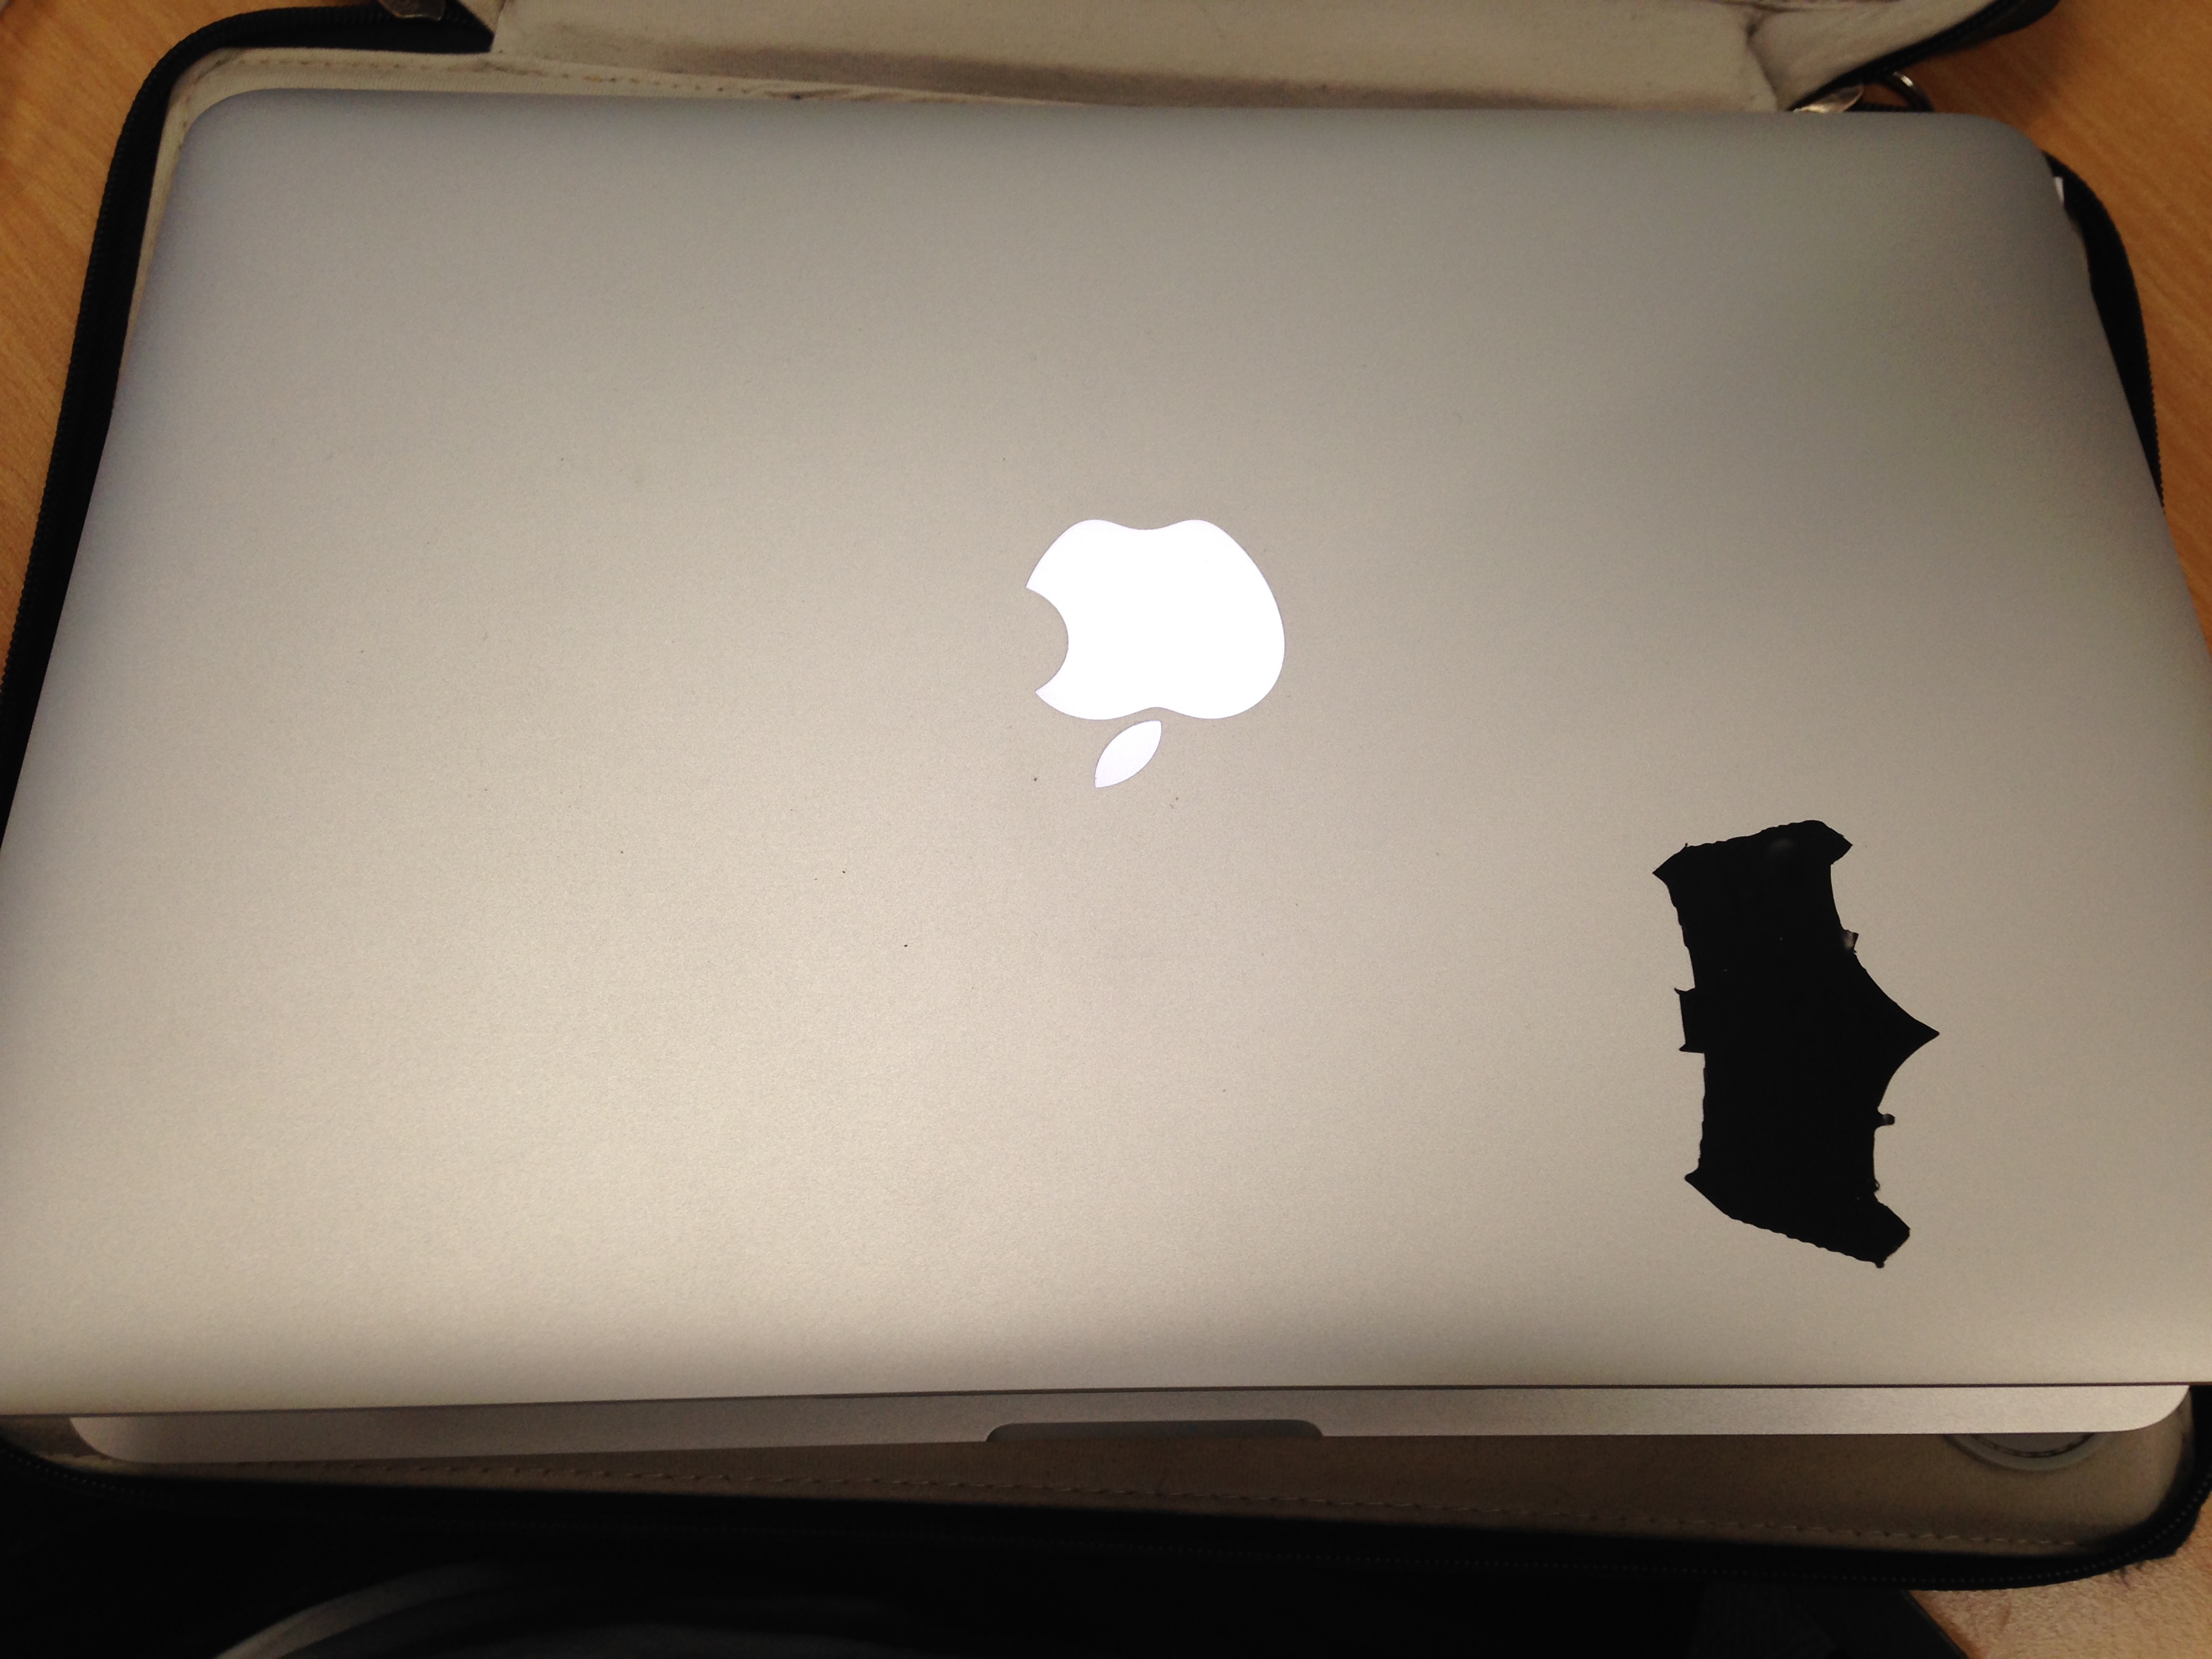
After cutting sticker, there are two things have learned.
I think result was not good maybe the speed of the cutter was too fast.
So It can not to cut precisely.
Another reason is, when I scale up my file I found there are deckle edge. All files become complicated contour.
Maybe it is two main reasons to let result not good.