Week 14, Composites
This week assignment task to design and make a 3D mold (~ft2), and produce a fiber composite part in it
Creating the design
The first hurdle
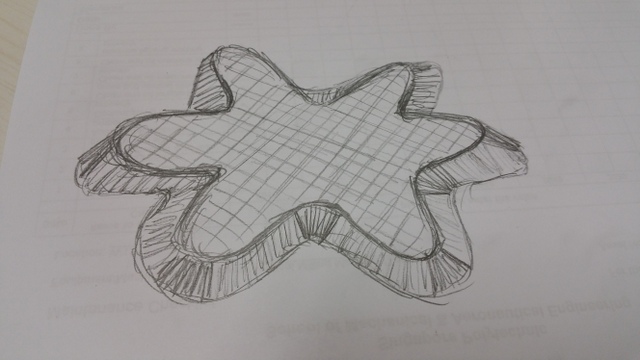
Here are some of my attempts in 3D drawing.
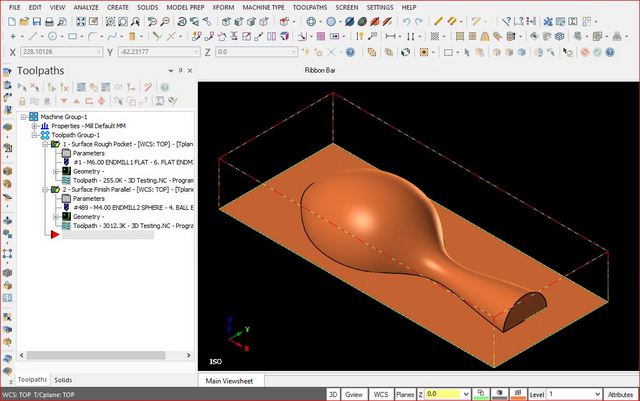
3D Testing 1(Right click and save link as)
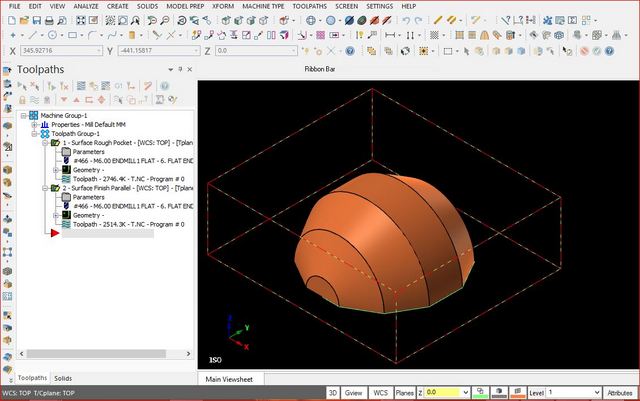
3D Testing 2(Right click and save link as)
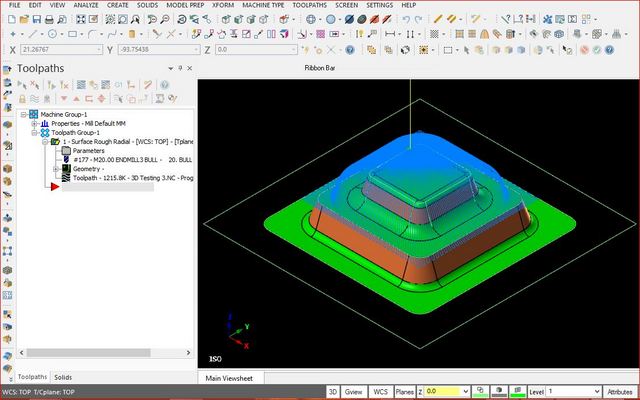
3D Testing 3(Right click and save link as)
After I gained some confidence, I began to construct my Star of David in MasterCAM.
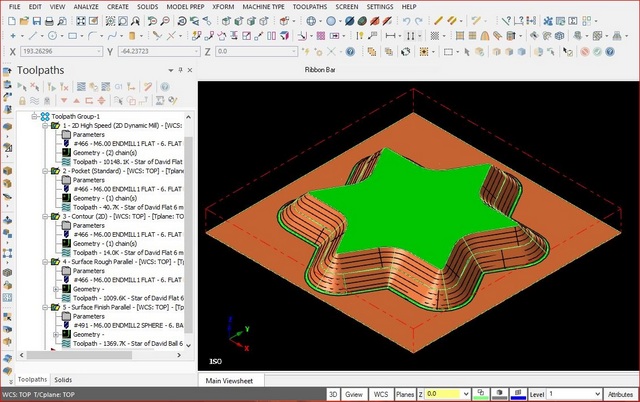
Star of David (Right click and save link as)
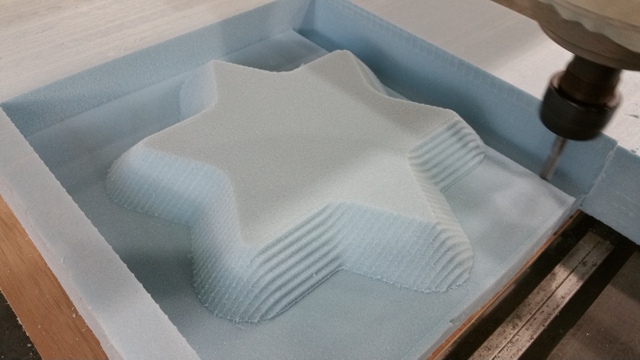
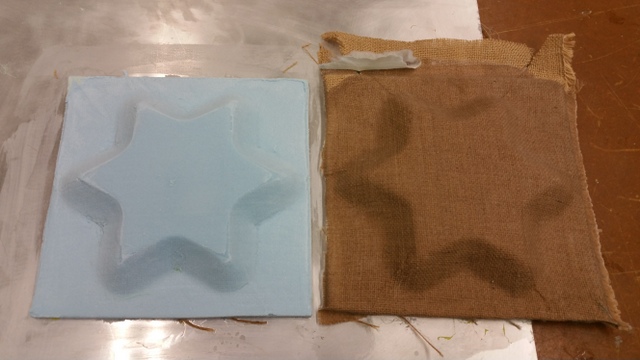
To make the mould
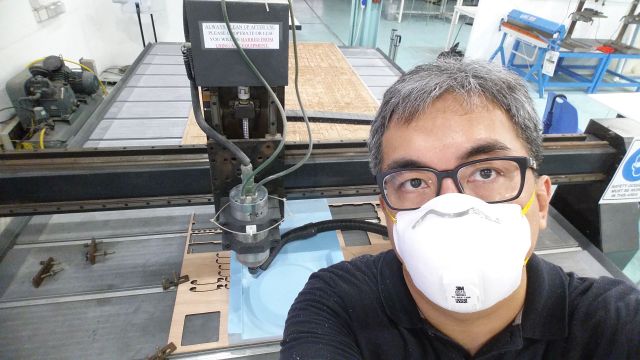
Now the routing operation can begin.
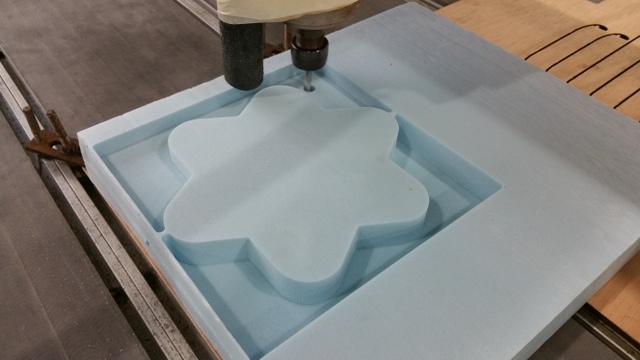
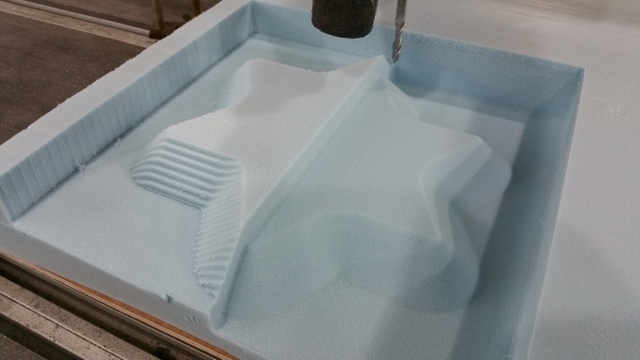
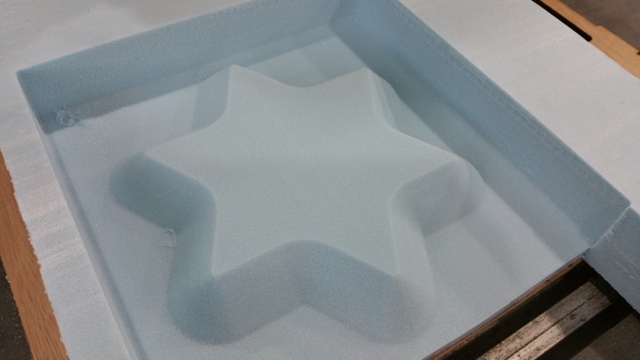
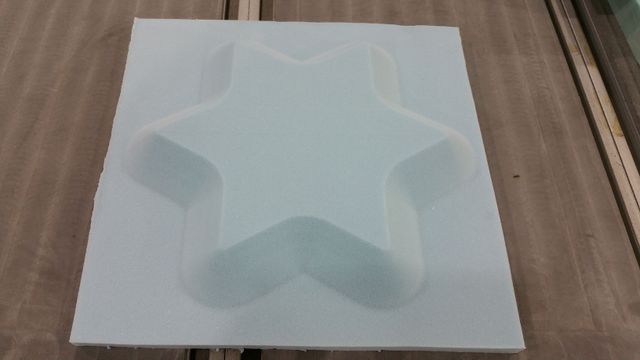
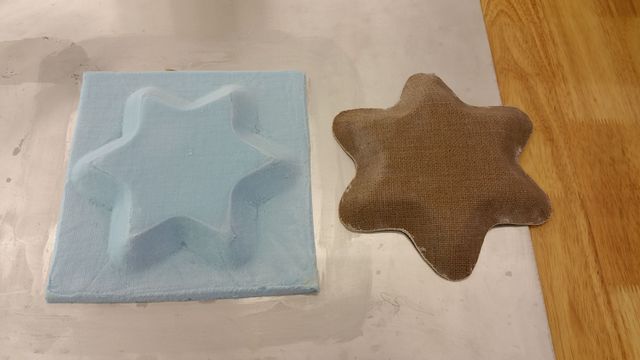
Finally, after parting off the edges and borders, its left with the final product.
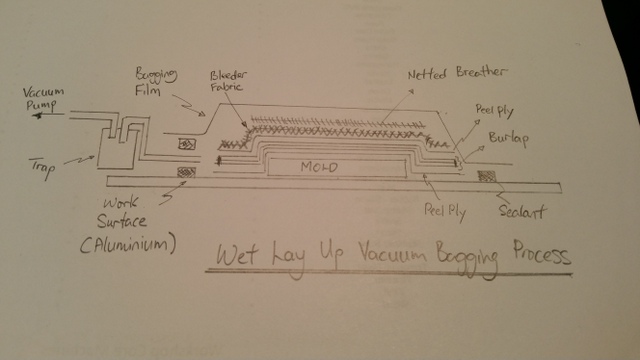
Preparing and laying up the composite
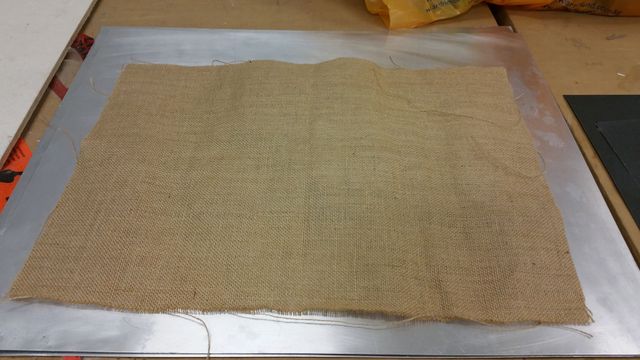
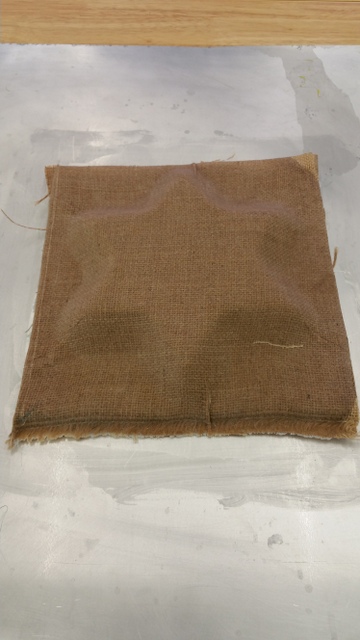
The composite type I'll be using is burlap or sack cloth. 3 pieces of burlap will be used to make the composite.
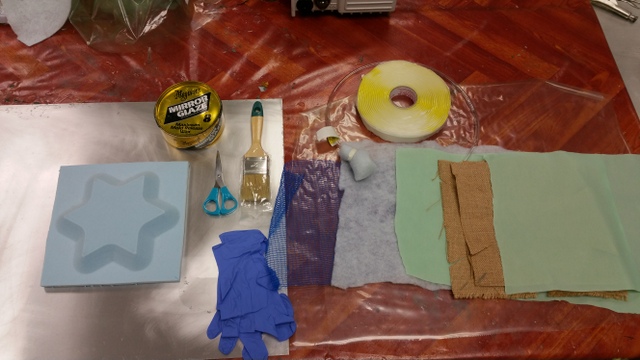
Its important to lay out all the materials and components properly and must be in sequence. This preparation is to avoid confusion and eliminate mistakes.
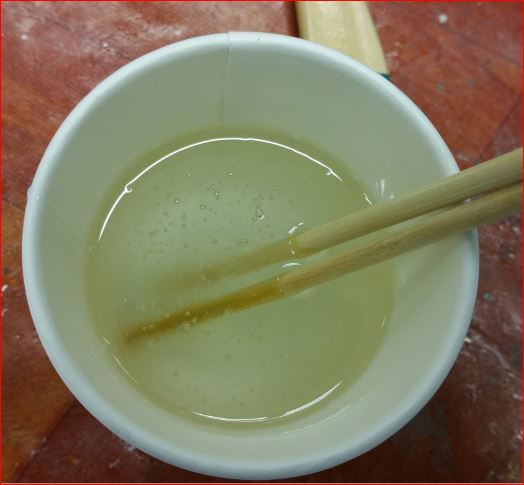
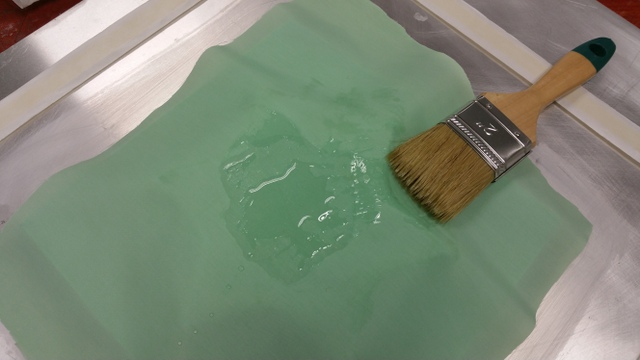
Next is to prepare the epoxy mixture and latex gloves must be worn at this point onwards. The ratio is 10 part Resin - Part A and 6 part Hardener - Part B. The weight of the mould and all the materials to be used had to be factor in as well. Which in this case, the total weight was 100 grams. To achieve the proper epoxy mixture, the following formula was used.

The mixture is then gently stirred to reduce formation of bubbles. The mixture is ready once it turned from a cloudy mixture to a clear solution. The mixture was further rest for 5 minutes to allow air bubbles to disperse.

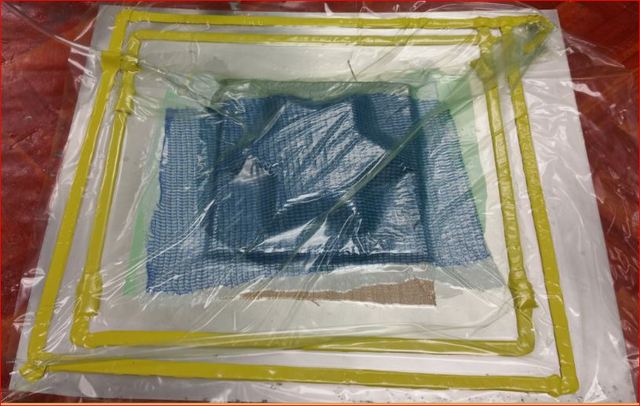
While resting the epoxy, the sealant was laid to form a border around the composite.
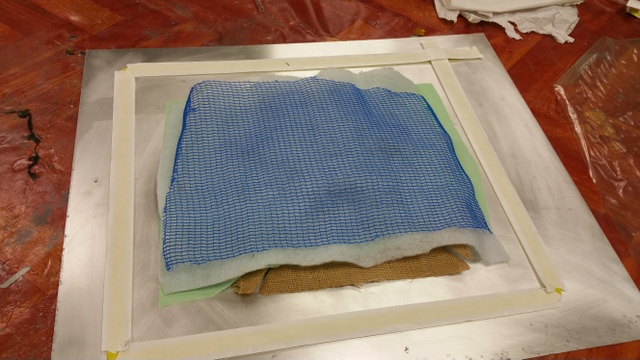
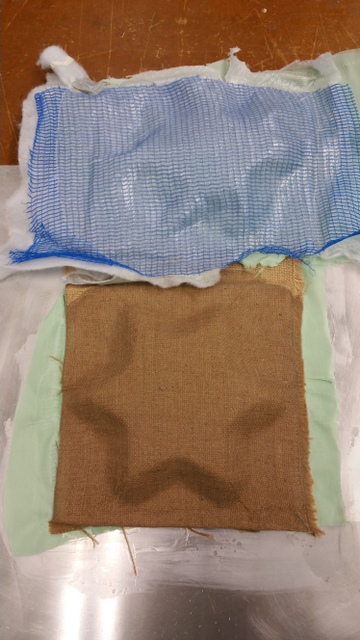
Releasing wax was applied liberally on the mould so as to allow easy de-moulding later. A little tack was stuck on the bottom of the mould to firmly secured it from moving. A peel ply was then placed on top of the mould and a layer of epoxy was then brushed on it.
It was then followed by, in sequence, first burlap layer with epoxy brushed on top of it and the same was continued till the third burlap layer. The last burlap will have a peel ply covered over it and epoxy brushed on it. Followed by bleeder fabric and netted breather were spread to cover the mould. The sealant tape were then uncovered and an air hose sticked along the sealant. Lastly, a bagging film was spread over the work surface and pressed deep into sealant tape to produce an airtight containment.
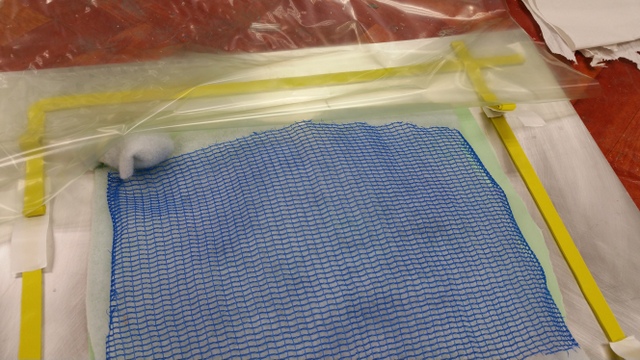
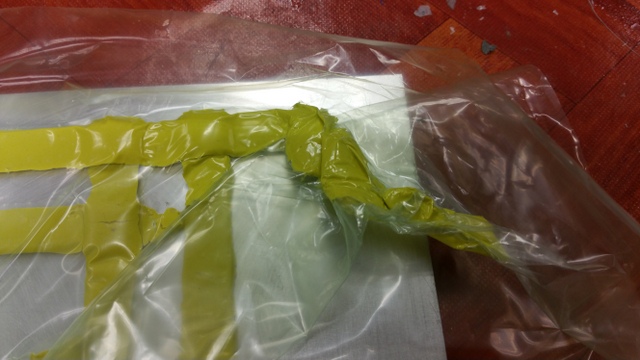
I made a mistake in the bagging film part because I cut it slightly too small and was unable to envelope the mould completely to form a air tight containment. To remedy it, I laid another round of sealant to surround the existing border and overlay an even larger bagging film to cover the existing bagging film. I paid special attention to the air hose portion.
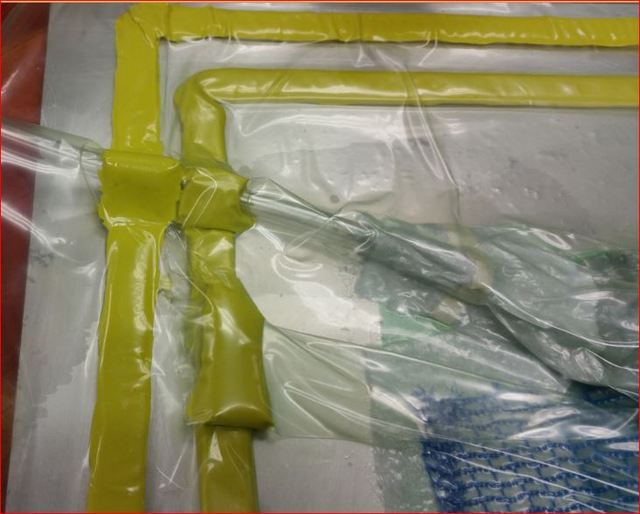
Next is to hook up to a vacuum pump to check for leaks and seal them accordingly.

Found a major leak at this cornor and proceeded to seal it accordingly.
Once properly sealed and the vacuum turned on, you should see the bagging film completely collapse. Which meant the vacuum formed in the bagging system is sucessful.
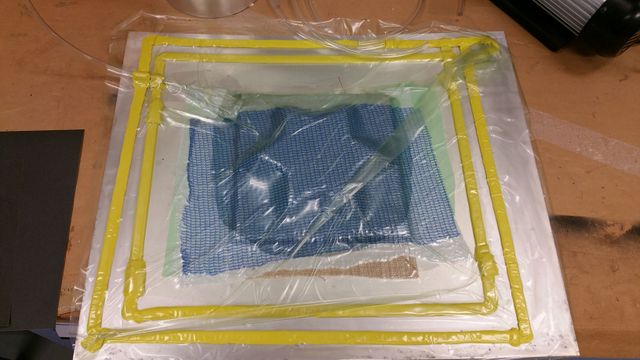
Now is to let the composite cure for 24 hours with the vacuum pump assisting.
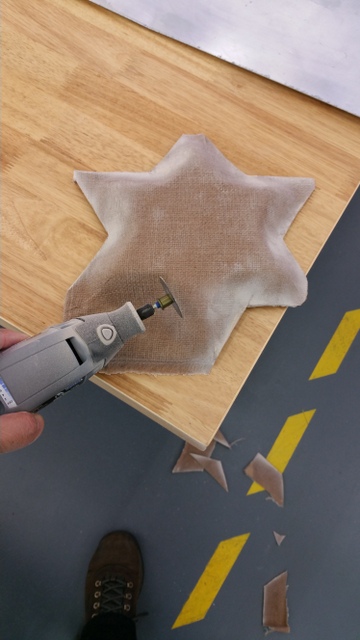
Demoulding and Touch up
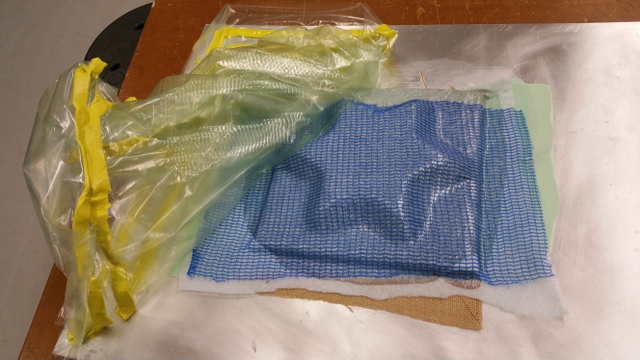
A small wheel grinder was used to remove excess.
What it finally looked like.
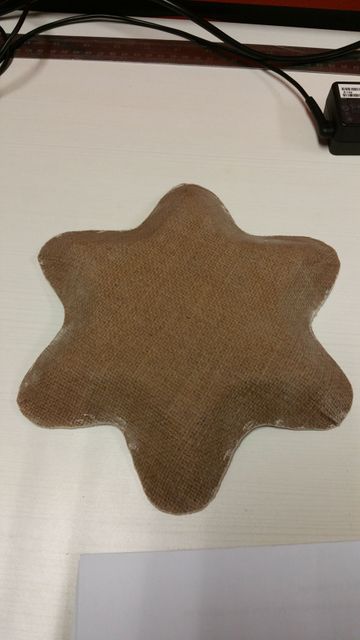
The Final Product