05. 3D Scanning and Printing
This week we need to design and 3D print an object (small, few cm) that could not be made subtractively and 3D scan an object (and optionally print it)
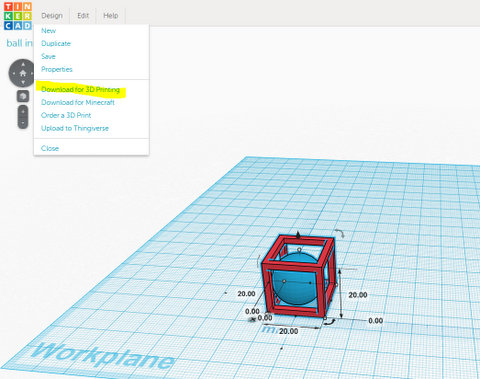
Design and 3D print
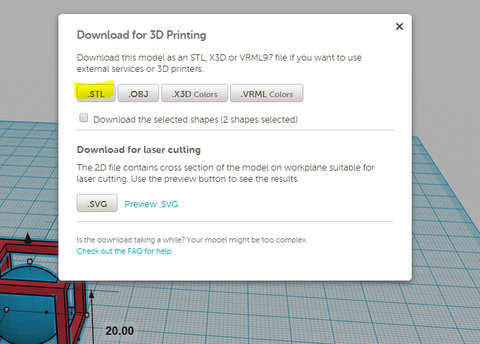
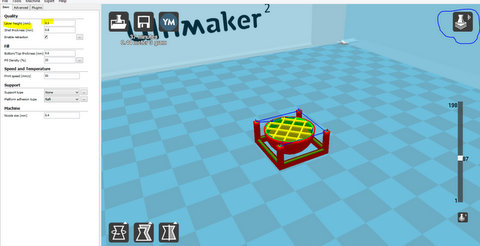
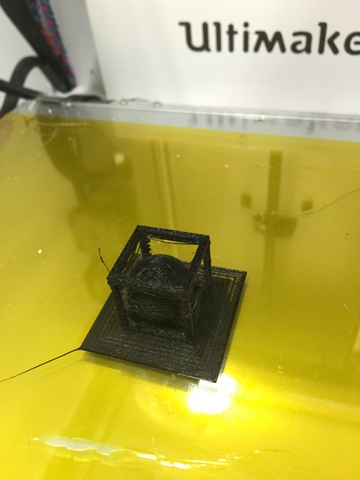
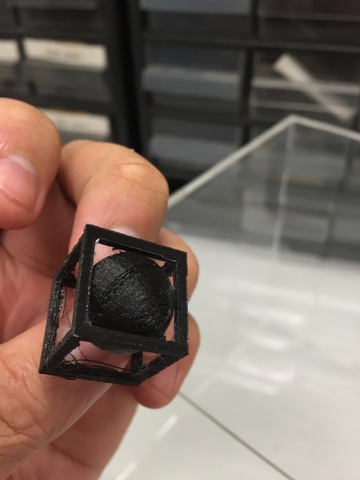
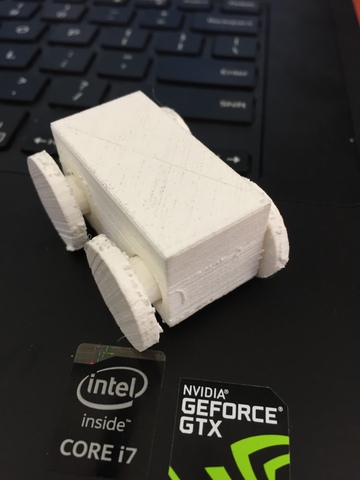
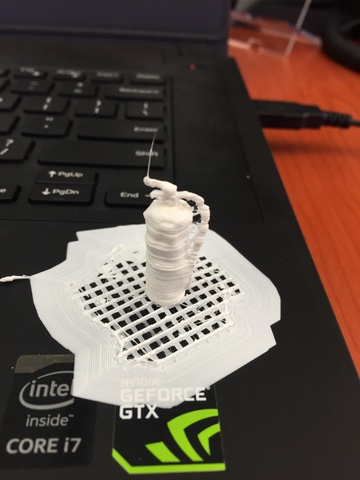
Firstly I use tinkercad to draw a simple box with 20mm, make 6 16mm holes on it then draw a ball with 18mm.
|
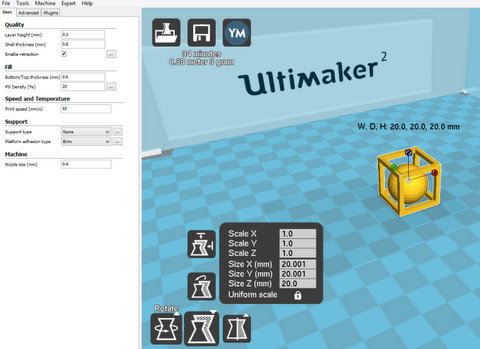
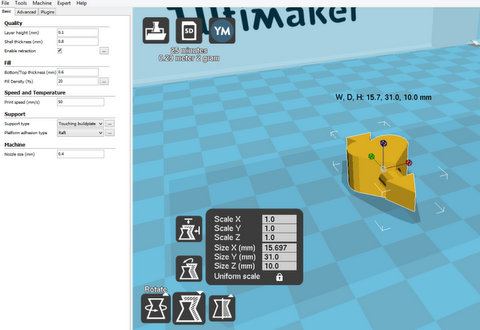
After I download the .stl file, I put in to Cura and the 3D printer I using is ultimaker2. I choose full setting for printing so that I can have more option.
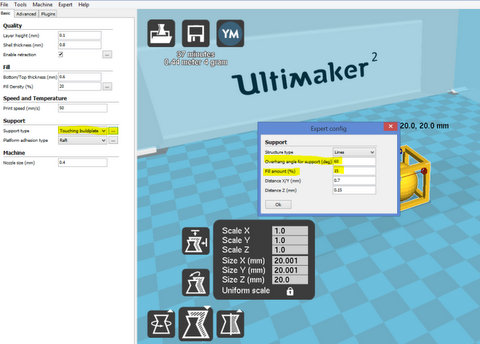
Cura have more option for support type and platform adhesion type. For support type, we can choose none, touching buildplate and everywhere. On top of that we still can choose overhang angle for support, amount it fill etc. For this file i print, I choose none for support, because my object is small so that support will be hard to remove after that and such a small object using support or not not really matters. For Platform adhesion type I choose Brim, the reason I choose Brim is easy to remove and my object is small so that I want to have more area touching buildplate. For expert config for Brim, we only can choose how much brim line. I choose 20 for my object. However there are more option for raft such as line space, base thickness, surface layer etc.
Another useful function is view mode layers, we can view it layer by layer. The layer height I choose 0.1mm, the result come out is much better but time will take longer, for small object like I going to print, time will not be much different. Before printing a 3D model from an STL file, it must first be examined for errors. Most CAD applications produce errors in output STL files: holes, faces normals, self-intersections, noise shells or manifold errors. A step in the STL generation known as "repair" fixes such problems in the original model. Generally STLs that have been produced from a model obtained through 3D scanning often have more of these errors. This is due to how 3D scanning works-as it is often by point to point acquisition, reconstruction will include errors in most cases.
Once completed, the STL file needs to be processed by a piece of software called a "slicer," which converts the model into a series of thin layers and produces a G-code file containing instructions tailored to a specific type of 3D printer (FDM printers). This G-code file can then be printed with 3D printing client software (which loads the G-code, and uses it to instruct the 3D printer during the 3D printing process).
Printer resolution describes layer thickness and X-Y resolution in dots per inch (dpi) or micrometers (µm). Typical layer thickness is around 100 µm (250 DPI), although some machines can print layers as thin as 16 µm (1,600 DPI). X-Y resolution is comparable to that of laser printers. The particles (3D dots) are around 50 to 100 µm (510 to 250 DPI) in diameter.
Construction of a model with contemporary methods can take anywhere from several hours to several days, depending on the method used and the size and complexity of the model. Additive systems can typically reduce this time to a few hours, although it varies widely depending on the type of machine used and the size and number of models being produced simultaneously.
Traditional techniques like injection moulding can be less expensive for manufacturing polymer products in high quantities, but additive manufacturing can be faster, more flexible and less expensive when producing relatively small quantities of parts. 3D printers give designers and concept development teams the ability to produce parts and concept models using a desktop size printer.

|

|
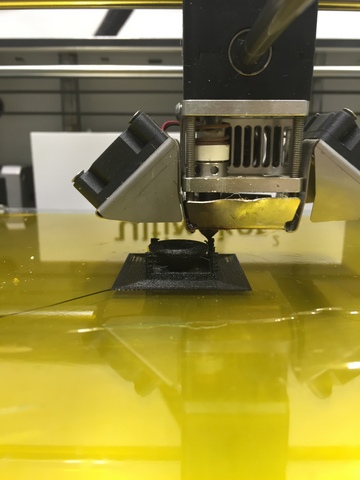
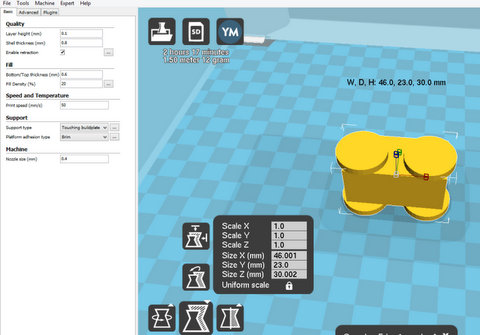
Finally I export it to a SD card and send to printer to print. The filament I use is PLA.
Setting for Ultimater2: |
I also try other few printing for the allowance that I can make.
The allowance I make for this is 3mm. 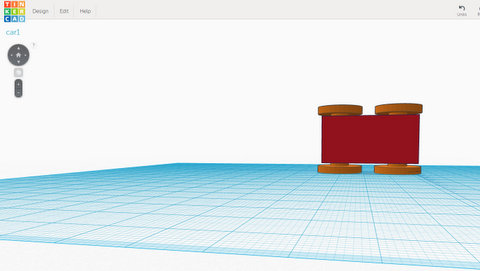
The allowance I make for this is 6mm. 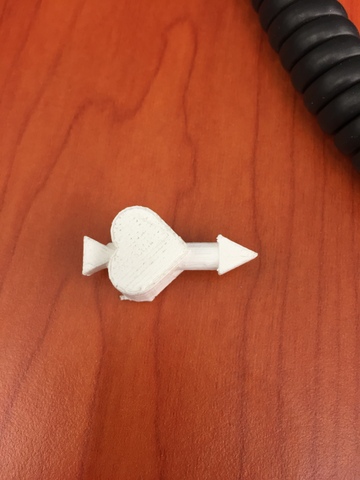
Both of the print are success. For the 3mm allowance need to apply a bit force to break it. |
Layer height

I try few setting of the layer height. Layer height is how much it move between layer by layer. The more it move the gap will be bigger and affect the quality of the end product. The layer hight set as 0.25 is acceptable so not necessary to bring down to 0.15.
3D Scanning
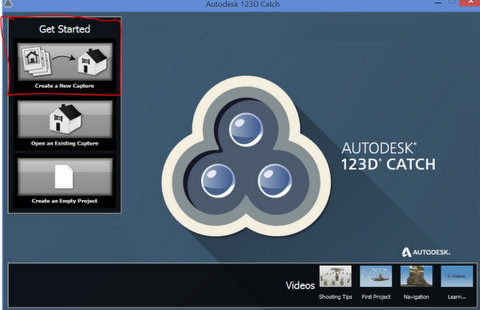
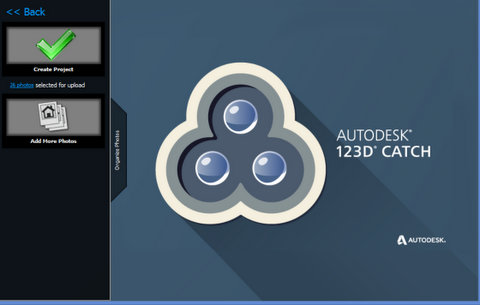
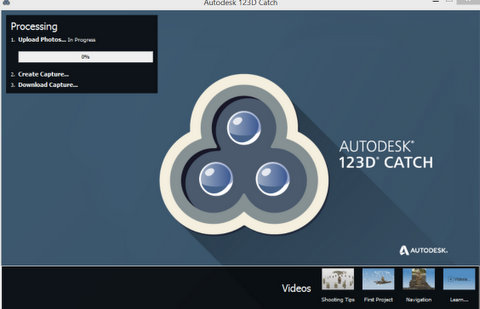
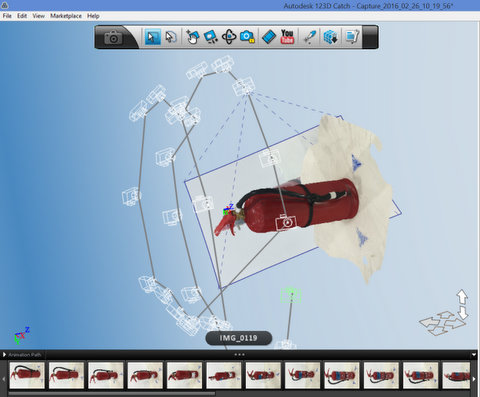
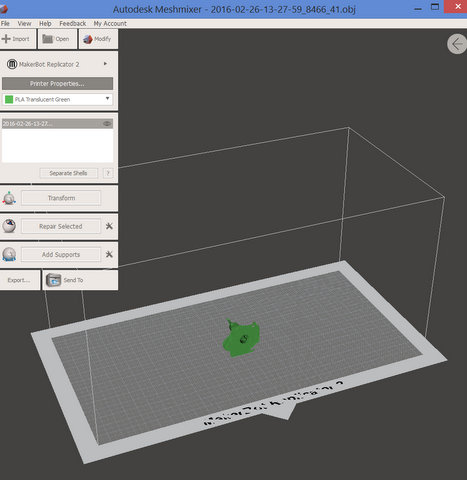
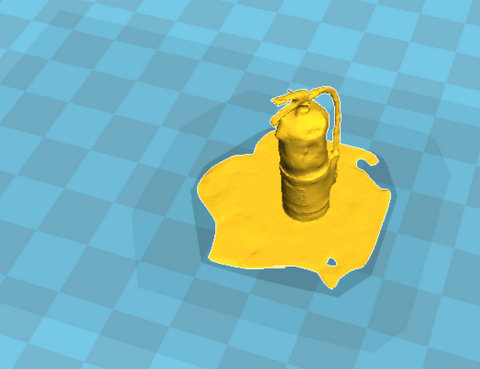
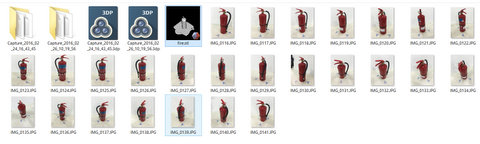
3D Scanning is fun however it is not easy to get it. First I use my phone to take picture of fire extinguisher then import to 123D catch after that export to meshmixer and export to .stl file.
I also try to use 123D catch handphone version, I am using iPhone. However, after a few try I still unable to get it.
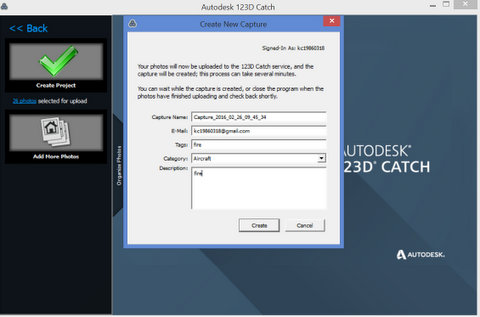
For this fire extinguisher scanning, I took 26 pictures.
|
|
Conclusion
3D printing and scanning is fun. We can make toys, prototype etc.