02.Computer-aided Design
This week assignment is to model our possible final project using 2D and 3D cad.
GIMP
GIMP is a very powerful software, you can use this to edit photo. Unlike photoshop, it is free.
|
I try to use GIMP to make pencil sketch and here is the result. 
Step of doing this: |

Inkscape and CorelDraw
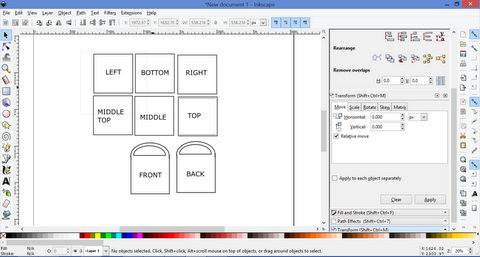
Both Inkscape and CorelDraw is vector tools. Both of them have their advantage and disadvantage. For CorelDraw, I draw the rectangle first then key in the size, then i select object > transformation > position then choose how many i want.
After that I draw a circle and key in the size and move in to the center of the size then i trim off the unwwanted part.
|
This is how my final project look like. I can draw in in both software. 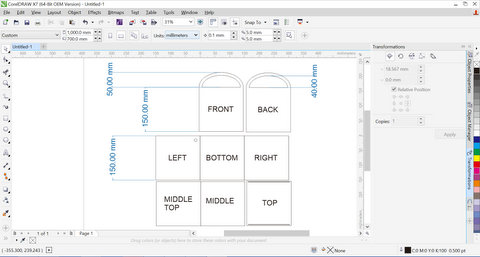
|
|
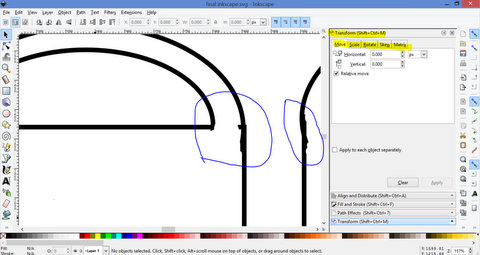
However, Inkscape not easy to trim a line. CorelDraw can trim any line that intercept. 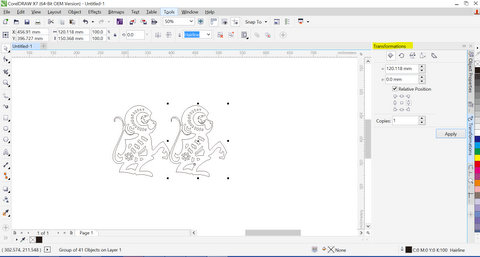
|
|
Both Inkscape and CorelDraw can trace image to line. Inkscape have a wonderful function call extensions. You can download software that you need and put inside. I get a extensions call Tabbed box marker. It can generate a tabbed box very easily. Step of doing this:Download boxmaker0.85 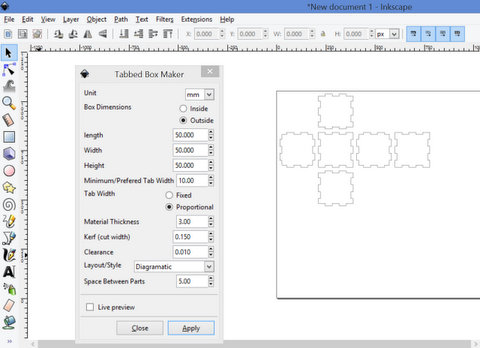
Converting Bitmap to Vector Image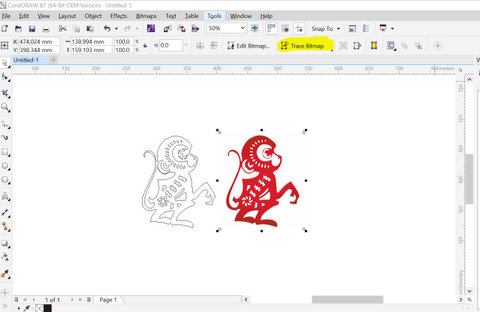
|
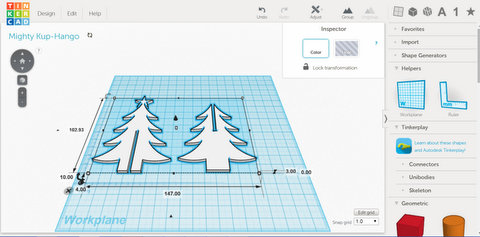
Tinkercad and Inventor
Both Tinkercad and Inventor able to draw 3D and both software have their limitation.
|
I use Inventor to draw my final project. This is not easy to learn how to draw as I don't have any cad drawing background. For tinkercad, I first selected Helping Tools > Ruler as a guide for my drawing, then draw a box and key in the size. I then drew another box, 6mm smaller than the first, and choose hole, to cut the shape out of the first box. After that I grouped them together so that only the outline is appeared. For the hole I choose circle and turn in 90degree and choose hole and group. Then I make a thin box to be layer and move the z axis to make it floot. lastly I do the top circle. 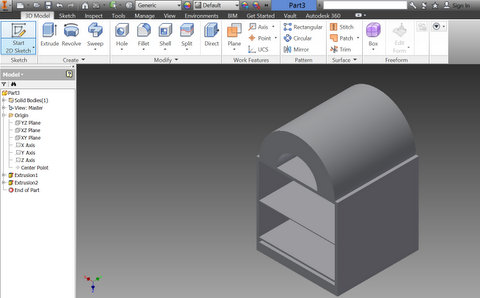
|
|
This is how I draw in tinkercad. Tinkercad is easy to pick up as a beginner and this is web-based drawing. You can go anywhere to draw as long as you have internet access. However this software has a lot of limitations, for example, you can't draw complicated design such as spring. 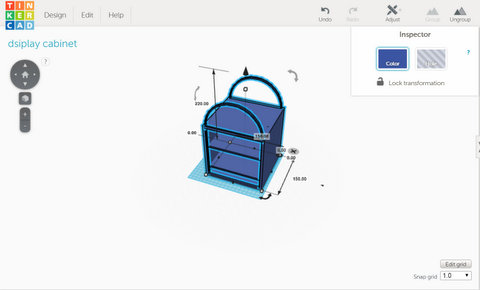
|
You can left click and hole your mouse and make the object turn